This post may contain affiliate links, which means we'll receive a commission if you purchase through our links, at no extra cost to you. Read the full disclaimer here.
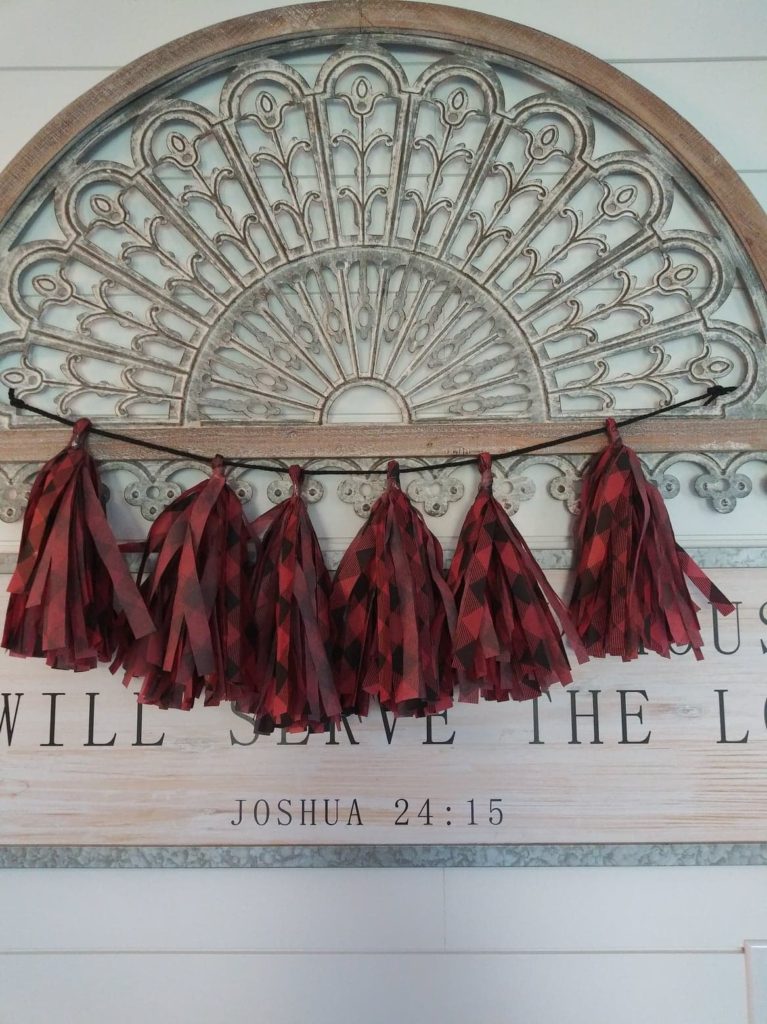
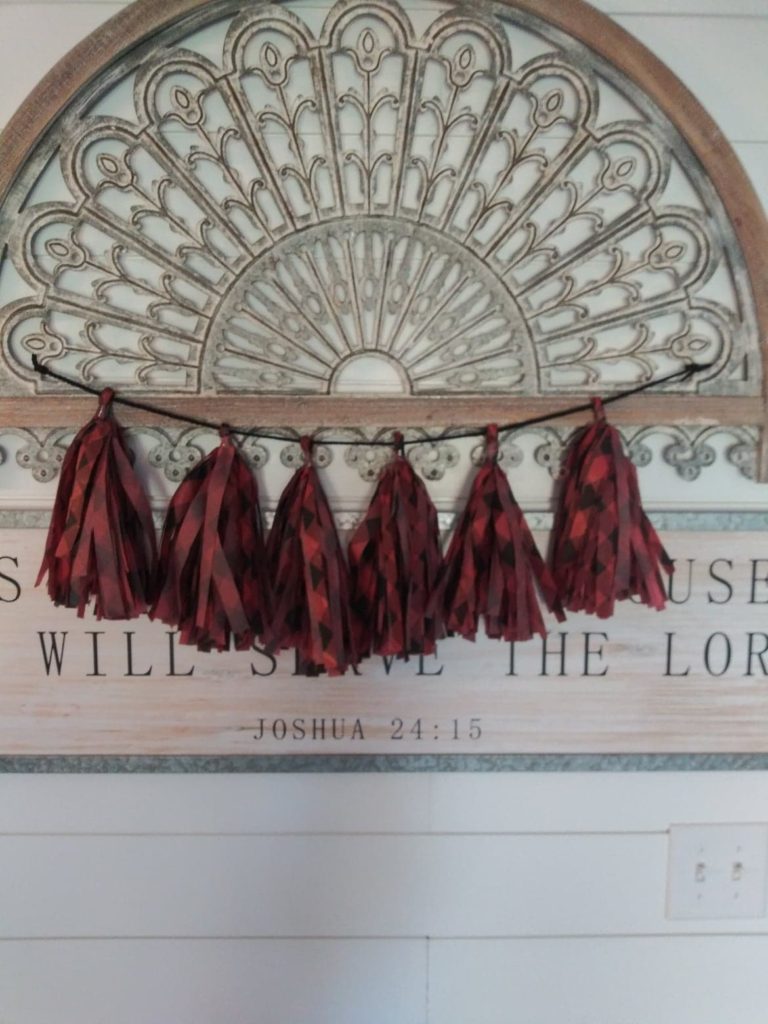
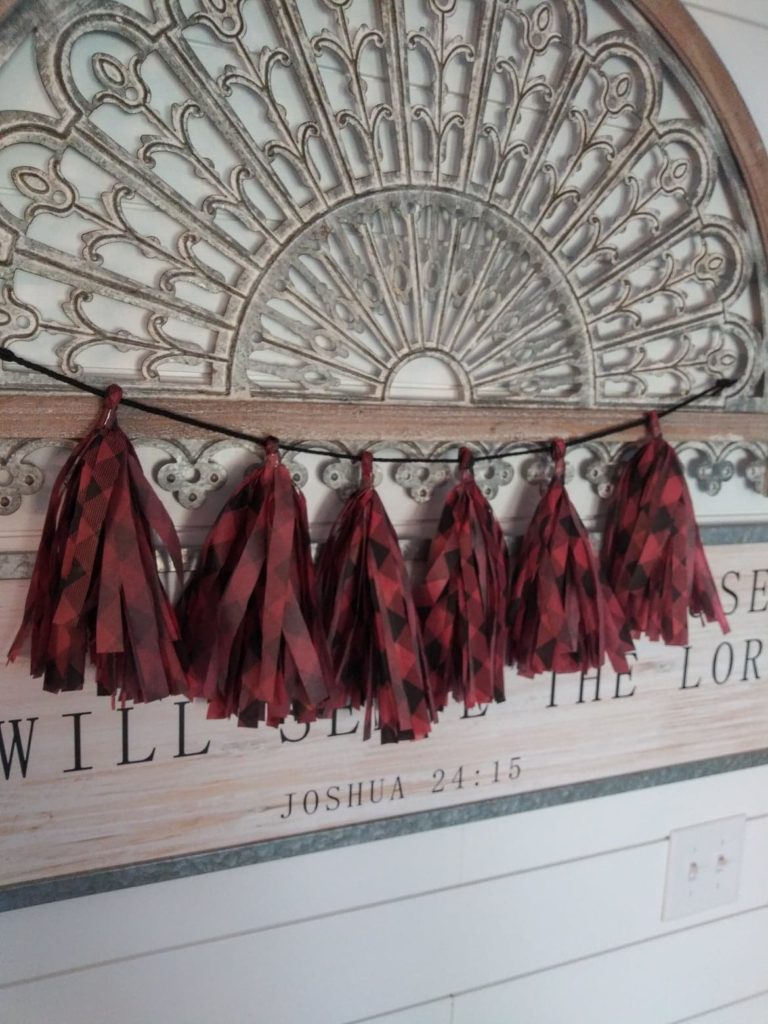
A Simple Step by Step tutorial for Tassel Garland made from tissue paper.
If you’re looking for Inexpensive DIY party ideas to make for your next party, you’ve stumbled on the right place. These Tissue Paper Tassels are the perfect addition for a celebration, and we’ll show you how to make them for parties, photo backdrops, and even fun home décor. I’ve provided all the steps and you won’t believe how fast you can whip these up once you get the hang of it. You can customize your paper tassels with any color to fit any party theme (or even use what you have leftover at home from birthdays, Christmas etc…)
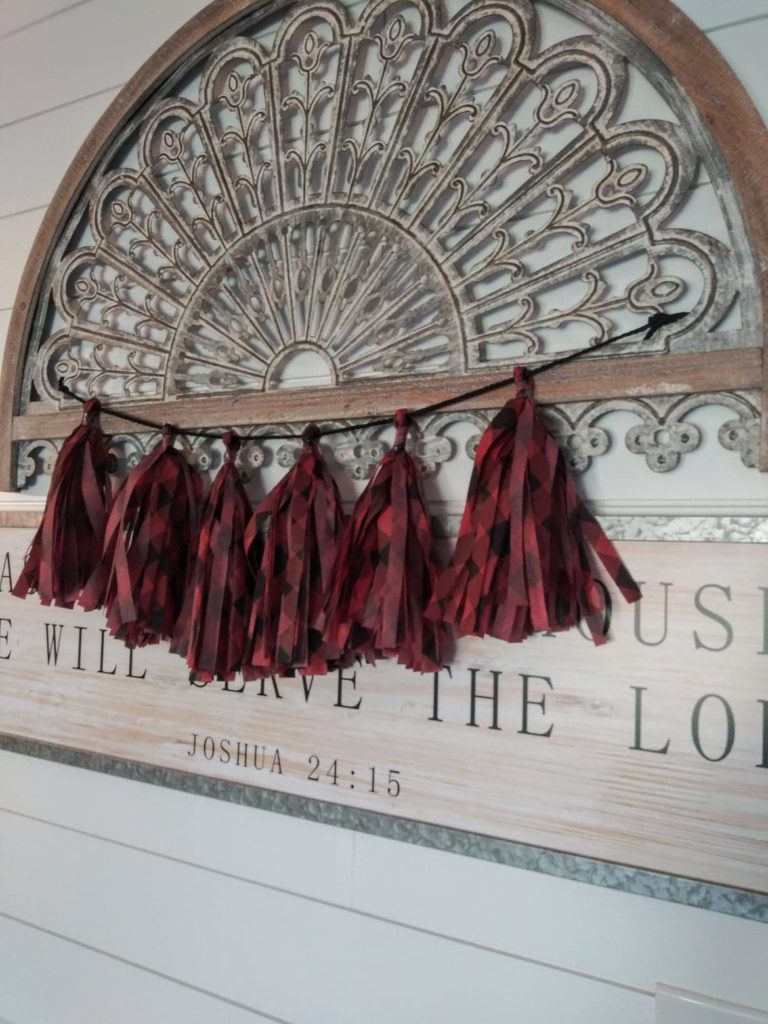

Ways To Use Tissue Paper Garlands
Like I mentioned above, tissue paper tassels make great party decorations as well as cute home décor. Here’s some amazing ideas to include them!
Bridal Shower
Wedding
Birthday Party
Baby Shower
Nursery Decor
Graduation
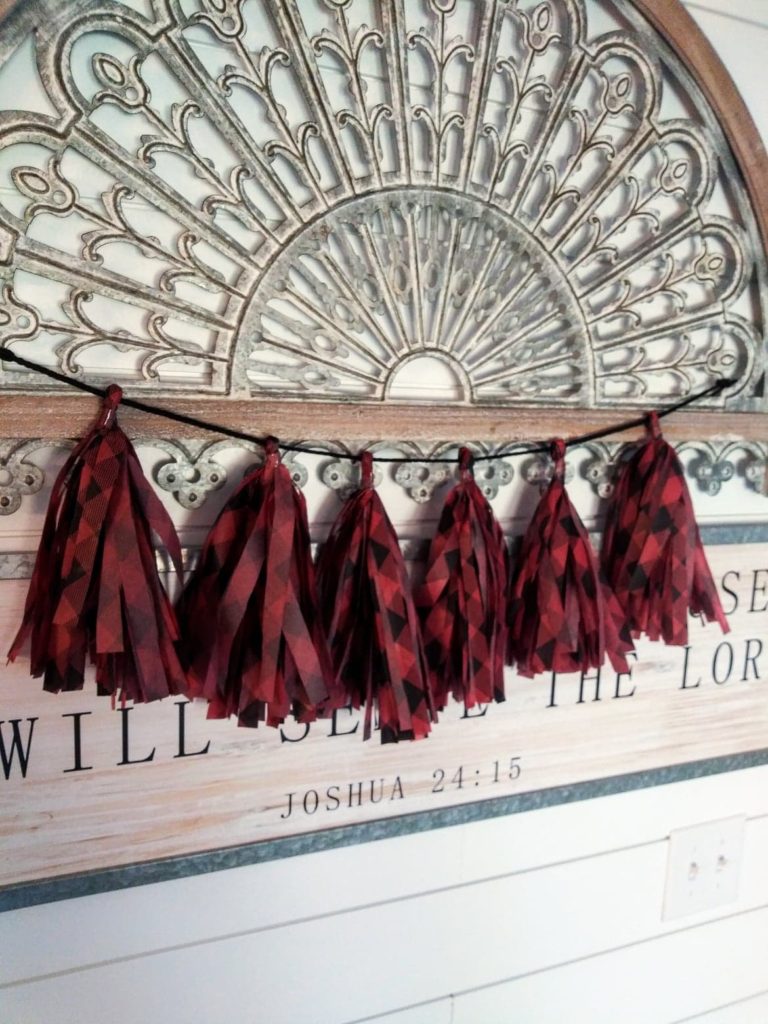
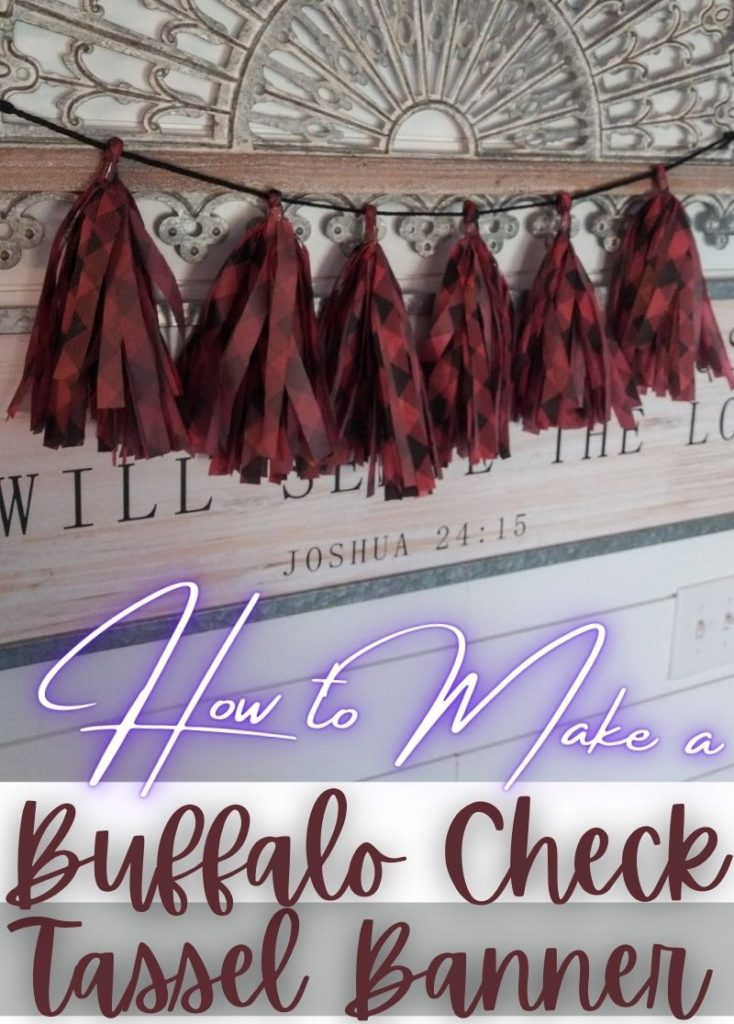
These are just a few ways, there is plenty more. I did a tassel garland for my son’s lumberjack themed first birthday party and chose to hang buffalo plaid tassels across the front of his high chair. I loved how it turned out!
Find the felt birthday crown tutorial here (No sewing what-so-ever and make in 10 minutes!)

I’ve also seen tassel garland hanging on the front of a crib in a nursery that made for an adorable decoration (at least until they’re about the age of my son who would rip it down).
If you are celebrating a Graduation party, you could use the school colors of the graduate for your tassel garlands.
DIY Tissue Paper Tassel Garland
Here’s What You’ll Need
Gift Tissue Paper (The Tissue Paper I used measured 20 in x 20 in, Different sizes may vary in the way it looks). I used this one.
Tape
Scissors
String (or Ribbon)
Ruler (or something that will make a straight line)
***One single sheet of Gift Tissue Paper will make a tassel. This will help you with how much you need. You also can do as many as you like based on where your planning on hanging it. It takes no time at all and once you make one you can easily get the hang of it.***
How To Make A Tissue Paper Tassel
Step 1: Lay out one full piece of tissue paper flat on the table.
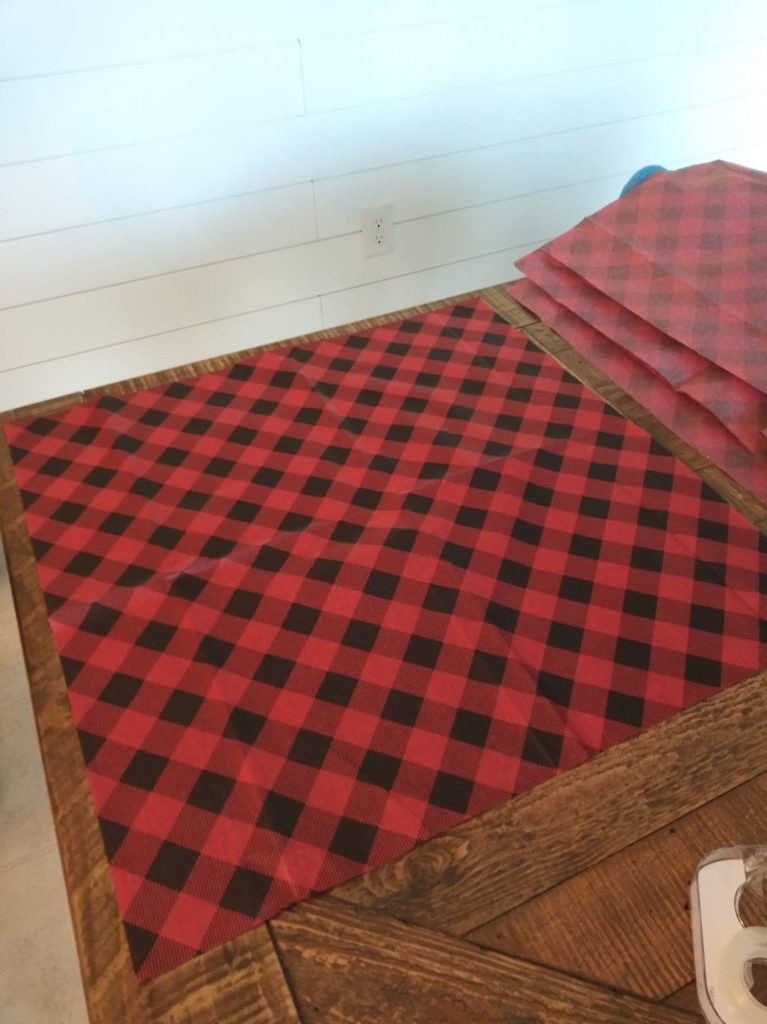
Fold your peice of gift wrap in half,
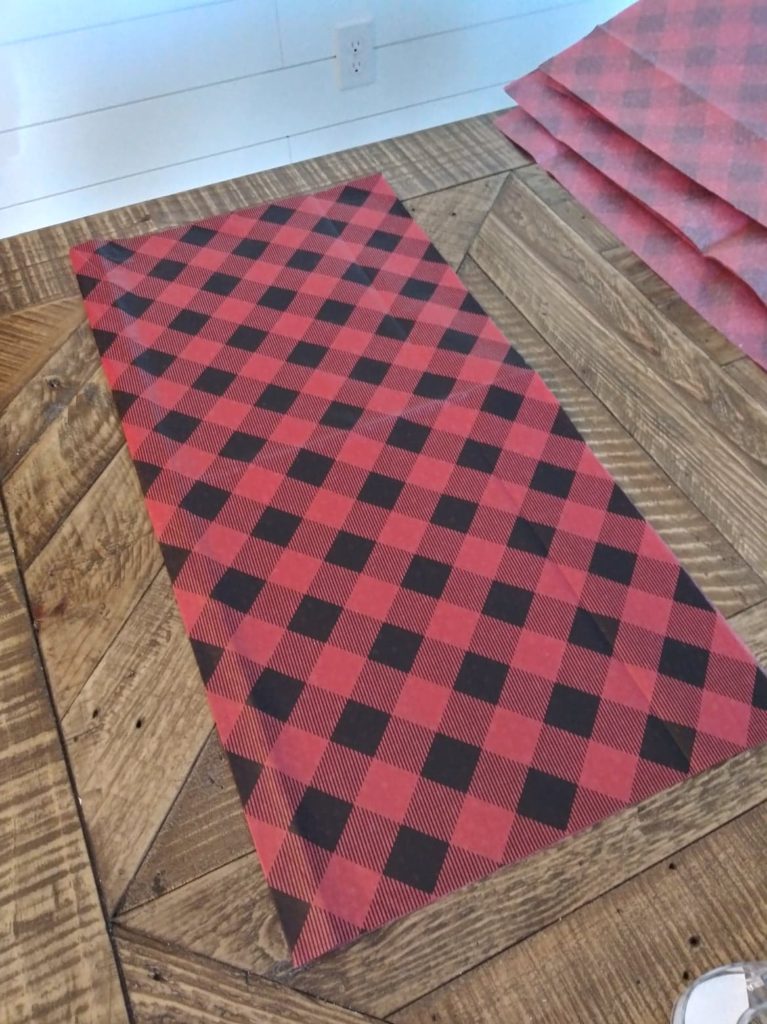
then fold it in half again.
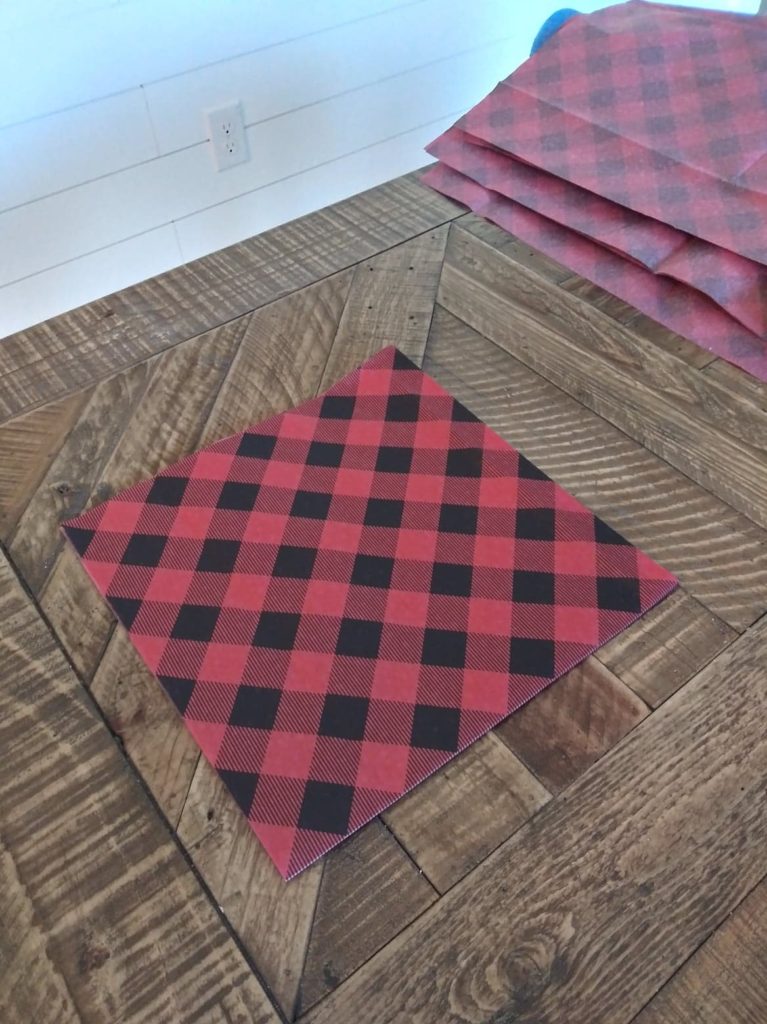
Step 2: With the closed end at the top, mark a straight line about an inch down from the top of tissue.
Step 3: Next, you will cut the side fold that is closed (cut through both layers) only going to that line you marked. Now the two sides and the bottom should be open. Top remained closed.
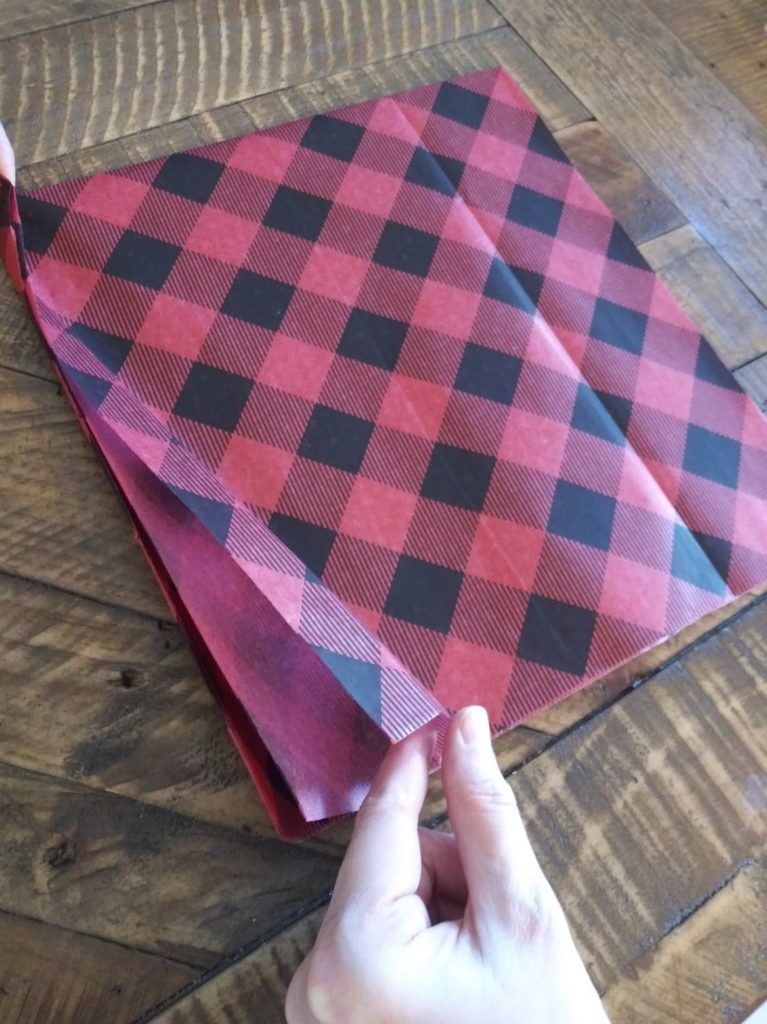
Step 4: Start cutting strips, cutting through both layers. Make them as wide as you want them. I cut mine about 1/2 inch. Stop your cut when your reach your line you made at the top.
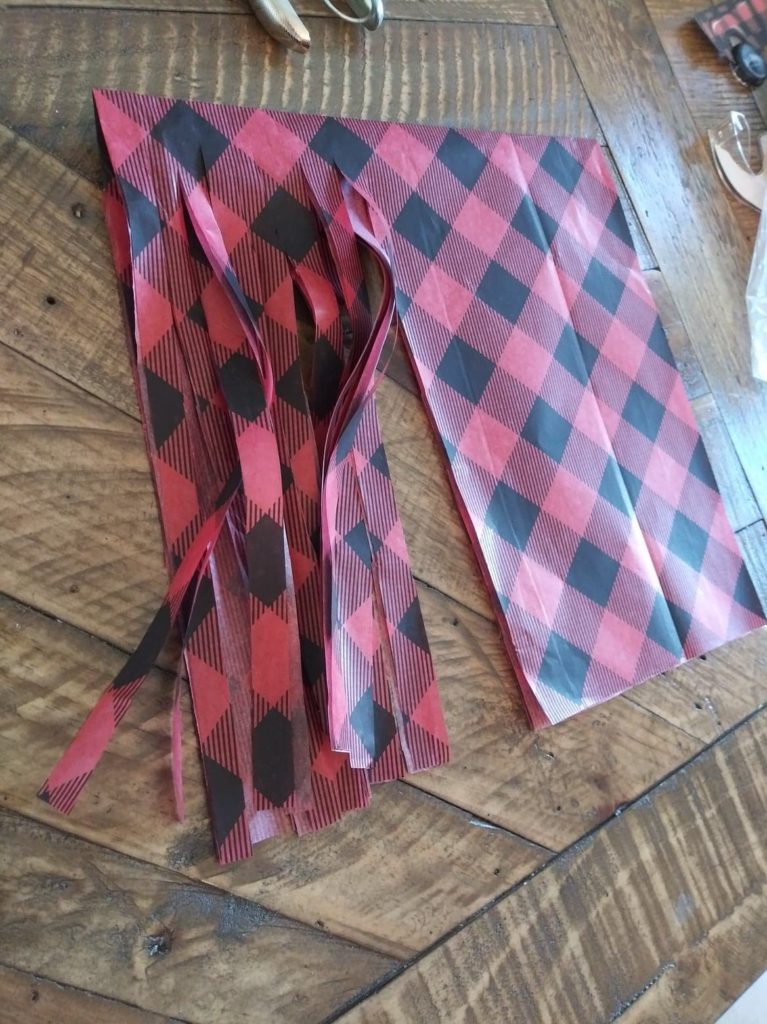
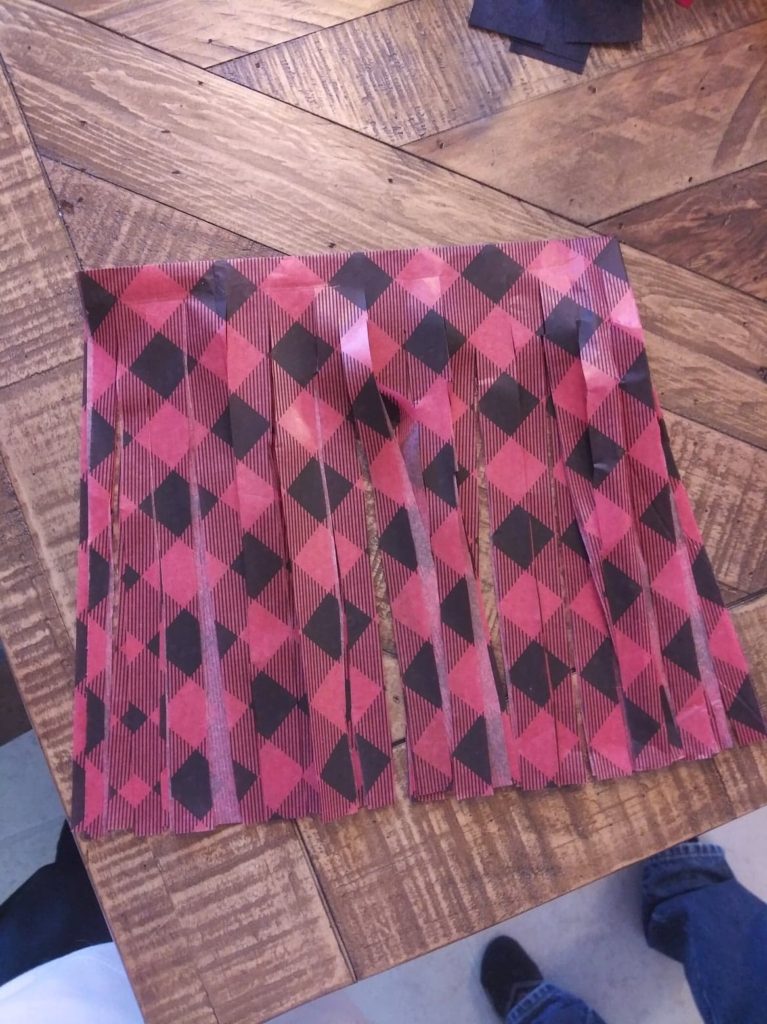
Step 5: After all cut, open it up from the middle to where you have two sides. Flatten down the middle with your hand where the crease is.
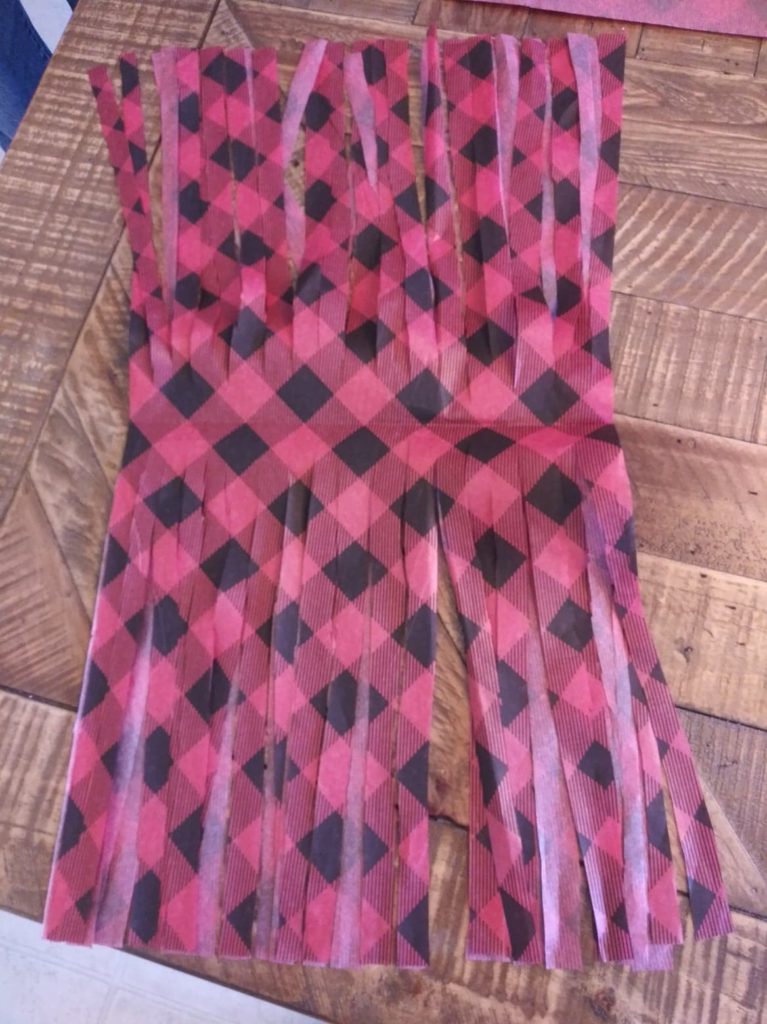
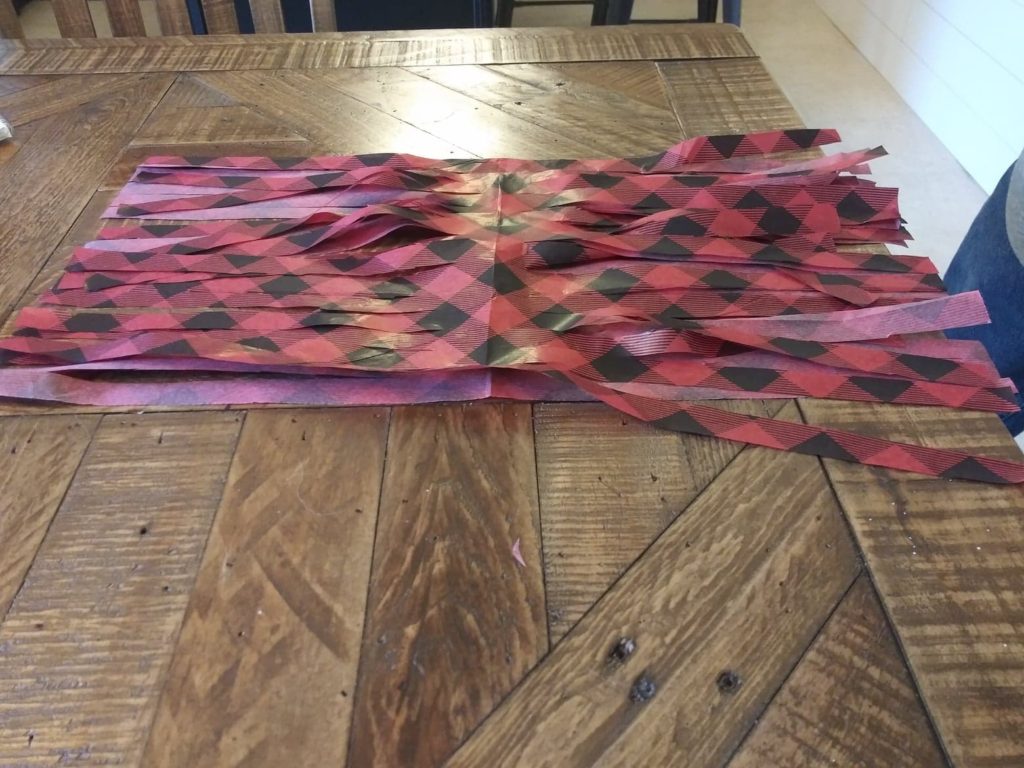
Step 6: From the side where your crease is, start rolling the tissue paper upward all the way to the end. (Will help you later if you can untangle as you roll). Be very gentle not to tear the tissue paper.
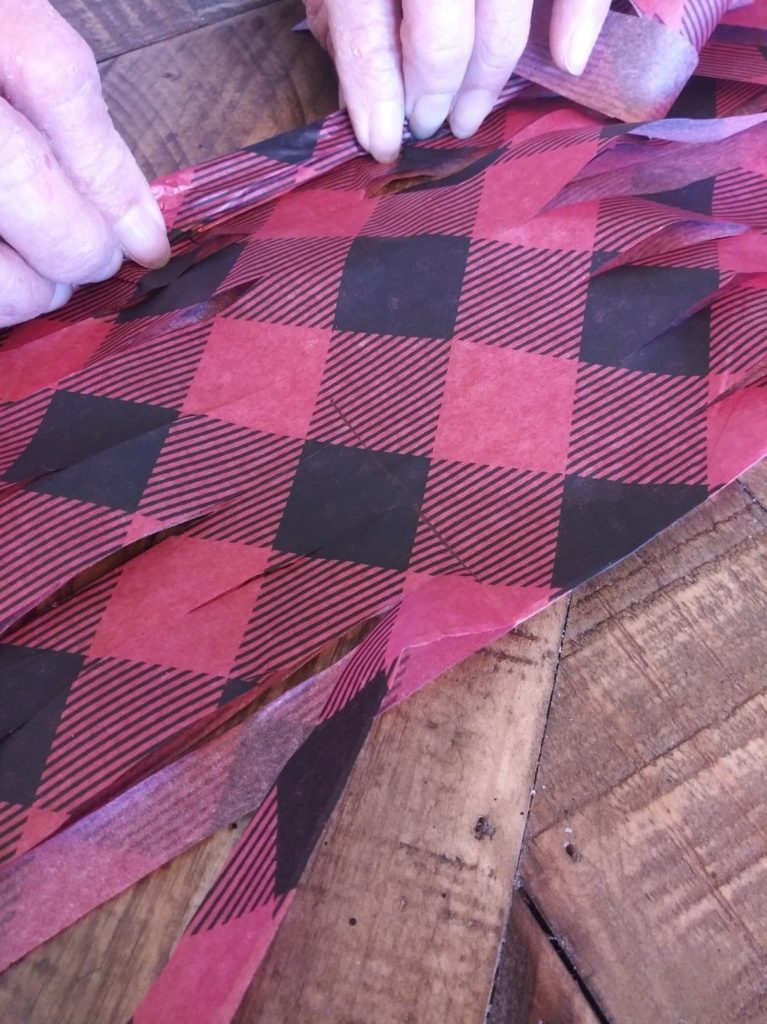
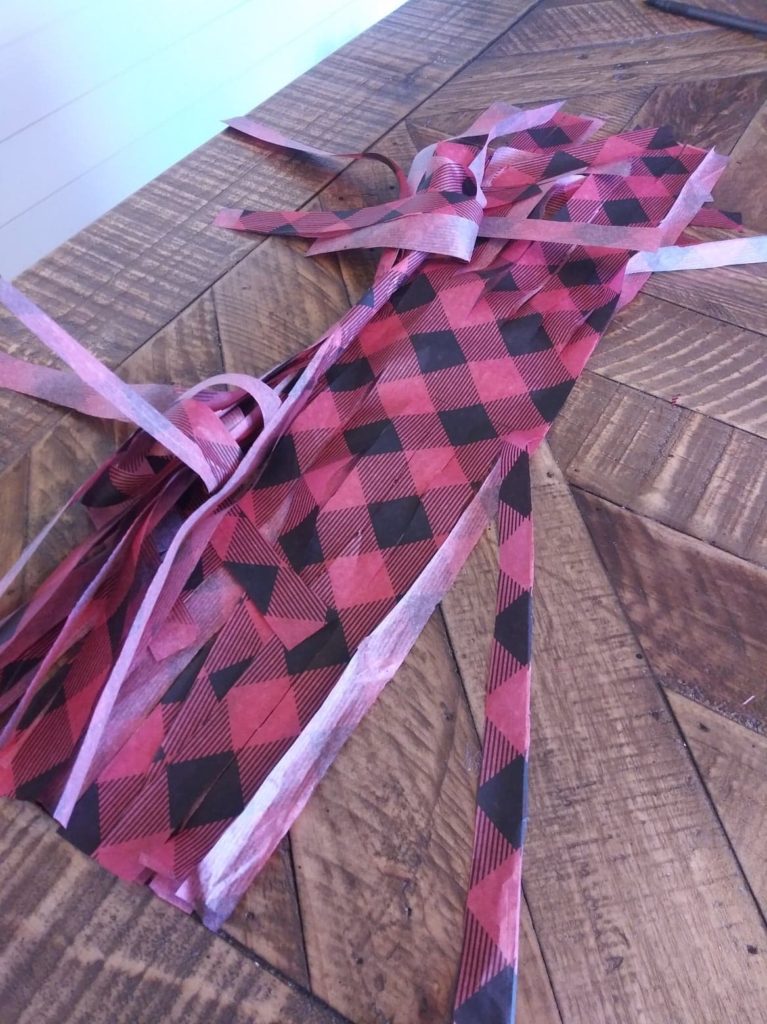
Step 7: When you reach the end, pick it up from the middle of the roll and shake it out. Untangle if needed. Again, be careful not to tear.
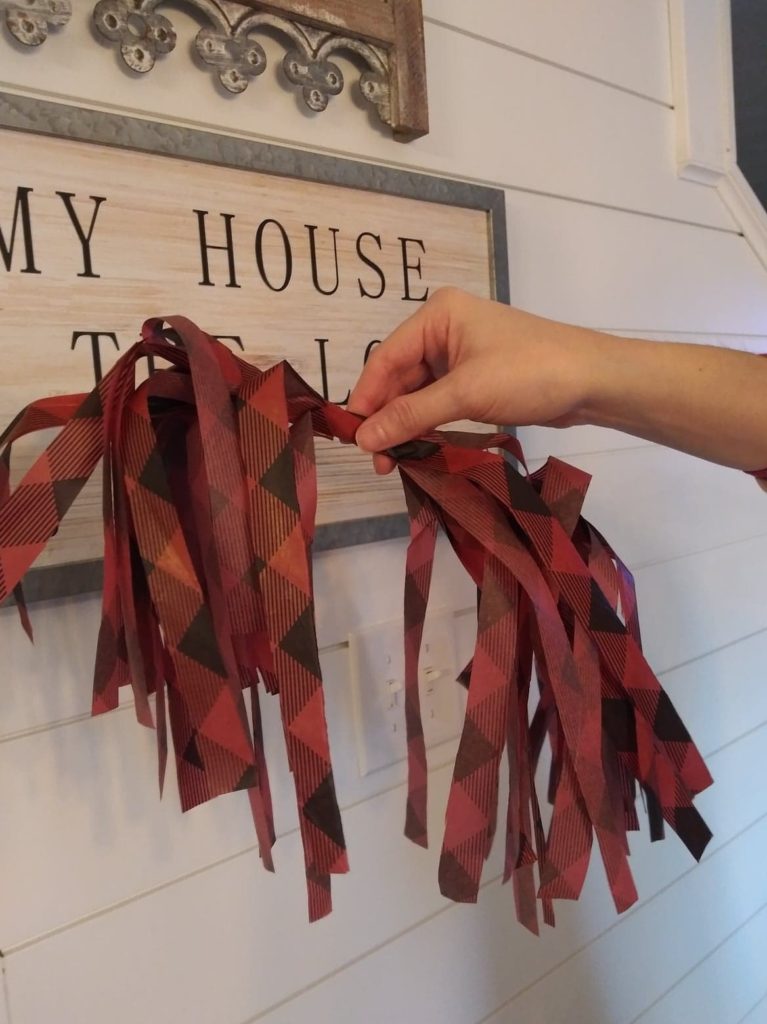
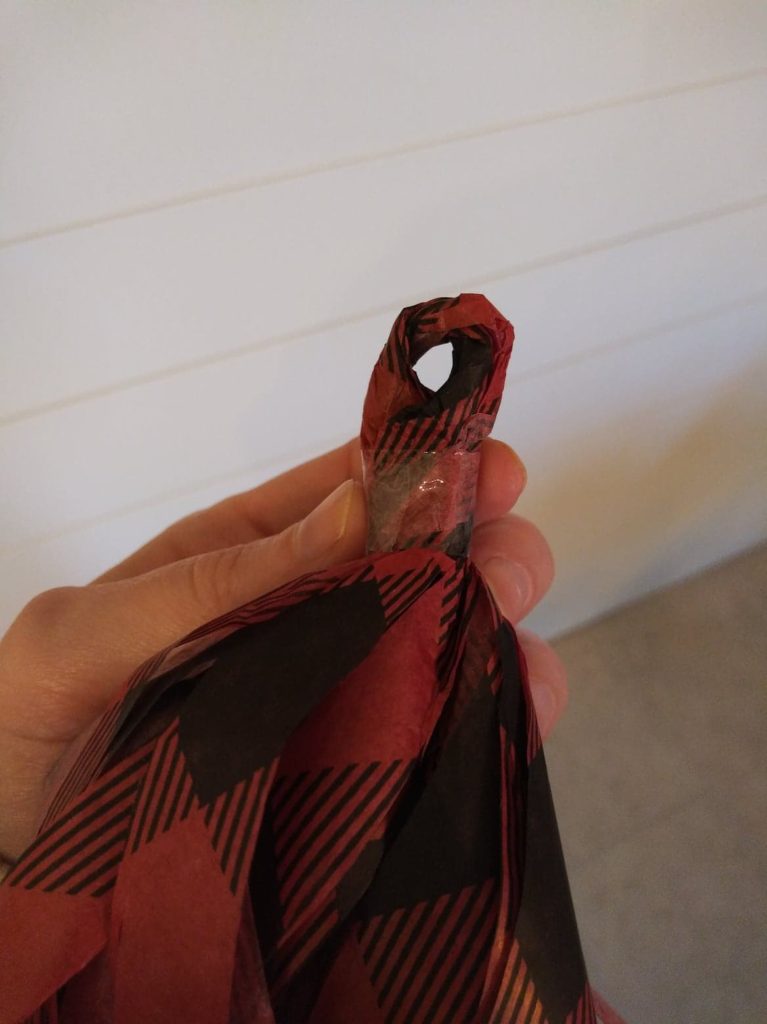
Step 8: Twist your roll from the middle and make a loop then tape around it leaving enough of a hole to put your string or ribbon through.
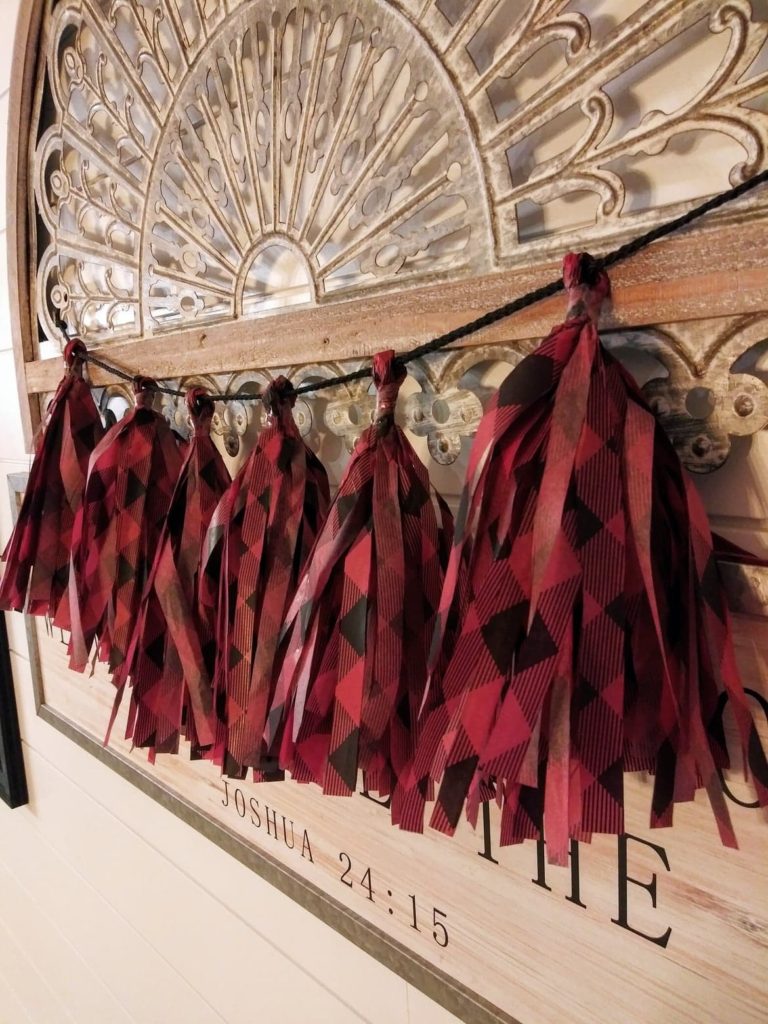
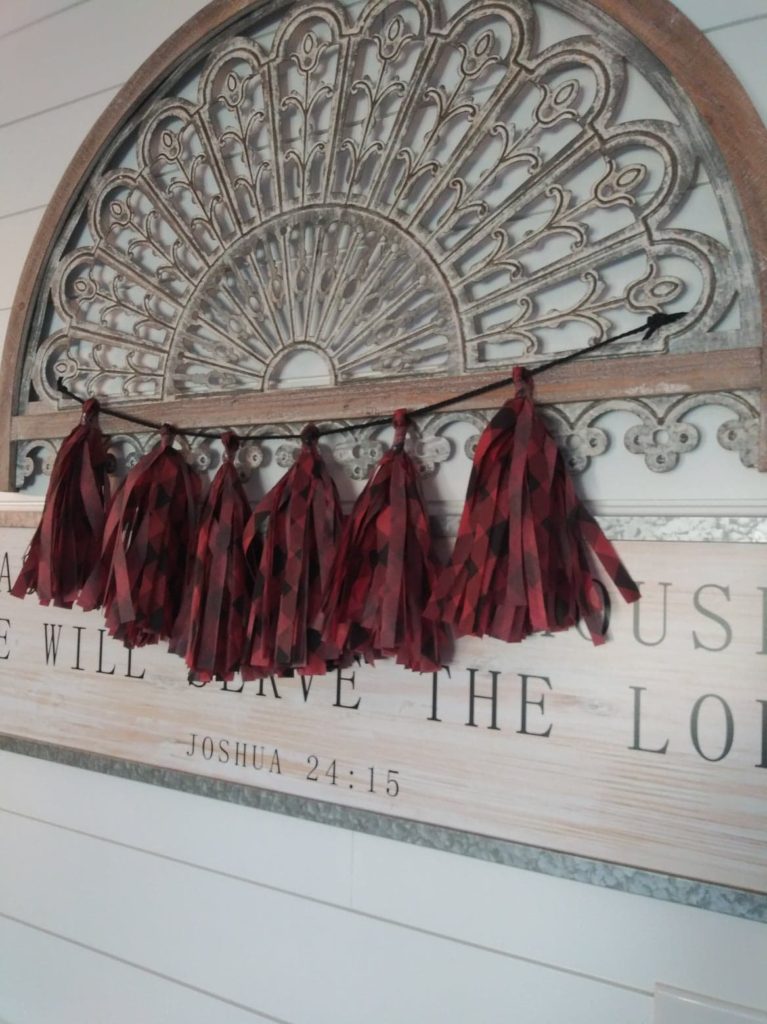
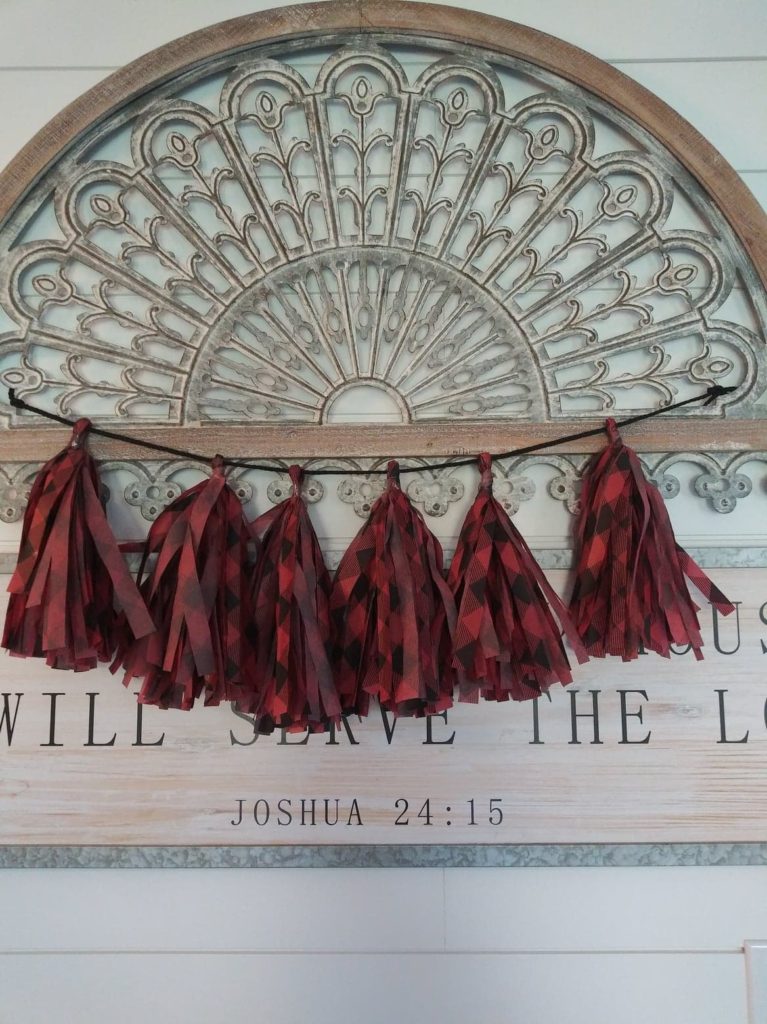
Repeat the process for your remaining tassels and put them on the string. This is harder to explain than it is to do, It’s really simple, promise! I hope I’ve inspired you with this easy how-to with gift tissue paper you have laying around your house so you can get started making it your next party decoration on a budget.
Don’t forget to Pin this tassel garland craft for later!
