This post may contain affiliate links, which means we'll receive a commission if you purchase through our links, at no extra cost to you. Read the full disclaimer here.
An Easy Birthday Crown Tutorial for your kids next birthday and guess what!!!!? No sewing Involved whatsoever!
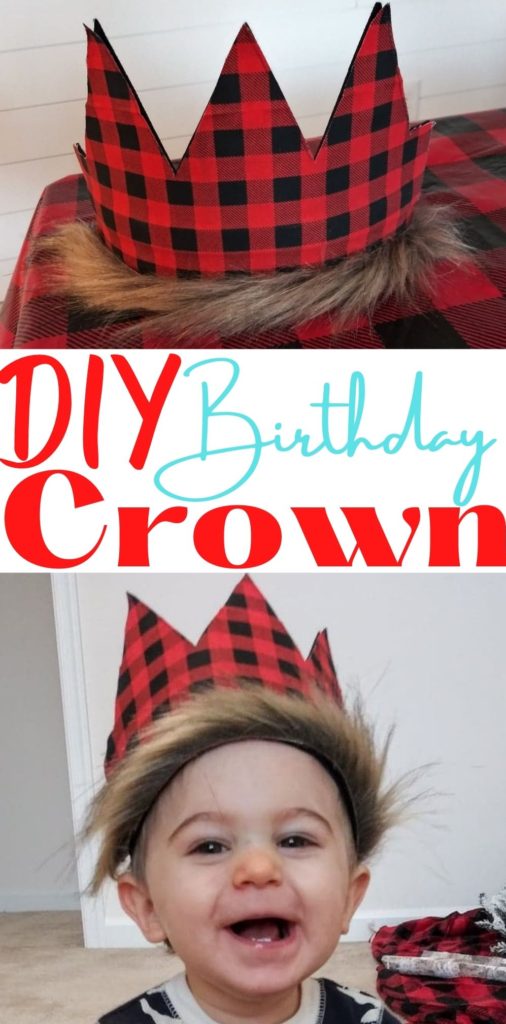
Party Planning for the littles is so much fun! Especially, if you love crafts and doing a little DIY. During naptime, I was able to make this diy crown for my son’s Lumberjack themed first birthday party and thought it was the cutest thing on earth! Maybe I’m biased!!! 😉
I first seen this headband crown on etsy and it was my original inspiration. I swung over to my local craft store to get a few basic supplies and threw it together in no time at all and rather cheaply, and you can make it too! Whether planning for a birthday boy or birthday girl, you could make adjustments to suite your birthday party theme. For example, swapping out the fabric or adding embellishments such as pearls, rhinestones etc.. instead of the fur. The options are endless! Another great idea is to add number stickers to the front of the felt birthday crown to display {how many year old} and make it memorable in all those birthday photos you’re going to snap.
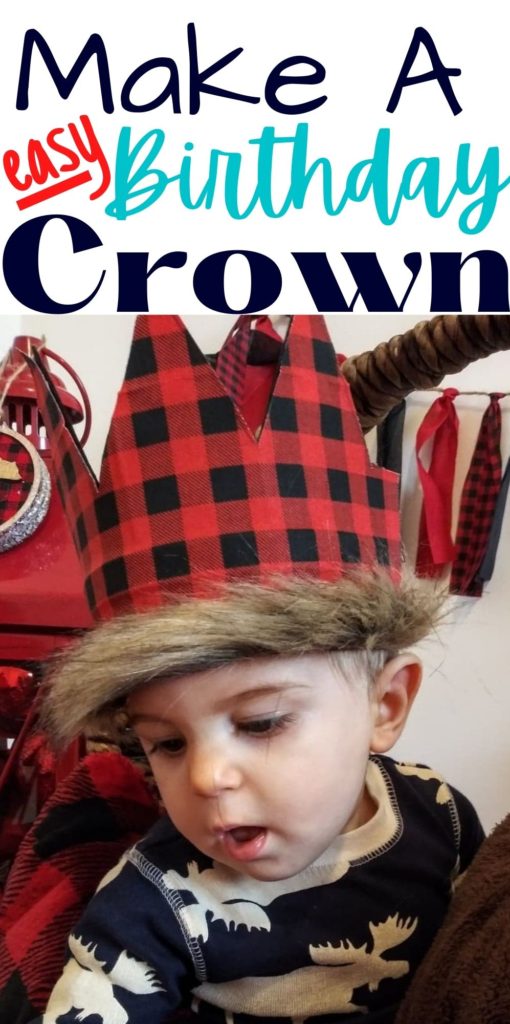
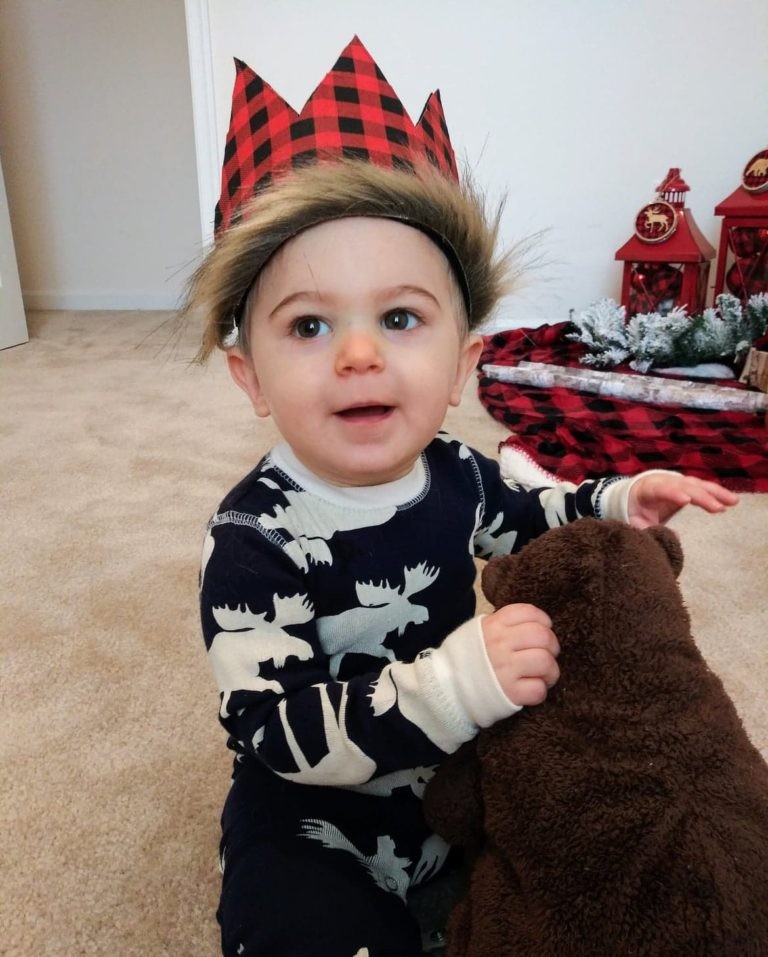
Here is my little one in his homemade birthday crown right before his birthday party!
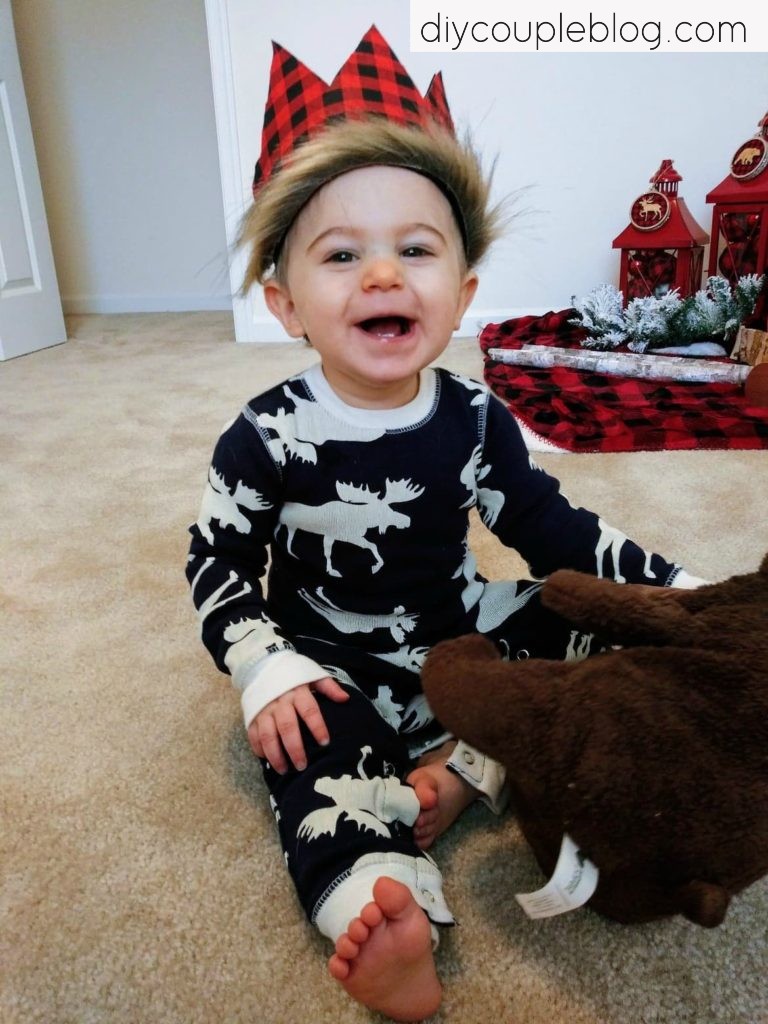
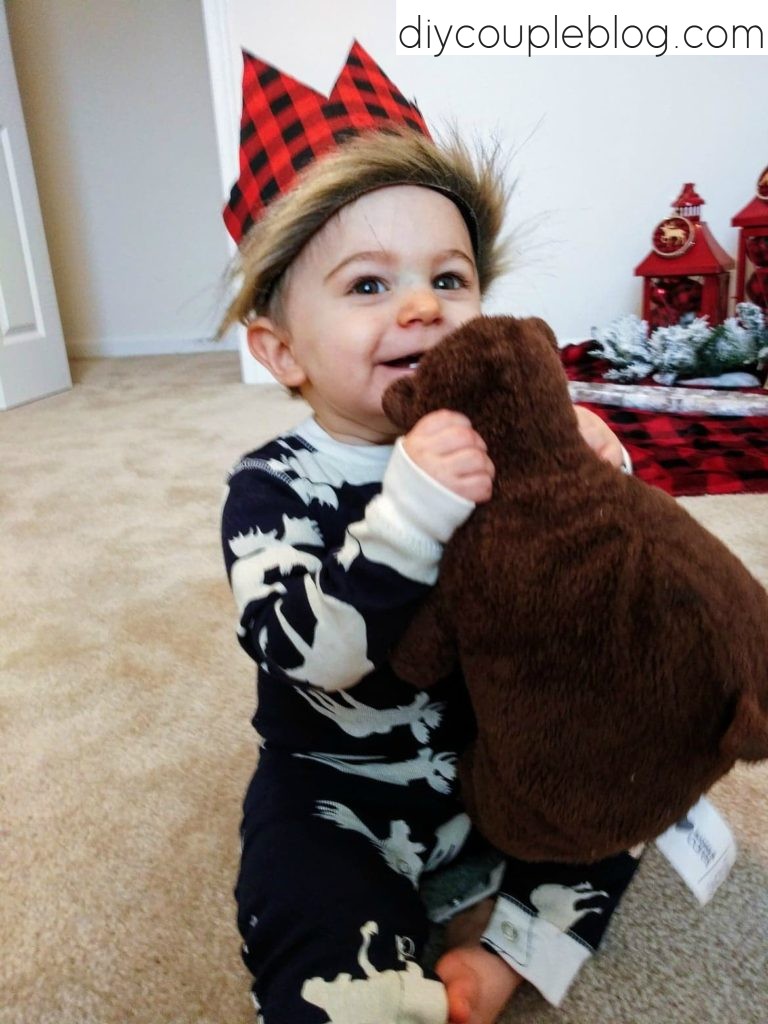
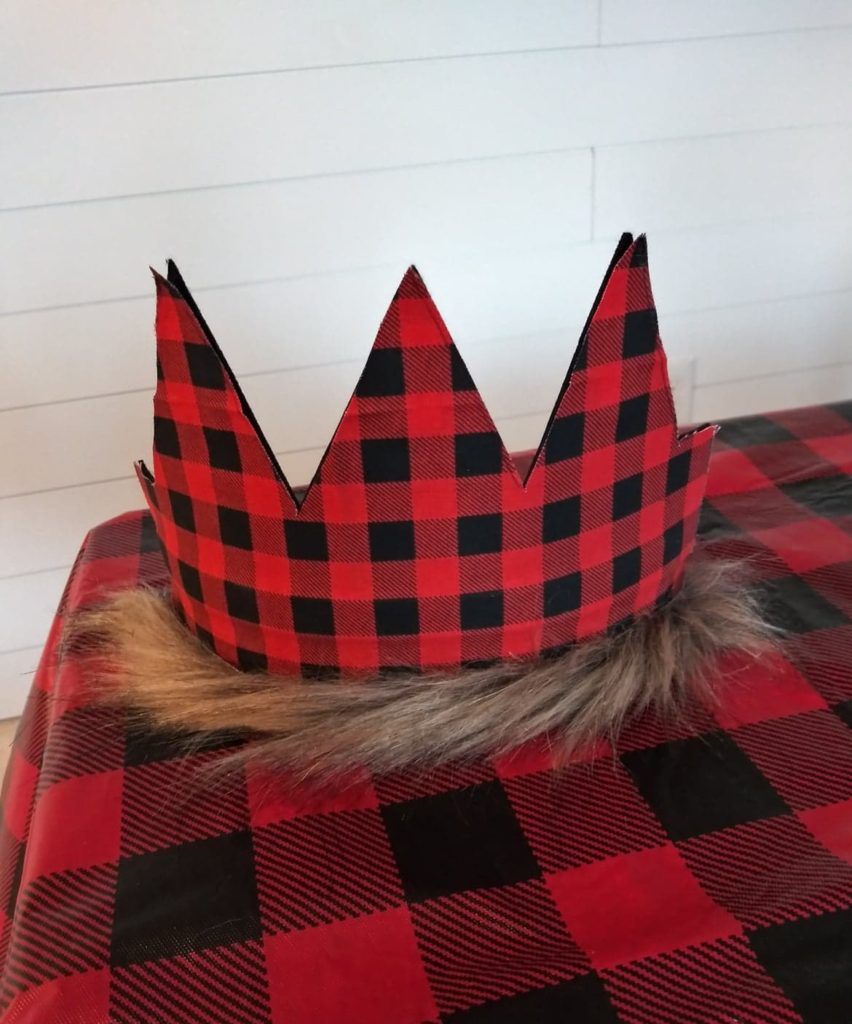
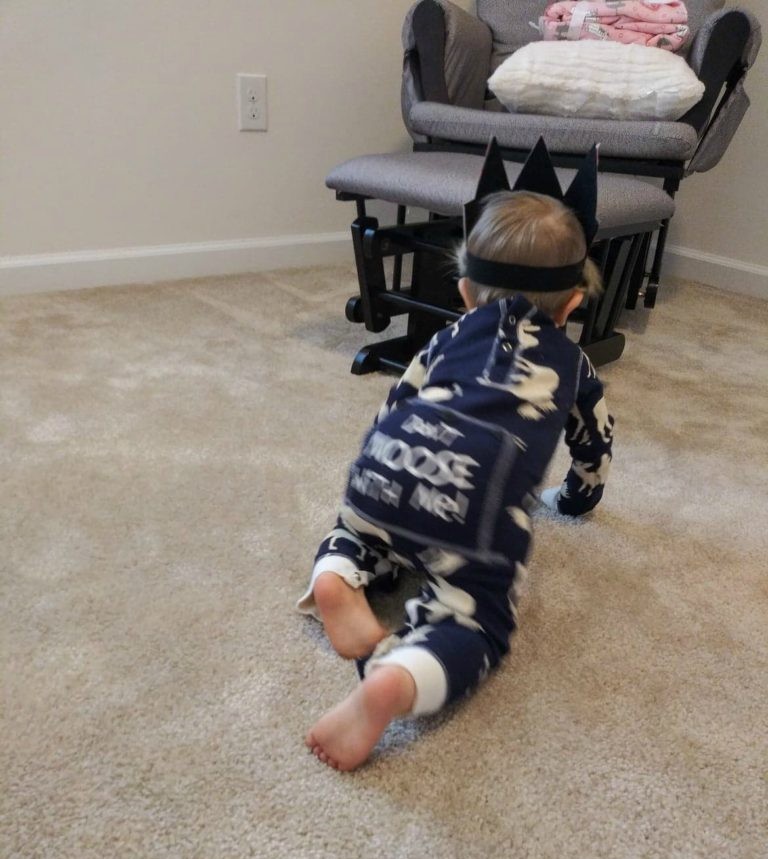
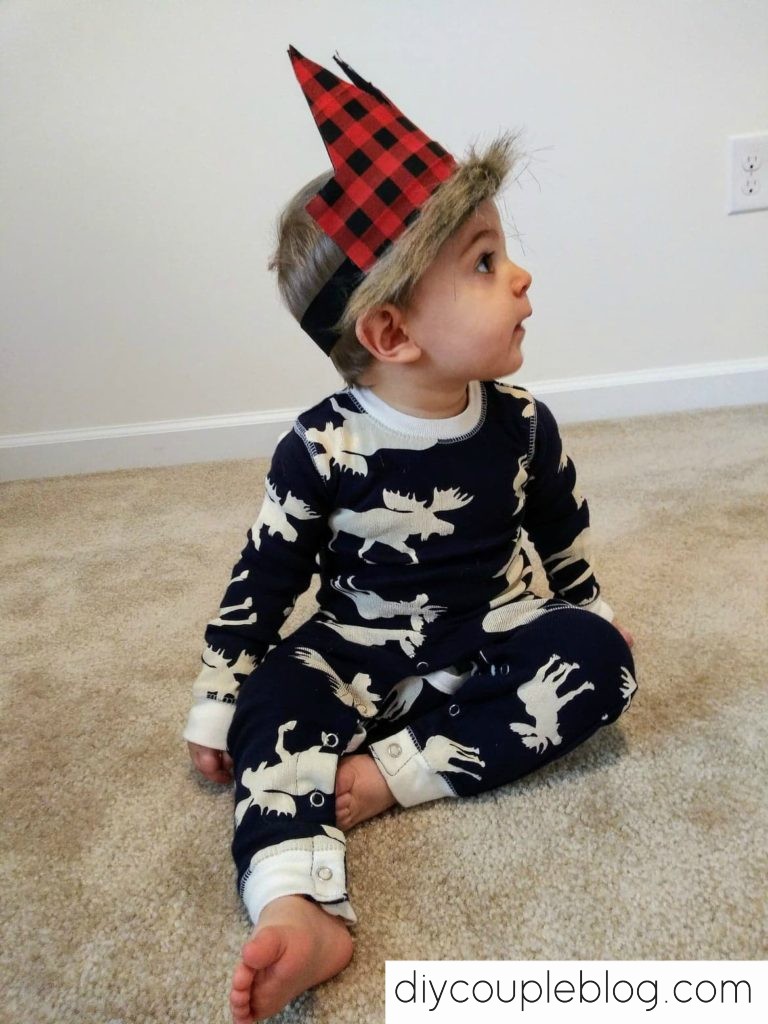
I took some photos of the back and side of the felt crown to give you a good idea of how it looks. He’s on the move constantly so here’s mama chasing him to get photos.
SUPPLIES NEEDED FOR THIS BIRTHDAY CROWN TUTORIAL
Material or fabric of choice ( I used a Buffalo Plaid that I found at Walmart, Pre-Cut Fat Quarter, 100% Cotton) Cost only about $1.48
Hot Glue Gun (Here’s the one I use, it’s seriously amazing & has a detailed tip, Here’s the glue sticks as well)
Scissors
THE STEPS: HOW TO MAKE A CROWN
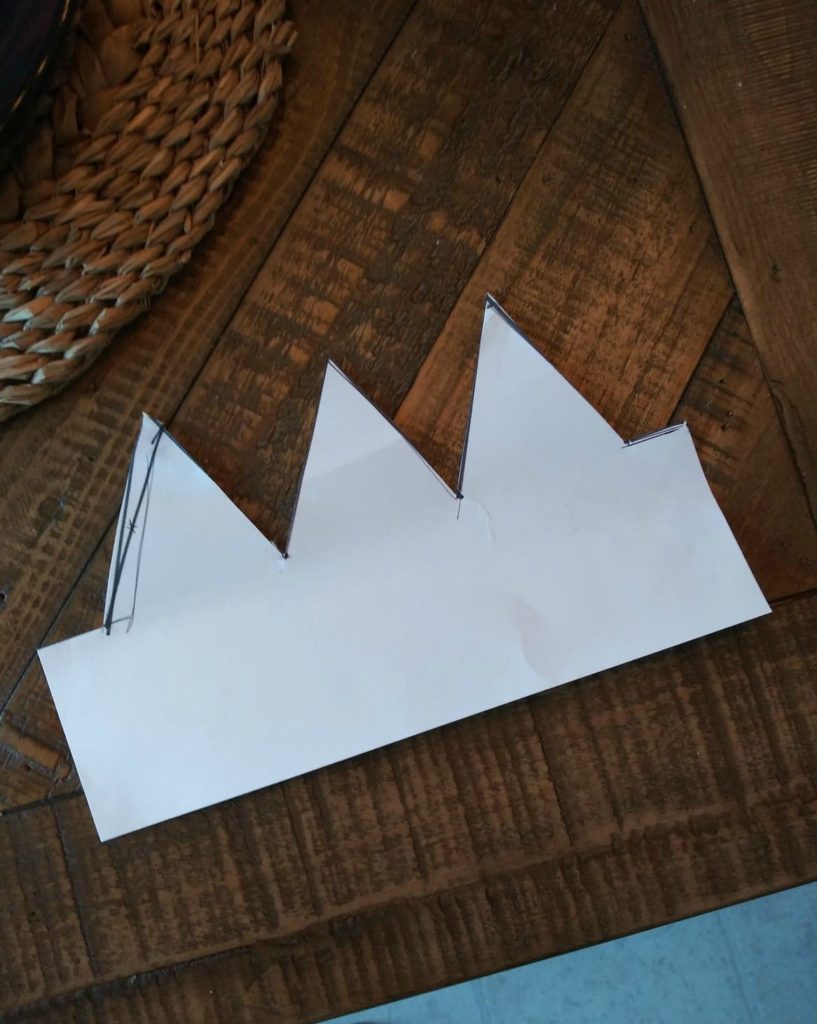
To get started with how to make a crown, I drew up my crown design on cardstock paper. I went with a three triangle look and left a little bit of a flap on both sides. You will want to use something straight or a ruler to get perfect lines. Then I cut it out. Set aside.
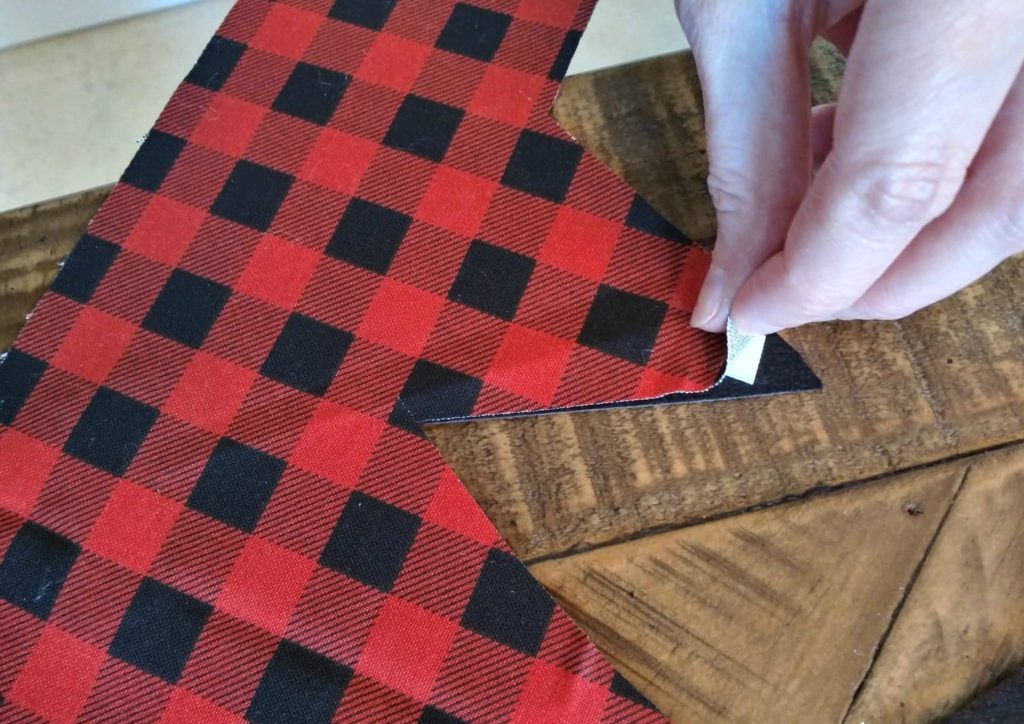
I then laid out my stiff piece of Stiff Black Felt and placed the buffalo check material on top. Cut a couple peices of long double-sided tape and adhered the fabric to the felt for the area you will be working with. This will keep them from moving and that way you’re working with one piece versus two.
I then placed the cardstock crown down on the fabric, adhered the cardstock to the fabric with double sided tape again (this one is temporary-you will be peeling this back off but it’s too keep everything in place while you’re tracing your design. You’ll especially want to get close to corners of the tips of the triangle to secure down so it’s not flimsy. While pressing the edges down also with your fingers to get the best lines go ahead and trace around.
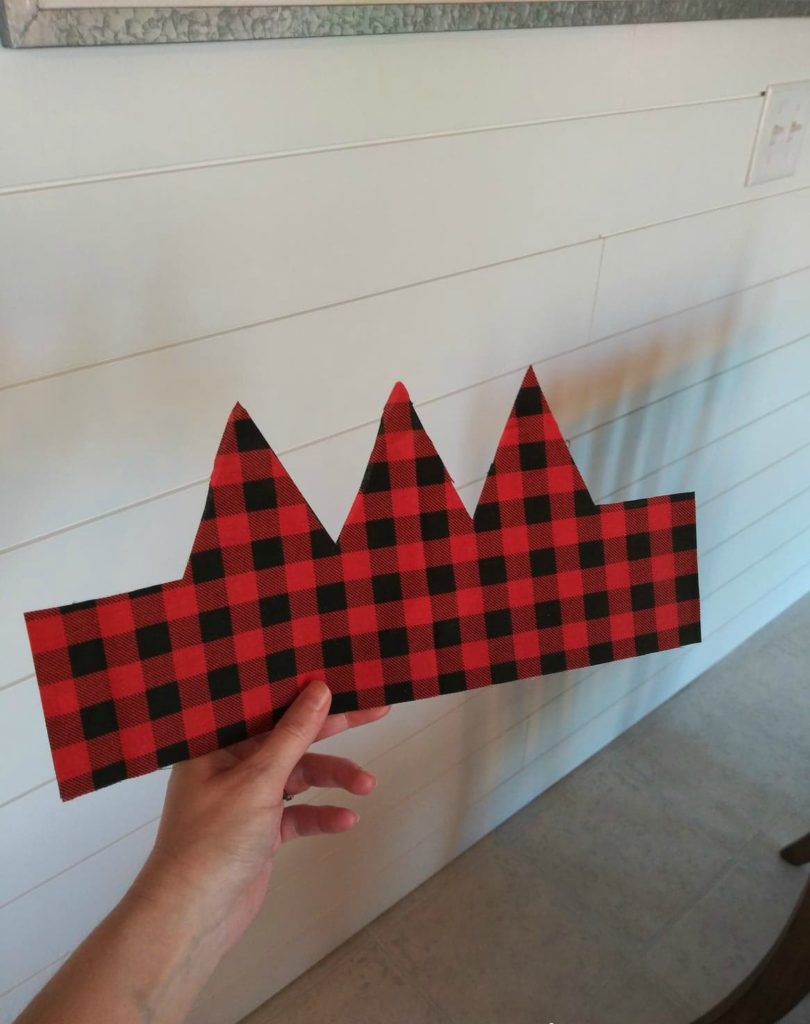
Now you’ll want to cut along your traced lines (I found it easier to cut leaving the cardstock on but you can also peel off your cardstock crown and cut your lines that way as well.)
Next peel off your cardstock and your tape from the fabric.
Now go ahead and add your double-sided tape where needed between the fabric and the Stiff Black felt piece in places that need extra securing to keep them both attached pretty good. Once again secure close to corners of the tips of the triangle. Set aside.
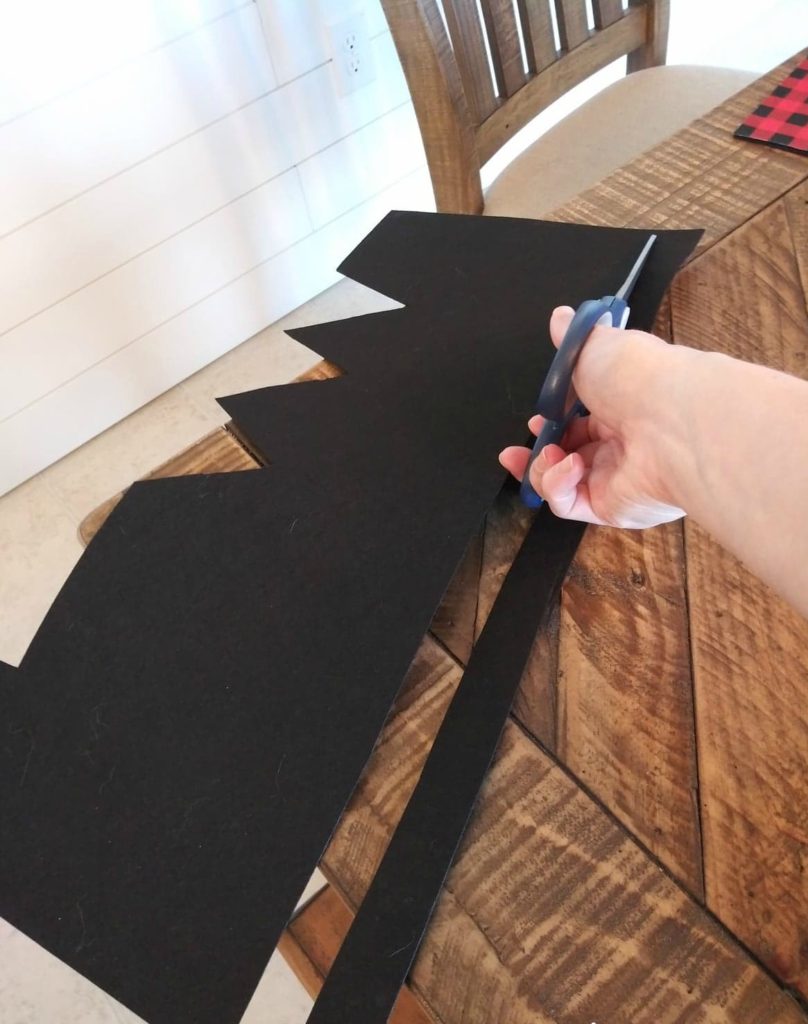
Now grab your scrap piece of black stiff felt and cut it down the longest side, about an inch from the edge. This will be the headband. Hold around your baby’s head to get a good fitting and mark where you’re going to need to glue it. (Tip: If this is for an older child, and all depends on head size as well, you may need two strips. Do the fitting to be sure). Just a side note: you can substitute this part and use a stretchy headband if you choose. However, the stiff felt worked out great for me.)
Hot glue this strip to the inside of the bottom of the crown. Then Pull the ends together while bending crown, do a double check on the fitting, and hot glue your ends together where needed.
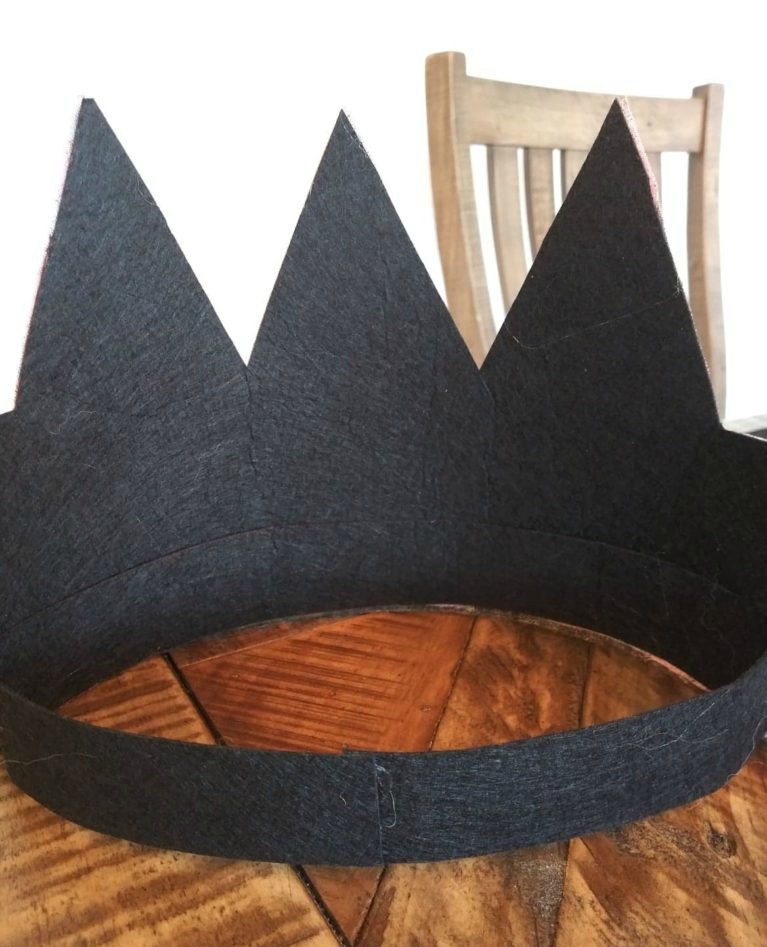
Give the hot glue enough time to dry and at this point you can slip it on baby head to see the final fit.
Now you’re ready for the fur. Cut a strip of the fur in desired thickness. Hot glue and apply to the front bottom of the crown. (Tip: I choose the look of the fur going to the left side but you can do it however you like.) A tip for cutting a fur strip is to cut the backing versus the front with a utility knife or you can comb the fur aside to cut below it, this way you’re not cutting the fur. I mentioned these techniques in my Gnome ornament.
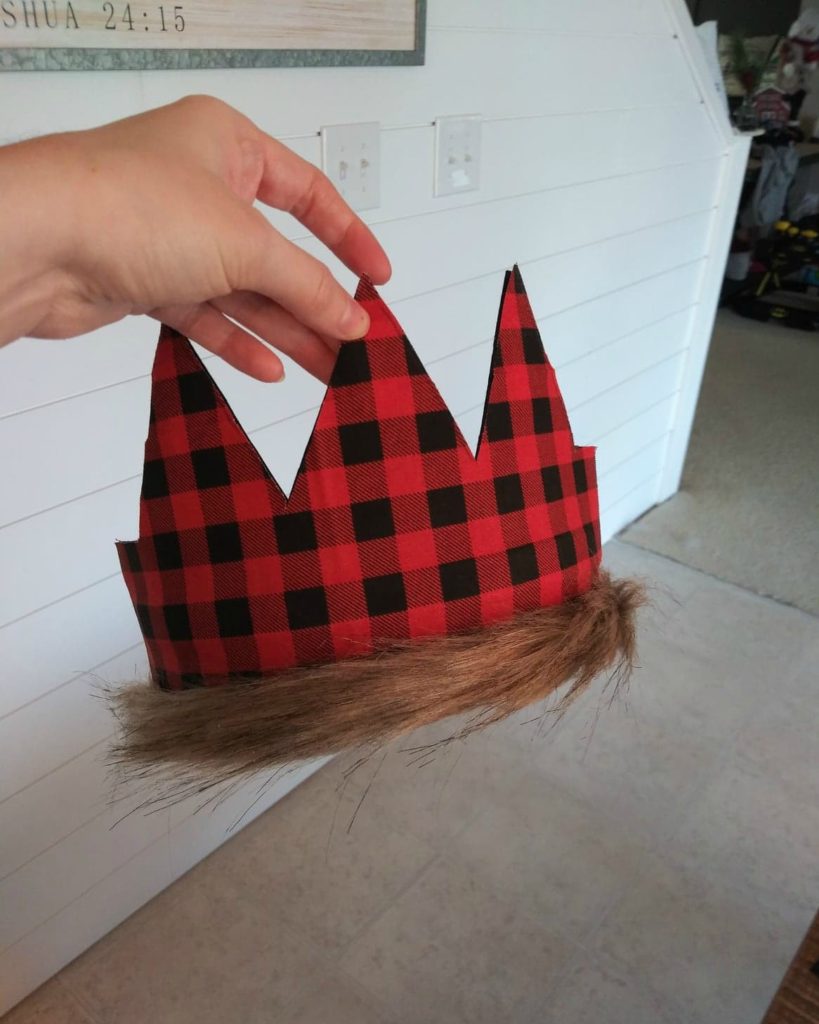
If you don’t like look of the loose tips of the fabric you can always add some extra hot glue there.
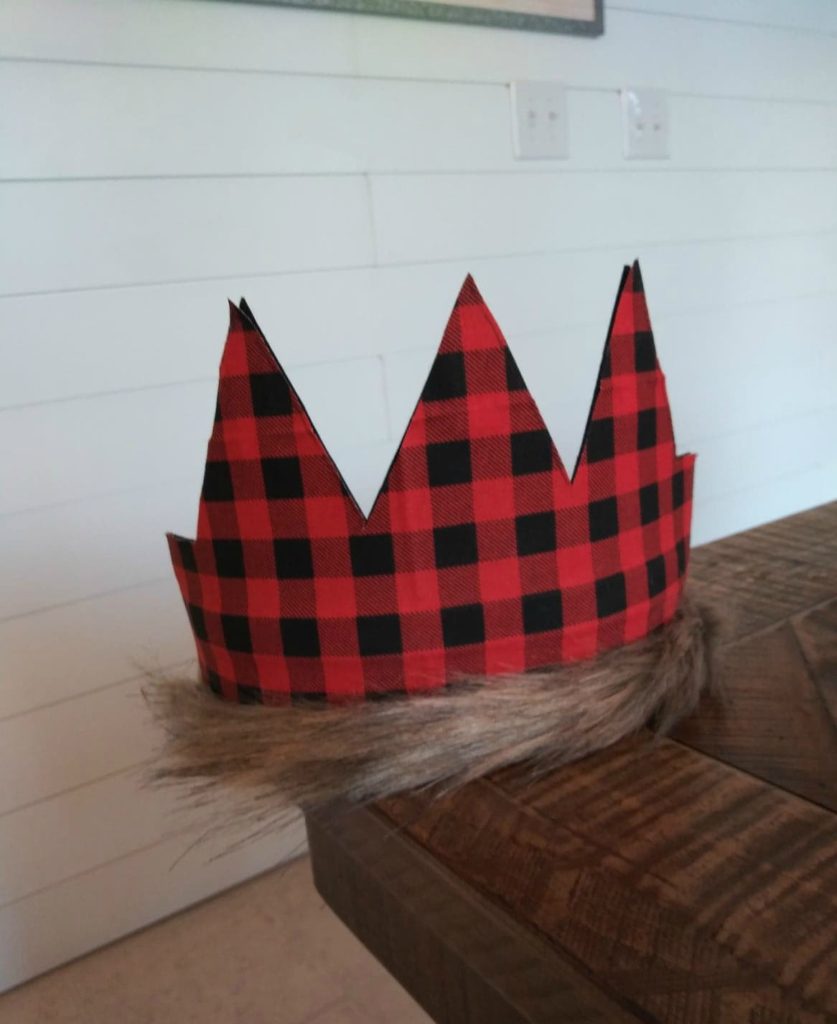
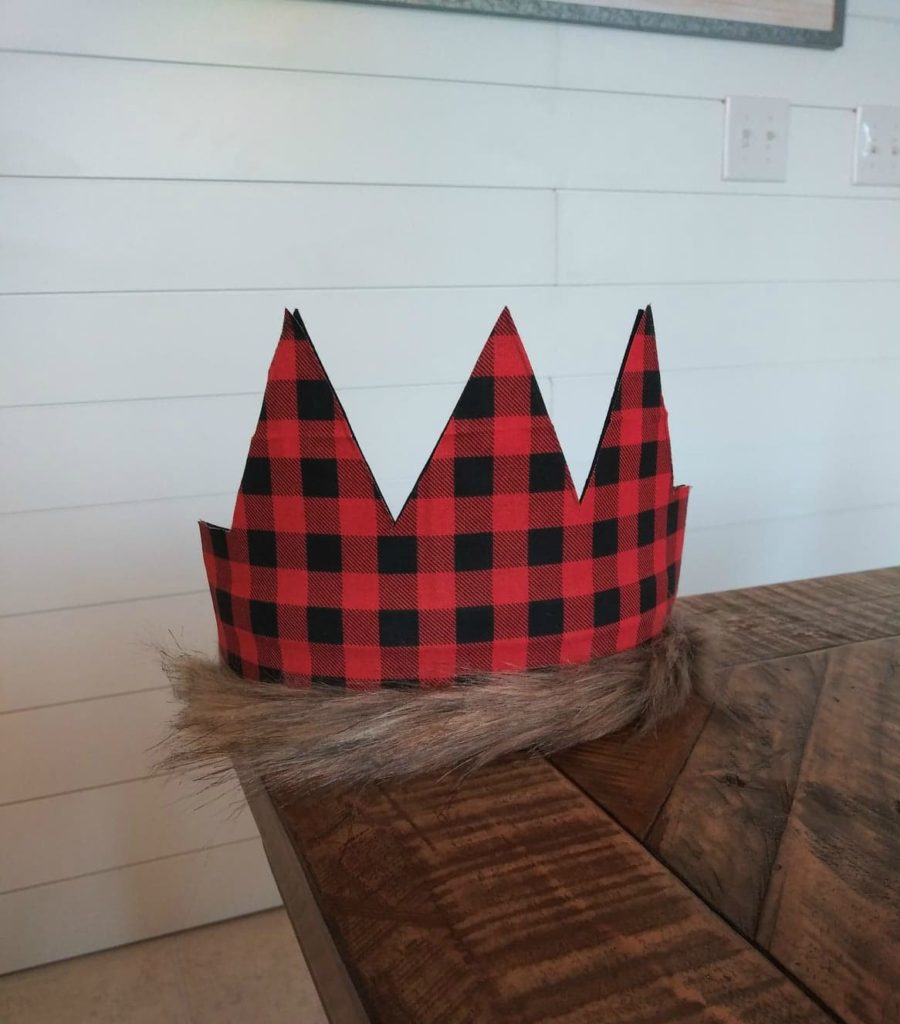
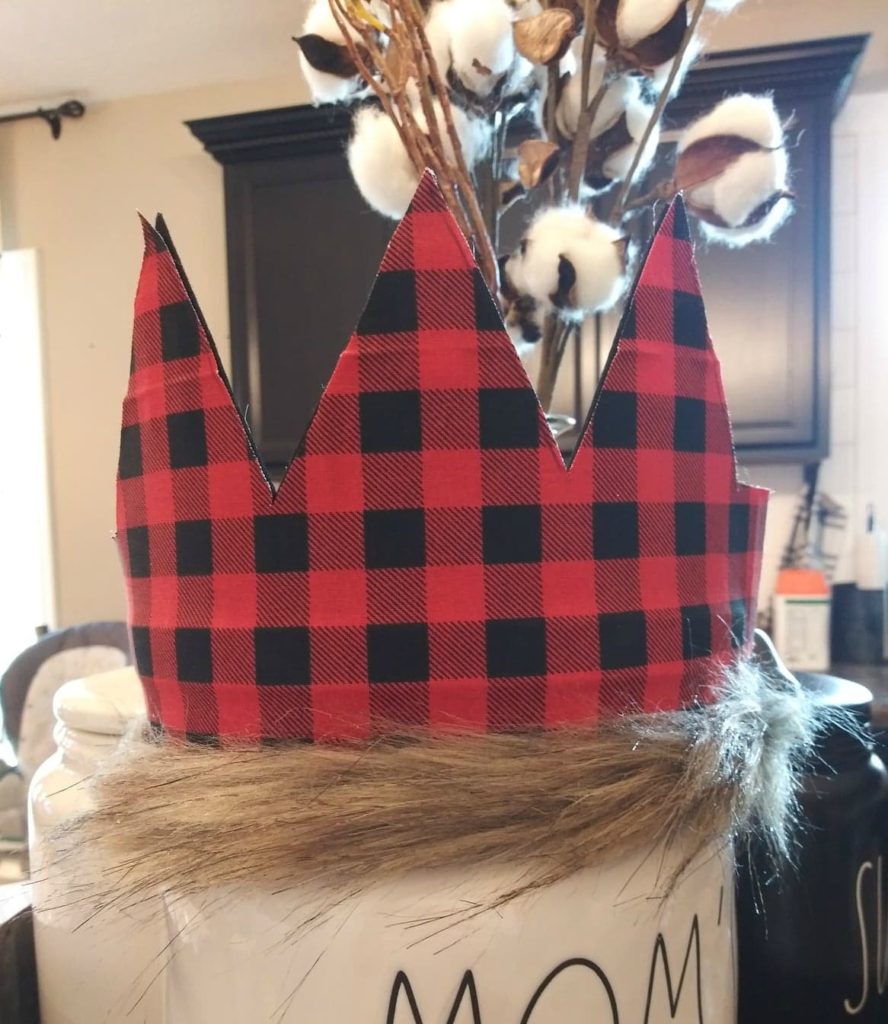
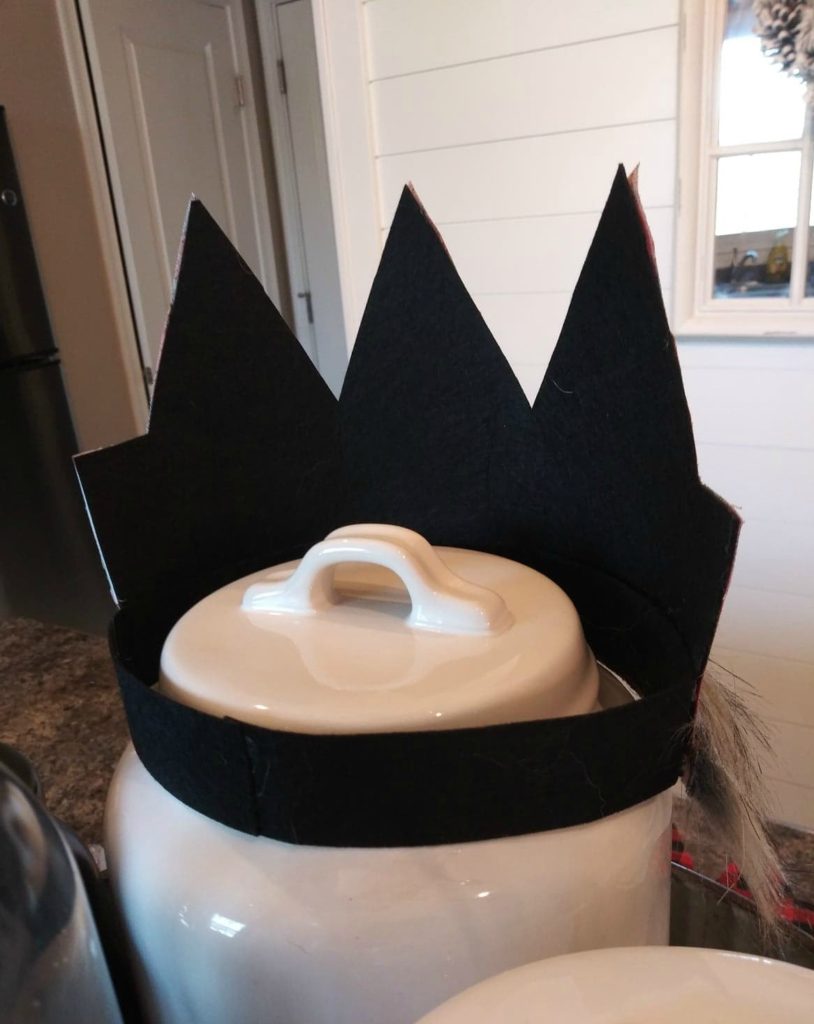
From here you can trim down any of the fur on the sides of the headband if needed.
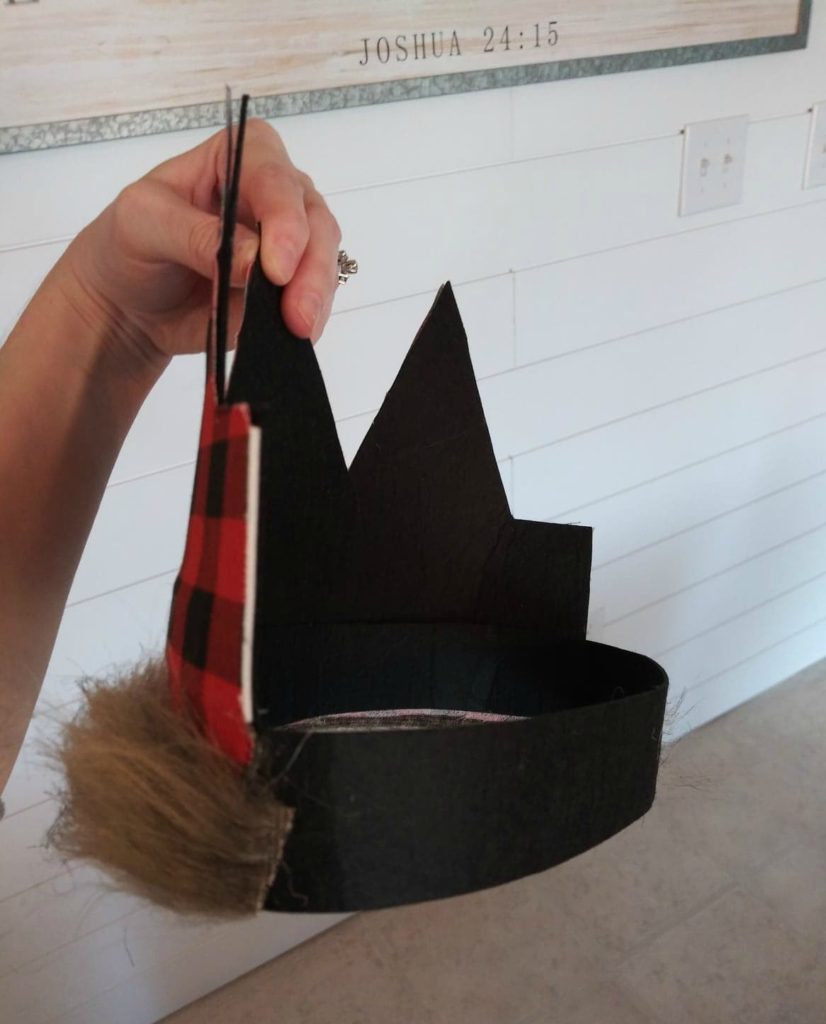
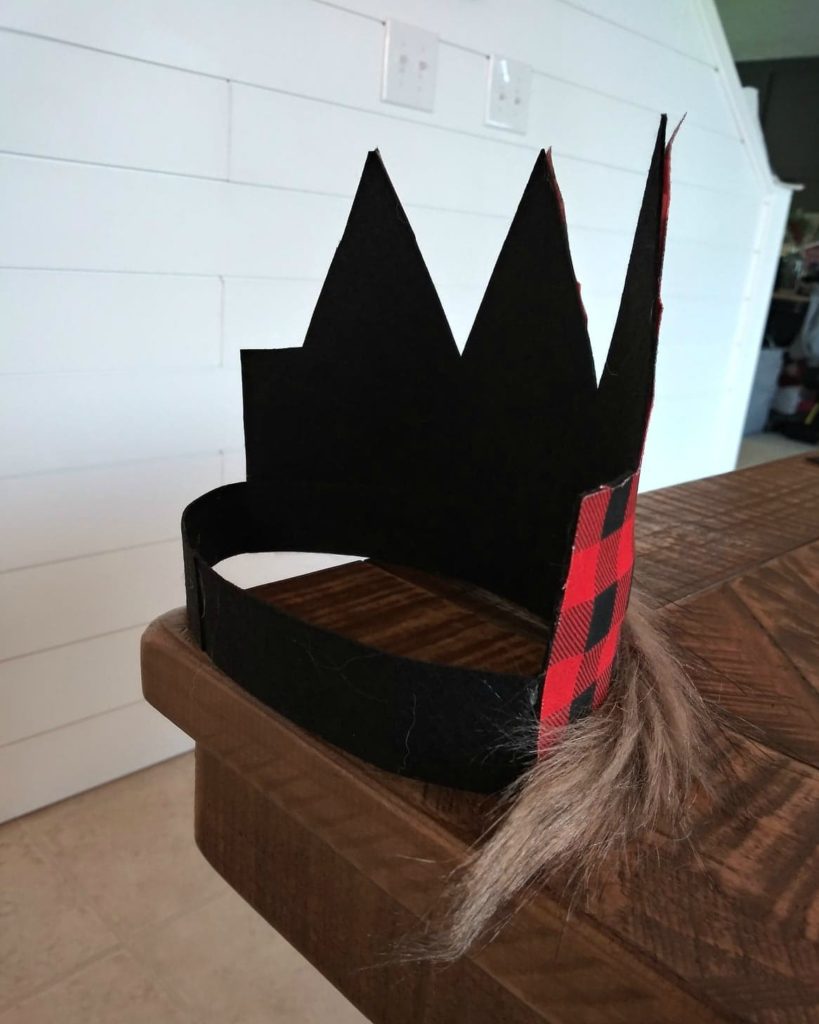
That is it! You’re all finished! Last thing is simply just to put your diy birthday crown on the kids, get tons of photos and celebrate just how special they are! Oh yea, and brag to all your party guests that you made the felt birthday crown they’re wearing with your crafty hands!
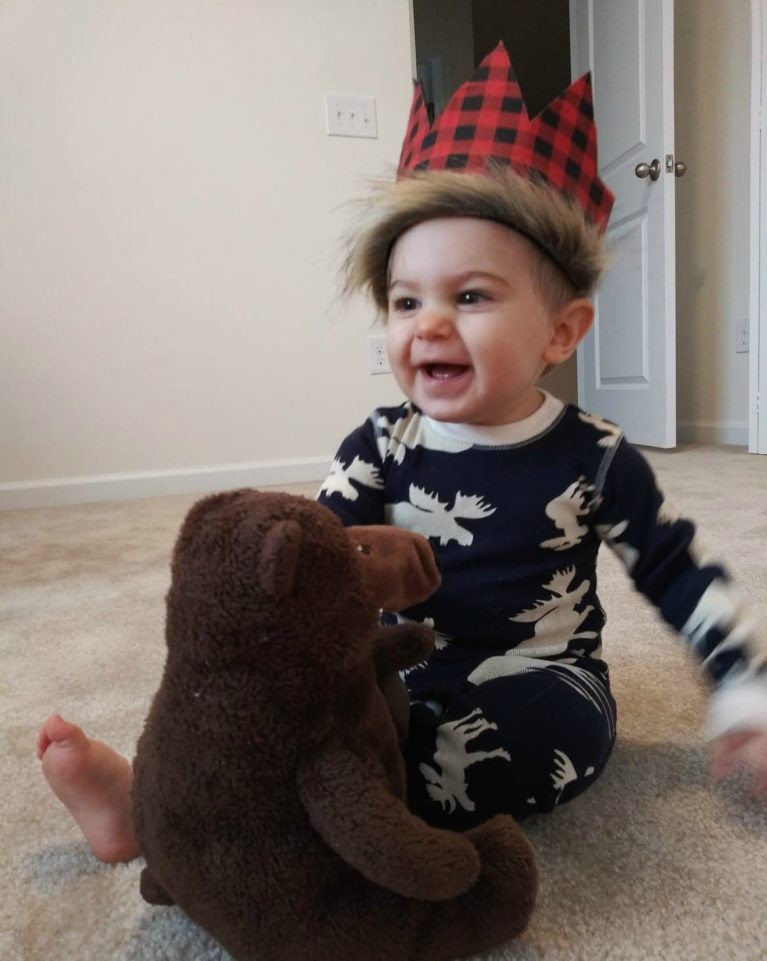
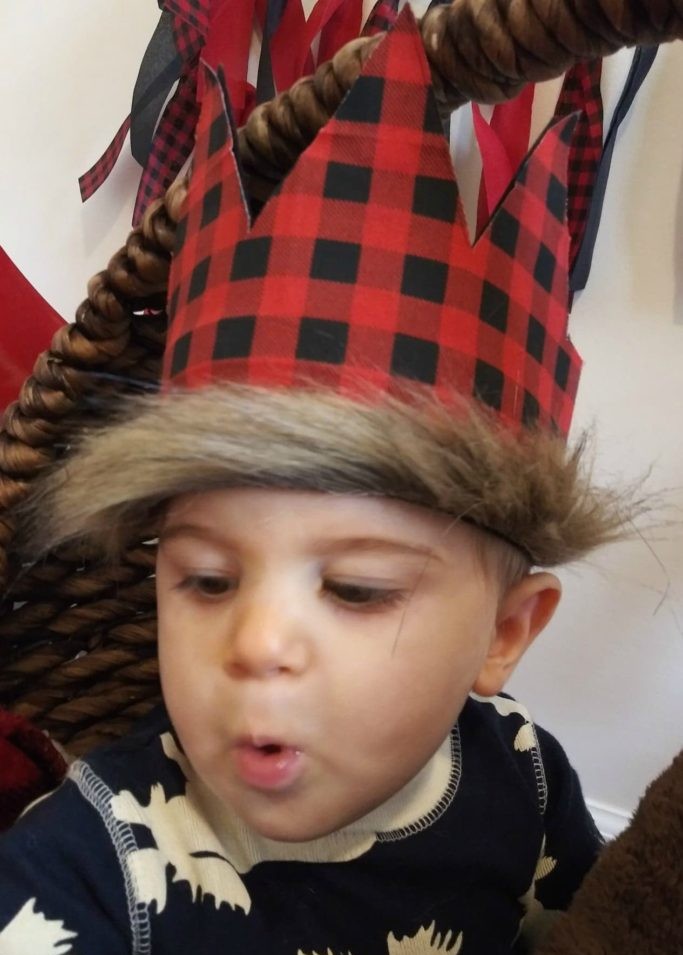
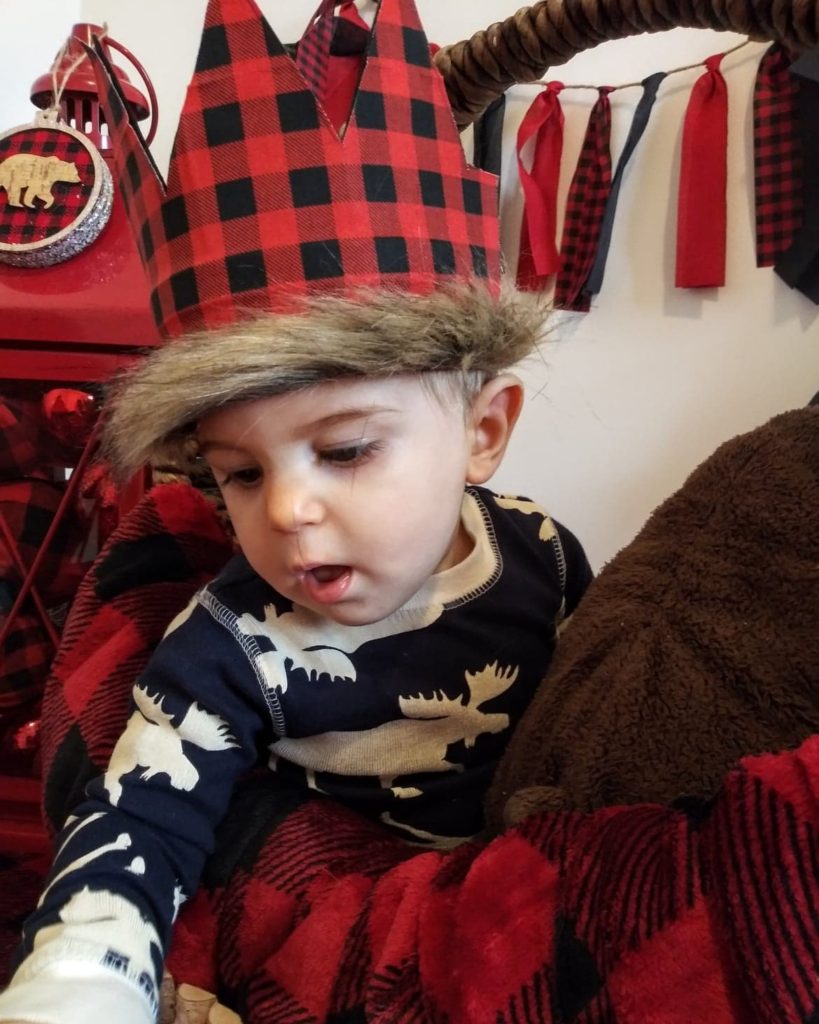
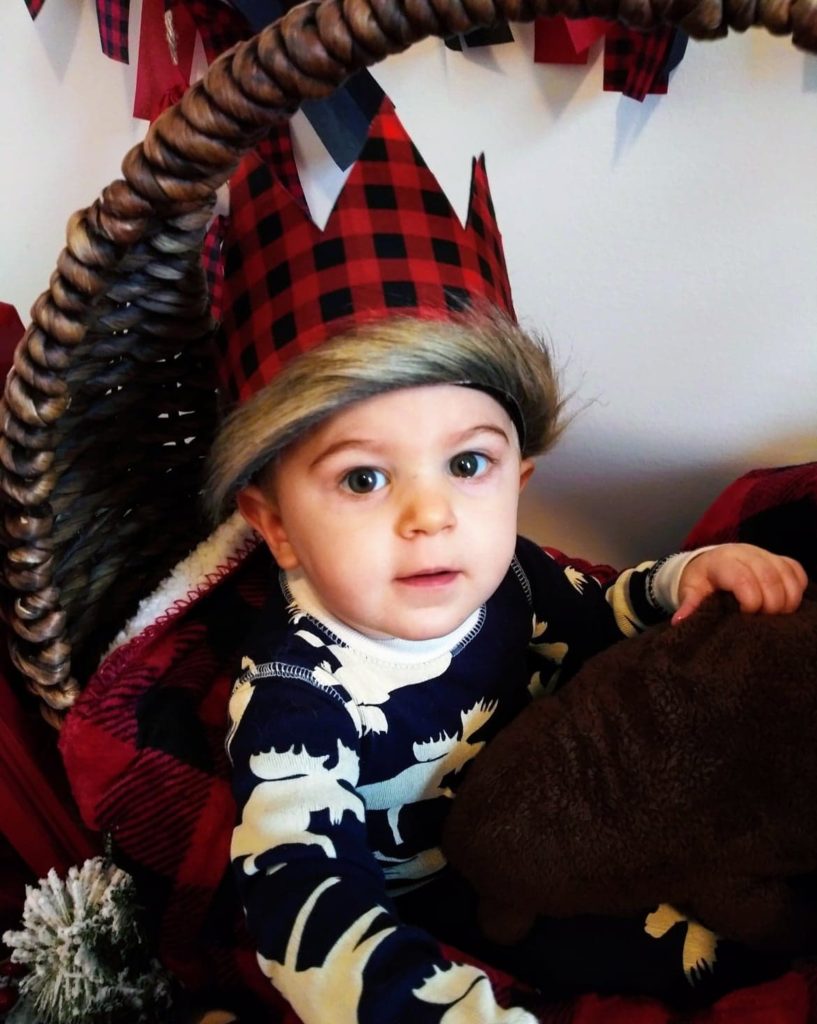
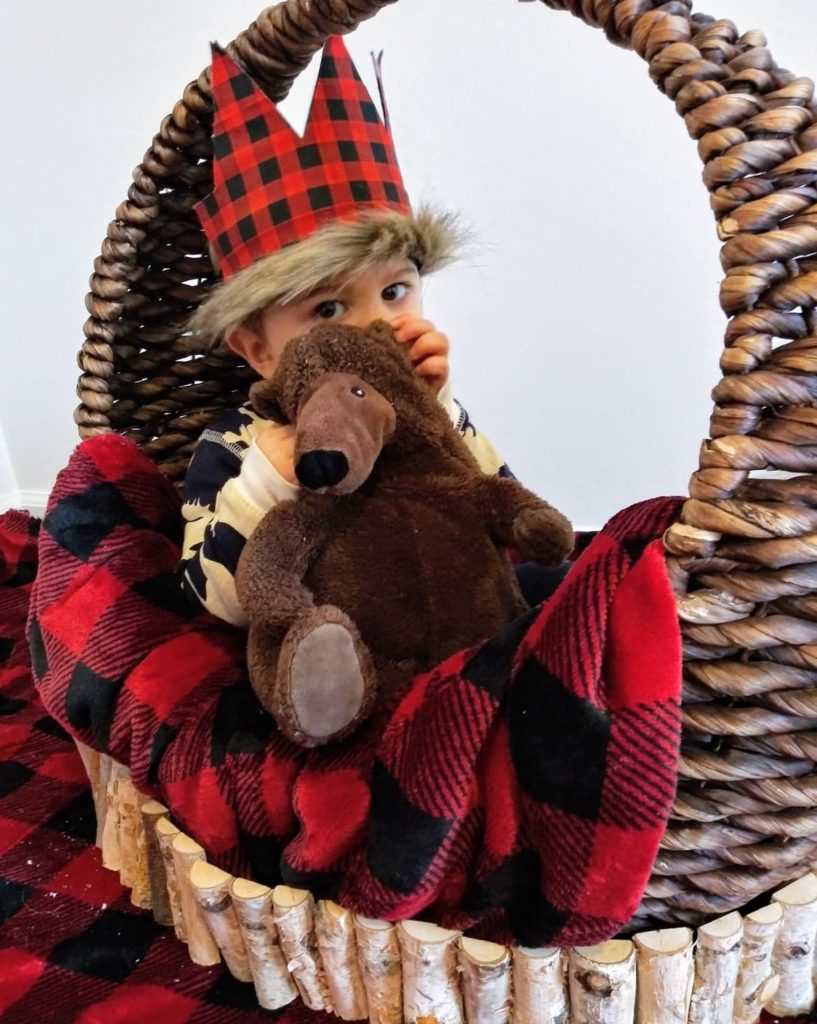
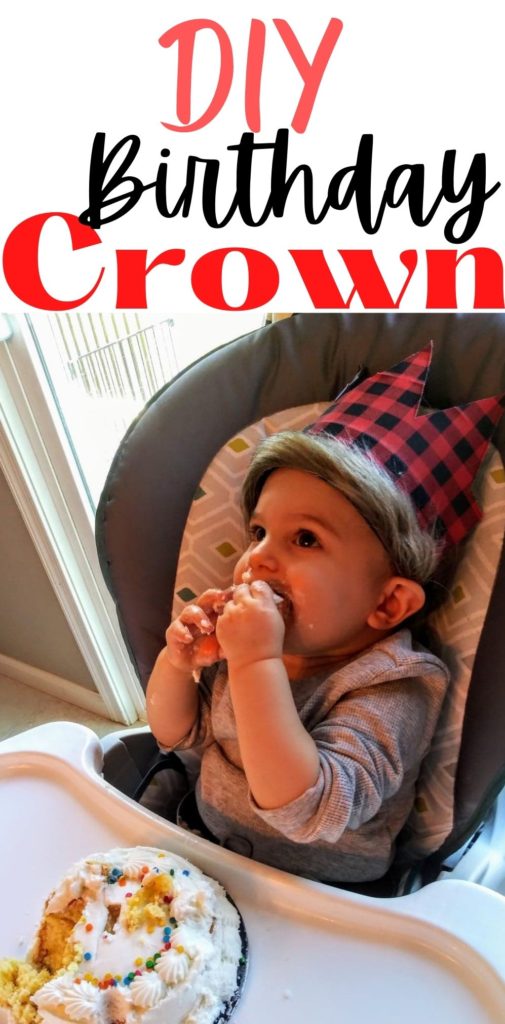
and here’s a few more at his first birthday party!
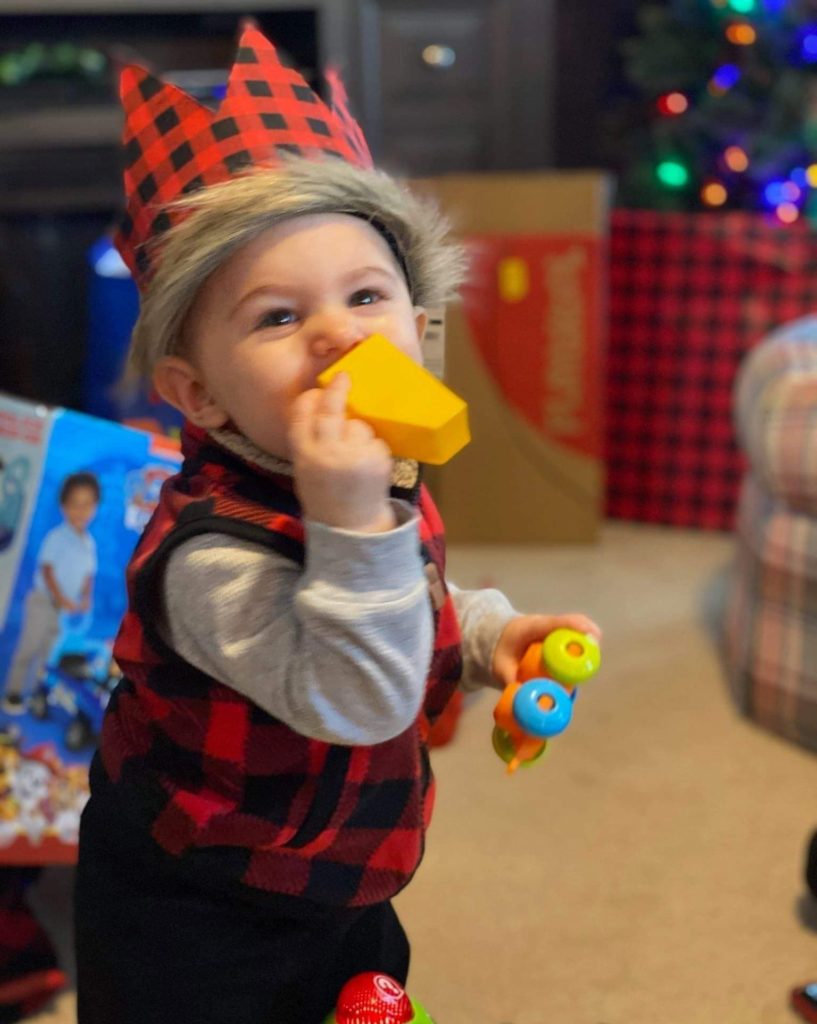
apparently, your suppose to eat the gifts and open the cake 😉
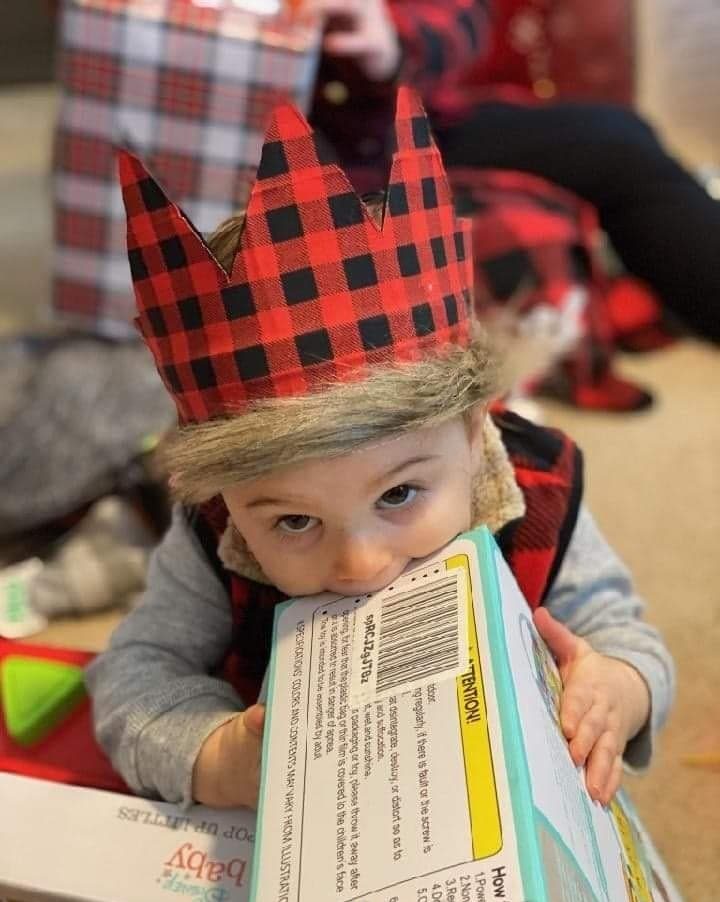
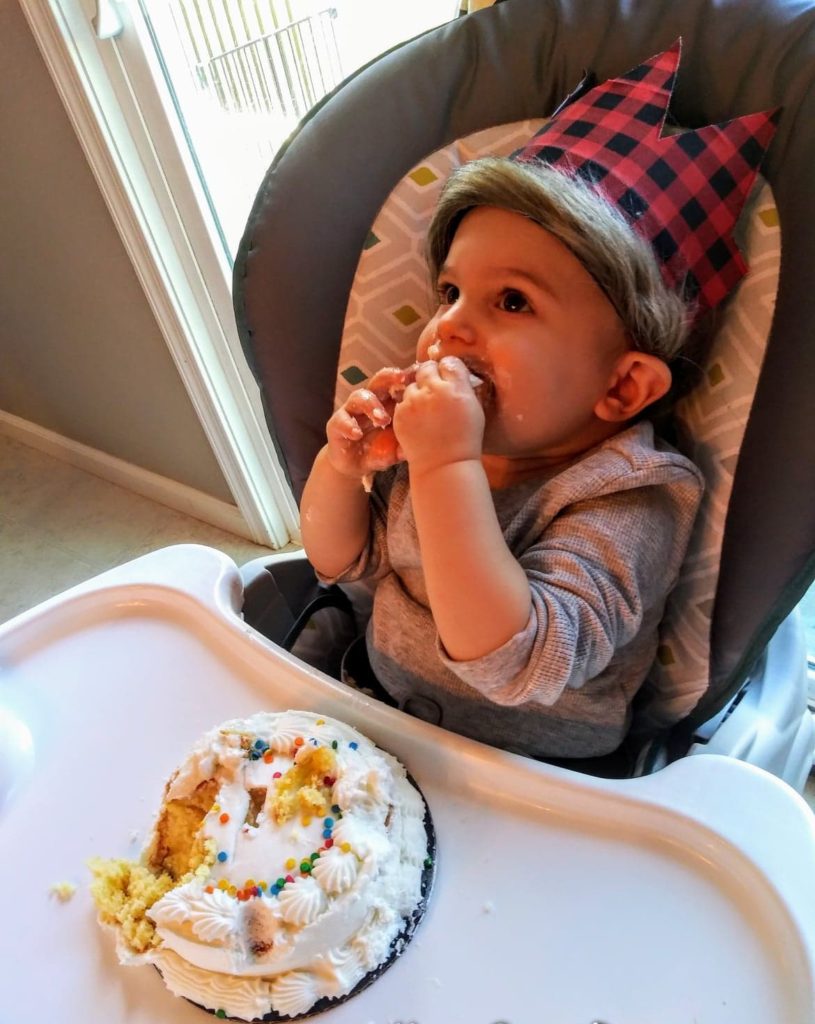
I thought for sure he would take his birthday crown off before I even got it on him. He takes hats and his shoes off before I can even blink but I was shocked he didn’t mind it on at all. Proud mommy moment! He’s getting so big! Need some diy 1st birthday photoshoot tips?
>>Click Here to Skip over to see our Little Girl’s Nursery!<<
Want to Remember this Birthday Crown DIY for your next Birthday Party? Save This To Your Favorite Pinterest Board!
