This post may contain affiliate links, which means we'll receive a commission if you purchase through our links, at no extra cost to you. Read the full disclaimer here.
Are you thinking of Adding a Shiplap Backsplash in your kitchen? Wanting to choose a farmhouse kitchen backsplash and on the hunt for diy kitchen backsplash ideas?
Look no further- I’m spilling the full process of our finished DIY Shiplap Kitchen Backsplash Makeover!
A shiplap backsplash in your kitchen is a project you easily manage to do in a weekend!
If you’re a farmhouse style junkie and a Fixer Upper fan (shoutout to Joanna & Chip, who made us all fall in love with using shiplap everywhere, on every wall, & every room…I’m Guilty!) then you want to stick around for our Shiplap Kitchen Makeover! A Farmhouse kitchen is dreamy and super trendy right now! We decided to do a Shiplap Backsplash our on kitchen walls. Before initially deciding on Shiplap we tossed around other kitchen backsplash diy ideas.
So If you’re looking to do a kitchen remodel, add a beautiful kitchen design feature to a boring builder grade kitchen (like us), or a complete kitchen renovation and you’re thinking of adding shiplap in kitchen also, I have included the steps and pictures to show you how to do a backsplash in the kitchen of your home.
This is an easy kitchen backsplash makeover-no need to be an expert, we certainly are not experts, just DIY addicts 😉
That takes me into the next sentence (disclaimer). That we are not professionals by any means.
This is just a basic tutorial that I am sharing based off our own experience with installing our kitchen backsplash and some tips and tricks along the way that may be helpful to you. If you have any questions or concerns you should always check local building codes and with your city building department.
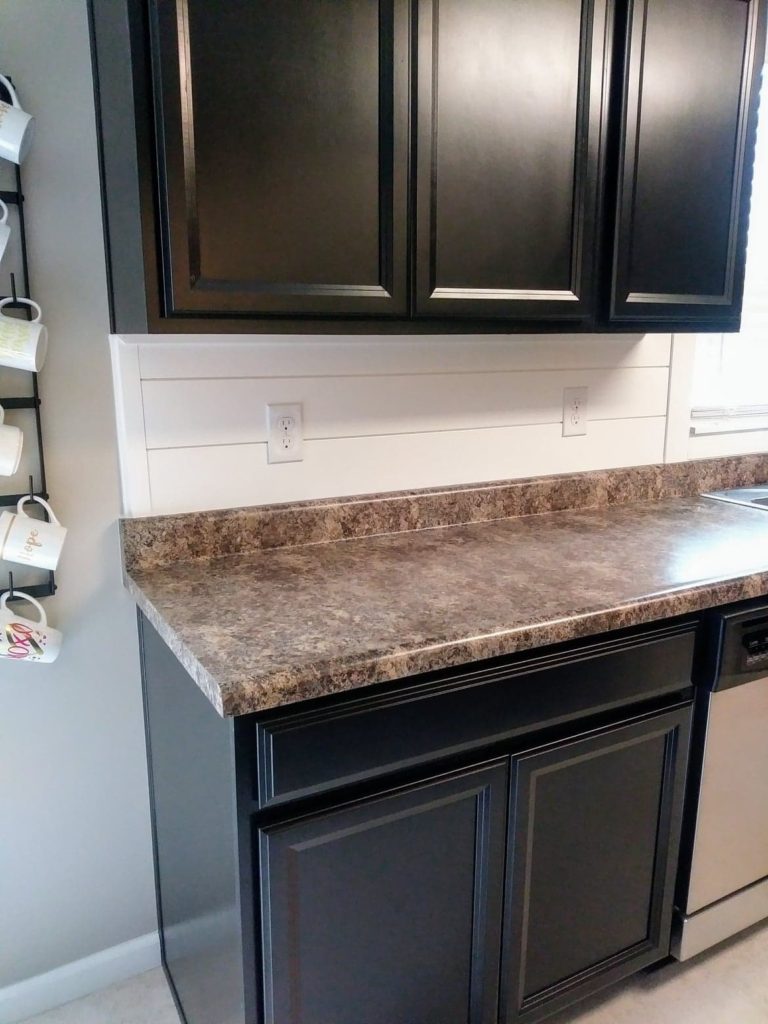
Our white shiplap backsplash kitchen adds so much character and pops against our dark black cabinets. With a do it yourself backsplash for kitchen it’s cost-effective and super budget-friendly so you can tackle any other homeowner projects on the list. This helped us out a lot since we’re doing other upgrades in our home. What other projects are we up to besides this kitchen backsplash diy? Well, since we share an admiration for kitchens with shiplap…I’ll tell you!!!(I confessed earlier of wanting it everywhere, lol)
So far, we’ve recently added Shiplap to our our Island. We’re working on a Shiplap wall on the other side of these cabinets that I can’t wait to show you. (update: it’s completed!!!) Like I mentioned earlier, we have dark black (builder grade) kitchen cabinets. There was not a whole lot of design options when we built. I wanted to brighten up the kitchen without painting anything white (I still love my dark cabinet choice, just want to break up the space some). So Shiplap was my savior! The idea is to have the shiplap Island and this backsplash kitchen diy tie in the with wall so I have enough dark and enough white shiplap as well! Who could have enough though, right?
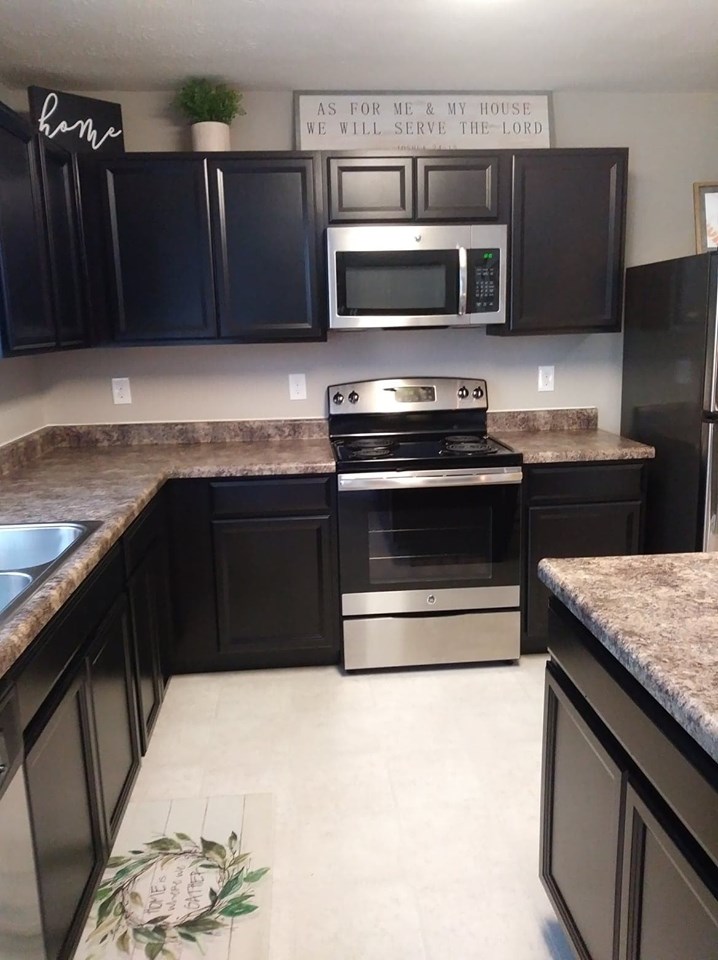
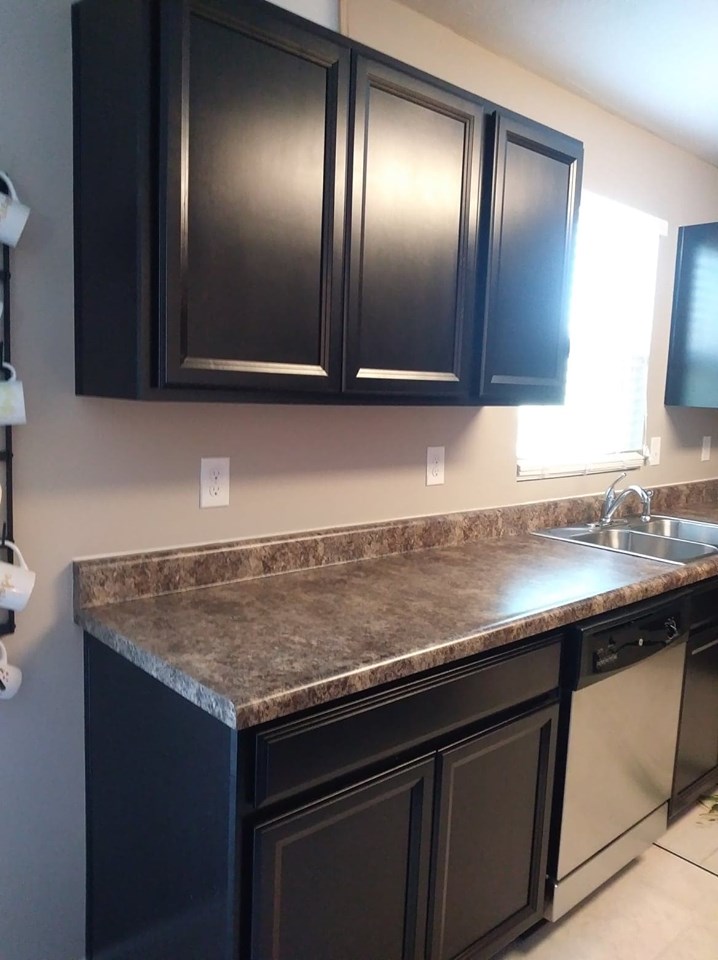
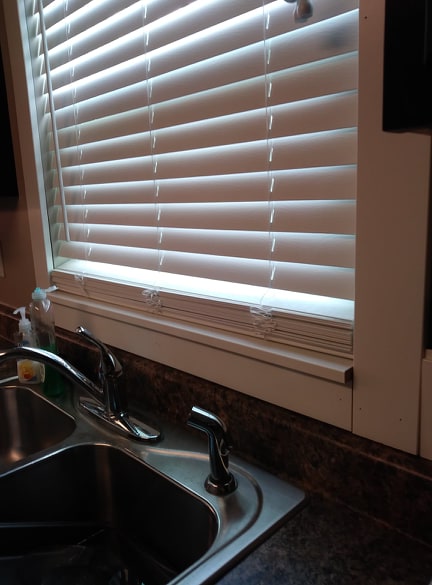
Here is the before photo. We painted the walls when we first moved in. The Paint color is Behr Castle Path in Eggshell.


Framing Around The Window
The first thing we did before the shiplap backsplash came into play was frame in the window and add a window sill ledge. If you already have a framed window you can skip through these next few steps. Our Builder grade home did not come with any framed-in windows.
We used 1x4x8 size boards.
We started with the board for the bottom of the window, measured & cut the board to the length needed for window, and attached with nail gun.
Side Note: This is our favorite brad nailer. For this one, you don’t need a air compressor and it’s cordless! Our nailer quit working halfway through (which required a compressor) so we were off to grab another one at our local home improvement store, It’s definitely awesome sauce working with a quiet nailer versus a loud air compressor, beings half the time were doing projects is after our 6 month old is asleep. Oh, the joys of being homeowners and parents 🙂
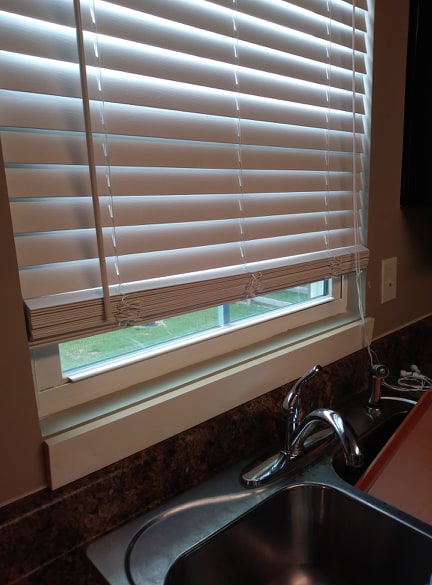
Moved on to boards for the side of the window. Measured & cut to the correct length from the top of the window all the way down to the countertop, attached with nail gun.
And lastly, the board for the top of the window, we measured and cut from the length of corner cabinets, and as above…attached with nail gun.

For the window sill ledge-same thing, measured, cut the board the length of the window sill, and nailed it.
How To Install Shiplap Kitchen Backsplash:
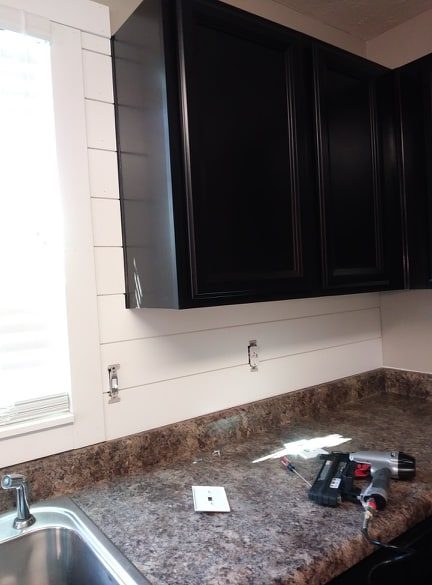
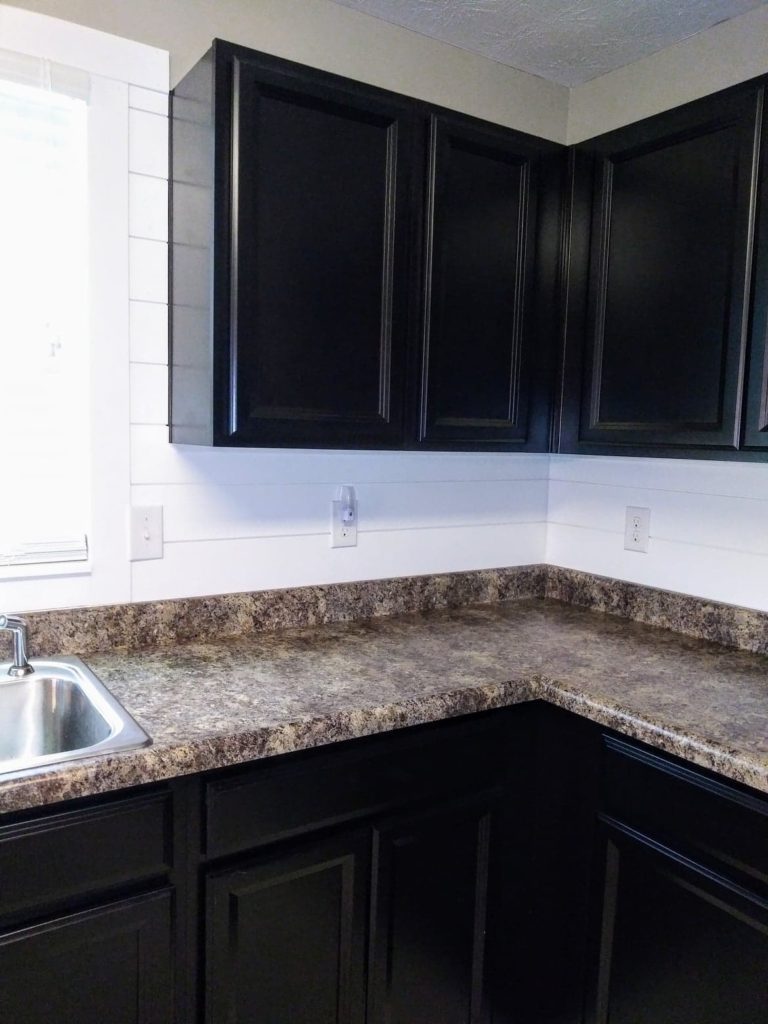
We used the same easy technique as the Island but just notching out the outlets and around cabinet corners as we went, starting at the bottom and working our way up. We used both 8 foot & 12 foot shiplap boards. You will want to use the appropriate size board for your kitchen if you want to avoid seams.
Side Note: You may need longer screws for the outlet like we did because of the shiplap thickness.
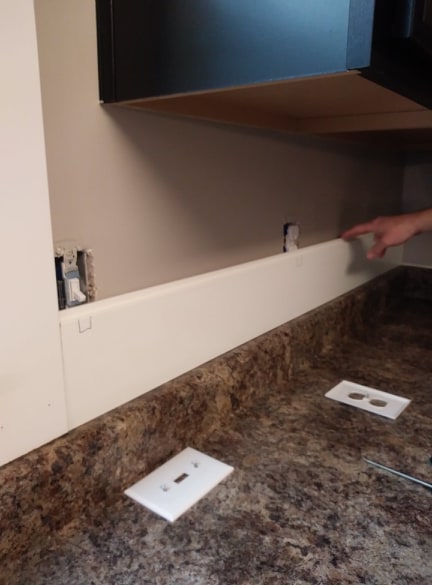
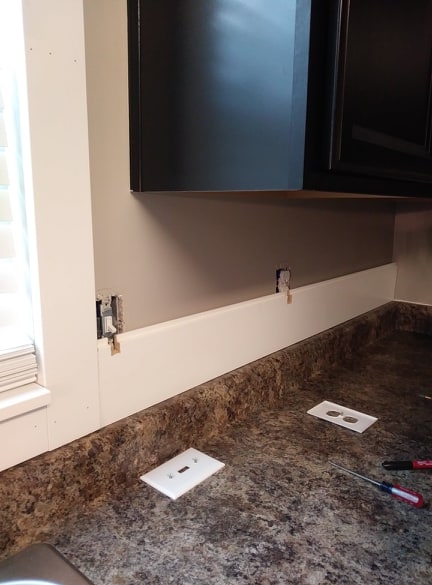
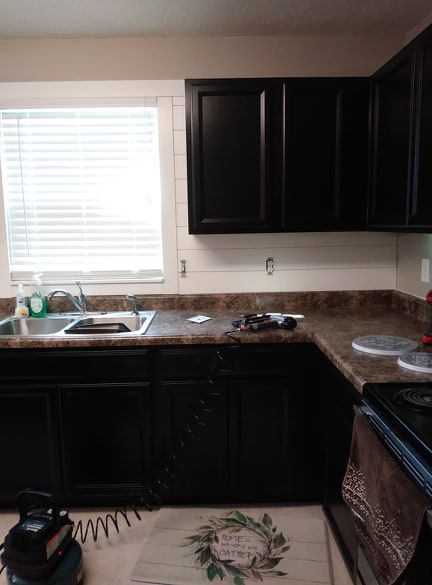

For the end, where our cabinets stopped and the backsplash begun, we took one of the peices of shiplap, ripped it with a table saw and used it as a end piece and a stopping point.
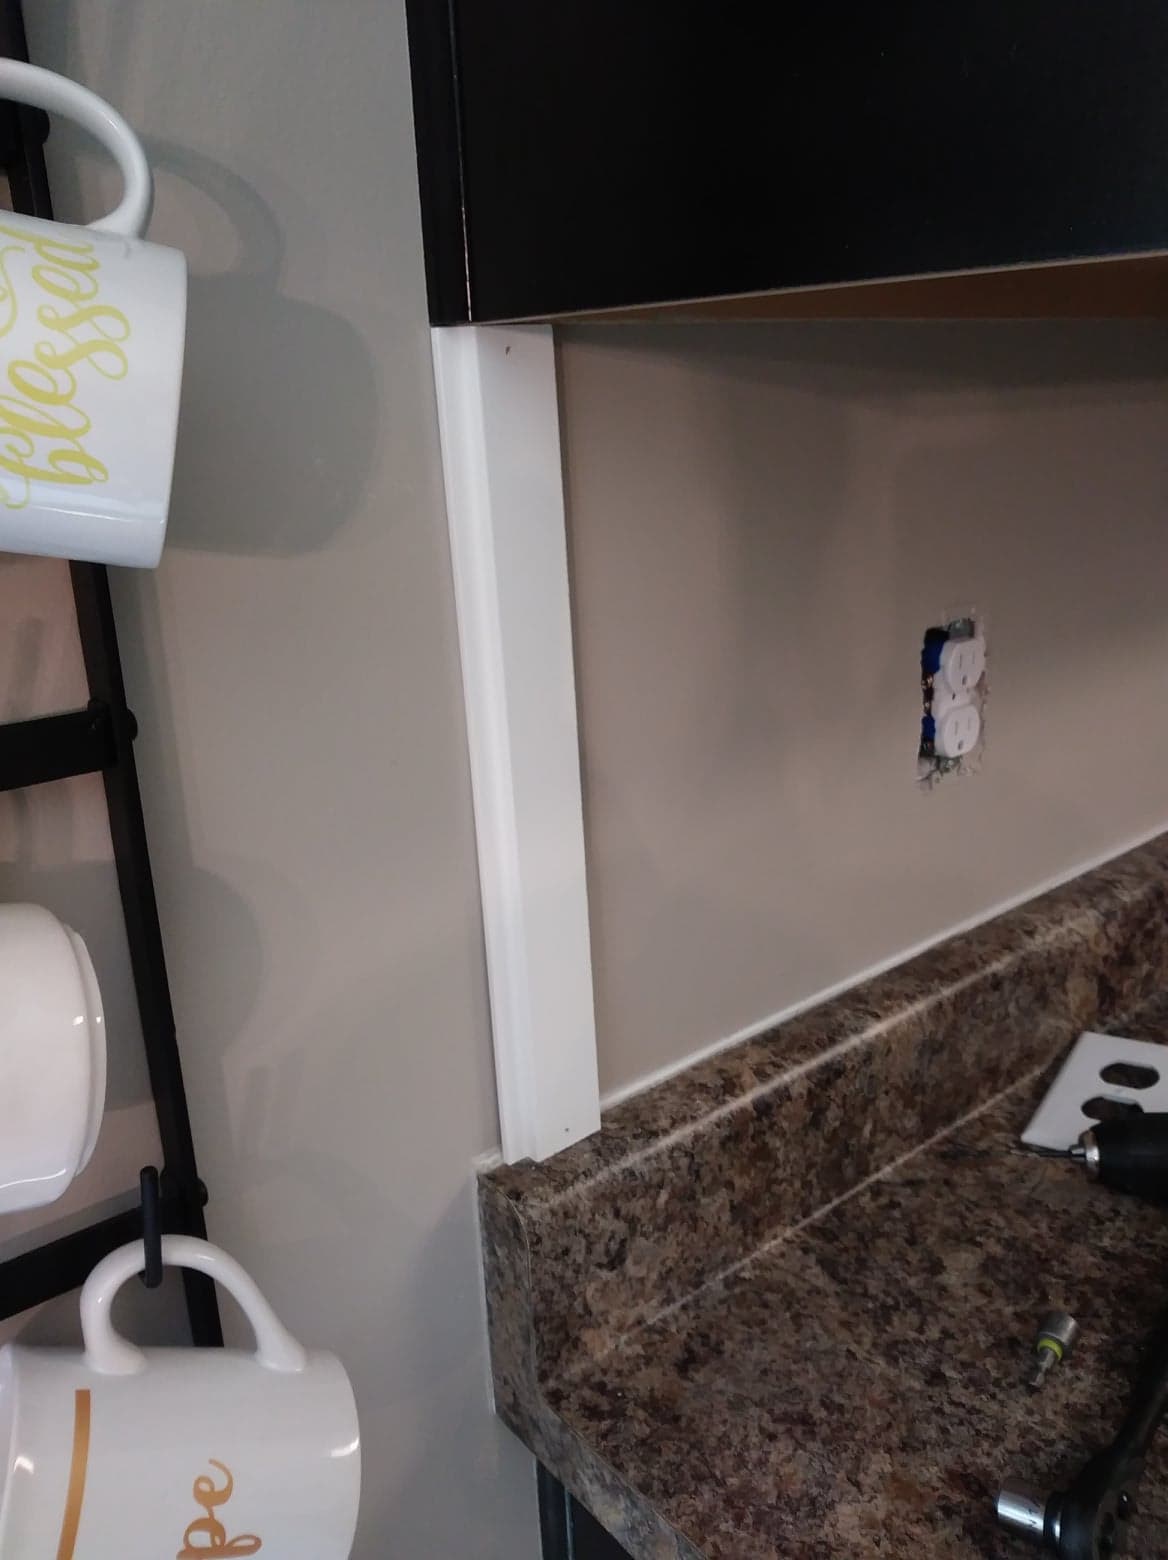
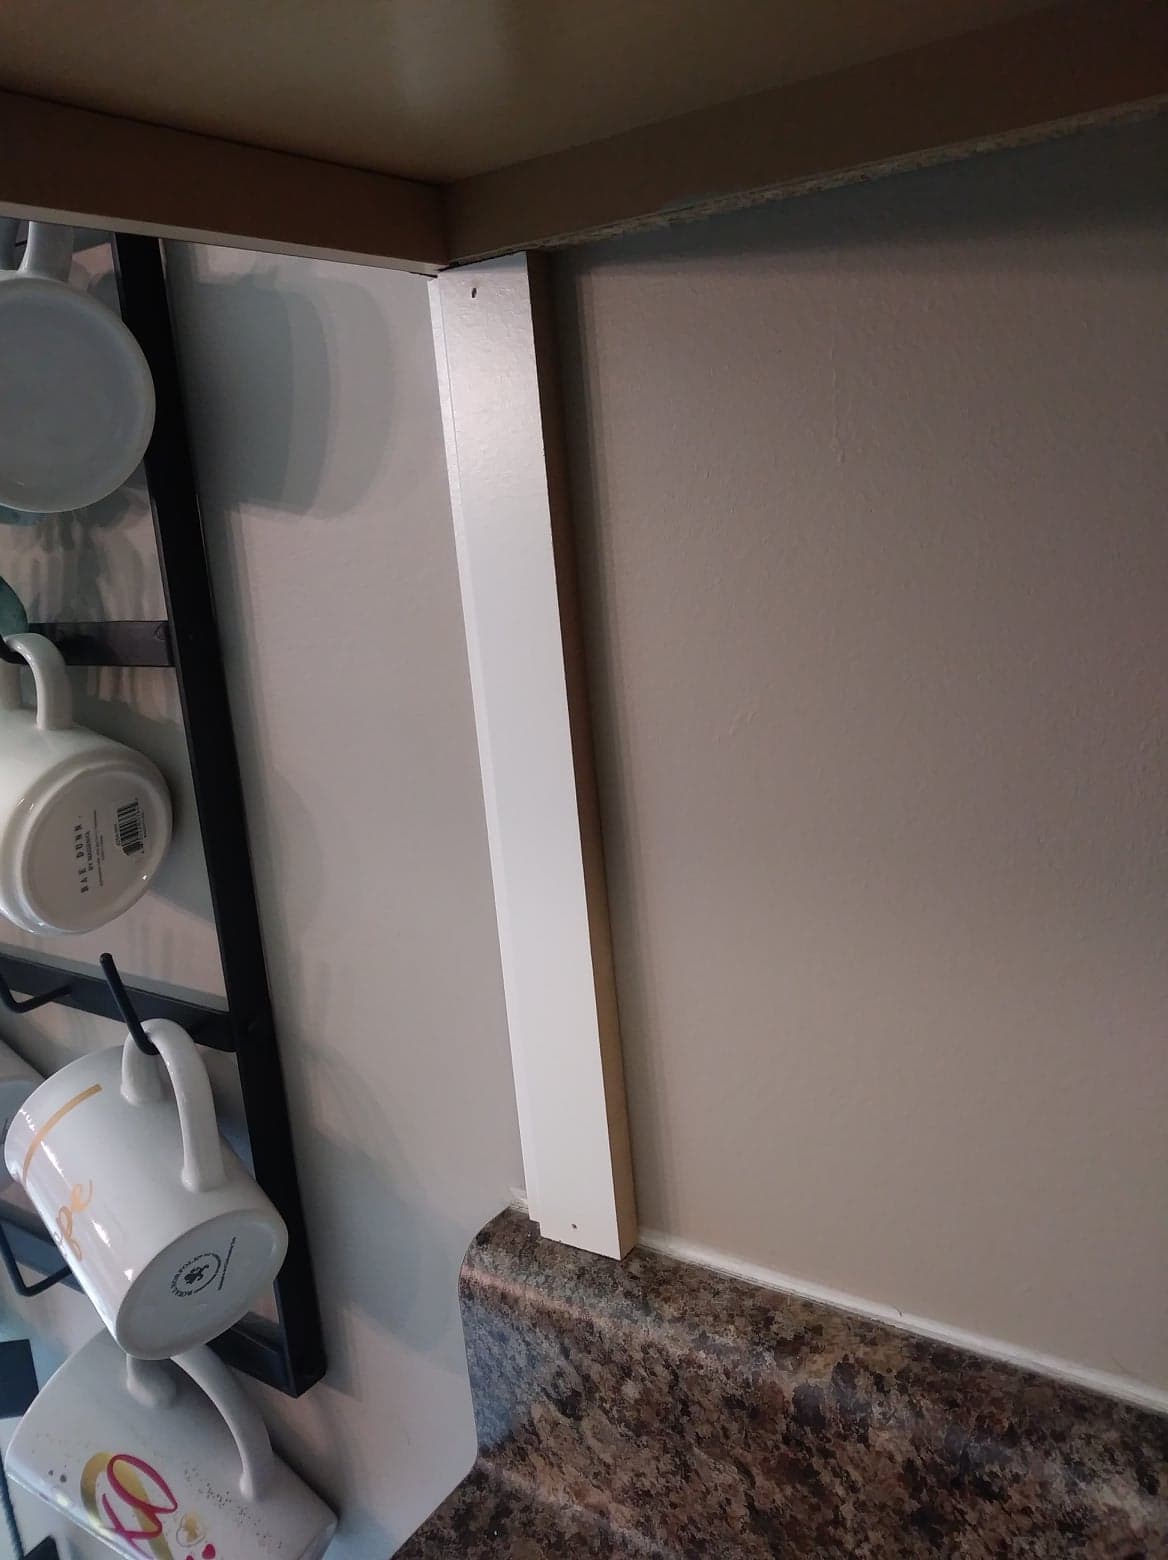
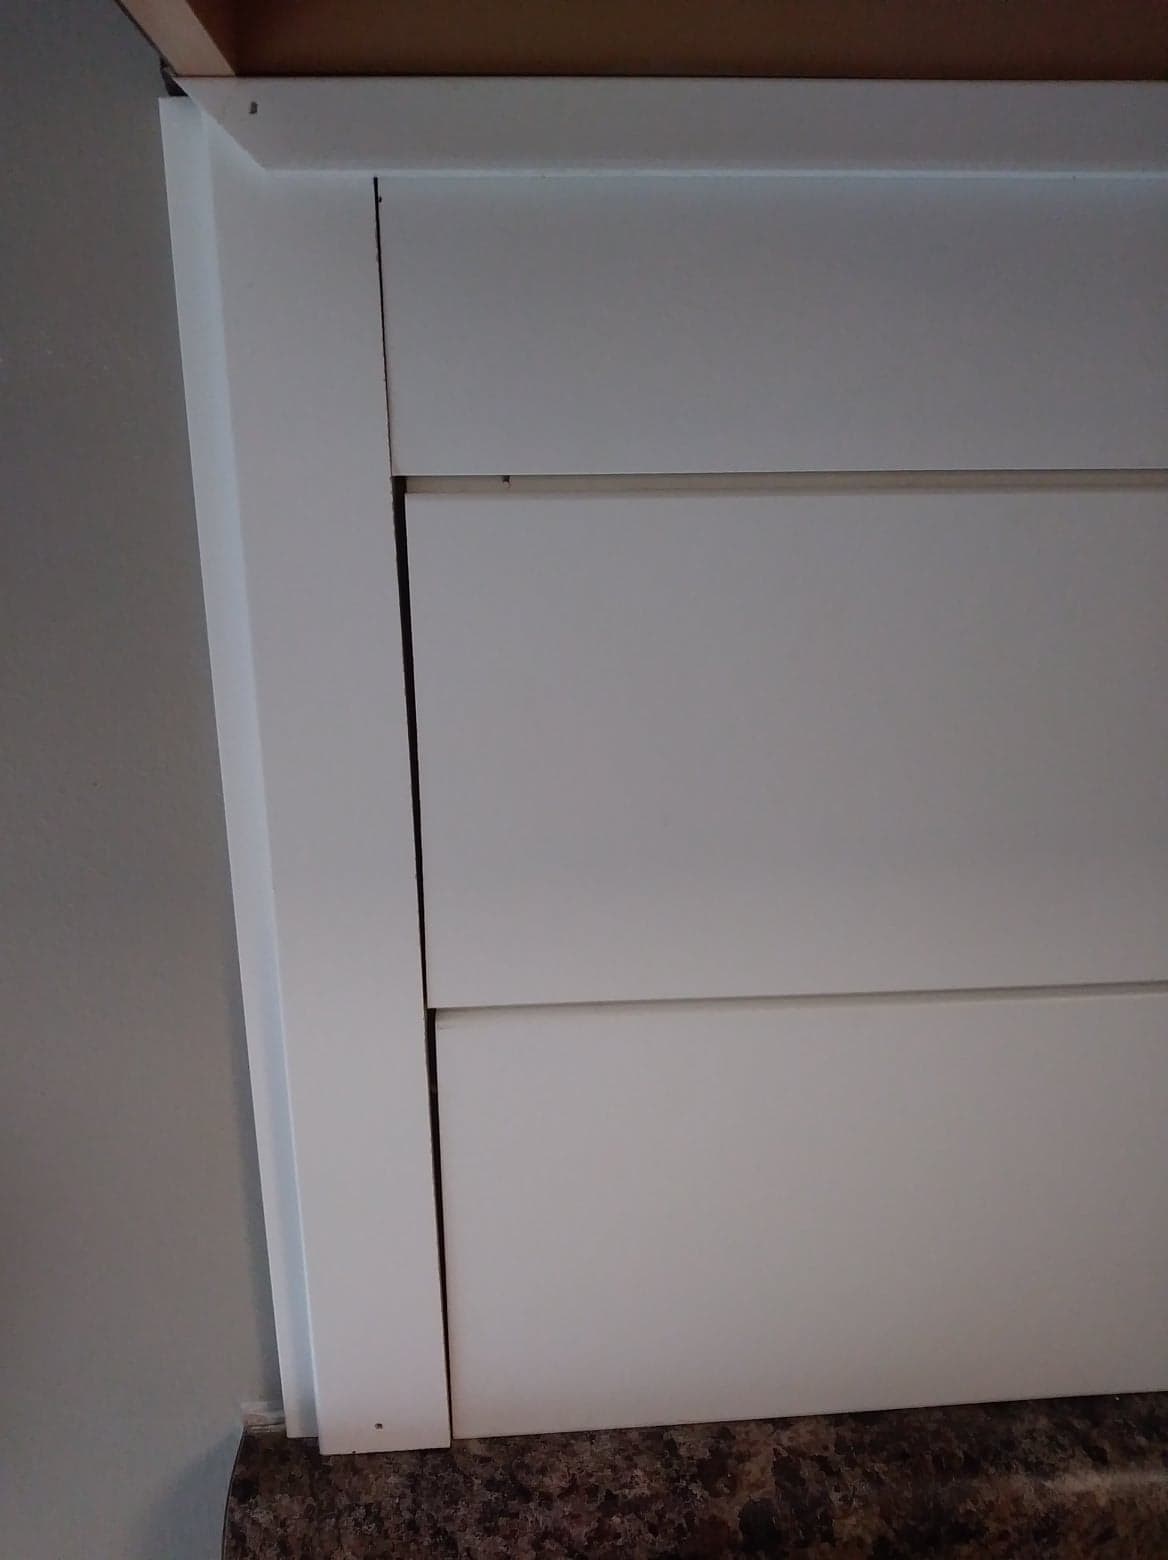
After our diy shiplap backsplash was up, we added a nice finishing touch with a thin peice of pvc trim at the top, right underneath cabinets (just like we did to our island) & then we caulked the counter, windowsill, window trim and the small gaps between where the shiplap met (only the two ends and the corner).
A little pro tip when caulking is to squirt a streak of caulk out into the gap, then use a damp paper towel to wipe it smooth.
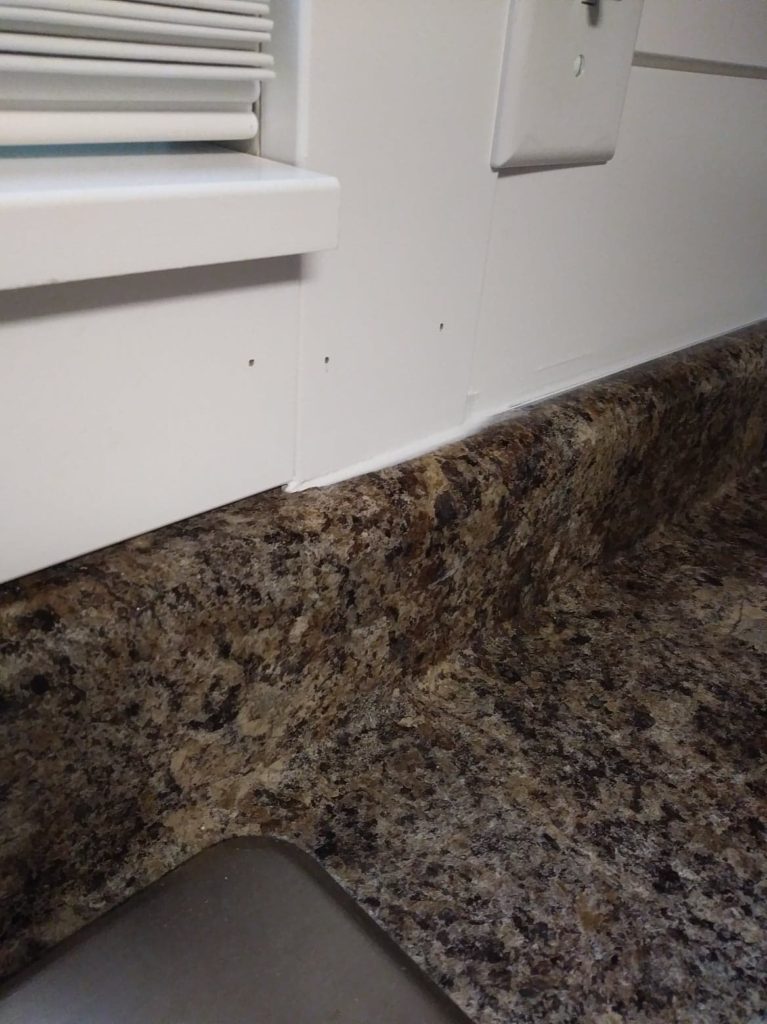
We tried patching the holes from the nail gun a couple different ways to see what worked best. Here’s another pro tip we learned-and it’s MAGIC!
We used this Crayon like product! It’s already white so all you need to do is fill in the hole. I wish I would have known about this little guy sooner! I seriously cannot recommend it enough. Watch it work!!
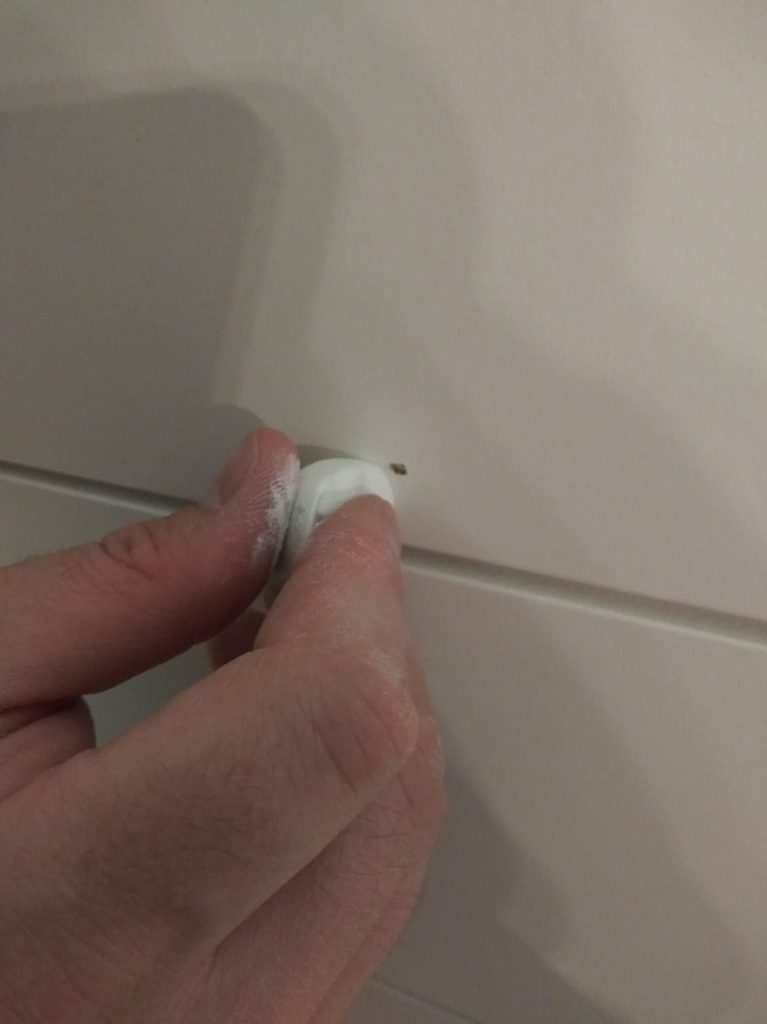
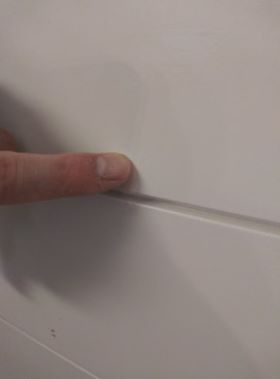
So before applying this amazing nail hole filler, use either a paper towel or an old rag and dampen with Mineral Spirits, wipe around the hole you plan on filling and the putty stick. Then go ahead and fill your hole. Then use the rag that had the mineral spirits on it and wipe over the hole to get a clean polished look.
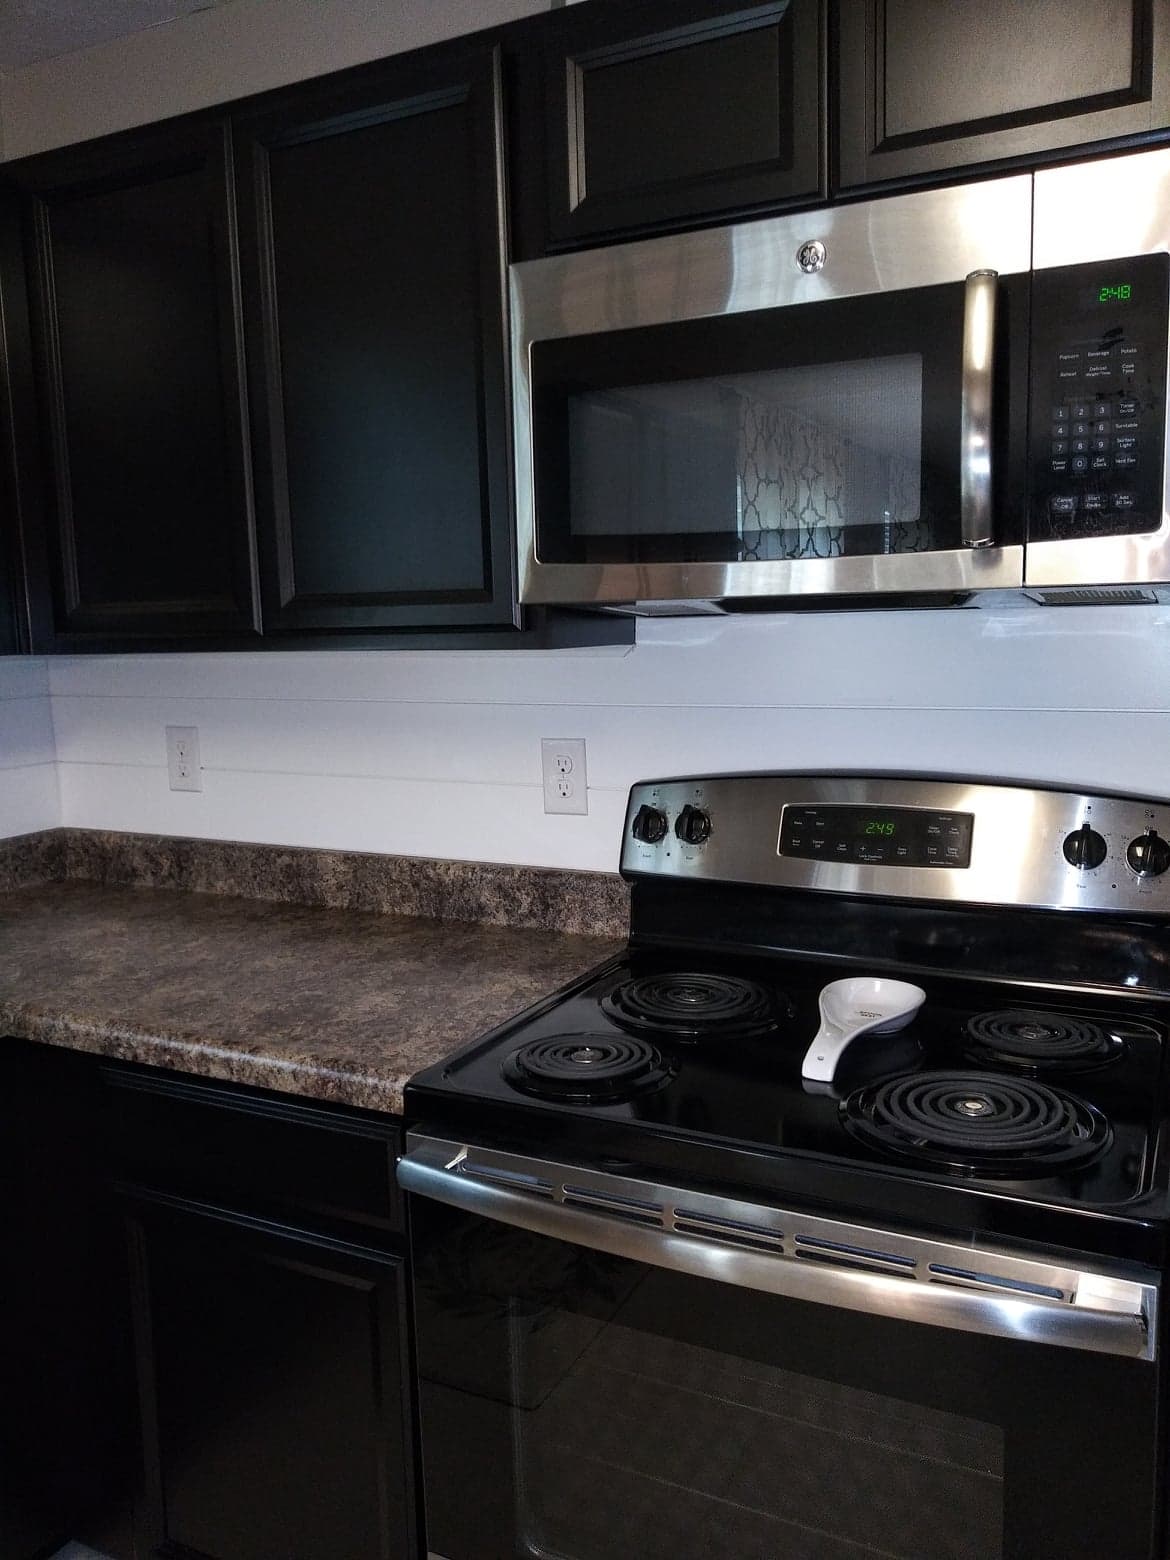
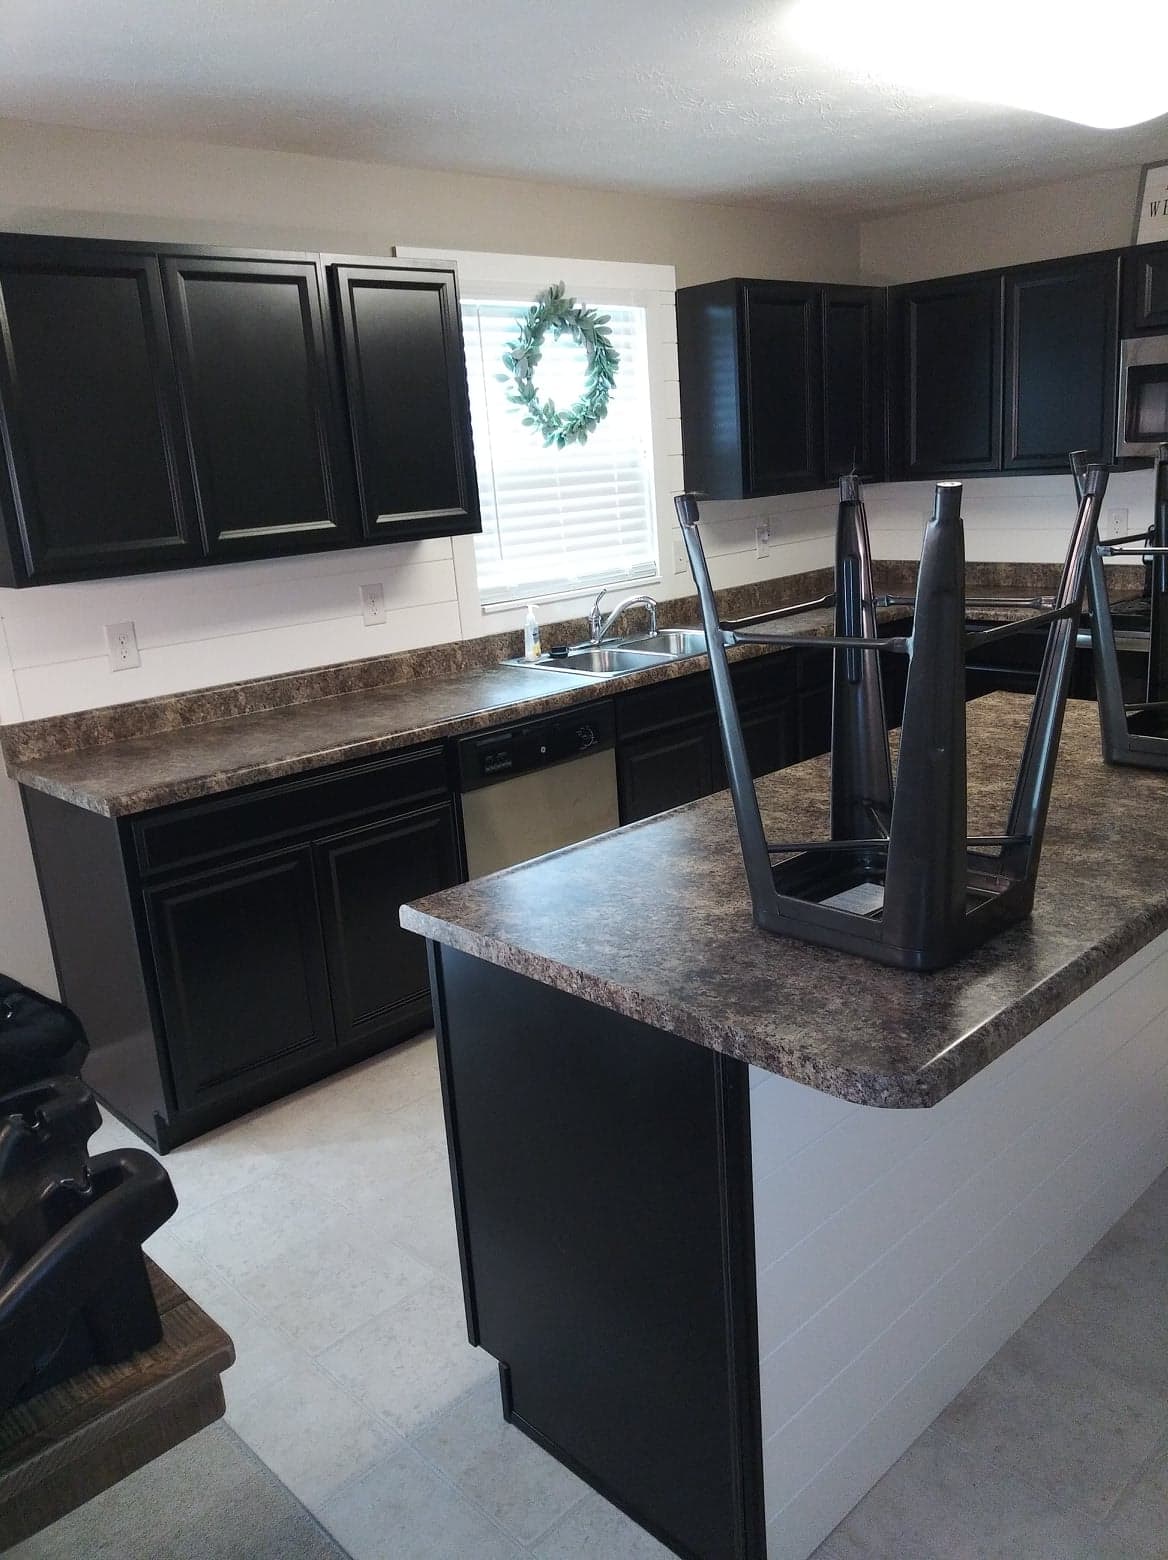
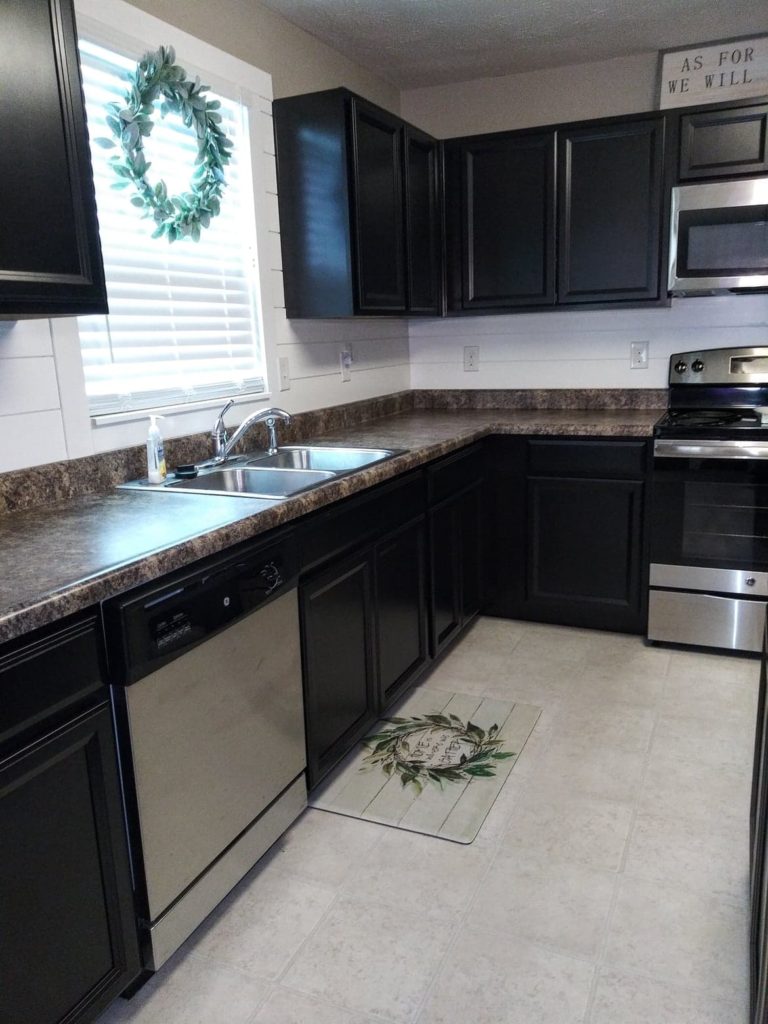
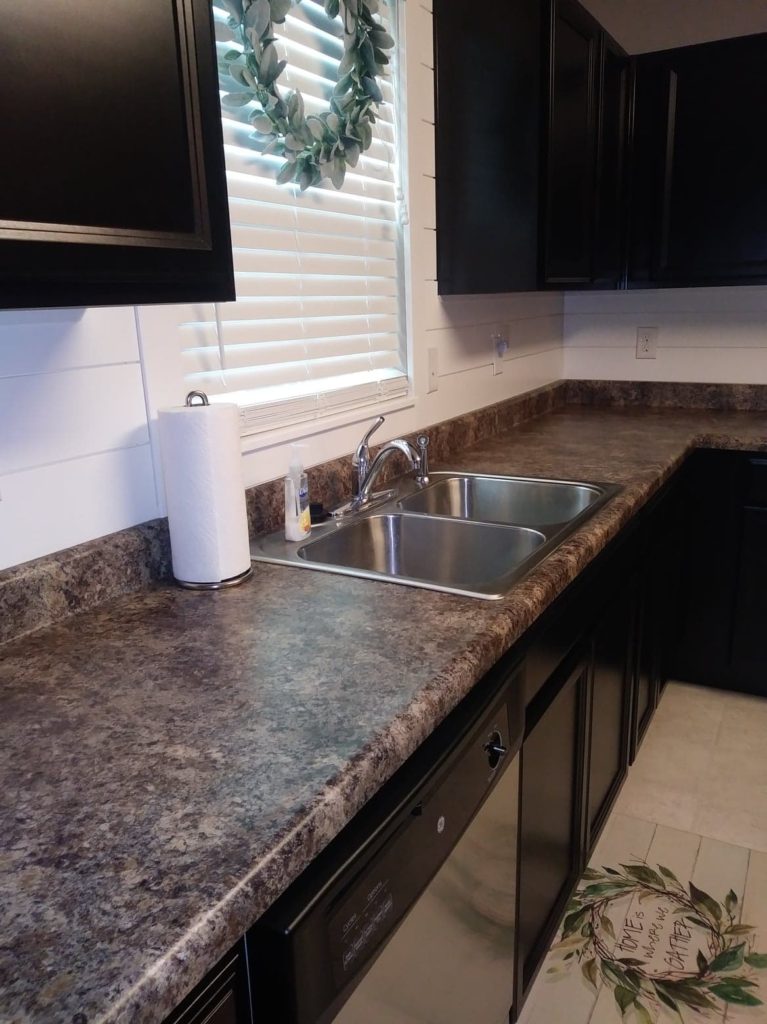
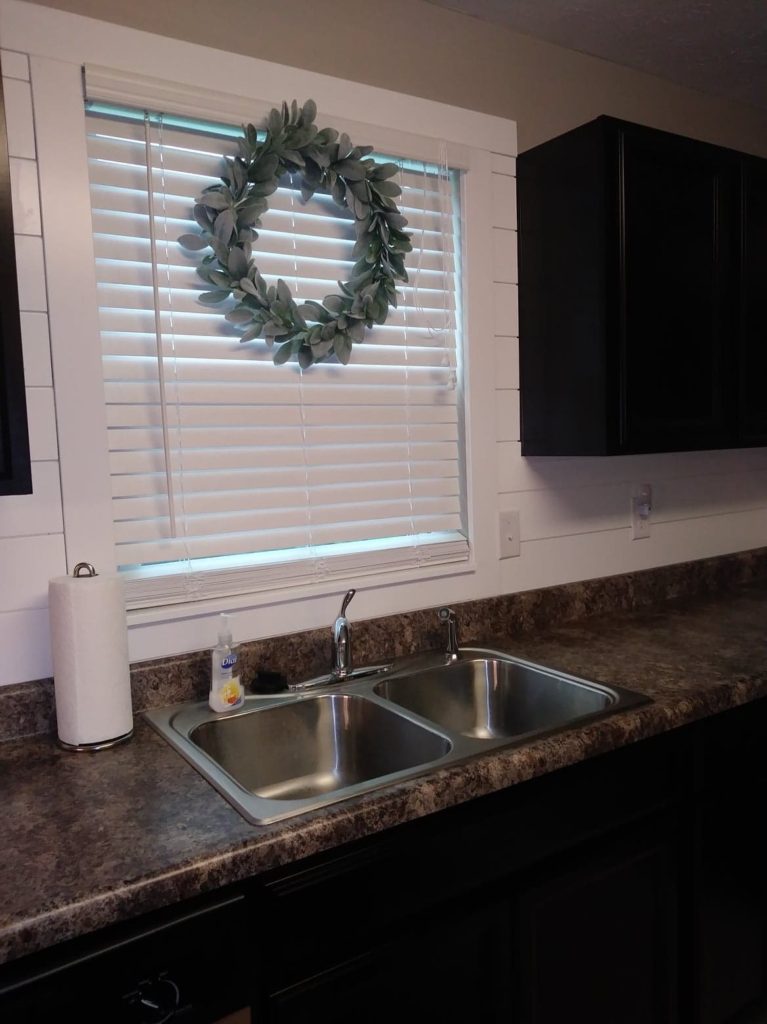
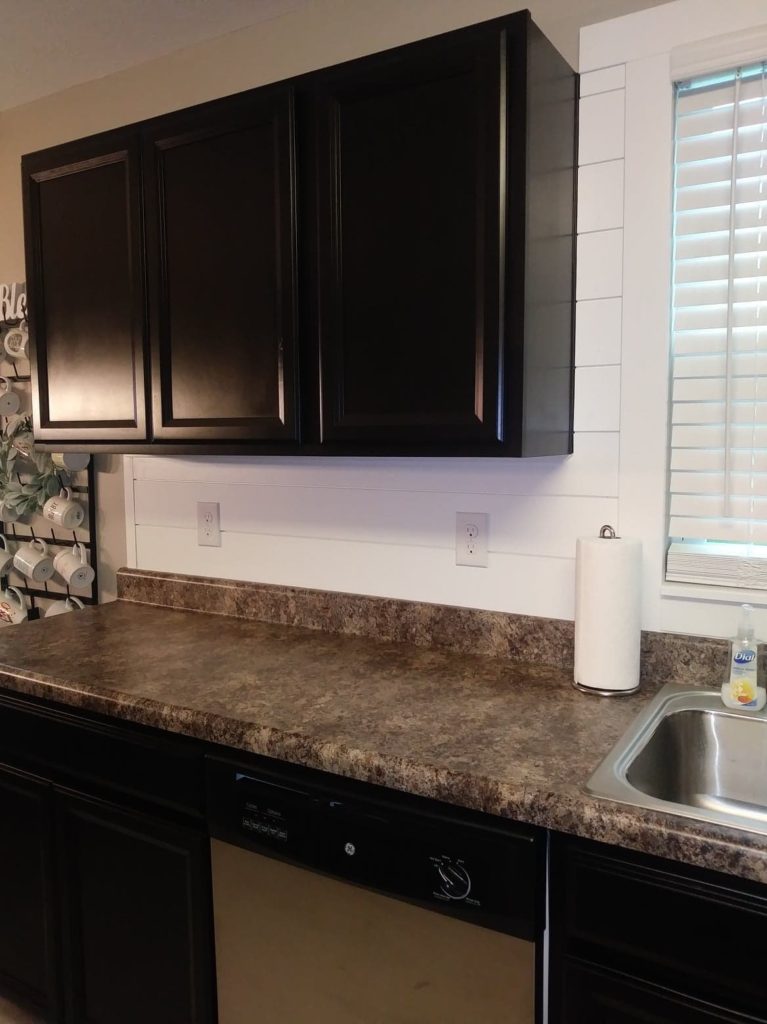
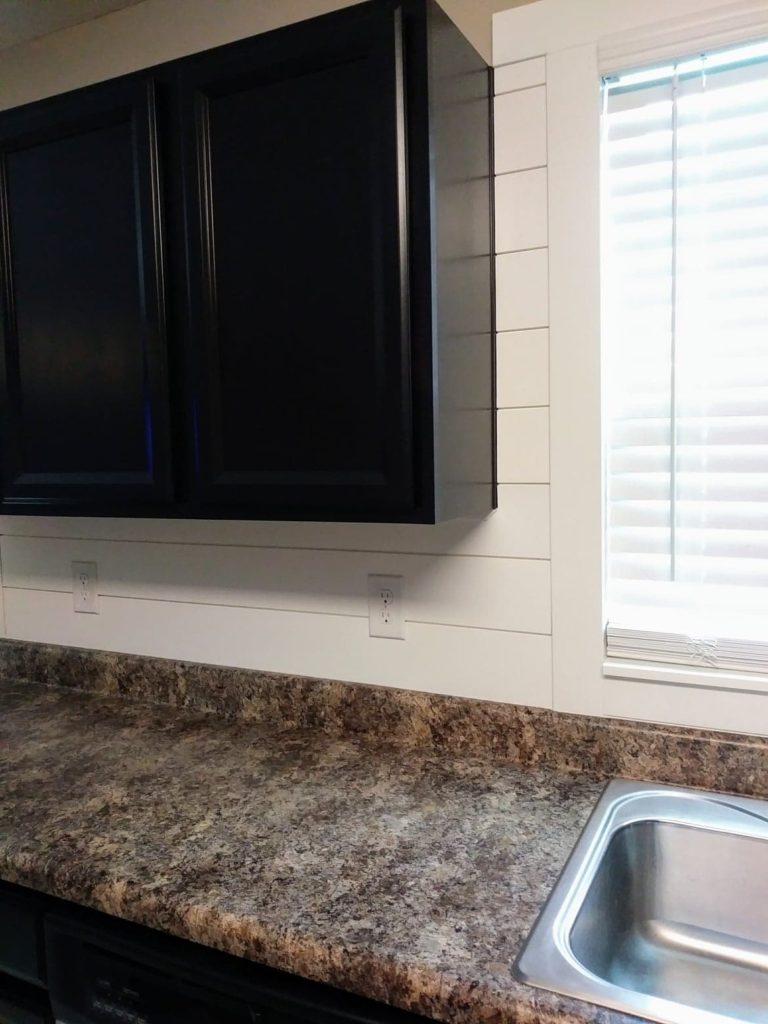
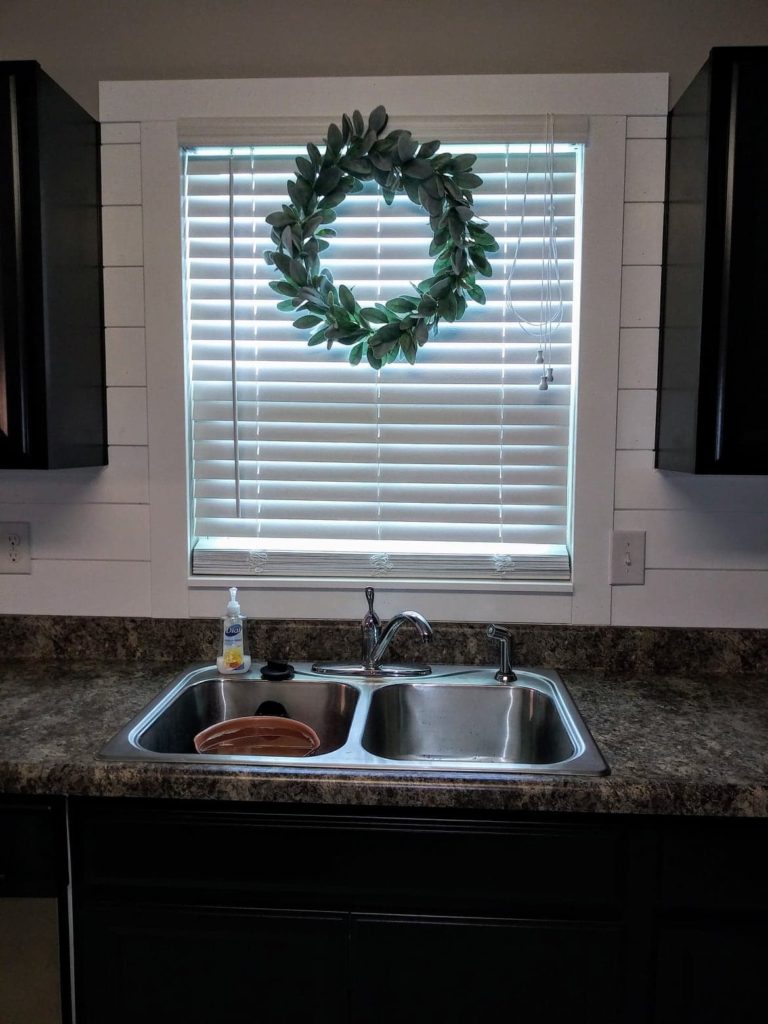
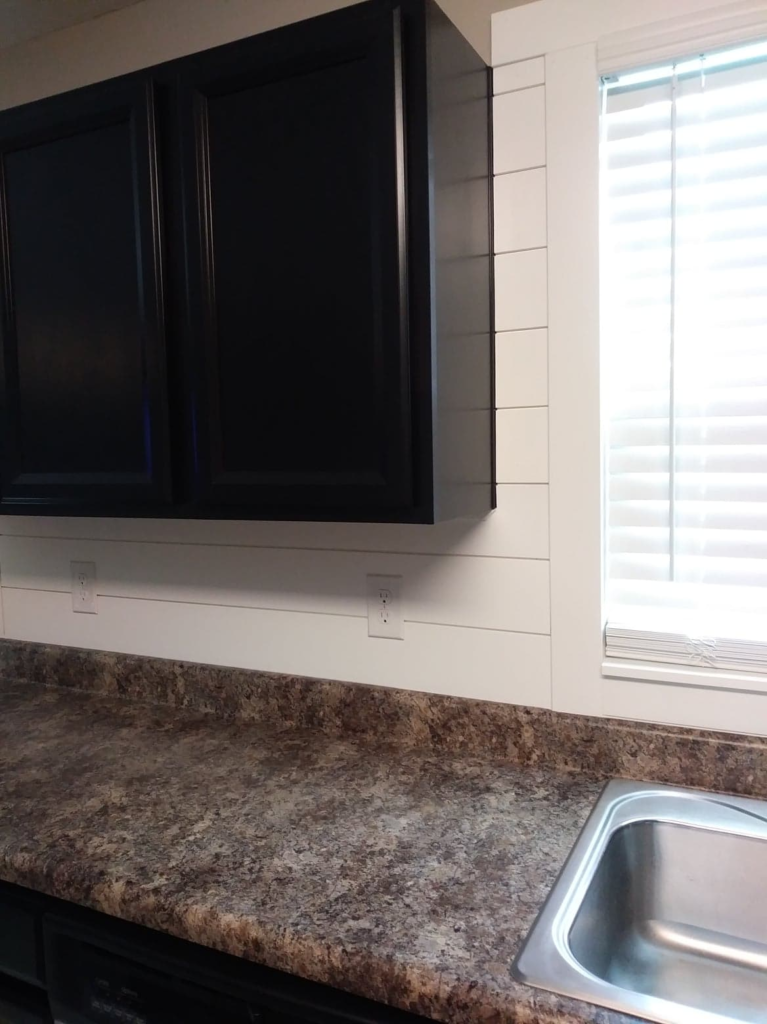
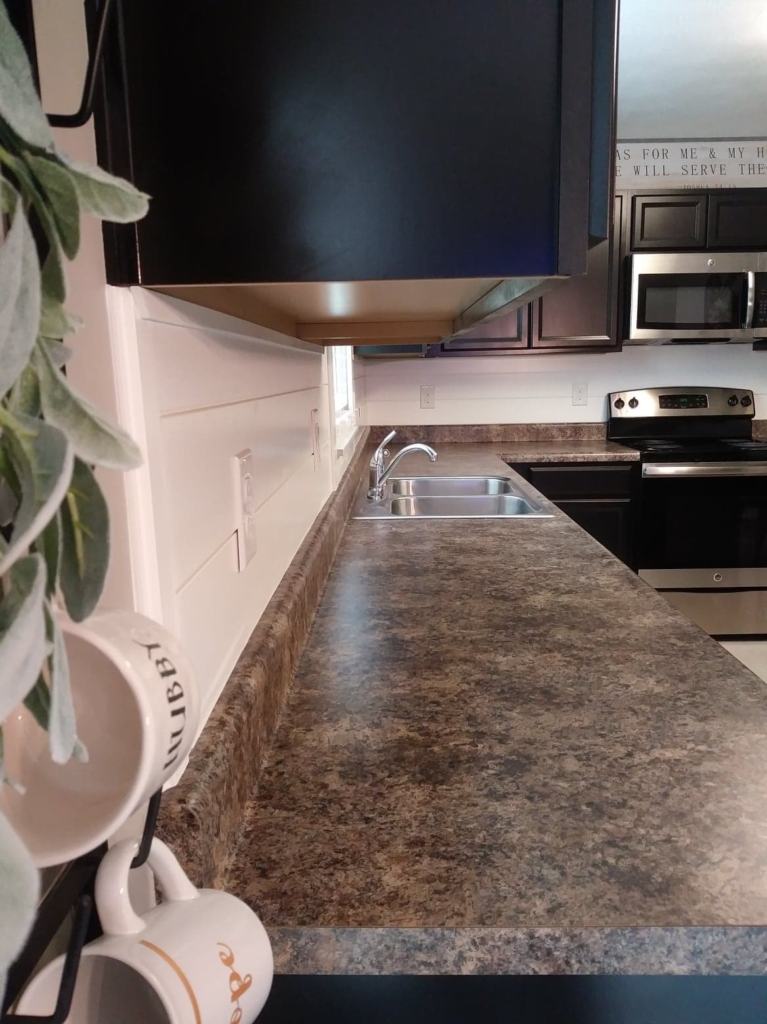
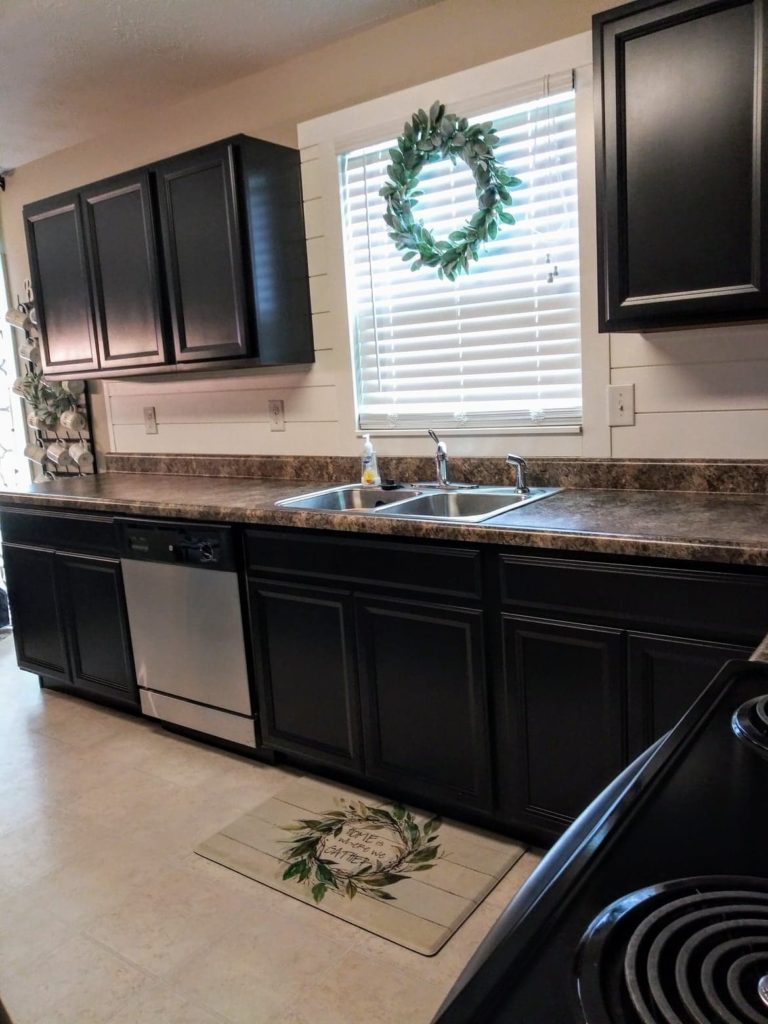
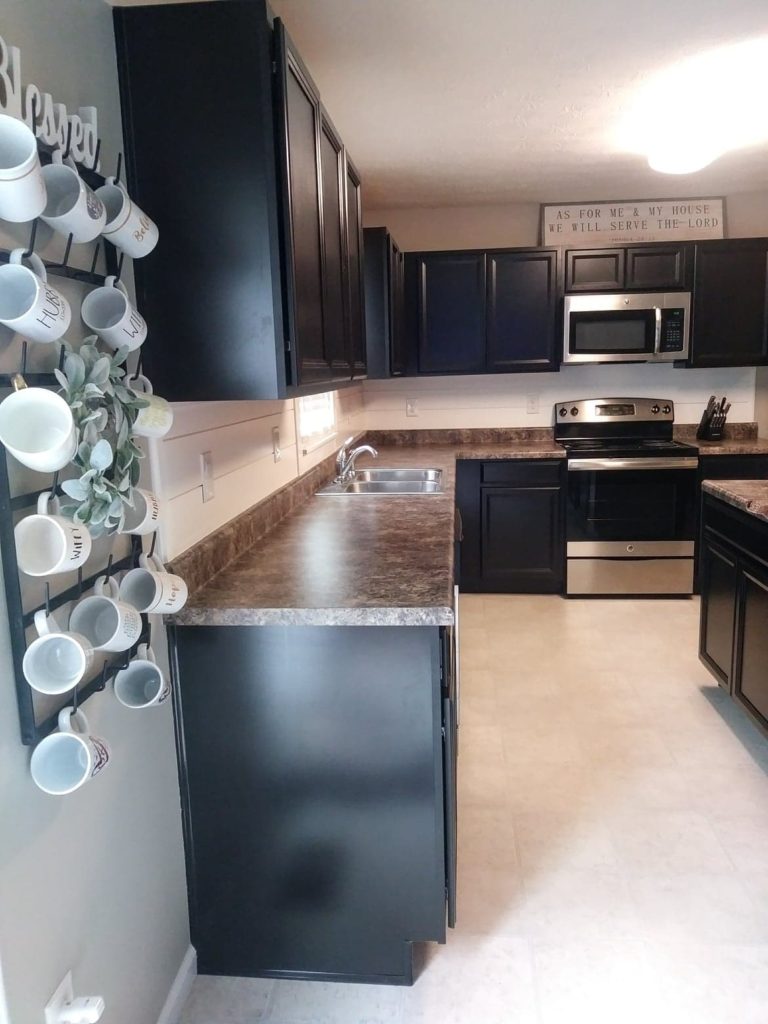
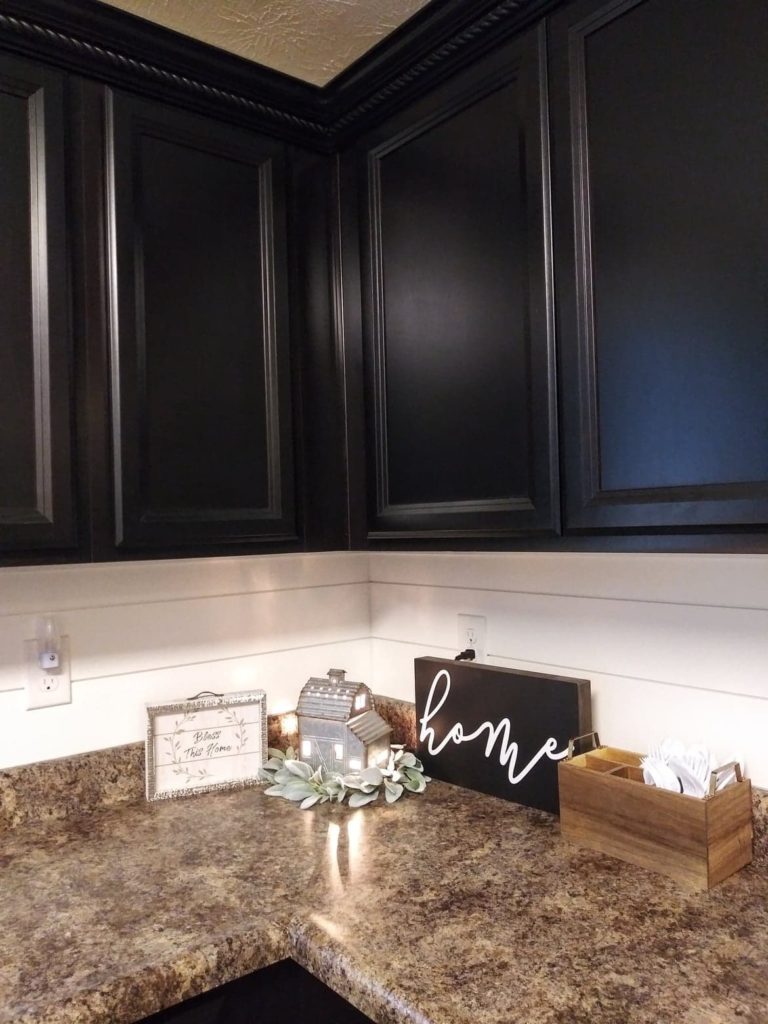
That’s it! I hope this guide gives you plenty of tips and helps you with how to put up backsplash in kitchen. Don’t be intimidated to try a do it yourself kitchen backsplash, folks!
We are slowly doing updates and upgrades on a budget to make our boring builder-grade house feel more like home plus we have a weakness for a good “before” & “after”. One thing I can’t wait for is to upgrade the kitchen flooring. That ugly linoleum has got to go! If you have any wood floor recommendations and/or suggestions that would look swell with this Shiplap Backsplash and my dark cabinets I would love to hear them! I snagged some shelf brackets that we will be installing on top of the shiplap underneath our cabinets for a custom modern farmhouse look so be on the lookout for that post soon!
Thanks for stopping by our little blog. Happy DIYing, friends!
