This post may contain affiliate links, which means we'll receive a commission if you purchase through our links, at no extra cost to you.
Read
the full disclaimer here.
A Quick Project: How To Make A Wooden Cross To Display On The Porch For Pretty Easter Decor.
Easter Confession. I don’t usually do much decorating to our front porch this time of year. I’m sorry I had to inform you of that sad news. On that note, JESUS HAS RISEN FROM THE DEAD, and so has my front porch! I combined my love for both Jesus & for farmhouse to pull off this look. Hope you love my simple farmhouse style Easter front porch too!
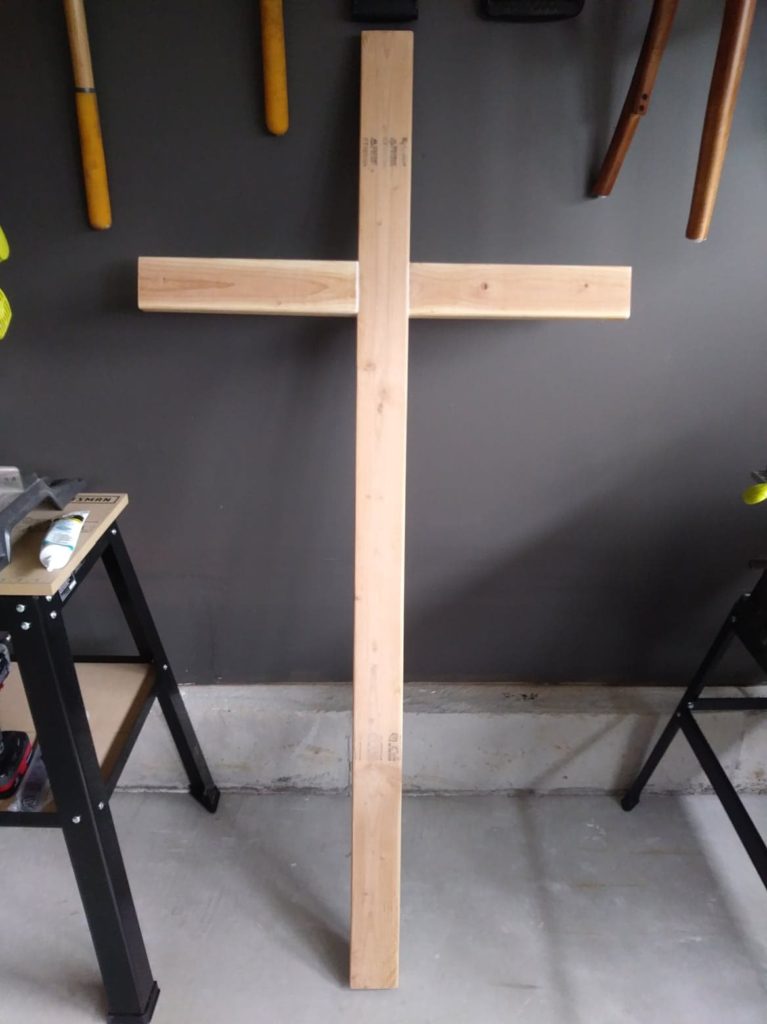
We started making the cross out of two 2×4 boards. You will need to have a long wood peice and two shorter peices of wood for this project. The shorter peices will be cut the same size and all three peices need to be cut at your desired length to fit where you plan on displaying it.
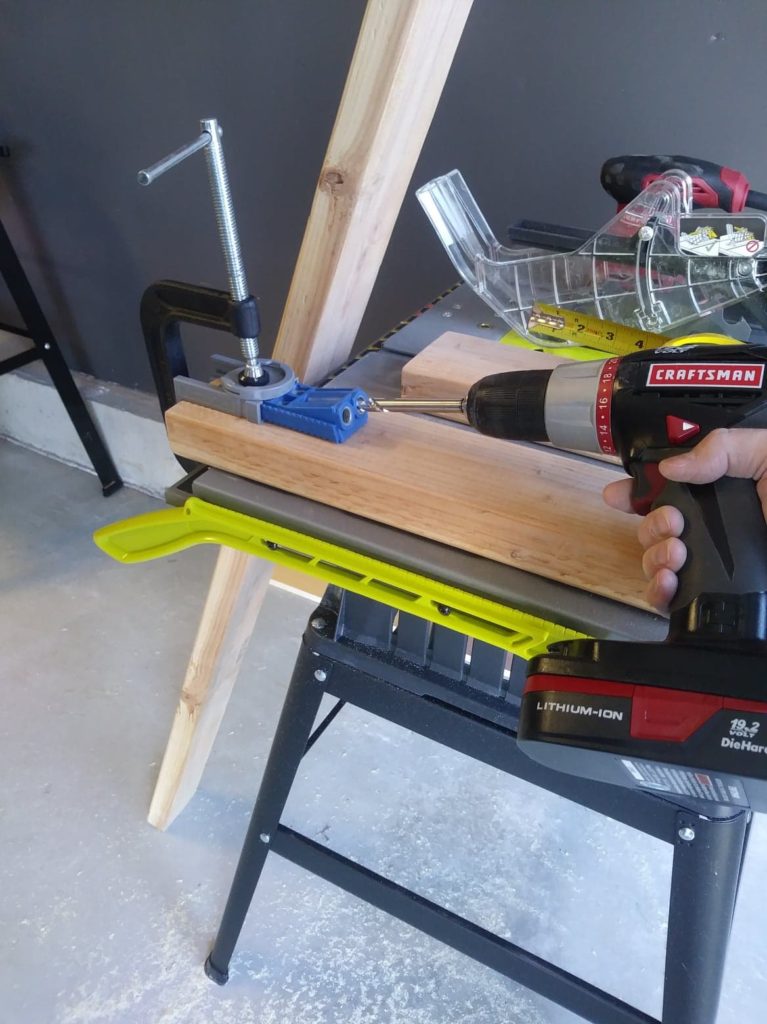
After peices are cut and ready to assemble, we made two sets of holes at the end of each of the two smaller boards using a kreg jig tool.
Our c-clamp was helpful with securing the wood so we could drill our holes.
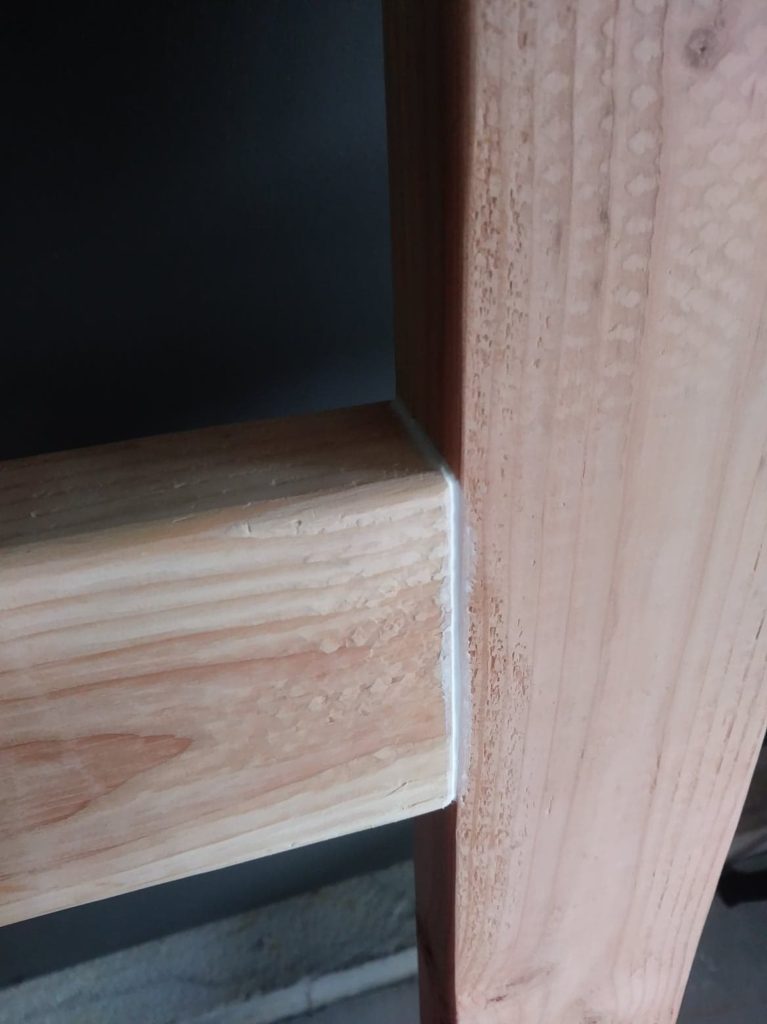
Next, We attached each wood peice to the long board (on each side) using long screws and screwed into the predrilled holes made. While completing this step you’ll want to measure down from the middle 2×4 to the desired length and screw them at the same measurement. You’ll need to make sure the pocket holes are on the same side for both peices. Also be sure your screws go deep enough into the center board so that it will strongly hold together.
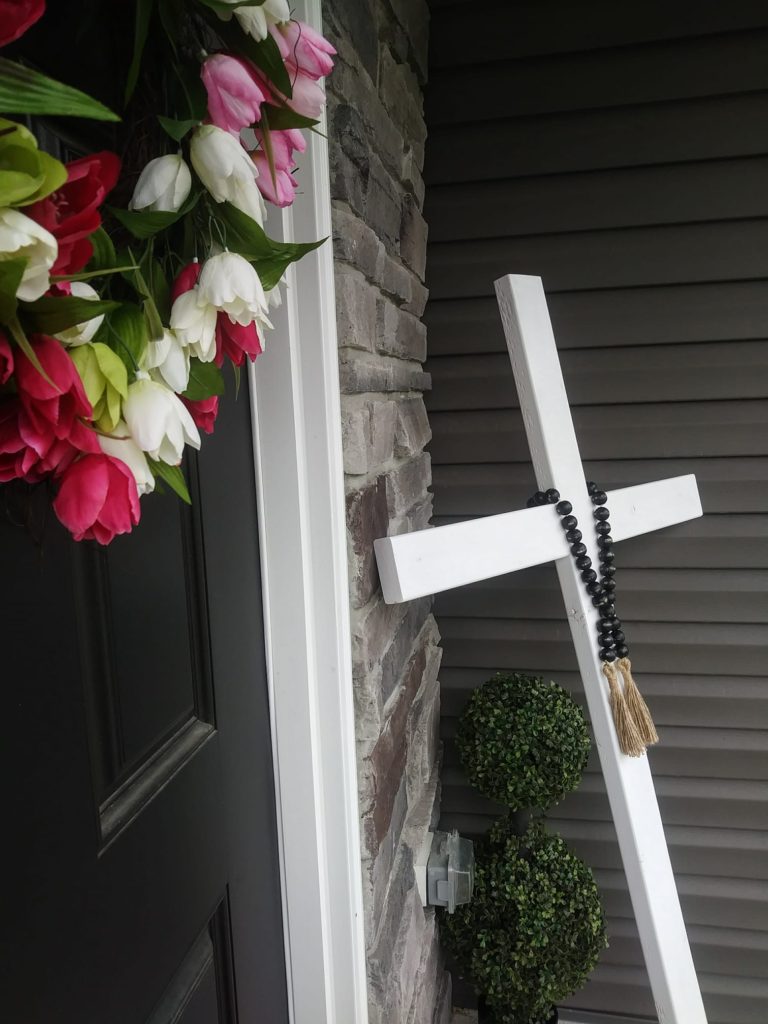
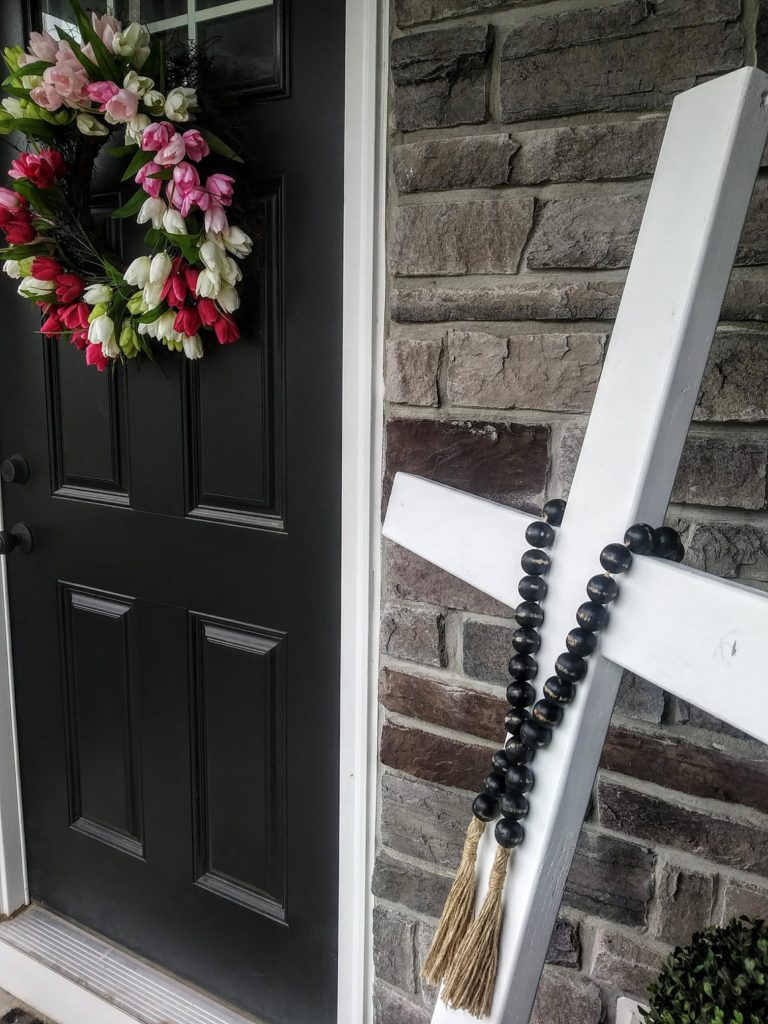
We chose to spray paint it white and to add that farmhouse touch, I hung these beads around it. To complete the look of my little front porch I stuck my tulip wreath on the front door.
I originally thought of staining the wooden cross instead of painting it white because I thought it would look more rustic but I am happy with the way it looks. The black beads against the white definitely pop and make it more of modern farmhouse. There are lots of cute ways to decorate a wooden cross. I might look for a really cute miniature sign to attach to it saying “he is risen” or I might DIY one myself if I’m not able to find one.
That’s all guys! A really simple project with leftover wood you may have laying around the house. Thanks for checking out our blog.
I hope everyone has a happy Easter!
To provide the best experiences, we use technologies like cookies to store and/or access device information. Consenting to these technologies will allow us to process data such as browsing behavior or unique IDs on this site. Not consenting or withdrawing consent, may adversely affect certain features and functions.
Functional
Always active
The technical storage or access is strictly necessary for the legitimate purpose of enabling the use of a specific service explicitly requested by the subscriber or user, or for the sole purpose of carrying out the transmission of a communication over an electronic communications network.
Preferences
The technical storage or access is necessary for the legitimate purpose of storing preferences that are not requested by the subscriber or user.
Statistics
The technical storage or access that is used exclusively for statistical purposes.The technical storage or access that is used exclusively for anonymous statistical purposes. Without a subpoena, voluntary compliance on the part of your Internet Service Provider, or additional records from a third party, information stored or retrieved for this purpose alone cannot usually be used to identify you.
Marketing
The technical storage or access is required to create user profiles to send advertising, or to track the user on a website or across several websites for similar marketing purposes.