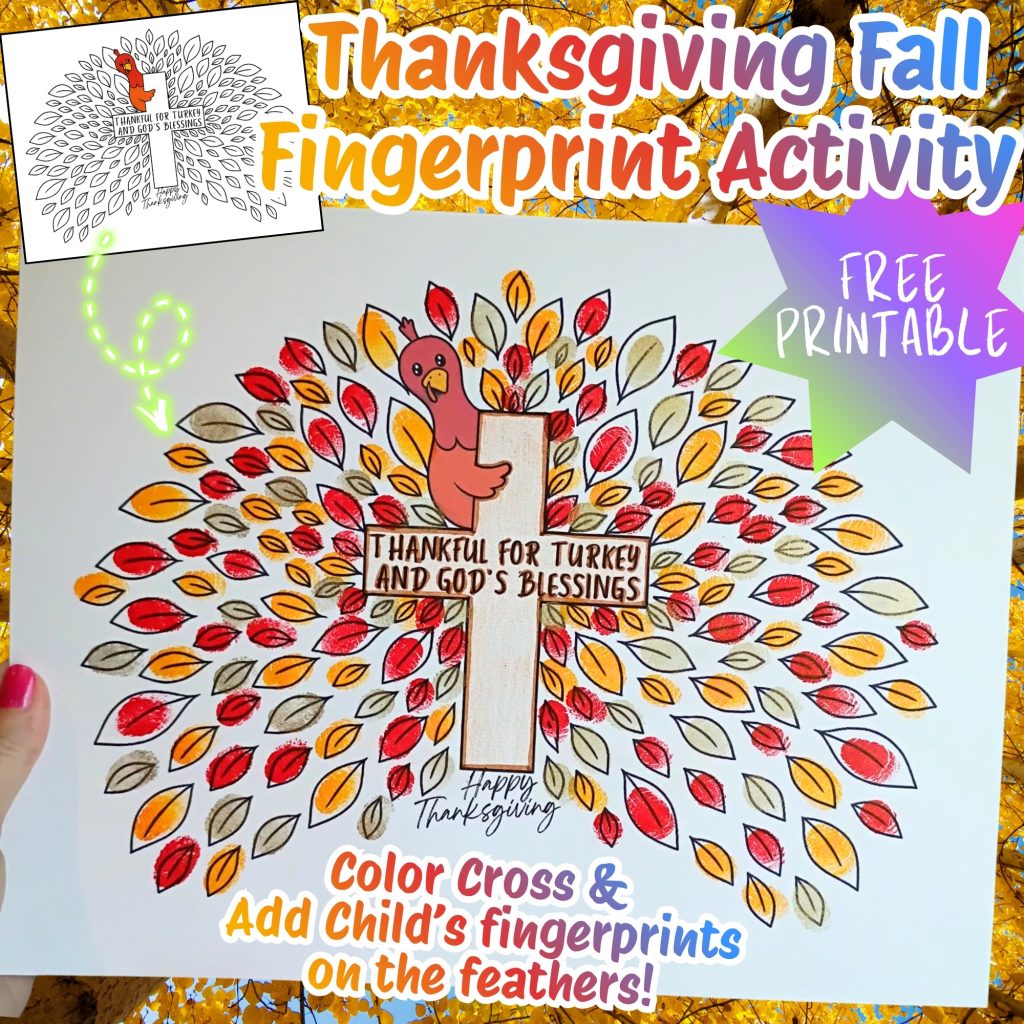
This post may contain affiliate links, which means we'll receive a commission if you purchase through our links, at no extra cost to you. Read the full disclaimer here.

Supplies To Make A DIY Cross
What You’ll Need:
Drill Impact Drill (Optional) (click here for ours, the drill and the impact came as a combo) C-clamp (large) Miter Saw (click here to see the one we use for our projects) (Two) 2×4 wood peices Kreg Jig Project Silicone Paint Or Stain Of Choice (we went with white)How To Make A Cross: The Easy Instructions
We started making the cross out of two 2×4 boards. You will need to have a long wood peice and two shorter peices of wood for this project. The shorter peices will be cut the same size and all three peices need to be cut at your desired length to fit where you plan on displaying it. After peices are cut and ready to assemble, we made two sets of holes at the end of each of the two smaller boards using a kreg jig tool. Our c-clamp was helpful with securing the wood so we could drill our holes.


I originally thought of staining the wooden cross instead of painting it white because I thought it would look more rustic but I am happy with the way it looks. The black beads against the white definitely pop and make it more of modern farmhouse. There are lots of cute ways to decorate a wooden cross. I might look for a really cute miniature sign to attach to it saying “he is risen” or I might DIY one myself if I’m not able to find one.
That’s all guys! A really simple project with leftover wood you may have laying around the house. Thanks for checking out our blog.
I hope everyone has a happy Easter!

