This post may contain affiliate links, which means we'll receive a commission if you purchase through our links, at no extra cost to you. Read the full disclaimer here.
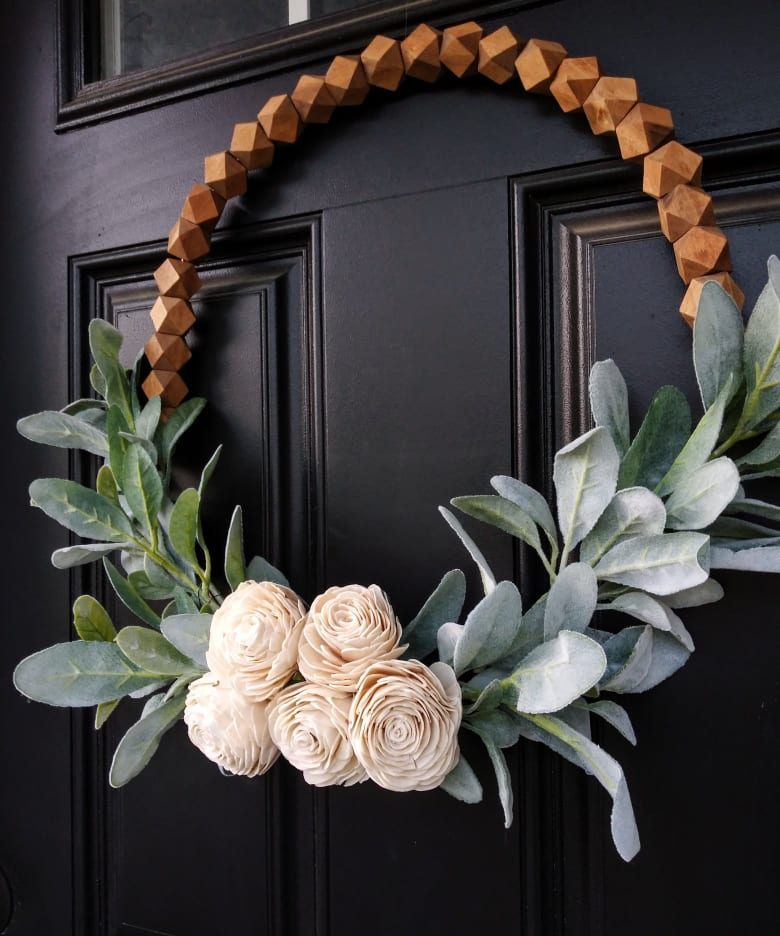
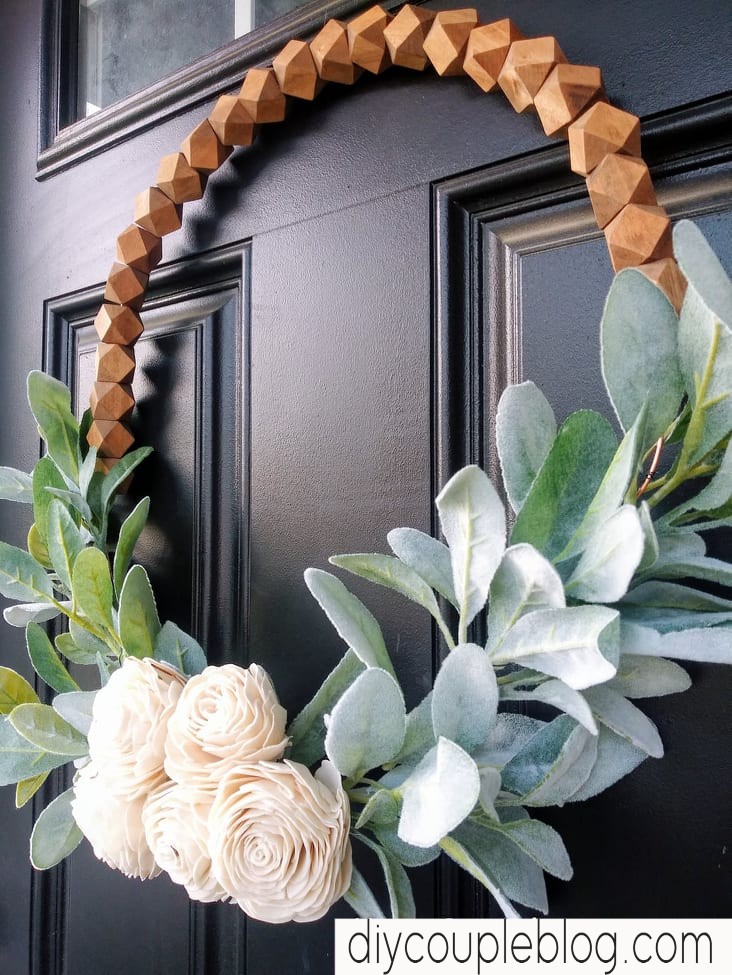
A Wood Beads DIY using stain so you can use them on your next project (like a wooden bead wreath)
Easily change the natural raw color of your wooden beads with wood stain.
See how we did it below!
What Are Some Other Wood Bead DIY projects
Wondering what kind of creative crafts you can make with large wooden beads?
You can use the stained beads from this diy and make wood bead garland, wreaths…as mentioned earlier, create plant hangers, Christmas ornaments for the tree, a wooden bead necklace as well as earrings and other jewelry.
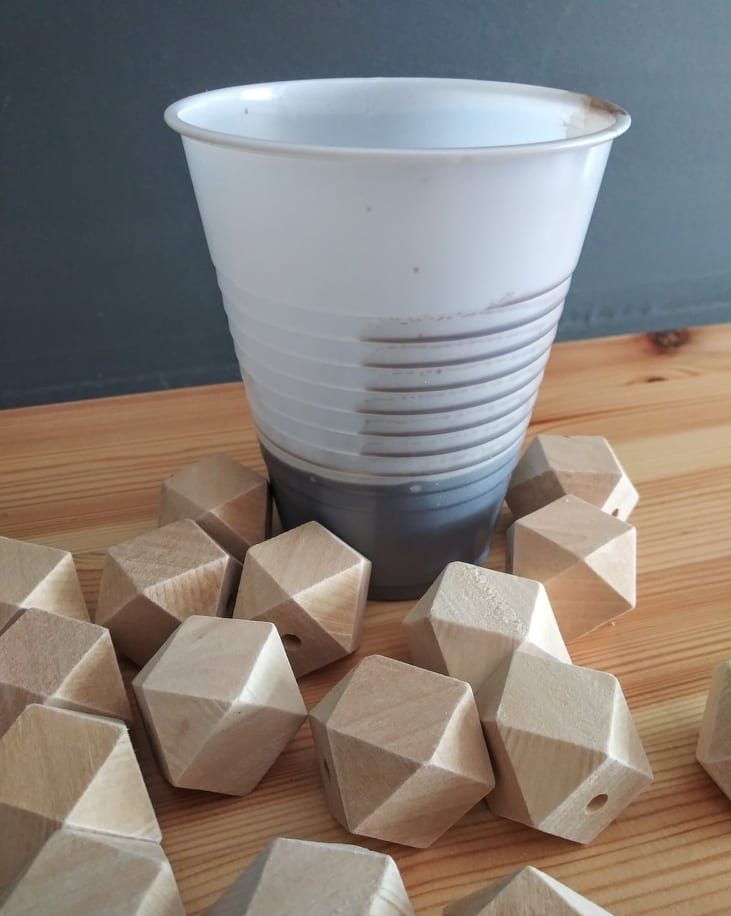
I recently picked up some geometric beads to make the perfect wood beads DIY.
It turned out really cute.
While considering my wooden bead wreath, I really wanted to change the wood color on the beads.
Welp, I did it and now I’m hooked and want to do more bead crafts that involves other stain colors!
Staining the beads added so much rich color and refashioned the natural wood beads to make them look rustic.
Now, I’d love to show you how I did it!
How To Stain Wood Beads To Jumpstart Your Next Wood Beads DIY:
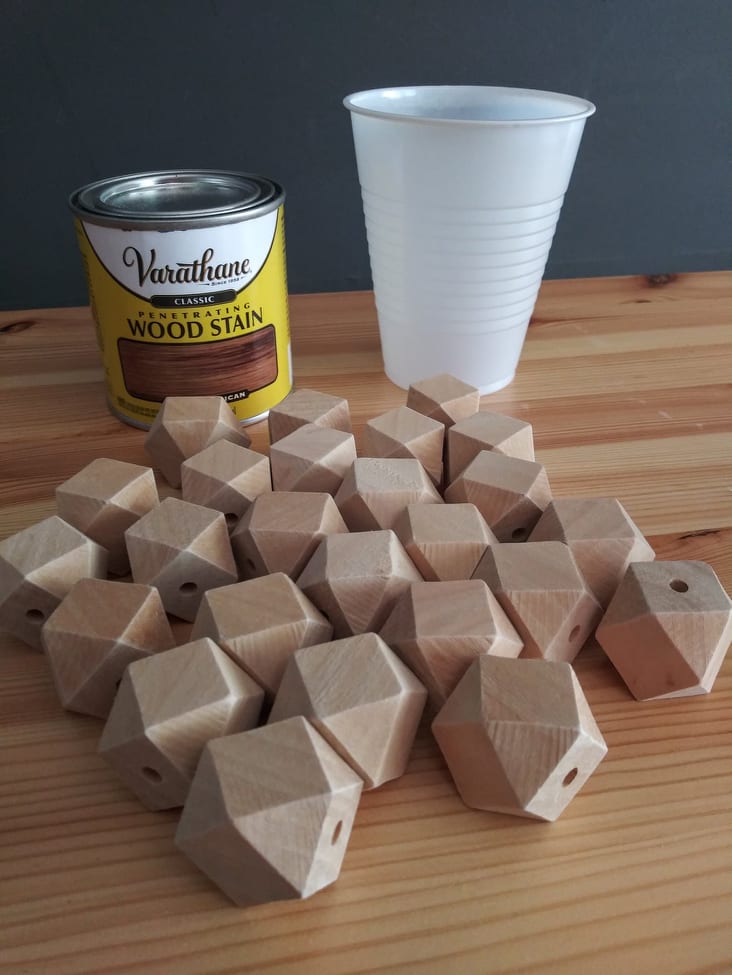
What You’ll Need:
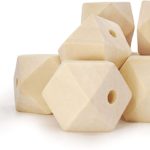
Wood Craft Beads (I used 1 inch wooden beads)
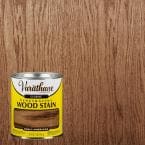
Stain (I used Varathane in Early American)
Large amount of Paper Towels
Tips Before Getting Started:
- You’ll want to do this outdoors or in a well-ventilated area. We chose to do it in our garage with the door open.
- This technique is very messy. You’ll want to make sure to wear gloves and have plenty of paper towels on hand (mentioned above).
- Also choose a very clean work environment containing no dust or debris on the surface in which you will lay your beads. It will stick to the wet stain.
The Easy Steps:
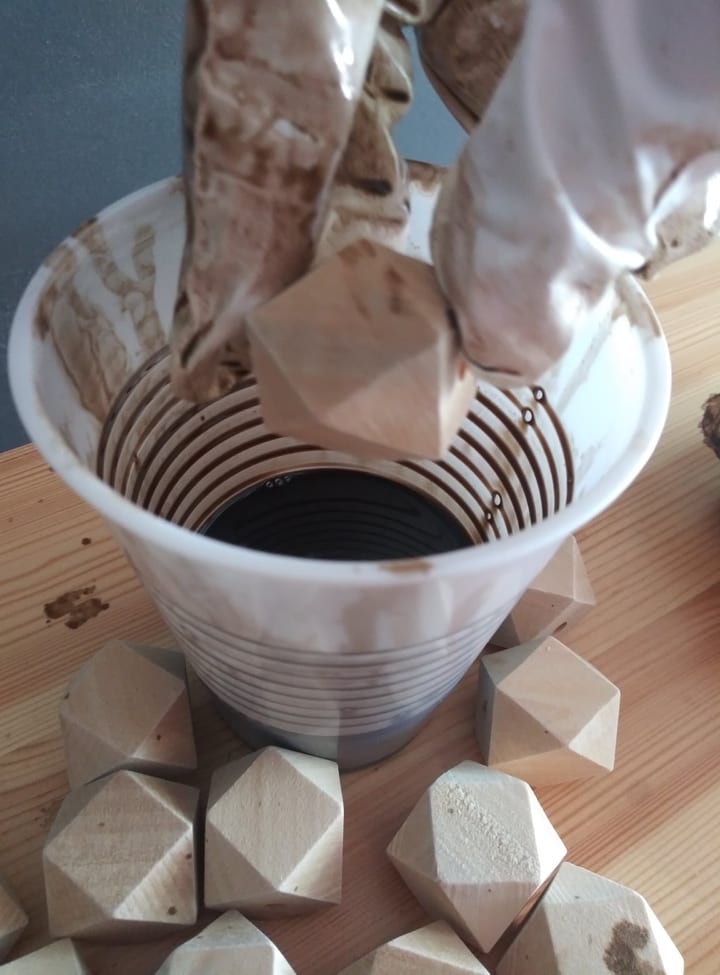
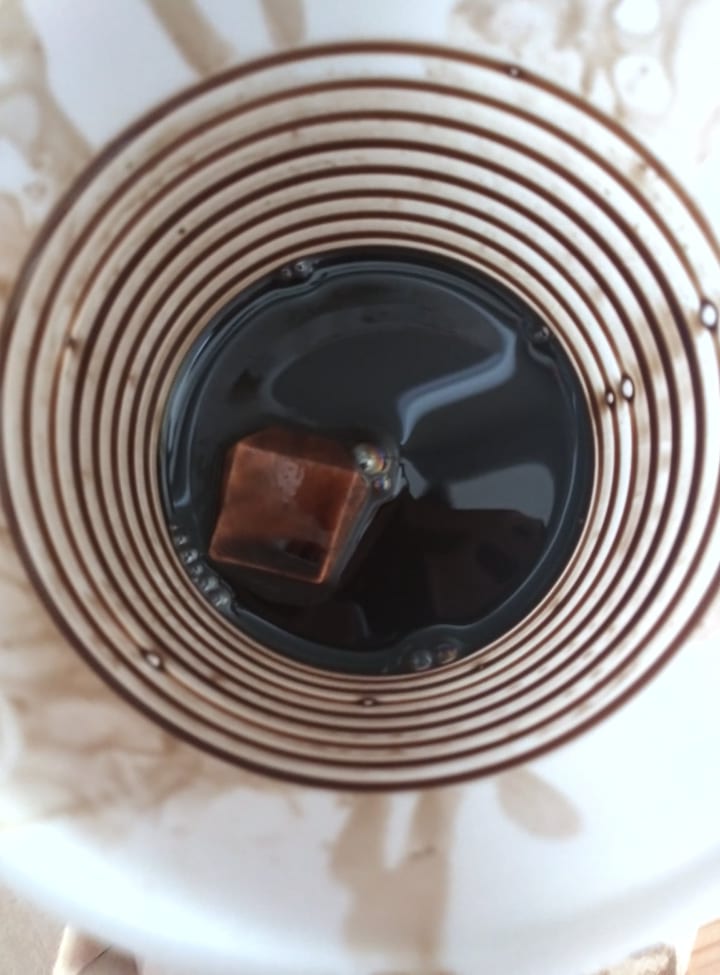
Once you have your gloves on you can start by pouring your stain into the cup. Fill it only above the height of your beads.
Drop your bead in the cup and take it back out.
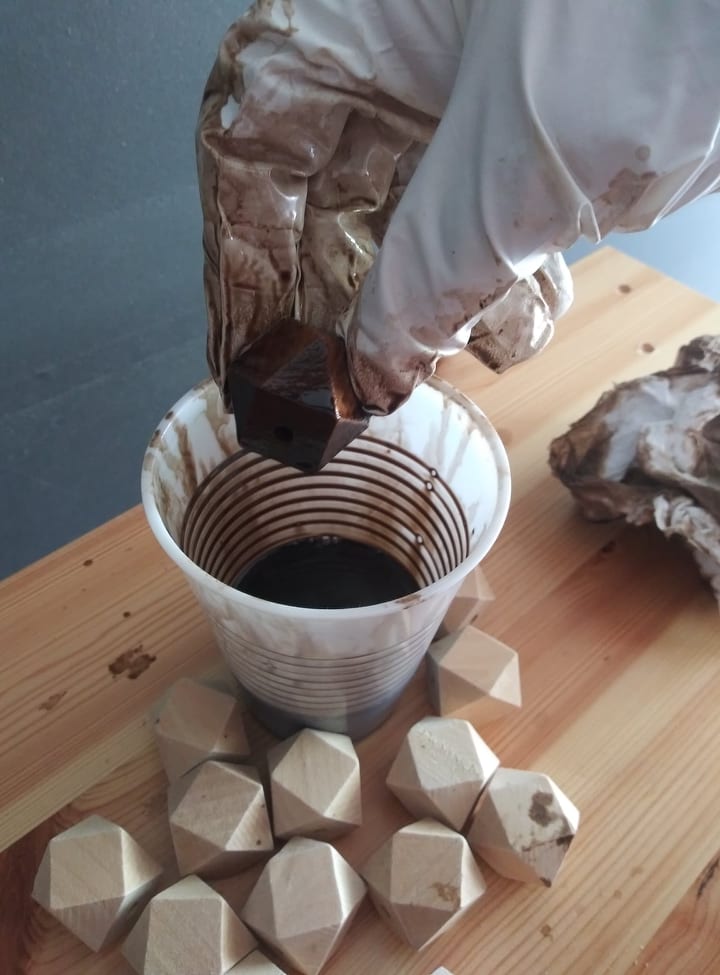
Using a paper towel roll the bead in it to get off all the excess stain.
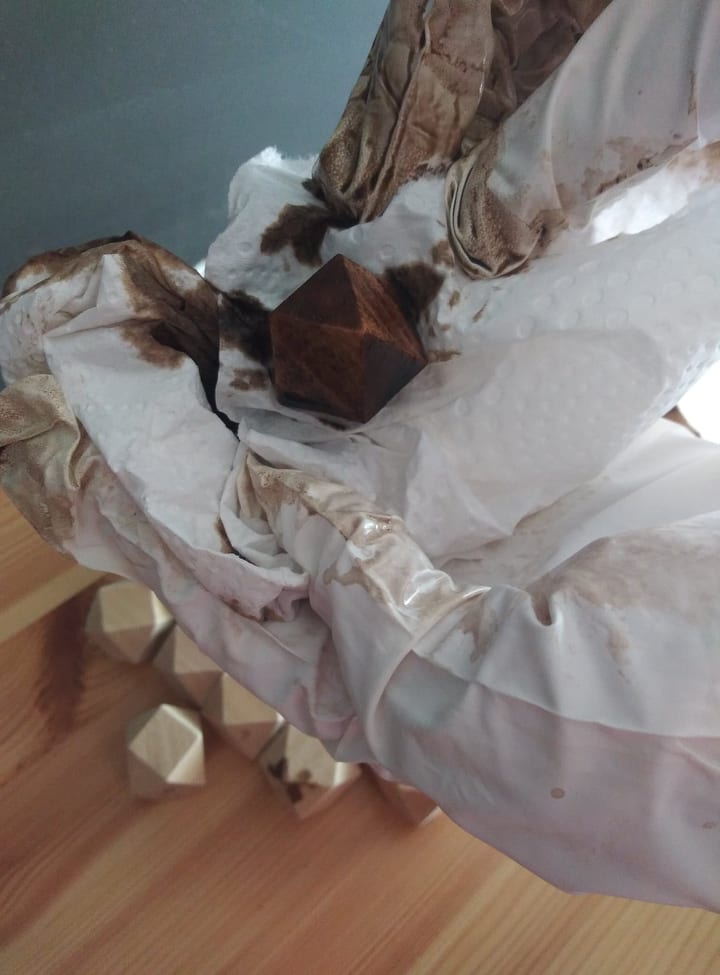
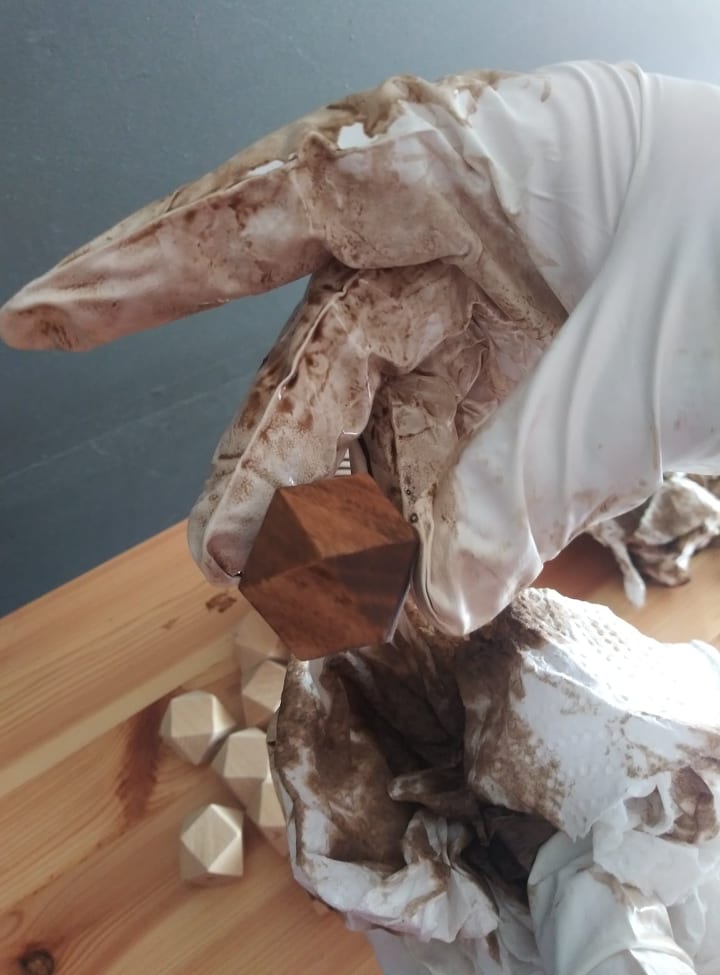
Allow your beads to cure on a dry surface with the holes facing up.
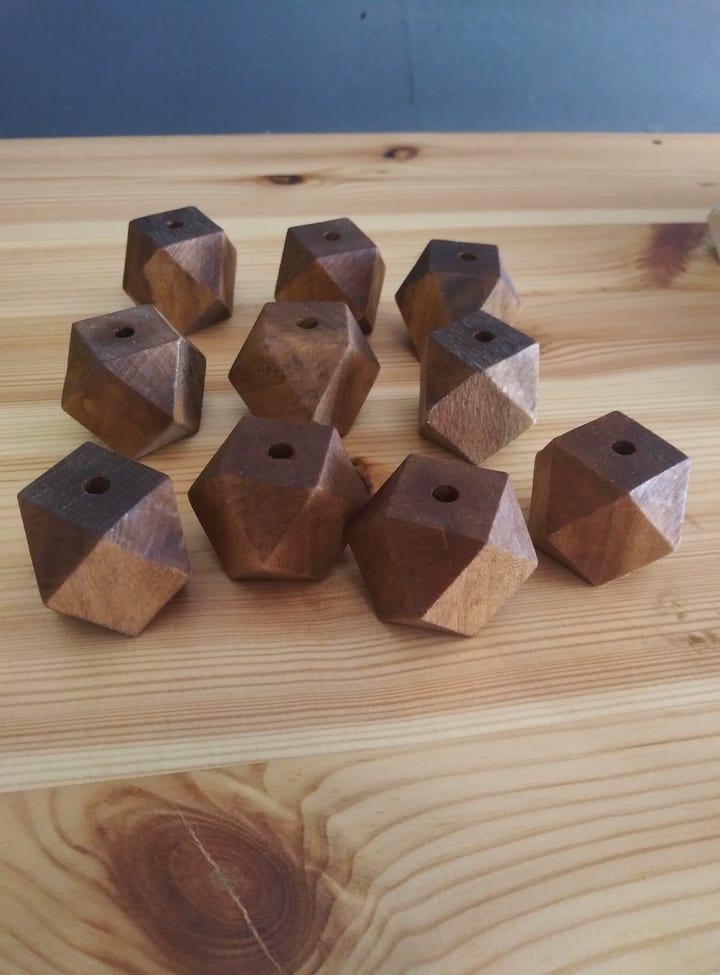
Once all the wooden beads are stained, let the beads dry for at least 24 hours to reduce the oils getting on your fingers.
Now your wood beads are ready to use!
Final Thoughts
I do have a few more projects planned with these beads that I’ll be sharing with you sooner or later since I have a lot of beads leftover I didn’t use yet.
If you weren’t sure how to stain wooden beads…now ya do!
I’m secretly dying to try the gray and black stain on wooden beads too!
Click To Shop Related Products

Pin It To Your Craftiest Pinterest Board To Hold Onto This Wood Beads DIY!