This post may contain affiliate links, which means we'll receive a commission if you purchase through our links, at no extra cost to you. Read the full disclaimer here.
Here we are with our latest outdoor project in the backyard. Today I’m sharing the before, after and a tutorial to build your own raised wooden garden beds. We built it right off our patio!
Learn how easy it is to diy your own raised wood garden beds with treated lumber in just a couple steps to make beautiful flower beds. Along with choosing the right plants, you’ll also add privacy to your raised garden.
Here is a short recap of our backyard improvement and some diy projects along the way.
The Before Progress
When we first moved into our home, our backyard was anything but functional. To get us by, my hubby threw up these stairs until decisions were made and projects became a reality.
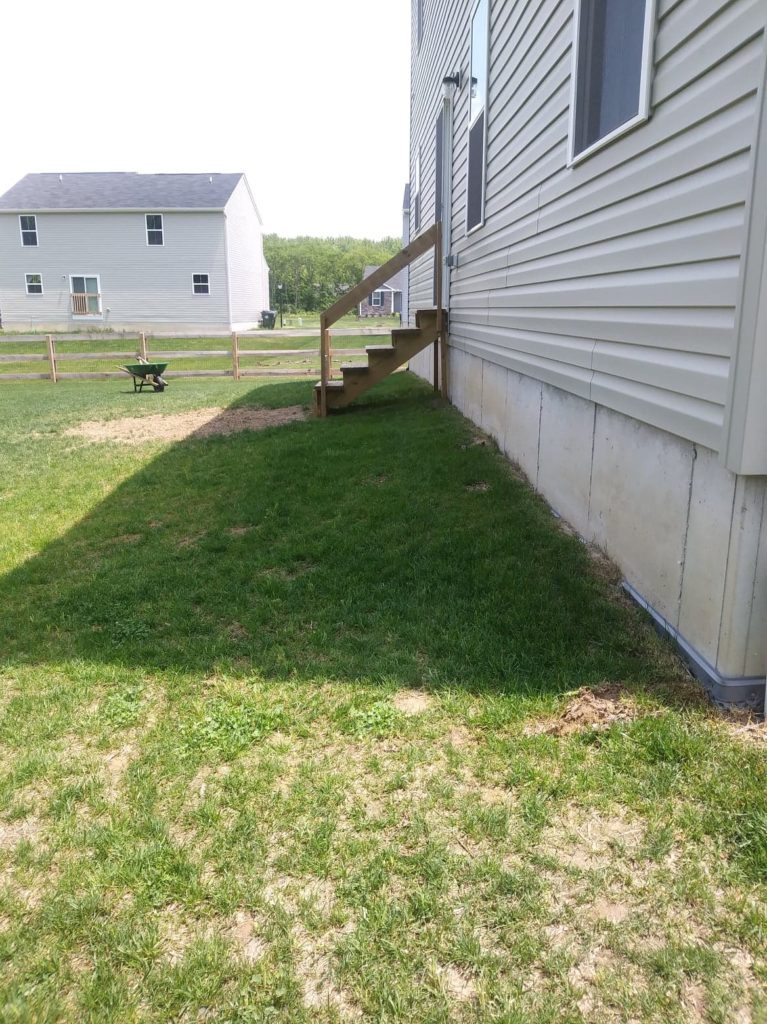
Here’s my boy looking sharp right after the groomers. We had to get his hair cut in the summer months (he’s husky with super thick fur) so he has trouble with the heat, but he loves to be outdoors. He doesn’t seem to mind the stairs.

We try to do our home improvements projects ourselves when we can to cut expensive costs but we made the decision to hire it out after opting for a concrete patio versus a deck, which I’m glad we did. Our yard is sloped so it took a lot of concrete to reach our back door, even with the steps.

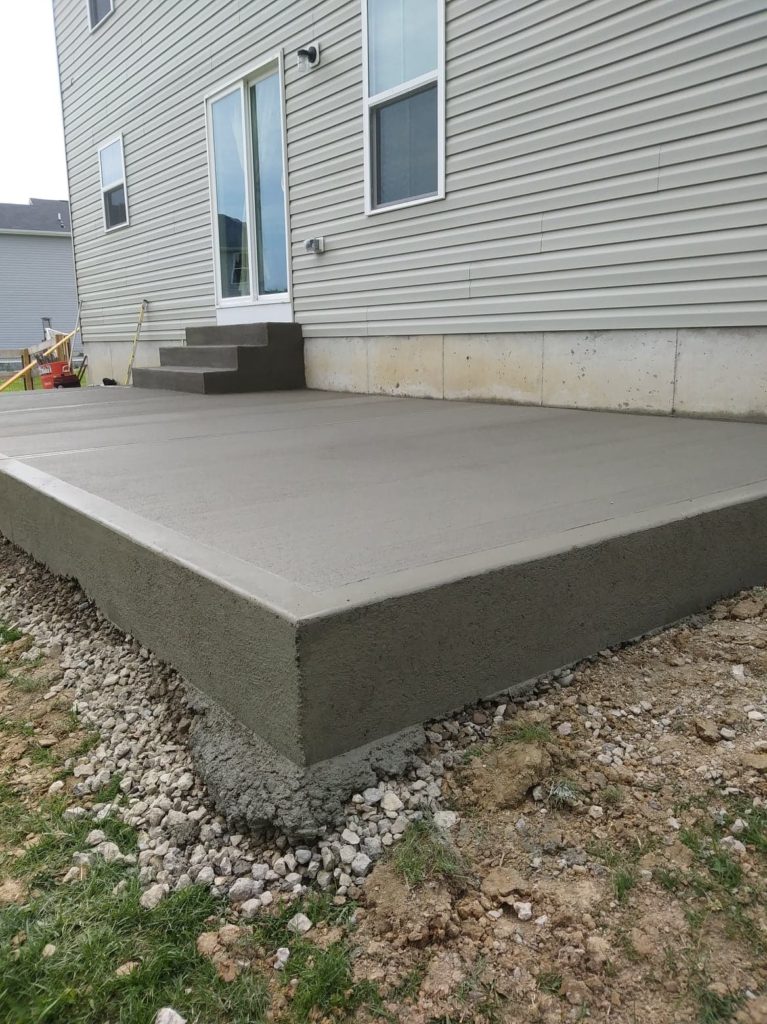

We couldn’t walk on it for 24 hours. There’s sweet Roman in the window awaiting his chance to get to use it.
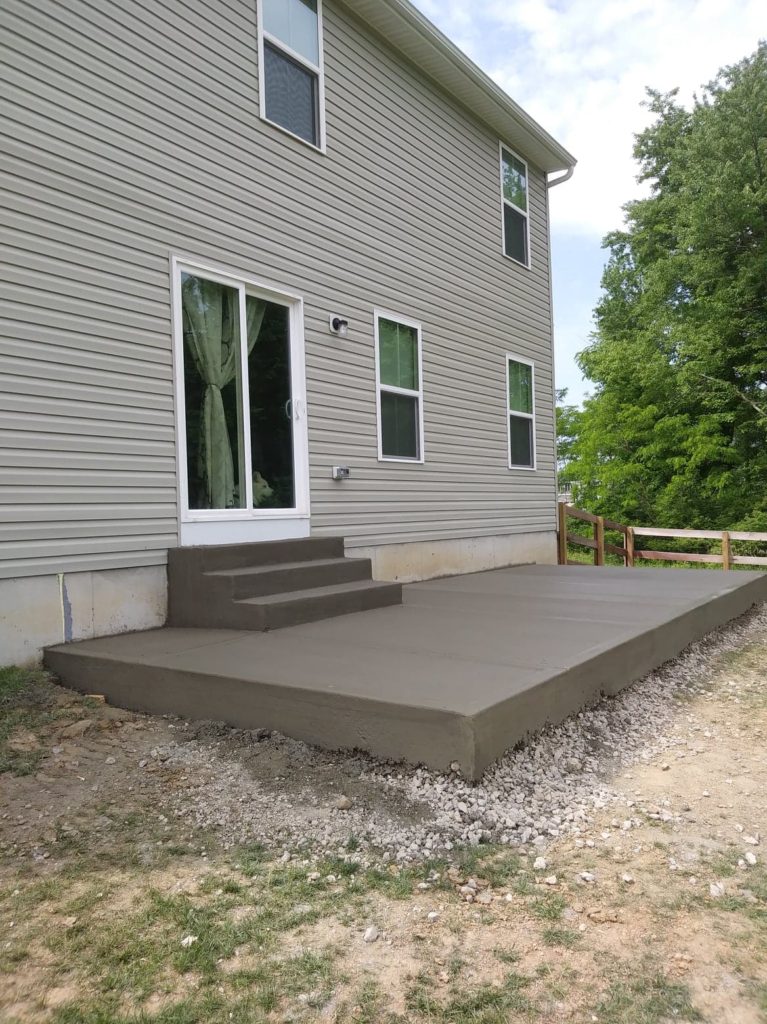

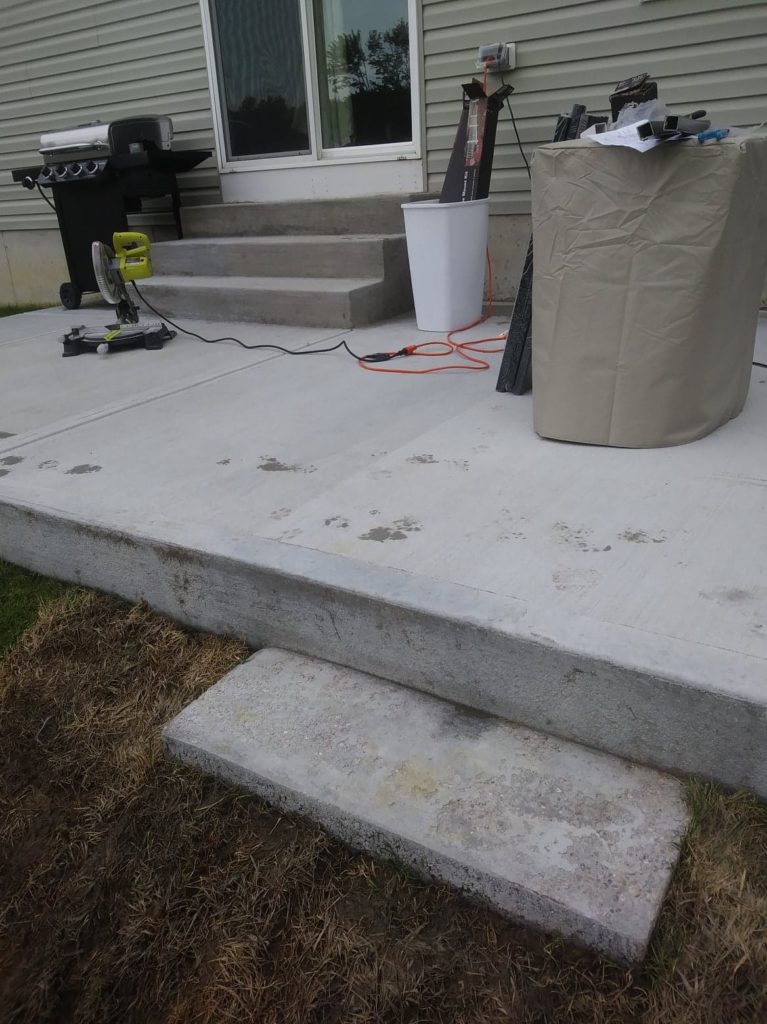
Once that was done we wanted to diy up something to cover up the ugly rocky & unfinished look at the very bottom of the raised patio. We filled all around the edges of the concrete with top soil, packed it down with the tamper and laid Sod for a more natural looking finish.
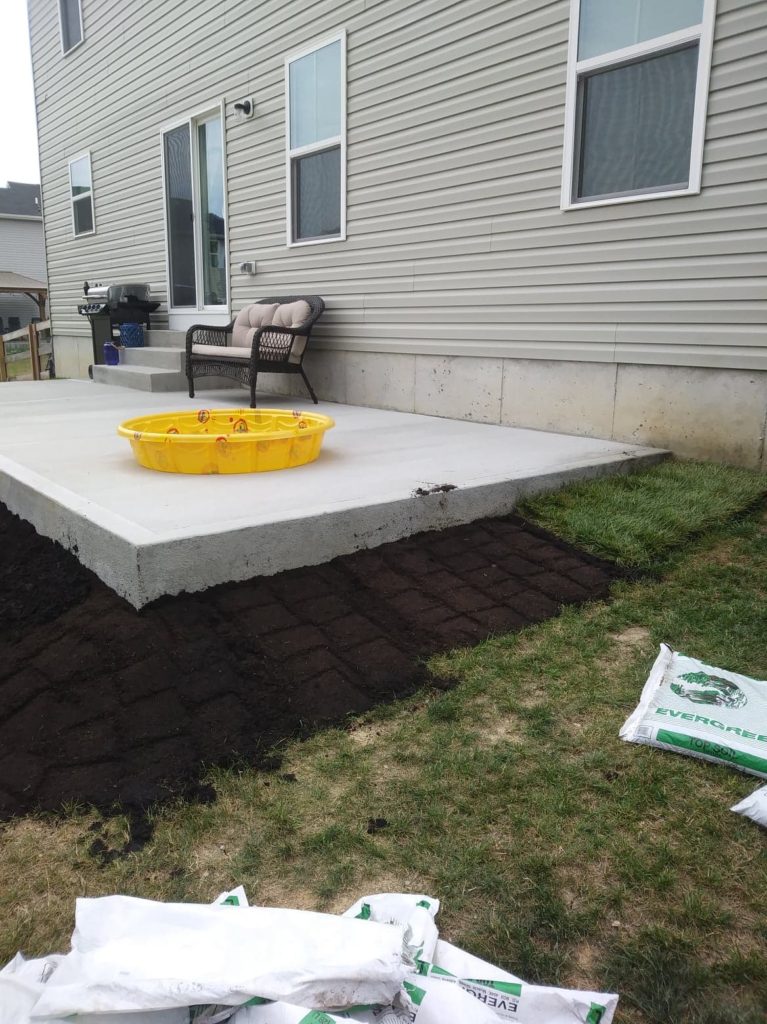
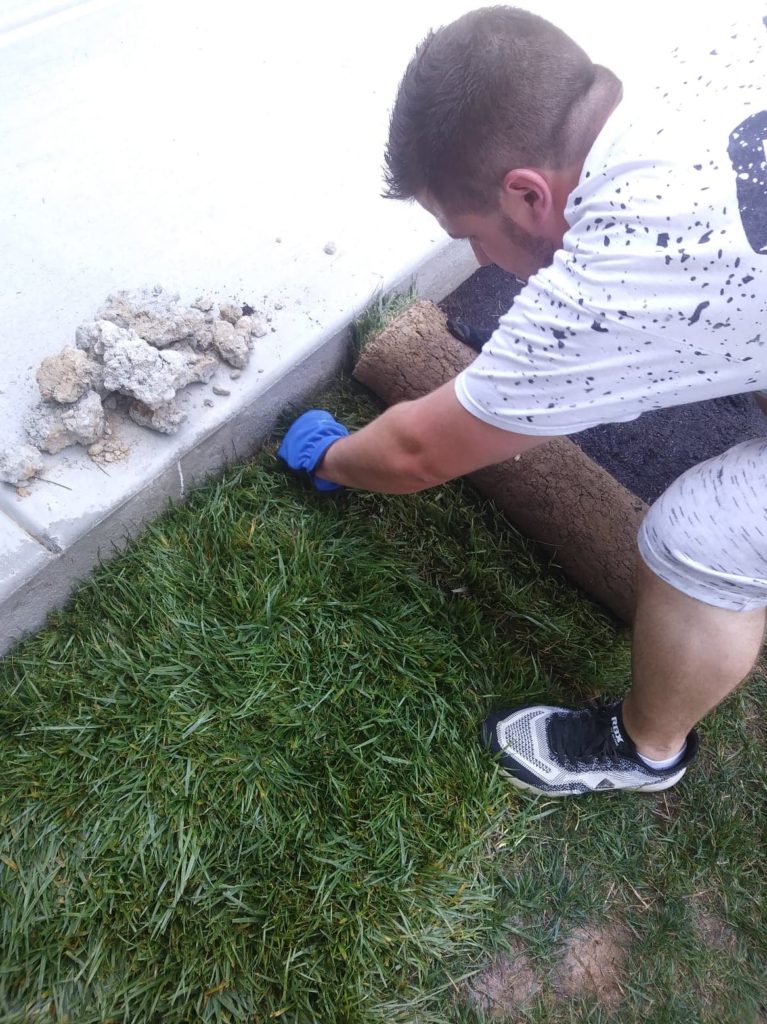
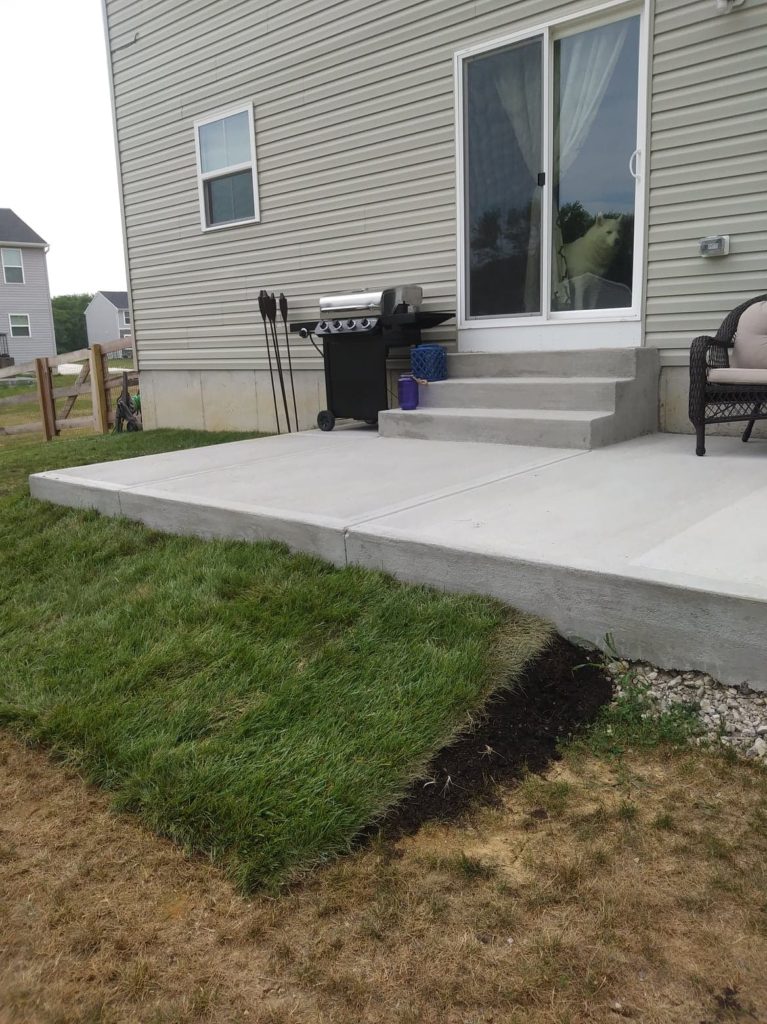
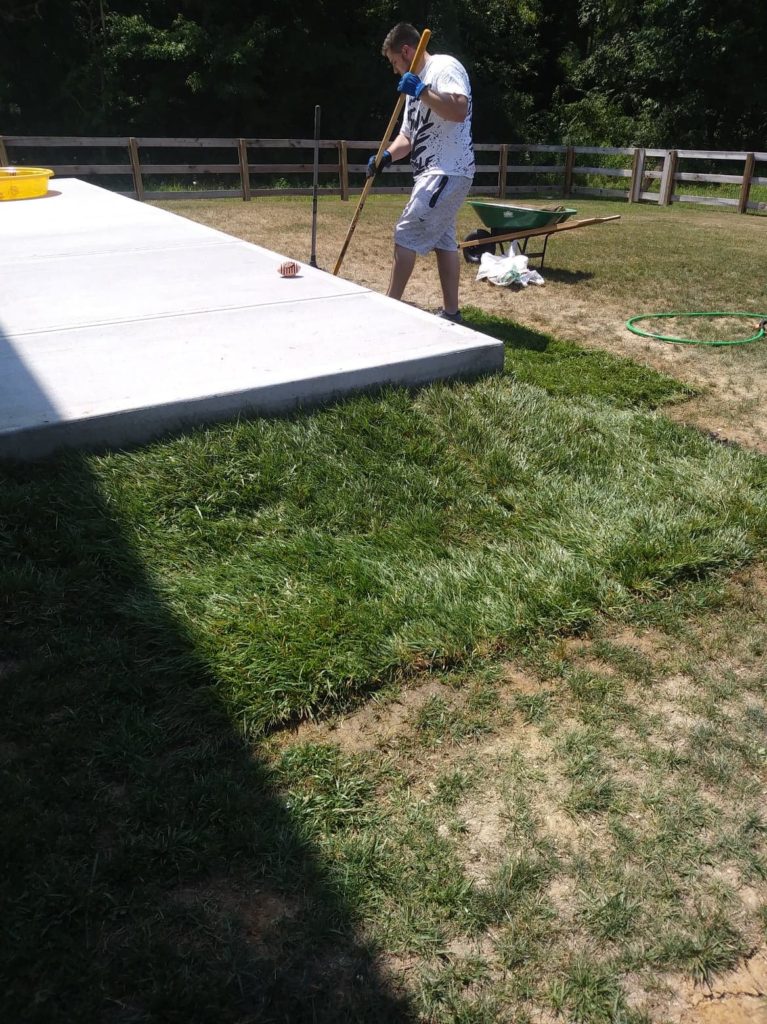
We had a lot of bare spots pretty far out so you can see we brought the sod out a couple rows to meet up with where we actually had grass growing.
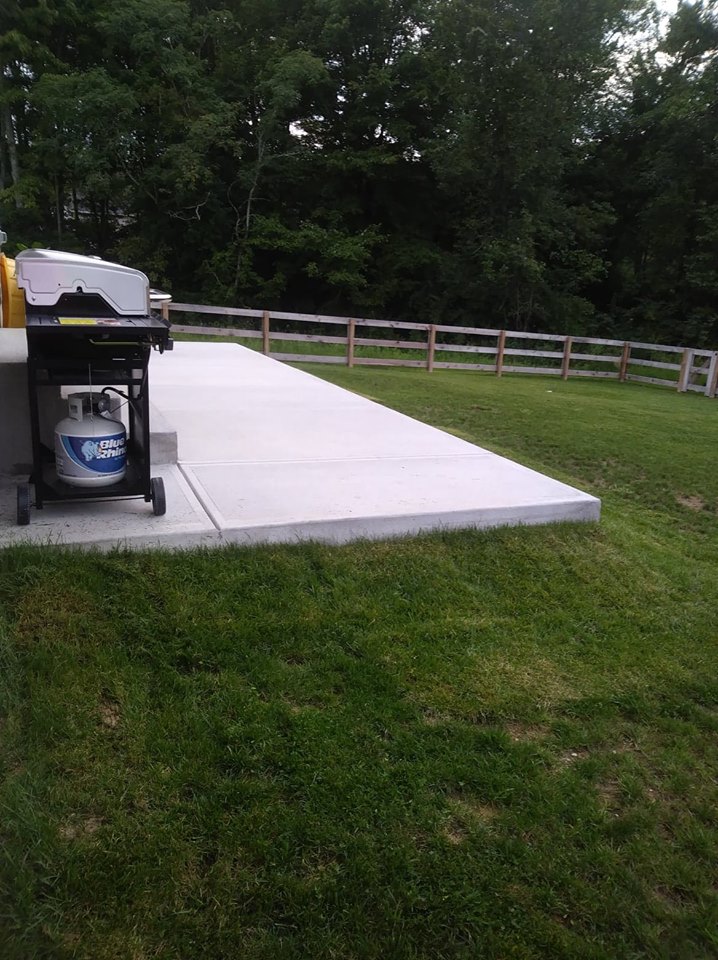
When we came around the front side, we mixed some concrete for a small little step then continued the strips of Sod around it. Funny story. We actually bought dead brown grass ( a couple Sod strips). It was rolled so we didn’t bother to check it at the store. You may see lots of green grass then boom- an eye sore. Me & plants have this thing going, I kill them when we lock eyes 😉 With the Exception of the ones in our flower bed right now. Choosing low maintenance ones make a world of difference. Thinking maybe this dead grass will resurrect next spring. A couple helpful tips for next time-don’t buy dead grass & don’t install a concrete step with uncertainty about rain coming your way. In our defense, we weren’t expecting either the dead grass or the rain. How you think a Diy will go vs. how it goes in real life.
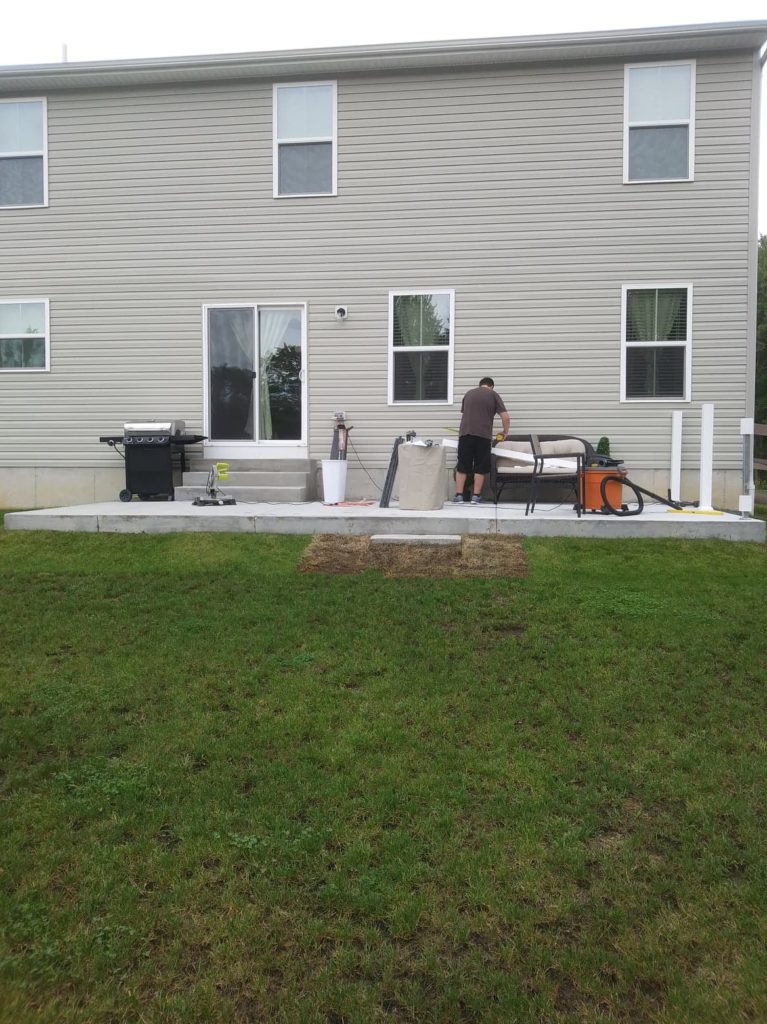
Then came more progress and our next diy. Installing the composite porch railing.
{Before:} You probably remember it looking like this last time I mentioned it when we added the railing.
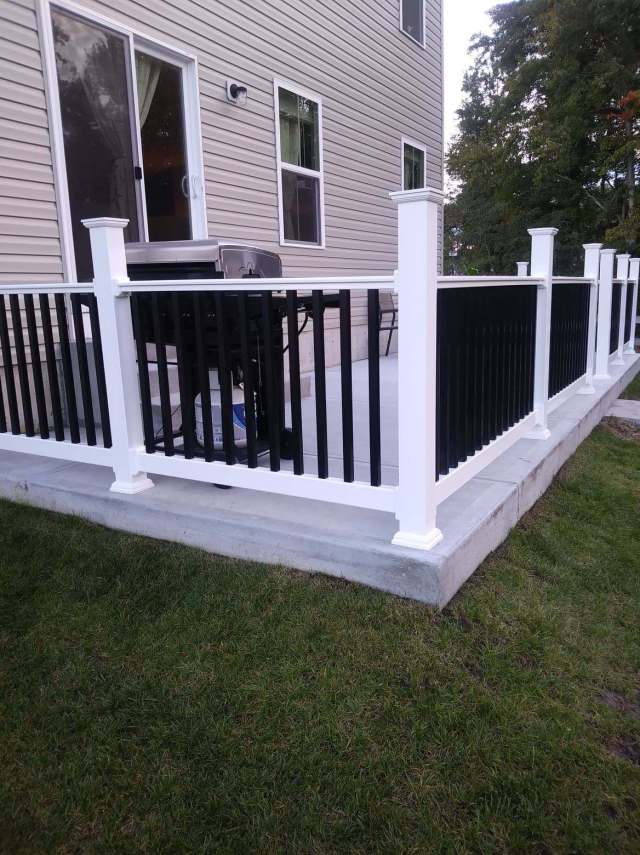
A Raised Bed: Landscaping around a patio
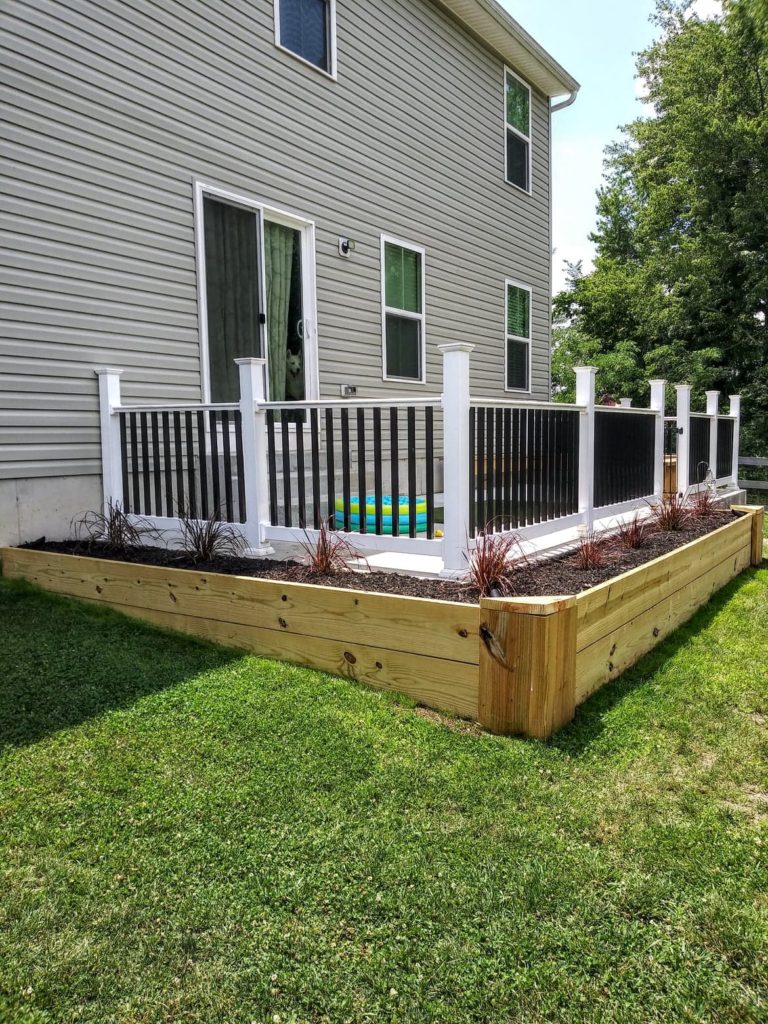
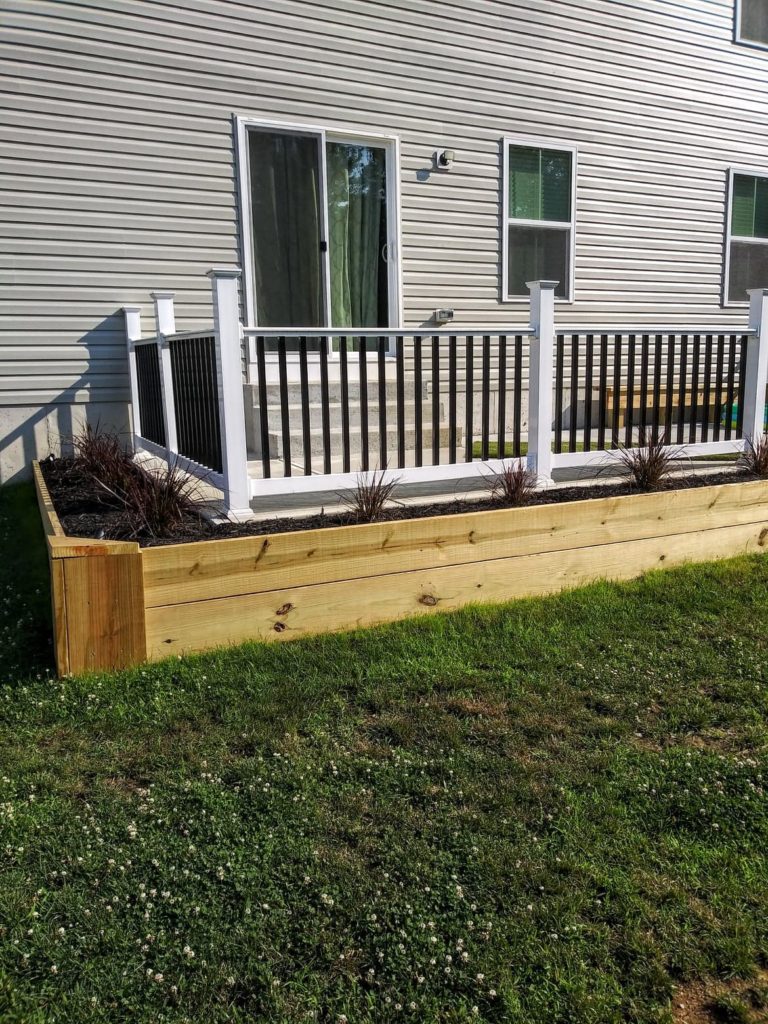
The After Photos
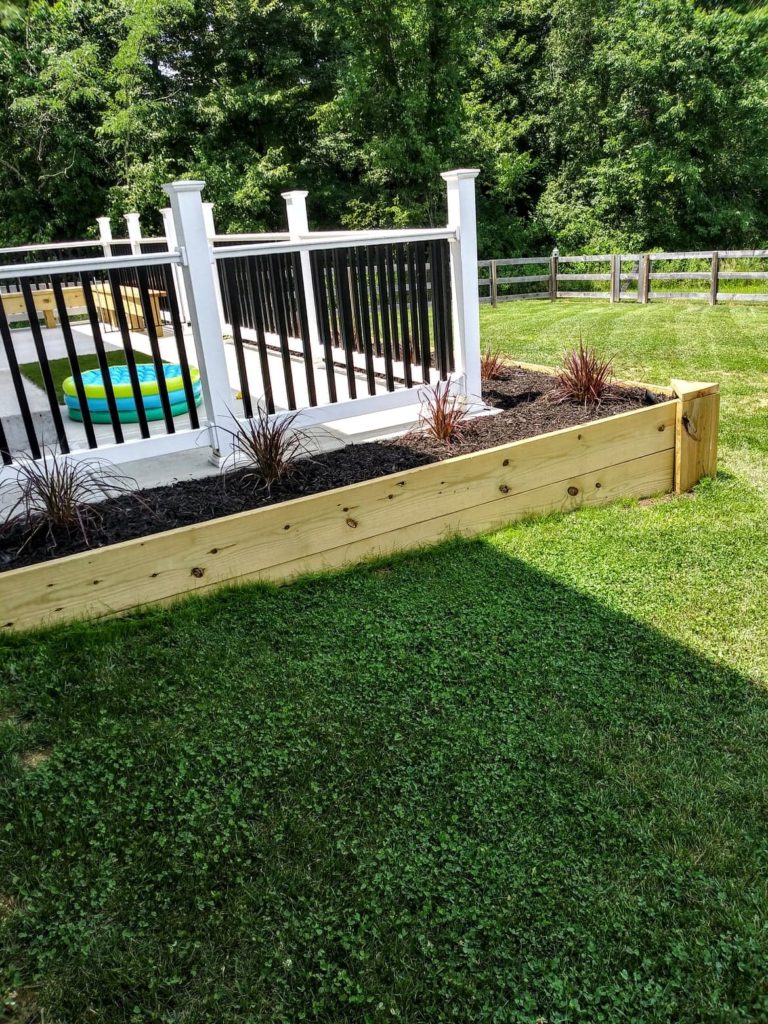
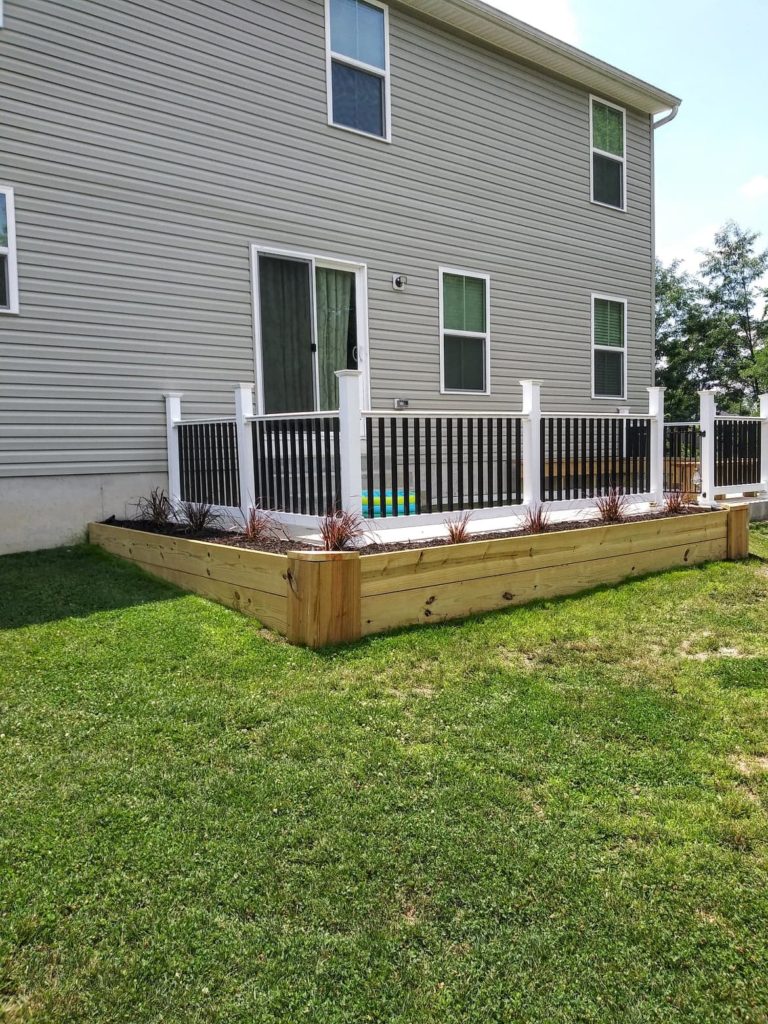
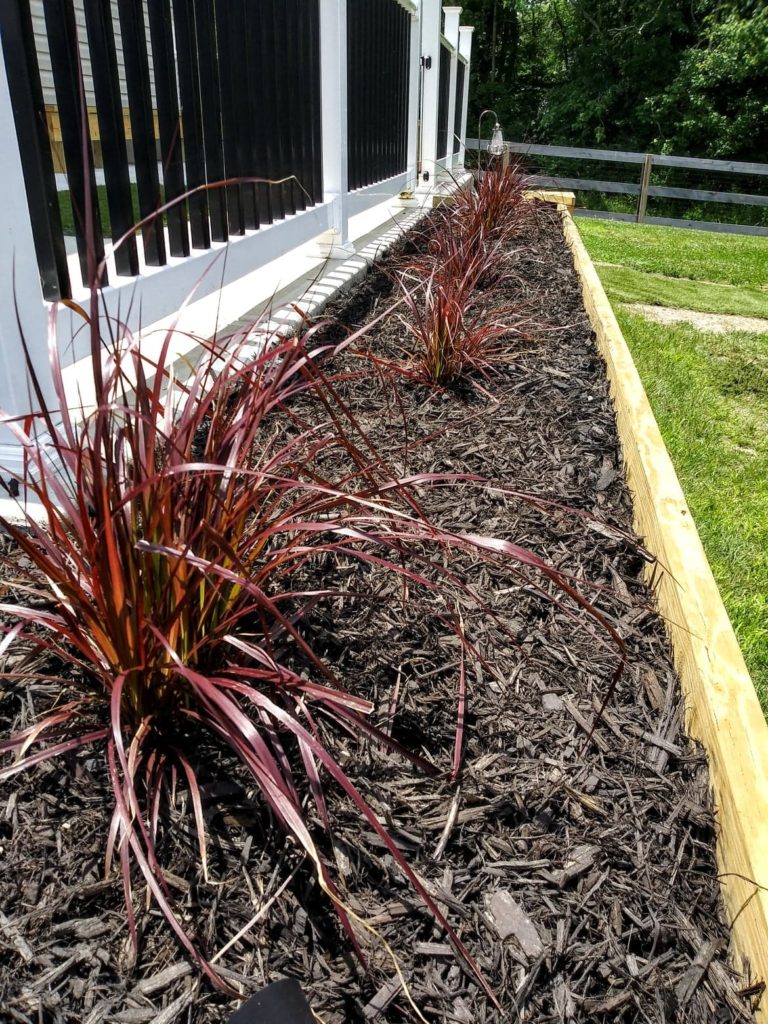
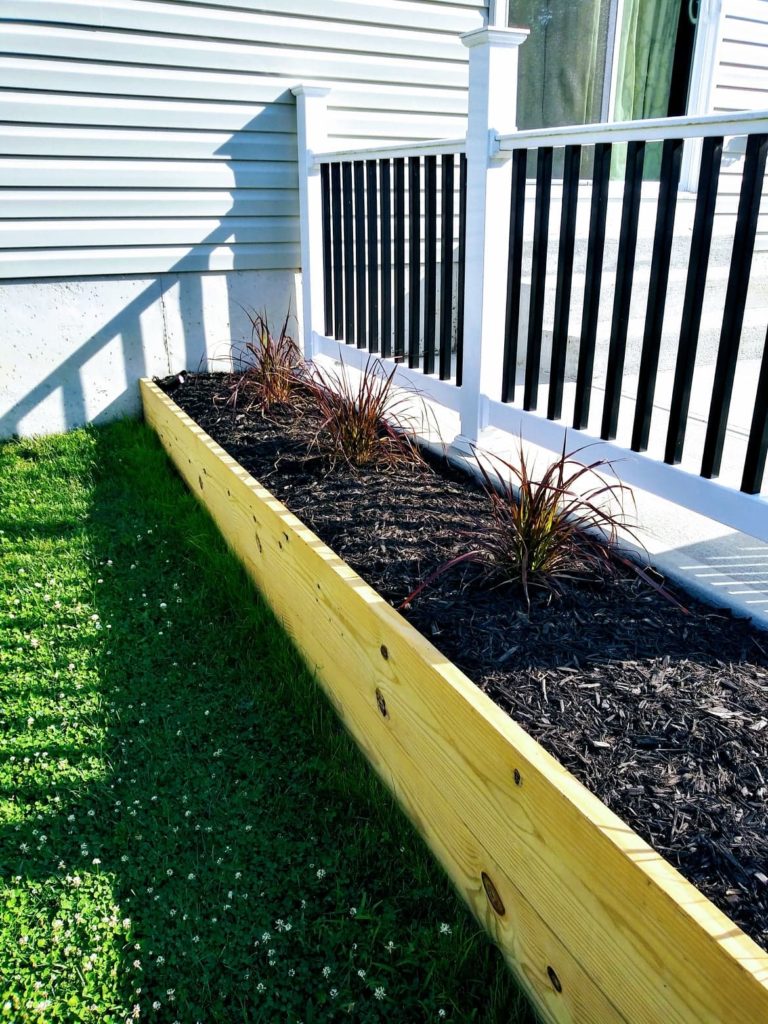
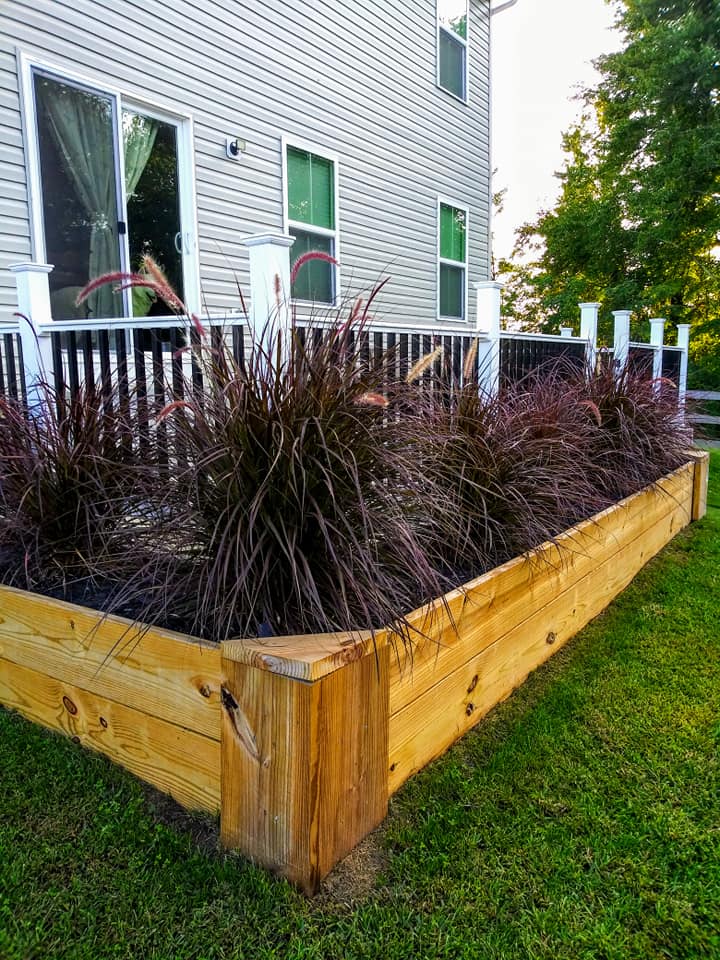
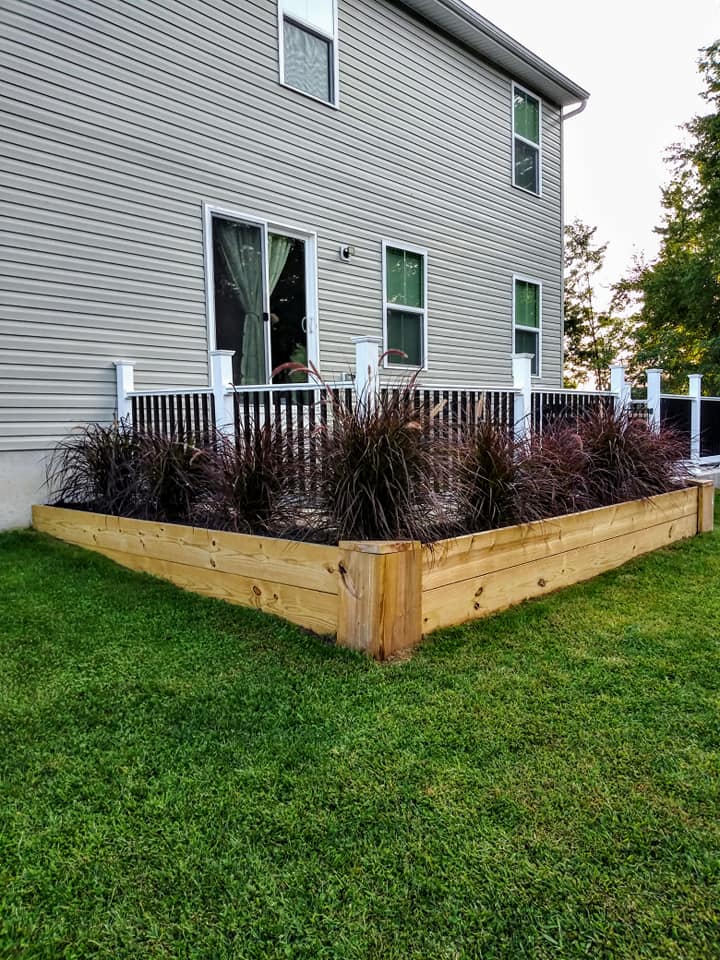
We chose to plant several Firework grasses for this garden space so when it grows tall we will have some good privacy off the patio. You may remember seeing it in our raised bed in front of house, It’s our fave! It made the list in this blog post because it’s so low maintenance to care for!
We had some cute supervising with these two from the porch!

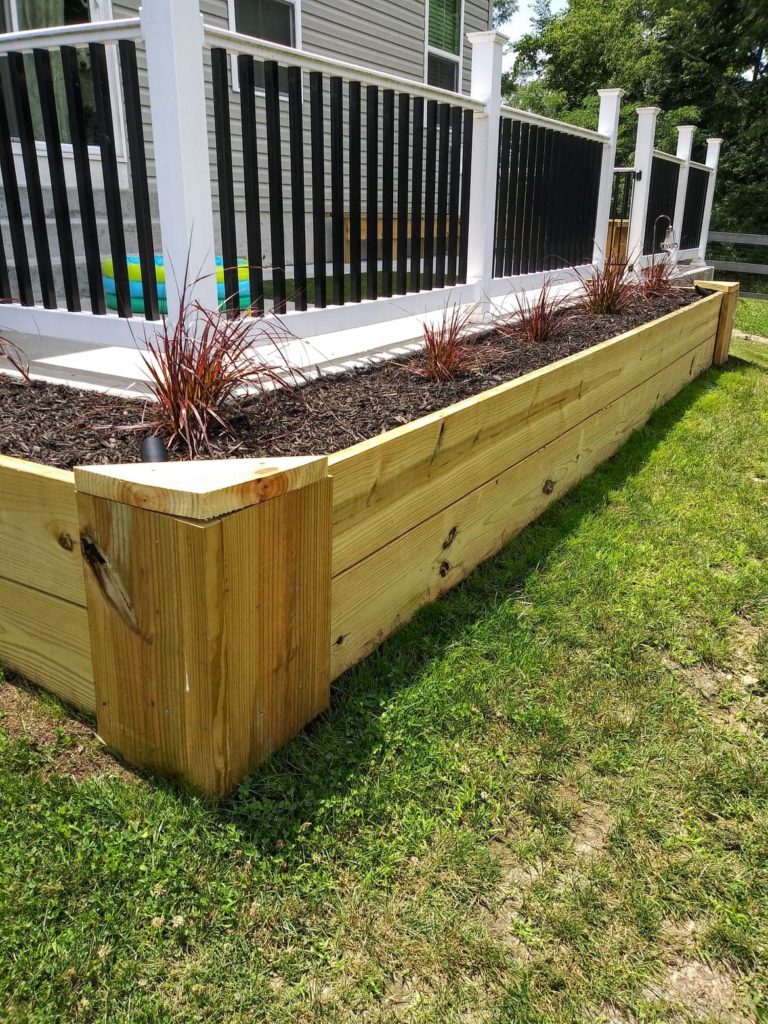
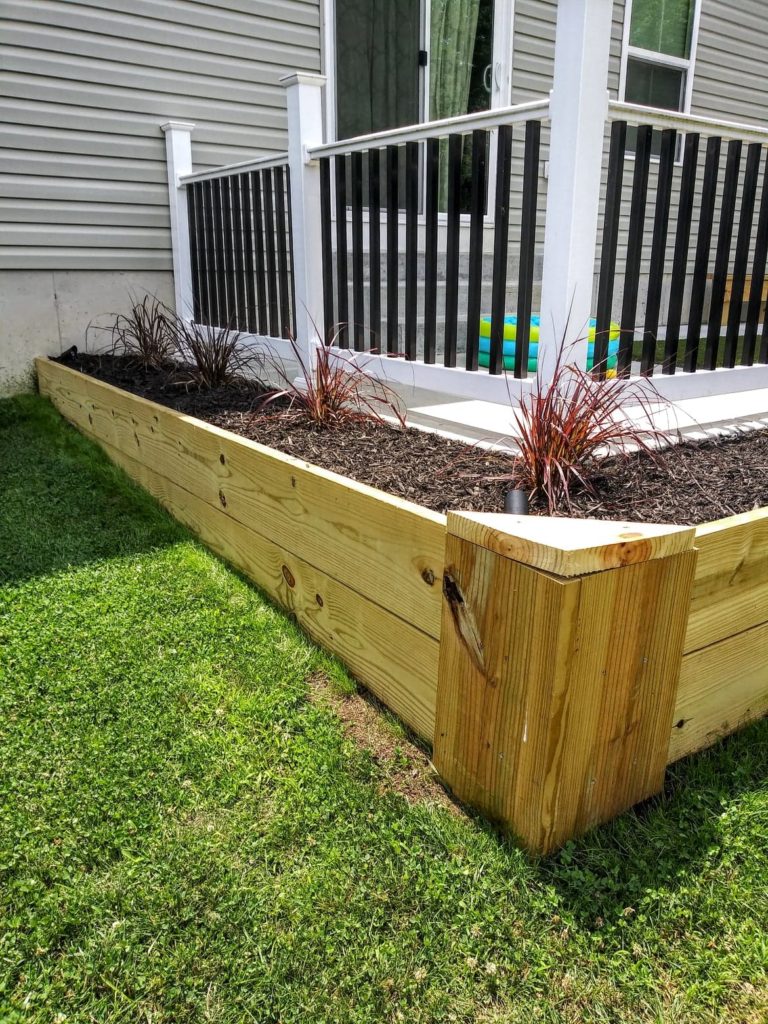
How To Build A Raised Garden Bed Around Patio
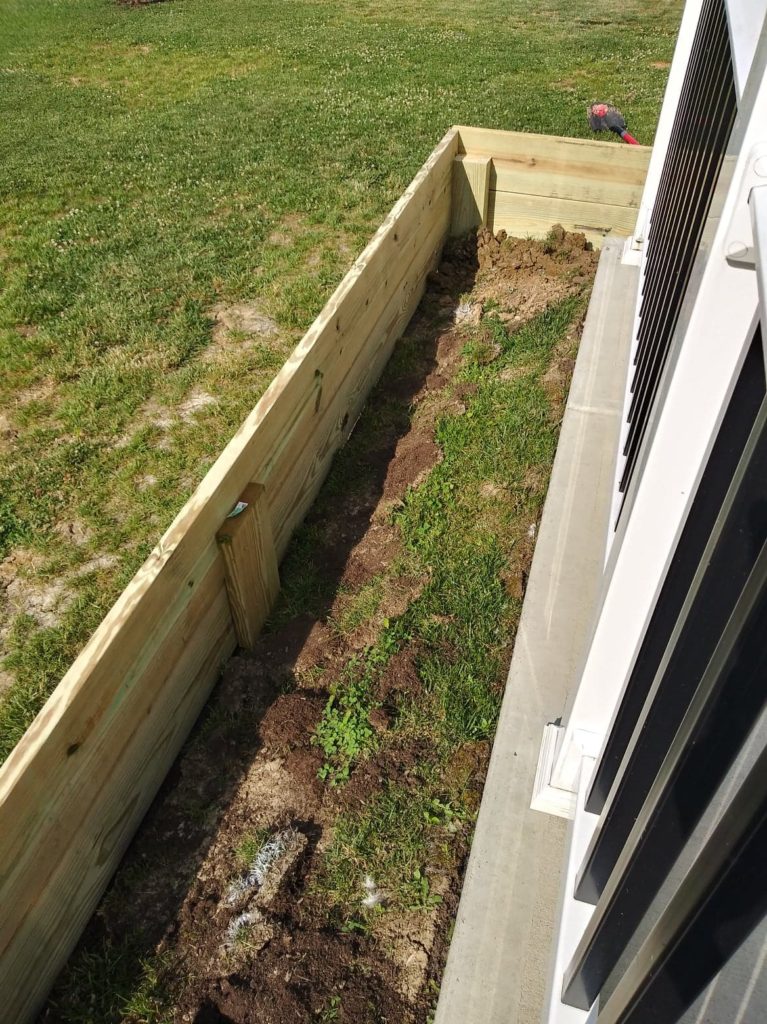
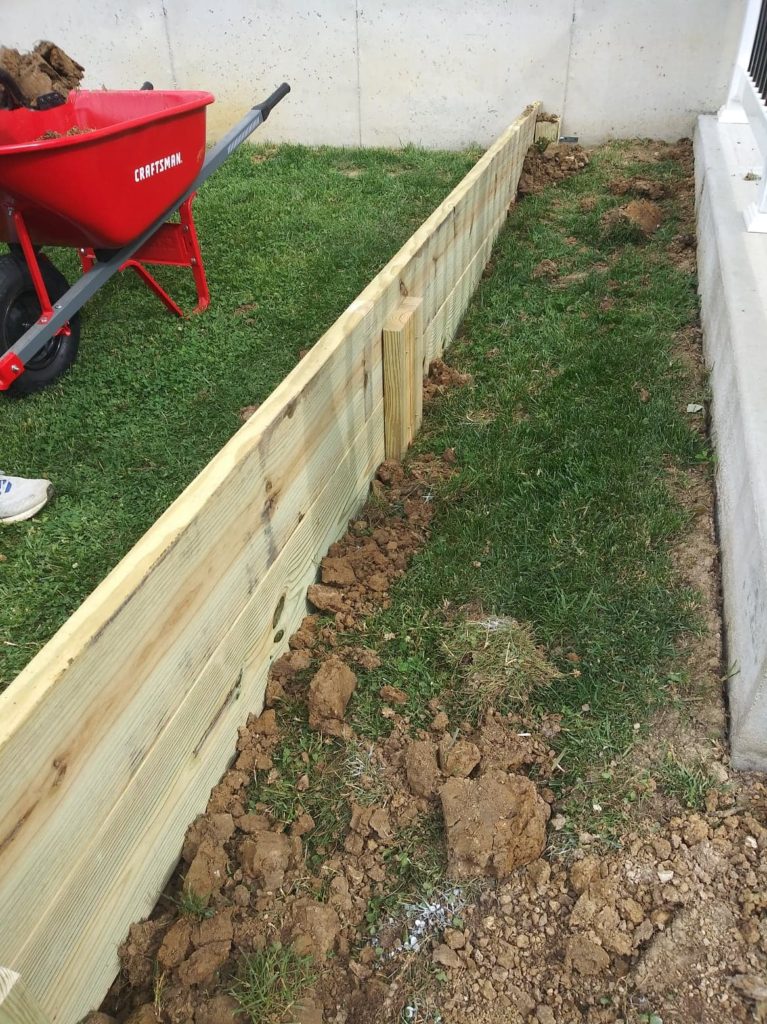
For the garden design, It first took deciding on the size, marking it, and trenching out the edges where the treated boards were going to go. Making sure each board was level once into the dug place.
In order to secure & attach the wood post to the foundation of the house, {& the concrete for the other side} we used a hammer drill to drill holes with a concrete drill bit then swapped to our drill to screw in the screws along with using concrete anchors with corner braces.
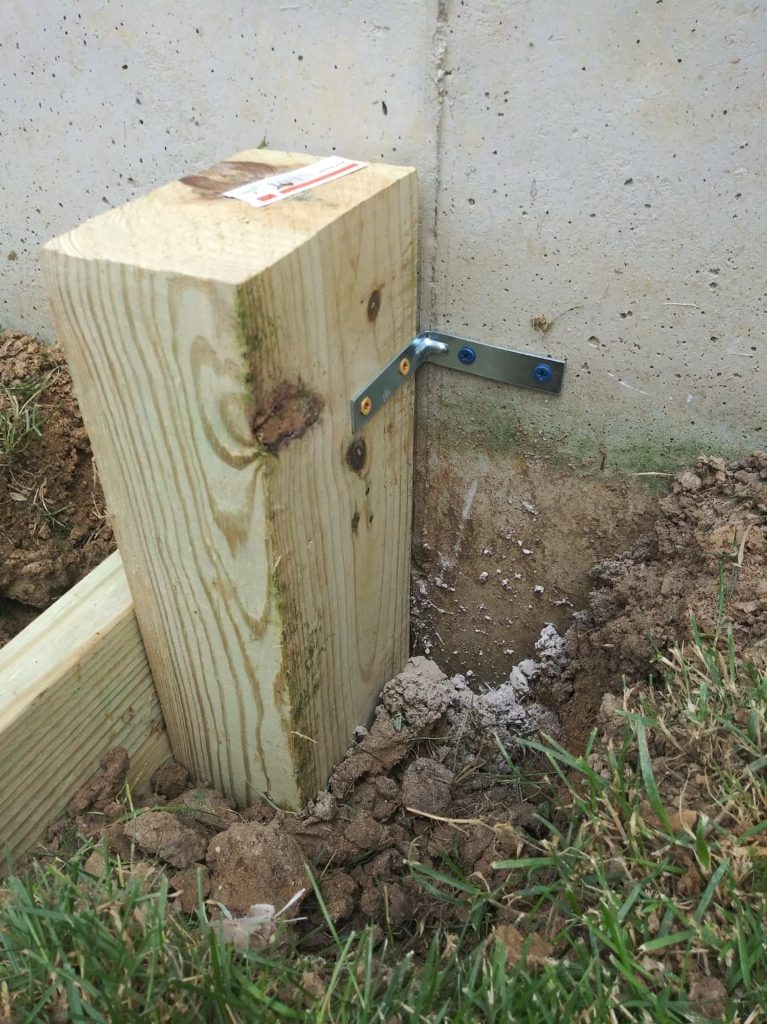
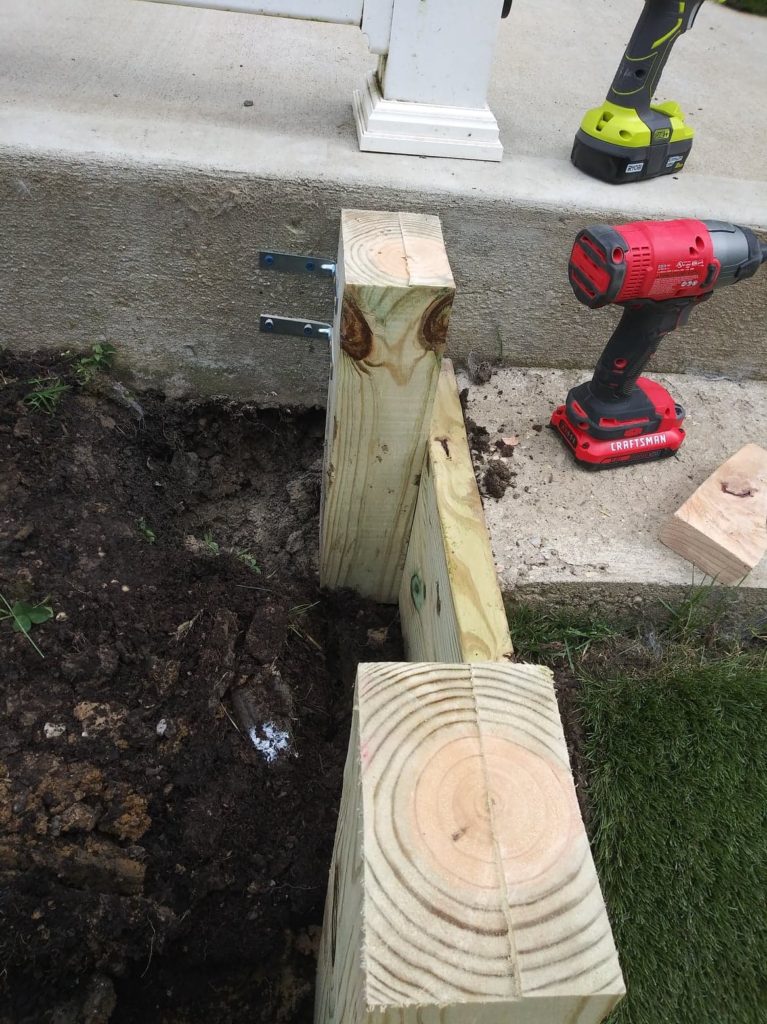
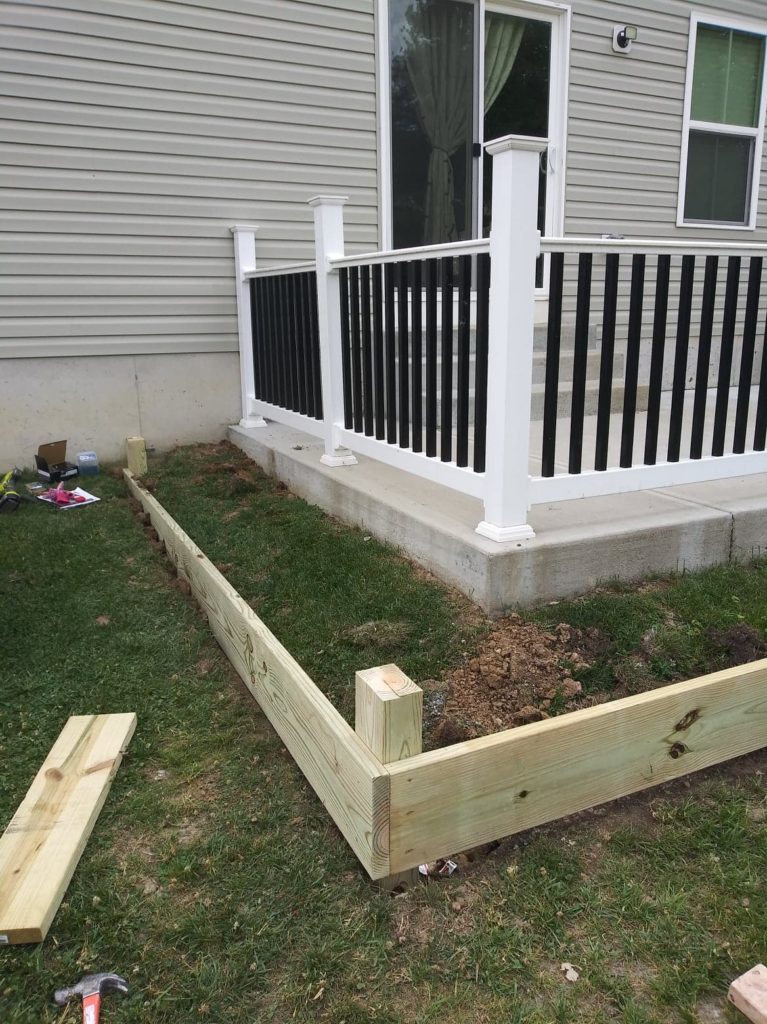
For rest the wood posts we just mounted to the treated boards using exterior screws.
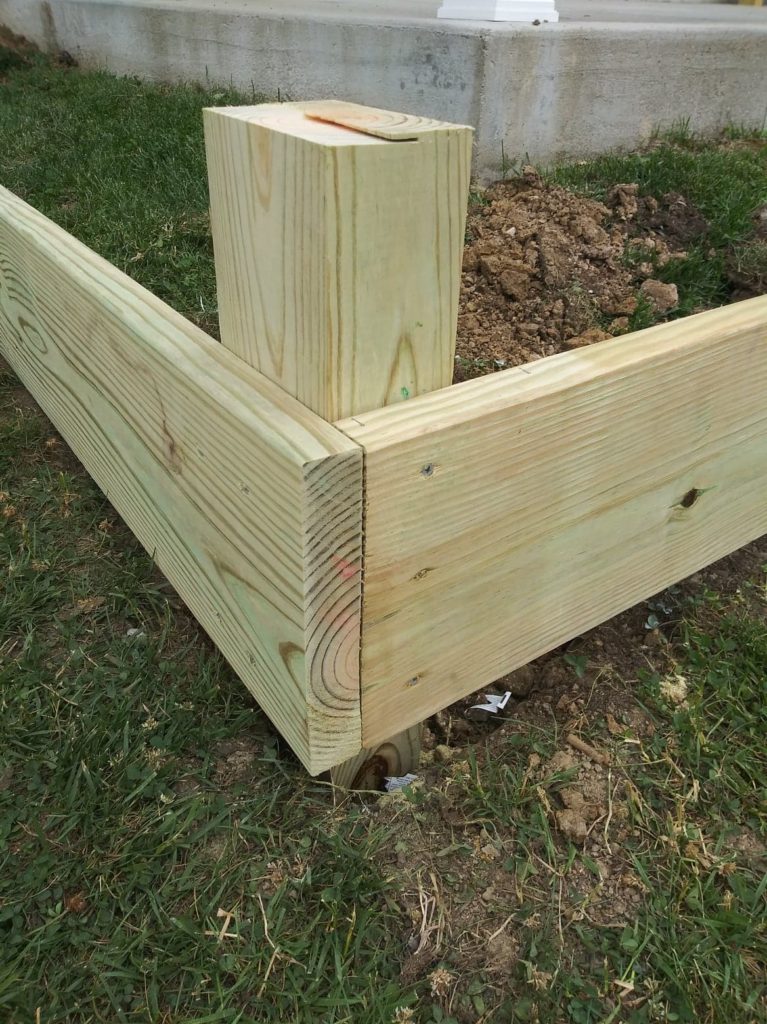
Then we put some middle support extras once the top board was on.
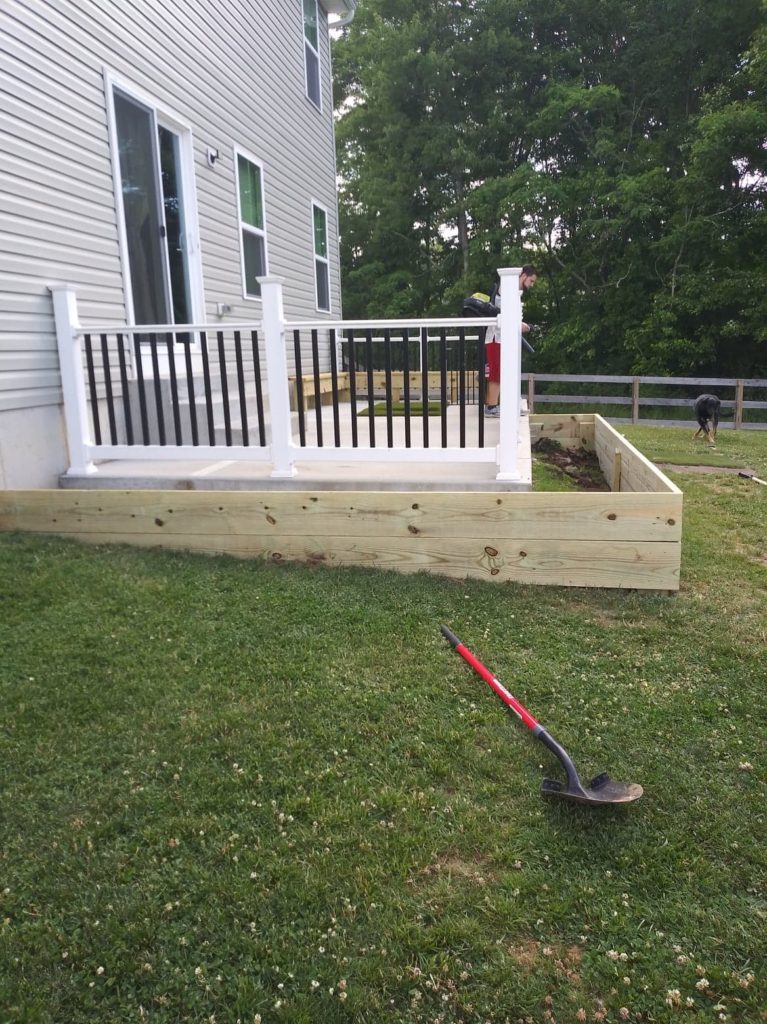
In order to finish up our raised wooden garden bed, we filled it up with dirt, planted that purple grass I mentioned earlier, topped it with mulch and added some wood sides and corners to cover where the wood ends met and to give it a fancier look. I think this side of the patio looks so much better!
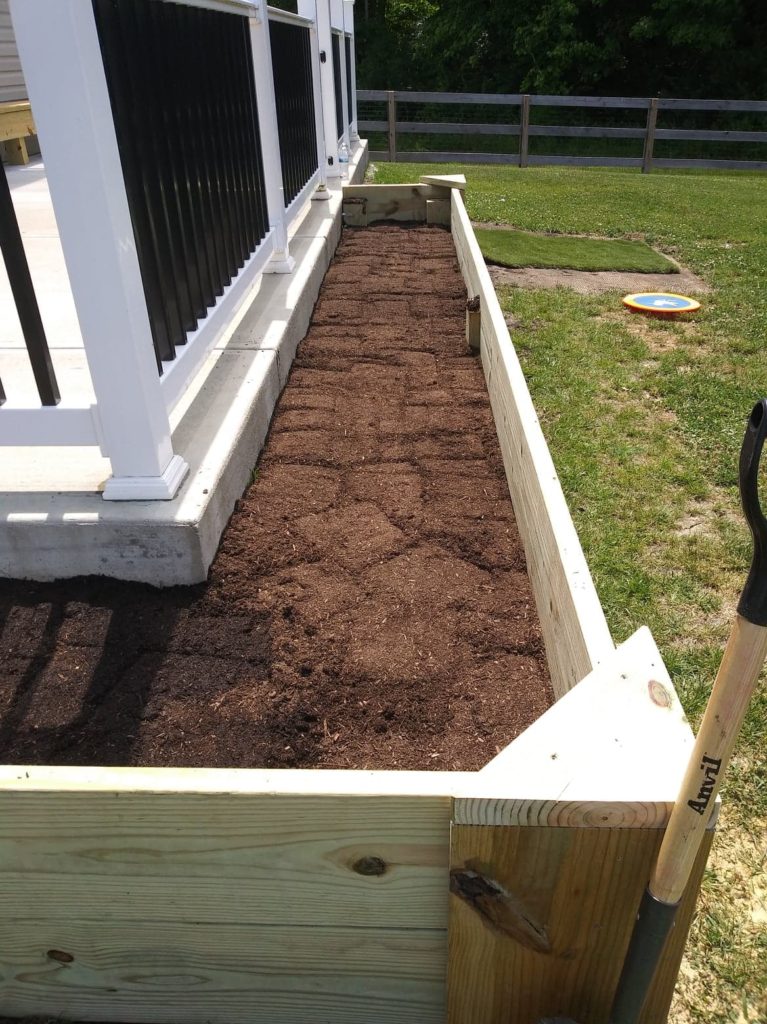
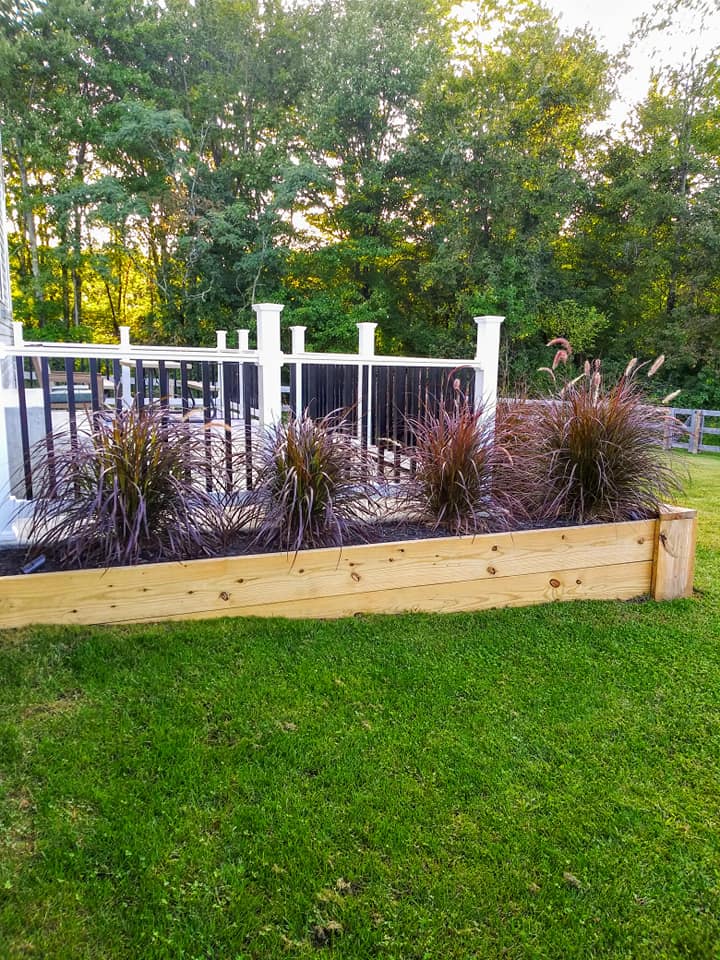
UPDATED: Here is a recent photo of how it looks now with the Firework Grass and how much they are growing.
Will you be doing any gardening this summer or adding any patio landscaping?
