This post may contain affiliate links, which means we'll receive a commission if you purchase through our links, at no extra cost to you. Read the full disclaimer here: https://diycoupleblog.com/disclaimer/
Simple tips for how we completely changed the look of our artificial olive tree to look so much better! Of course, this could work for any faux tree.
We recently bought a new olive tree and I looooove it so much, for reference, here is the tree we have, but I wanted to share the easy steps we took to make it look even better.
Step 1: Choose A Large Size Pot
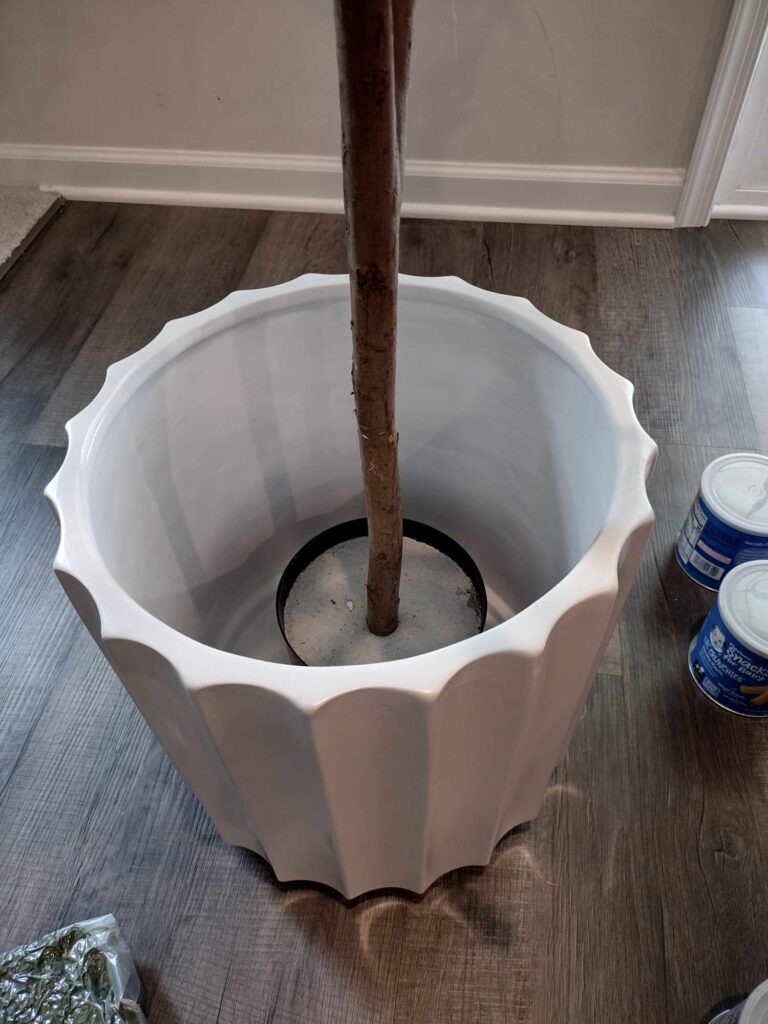
I spotted this pot at target and knew it was the one, however, you could definitely opt for a basket instead. Either way, just make sure your pot or basket is not too small or even too large for the size of your fake olive tree. You can definitely see in the photos how the size pot I choose for our faux olive tree has plenty of space around it (that I intend to fill, so keep reading).
Step 2: Fill The Space
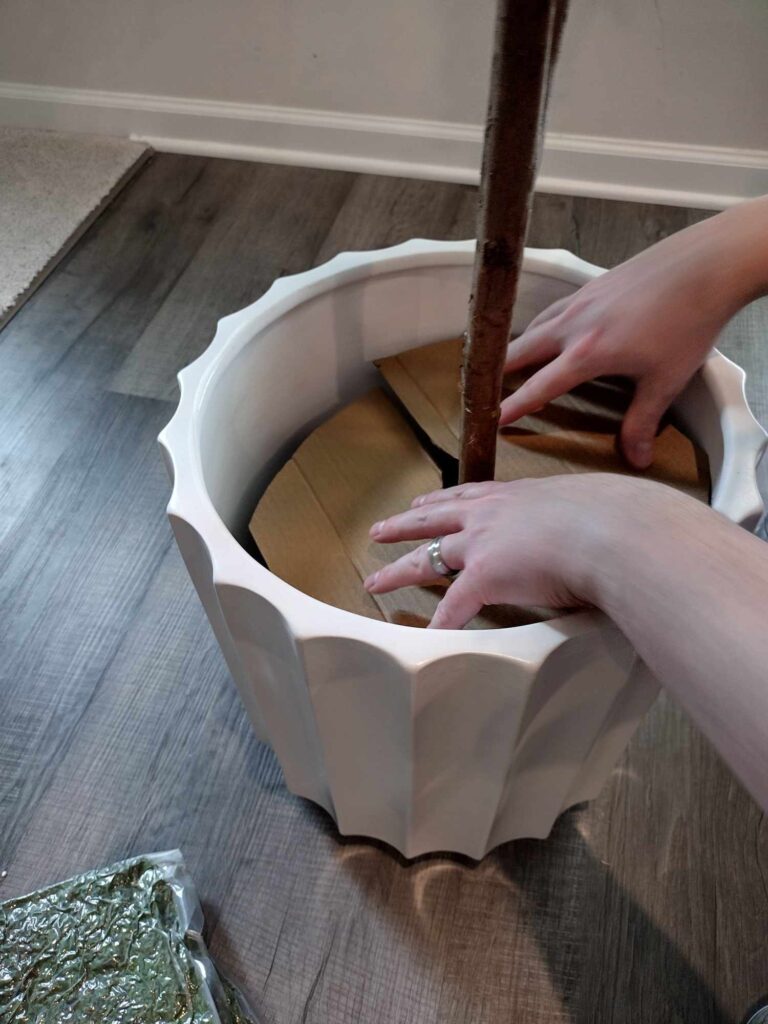
To fill in the rest of the empty space, the supplies I used were two pieces of cardboard, three empty containers of baby snacks I had laying around, and two bags of moss spread on top. Here’s a quick and easy tutorial for how I threw it together.
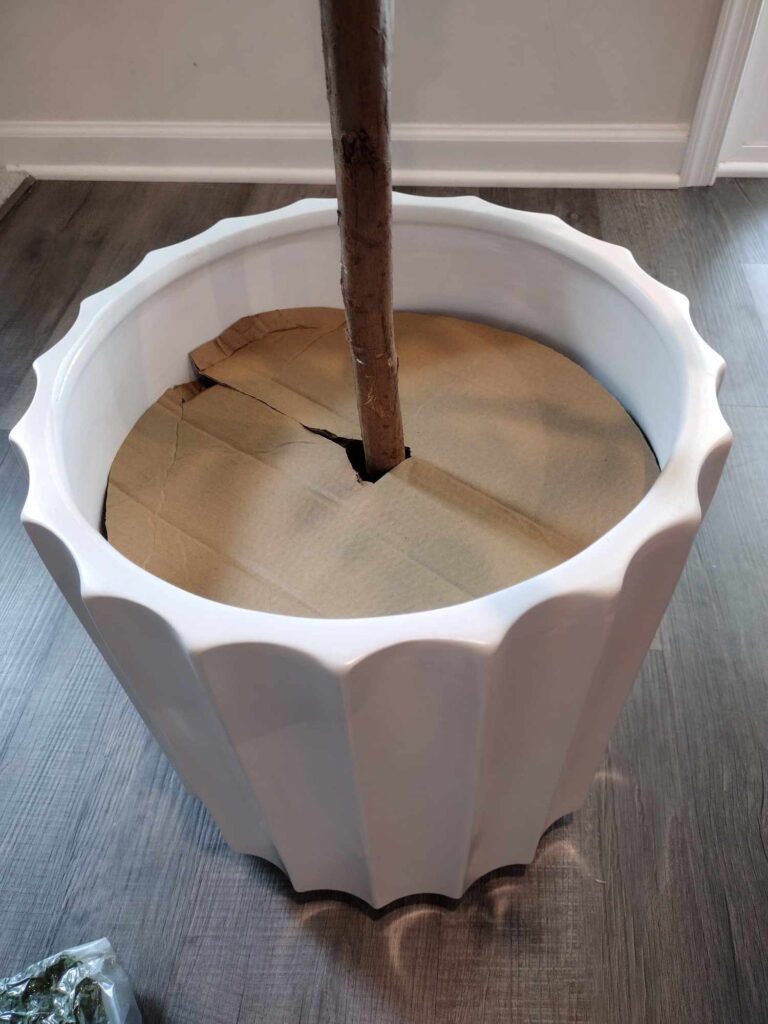
Using scissors, cut straight through the cardboard to the center and make a hole so you can slip it around the faux tree branch. Then cut the outside of the cardboard into a circle shape (ideal to your pot opening) so that it can fit inside and rest down on the base of the faux tree.

Then I added my three baby snack containers next. Don’t forget to eat up the snacks before placing them inside 😉

I then cut my second piece of cardboard to fit (in the same way as the first) so that it rested down on the snack containers.
Step 3: Add Moss
The last step is just simply adding a filler that you like to the top. I personally am a fan of the green moss (I purchased mine here) but you could use whatever you like. Go for rocks or stones, a brown Spanish moss could work too.


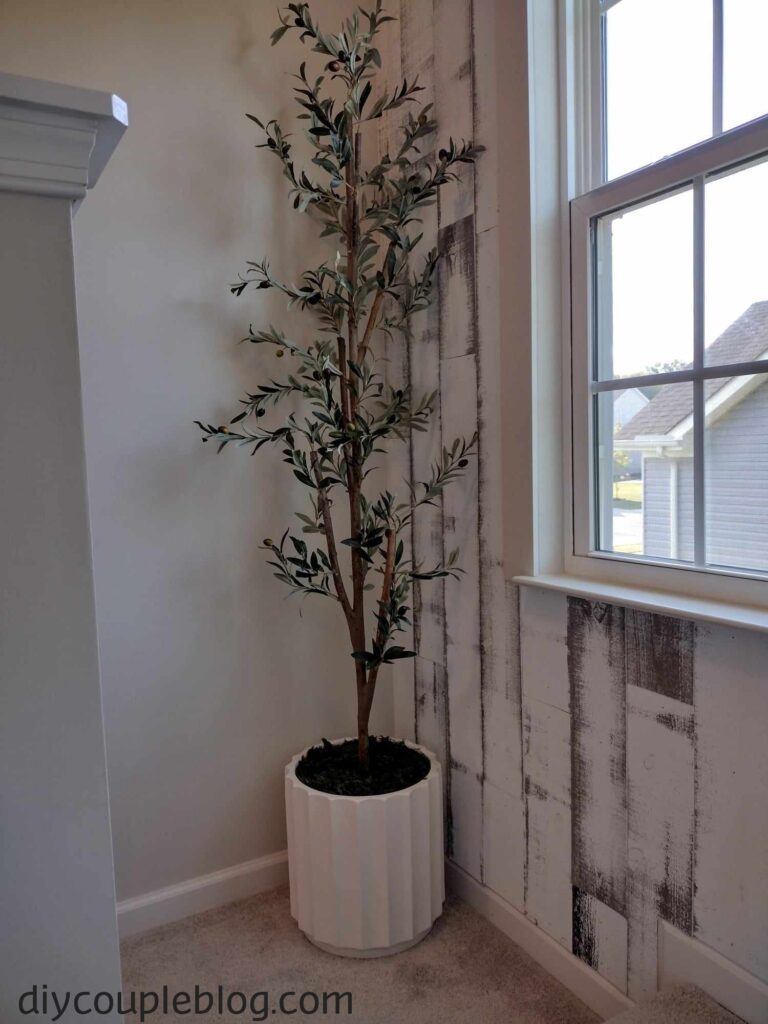
…& here is the final look of how mine turned out! It also makes a difference to take the time and bend your leaf and wire twig branches so that they are not all straight as they tend to be when taking it out the box but be gentle when doing so.
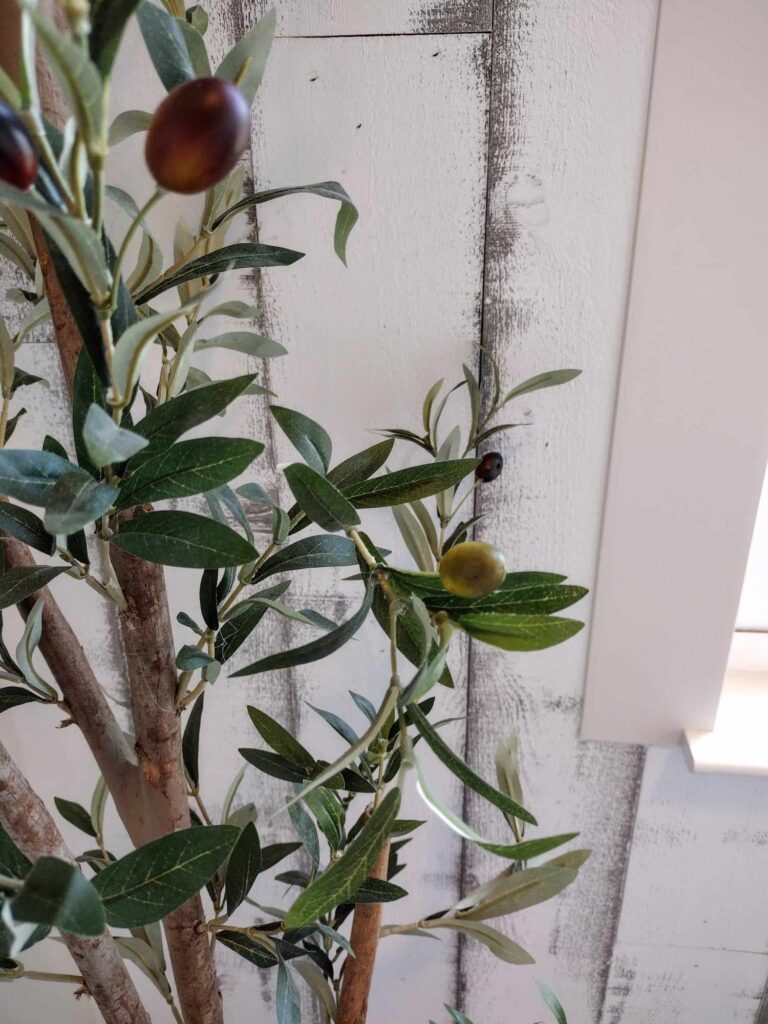
These easy tricks will definitely perk up your artificial olive tree and give it a more realistic and expensive look even if it is fake.
I ended up finding the perfect little corner to put it. You can peep the wooden accent wall on our stairs we just recently finished up.