This post may contain affiliate links, which means we'll receive a commission if you purchase through our links, at no extra cost to you. Read the full disclaimer here: https://diycoupleblog.com/disclaimer/
Last Updated on July 20, 2026: This guide to making a DIY front porch railing has been updated with new information.
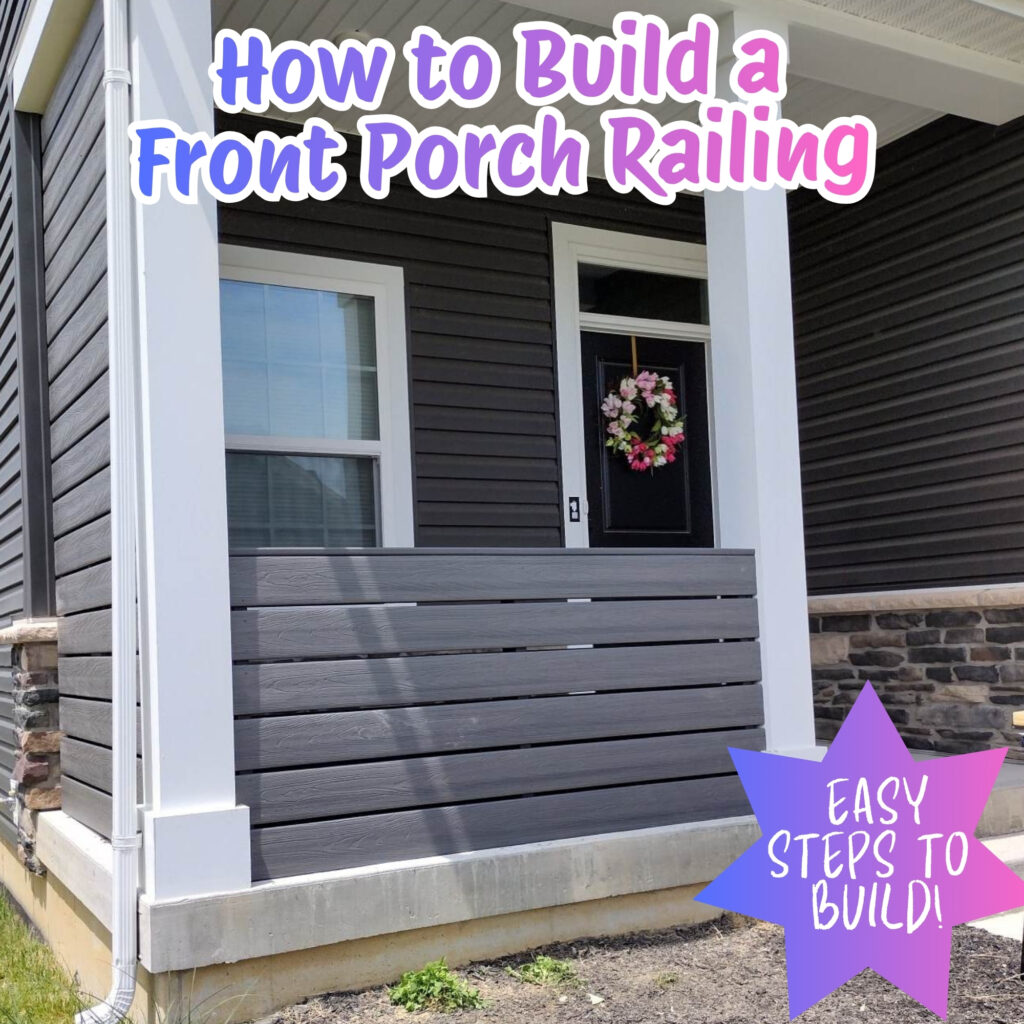
Build this front porch railing with our easy to follow, step-by step tutorial made with composite decking boards.
It’s the perfect enclosed addition that will complete and compliment your front porch, patio, or deck.
If you want to upgrade your home’s curb appeal while keeping maintenance to an absolute minimum, building a new railing or replacing an outdated front porch railing is one of the best weekend projects you can tackle.
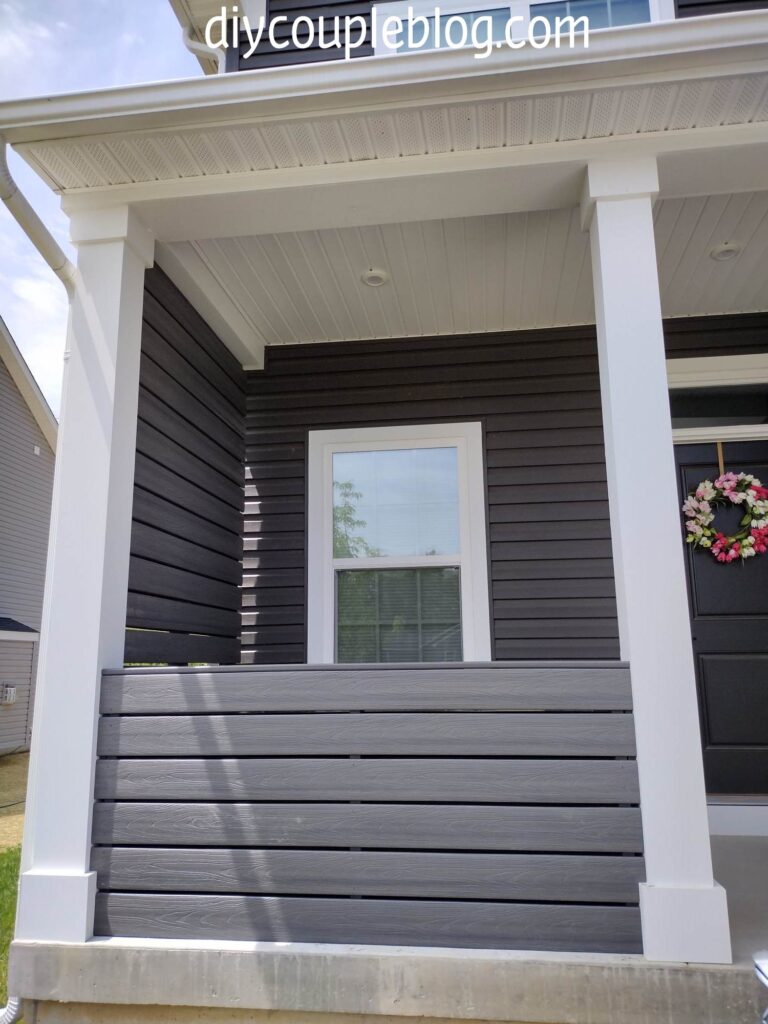
We built a custom, modern horizontal front porch railing using composite decking boards attached to a sturdy, structural frame.
By running the decking boards straight across horizontally, we achieved a sleek, high-end look that mimics expensive custom privacy screens.
This step-by-step tutorial will show you exactly how to build your own DIY composite front porch railing from scratch.
Why Choose Composite Boards for a Front Porch Railing?
Before diving into the before and after’s as well as the process, let’s talk about why composite decking boards are a game-changer for a front porch railing project:
Zero Maintenance
No sanding, staining, sealing, or painting. Ever. An occasional wash is all it takes to keep it looking brand new.
Durability
Composite boards resist rot, warping, splintering, and insect damage.
Modern Aesthetics
Running full-length decking boards horizontally creates a clean, contemporary linear design that instantly modernizes the look of your home.
Cost-Effective Over Time
While composite has a higher upfront cost than pressure-treated pine, it pays for itself rapidly because you will never have to buy stain or replacement wood.
Front Porch Railing Before & After
How a Composite Front Porch Railing Transform the Look of Your Home
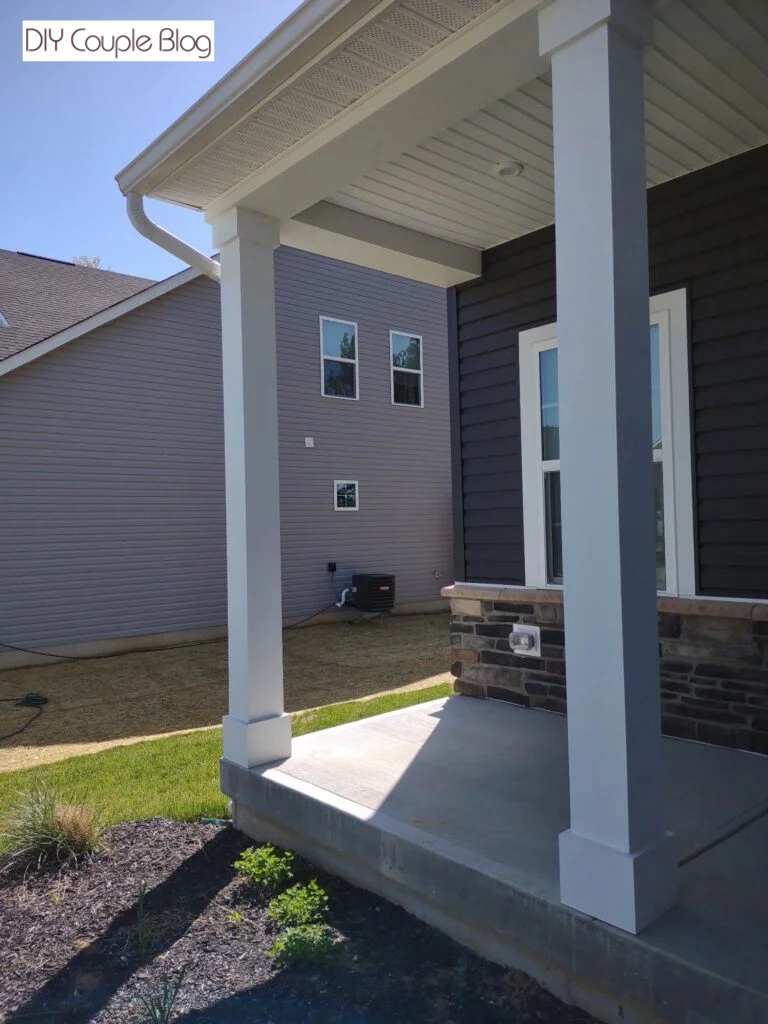
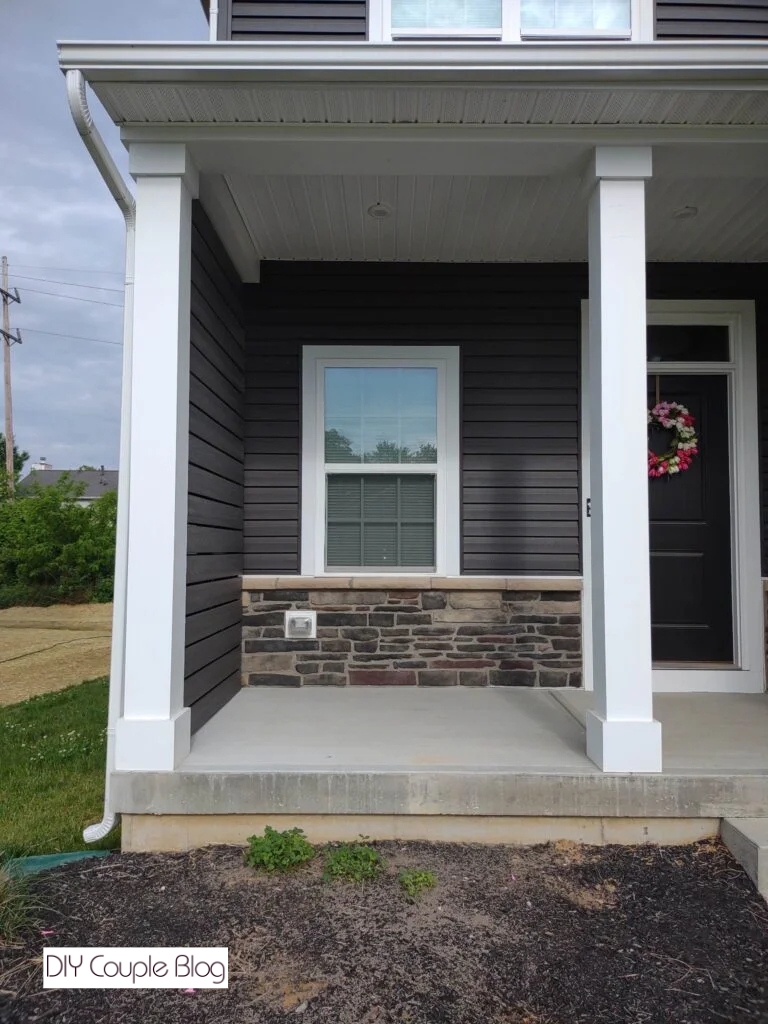
BEFORE:
If I take you way back, this is our front porch when we first moved in and before we got started with both the front porch railing and the matching cohesive privacy wall we added.
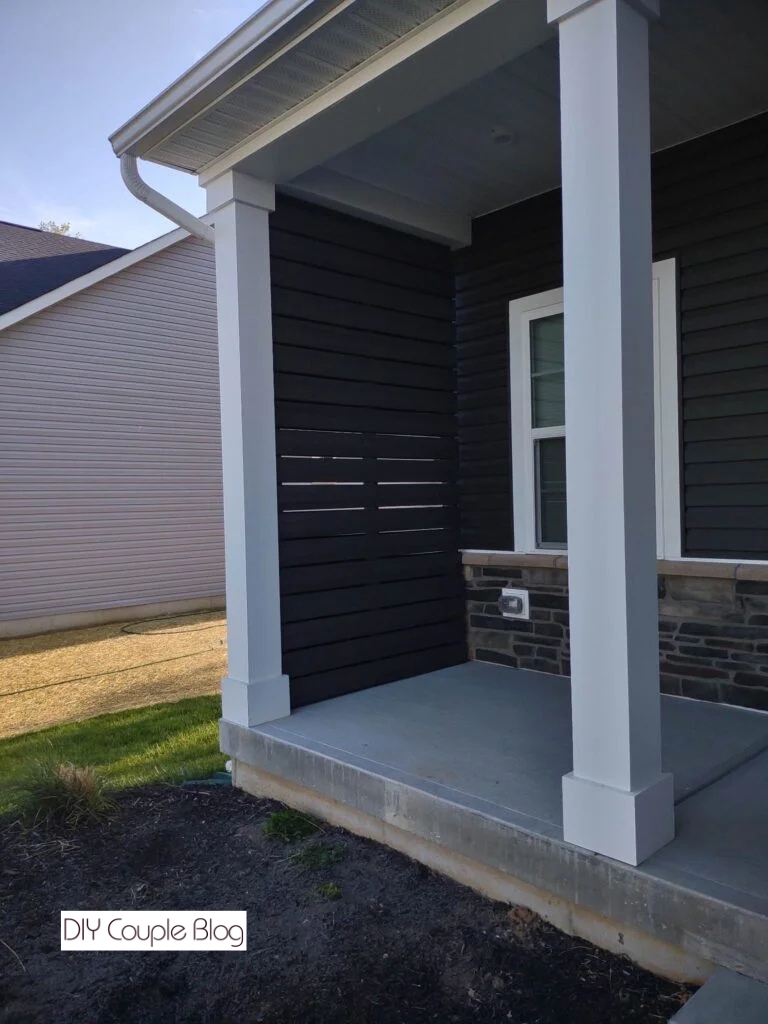
In this more recent before, you can get a better idea from the photo of our last project, which was finishing up this privacy wall as mentioned above. We used the same method as this front porch railing to pull everything together.

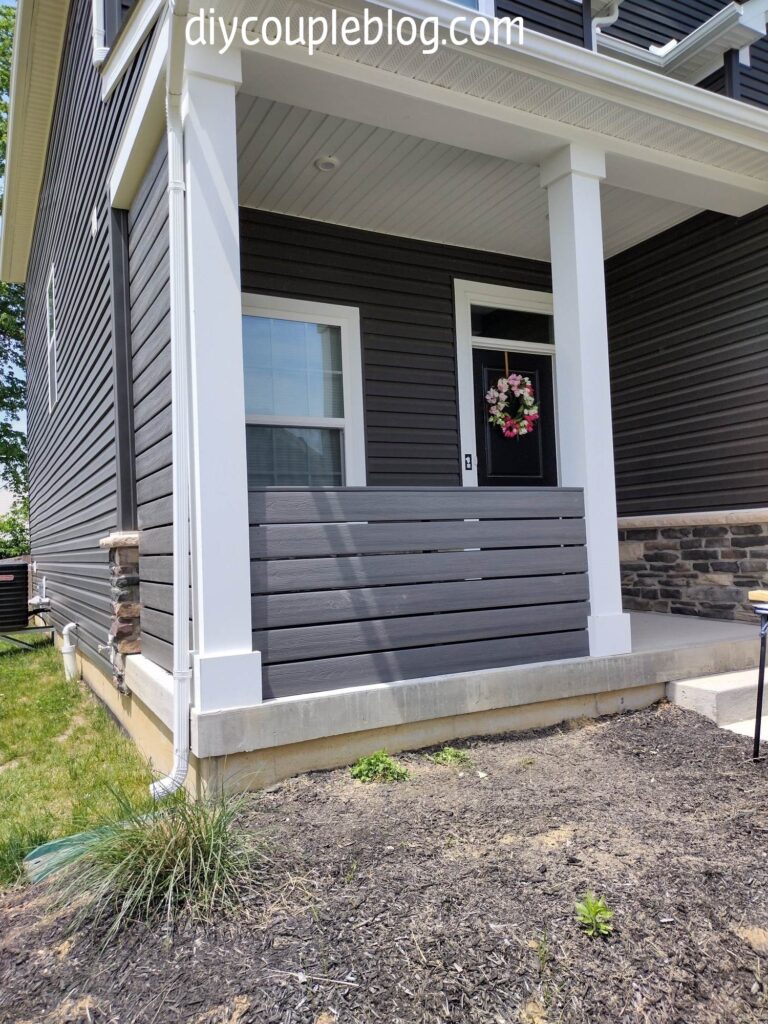
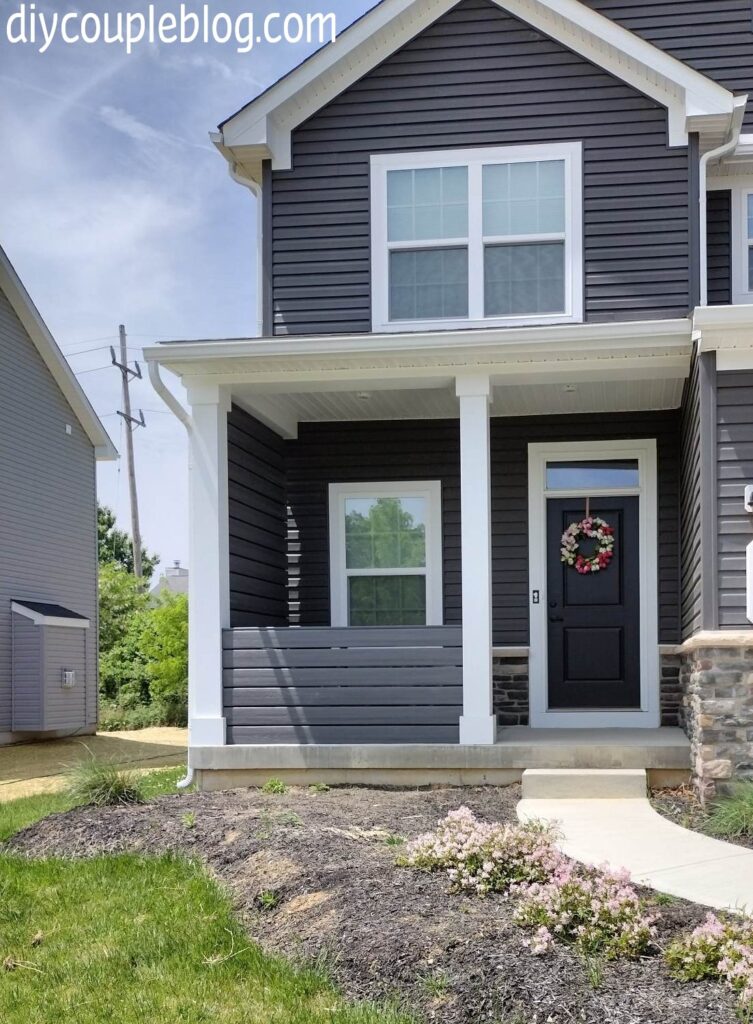
AFTER:
Check out the after now. Looks gorgeous!
I should also throw it out there, don’t put too much attention on our lacking flower beds pictured. The flower bed design is the next project we’ll be tackling.


How To Build a Front Porch Railing
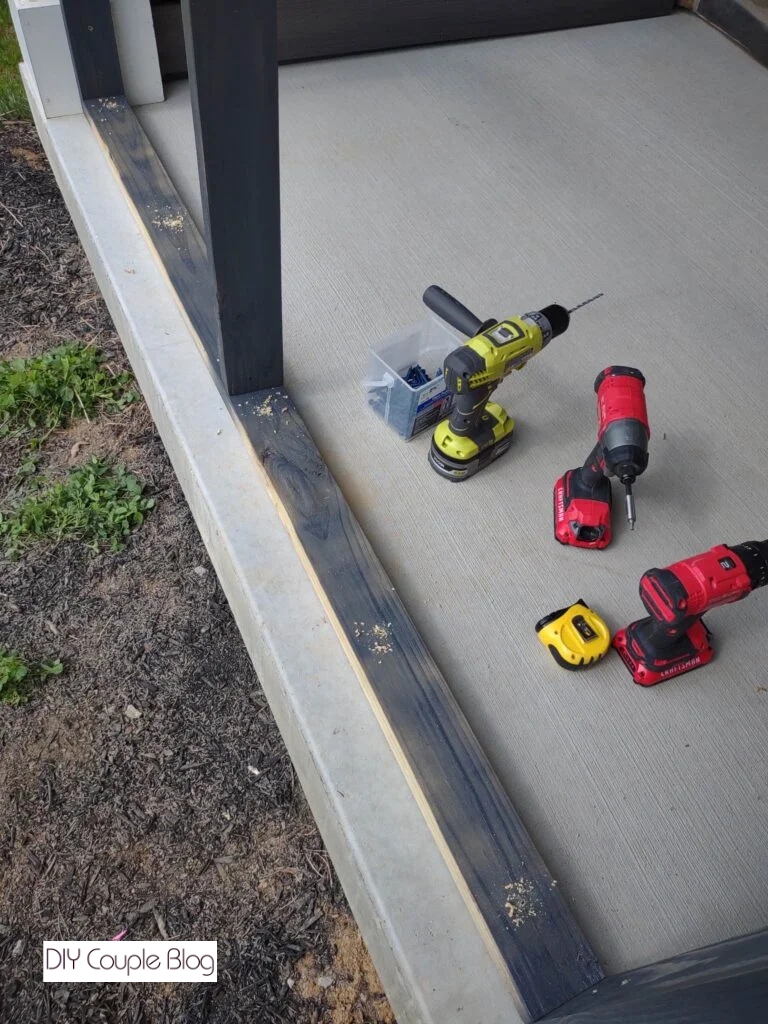
Tools Required:
Drill/Driver (this combo kit we bought includes both)
Front Porch Railing Materials Needed:
Gray Composite screws (choose colors that will match your boards so they’ll be less visible)
Spray paint (we used charcoal gray to match our decking boards)
1/4 x 2 3/4 concrete masonry screw anchors
.5″ shim (we used a scrap piece of wood we had laying around, choose a board that will be the thickness of your liking for the gaps in between)
Composite decking boards (we chose grey composite decking to match our home)
Front Porch Railing Planning and Code Check
Before running to your local hardware store, you’ll want to check and comply to your local building codes regarding residential railing heights and spacing. Also check with your HOA if you have that as well to abide by any regulations.
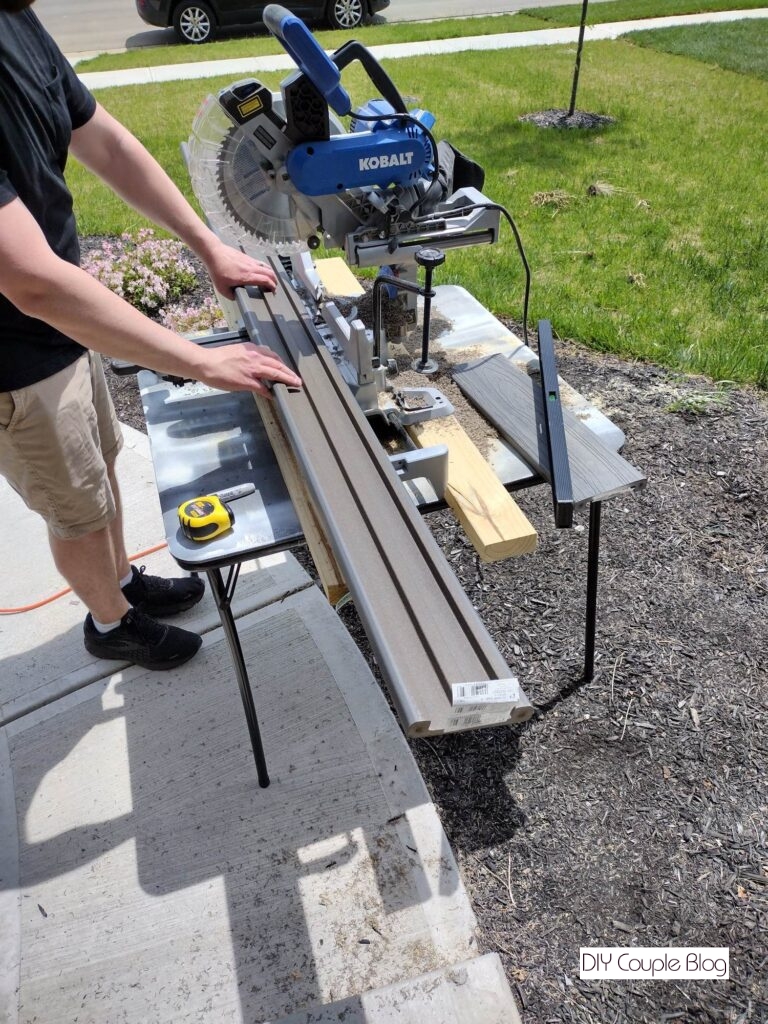
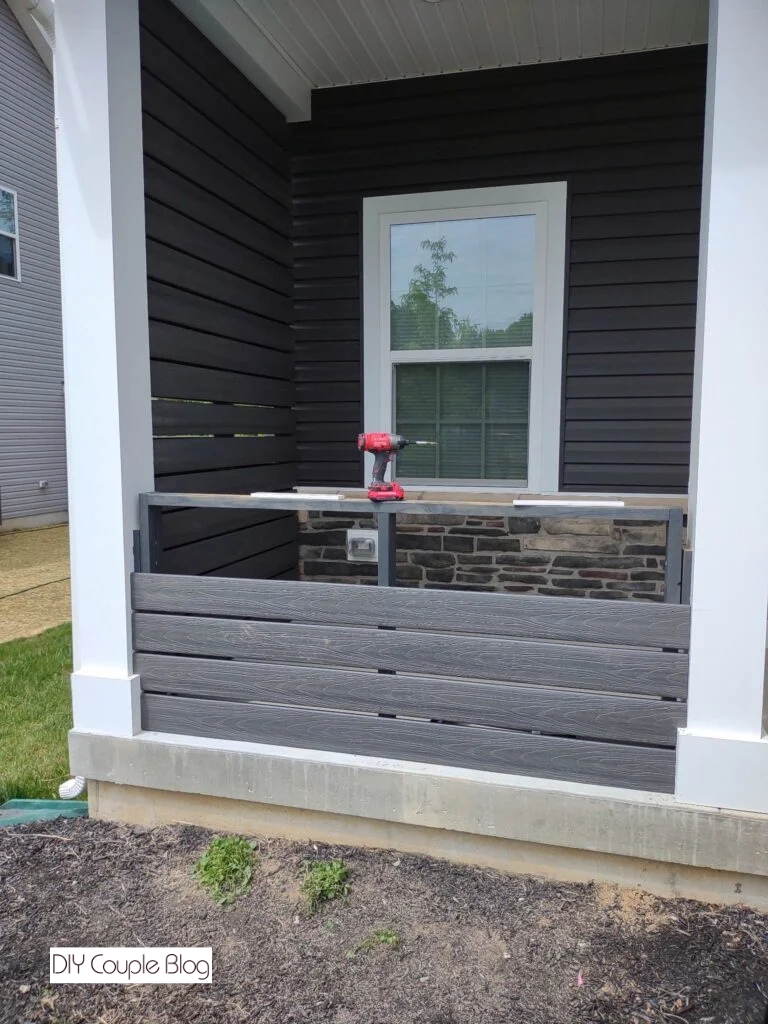
Step 1. Measure & Cut Treated Lumber
Cut two sides at 35 5/8 inches tall. Cut the bottom and top piece to the width of your space minus your two side boards. We laid our two sides out first and measured between them to get an exact measurement.
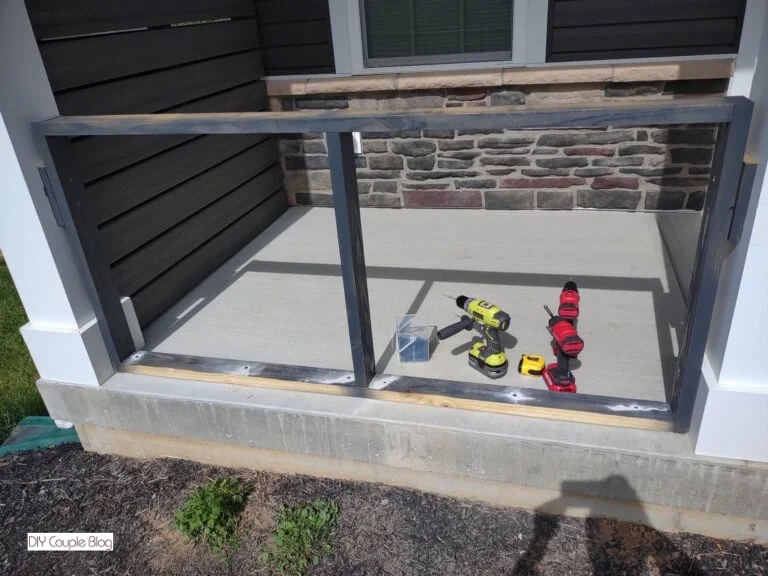
Step 2. Assemble Your Frame
Lay your frame out and screw them together with 2.5 inch exterior screws.
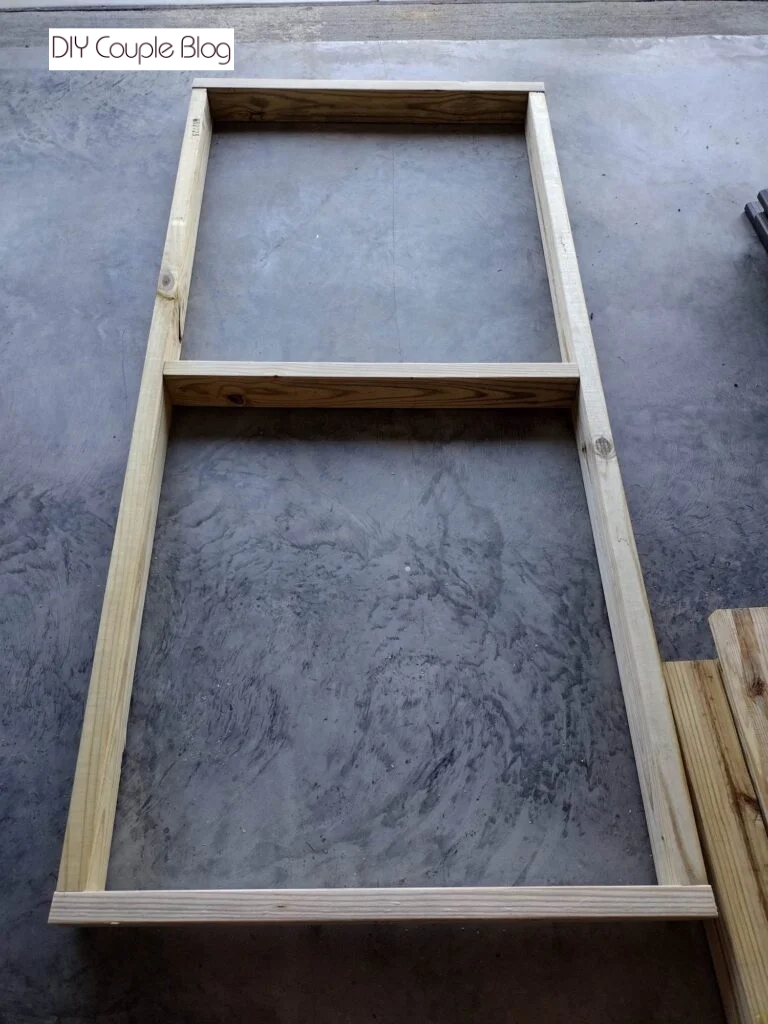
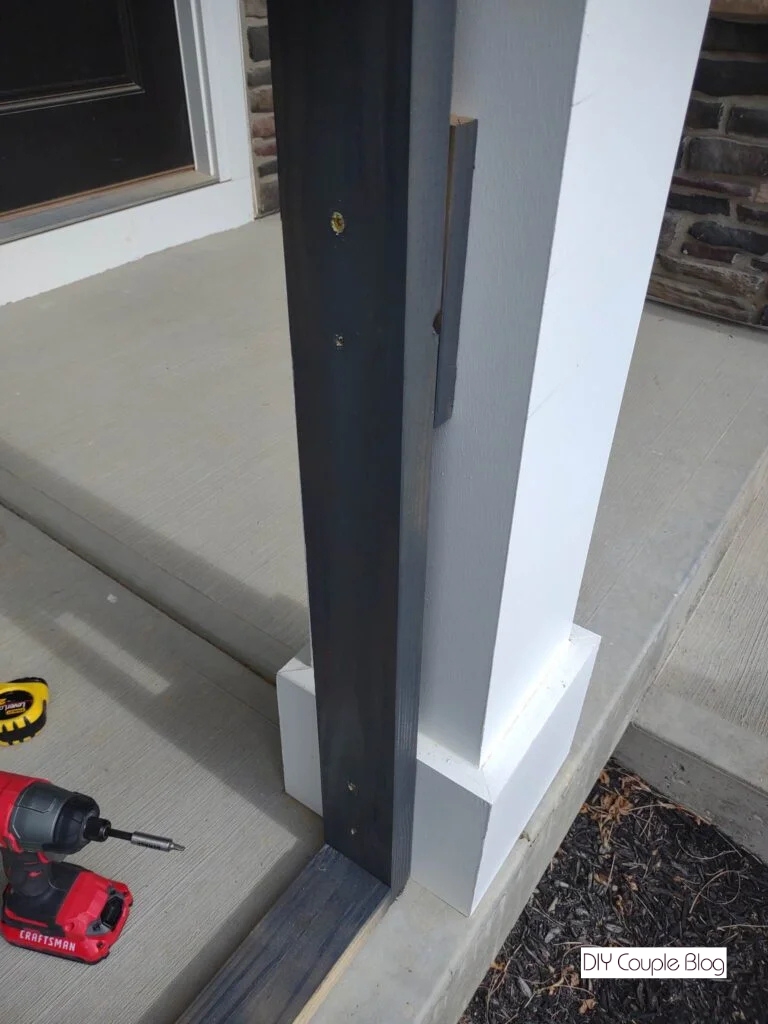
After the frame is built, measure and cut your inside height then attach to the center using the same decking screws. If your space has trim on your pillars like ours, you can either cut the trim to fit your rail in between or you can do what we did and just add a treated board in the gap. (Do not forget to paint those pieces if so, as referred to in step 3).
We just ripped a scrap piece of treated 2 x 4 down to size and painted.
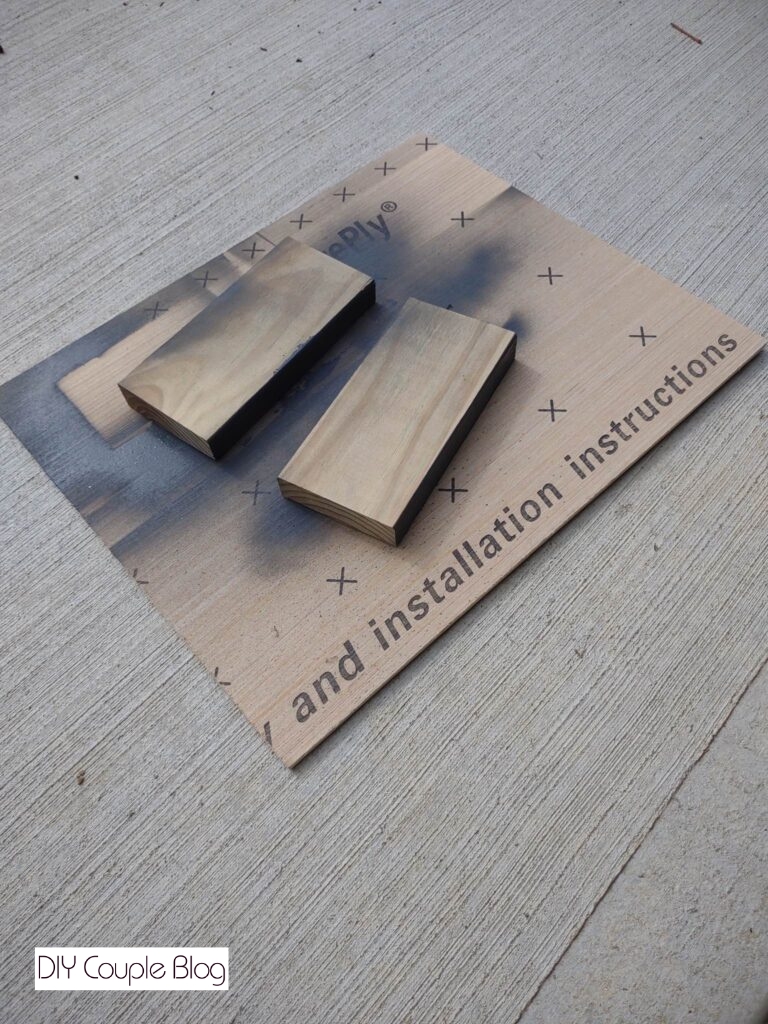
Step 3. Paint Outdoor Railing Frame
Spray paint the rest of your frame (at least the parts of the board you will see beneath the decking boards) before installing. We chose a charcoal gray that matched perfectly with our grey decking boards.
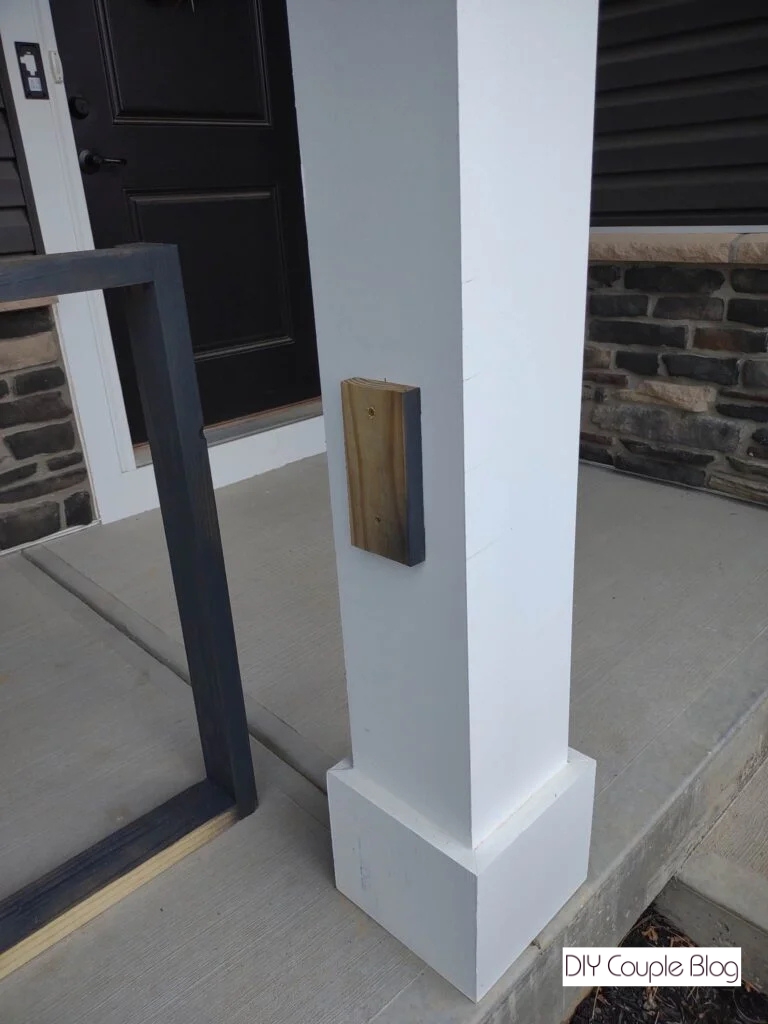
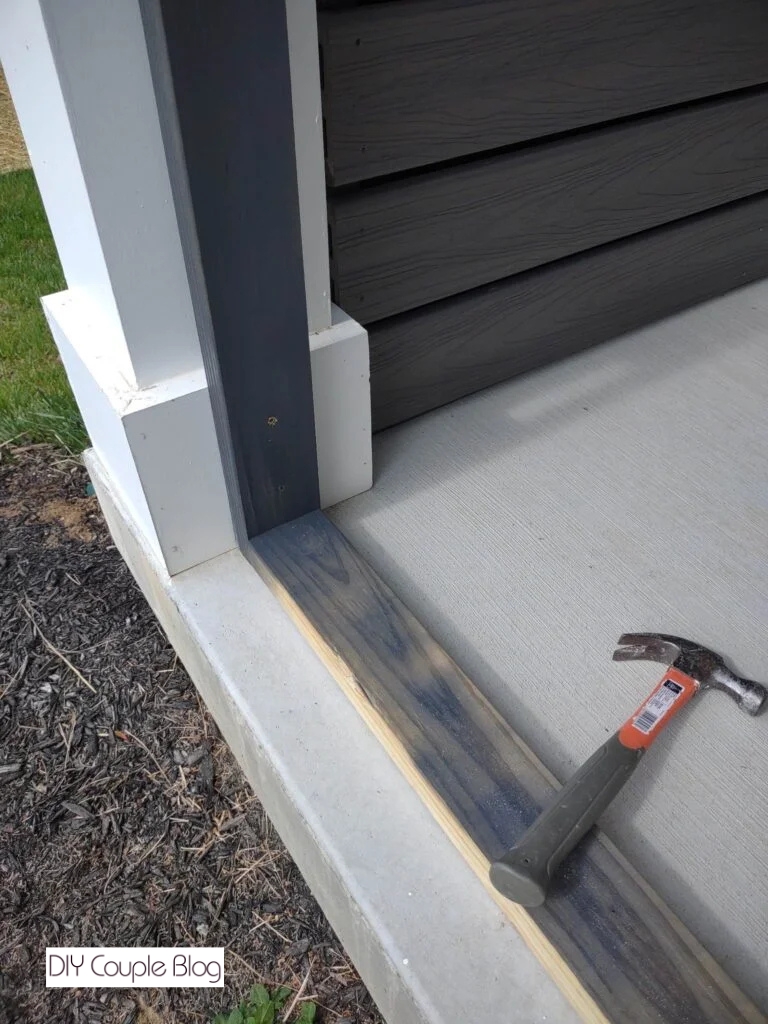
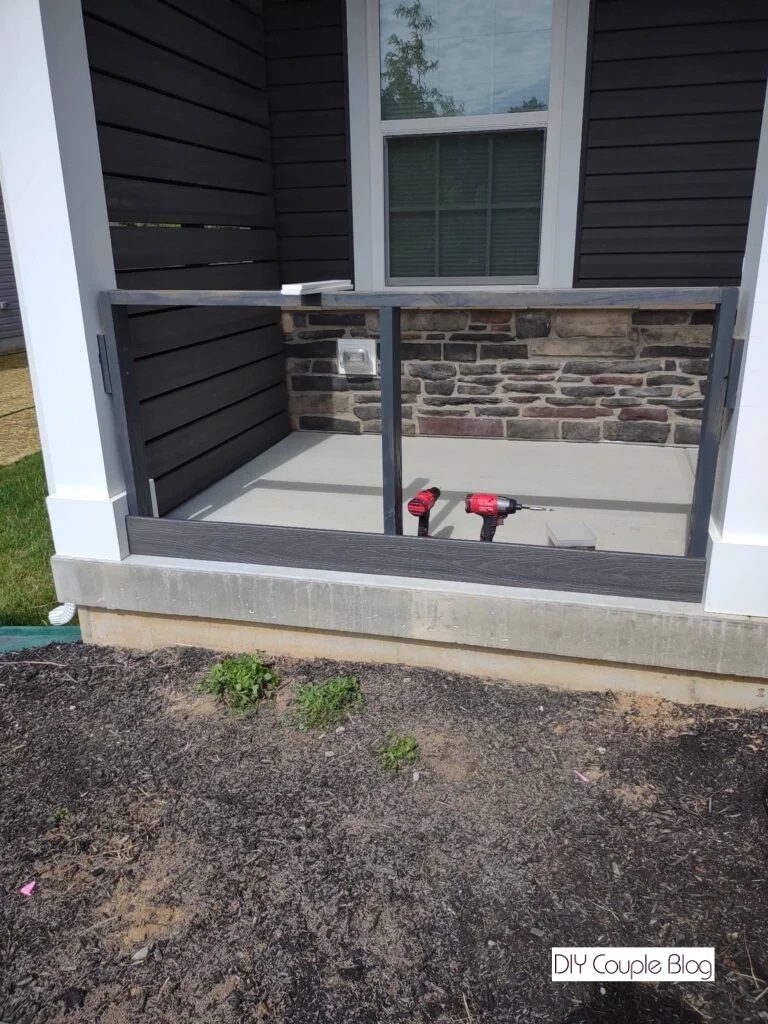
Step 4. Install Your Outdoor Railing Frame
Put your frame in place, level, and fasten to the concrete using a hammer drill for holes and 1 1/4 x 2 3/4 concrete screws. (You may need a hammer to knock in position).

We put one exterior screw in each side just to hold it in place while we drilled the concrete holes.
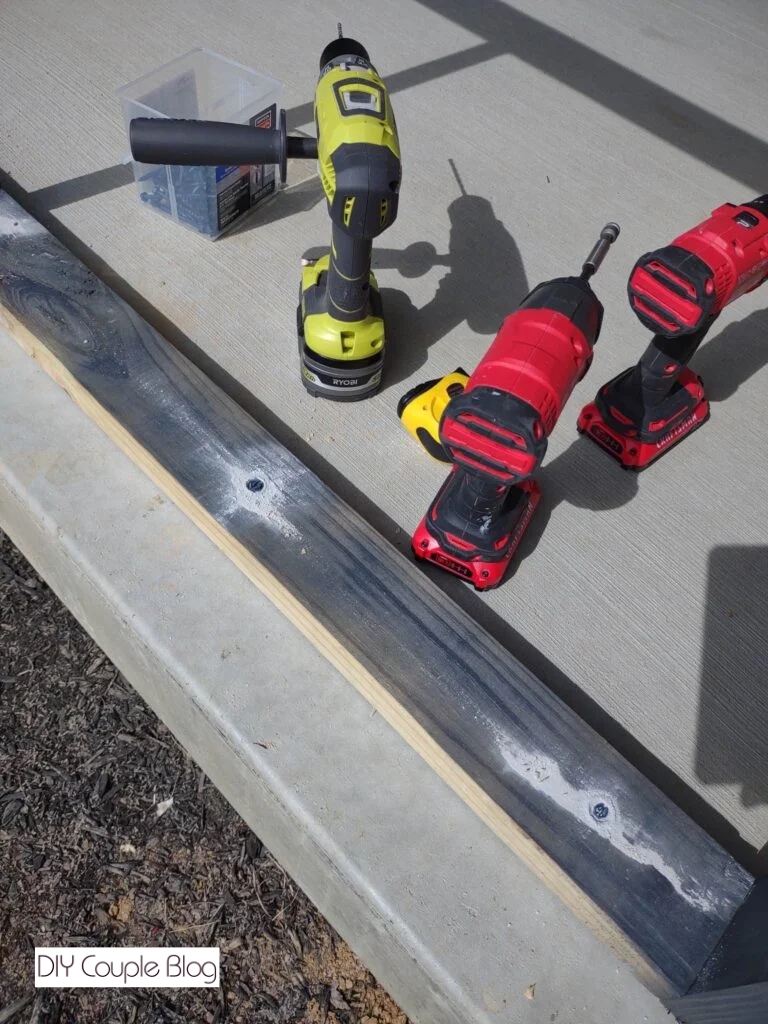
Then use the exterior screws for the sides.
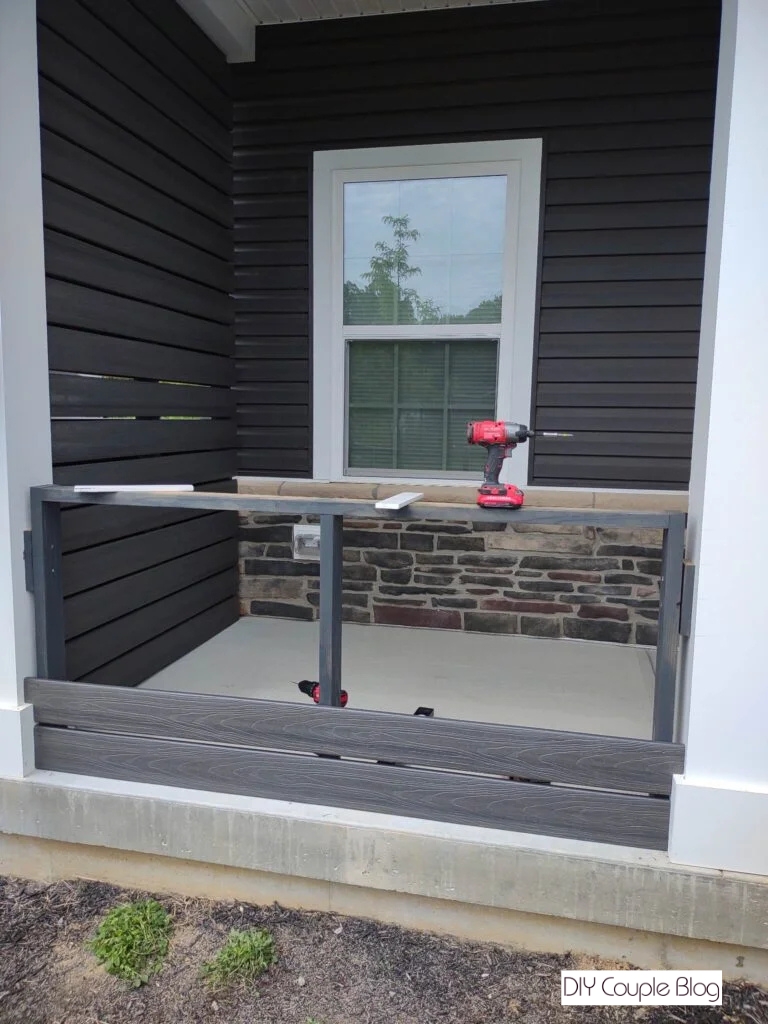
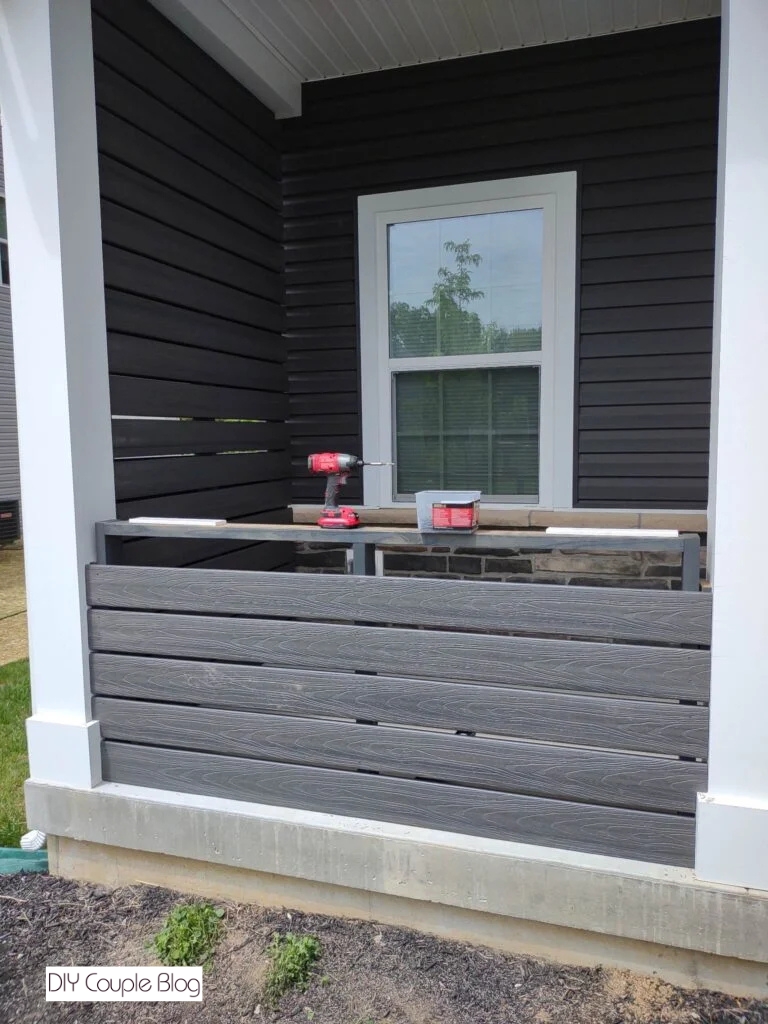
Step 5: Add Composite Decking Boards to Front and Back
Cut your composite decking boards to the correct length to cover your installed frame going all the way across to your posts on your porch (patio or deck if that’s the case for you).
You are now ready to attach the composite boards to the installed frame. It’s vital to level the first board so the rest sit right. We put two composite decking screws in each of the two ends and the middle of the boards. Repeated this process on the other side as well.
As you are adding boards on both sides, in order to keep gaps perfect, slip in a temporary .5″ shim (or a board with what size gaps you prefer) between each of them. If you have the base trim at the bottom and elected to not cut it (like we did) then you will need to notch your composite boards which was super easy using this multi-tool.
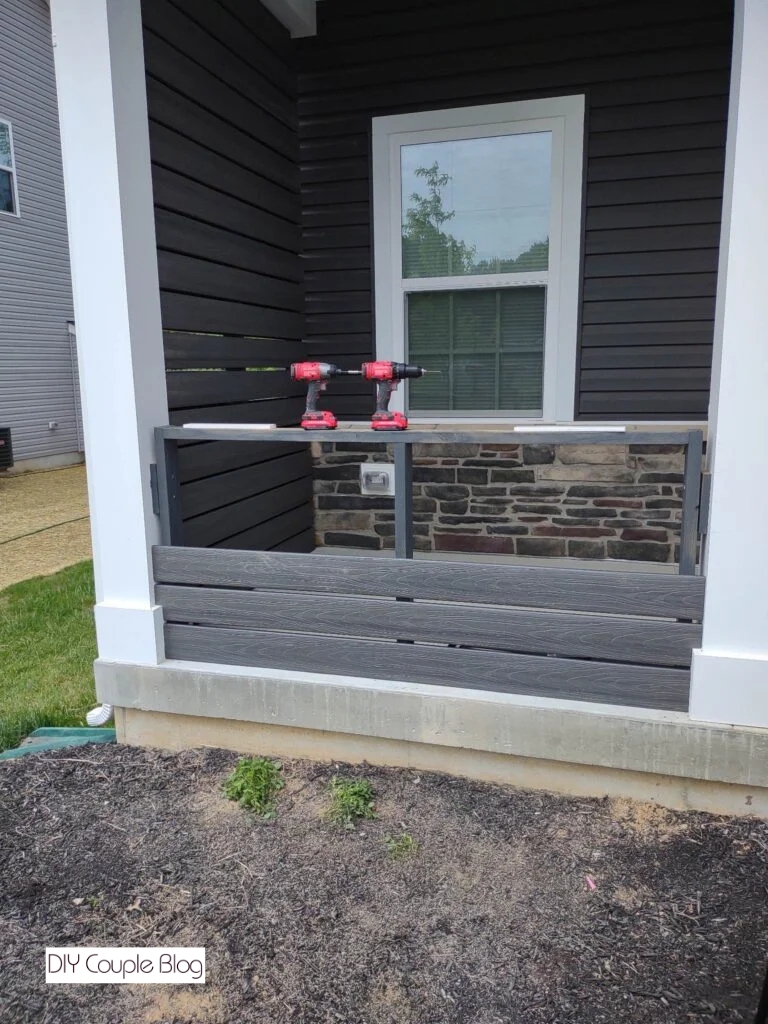

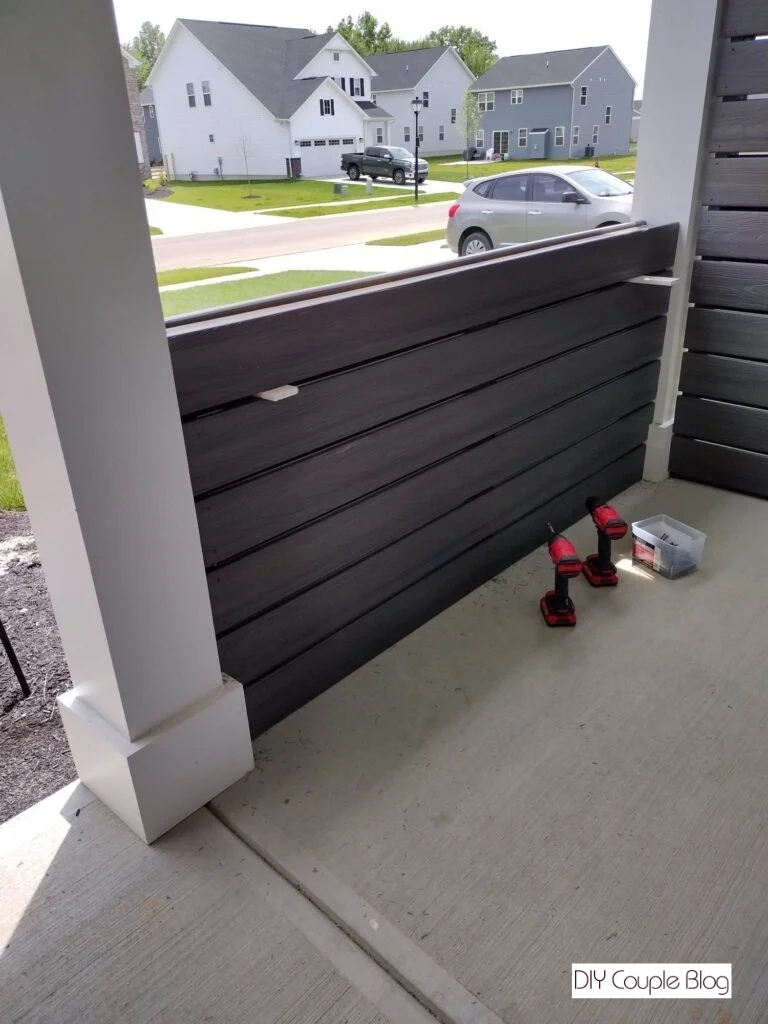
Capping the Front Porch Railing
Lastly, add your top handrail composite board to the correct length. This will give the project a polished, high-end architectural finish.
Measure the Cap:
Cut a final composite decking board to span the entire length of the railing, including overlapping the side composite boards.
Secure the Top Cap:
Lay the board completely flat across the top framework. Secure it by driving composite decking screws straight down through the top of the board into the frame below. This creates a highly functional, flat “drink rail” that is perfect for resting a morning cup of coffee or a glass of sweet tea.
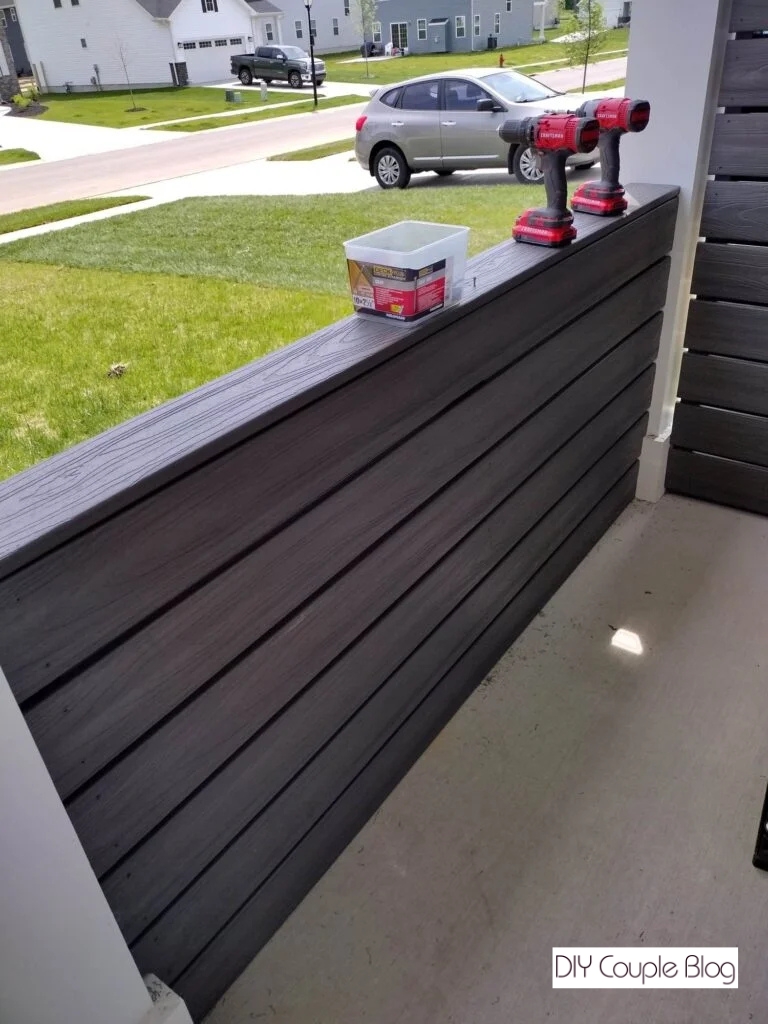
Walk along your new front porch railing and check that all screw heads are driven flush with or slightly below the surface of the composite material.


There you have it, our finished porch rail. Our front porch is coming along nicely now, as you can see, we got some furniture out there. At this point we just need to get ahold of our flower bed.
Front Porch Railing Maintenance Tips
Your new modern, horizontal front porch railing is fully complete and ready to withstand sun and rain for decades to come. To clean your outdoor railing, simply scrub the surface using a soft-bristle brush and warm soapy water, then rinse thoroughly with a garden hose once or twice a year.
You May Also Like: