This post may contain affiliate links, which means we'll receive a commission if you purchase through our links, at no extra cost to you. Read the full disclaimer here: https://diycoupleblog.com/disclaimer/
Craving some well-deserved peace and quiet? Building a DIY privacy wall is the perfect weekend project to reclaim your outdoor space.
In this step-by-by guide you’ll learn how to build a beautiful, low maintenance privacy wall for your outdoor porch, deck or patio space that adds both style and seclusion to your yard.
Is a Privacy Wall Right for You?
There are many reasons as to why an outdoor privacy wall works well. It’s definitely ideal if you are looking for an easy solution for privacy from neighbors, eye sores, privacy for a balcony, a place to sit and enjoy the outdoors without harsh sun and weather being a nuisance, hot tub privacy or even a stylish or a modern look for your outdoor space. A DIY privacy wall is a great option to consider for any of those examples.
Privacy Wall Design Material
While there is no shortage of privacy wall or privacy screen ideas out there, (since there are so many things that you can use for a privacy screen), we came up with the idea to build ours with composite decking boards for the finished product on top of our set wood frame.
Benefits of A Composite Deck Privacy Wall
There are many benefits of composite decking boards. To us, it was well worth the investment versus using wood for the entire project. The decking material won’t break down or rot over time and will continue to look nice for years to come. Did I mention the thought of not having to paint or stain all the boards?
Truely, the best thing about DIY, it allows you to create a unique and personalized addition to your outdoor space.
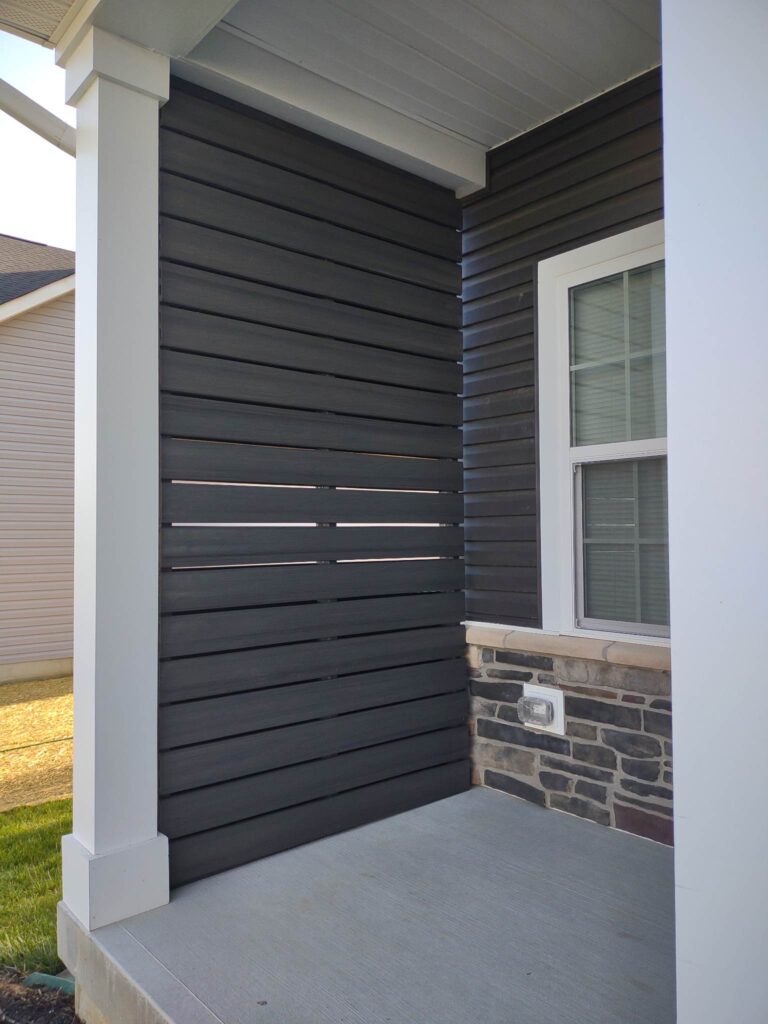
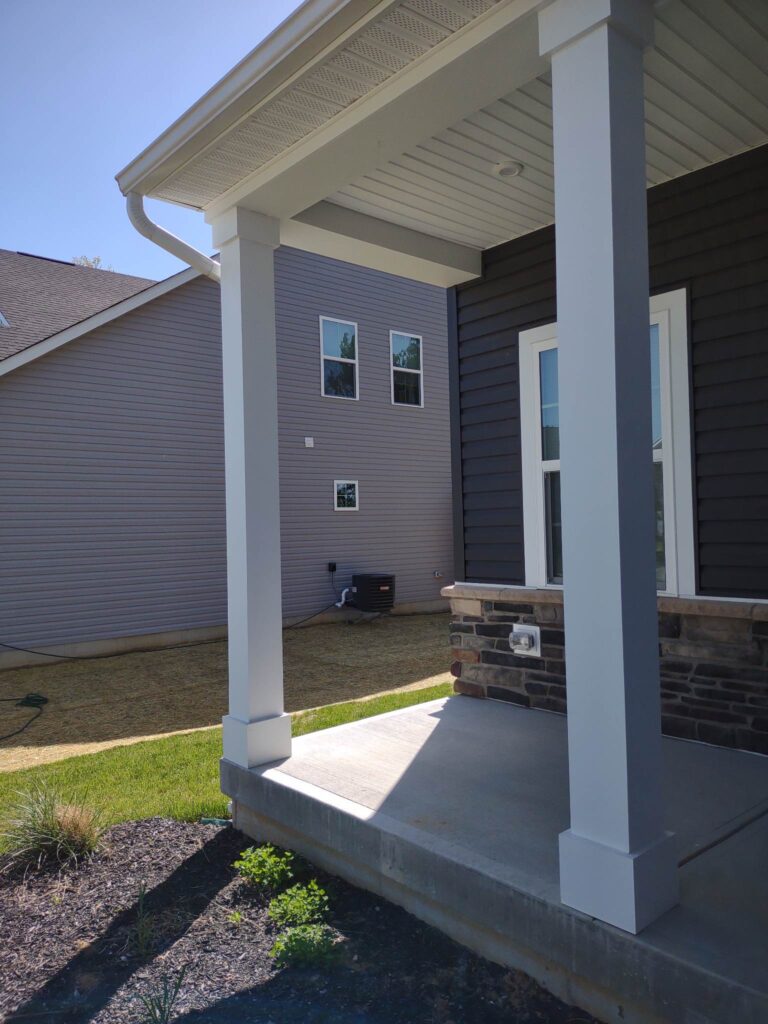
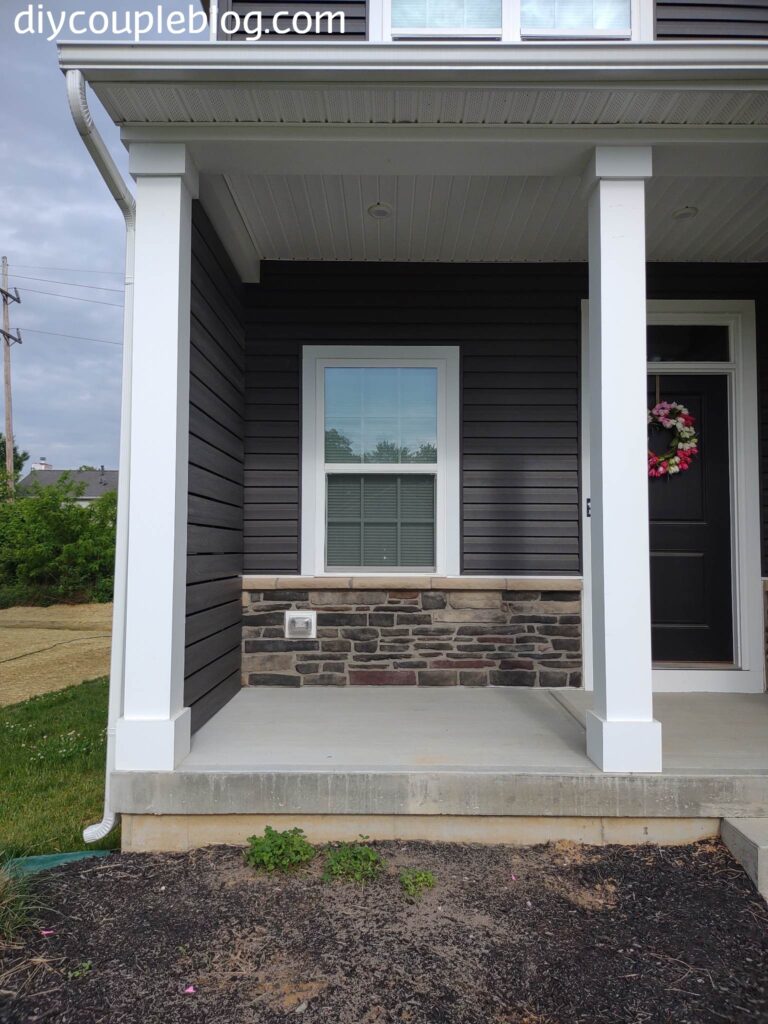
Our Before and After DIY Privacy Wall
Before we get into the tutorial for how to build this awesome privacy feature for your home, let me show you our finished porch privacy wall we built below in our before and after photos and what a privacy wall can do for your space.
Before:
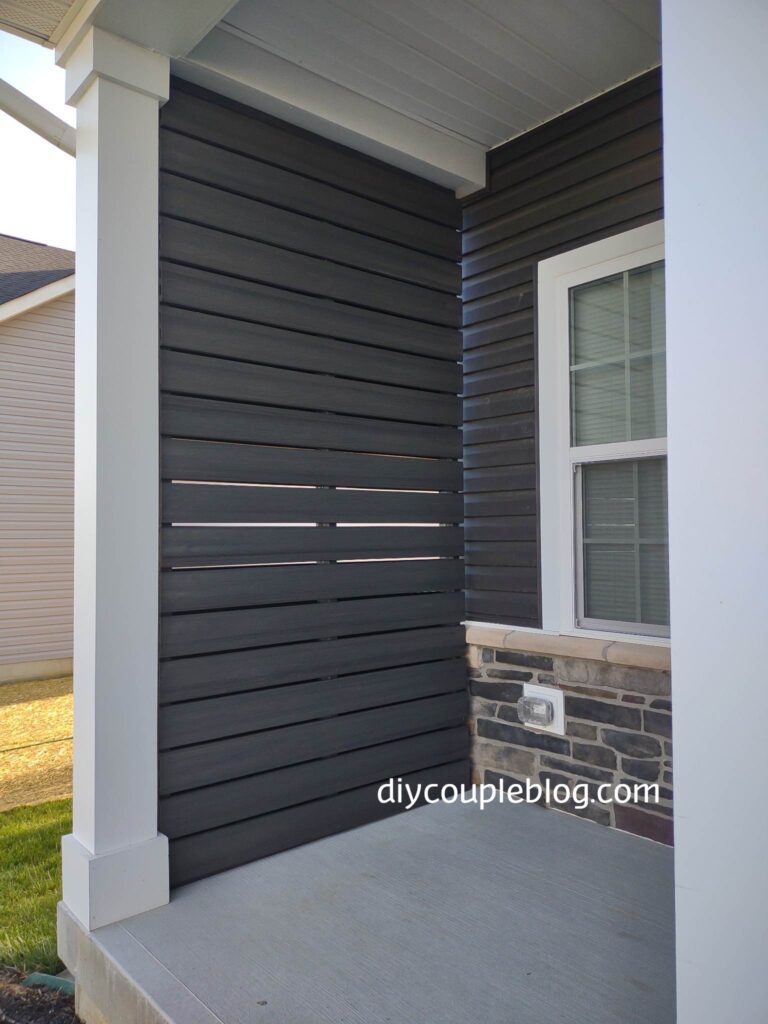
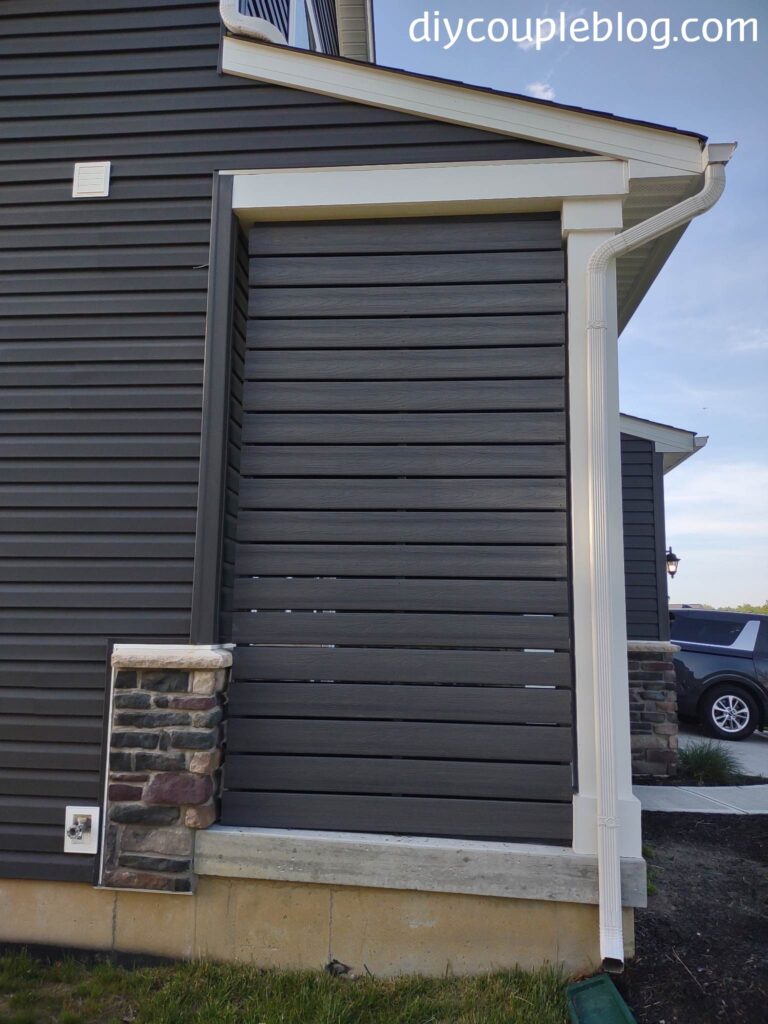
After:

How To Build a Composite Deck Privacy Wall
Disclaimer: Be sure to check with your local zoning office for any permits required. You may also have to submit details and design to seek approval from your community HOA if you have one.
Tools Required:
Drill/Driver (this combo kit we bought includes both)
Kreg jig + 2.5″ exterior screws (comes with this kreg kit) (optional if preferred)
Supplies:
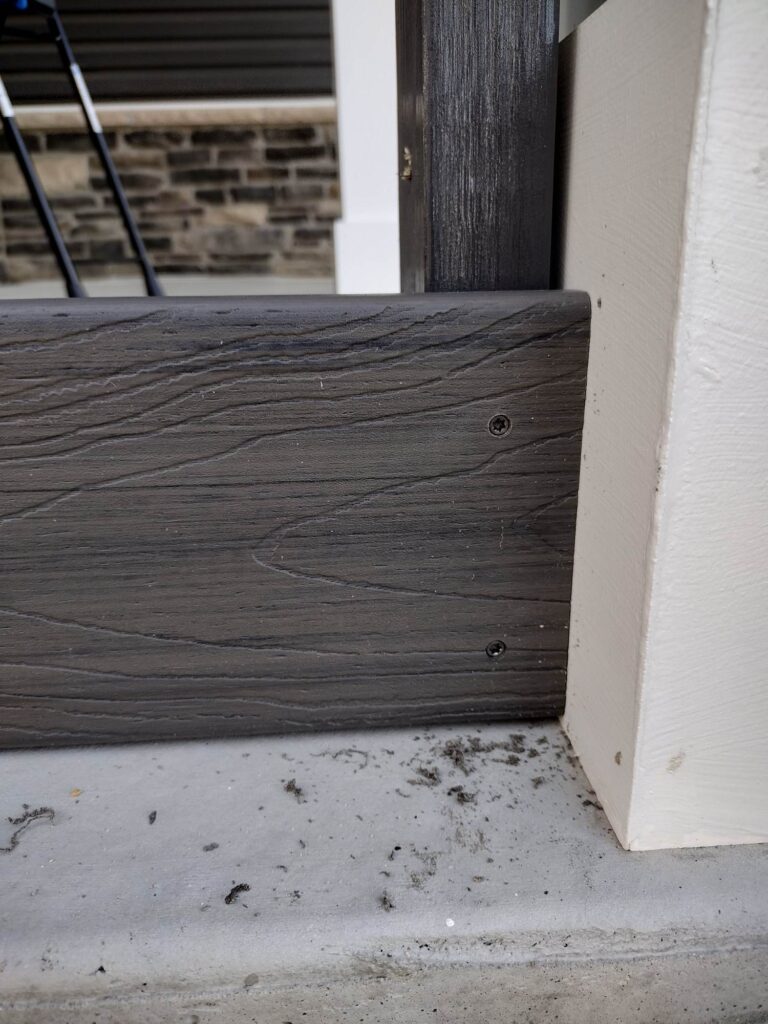
Gray Composite screws (choose colors that will match your boards so they’ll be less visible)
Spray paint (we used charcoal gray to match our decking boards)
1/4 x 2 3/4 concrete masonry screw anchors
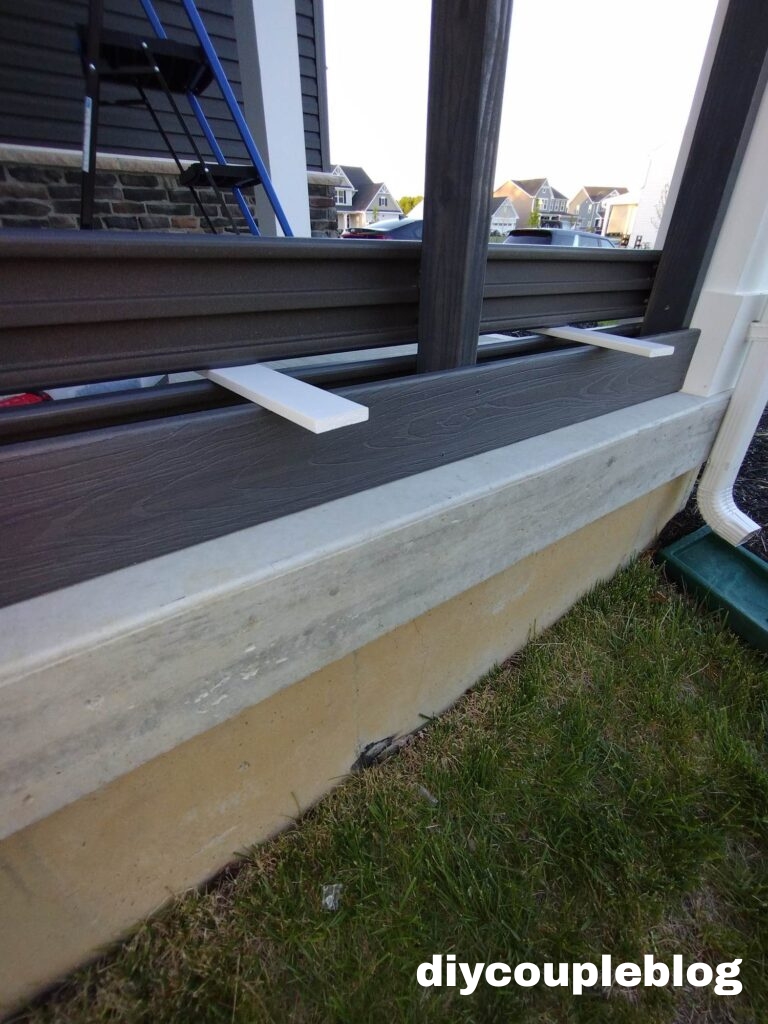
.5″ shim (we used a scrap piece of wood we had laying around, choose a board that will be the thickness of your liking for the gaps in between)
Composite decking boards (we chose grey composite decking to match our home)
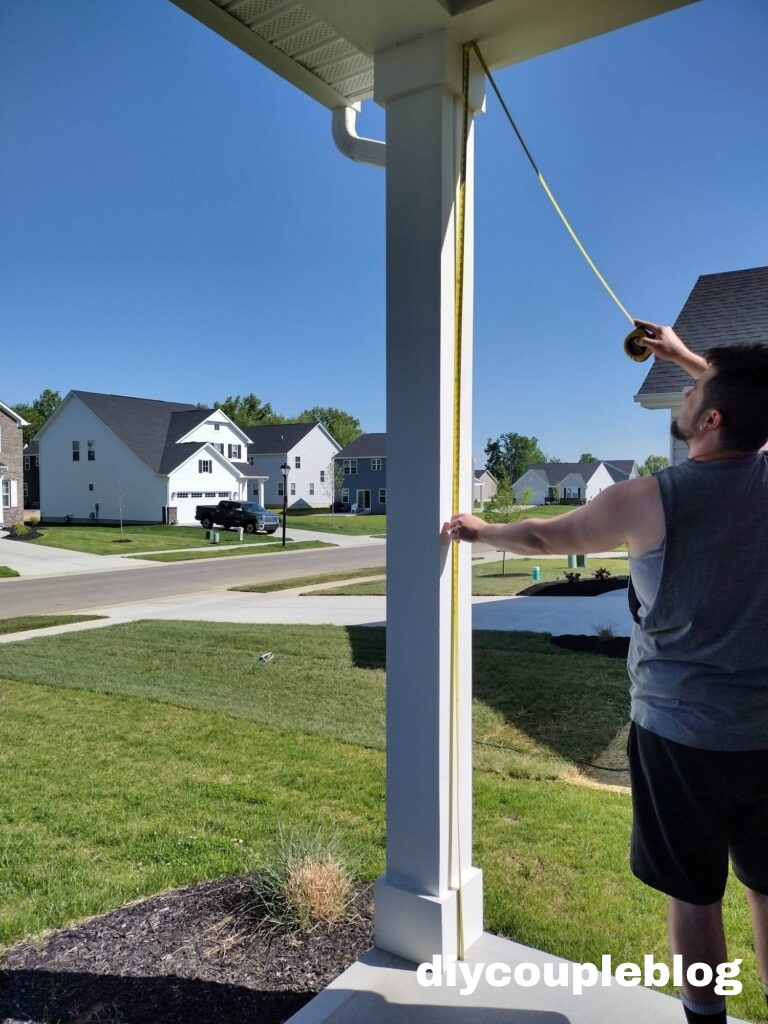
Gather Measurements To Get Started with Your Outdoor Privacy Screen
Step 1. Measure from your patio/deck floor up to the underneath of the porch roof. Repeat to get the measurements for the opposite side (if you are doing a porch like we did, there will most likely be a slope, so you’ll end up with two different measurements).
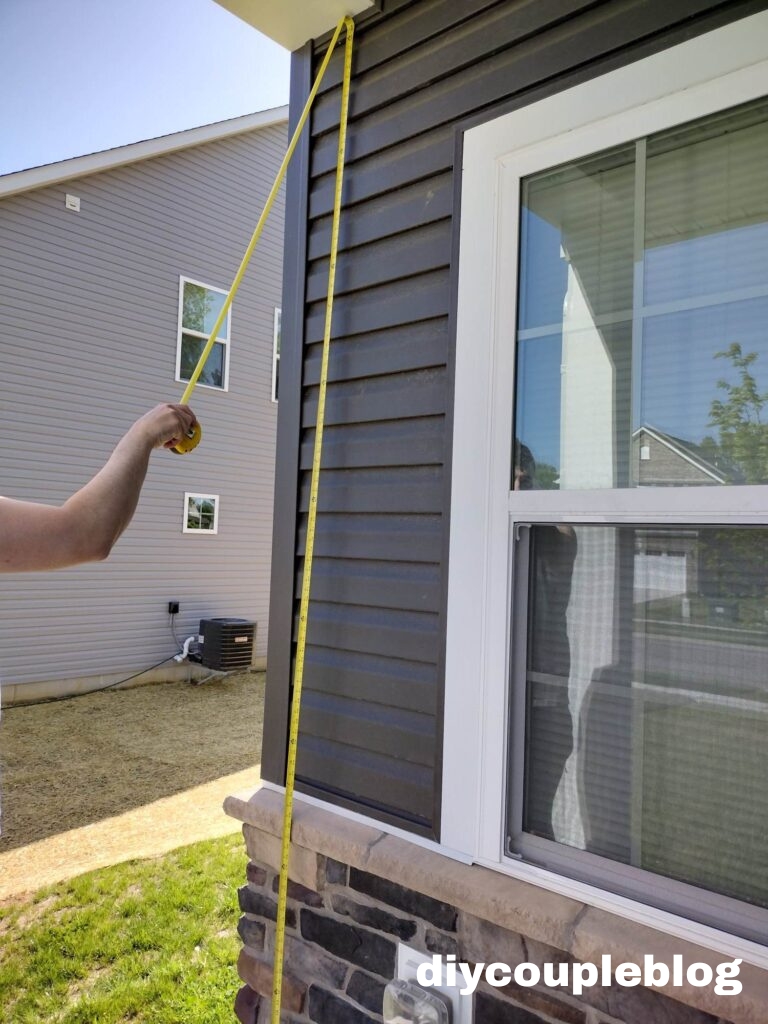
Now measure the width of the area. We laid our two end pieces out where they would go and measured the width of the inside of the 2×4’s. Cut both your top and bottom piece at that measurement.
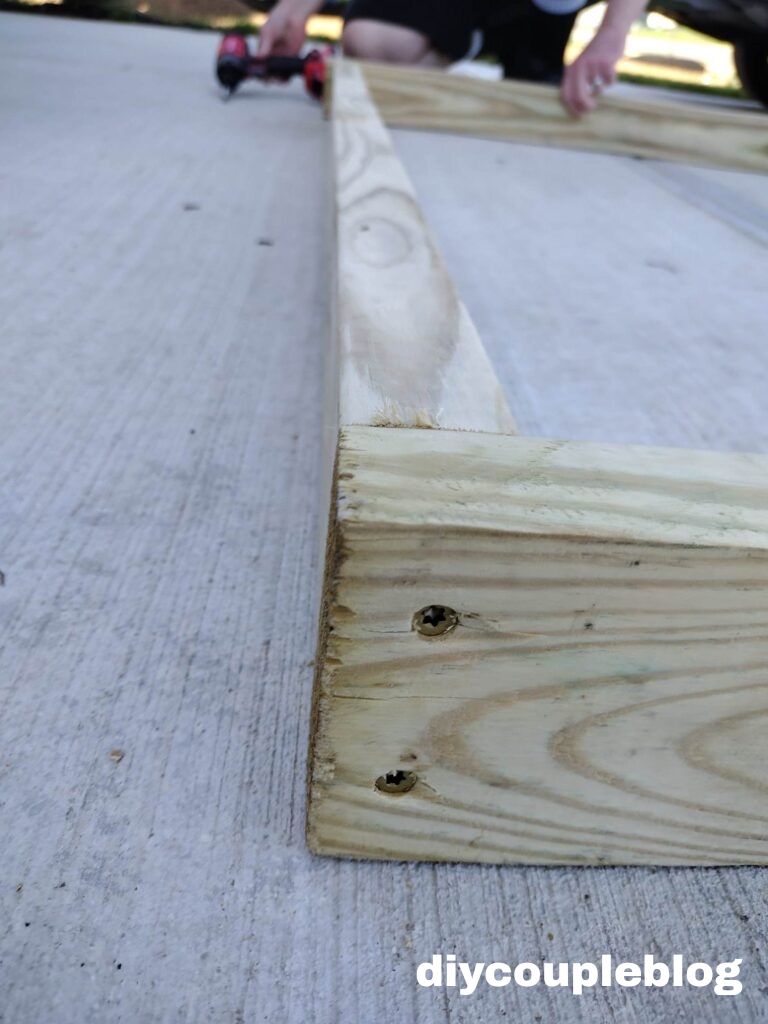
Build The Frame of Your DIY Privacy Screen Wall
Lay the frame out and screw them together with two screws on each corner. We used 2.5 inch exterior no pre-drill decking screws for this.
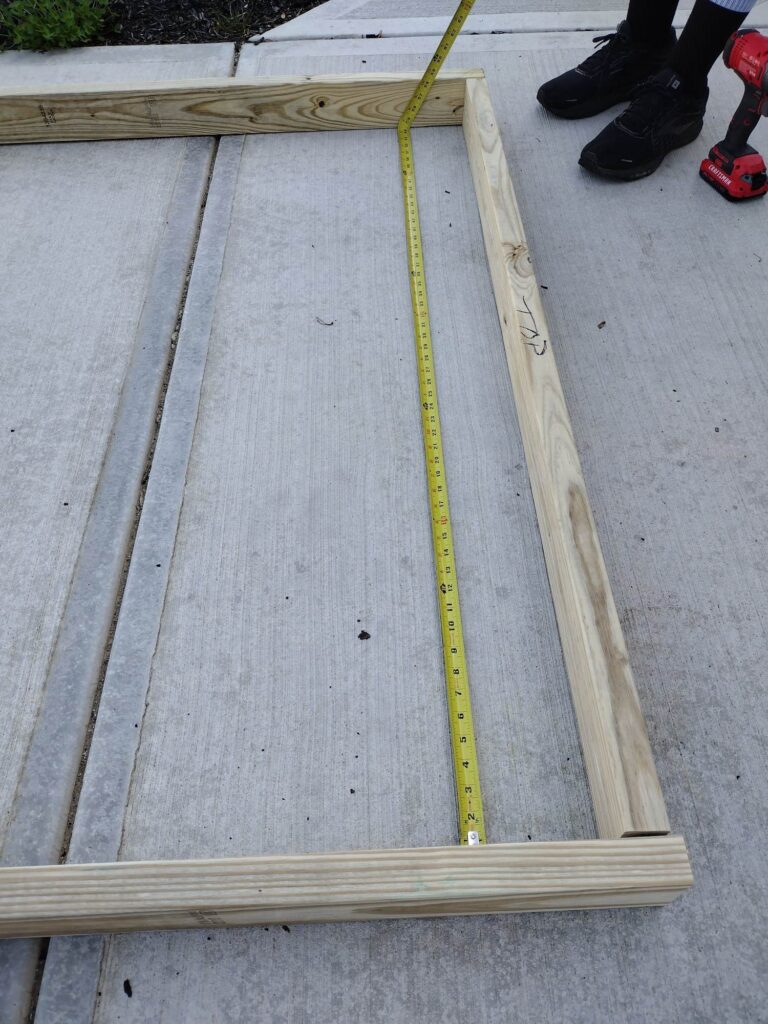
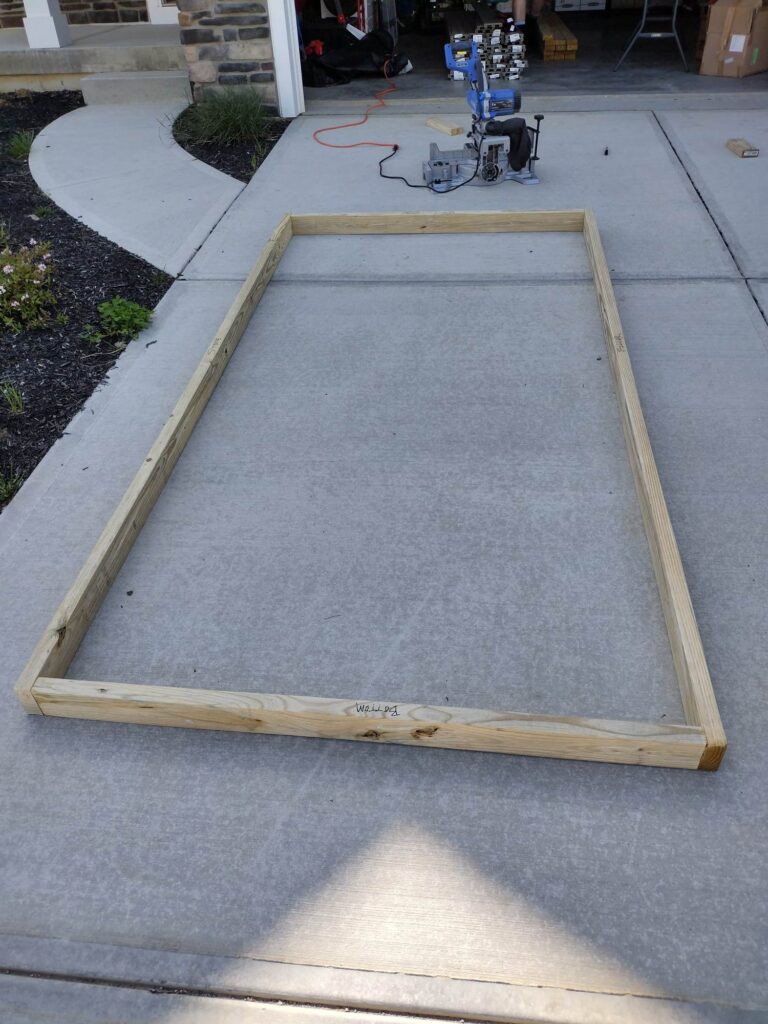
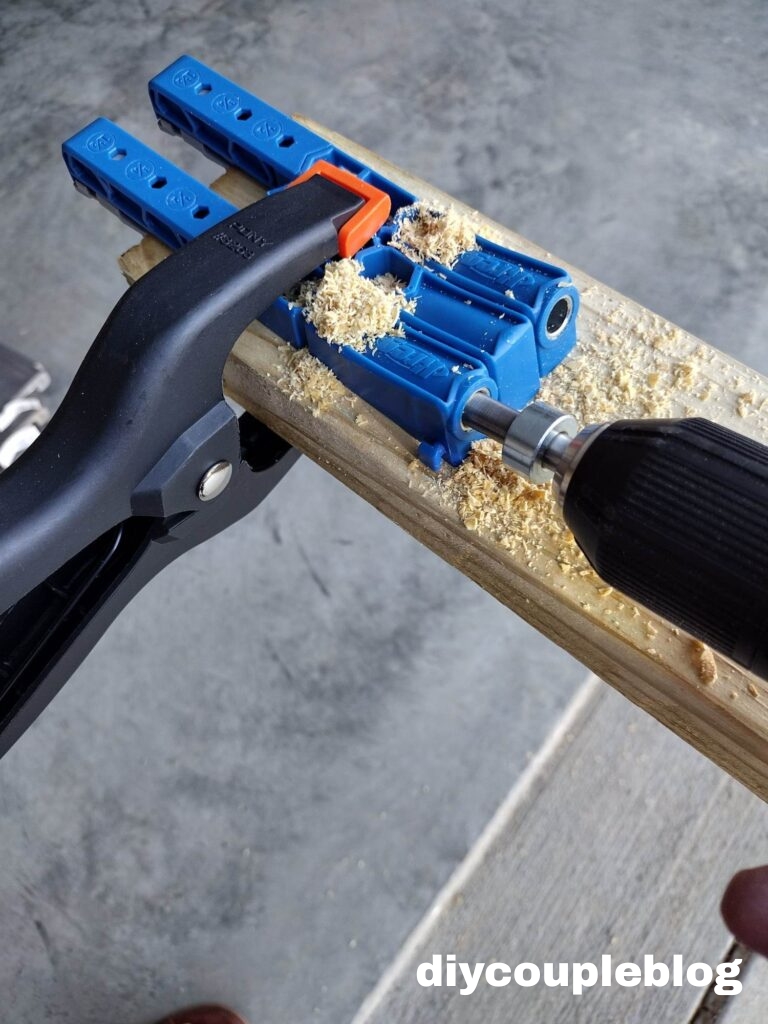
You will want to add a board in the center of your frame for extra support and to keep the boards straight. We recommend you do it at this point before you paint, if you have to add one or more later you can do it at any point using a Kreg jig for pocket holes.
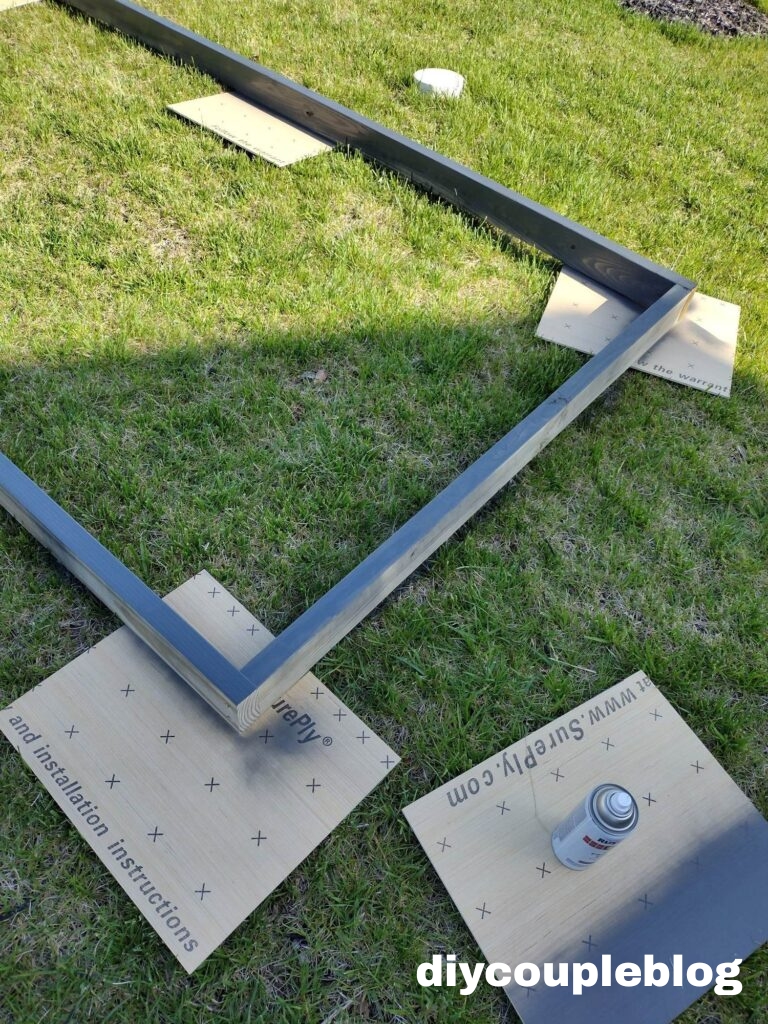
Paint The Frame
Paint your privacy wall frame. You will preferably want to match the color of the paint with your decking boards and paint any areas you don’t want to see beneath your boards.
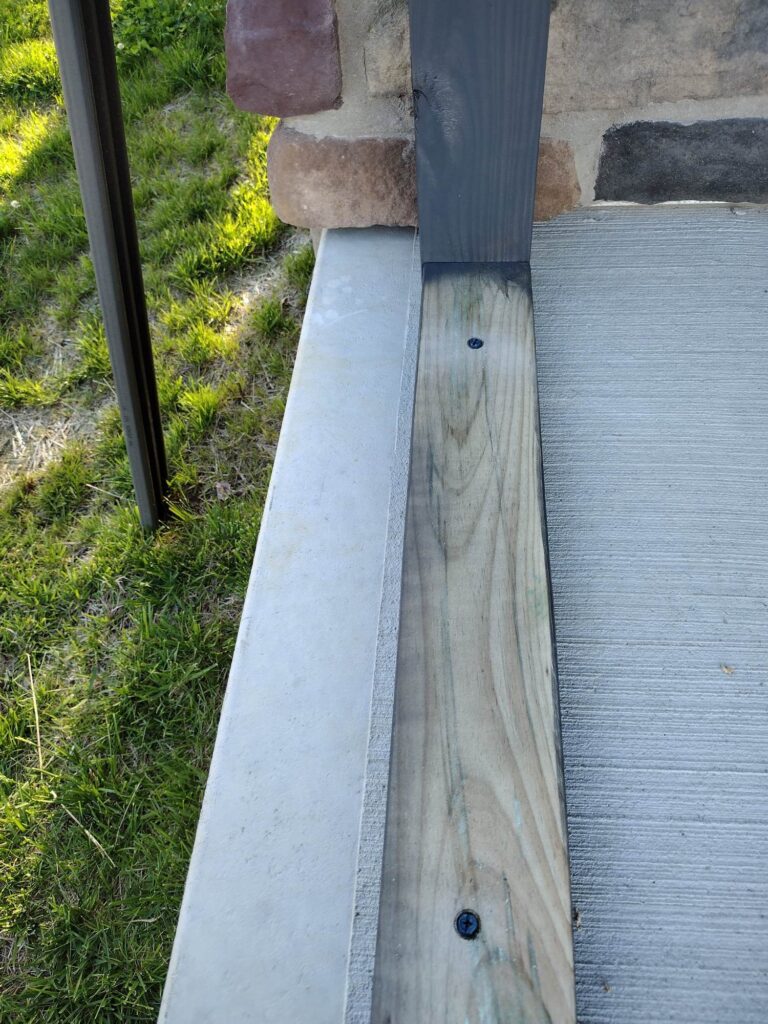
Attach The Frame
Go ahead and fit the frame in your space. You’ll need to level it up and attach it. We centered our frame on our porch column. Notice this is where we added our middle support using pocket holes. We waited to add our middle support due to being unsure if we needed it but definitely recommend it.
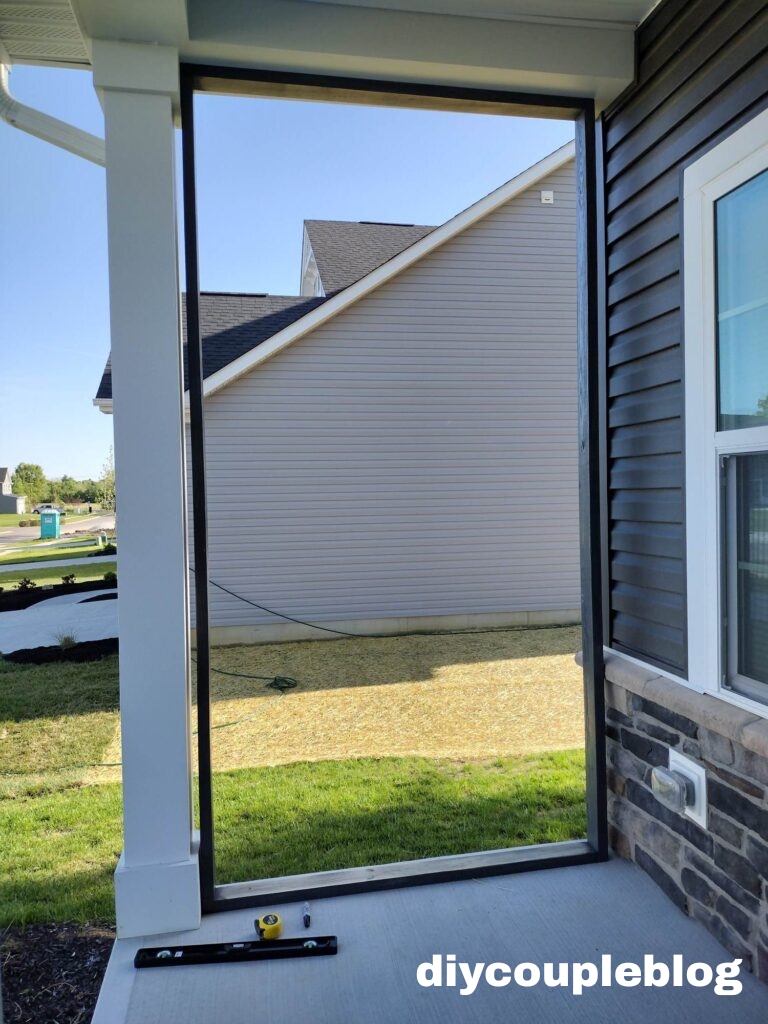
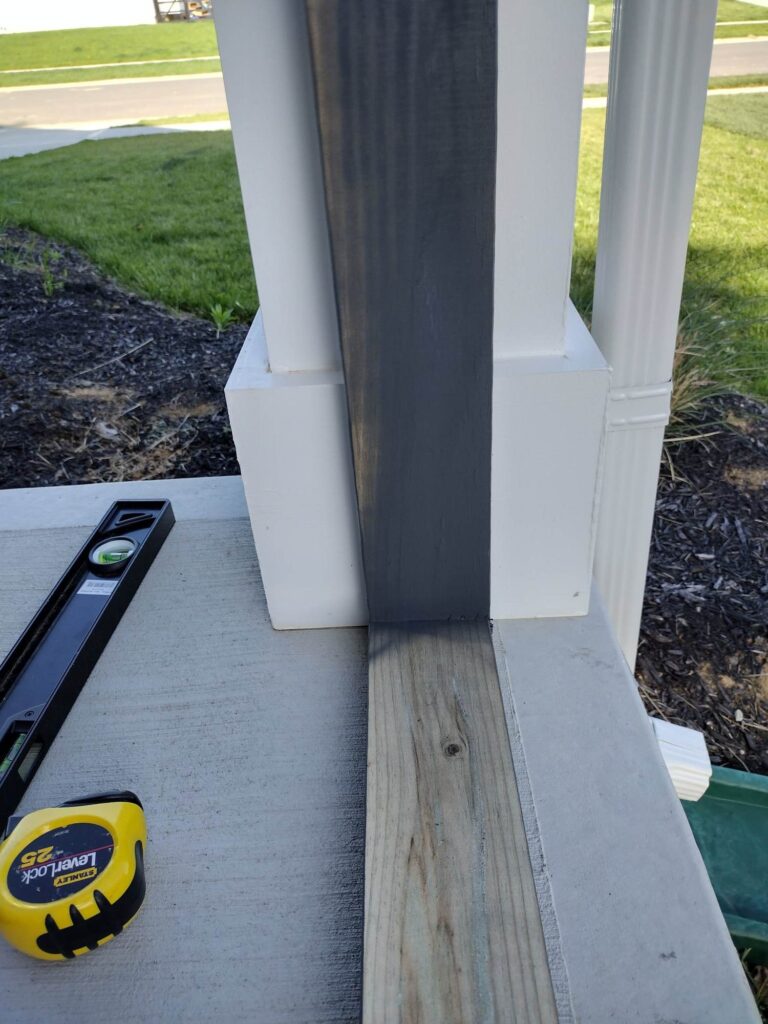
Be sure to center the frame and level it so that it’s even with the edge of your concrete (or deck).
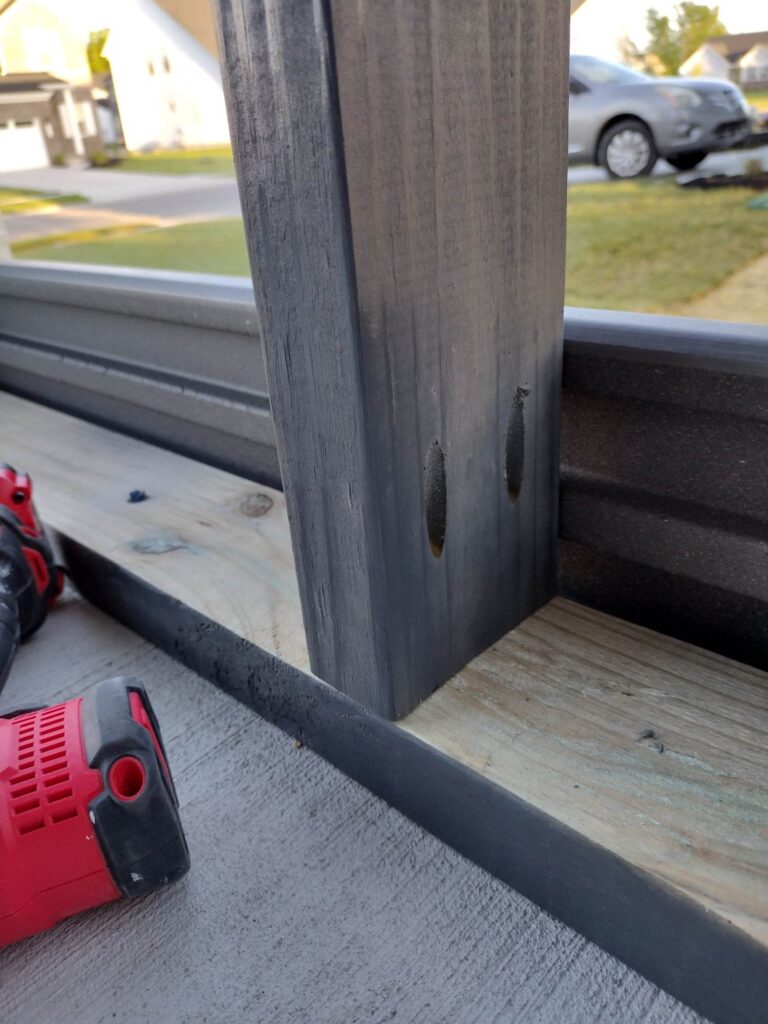
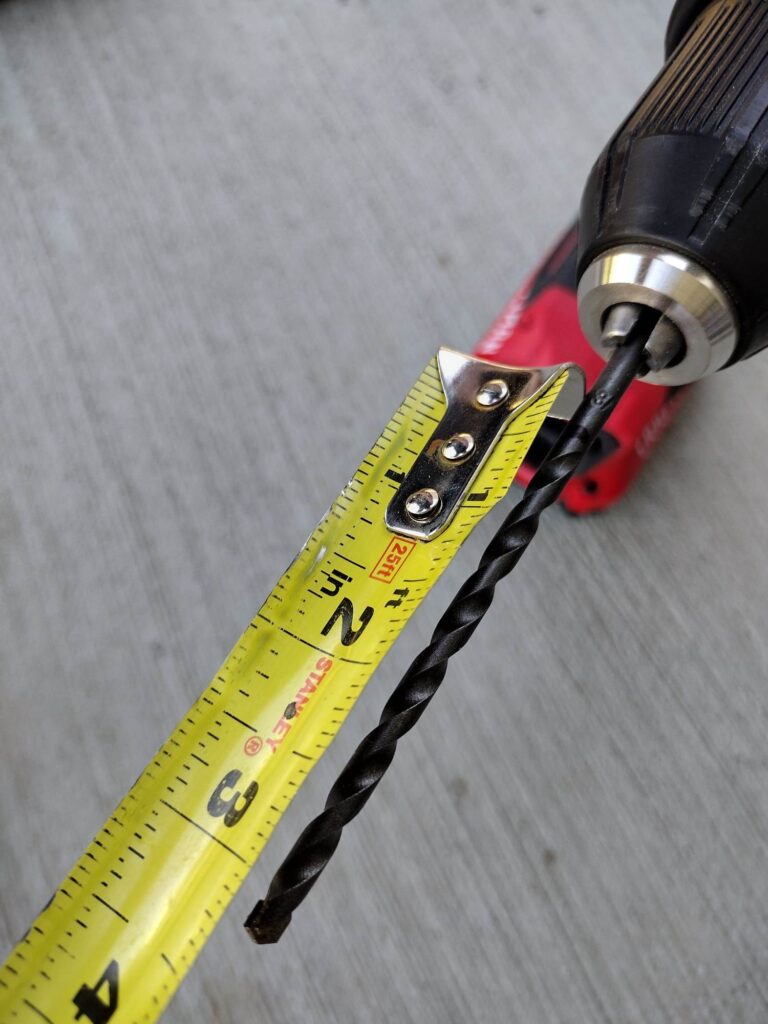
Mark the depth of the drill bit for how far you need to drill the holes in your concrete.
Fasten it using the 1/4 x 2 3/4 concrete screw anchors first. You may need to use a wood drill bit for pilot holes on the 2×4’s to make it easy. We put anchors roughly 16 inches apart across the bottom board.
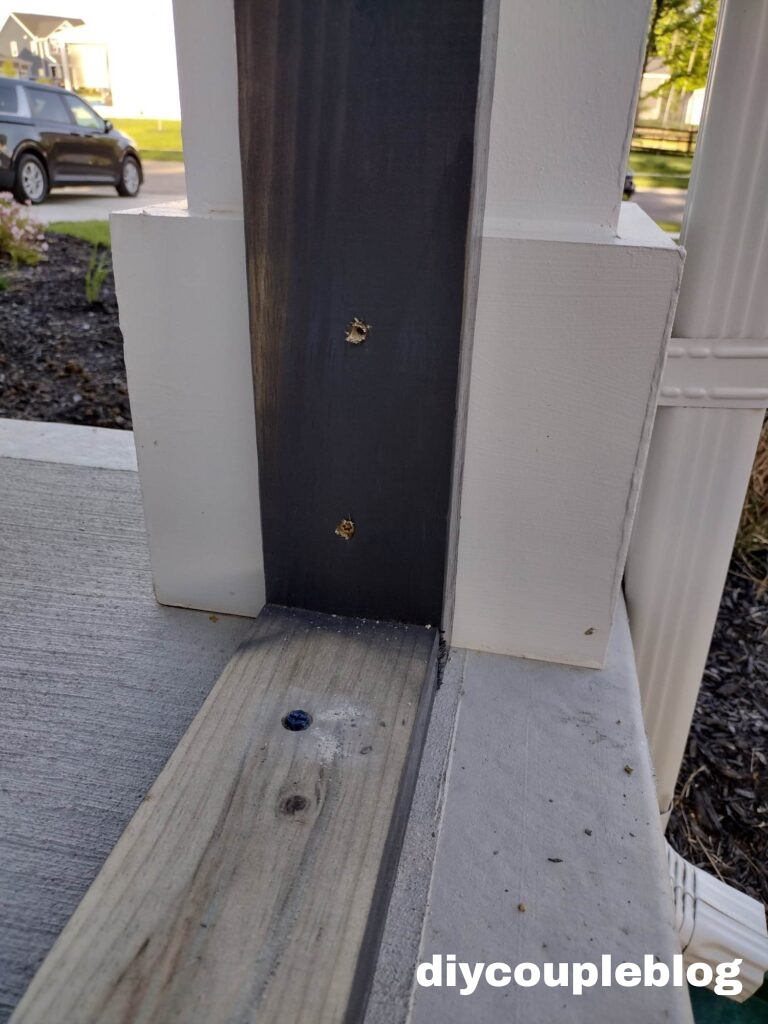
Level the side and attach to the porch column using your 2.5 inch exterior screws.

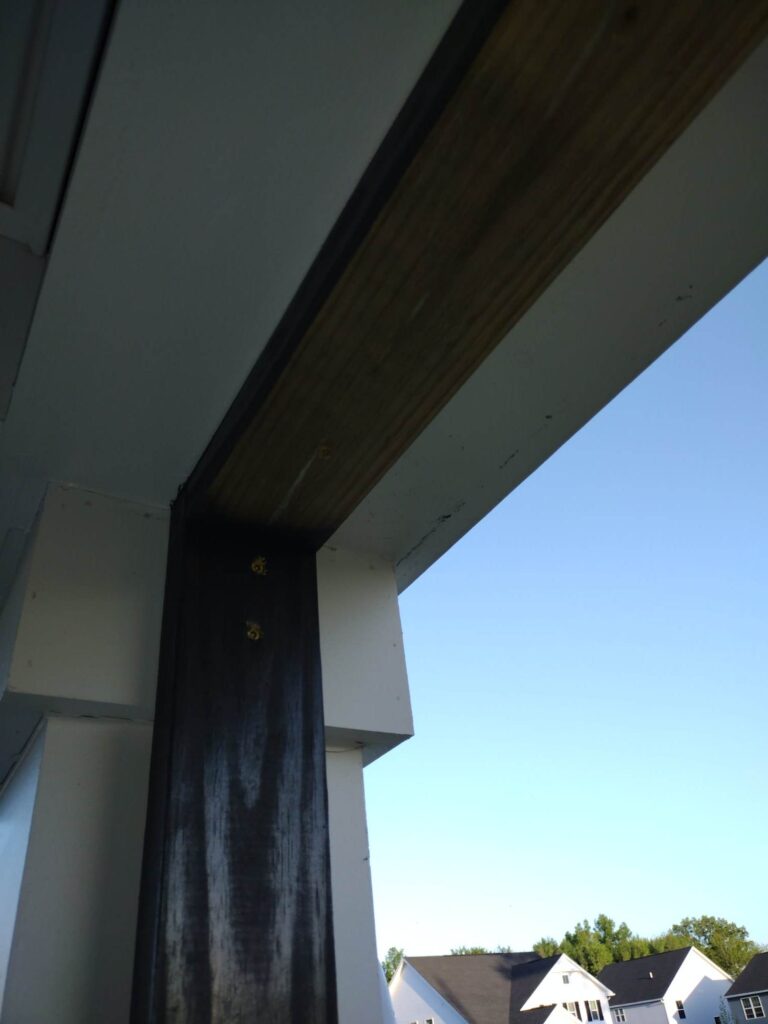
Attach the top of the frame to your porch roof using the 2.5 inch exterior screws and also attach to the top of the column.

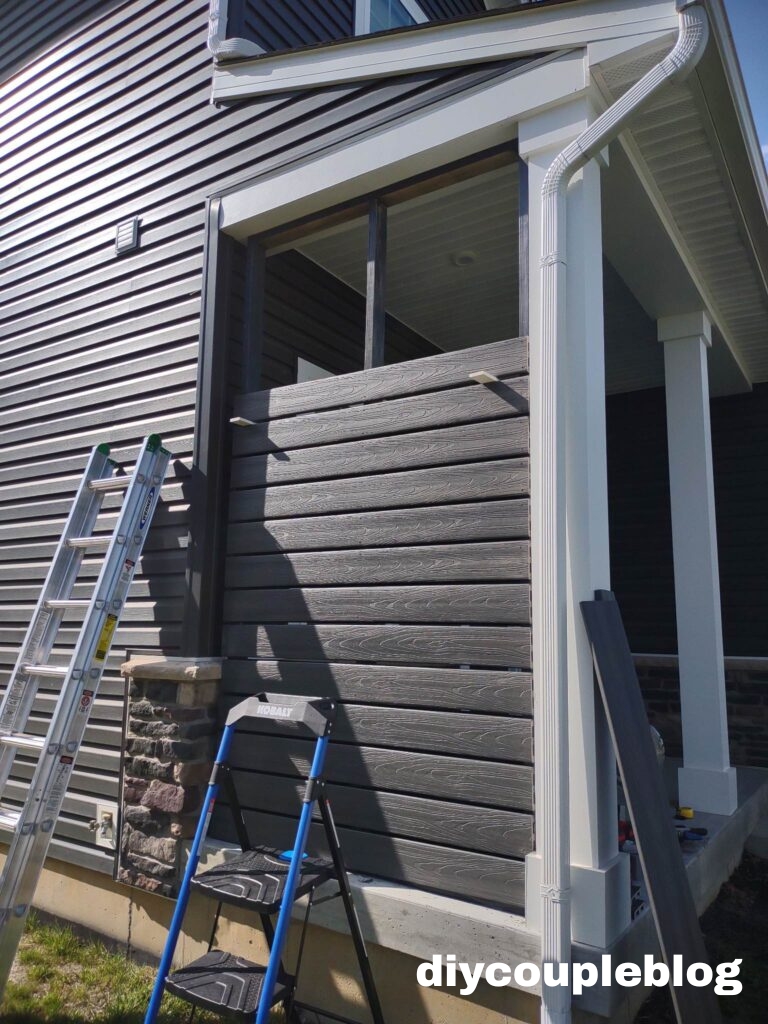
Add Composite Decking Boards to Complete Your DIY Outdoor Privacy Screen Look
Cut your composite decking boards to the correct length to cover your frame and add your privacy.
You are now ready to attach the composite boards to the installed frame. It’s vital to level the first board so the rest sit right. We put two screws in each of the two ends and middle frame boards in order to attach each composite decking board.

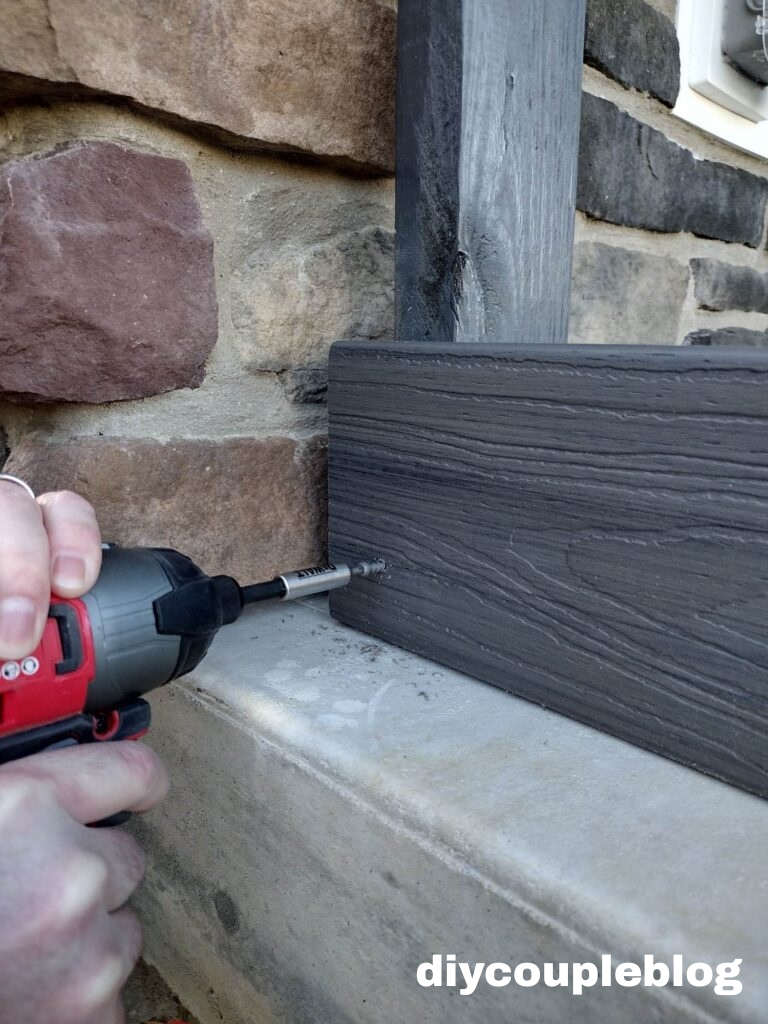
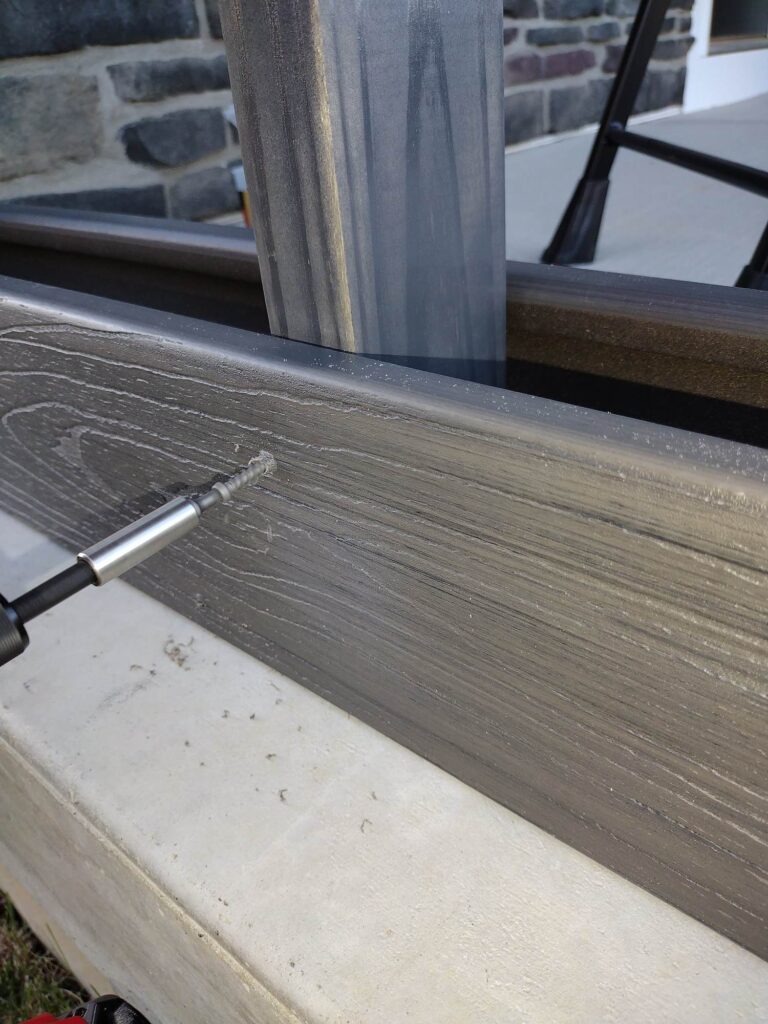
You will repeat this step adding boards all the way to the top on both sides. As you are adding boards, in order to keep gaps perfect, slip in a temporary .5″ shim (or a board with what size gaps you prefer) between each of them.
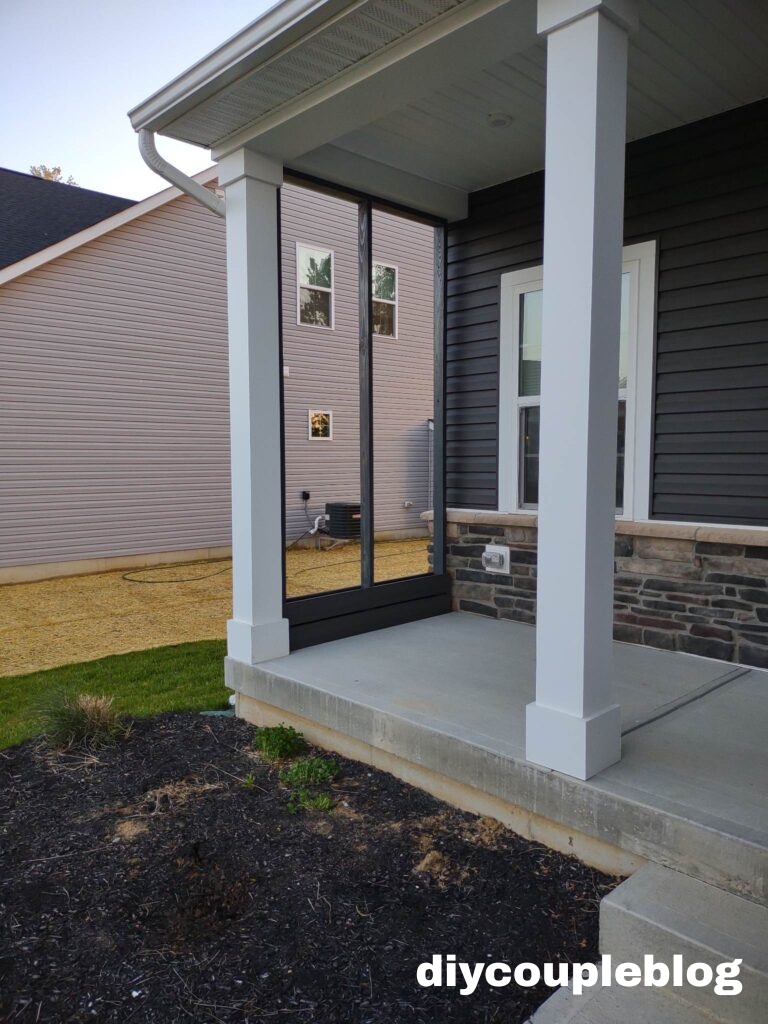
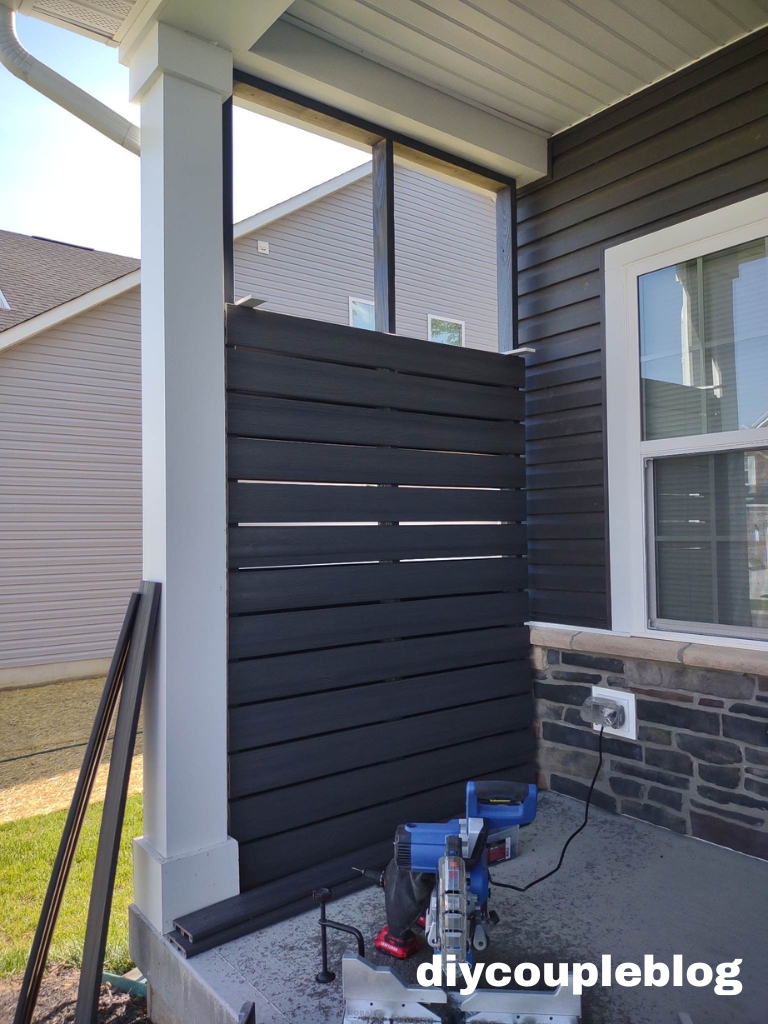
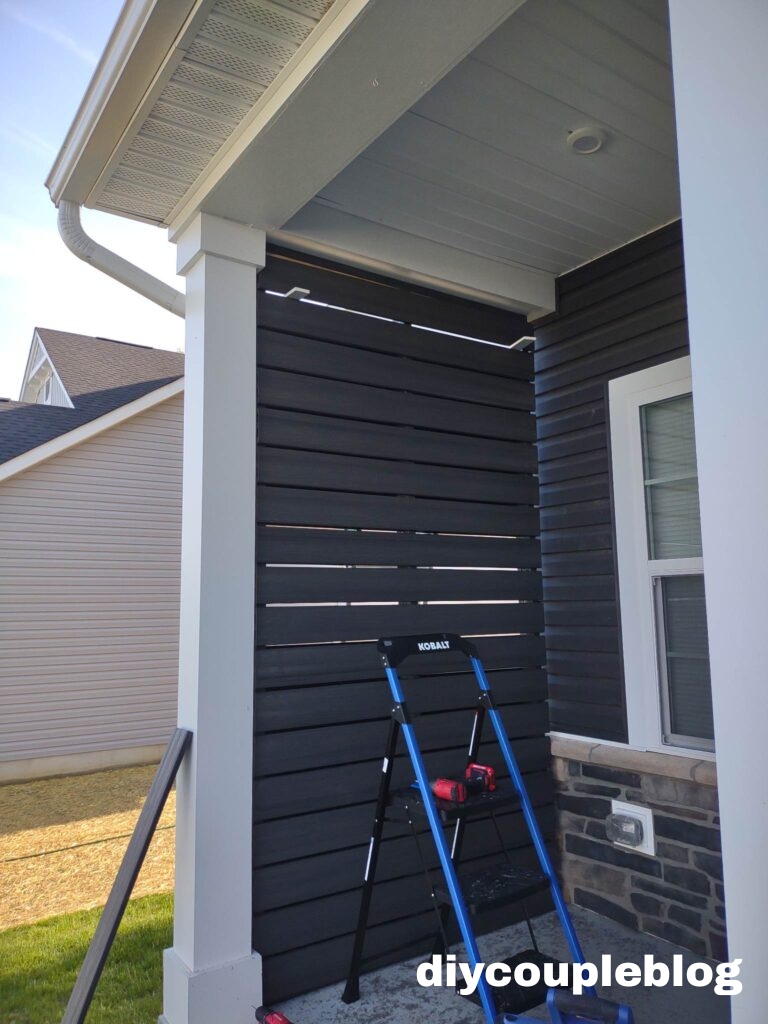
At this point, all finished! Looks so good and cannot wait to sit out on our porch now. Really loving how the gray composite decking accents our house perfectly!
You’ll want to stick around to see our finishing touches on our front porch railing and our DIY raised garden beds with a similar look with some of those left-over composite decking materials!
There’s more to love, be sure to check out our other popular outdoor related posts down below or search the blog for more DIY!