This post may contain affiliate links, which means we'll receive a commission if you purchase through our links, at no extra cost to you. Read the full disclaimer here: https://diycoupleblog.com/disclaimer/
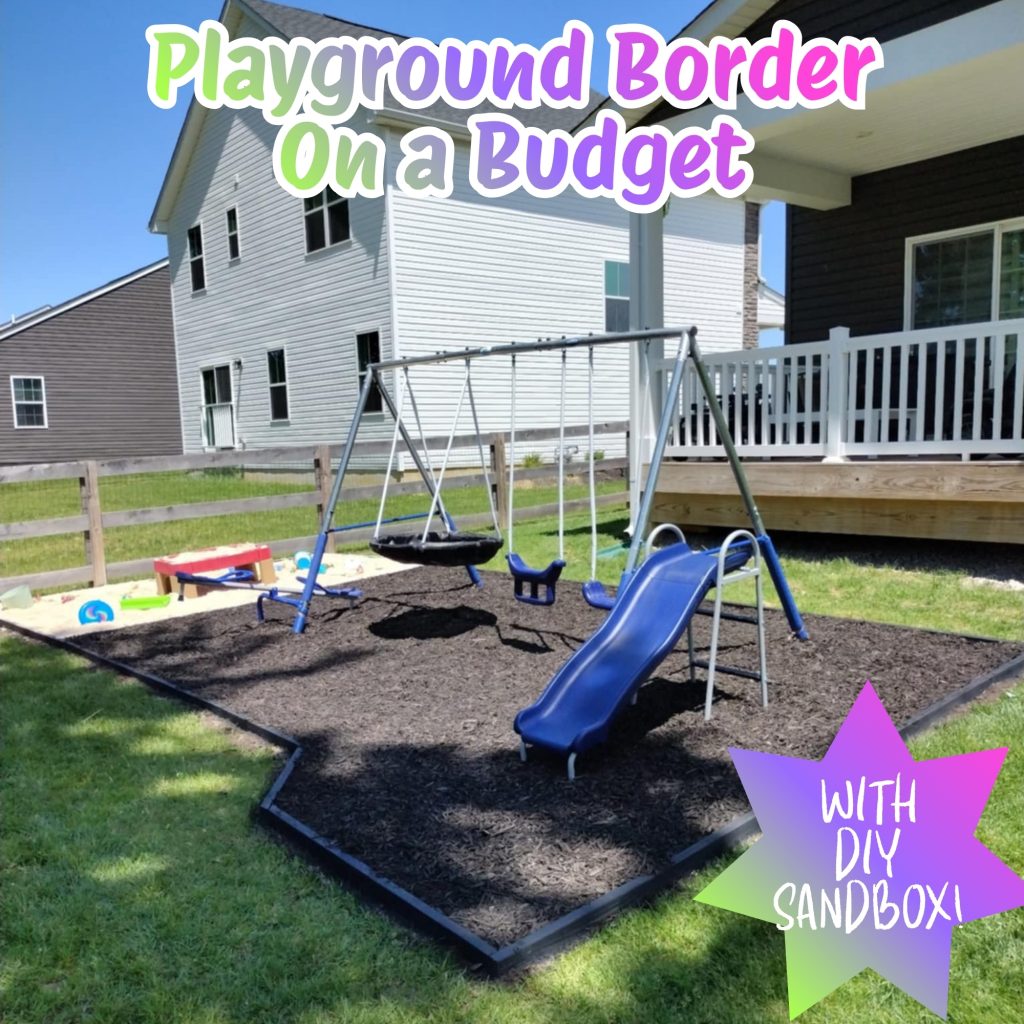
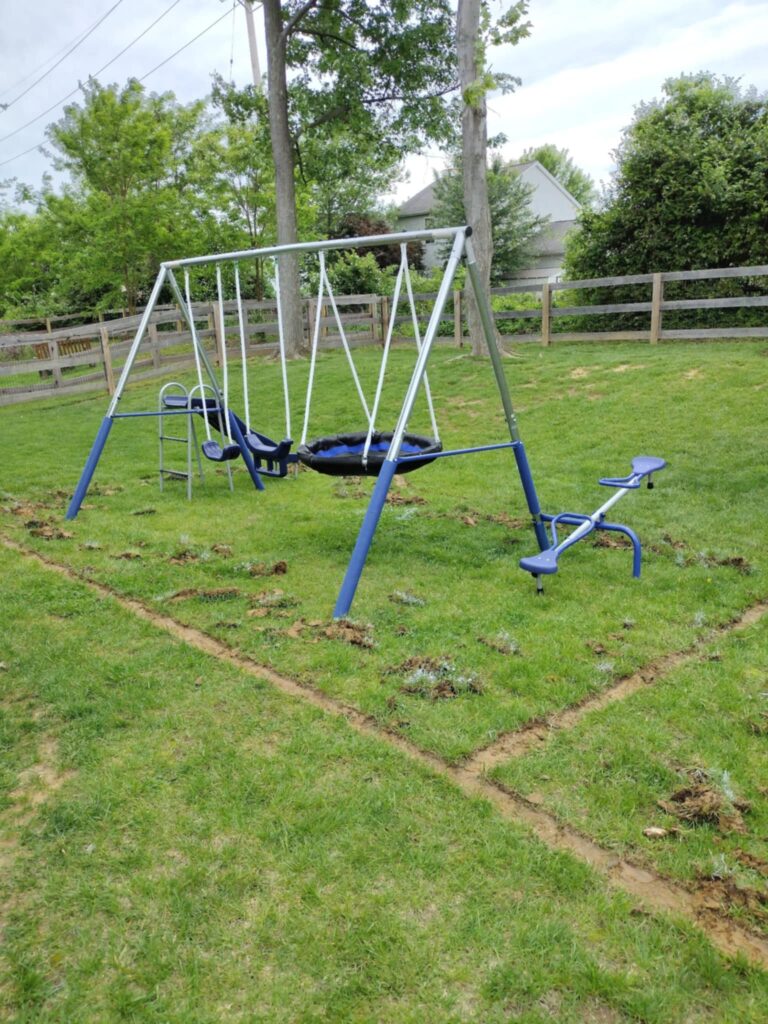
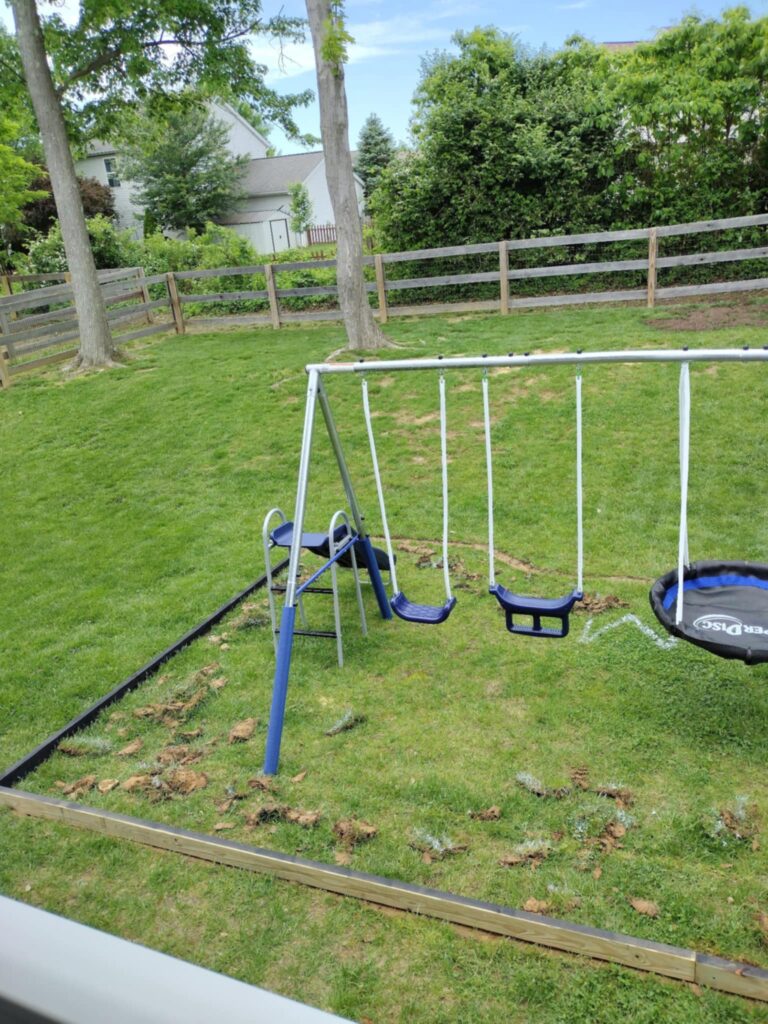
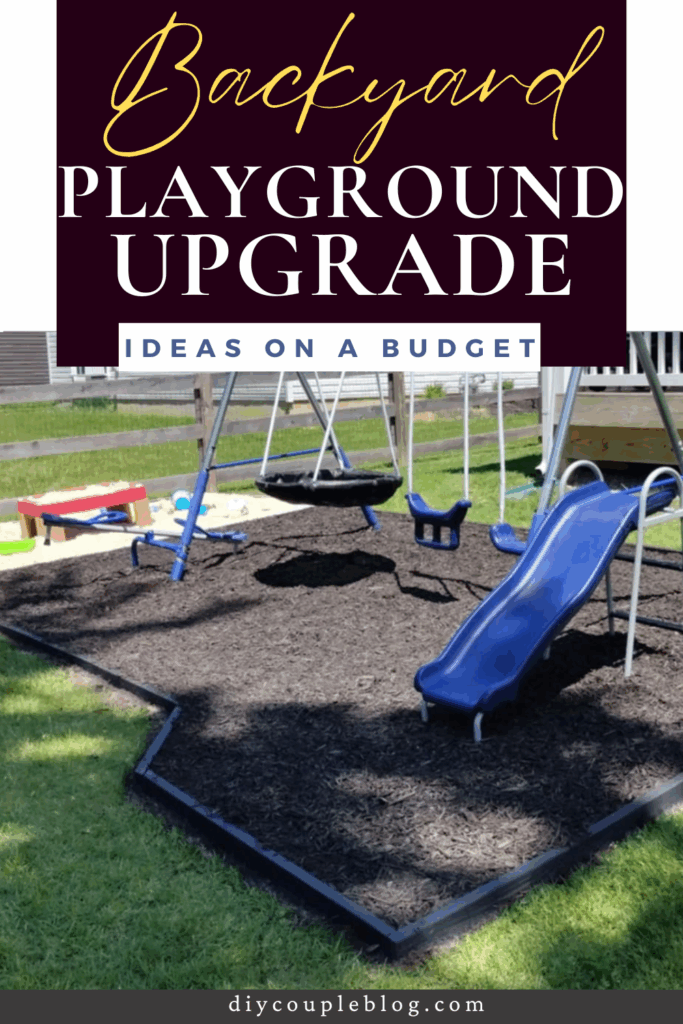
In this post, I’ll be sharing a reveal of our most recent DIY project: Our outdoor playground area! We completed this DIY playground border in one weekend using materials found at our local hardware store.
If you are looking for DIY playground ideas for outdoors, I hope this post can come in handy and give you some inspiration for your own backyard play area.
Playground Borders on a Budget
Creating a dedicated backyard play space for your kids shouldn’t cost a fortune. While Commercial products like rubber or plastic playground borders look nice, their price tags can quickly derail a weekend project.
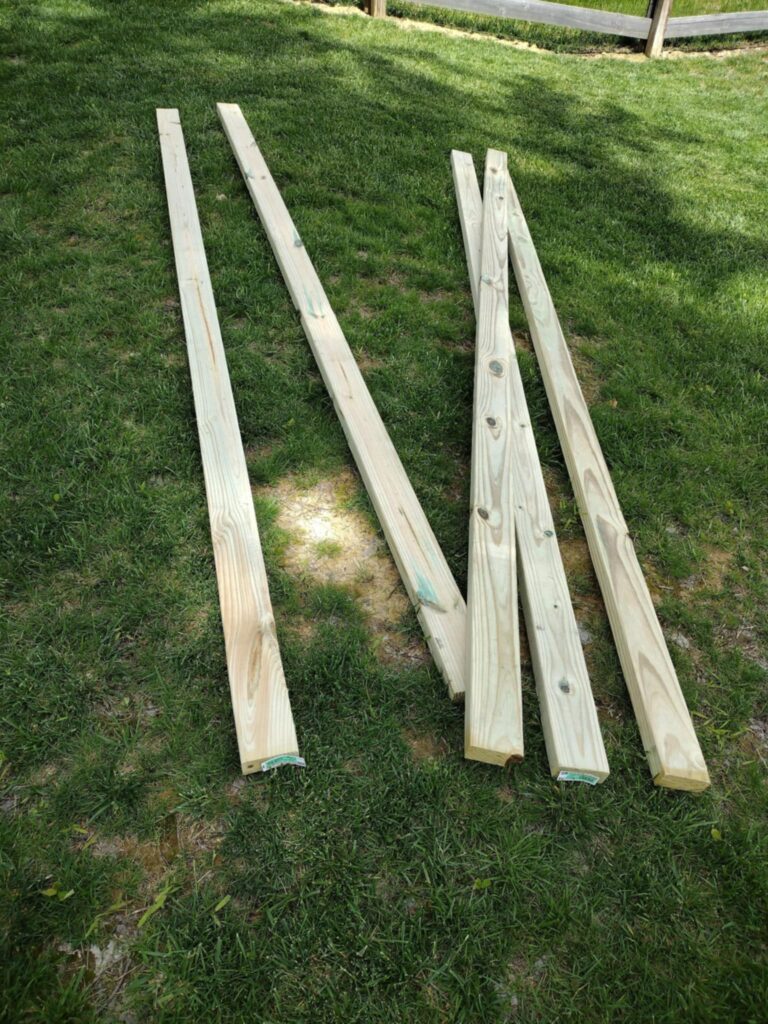
There are several playground border ideas swirling around out there but to keep this project simple and, on a budget, we used treated 2×4 lumber.
If you want a clean, defined and safe containment system for playground mulch without breaking the bank, standard dimension lumber is the ultimate budget-friendly solution.
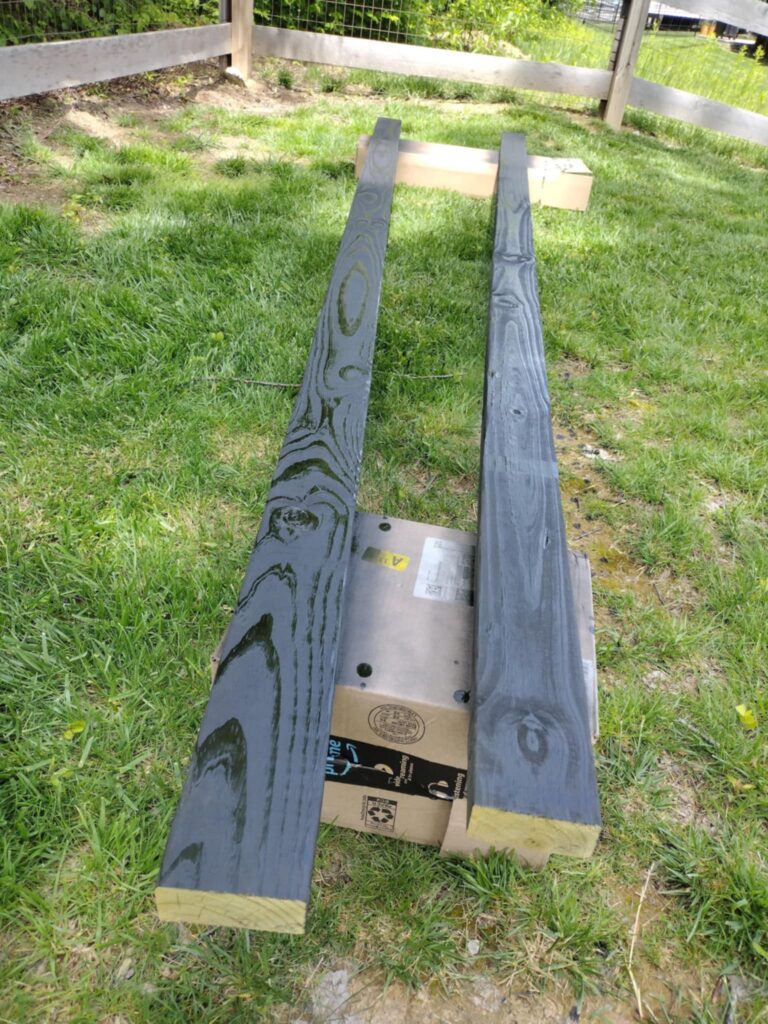
Creating a Modern look with a Black Playground Border
We knew we wanted a dark look to complement and match well with our black mulch that we bought for this project. So, we coated our lumber with some outdoor black spray paint to give our boards a sleek modern black finish.
We were trying to hurry through this project so we could surprise our daughter for her birthday.
Connected Playground Border
Sandbox and Playground Layout
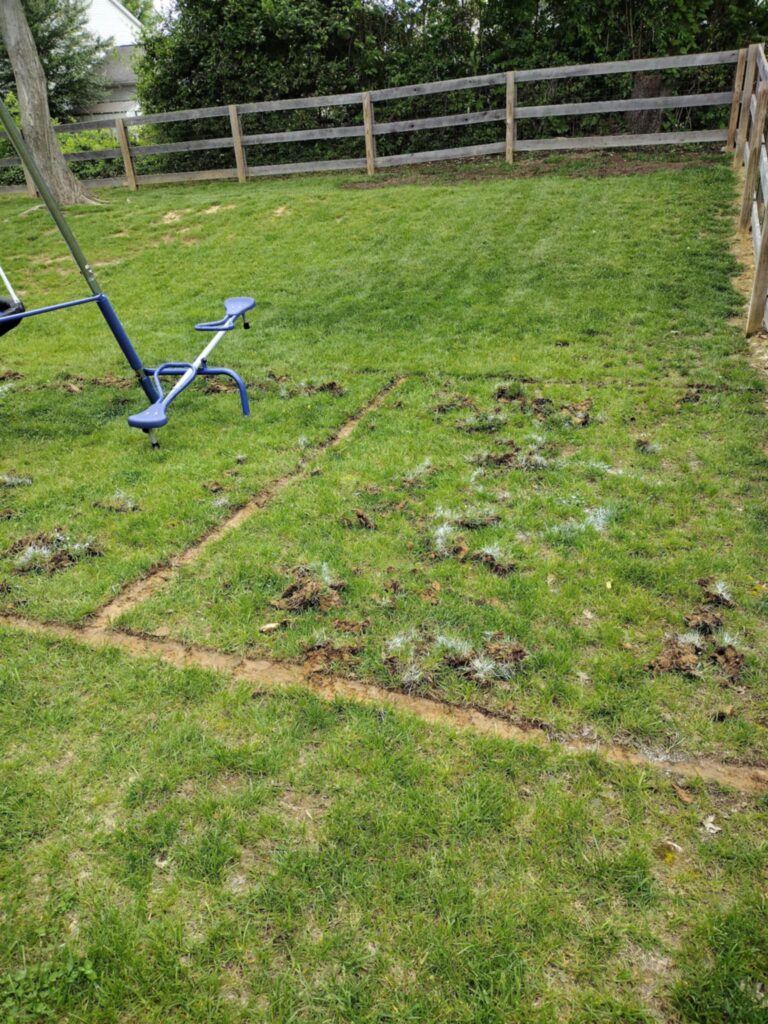
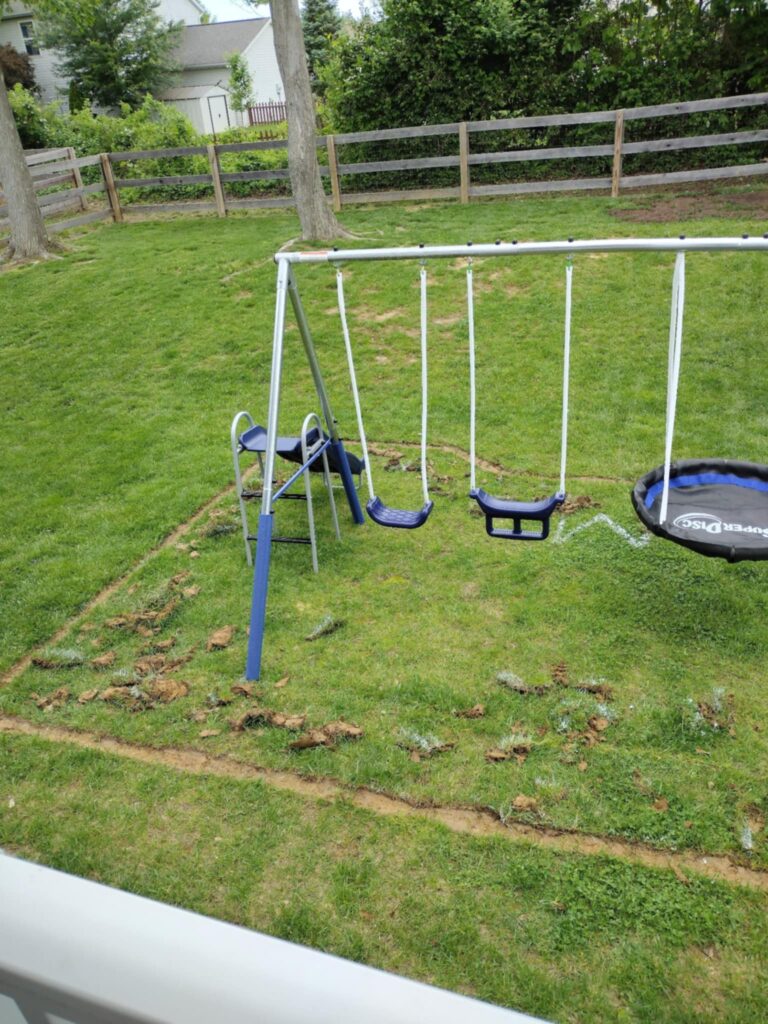
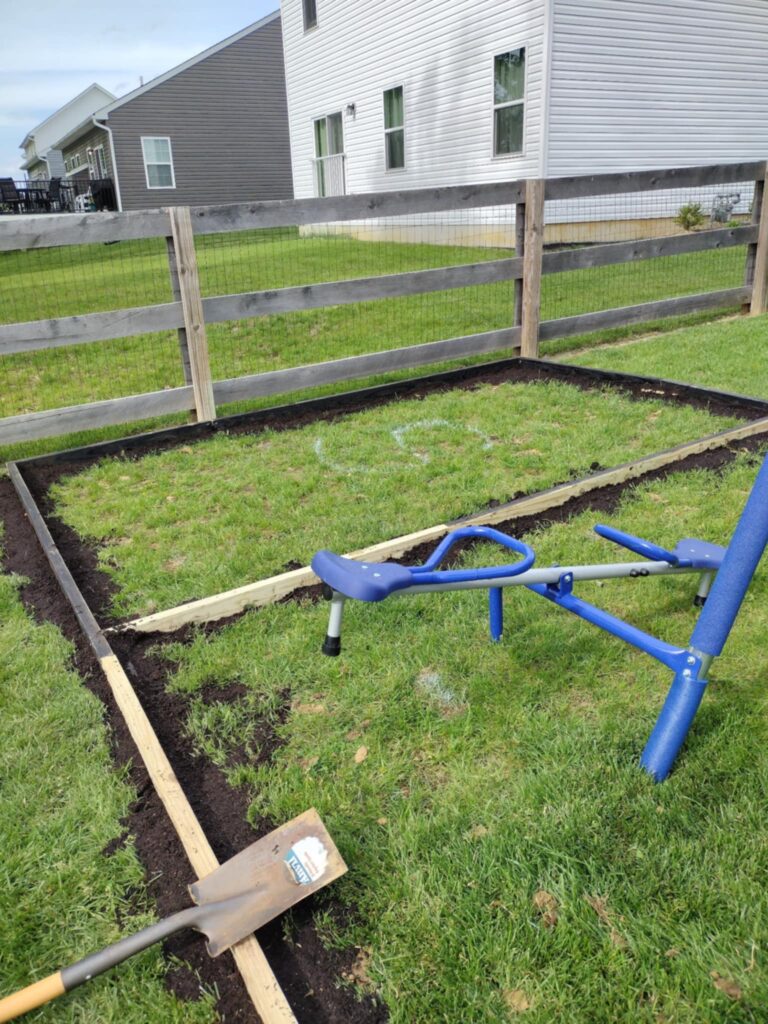
We chose to use a can of white paint to outline our design (for reference, S is for sand & M is for mulch).
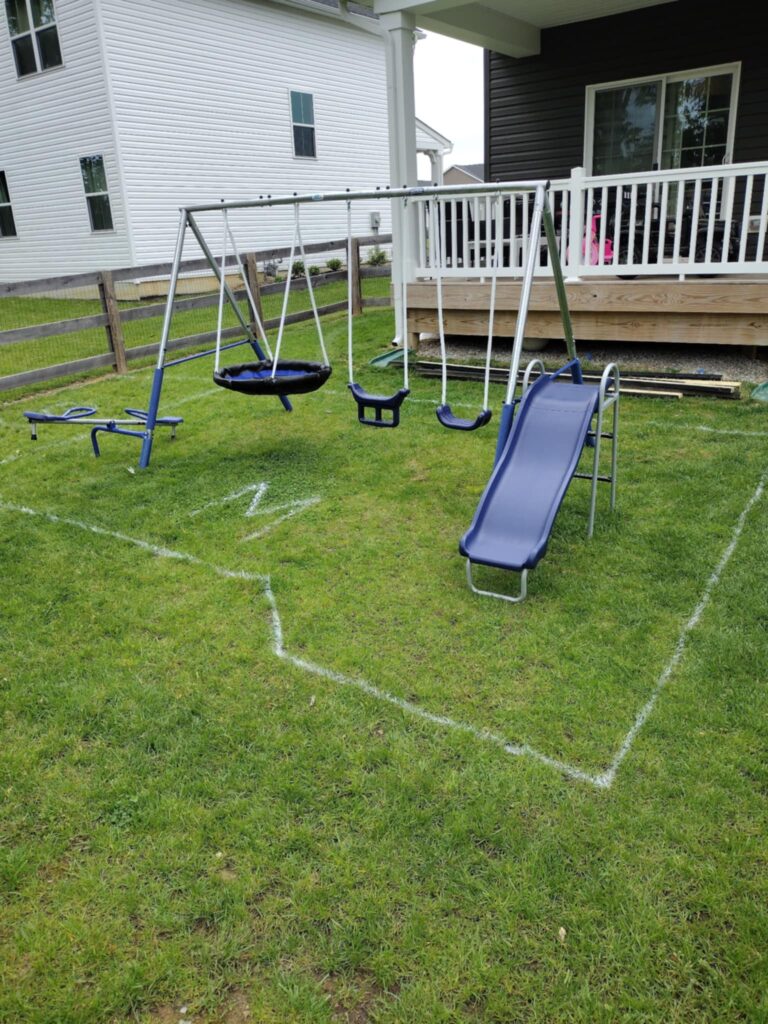
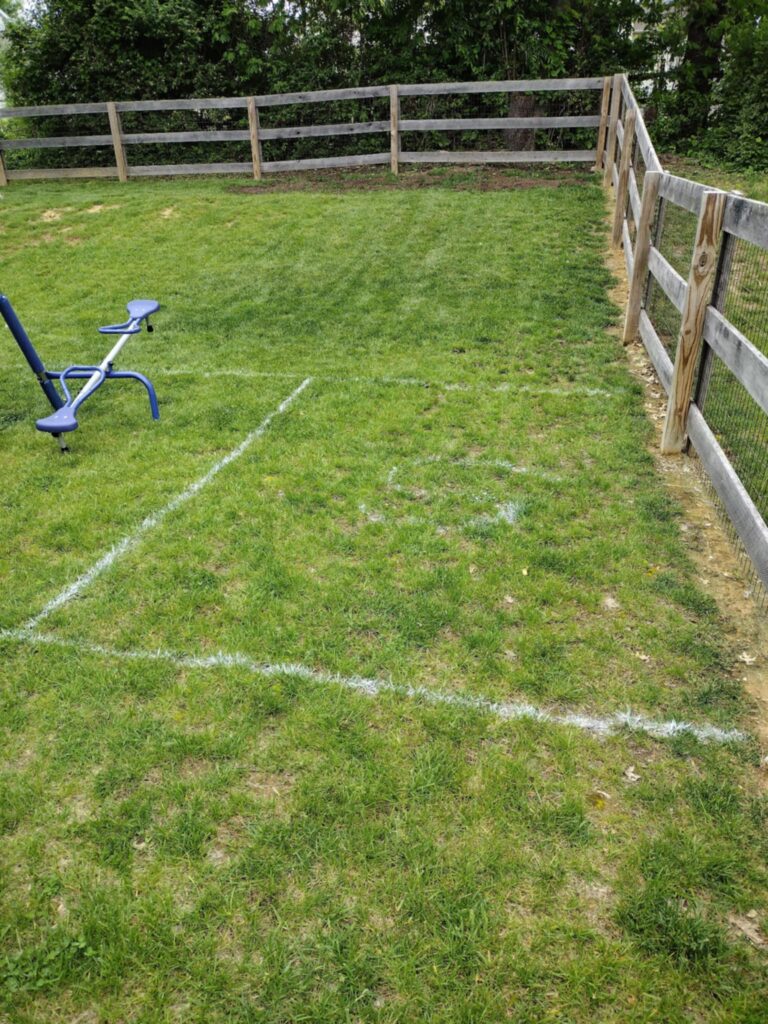
This way we knew where to skim off the ground and place 2×4 boards.
Playground Border: The Process
Playground Border Edging Installation
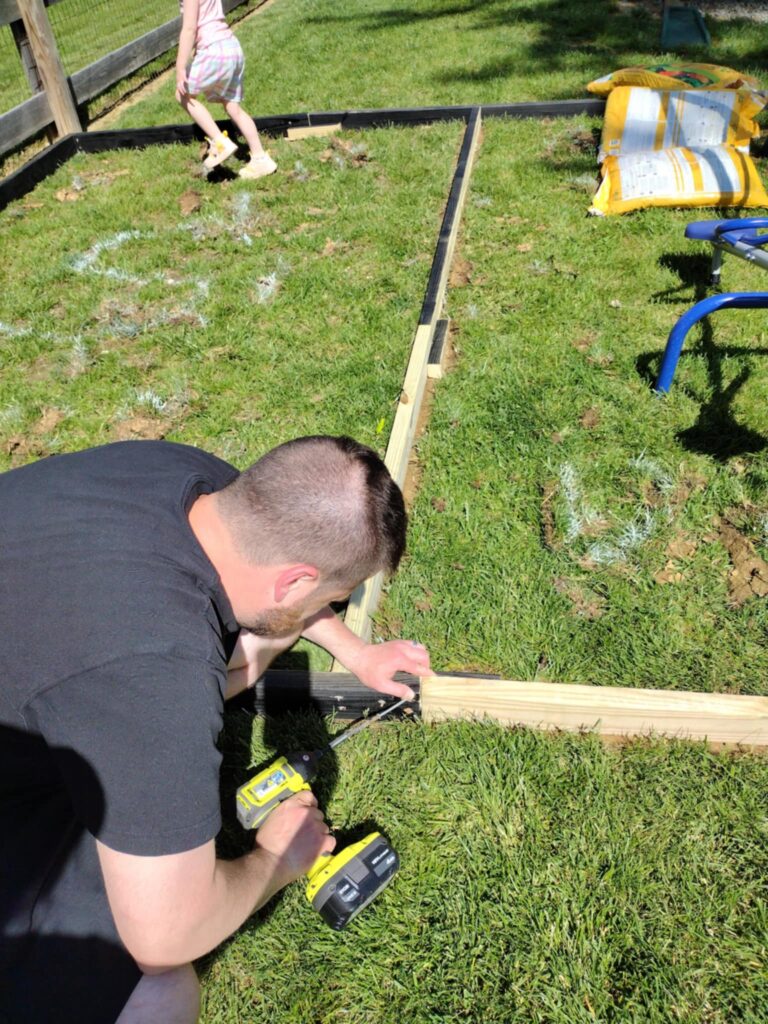
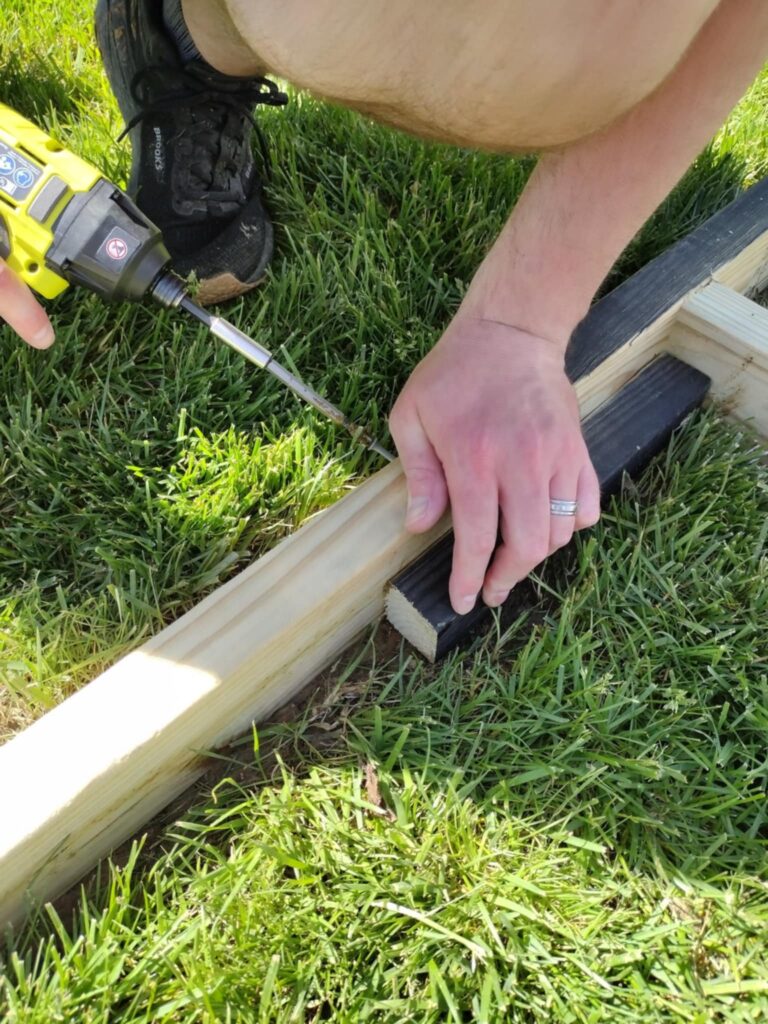
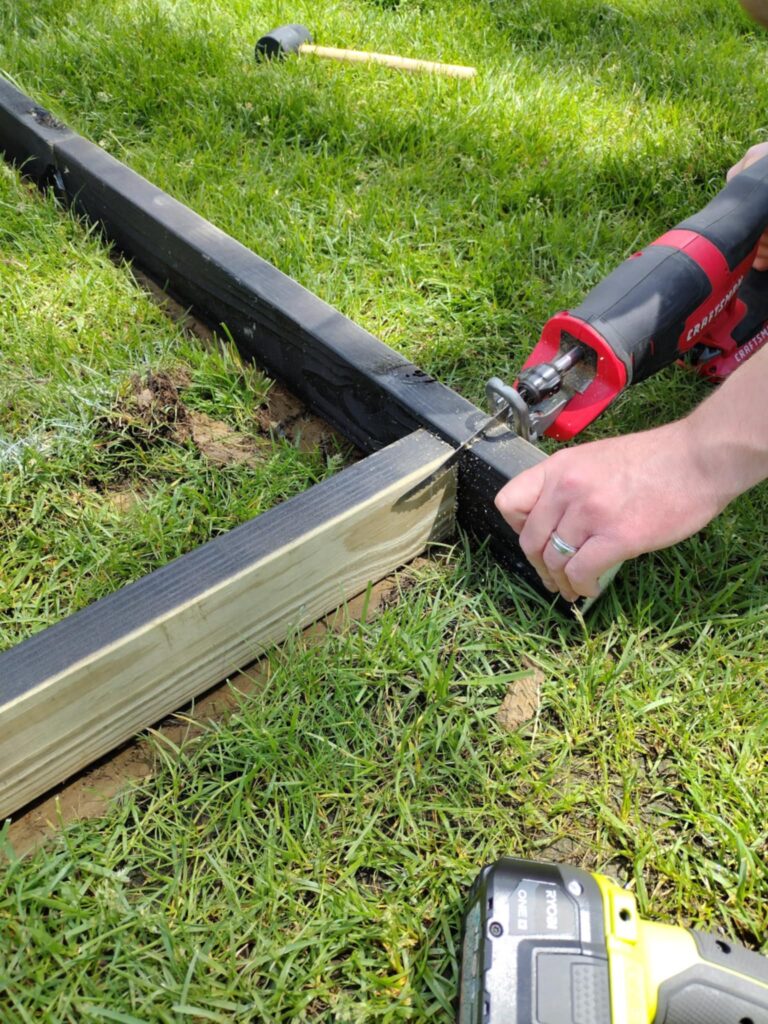
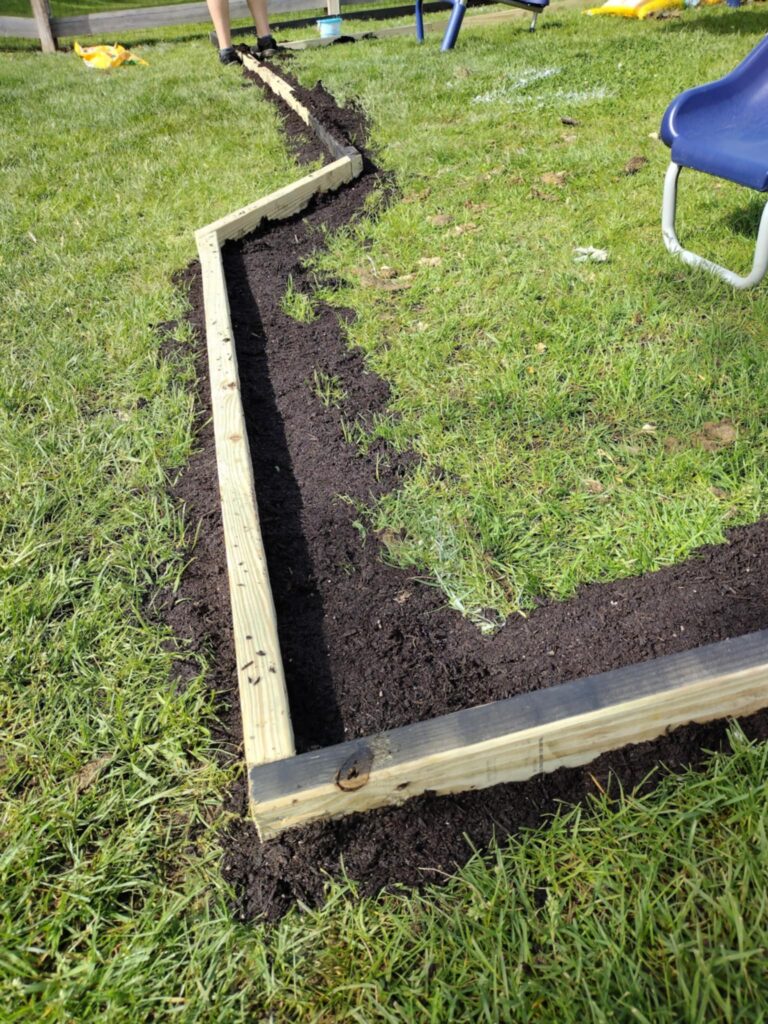
We laid the boards in place and started to attach them!
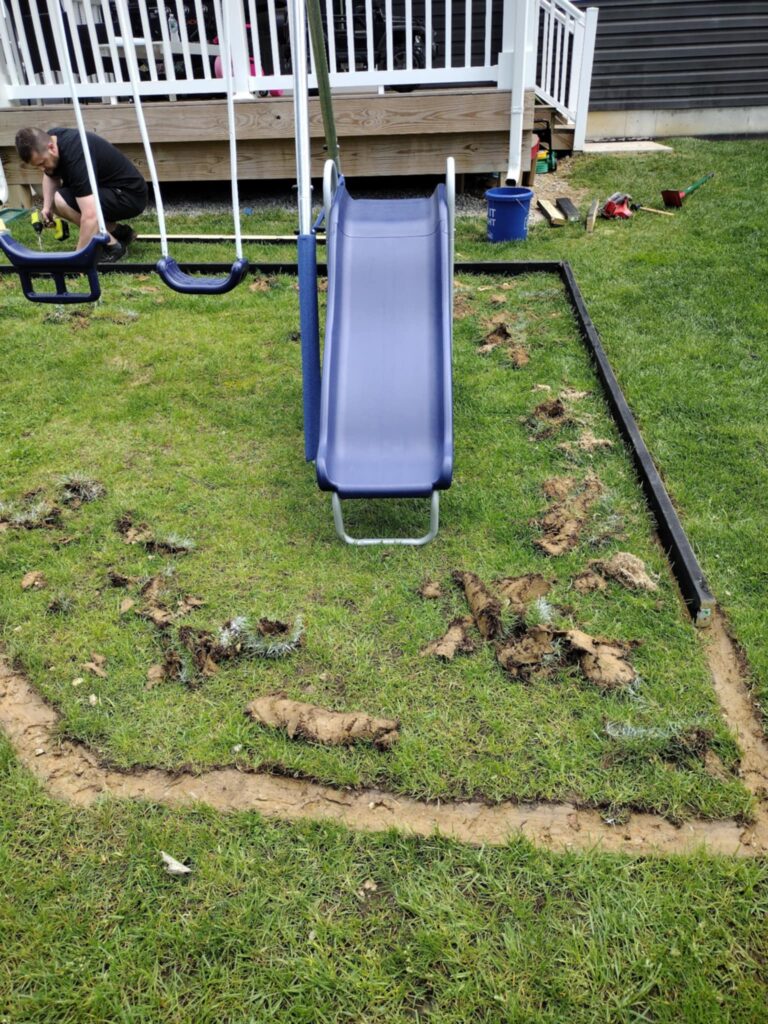
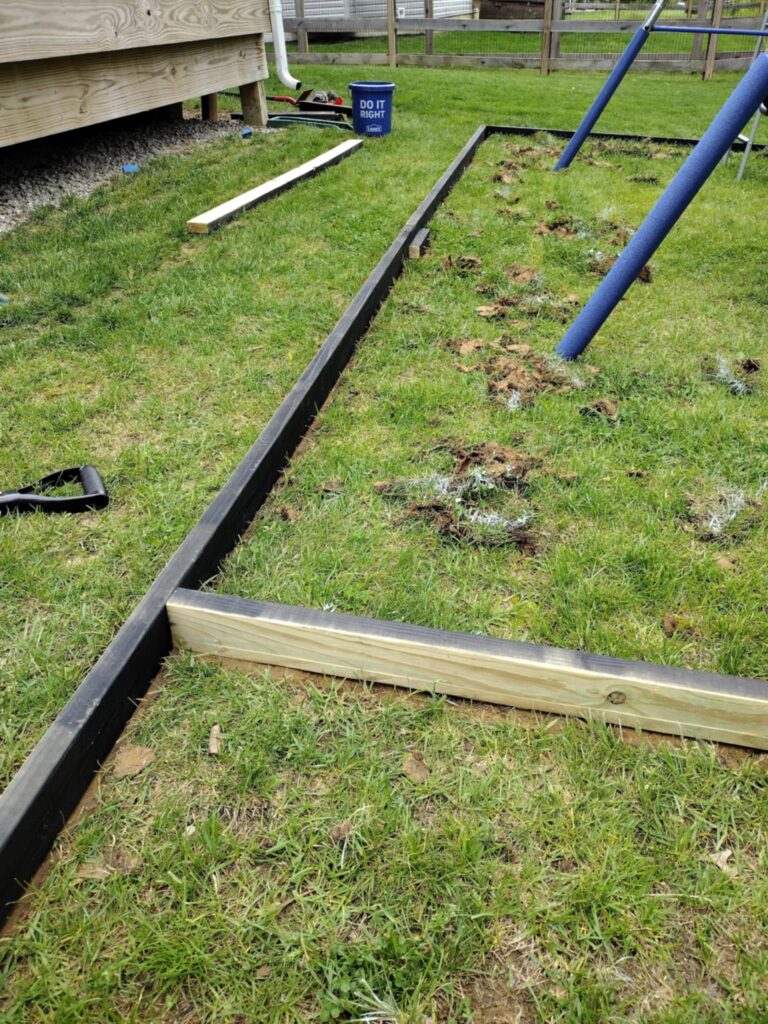
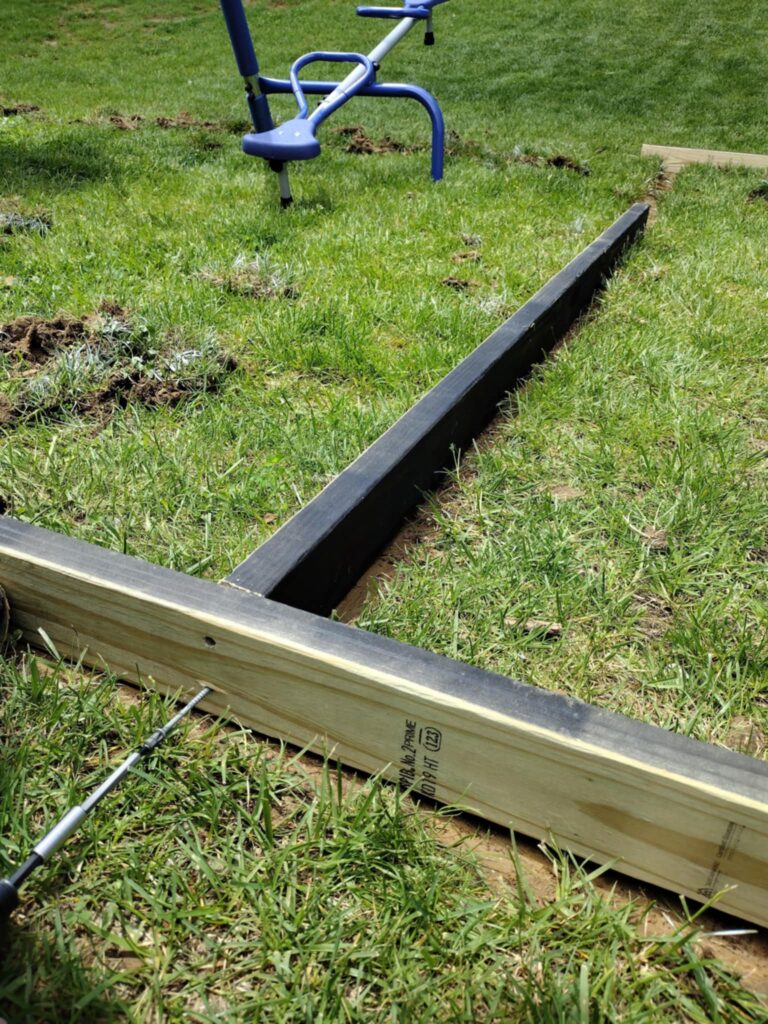
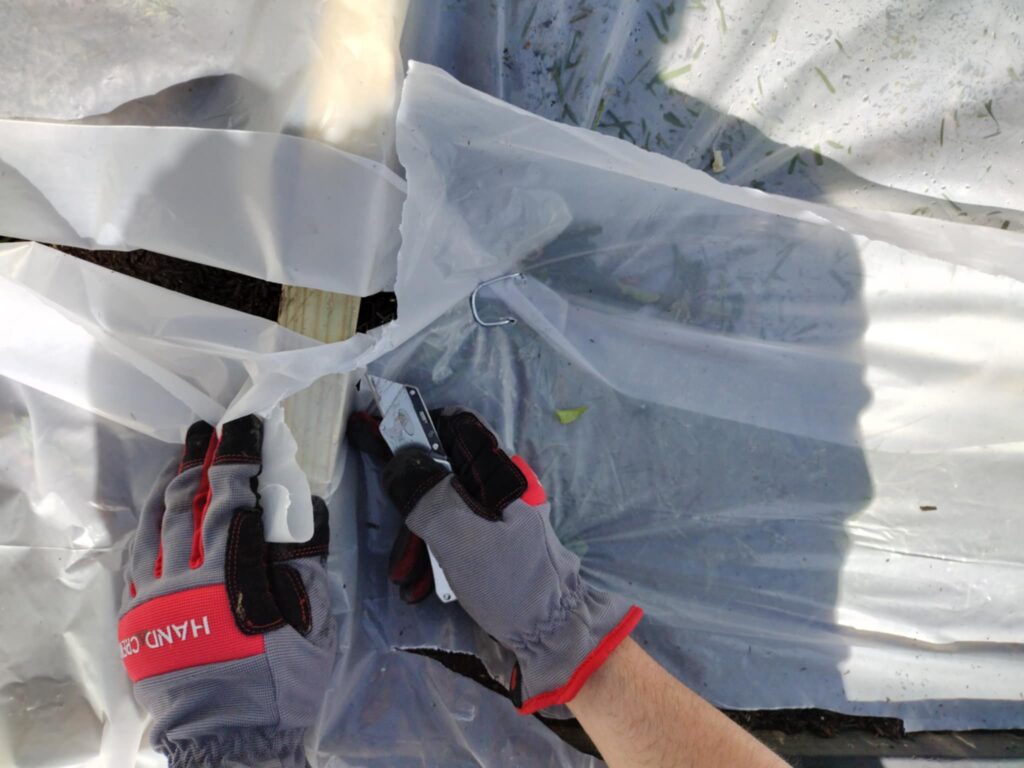
To create the playground edging, we connected the 2×4 boards that met up together by using a scrap piece of wood as shown in the photos.
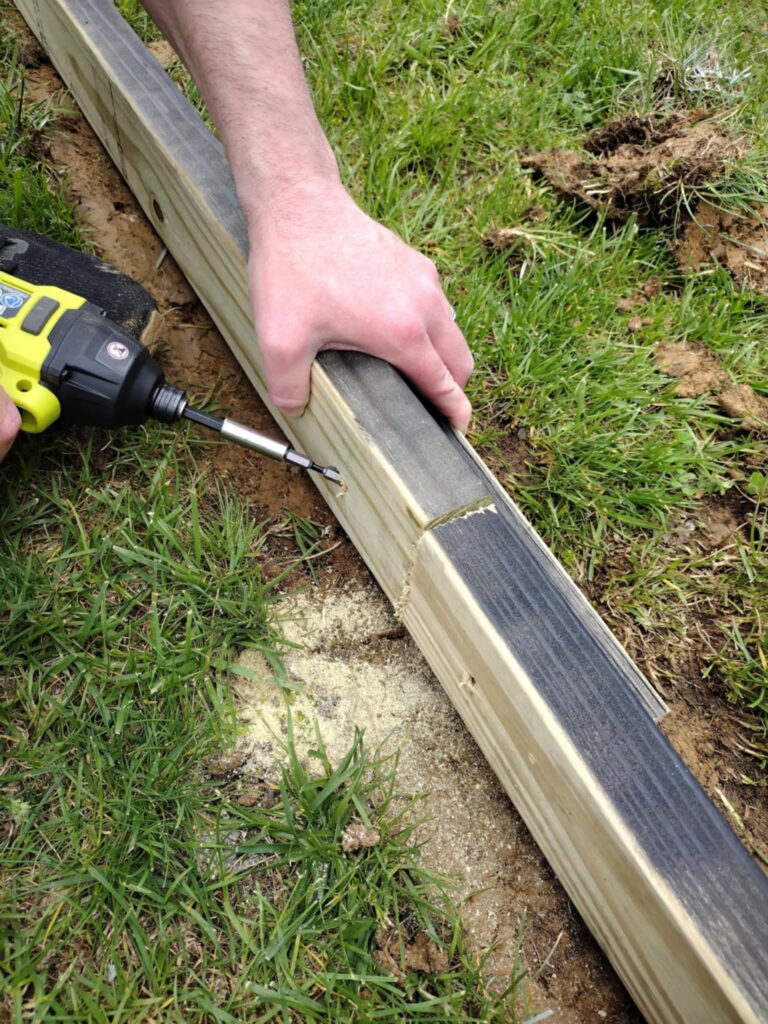
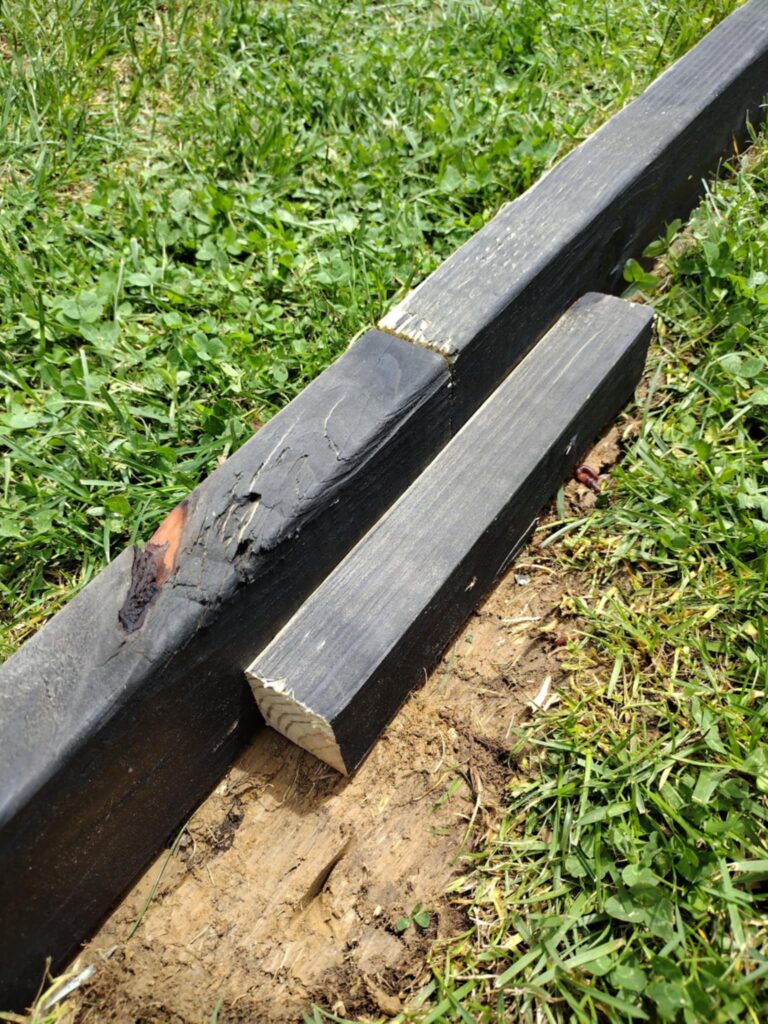
We used this method all the way around.
For the board that ran the other way we screwed right into each other.
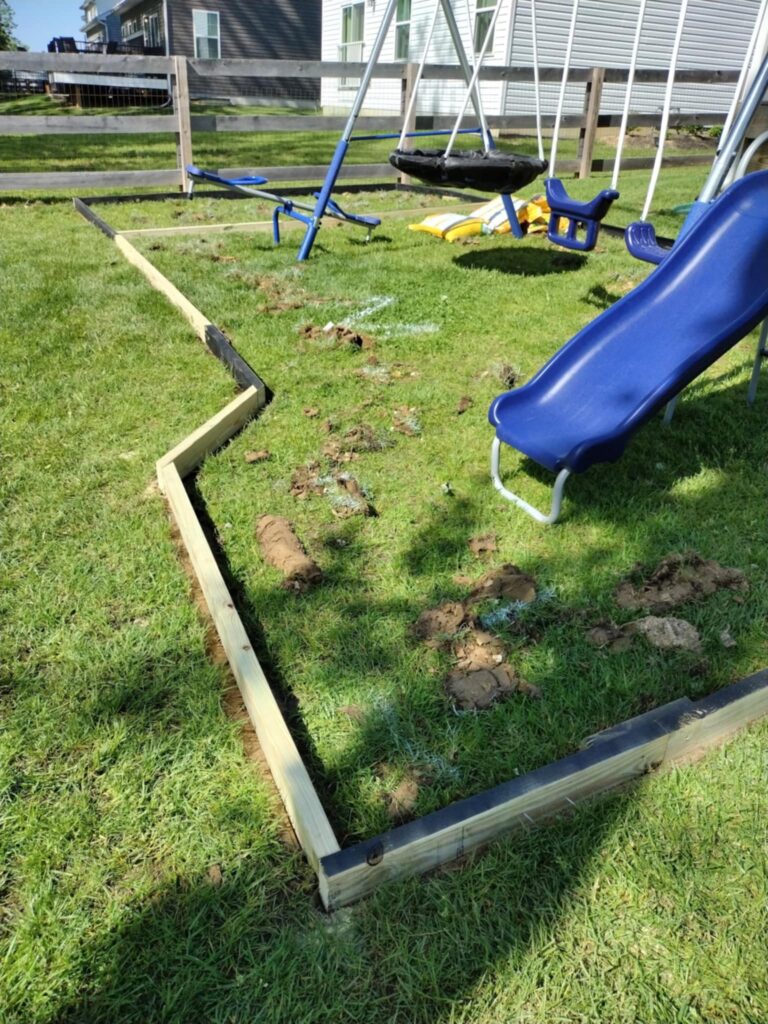
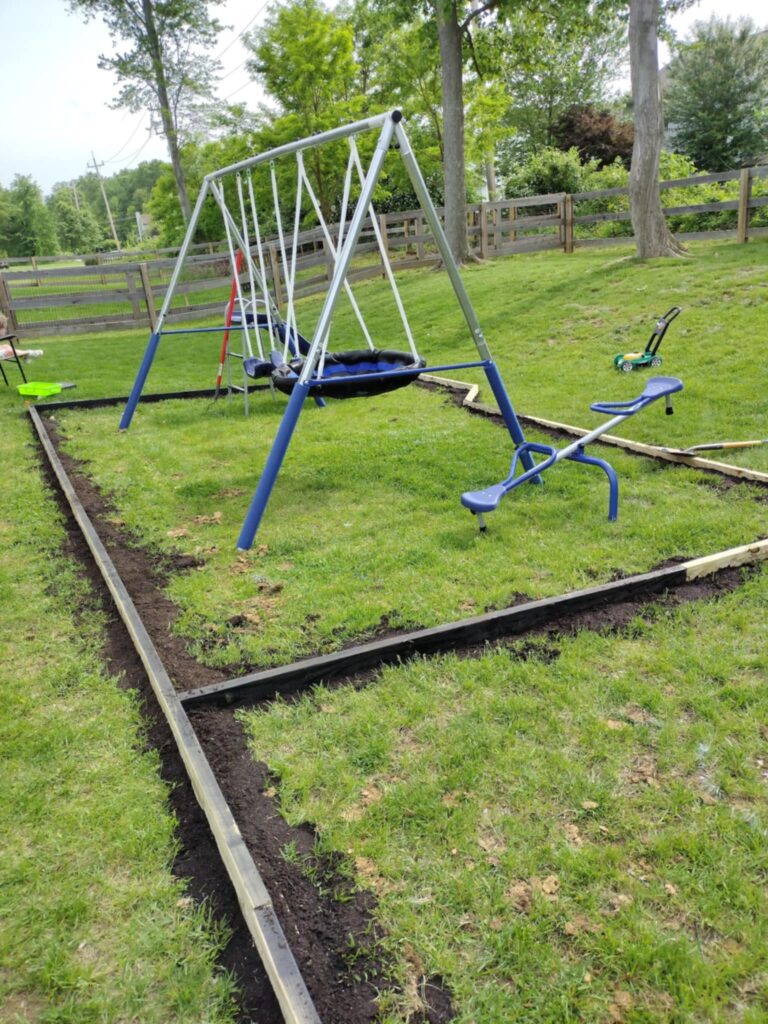
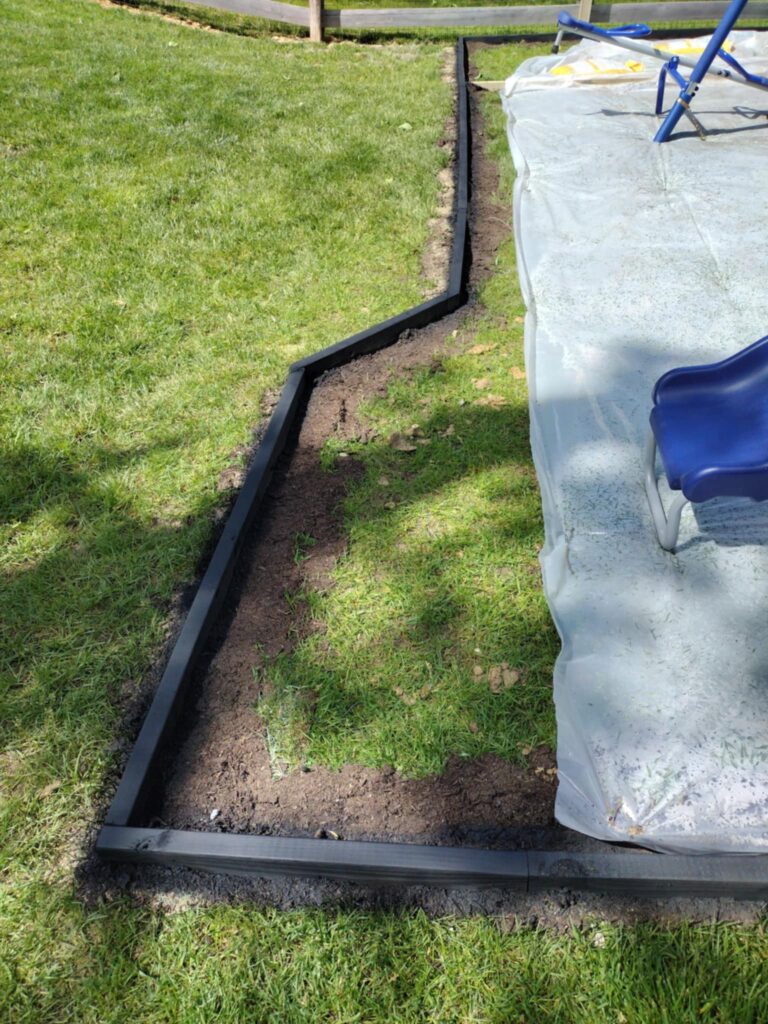
Here are all our boards pieced together to create our playground border. You can see how it’s coming together as well as the DIY sandbox. We should of finished painting the boards prior to installing to make it easier. Oops.
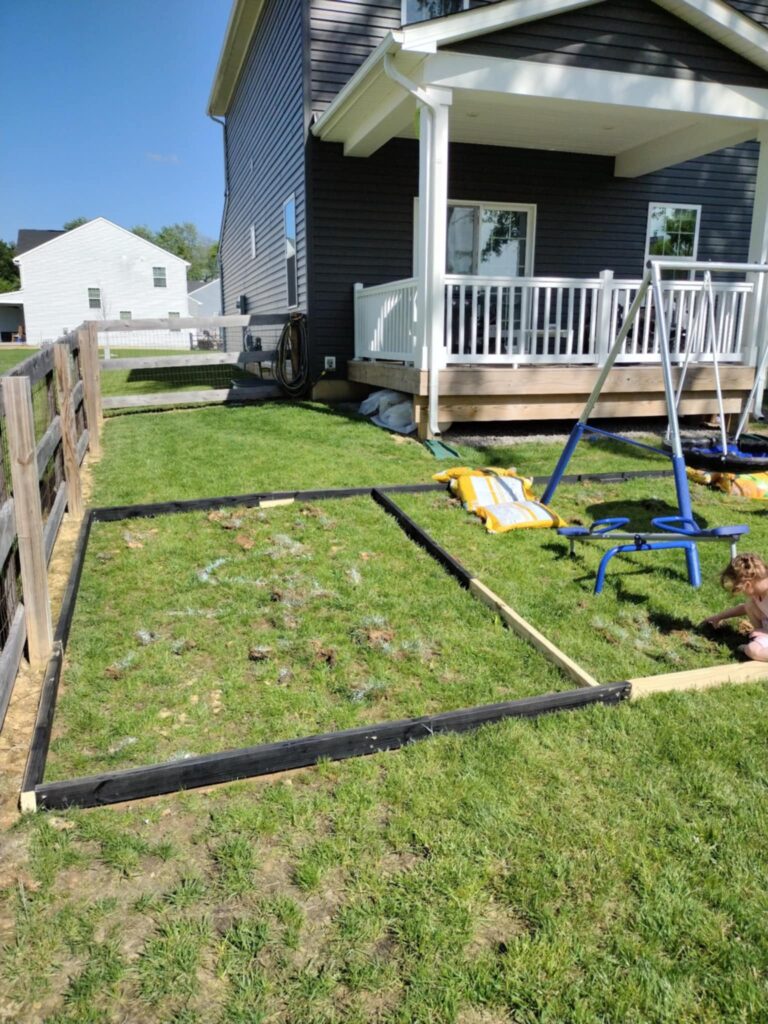
We cut the boards according to the size and shape for our playground borders as you can see below.
Extending Playground Border
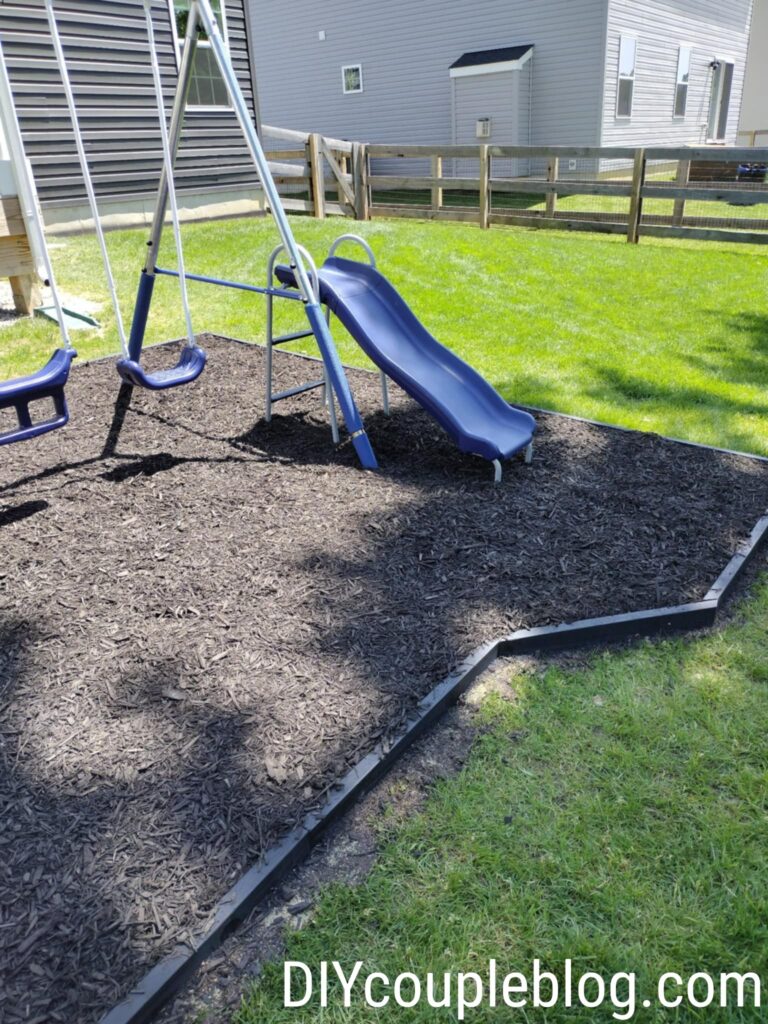
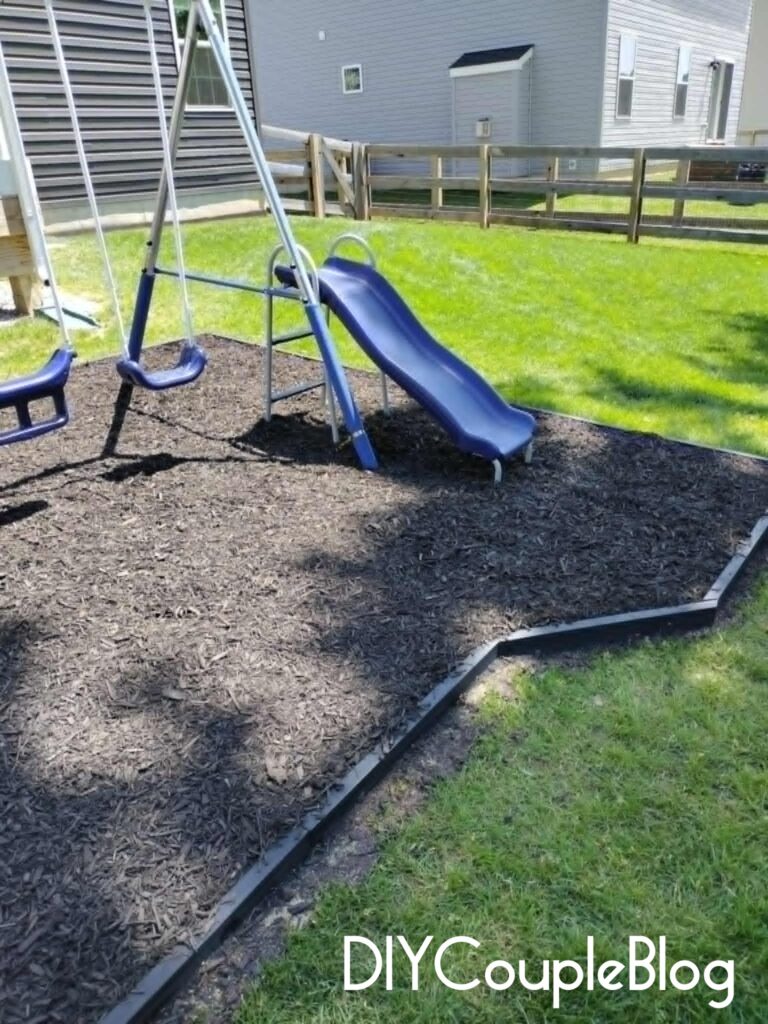
Creating More Space in Front of the Slide
As seen in the next photo, we opted for a slanted look in the front to customize a larger area for the slide section.
To do this we just held up our board next to the other boards and made an angled cut on each side.
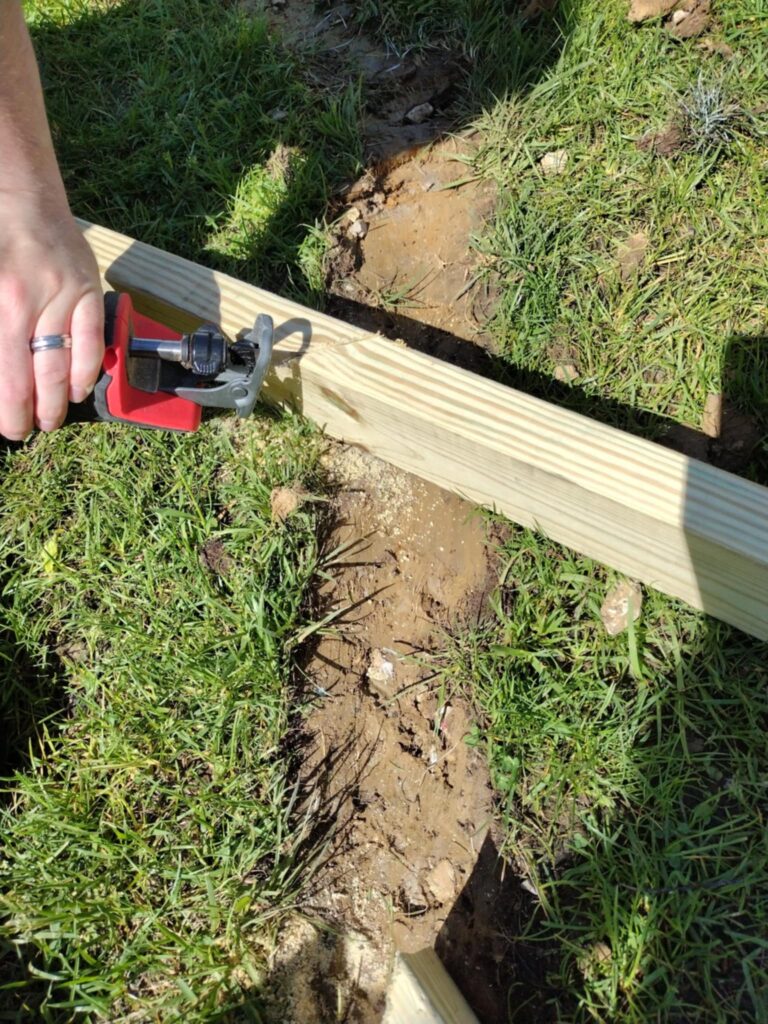
It gave a little bit of extra room for the kids coming down the slide and turned out quite nice since we have a small backyard.
Adding Dirt Around Playground Border
To fill in any gaps beneath the boards we added a couple bags of dirt.
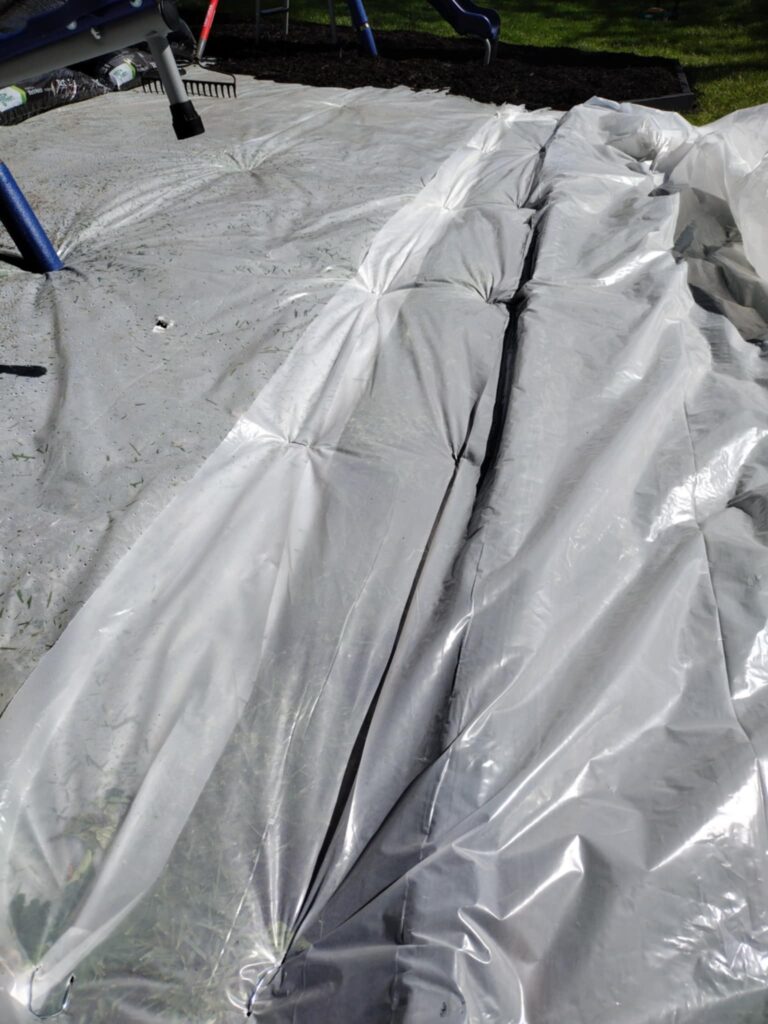
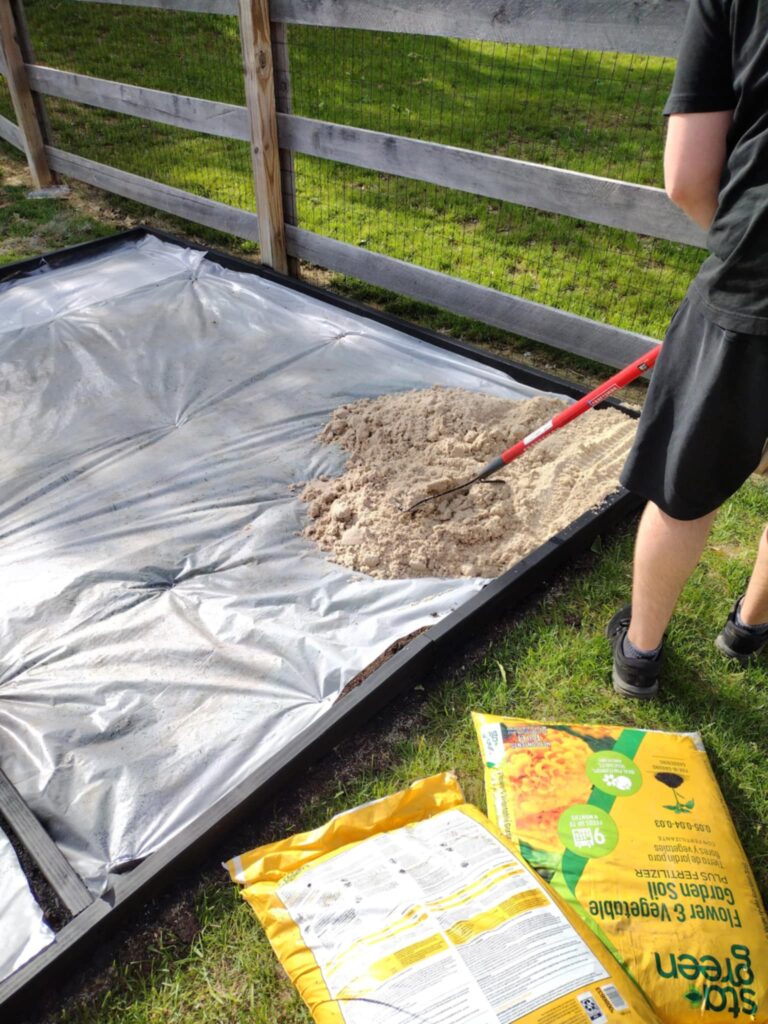
Laying Plastic Over Grass for Weed Management
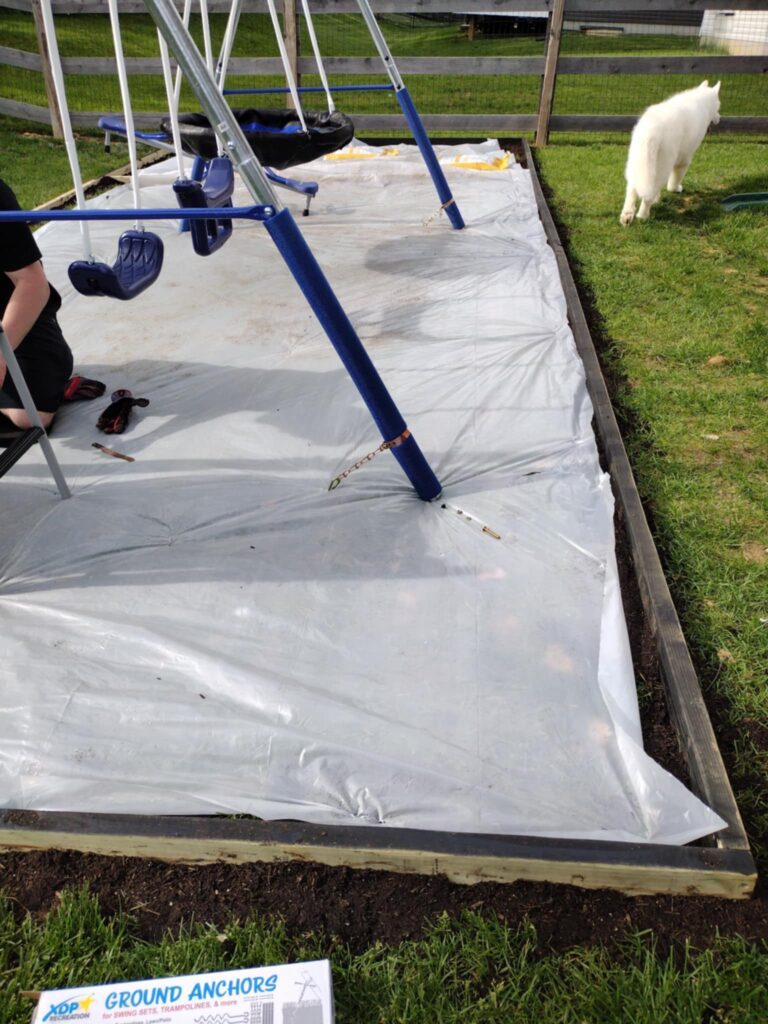
At this point, we laid and secured the plastic with garden stakes. Once we did this, we were able to anchor down the swing set through the plastic in the ground. Link for swing set here.
Of course, here we are last minute spray painting. Oops. It’s fine. it’s fine.
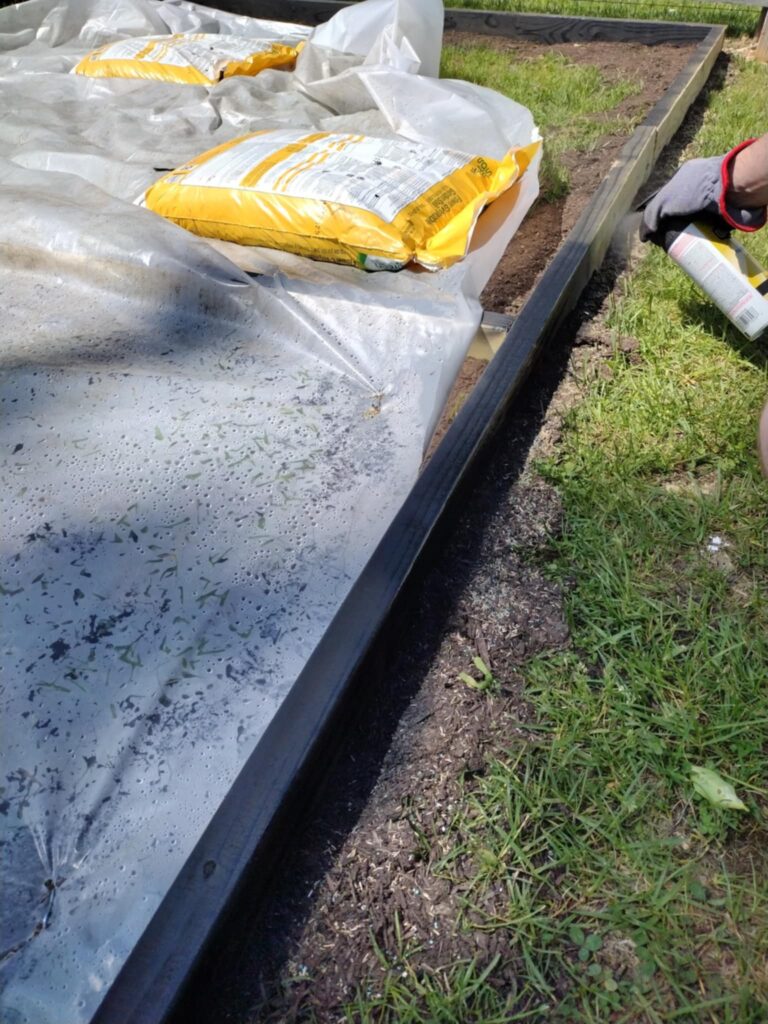
As mentioned earlier, in order to lay the plastic down we used garden stakes to secure it to the ground and a razor knife to cut it to size.
This was a great way to cover the grass without having to remove all of it too. Our little secret.
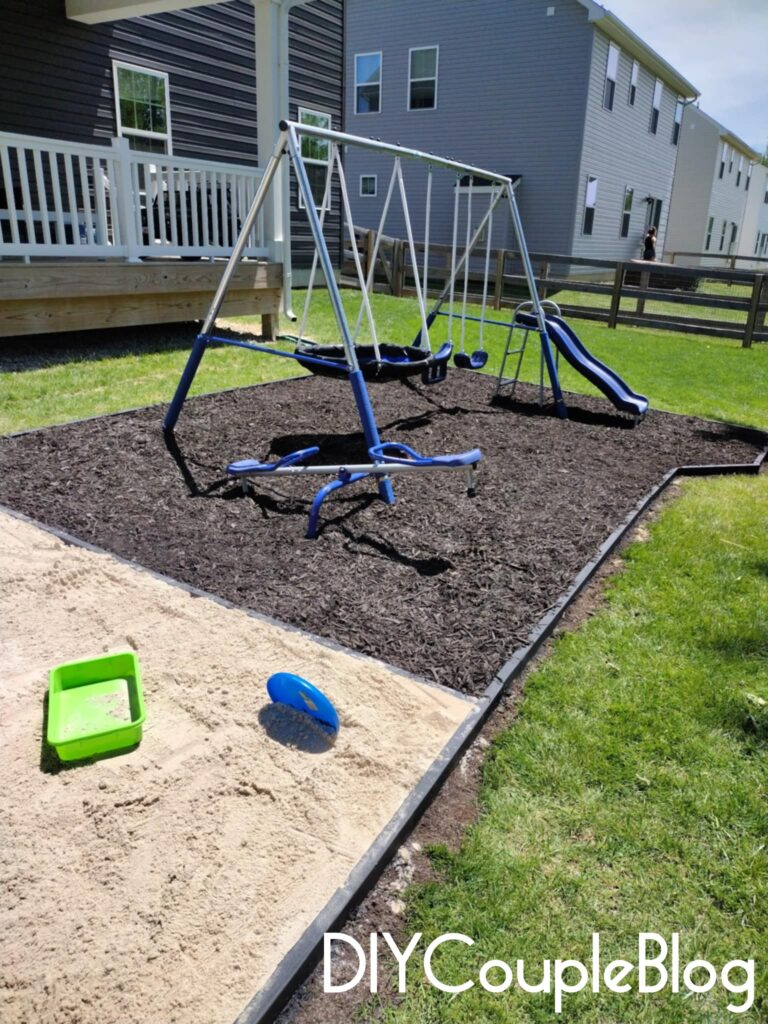
Playground Ground Cover
Play Area Mulch Perimeter
At first, we weighed our options for what would be the best playground ground cover. Pea gravel? Rubber mulch? We decided on regular black garden mulch since it was the most budget-friendly option of all of them.
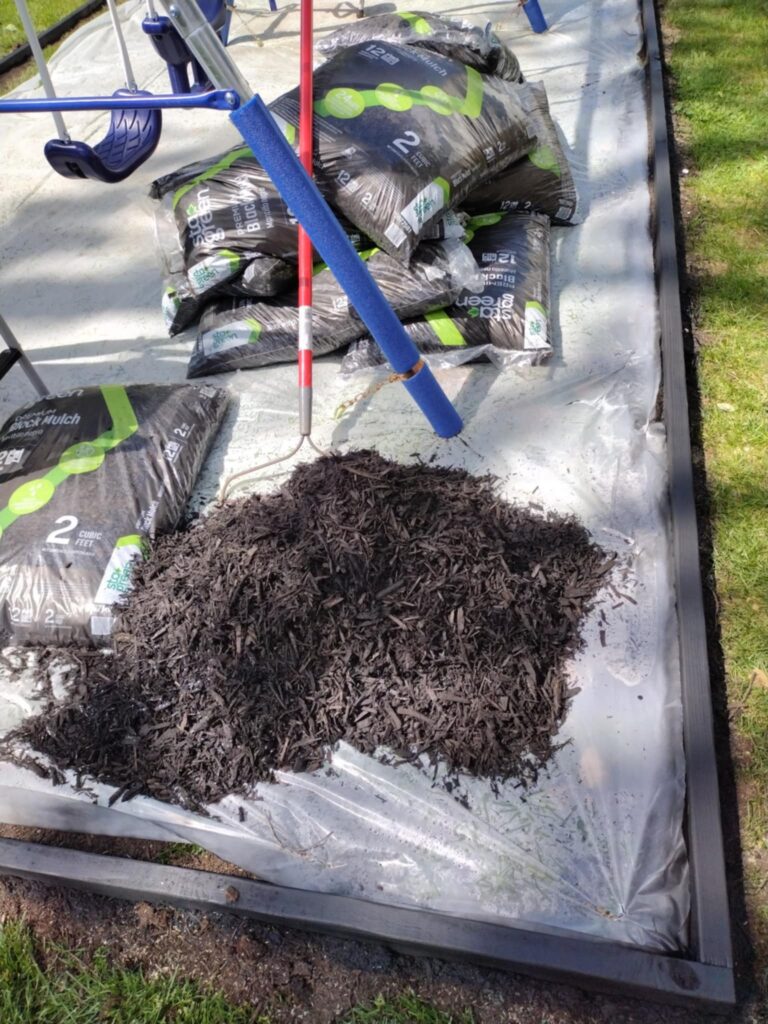
We spread it throughout our playground area using a metal rake.
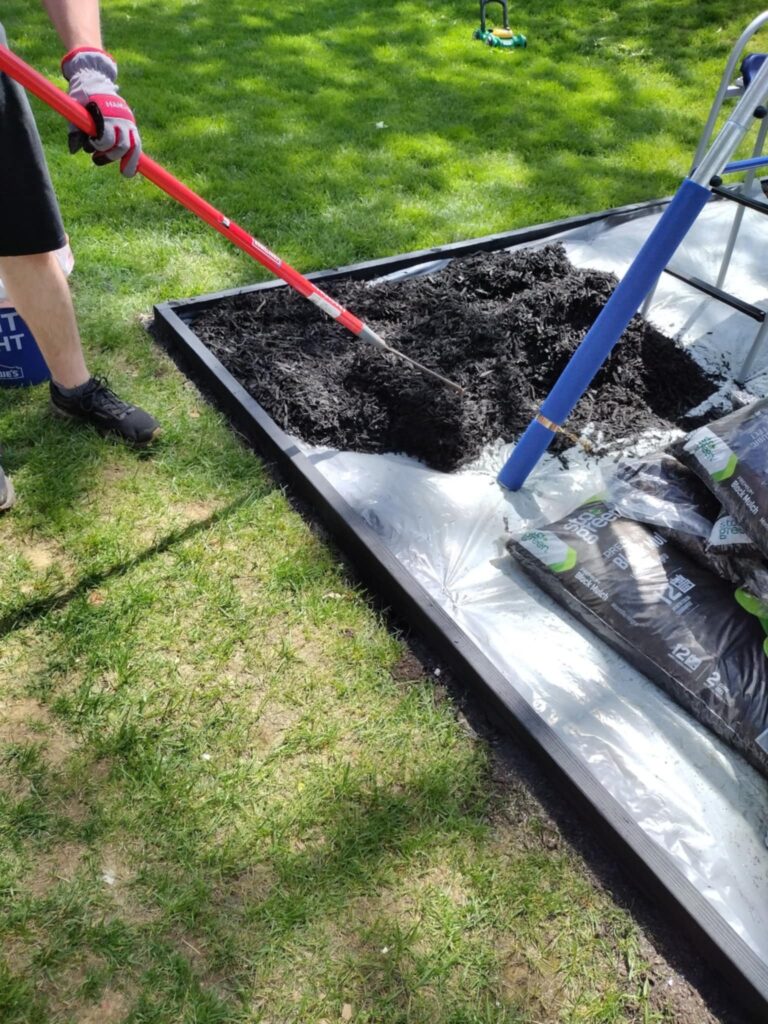
The kiddos did help but they couldn’t wait to try it out before it was finished.
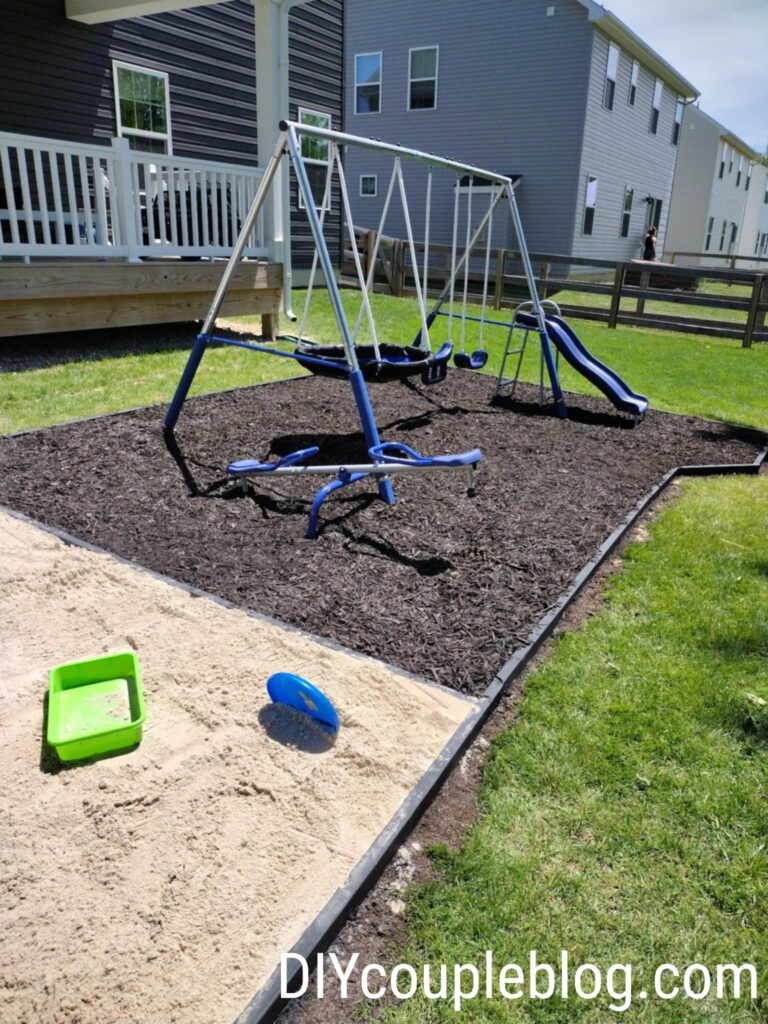
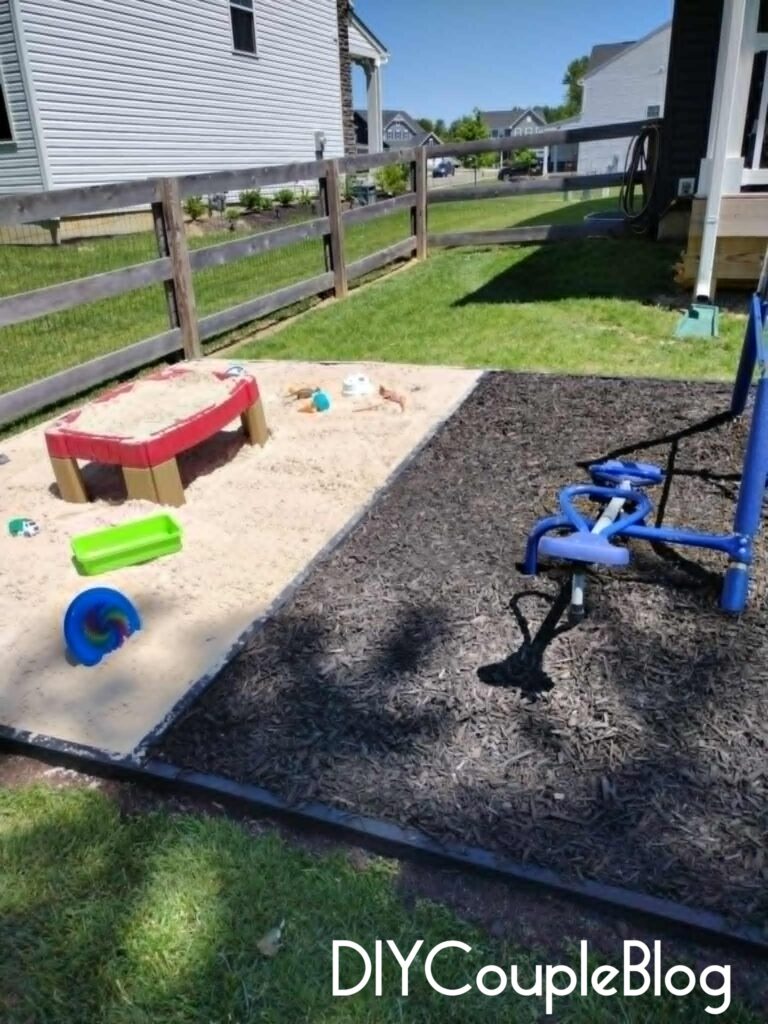
Sandbox Perimeter
Once we got to the other side, we filled in the other portion of our playground border with sand.
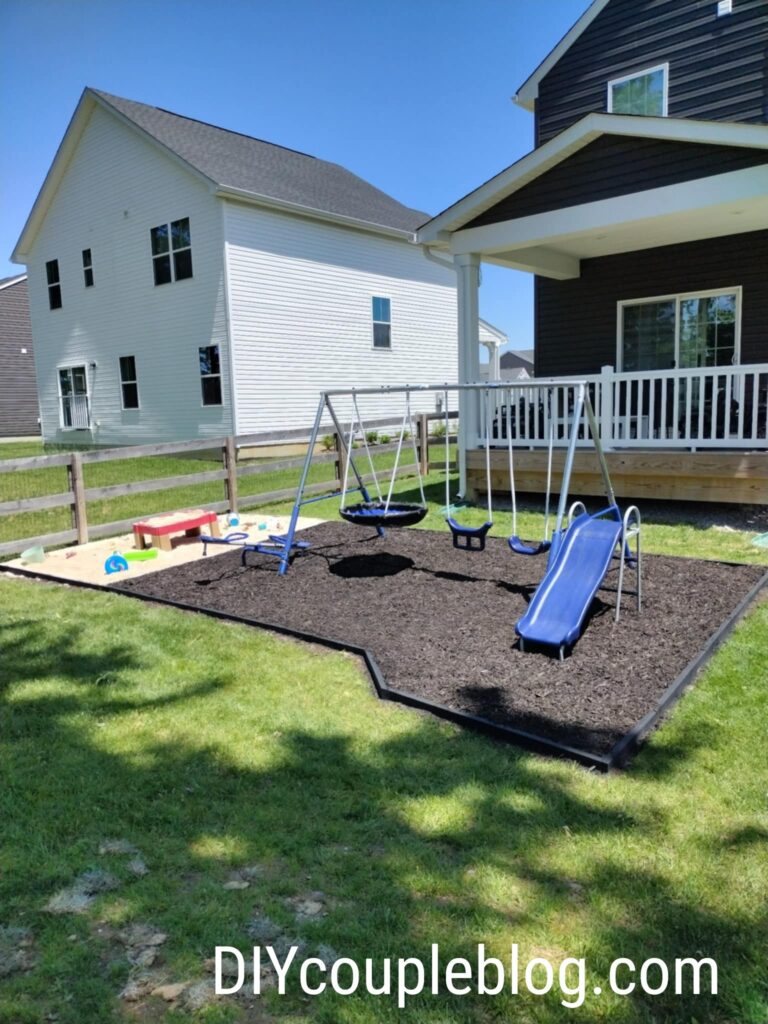
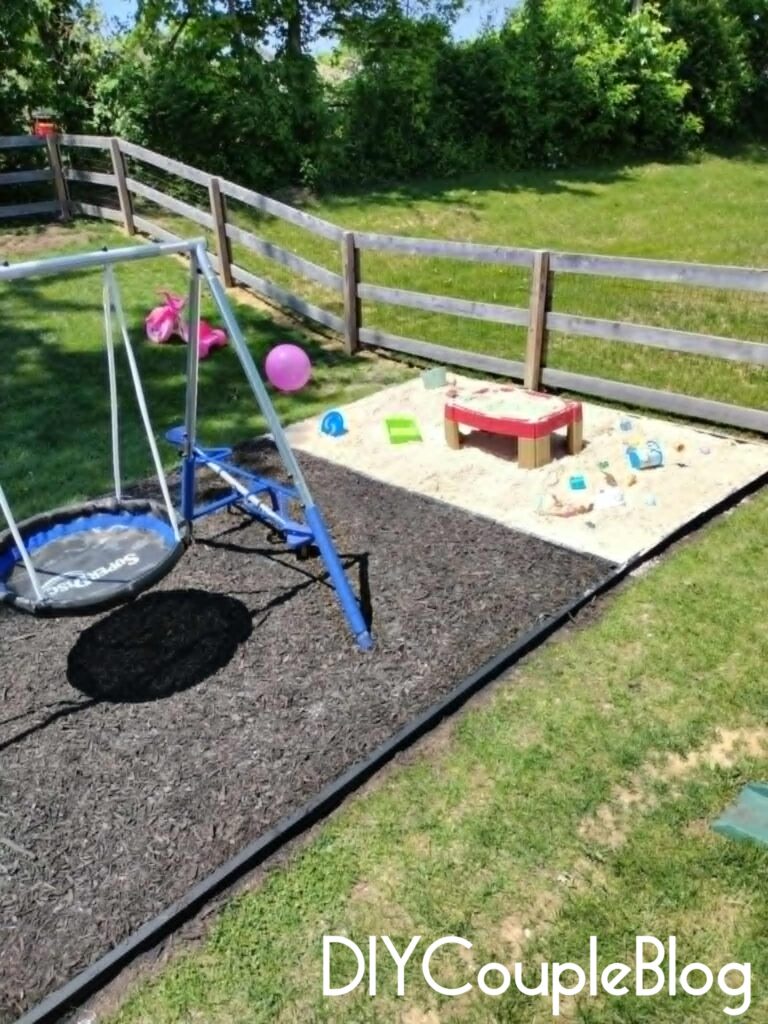
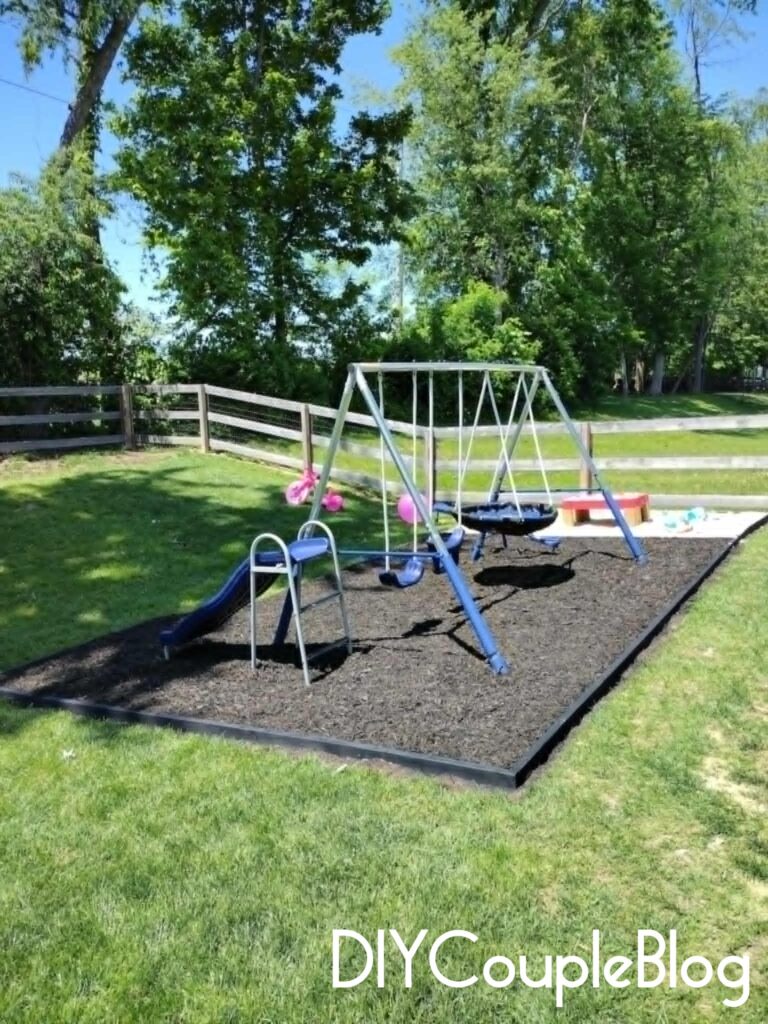
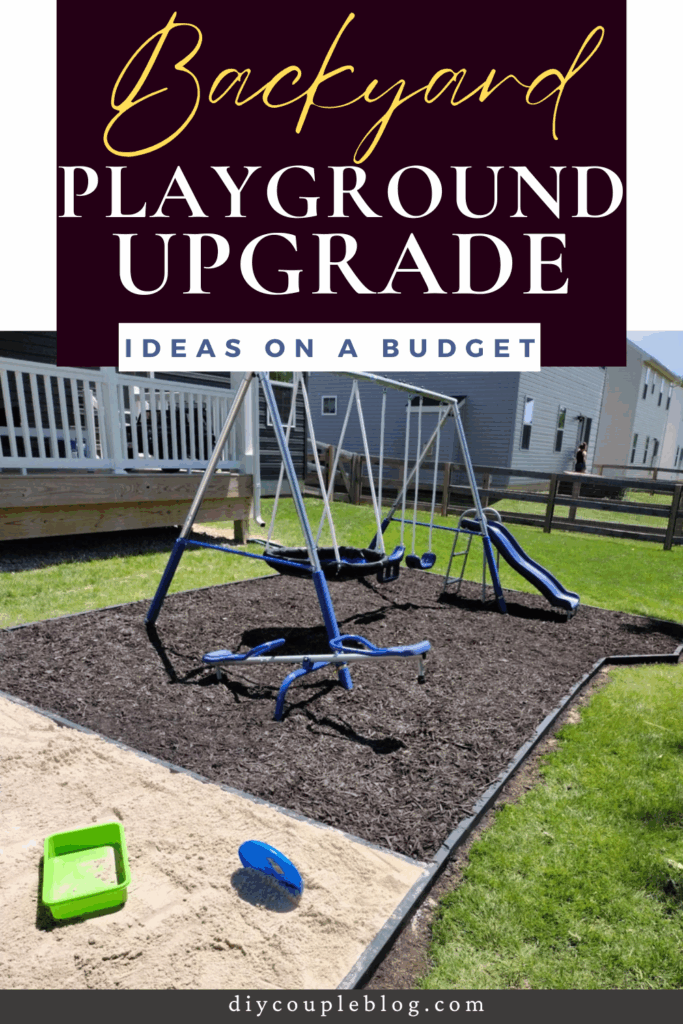
Building a Playground Border: The Final Result!
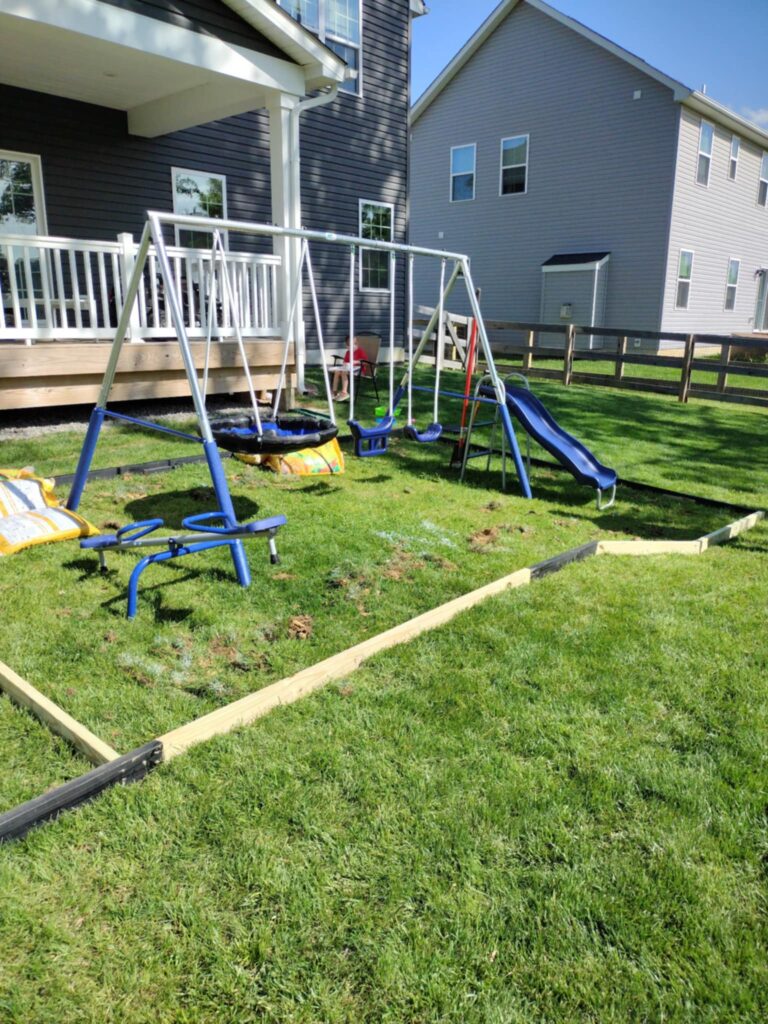
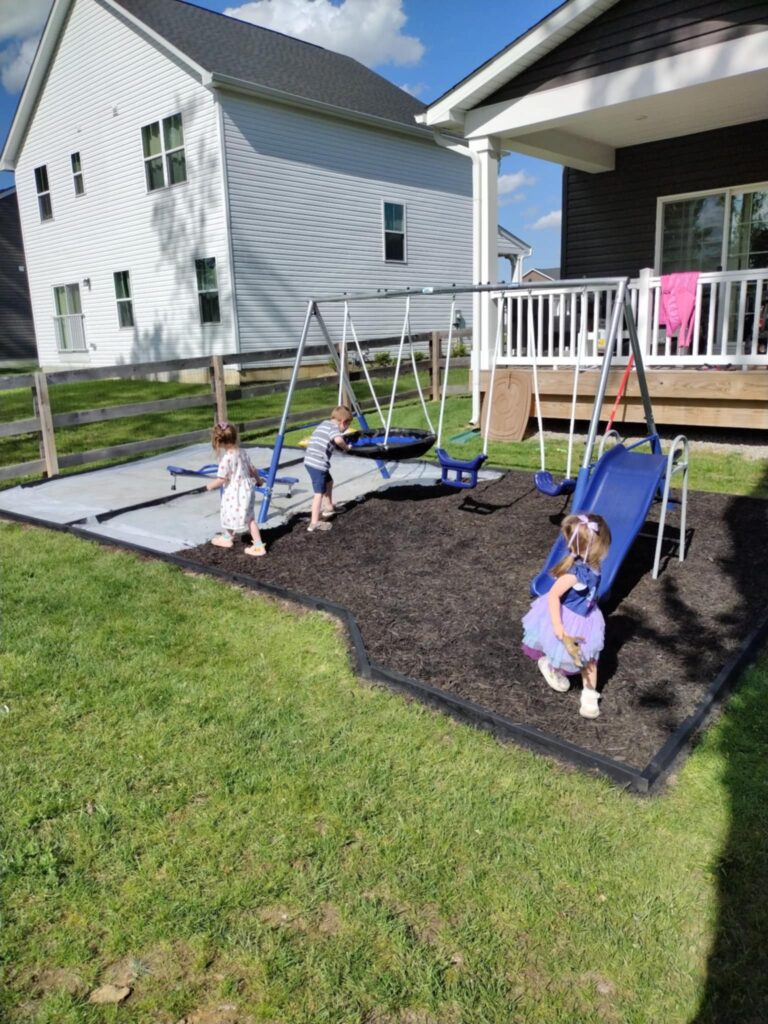
Here’s how our playground border around the swing set turned out!
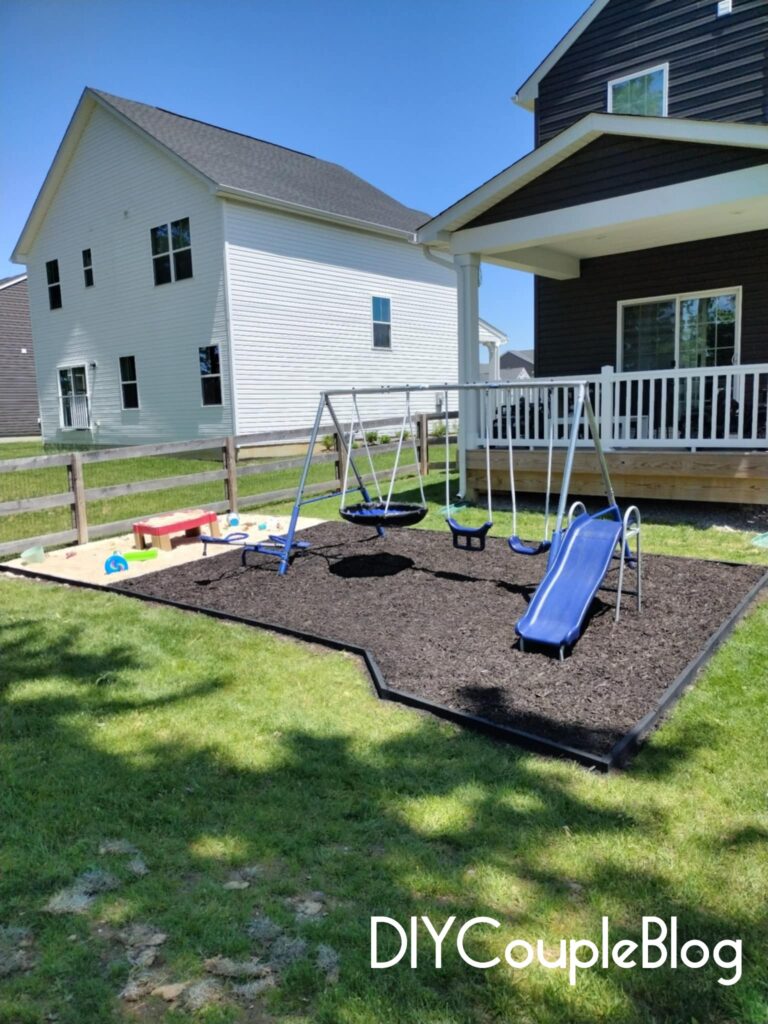
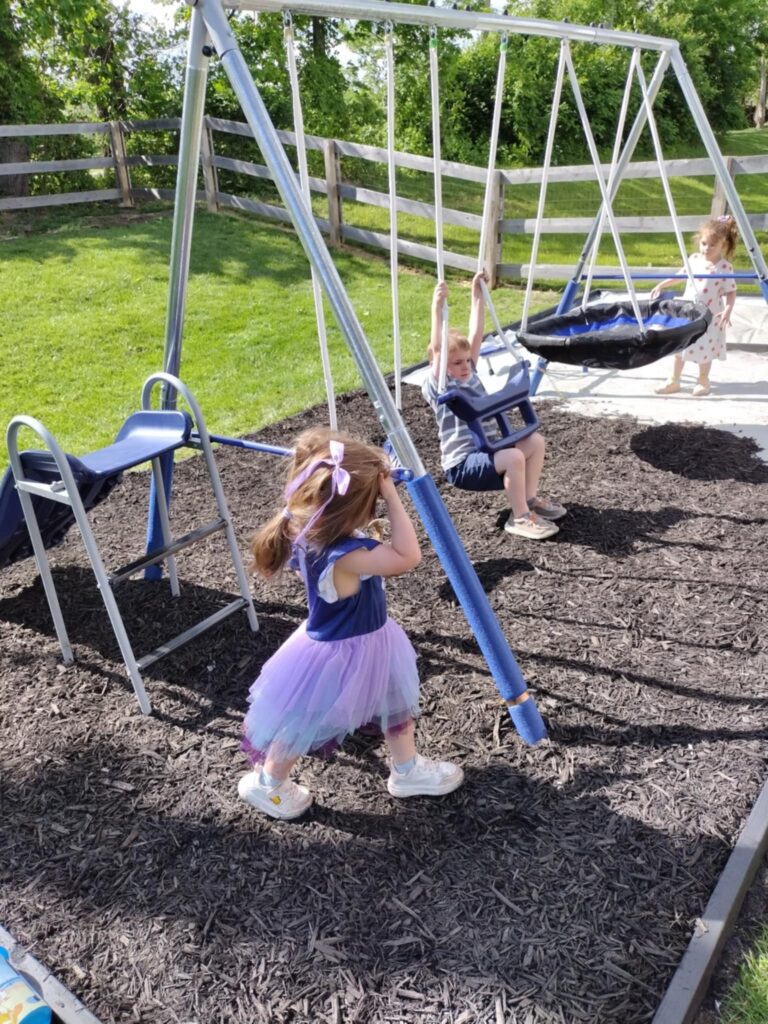
The kids definitely approve!
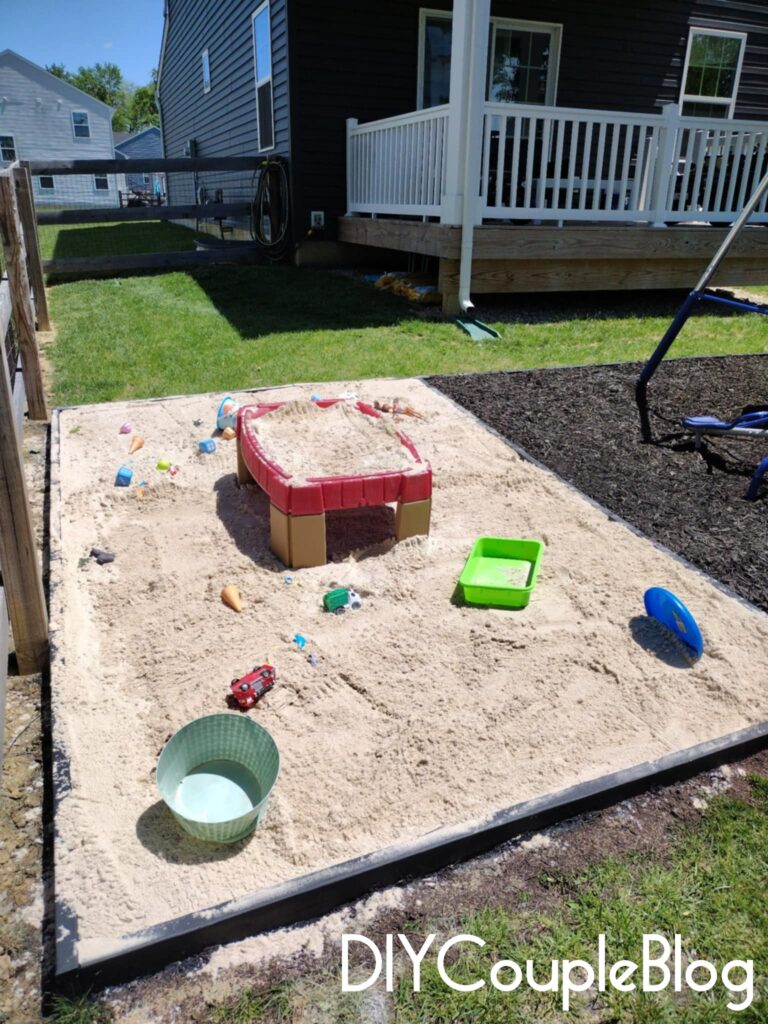
They especially love the DIY sandbox!
Here is the angle where we adjusted the size to make more room coming down the slide.
Although we are no experts (just DIY enthusiasts, for real!) this playground border ended up being an overall quick DIY project that will entertain the kids all summer!
Here’s all the proof you need that you don’t need a huge budget to create a clean, intentional play area for the kids.
This DIY adapts to your wallet. You can keep it cheap and inexpensive but still totally functional with just a few basic materials and a weekend of work, and you’ve got your playset a professional-looking border and connected bonus sandbox!
Hopefully, that should keep the kids busy for a few minutes.

Seeing their happy faces when they are playing in the sand and on the swing set makes it well worth the hard work put in.
It definitely took the backyard play zone from boring to a neat and beautifully defined space.
Love this look? Pin this project to your Backyard or DIY Playground Ideas board so you’ll have it for later!
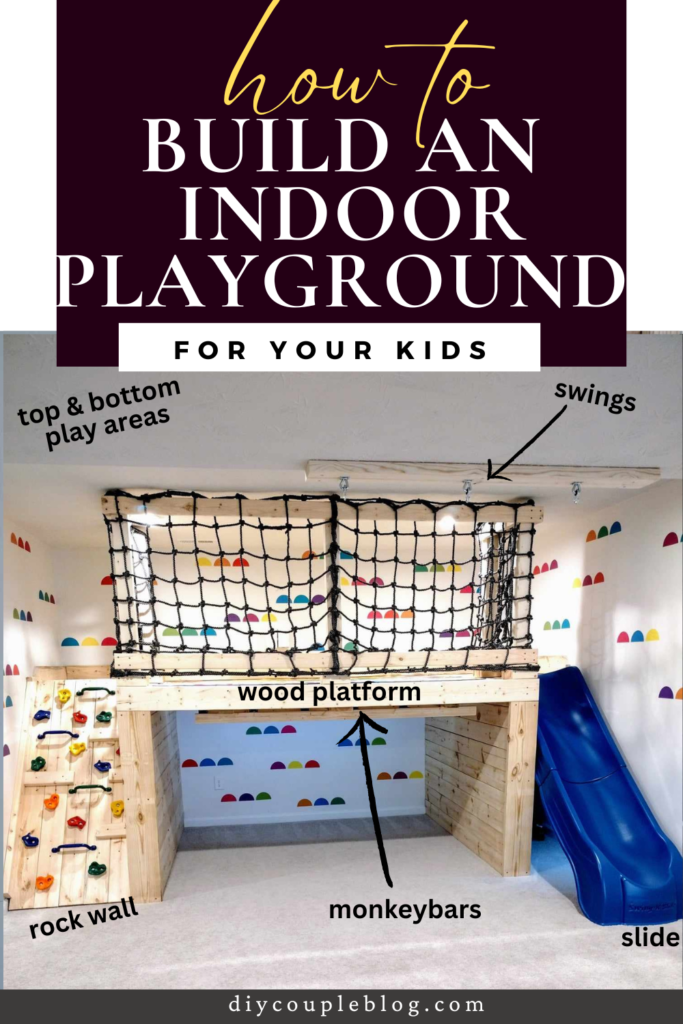
If you enjoyed this post, check out our basement indoor playground for the rainy days when we can’t enjoy this outdoor playground.
There’s more to love, be sure to view our other DIY home projects down below or search the blog!