This post may contain affiliate links, which means we'll receive a commission if you purchase through our links, at no extra cost to you. Read the full disclaimer here: https://diycoupleblog.com/disclaimer/
Below, we’re sharing the process of transforming our space with a board and batten full wall!
There is nothing like the power of DIY to completely enhance a builder-grade space. For months, our living room felt a bit flat. It had potential but lacked a true focal point-that “wow” factor that draws you into a room and makes it feel cozy, high end, and intentional.
After staring at a massive, blank drywall canvas for some time, we finally decided to take the plunge and tackle a DIY full wall board and batten project.
Whether you are currently sitting on the fence about embracing the dark side of the paint swatch or considering a DIY accent wall, this post is for you. We are breaking down the entire journey-from the uninspiring “before” to the dramatic “after” -along with the exact steps and paint colors.
Living Room Accent Walls-The Before!
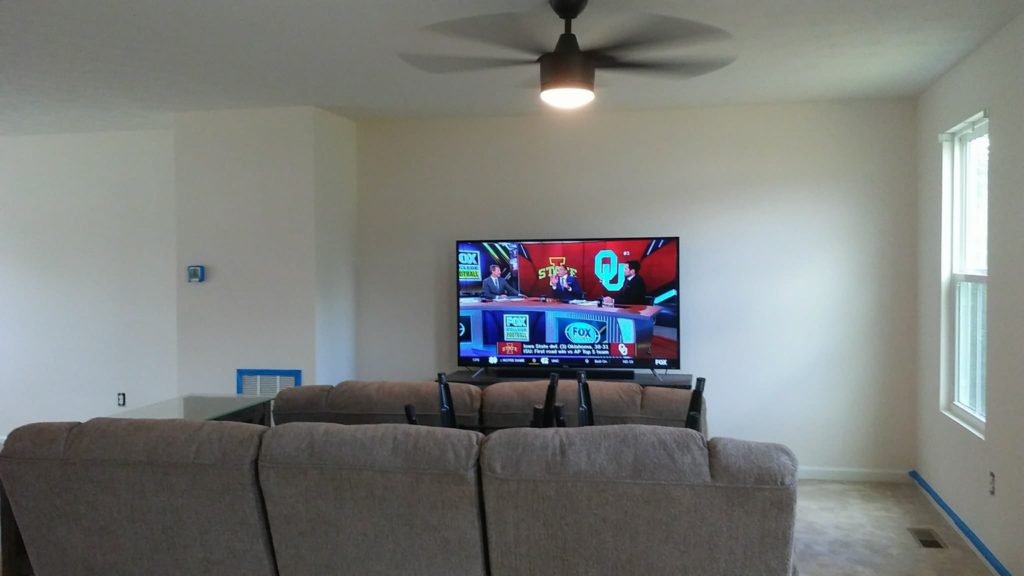
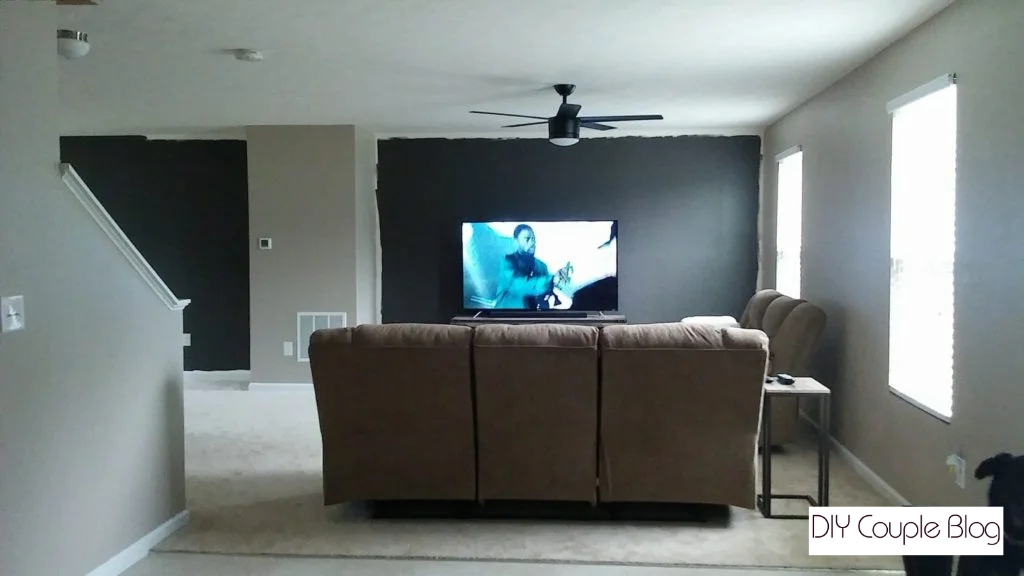
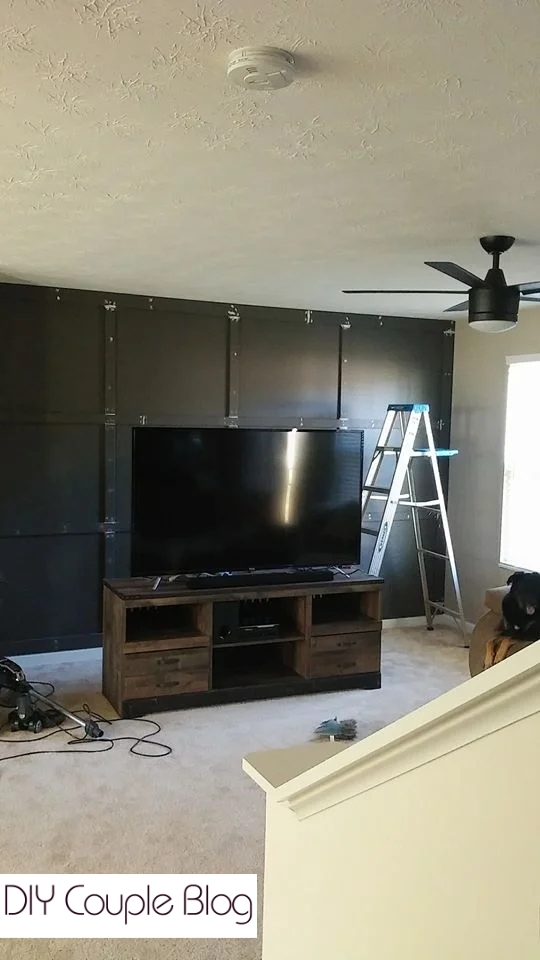
Before the living room makeover, our living room suffered from what many modern homes face: standard builder grade flat white walls.
THE BORING BEFORE:
Here is some before snapshots of our dull white living room.
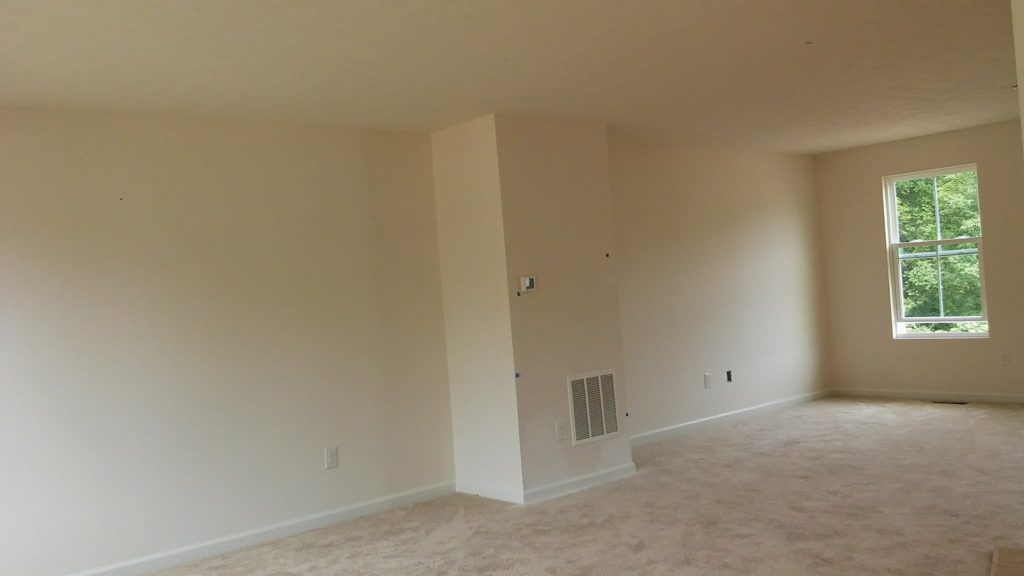
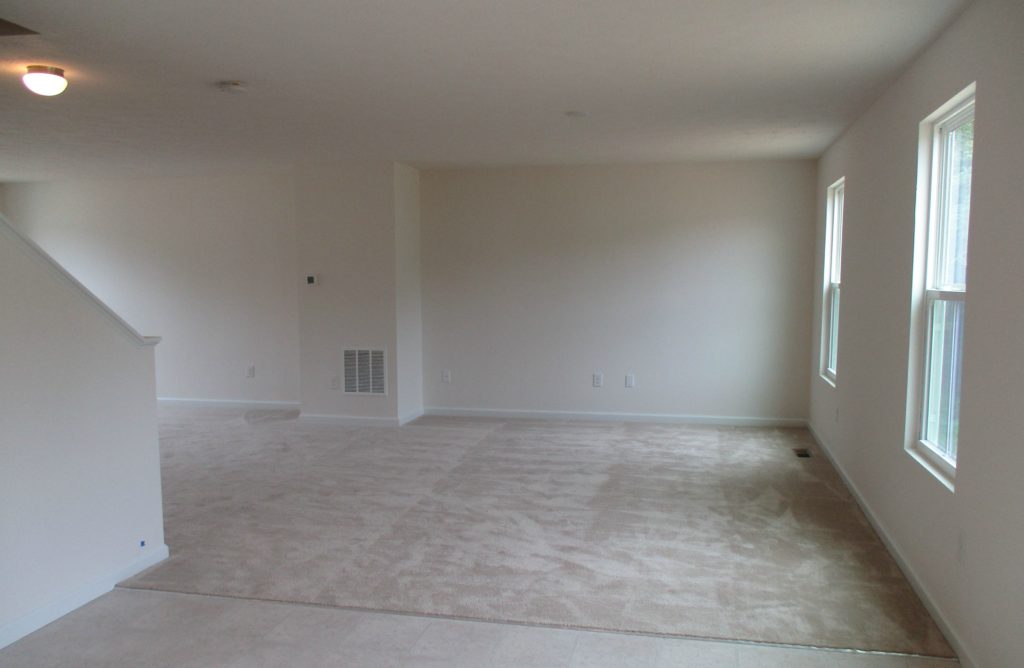
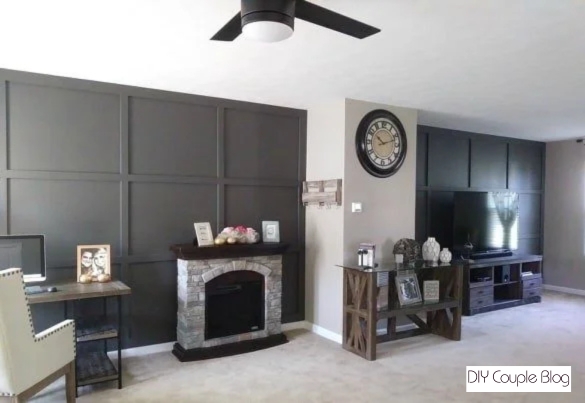
We got fancy & installed these black matte modern ceiling fans before dipping any paintbrushes. Our living room flows into another front room to make the whole area open concept. This got me looking for interior design inspiration on Pinterest. We wanted to bring out those two back walls and make them a focal point.
After tossing paint colors around for some time I settled on an office inspiration from Life on Virginia Street. We were able to do some tweaking to fit our needs and achieve a similar look to give a builder grade house some improvement.
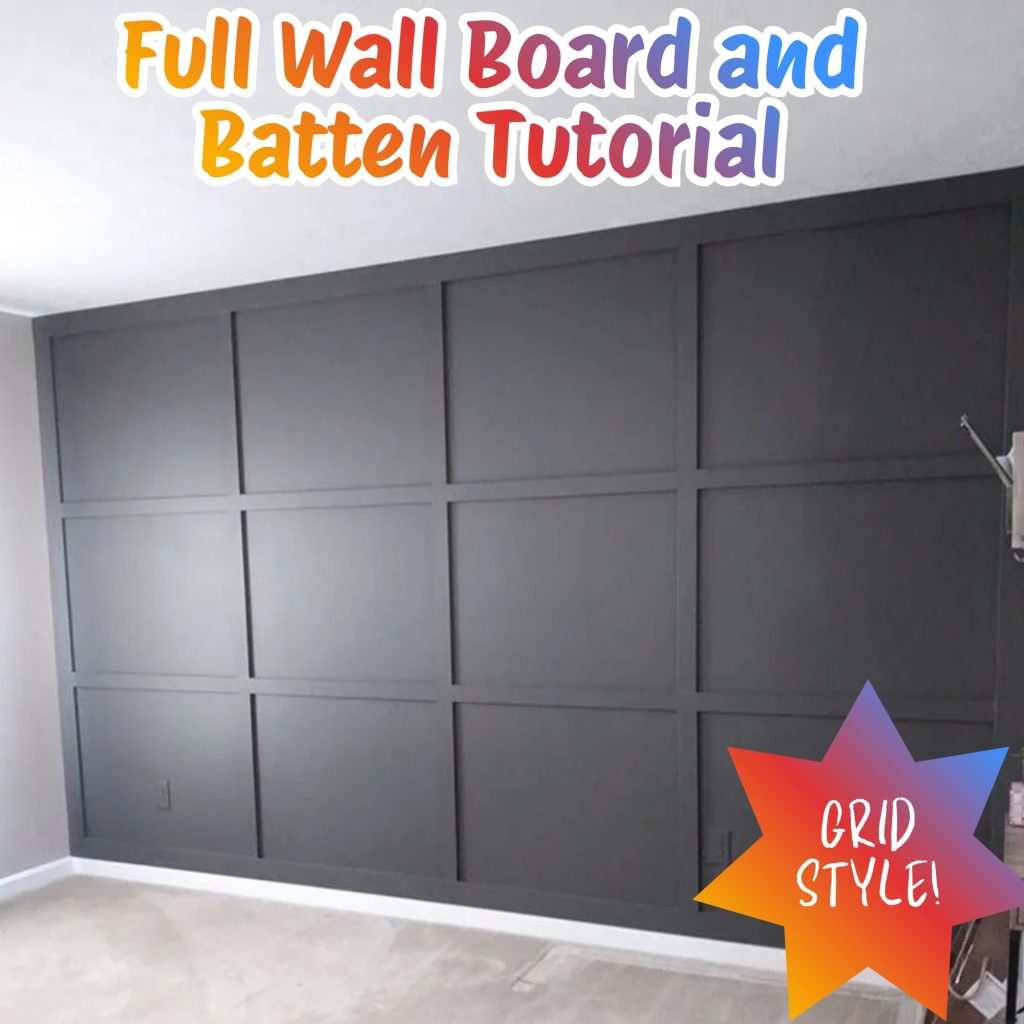
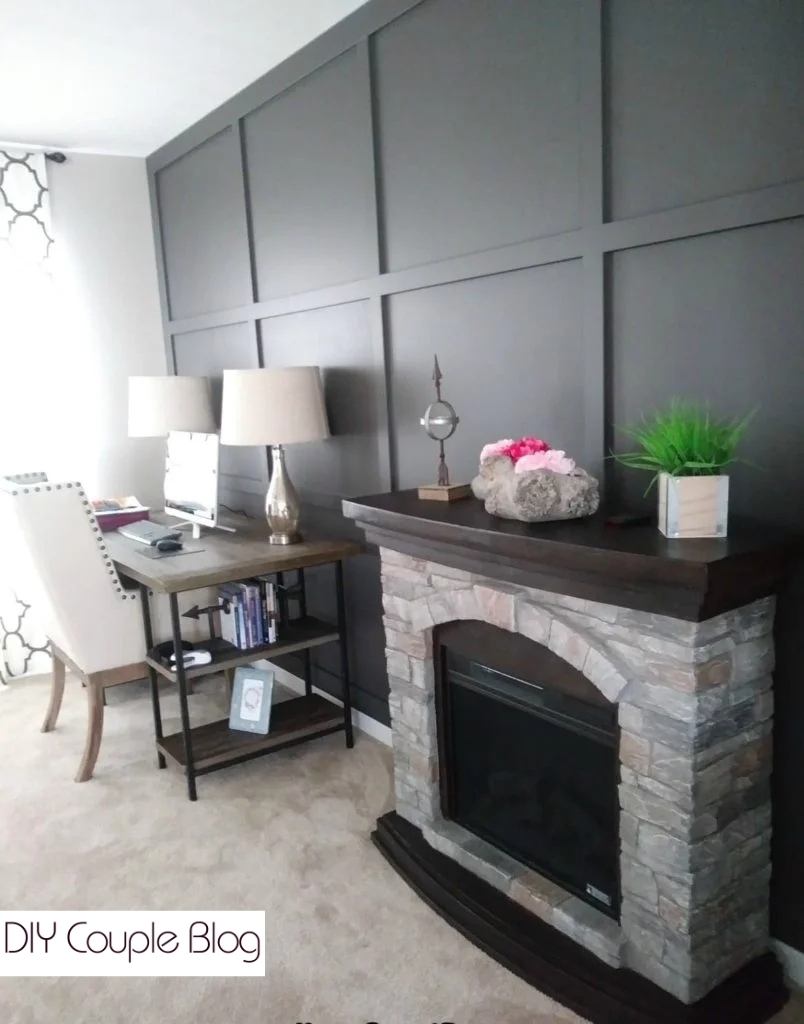
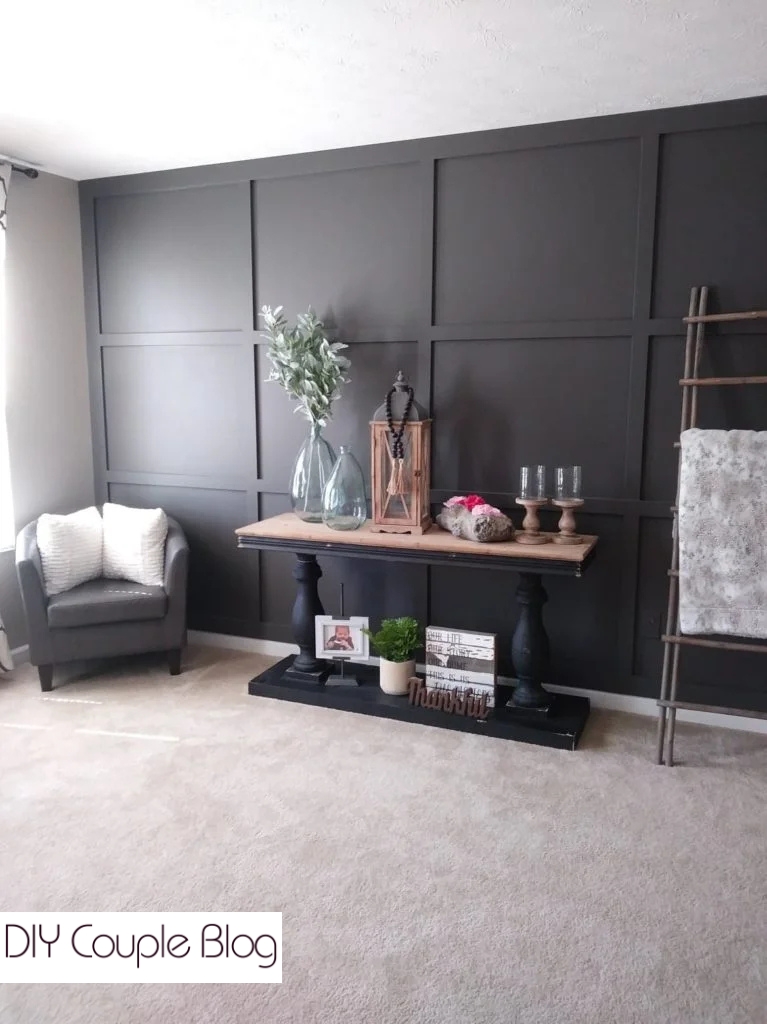
Living Room Board and Batten Full Wall-The After!

We loved how the accent walls turned out with adding the board and batten grid wall to elevate the complete look. We chose the two main walls you see when you walk into the room, making it the perfect candidate for high-impact feature walls.
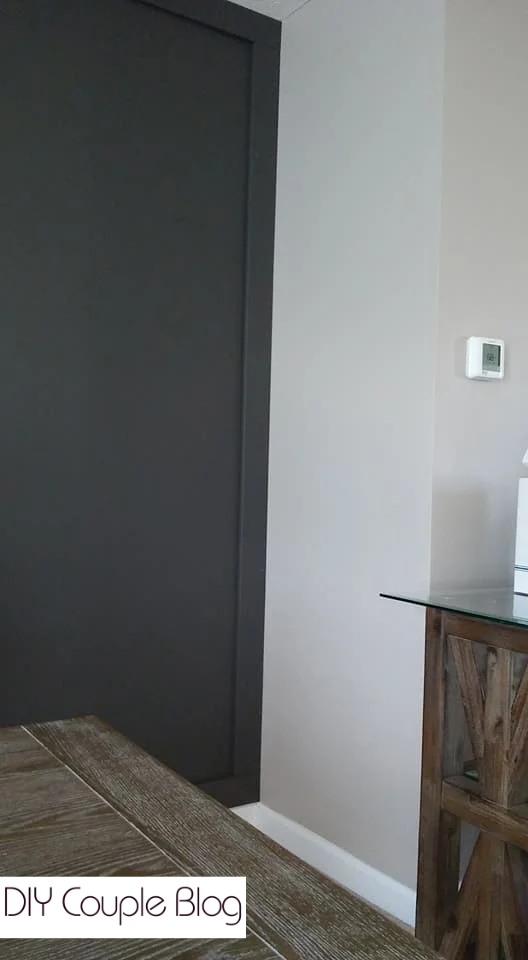
Living Room Wall Paint Color
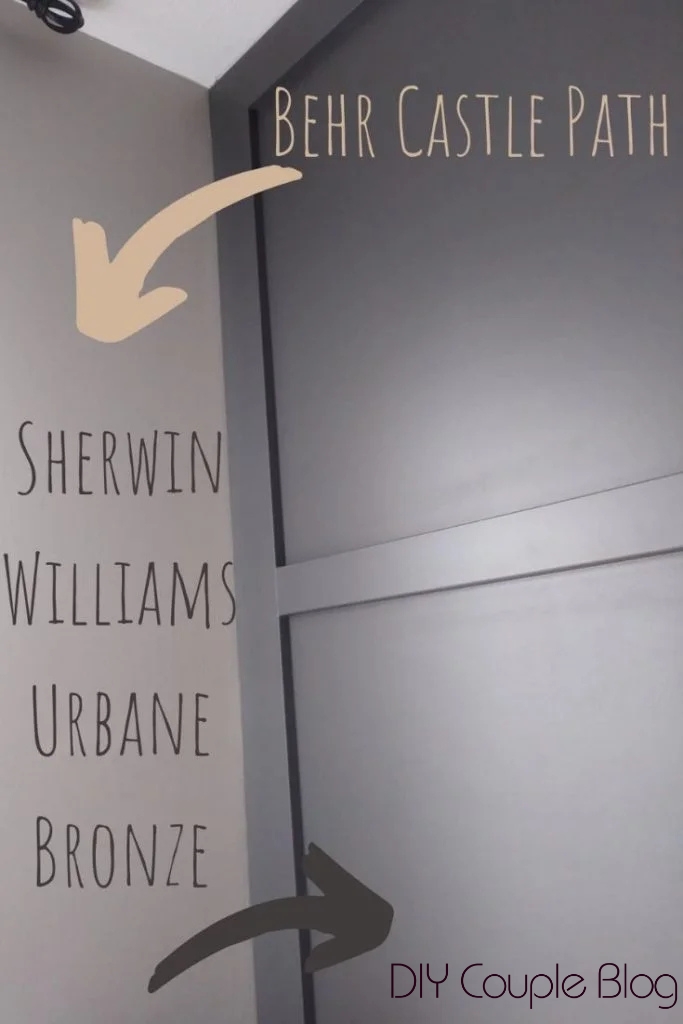
We went with a greige paint color called Behr Castle Path (eggshell) as our main color for the living room.
Accent Wall Paint Color
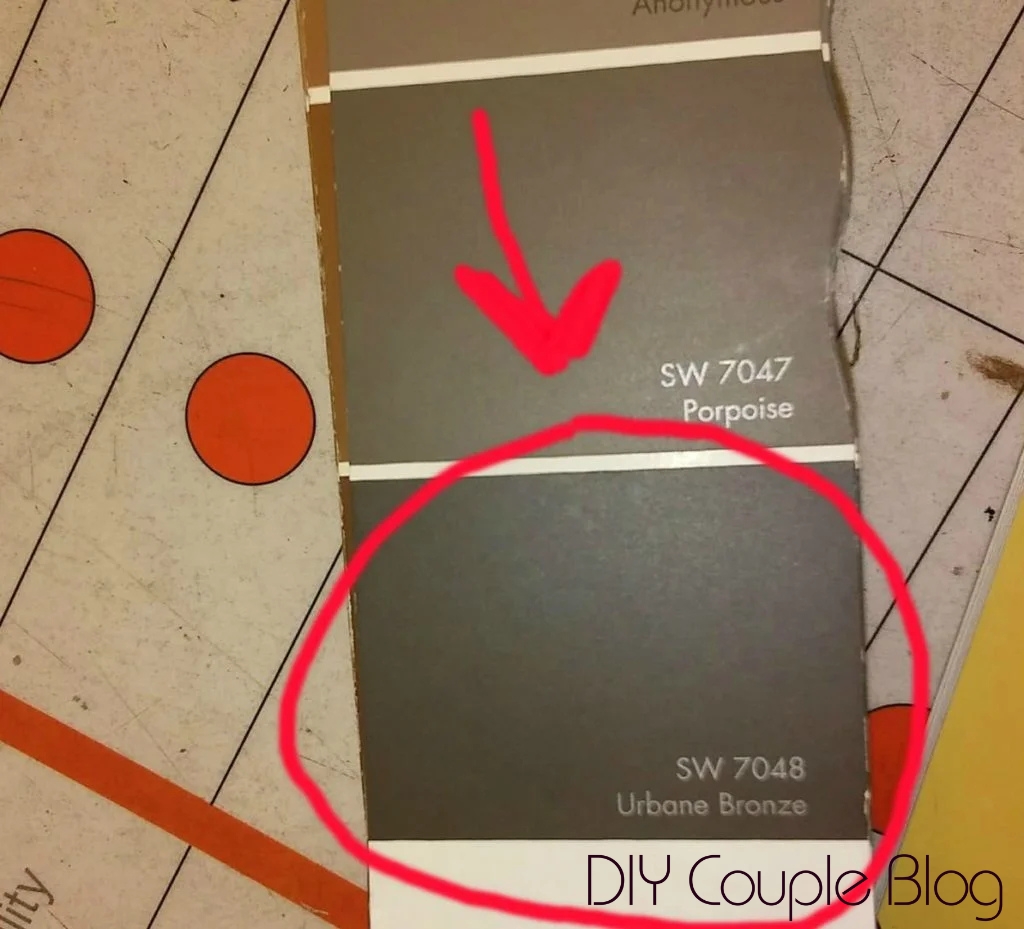
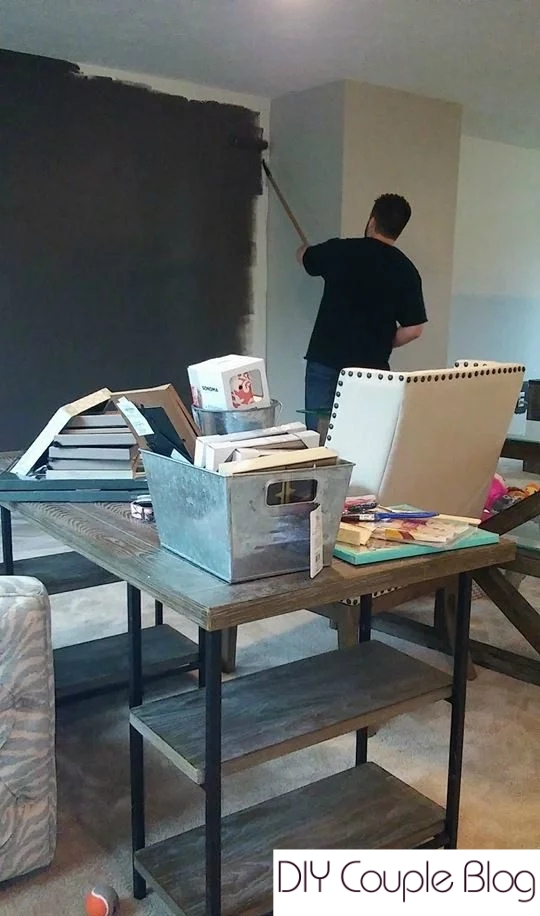
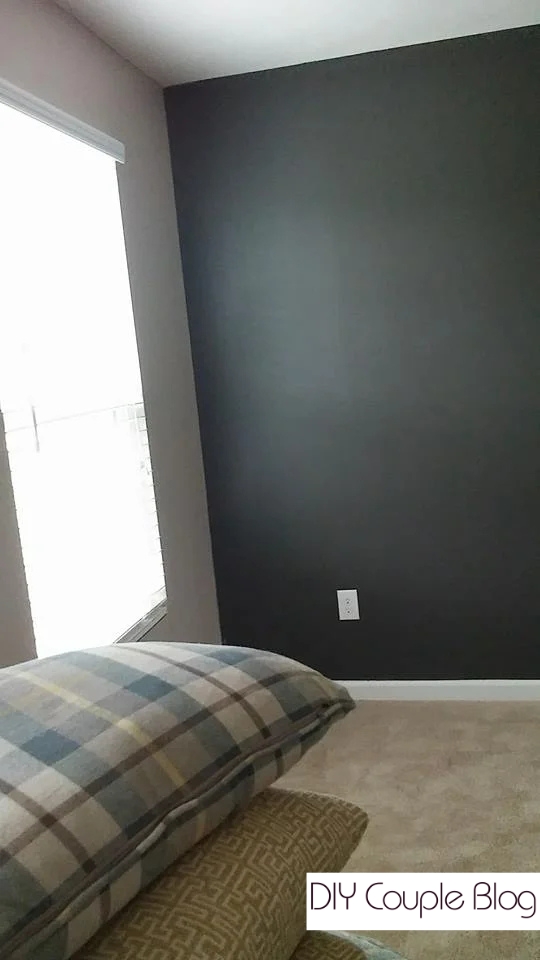
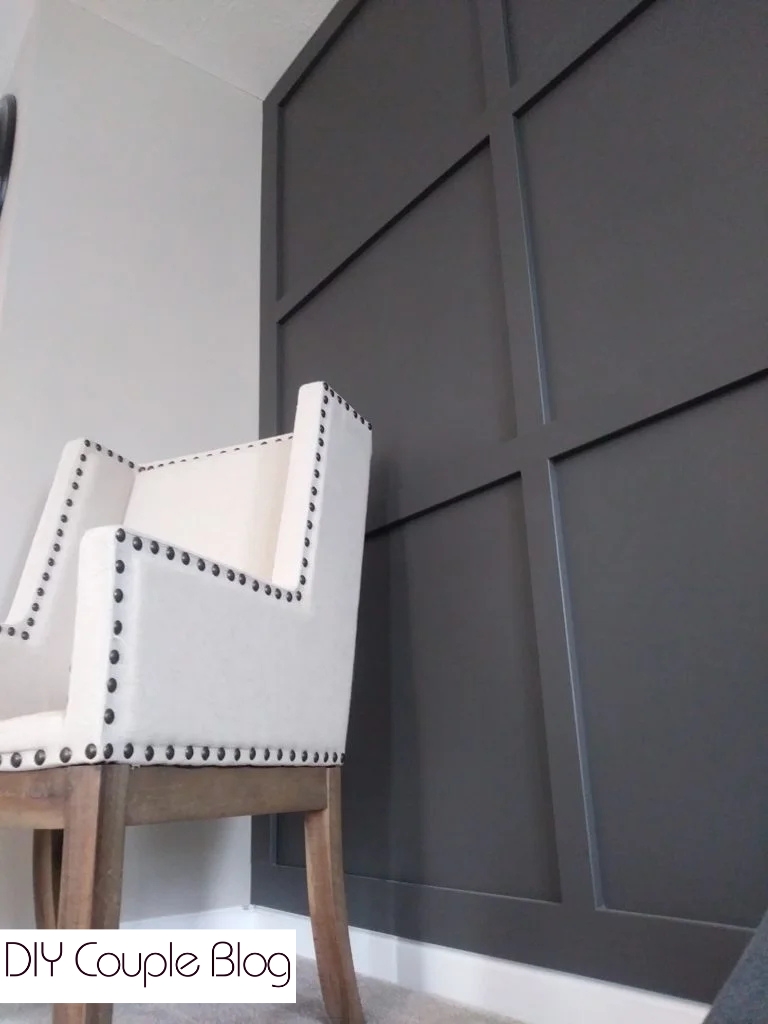
We painted the two accent walls with this darker paint color, Sherwin Williams Urbane Bronze (in Eggshell also).
When you dip your paint brush into that deep charcoal paint and make the very first stroke against a stark white wall, your heart will drop.
The contrast is so shocking that it instantly triggers a wave of panic. It looks less like a sleek design choice and more like you just took a giant black sharpie to your living room.

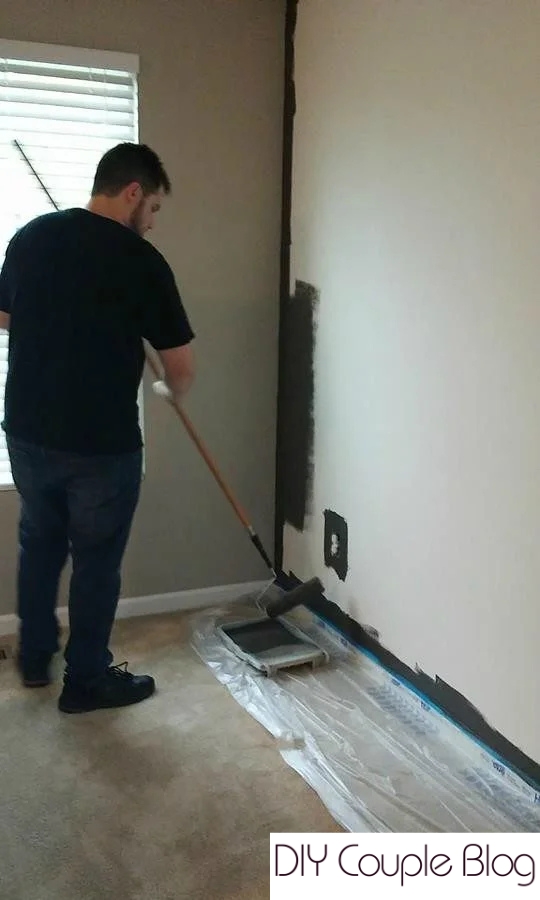
Trust the process. Let coat number one dry completely. Don’t judge the color until the second coat goes on.
That is when the magic happens. The patchiness changes to a rich wall backdrop.
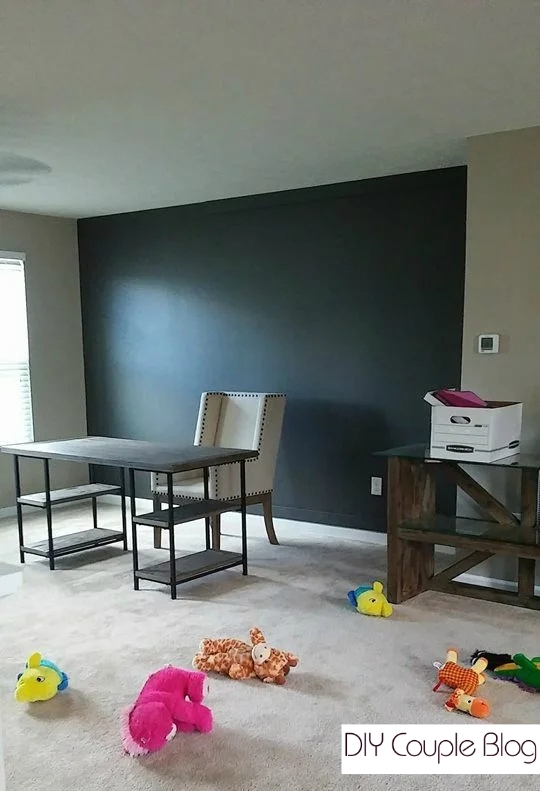
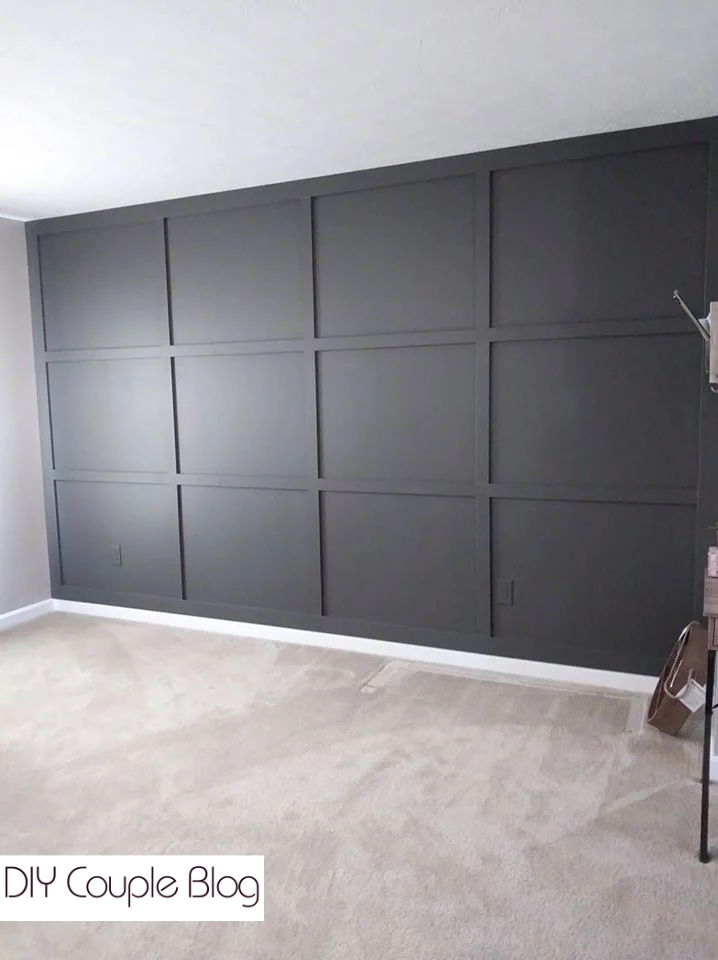
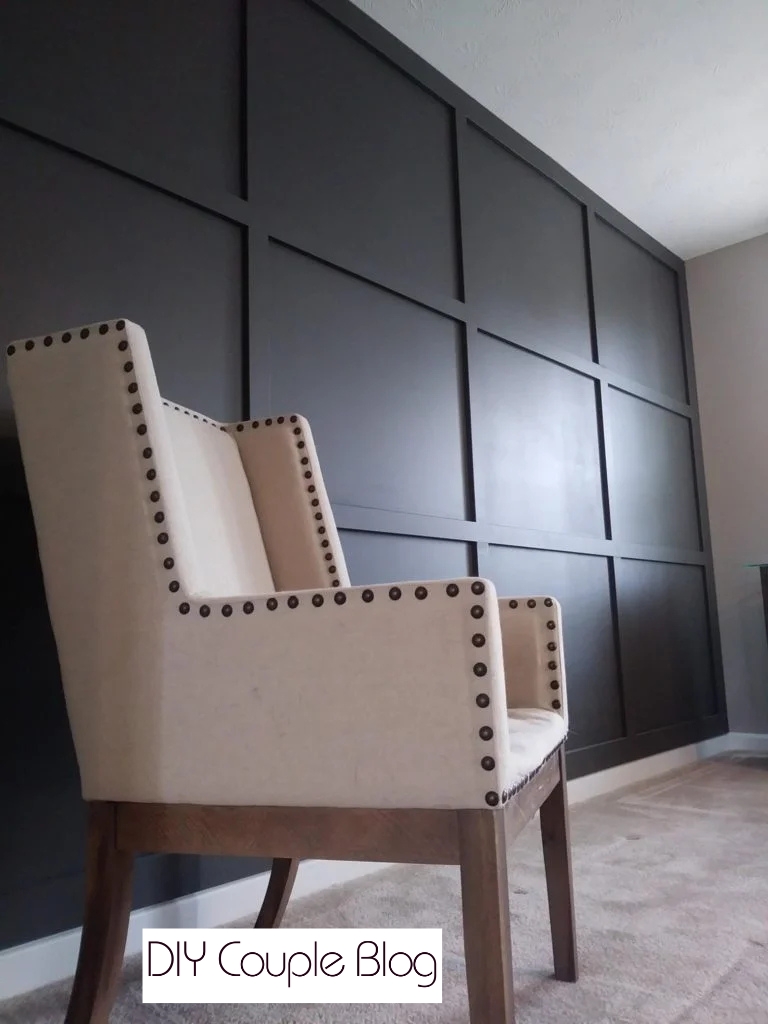
After our paint cured on our accent walls, we gave the wall some extra character by adding a board and batten feature wall!
Board and Batten Accent Wall
A board and batten grid wall can upgrade a basic, flat wall into a stunning focal point, especially when paired with a sophisticated paint palette like Urbane Bronze.
We’ve included some steps and a material list to help you along the way.
Step-By-Step Board and Batten Full Wall Tutorial
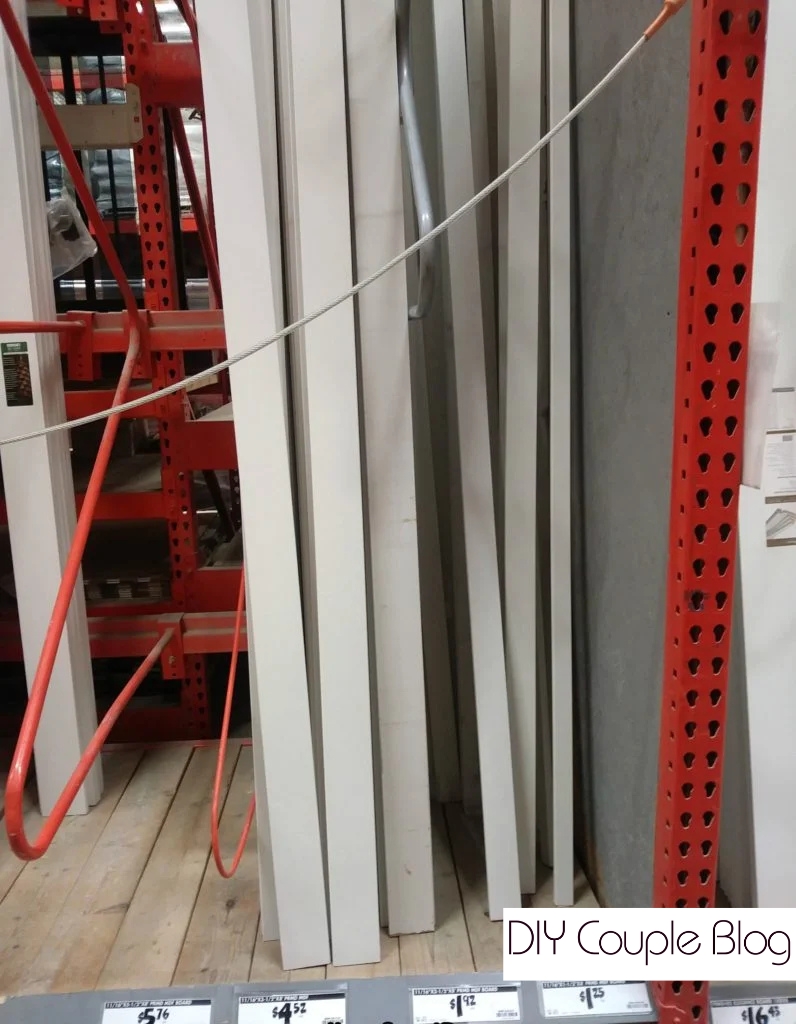
Tools and Materials for a Full Wall Treatment
MDF Primed Boards (We used 1×4 for the frame of the wall; and 1×3’s for the inside boards) **Make sure to get the right size in the length of your wall**
DAP Drydex Spackling/Nail hole filer
DAP White Paintable Latex Caulk
Piece of Sandpaper
Board and Batten How To
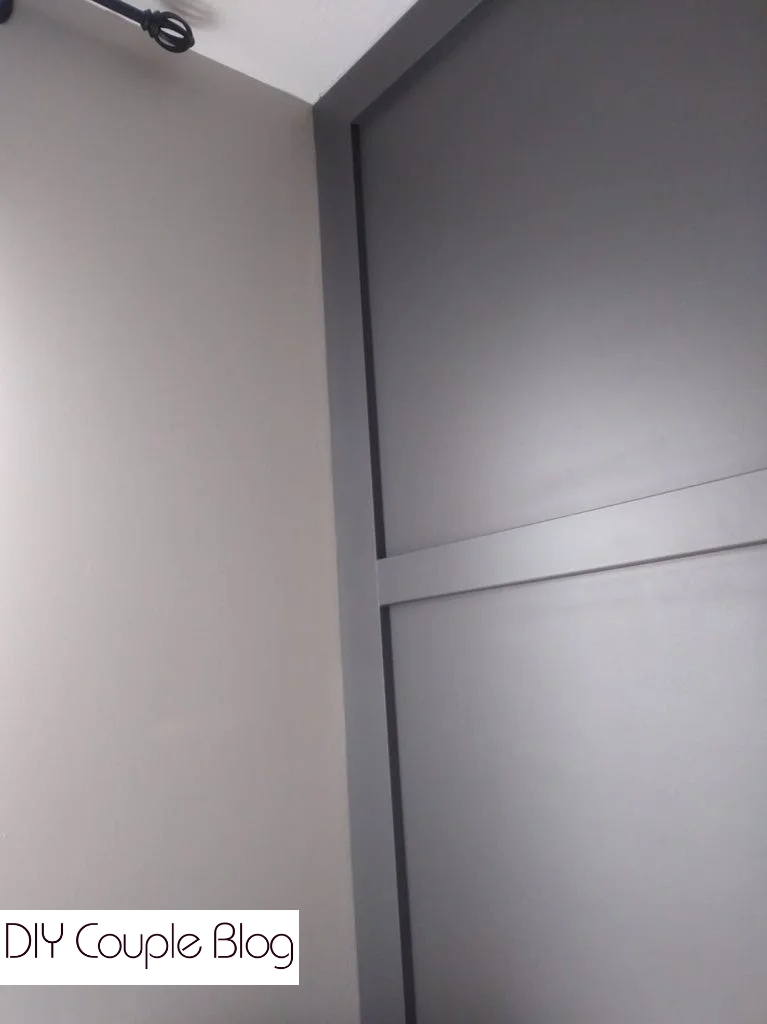
Avoid Removing Baseboard Trim with Board and Batten
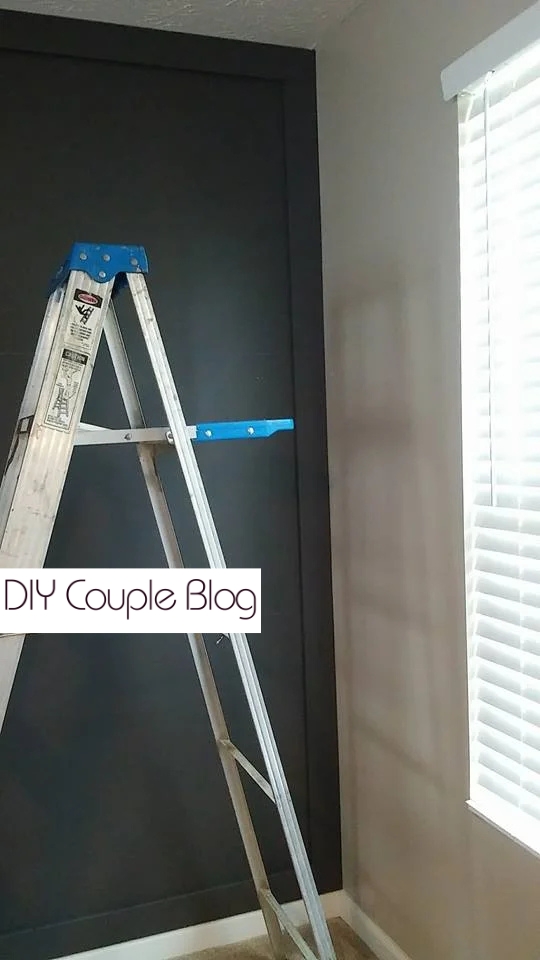
You’ll notice the original source, has the board and batten boards running along the floor. To avoid removing our baseboard trim to do this, we were able to put our bottom board right on top of the baseboard.
It saved us some time, extra work and kept the same cohesive look throughout our room since we have that chunky pop-out wall in the middle of those two accent walls, which was not getting the board and batten.
Here is a picture to better for better reference.
Planning a Board and Batten Full Wall
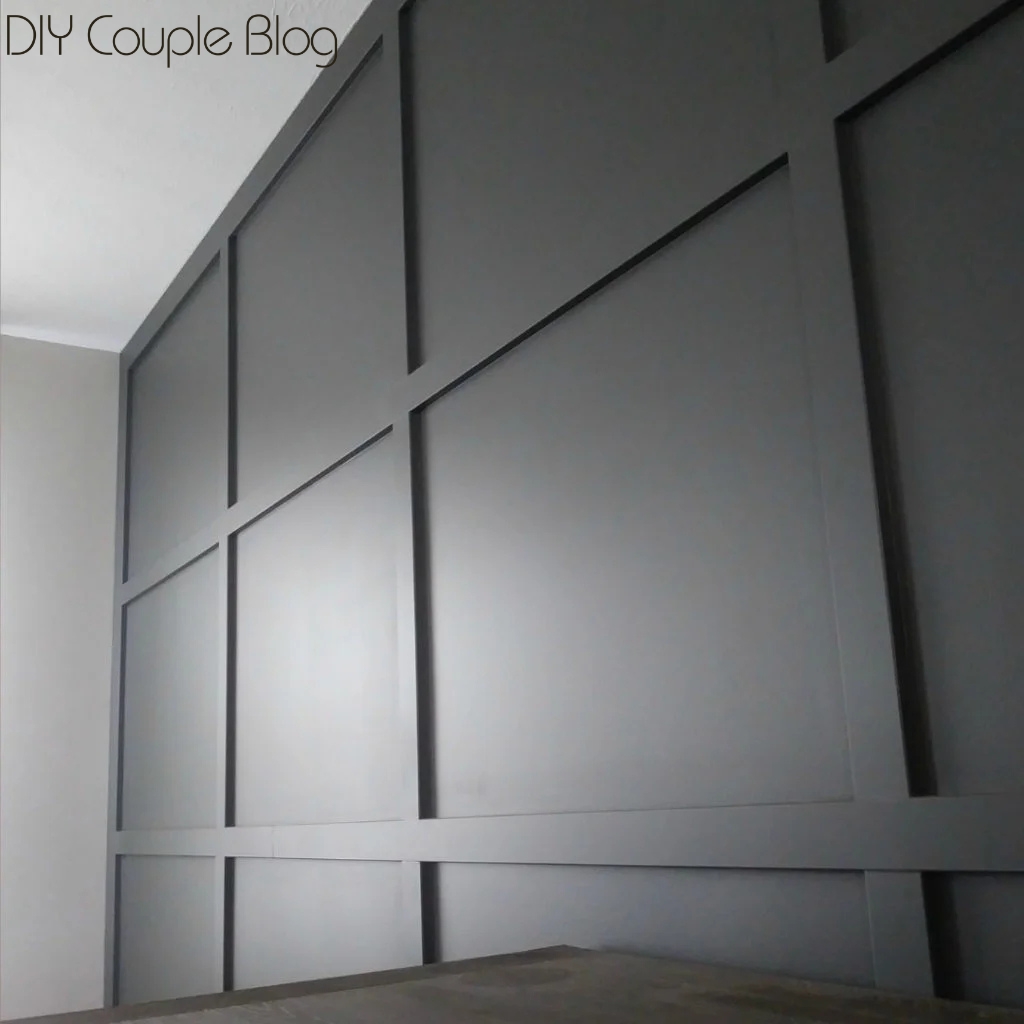
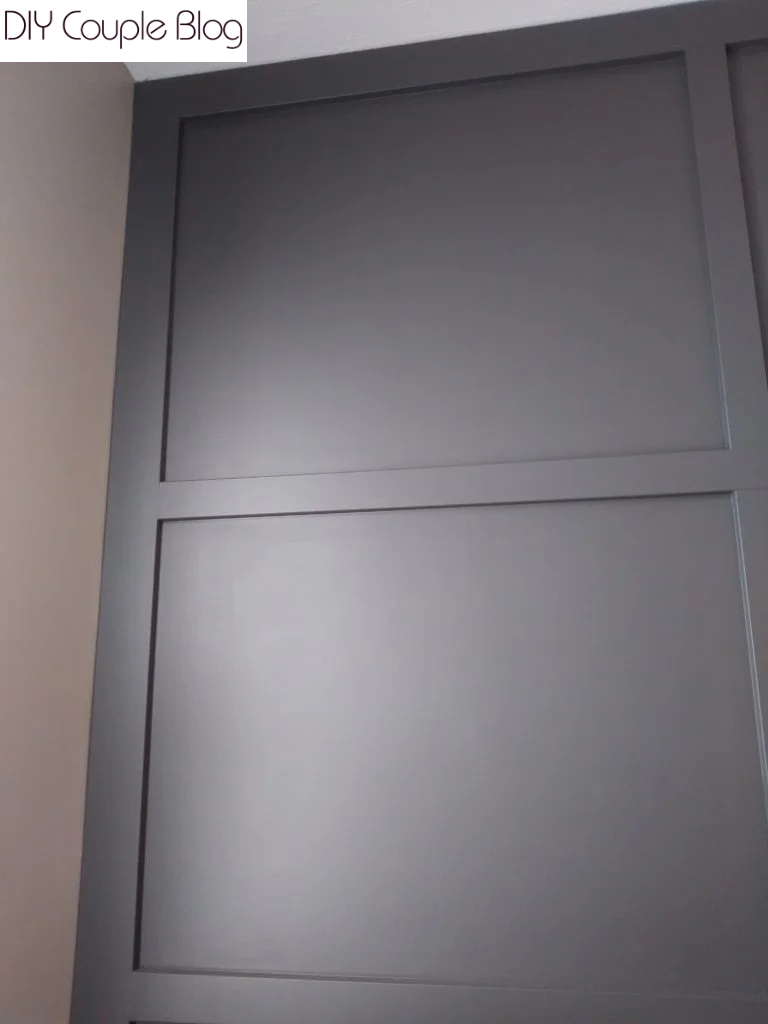
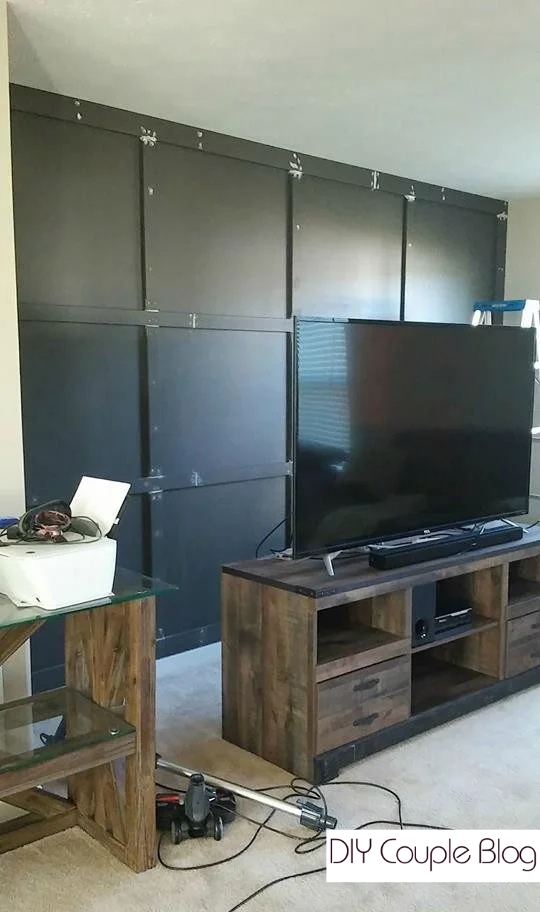
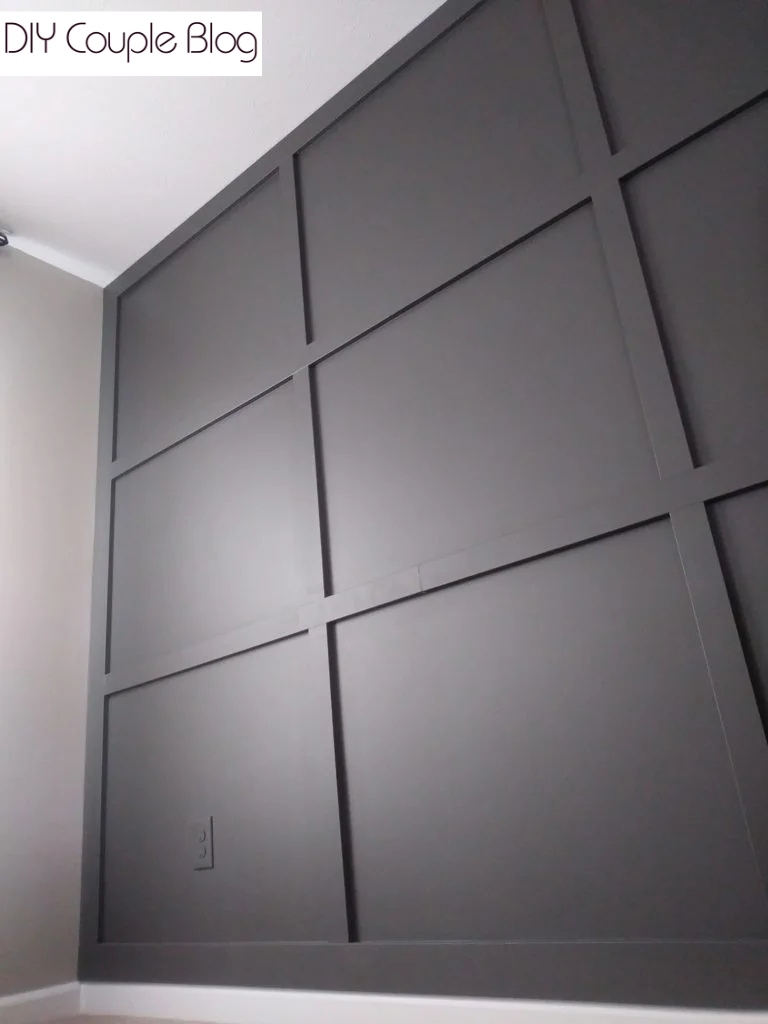
You will want to begin with a design plan for your wall so that way you’re able to move forward with spacing and measurements of where your boards will go. We chose to do three “squares” going vertical (downward) and four “squares” going horizontal (across).The measurements and the even spacing of your board will depend on the size on your wall. I also noted above we used 1×4 MDF primed boards for the frame of the wall and 1×3’s for the inside part of the grid wall.
This picture will give you a better idea of what I’m talking about. Notice the 1×4’s, which are bigger, are on the outside and the 1×3’s (the smaller boards) are on the inside of the wall.
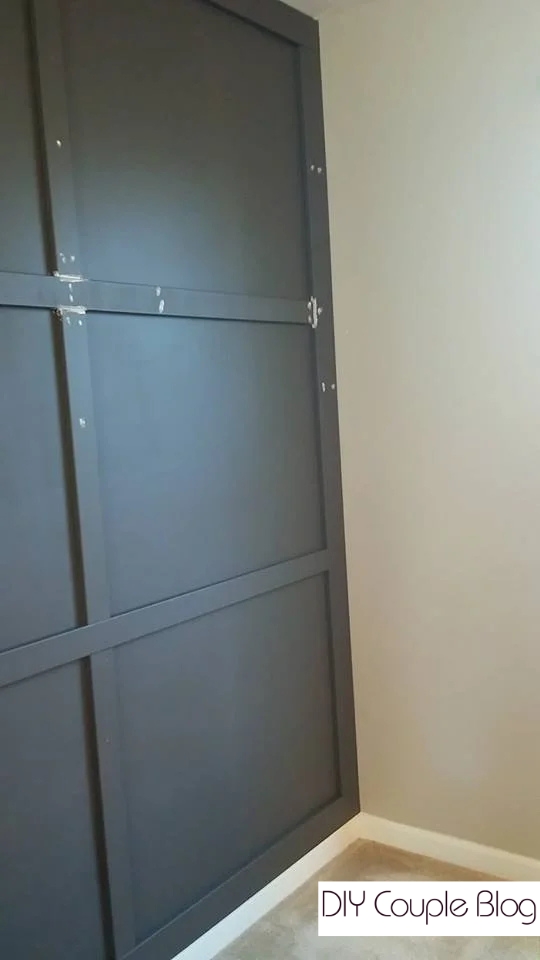
Board and Batten Full Wall Installation
Since our walls were already painted, we started by painting our boards before installing them. Once they were dry, we installed them to the wall using a nail gun (this one is cordless and no compressor needed!) We also made all the cuts for our boards with our Miter Saw. We began installing along the outside border of the wall. Then from there we measured the length of the cuts, spaced accordingly where planned, and attached the vertical boards (the boards going downwards) meeting up with the top and bottom boards we first installed around the border of the wall.
Now it’s time to connect your horizontal boards (the ones going across) in order to complete the “square” look. A similar step from before, measure the cut needed from one board to another and attach with the nail gun creating an amazing grid wall.
TIP: For every board you will want to make sure its level to the wall before install.
Finishing Tips for a Board and Batten Full Wall
Caulking and Finishing Touches to Your Accent Wall
To eliminate any gaps where the wood meets and to patch the nail holes, we applied DAPP Drydex then sanded it with a strip of sandpaper for a smooth finish followed by another coat of paint.
To give the inside (where the board touches the wall) a seamless sealed finish (no gaps), we applied DAP Paintable Caulk around the inner outlines of the “square”. Then touch up paint upon completion.
Board and Batten Full Wall: The Final Result
Is a DIY Board and Batten Full Wall Next on Your Project List?
The true beauty of a DIY board and batten wall is how easily it transforms the entire mood of your home. In just a weekend or two, you can take a flat forgotten living room wall and turn it into a feature that looks like it walked straight out of a design magazine.
So, grab your level, pick your perfect shade of paint, and get ready to completely transform your space!
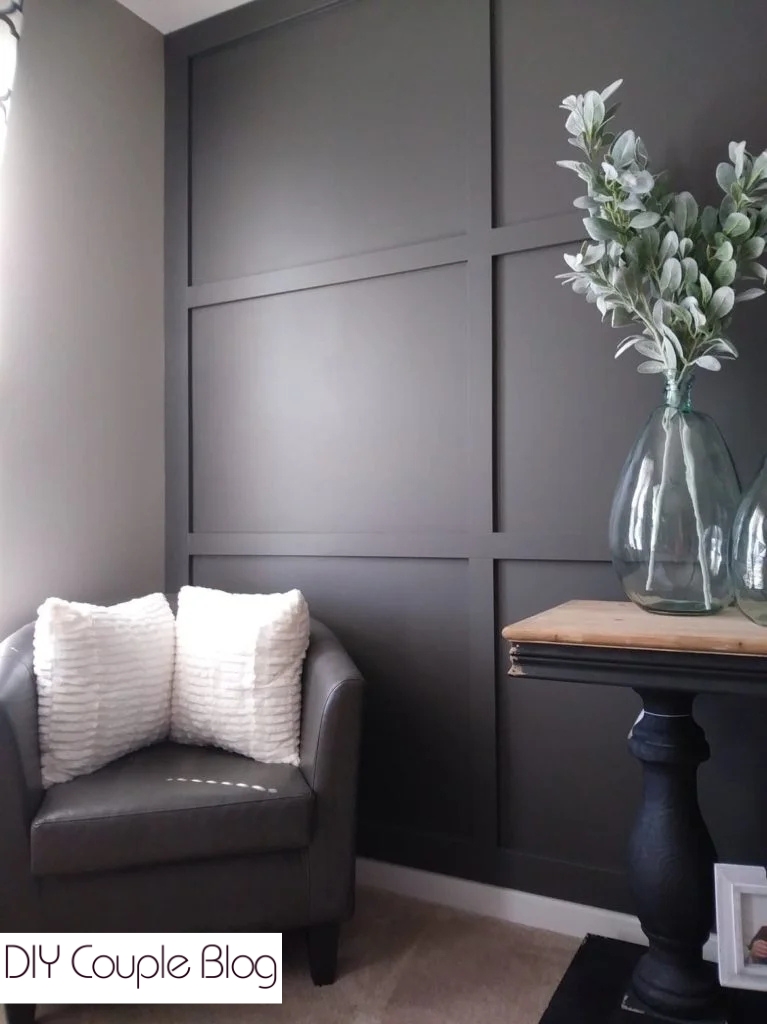
I’ll leave you with more views of this gorgeous board and batten accent wall.
Our living room is so hard to fit the board and batten full wall, so it’s a little tricky to get a good photo of the entire room.
There’s more to love, be sure to check out other favorite DIY projects down below or search the blog!