This post may contain affiliate links, which means we'll receive a commission if you purchase through our links, at no extra cost to you. Read the full disclaimer here: https://diycoupleblog.com/disclaimer/
Last Updated on July 18, 2026: This guide to building a window cornice has been updated with new information.
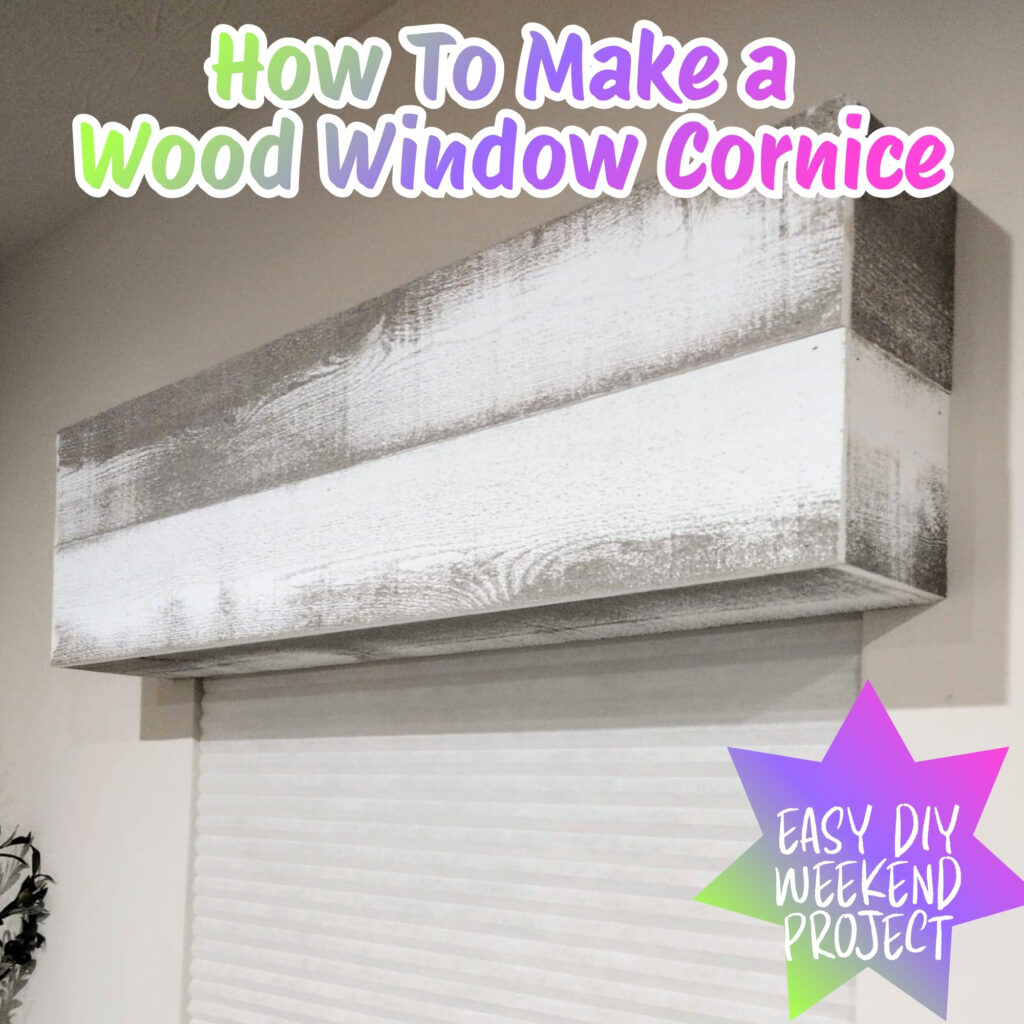
Window treatments can completely transform a room. If you want to add architectural interest, character, and a high-end custom look on a budget, building a DIY window cornice is the perfect weekend project!
This step-by-step guide will walk you through the entire process of measuring, building, and installing a beautiful, modern rustic wood window cornice.
What is a Window Cornice?
A window cornice is a box-like wooden structure that mounts over the top of your window frame. Unlike fabric valances, a solid wood cornice adds crisps lines and gives a farmhouse feel to your room.
If you have been searching Pinterest for inspiration you might have seen this project called a few different names. To clear up the confusion, depending on who you ask, a window cornice is also known by and thrown around using these common terms:
- Window Pelmet: A traditional term often used for a decorative framework over a window.
- Valance Box or Wooden Valance: While classic valances are fabric, a wooden version gives you that same structured look.
No matter what you call it-a cornice, a pelmet, or a wooden valance box-the build process is quite alike varying in different styles and finishes!
Why Choose to Build a Wood Window Cornice?
Building your own window cornice allows you to customize the style and the size. You can choose the wood finish you like and create the exact depth and height needed to clear your window size.
A window cornice can take a plain builder-grade window and give it a simple yet completely redefined look. The amazing part is that this DIY is a budget-friendly woodworking project that doesn’t require a bunch of tools either. Most you probably already have sitting in your garage.
We were able to build our wood window cornices for less than $40! (Definitely factor that prices and supplies can fluctuate, this was the cost for us at the time the project was completed).
Our Window Cornices
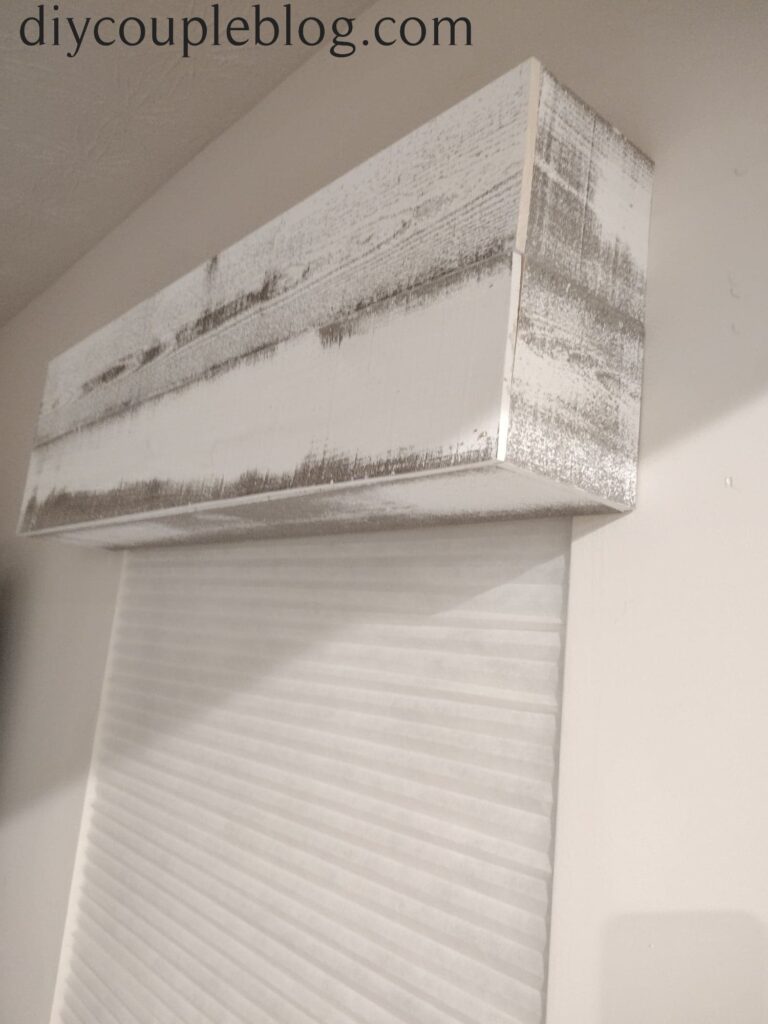
Modern Rustic Design
We recently finished up our whitewash barn doors in front of our patio slider doors and had some leftover barnwood planks.
After staring at our boring builder grade windows one too many times we decided to add a wood window cornice to dress them up and tie them in with our barn door. That’s how this window cornice inspiration came about.
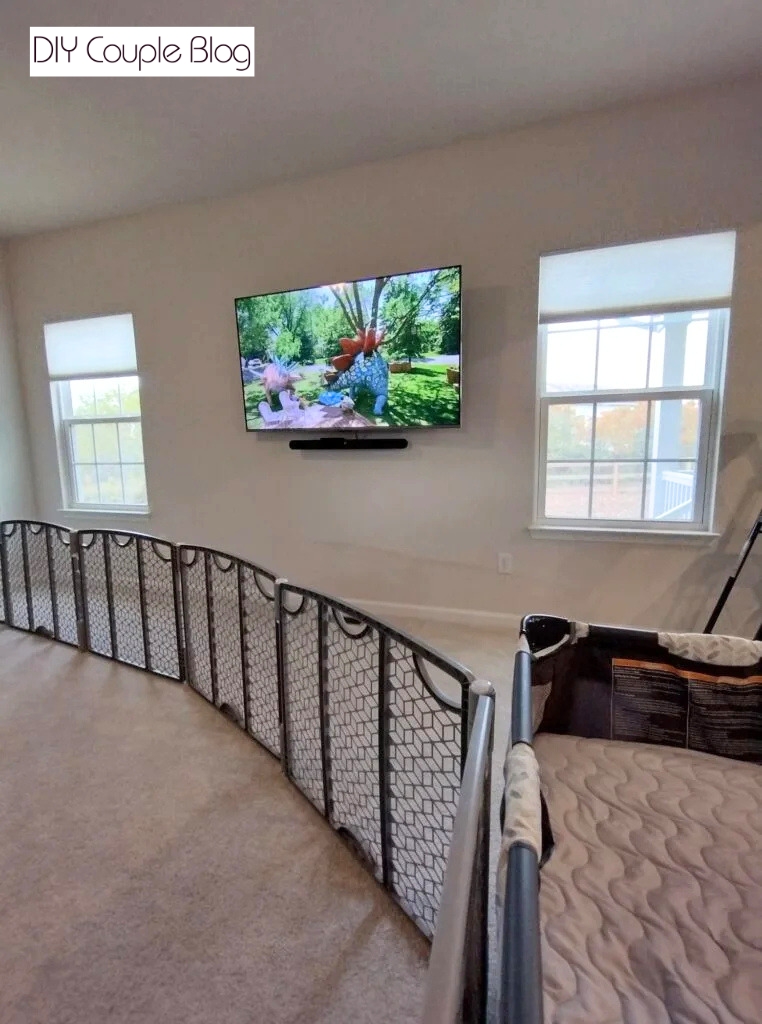
Our window cornice design we put together will work with any blinds that mount on the inside. Ours worked perfect for this decorative window cornice and I love how I can pull them up with an easy retractable little button. They are light filtering which lets lots of light come through but still allows for privacy. Check out our blinds here.
You can always take the comprehensive guide we’ve prepared below and tweak it to meet you own window customizations!
So, on that note, let’s make some wood window cornices! Here’s the full supplies and instructions to start building!
You’re going to love the fact that you can make a wooden window cornice in only four steps.
Supplies to Gather to Build a DIY Window Cornice
(1) pack of whitewash planks (you’ll only use four planks out of the 6 pack)
(1) 1 x 10 x 8
White caulk (optional)
Tools Required for a DIY Wooden Cornice
Sharpie or something to mark with
Wood Window Cornice Instructions
How to Make a Cornice with Wood
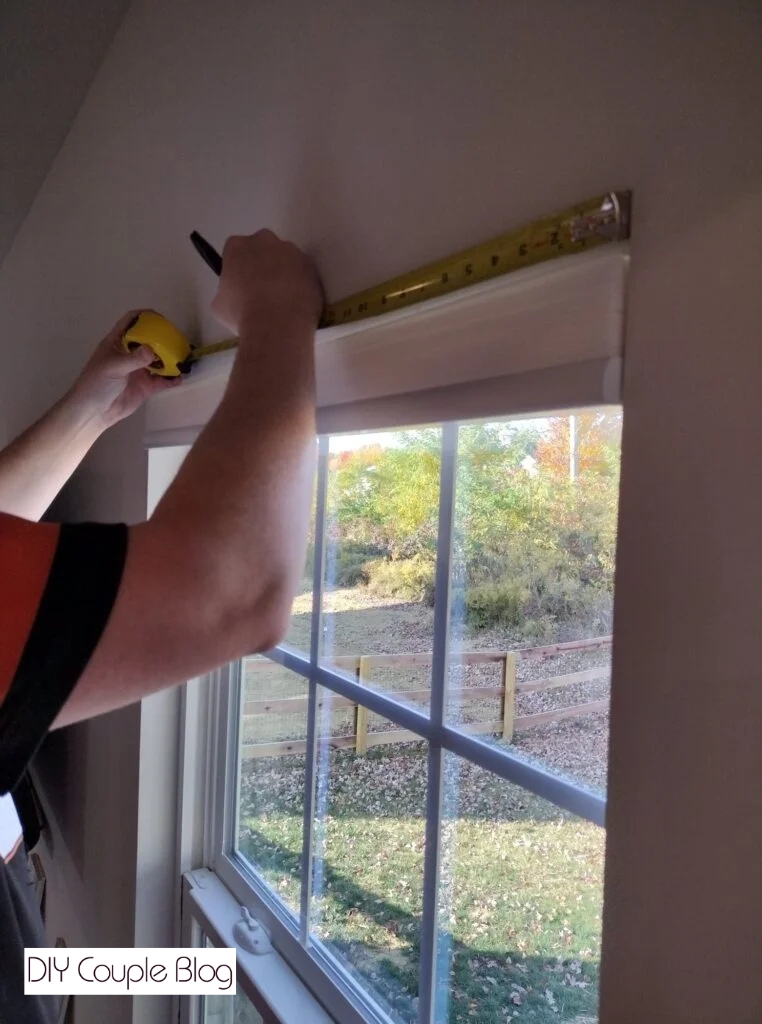
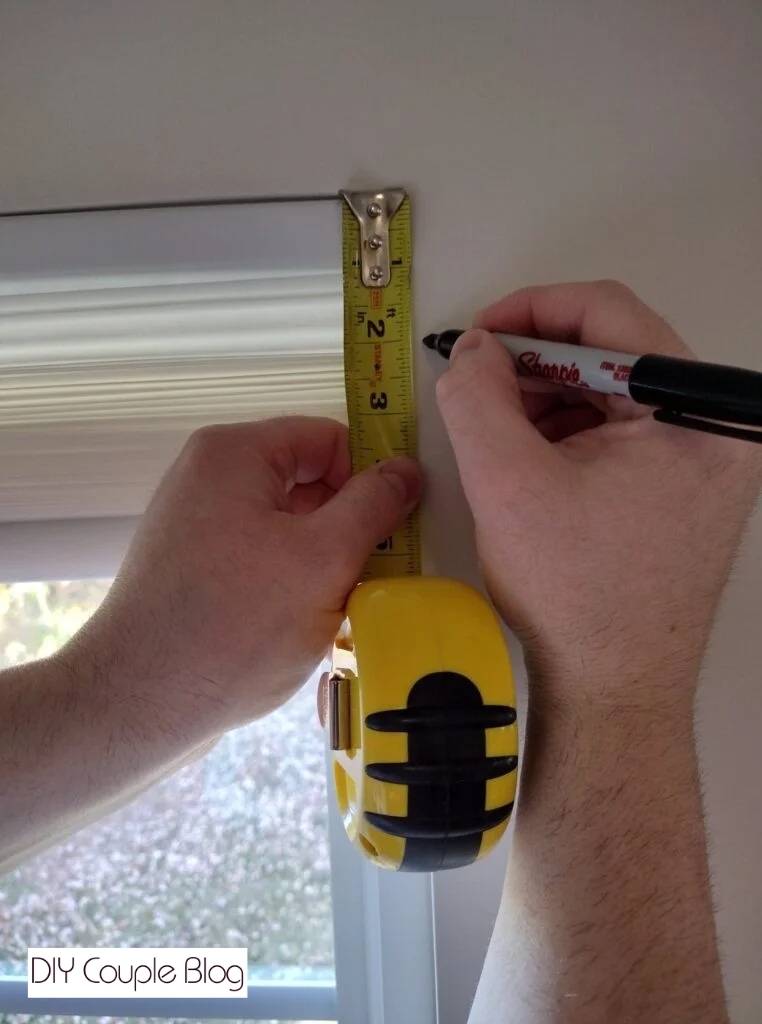
Step 1. Measure the Top of the Window
You’ll start by measuring your window. Our windows are standard size measuring 34.75 inch. You can base your measurements off ours in this post if you’re windows are also that size. If not, you will need to adjust the measurements as needed.
Step 2. Prepare Wood Frame
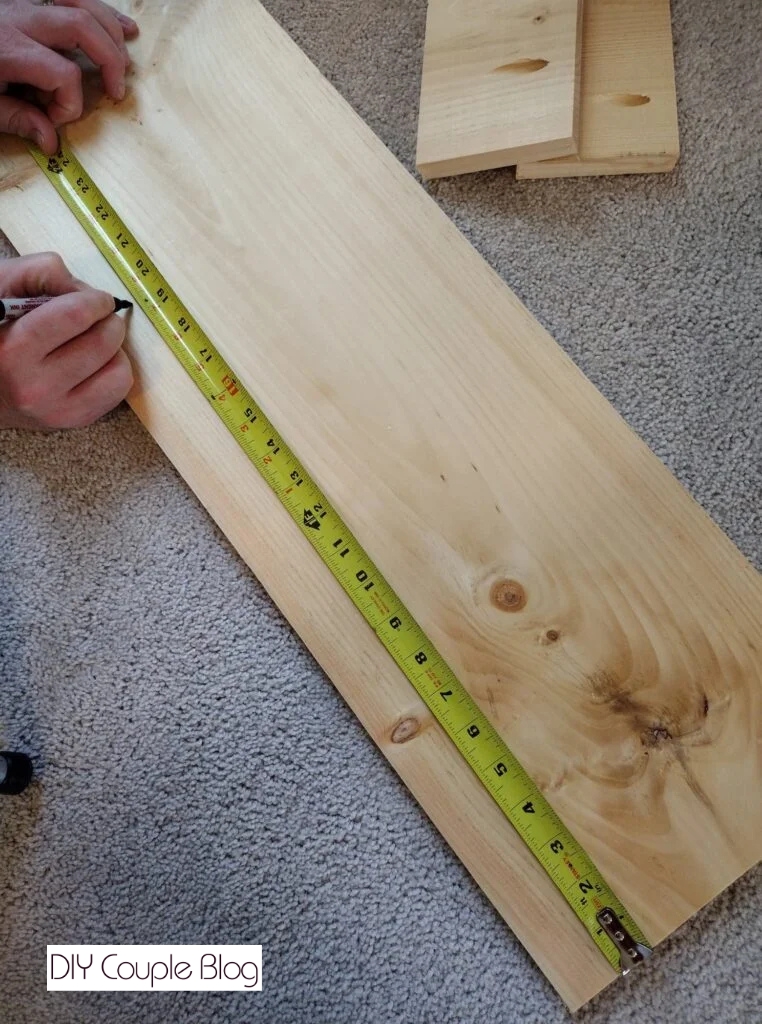
Using the 1 x 10 x 8 board, cut two pieces at 38.75 inch and cut two pieces at 4 inches. Take one of your 38.75 inch boards and mark the center at 19 3/8 inch.
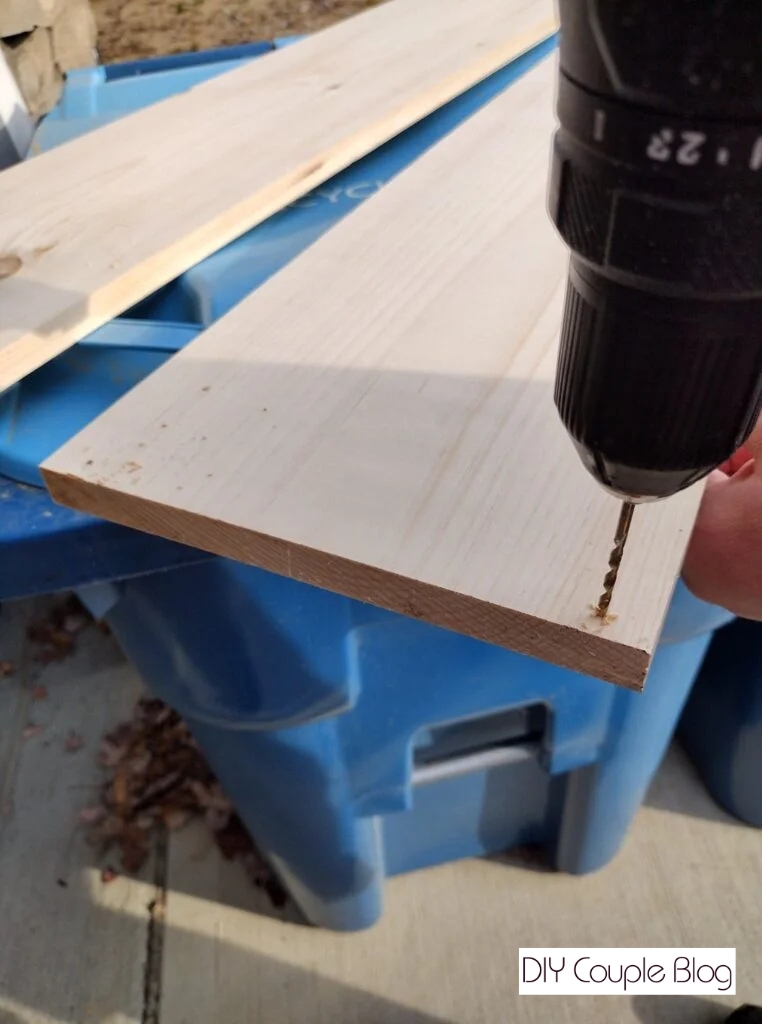
With the other 38.75 inch board, drill a pilot hole near each corner (roughly .25-.375 inch from the edge of the board using a 1/8 inch drill bit).
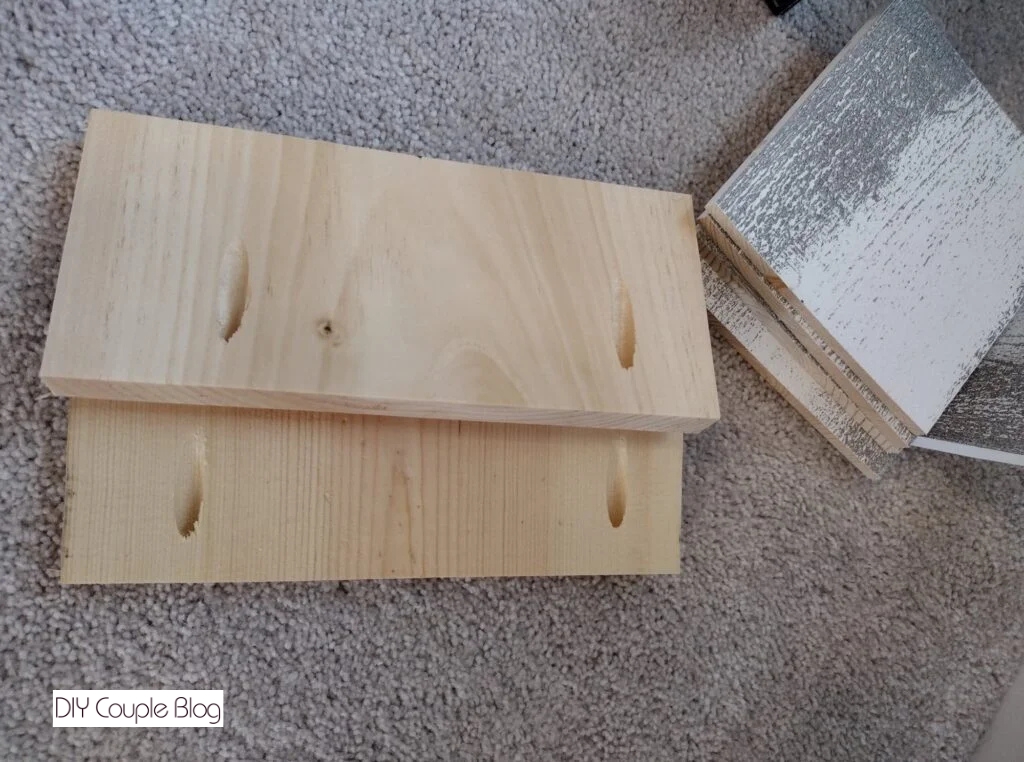
Now grab both 4 inch pieces and drill two pocket holes on one side of the board, spacing them out closer to top and bottom.
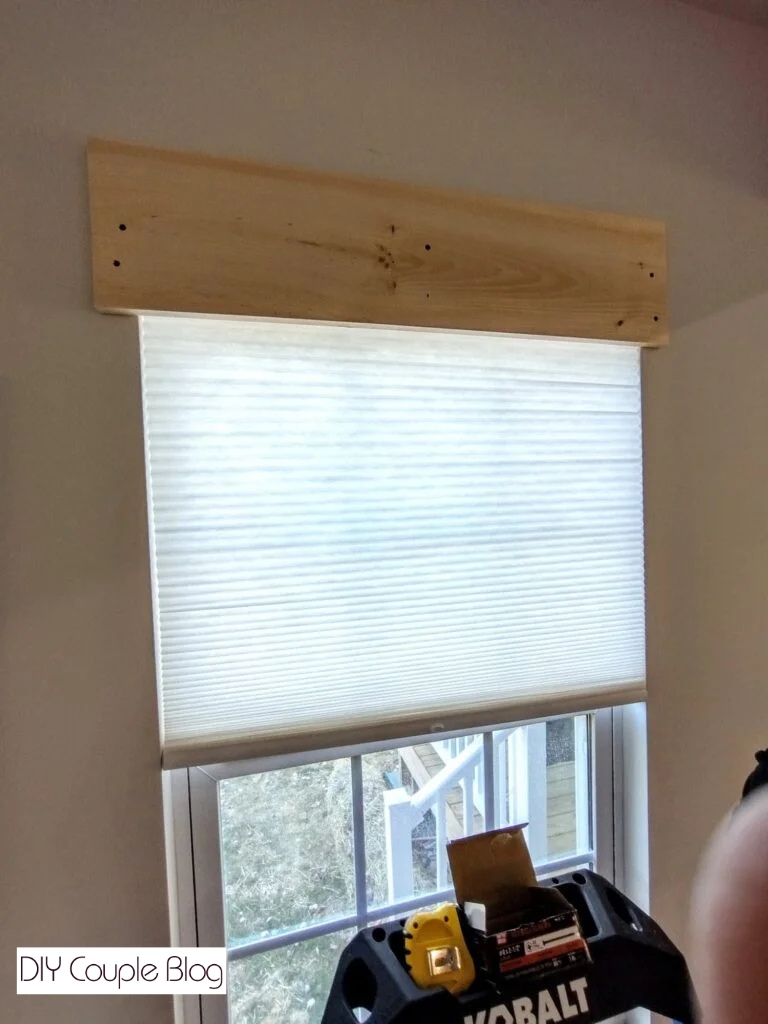
Step 3. Build the Wood Frame
First, mark the center of the window (if yours is the same size as our windows, it would be 17 3/8 inches).
Then mark two inches down on each side of the window.
Using the 38.75 inch board with the center mark and a handy level, attach your board to your markings on the window with 2.5 inch drywall screws. (Make sure to hit studs here).
Attach one of your 4 inch boards to each side with 1.25 Kreg screws.
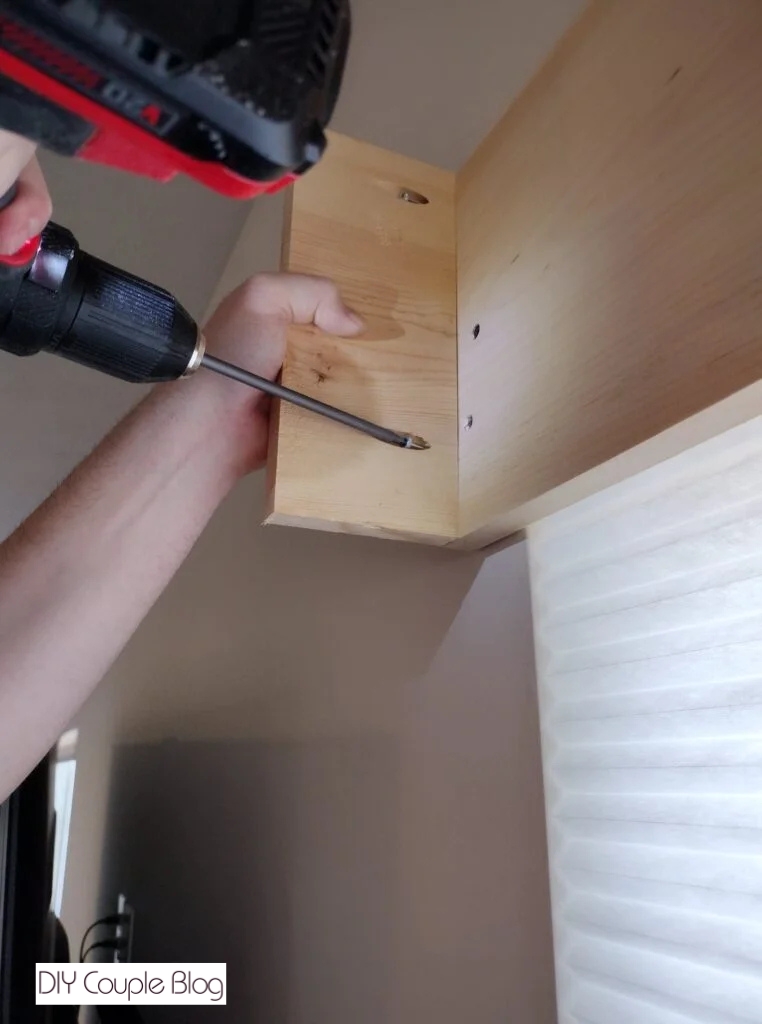
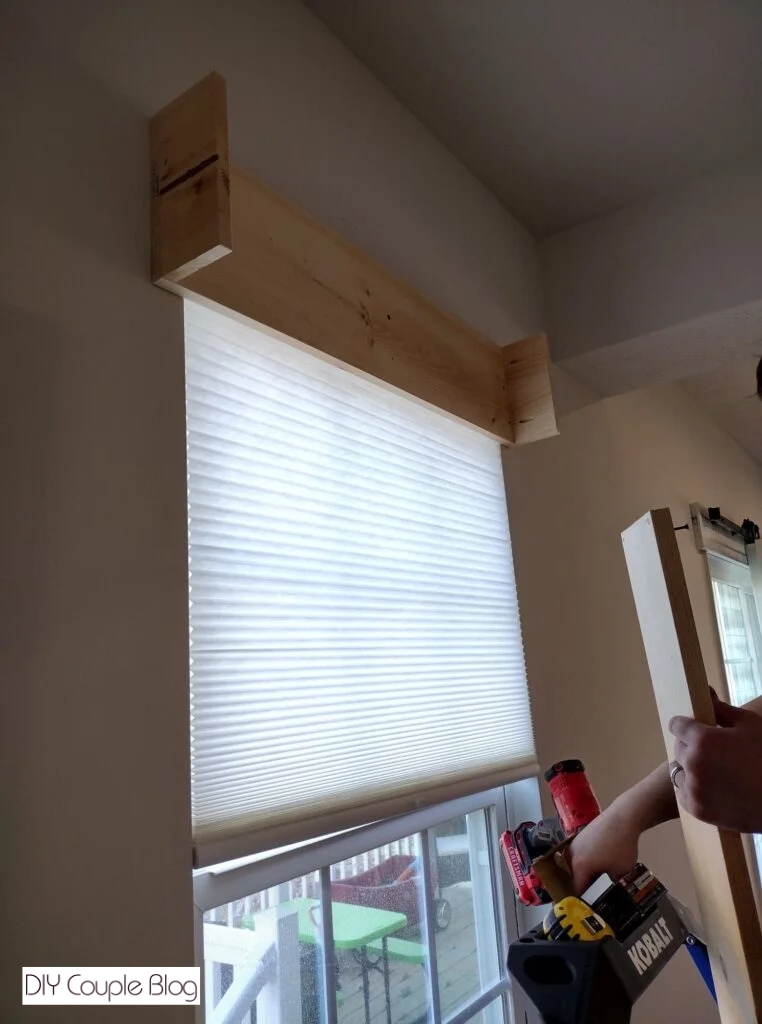
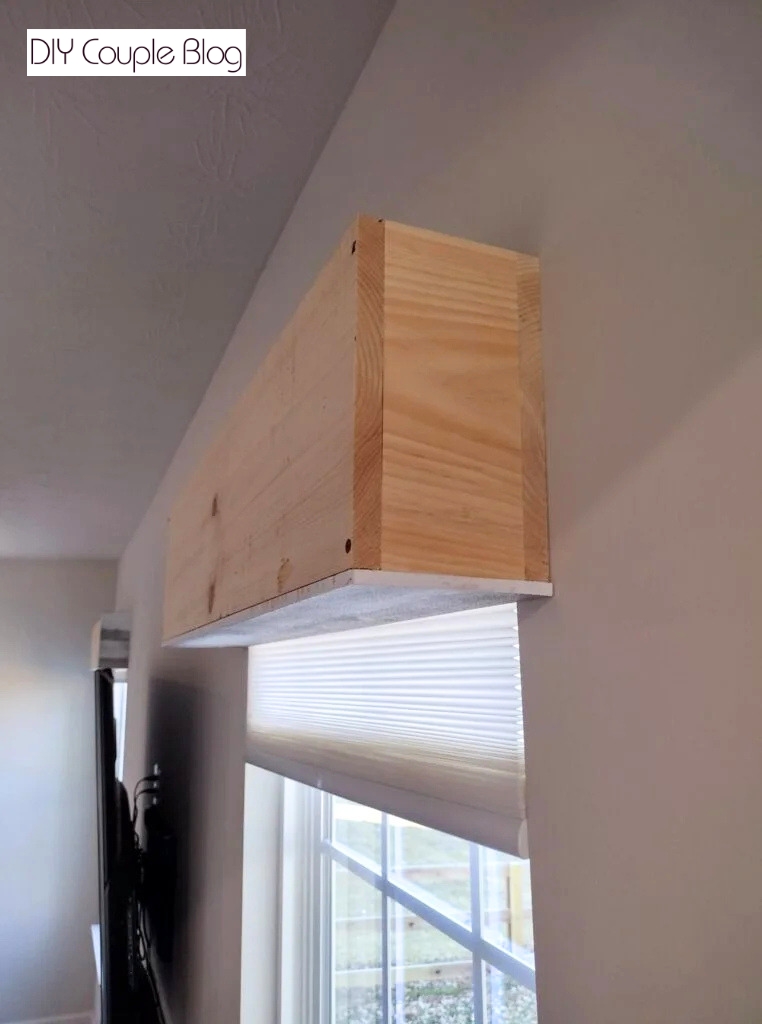
Go ahead and screw the other 38.75 inch board to the front using 2.5 inch screws in your pilot holes. While doing these steps be sure to get the boards as squared up as possible.
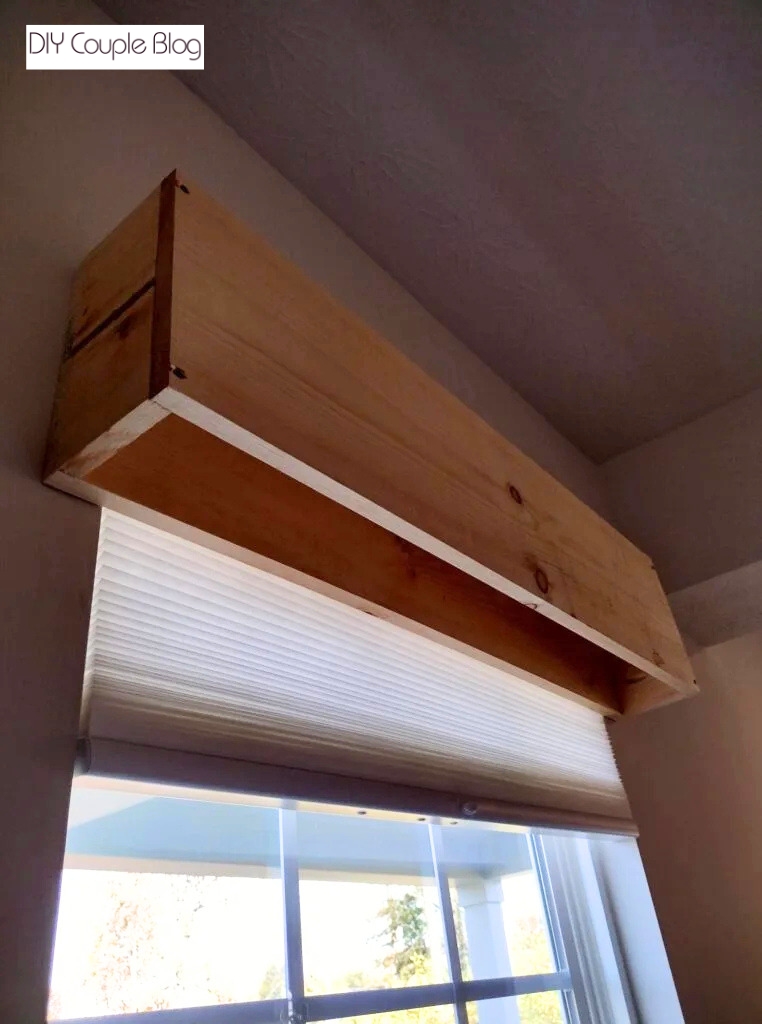
Step 4. Cut Your Pre-Made Planks & Assemble to Frame
Install Bottom Plank of Window Cornice
Cut one piece of whitewash plank to 38.75 inches and attach it to the bottom of the window box frame using 1 inch nails.
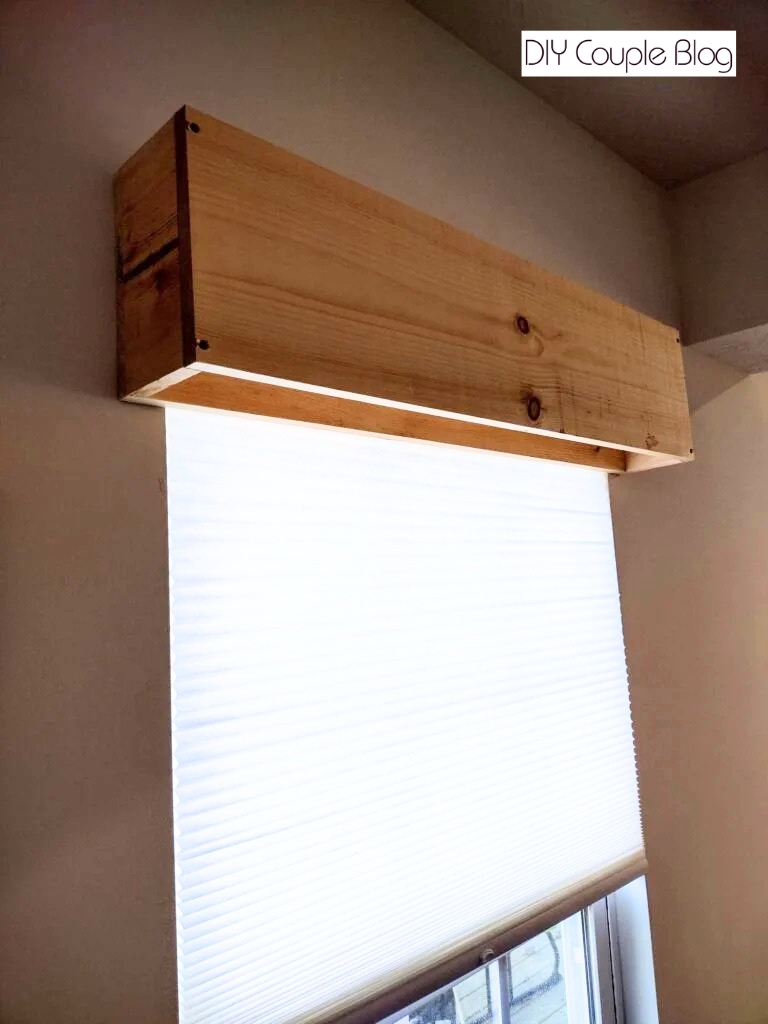
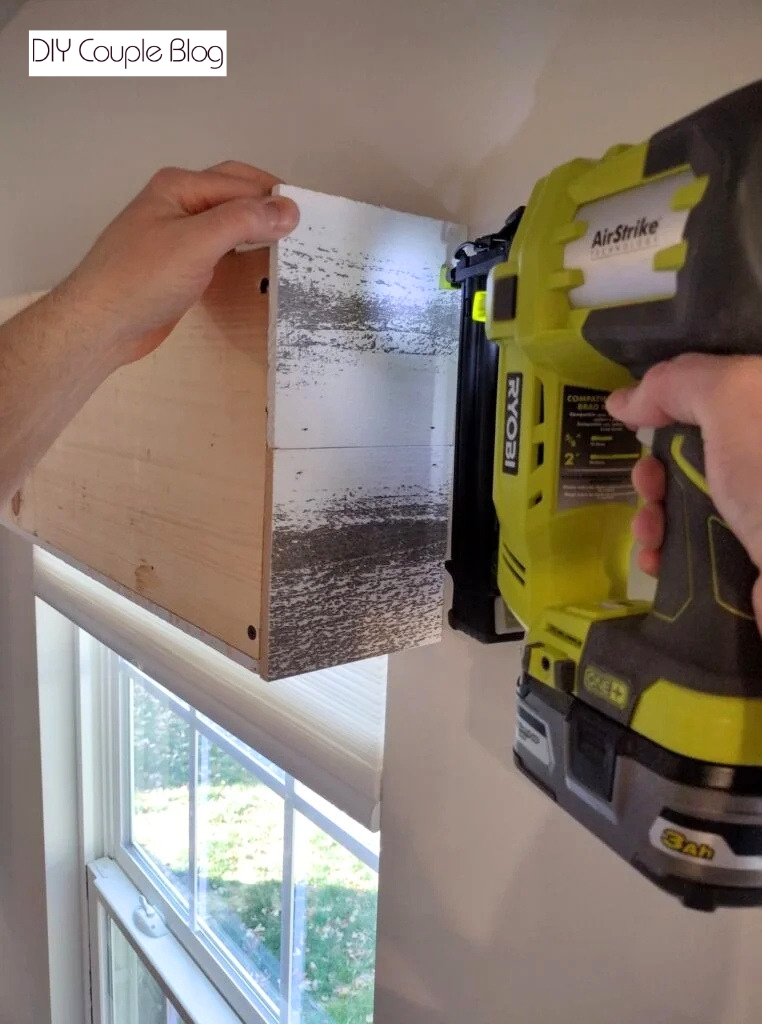
Attach the Side Pieces
Now, cut four more pieces to 5.5 inches and cut an additional two pieces at 39.5 inches. Paint any edges that were cut or need touched up. We hit ours with some white spray paint.
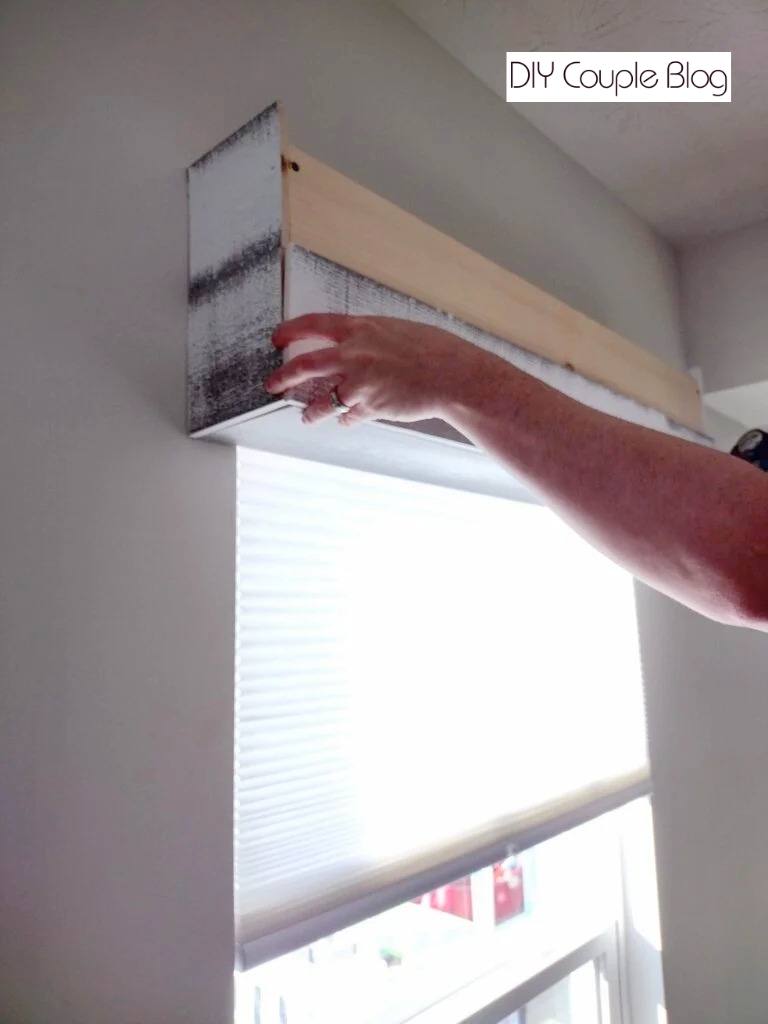
Go ahead and attach two 5.5 inch pieces to each side.

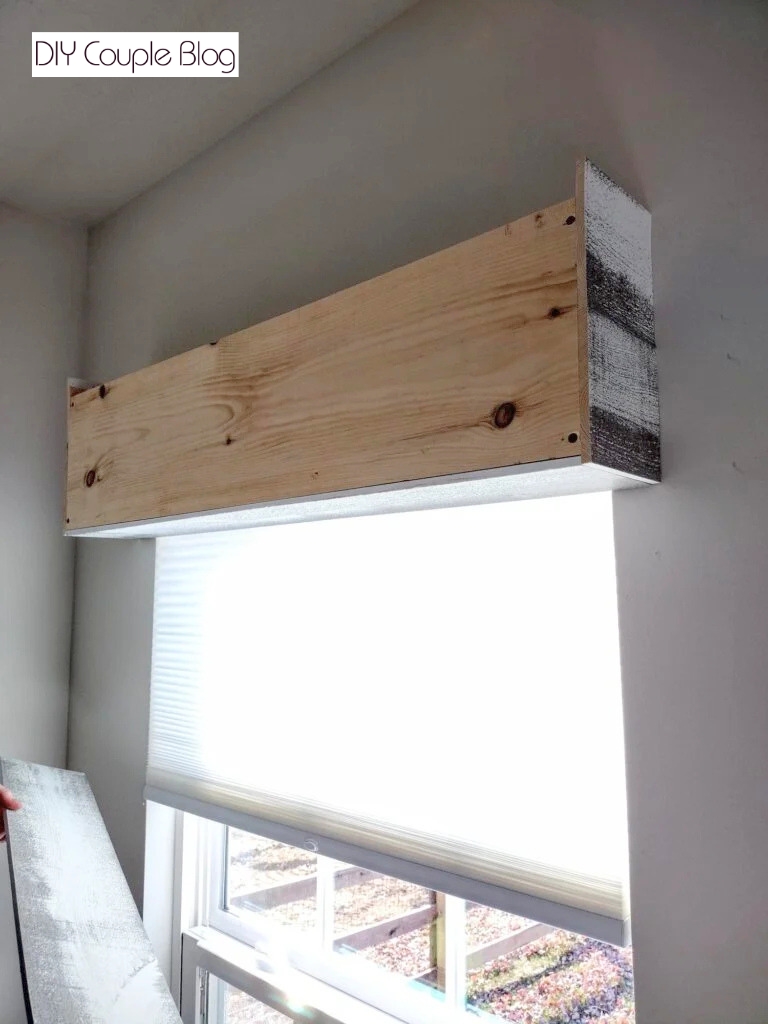
Secure the Front Pre-made Boards to the Wood Window Cornice
Attach the last two pieces to the front with your 1 inch nails.
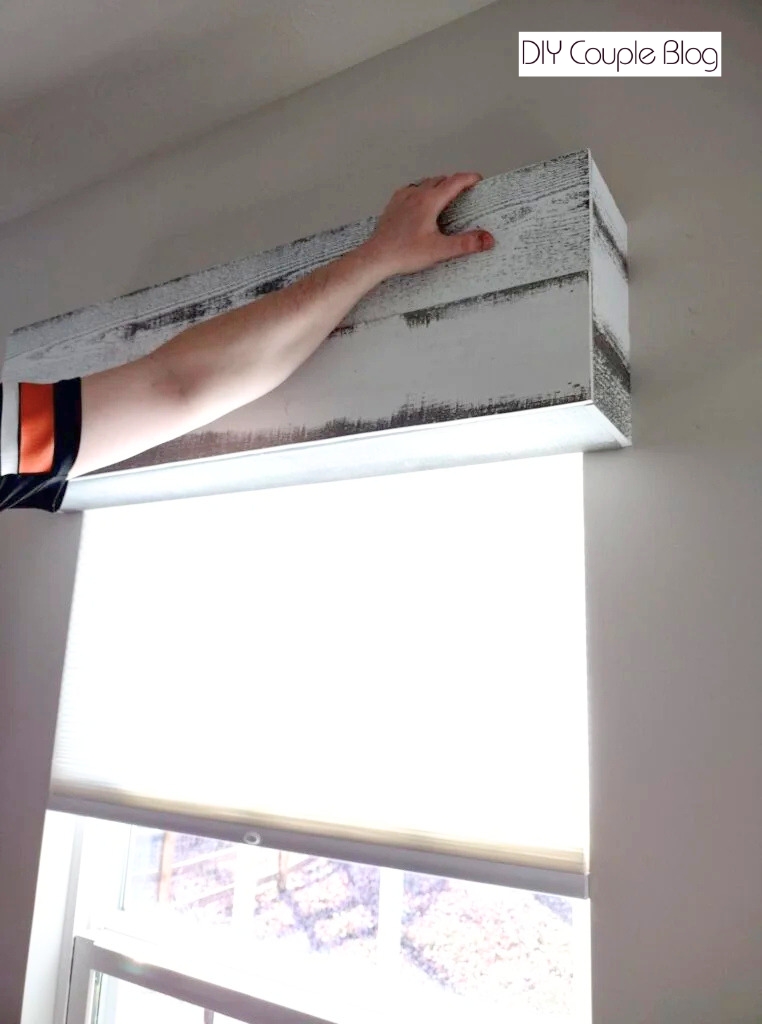
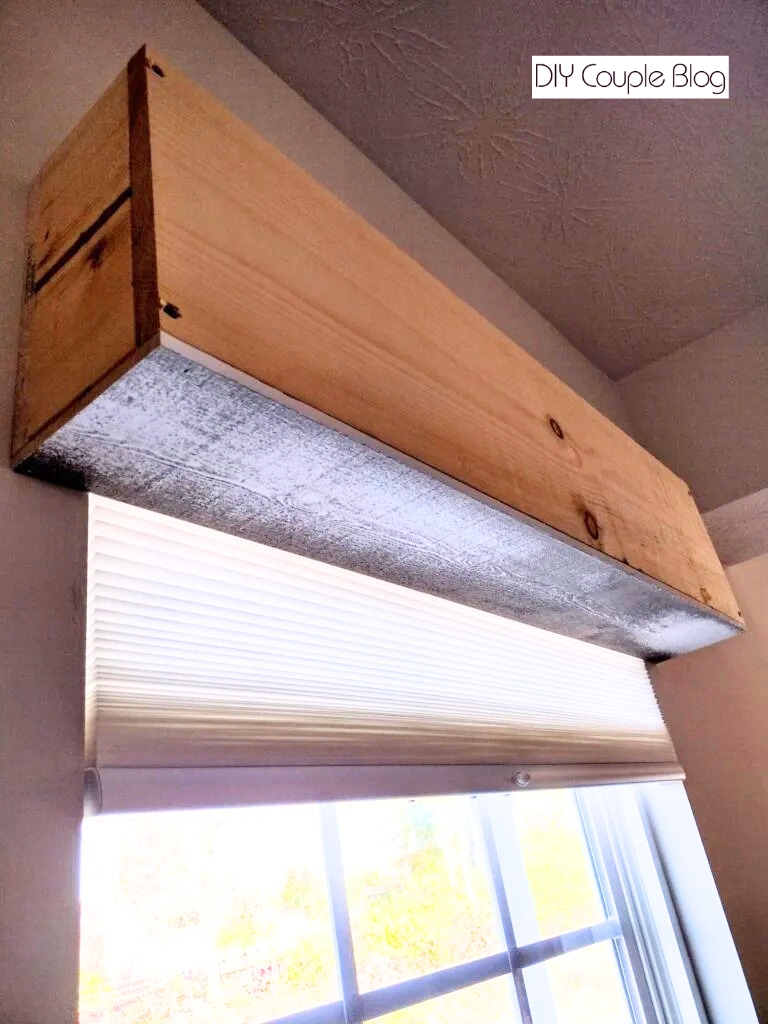
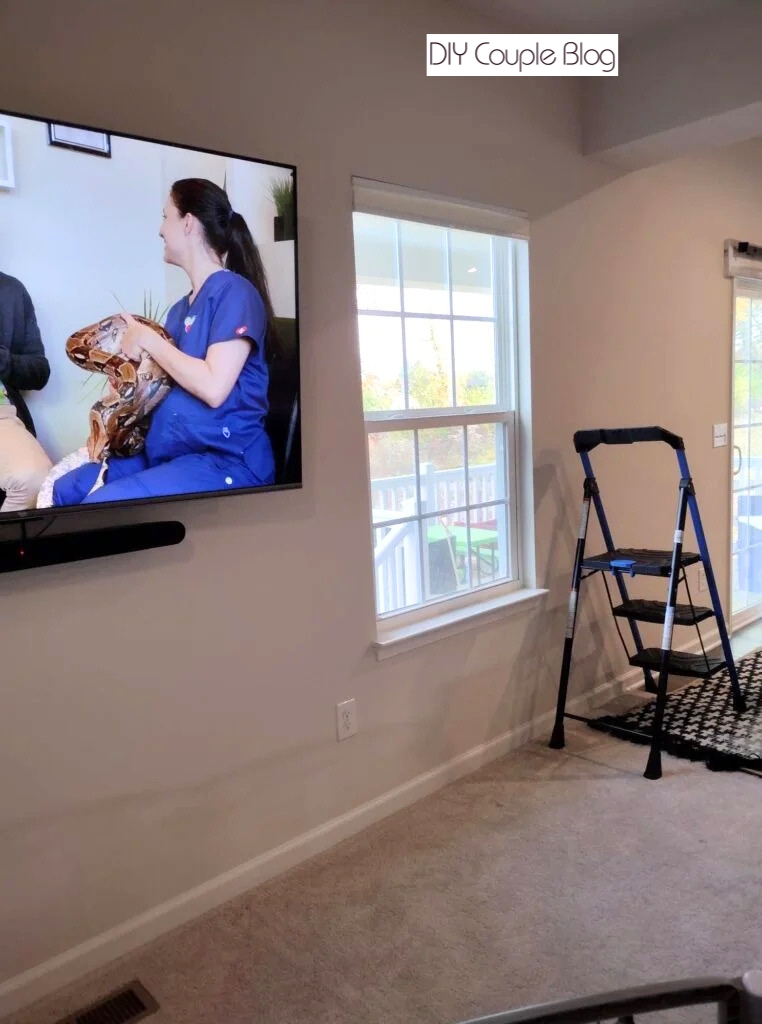
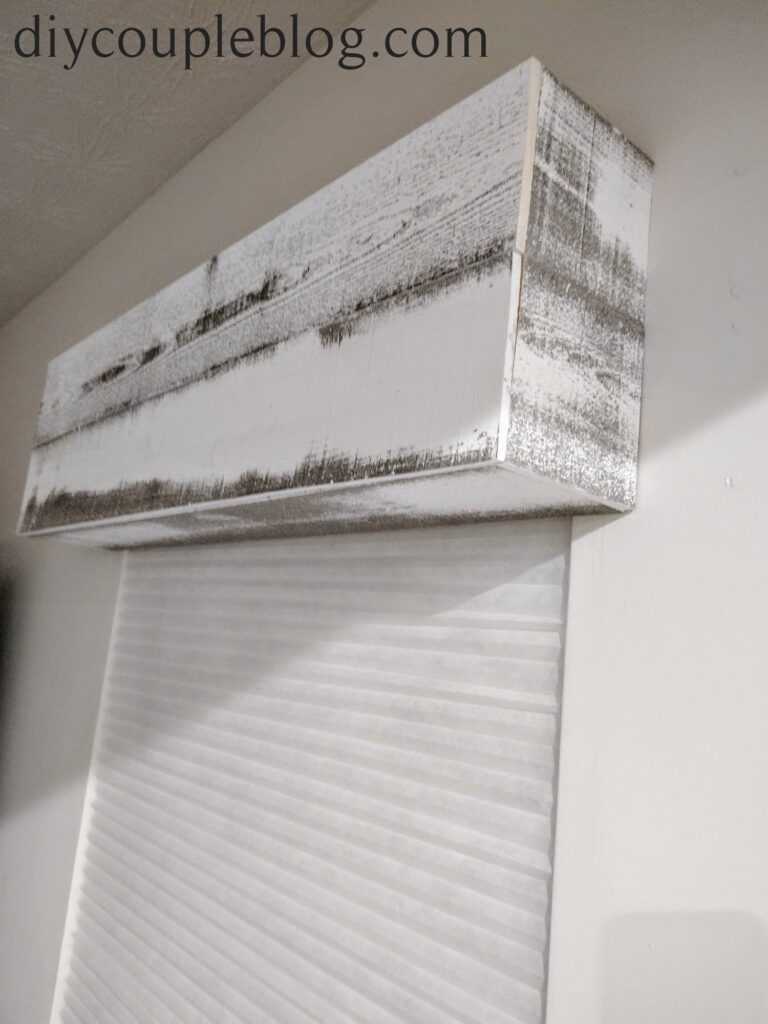
The Before & After Photos
All finished! If you want to add any caulk to the seams for finishing touches this is optional.
We ended up building window cornices for all three of our downstairs windows, and I can’t tell you how much they transformed the complete look of the window…but I can show you!
Let’s take a look at the wood window cornice before and after pictures!
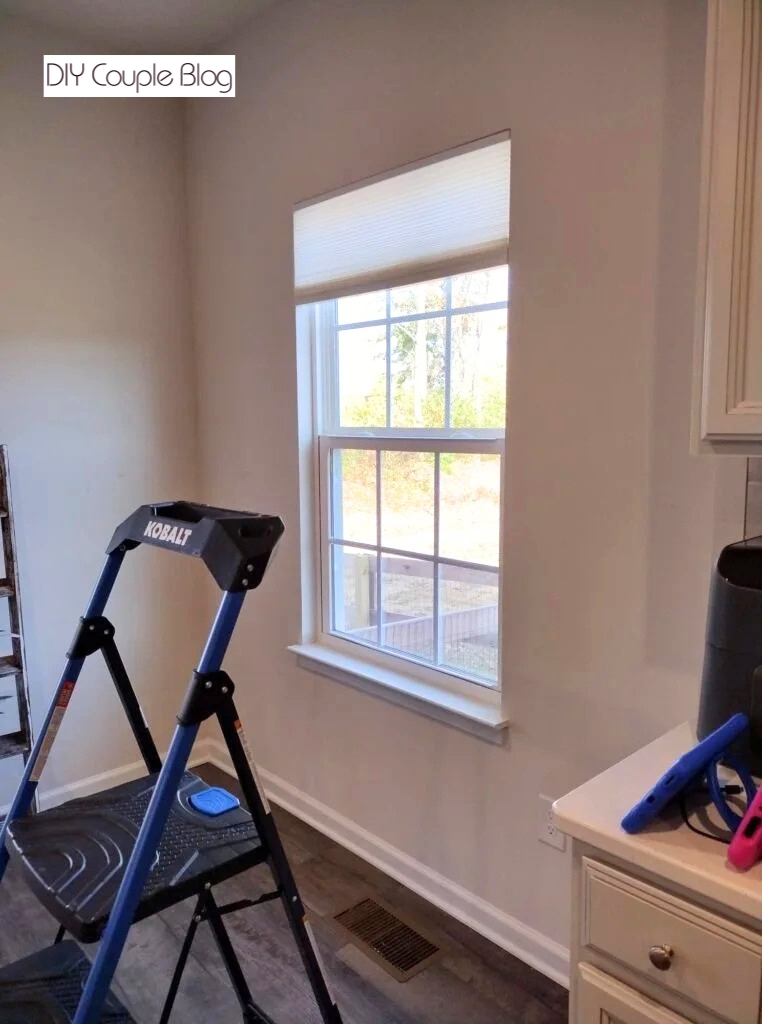

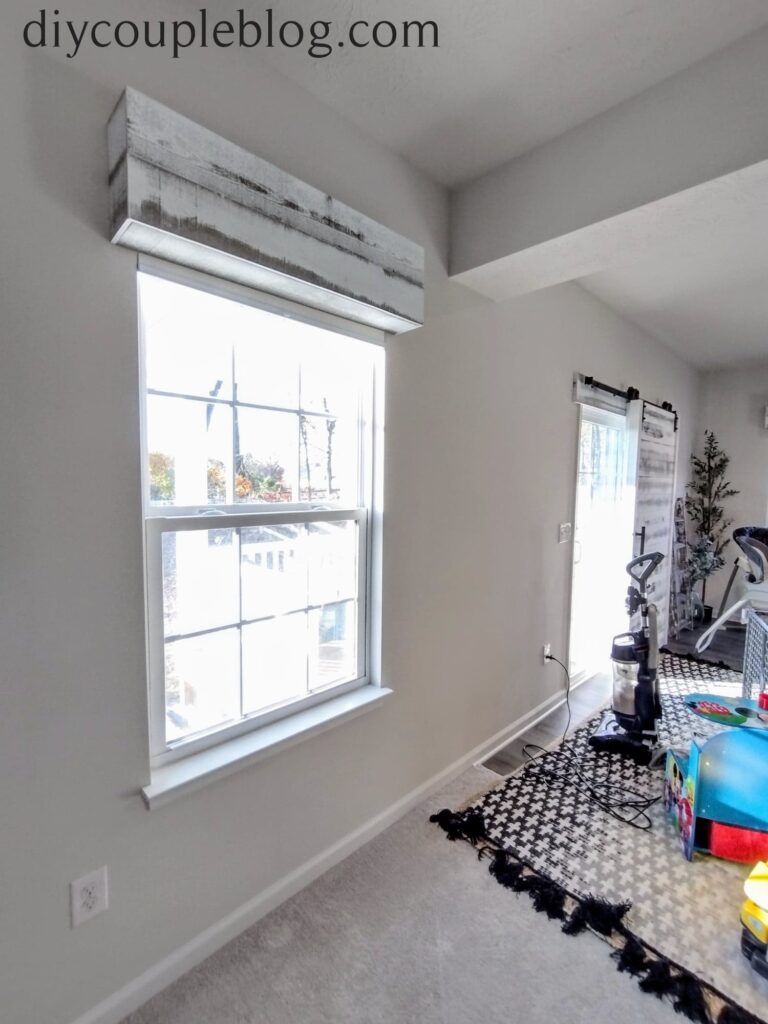

It’s amazing how something as simple and inexpensive as this can make such a big impact on your windows and make a home feel more custom.
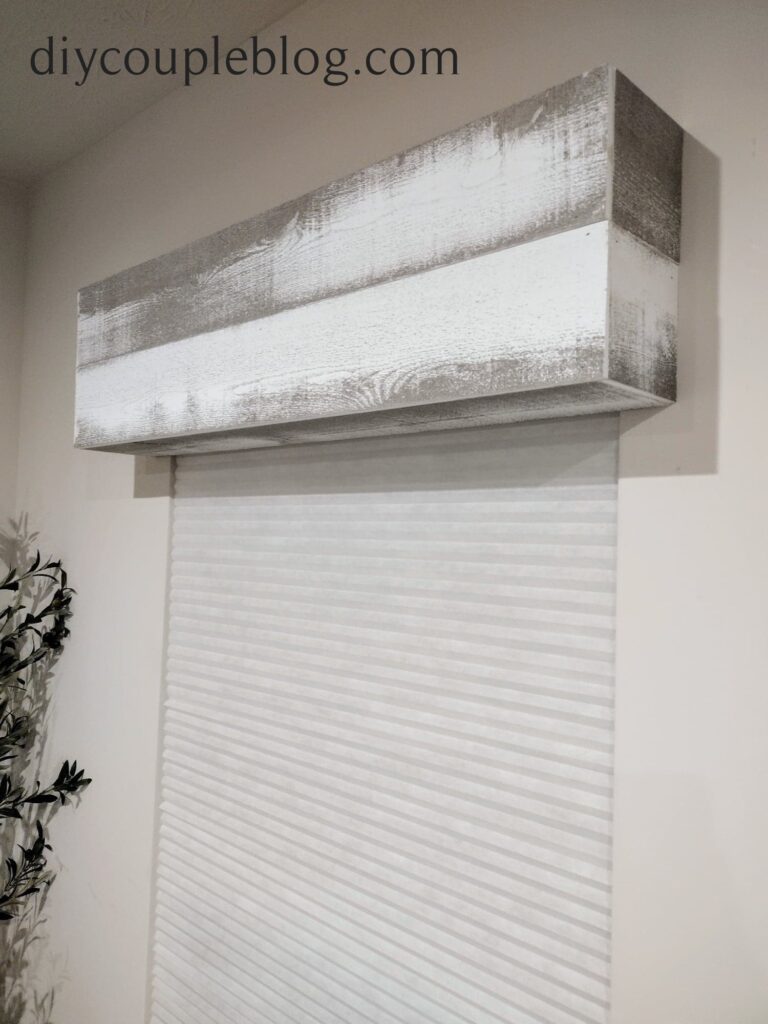
We just got settled in our new house so, home improvements little by little. I layered my cross rug with this rug and I’m still looking for the perfect dining table.

I’ve been on the hunt for a nice pot or basket for the base of our artificial olive tree, some furniture we haven’t got around to buying yet and we have some other projects in the making. Of course, none of our pictures wouldn’t be complete without showcasing the kiddos decor 😉

Adding a DIY wood cornice is the perfect window treatment addition to any window. It will provide a professional and custom look on a budget while adding significant character to any room!
Now it’s your turn to grab your tools, bring some rustic charm to your own home, and spice up your windows by building a DIY window cornice.
With some tools you probably already have on hand, some supplies from the hardware store, and a little patience you can transform your boring windows with no problem!
You May Also Like: