
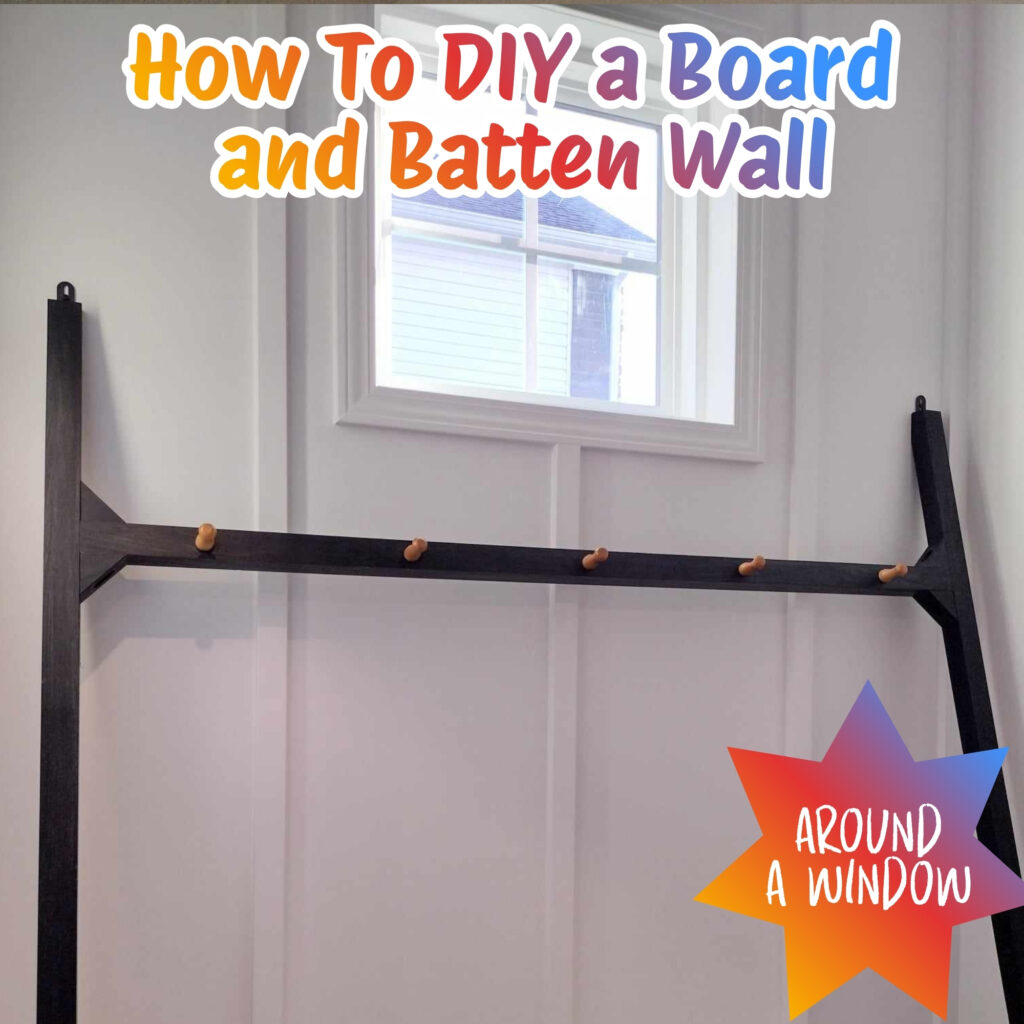
This post may contain affiliate links, which means we'll receive a commission if you purchase through our links, at no extra cost to you. Read the full disclaimer here: https://diycoupleblog.com/disclaimer/
Last Updated on July 24, 2026: This board and batten wall with windows tutorial has been updated with new information.
Adding a board and batten accent wall is one of the most cost-effective ways to bring character, depth, and architectural detail to any room.
However, when your accent wall features one or more windows, the project requires a bit more planning to ensure clean lines and symmetry around the trim.
Follow this simple step-by-step guide to design, cut, and install a flawless board and batten wall with your windows. Are you ready to transform your space?
Whether you’re doing an accent wall or completing a whole room makeover, there are plenty of ways to utilize our easy guide taking into consideration any changes to the dimensions and adjusting whatever customizations you may need to work for your room.
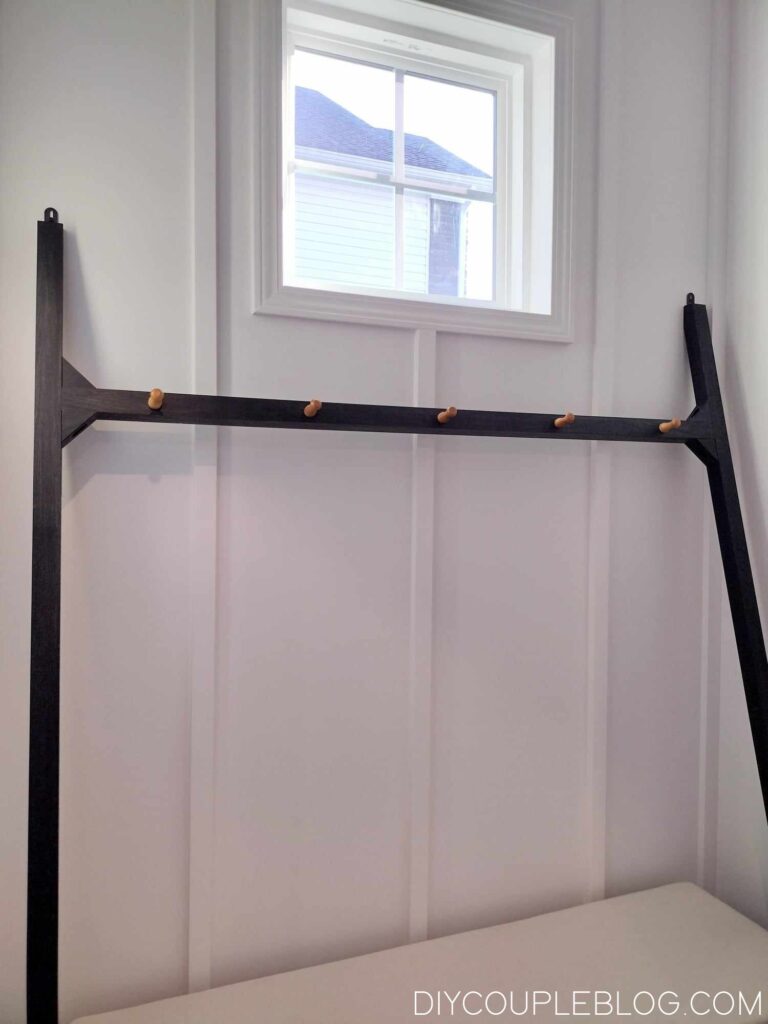
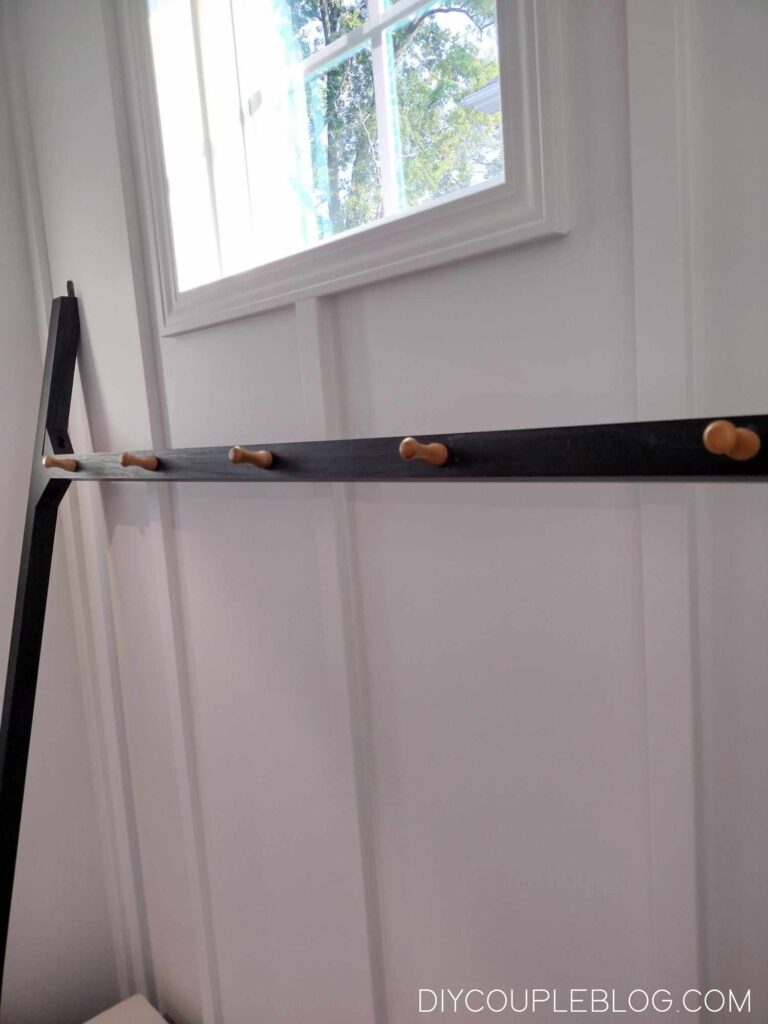
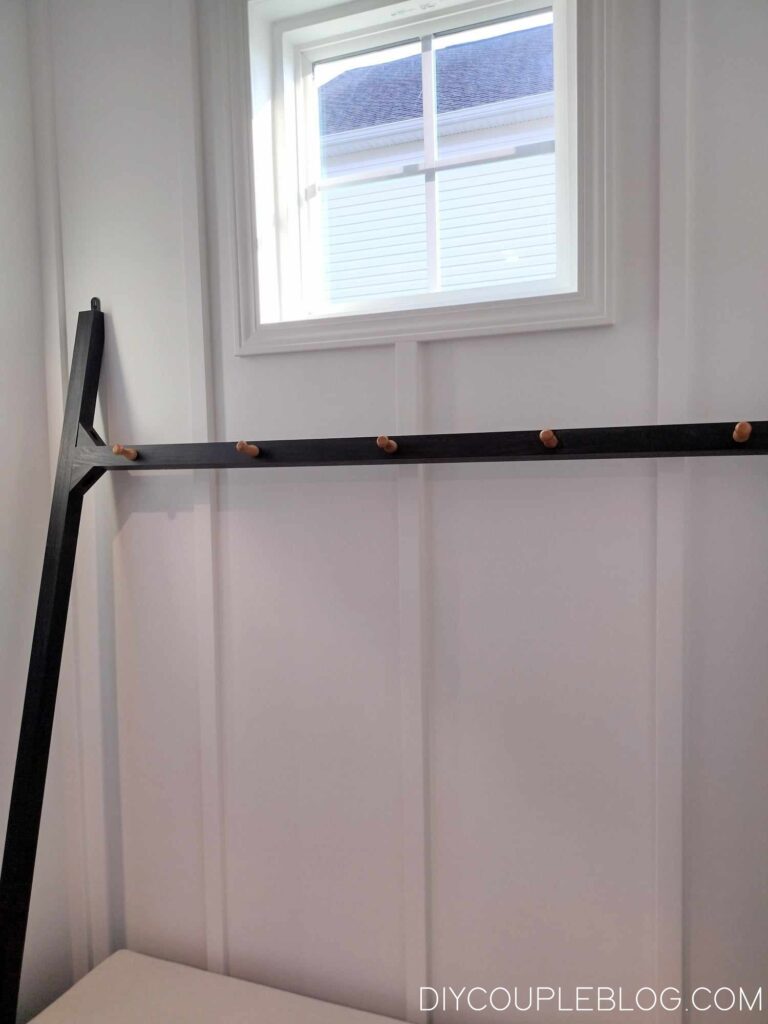
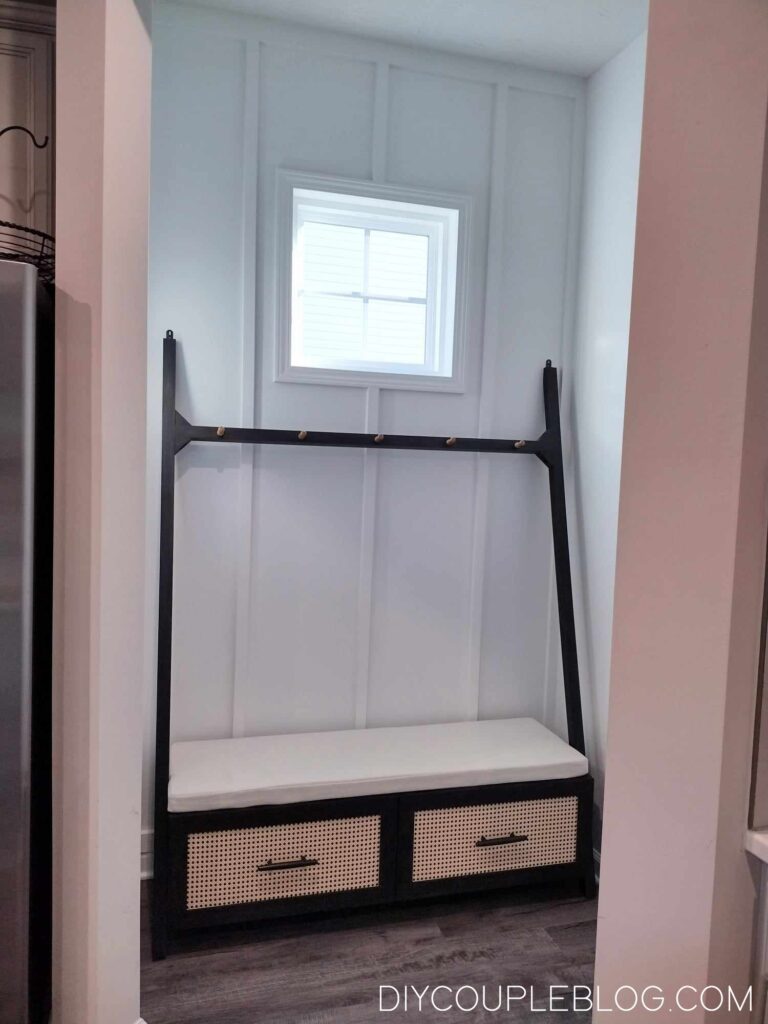
Board and Batten Entry: The Before
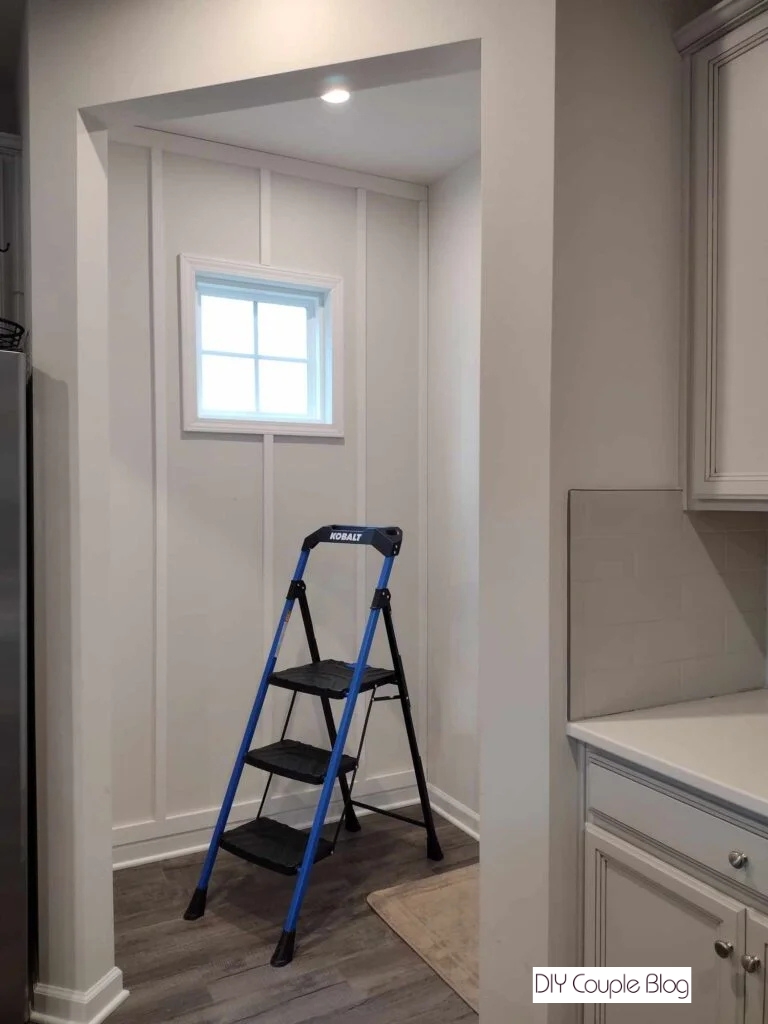
To give you an idea, here is what the small area looked like before getting started.
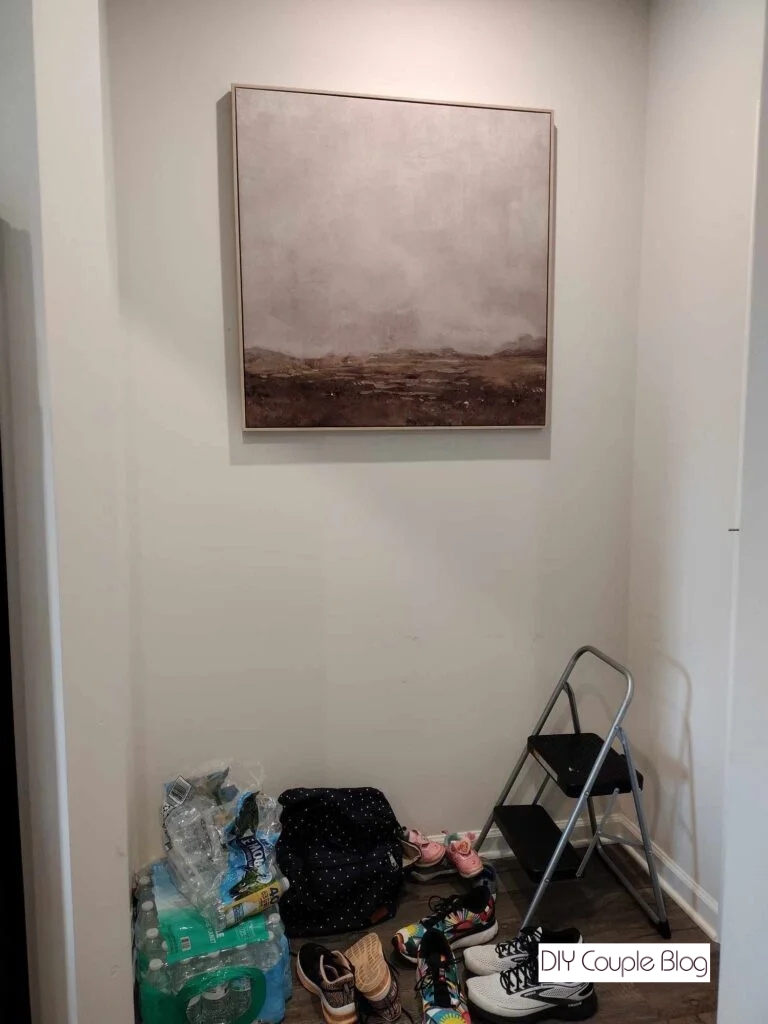
Now you see what I mean by messy. I temporarily hung the art over the window to have something nice to look at until we figured out what to do with this space.
We decided on doing a board and batten wall with the window to help define the space.
Board and Batten Wall Designs
Of course, when you think of board and batten wall ideas, there is no shortage of board and batten interior inspiration and so many styles out there to choose from for your plain wall. There’s grid (like we did in our last home), traditional, full wall board and batten, half wall, three quarter walls, mid-century as well as abstract and the list goes on.
Once we figured out our final look of our board and batten wall, we began clearing out the space and got to work.
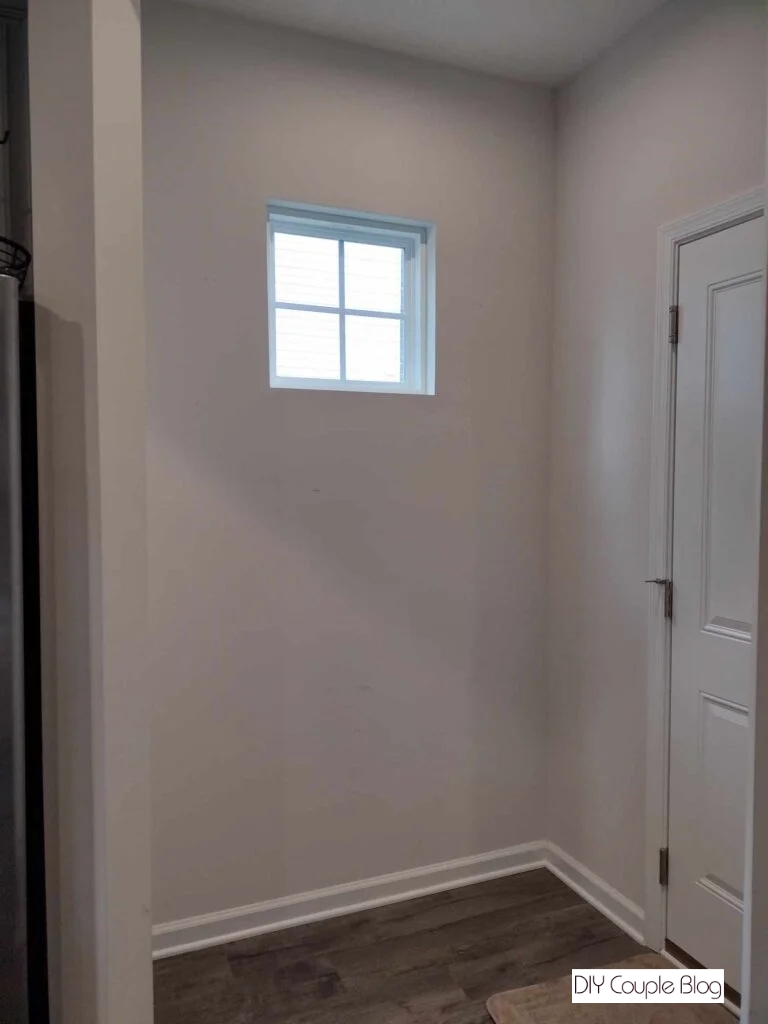
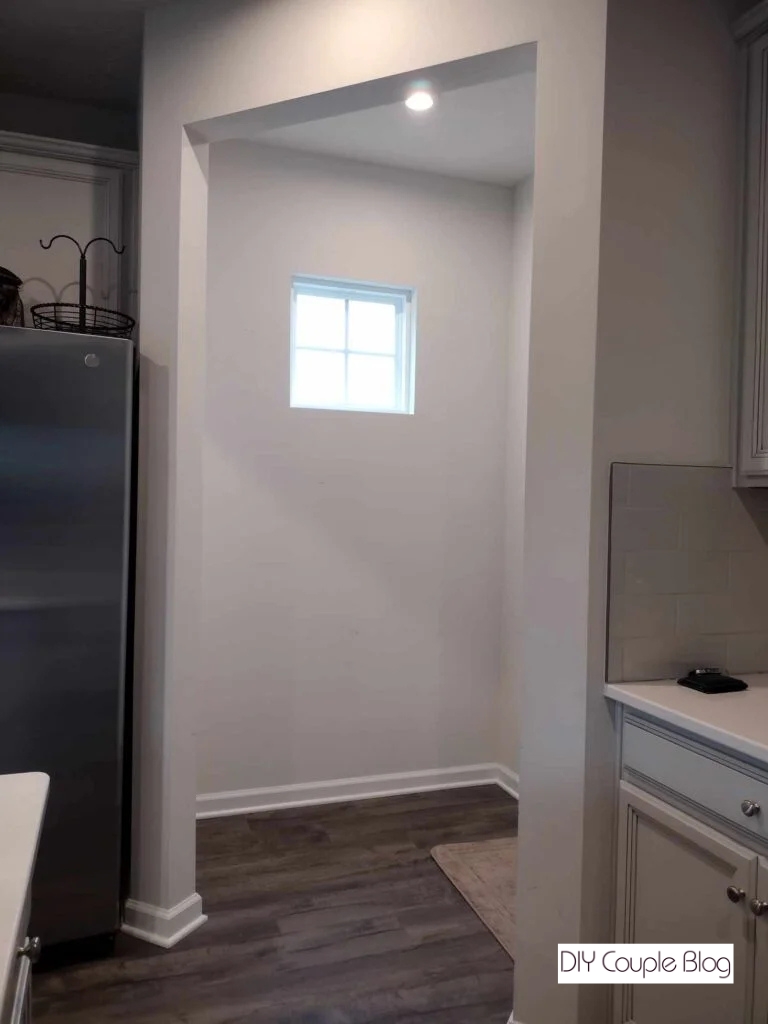
For our design, we went with a simple vertical slat board and batten wall. It was easy and affordable feature wall as well as a quick weekend project.
The primed MDF boards saved us a lot of time and allowed us to knock this project out rather quickly. If you were completing a bigger wall, you can definitely weigh the cost, as it’s certainly a lot cheaper to use non-primed board alternatives and prime yourself versus using pre-primed MDF wood, however, would not save you on time and convenience having to do this extra step yourself.
Project Prep: Taking Board and Batten Wall with Windows into Consideration
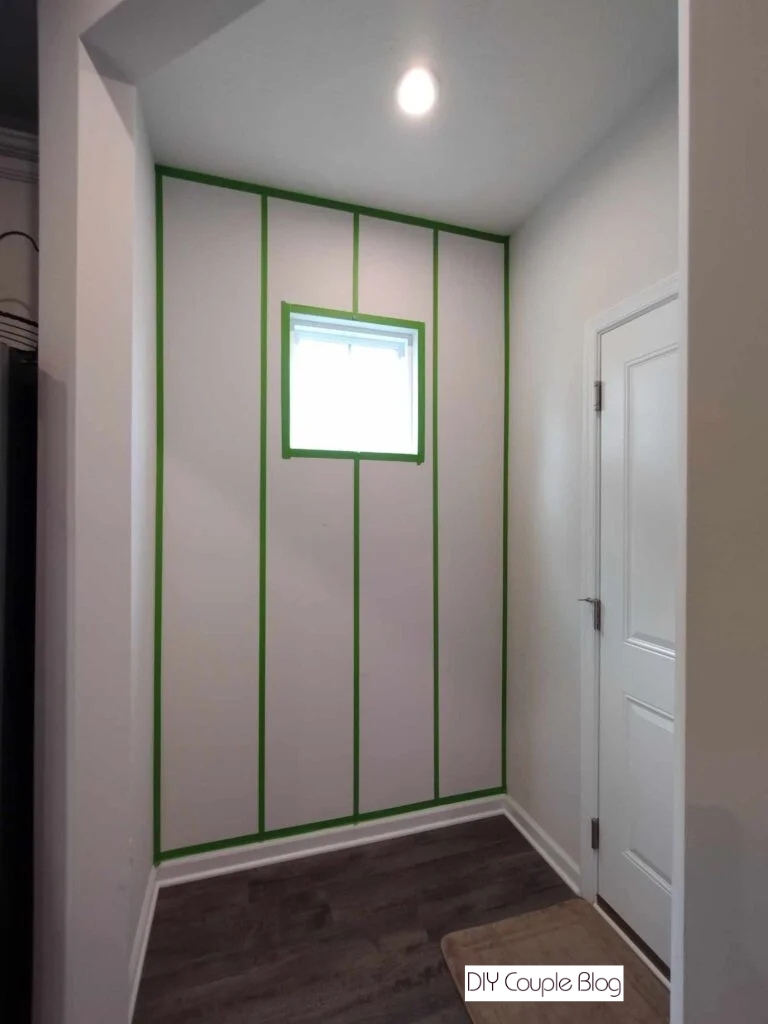
We taped out our board and batten wall design with painters’ tape to get a general idea of how we wanted it to look.
Acknowledge Asymmetry:
Sometimes windows are not perfectly centered, and ours was no exception! To make the layout work, build your board and batten wall symmetrically out from the window frame. Prioritize symmetry relative to the window itself so the wall feels intentional and balanced. If you choose not to center on the window, then center your boards with the wall. Our window was a small focal point to our nook area, so we choose to center it to the window which made the most sense.
DIY Board and Batten with Windows
Materials:
window casing (optional, if you have a window you want to trim out)
1.25 in. (18 gauge) brad nails
paint
painters tape
Tools Required for this Project:
How to Add Board and Batten Wall with Windows
Step 1. Addressing Windows with Board and Batten
The secret to a professional-looking board and batten wall is balance-especially when doing a board and batten wall with windows. Frame your window first. Try to place vertical battens directly flush with the outer left and right edges of your window casing or center the battens evenly under the window apron.
Framing the Window:
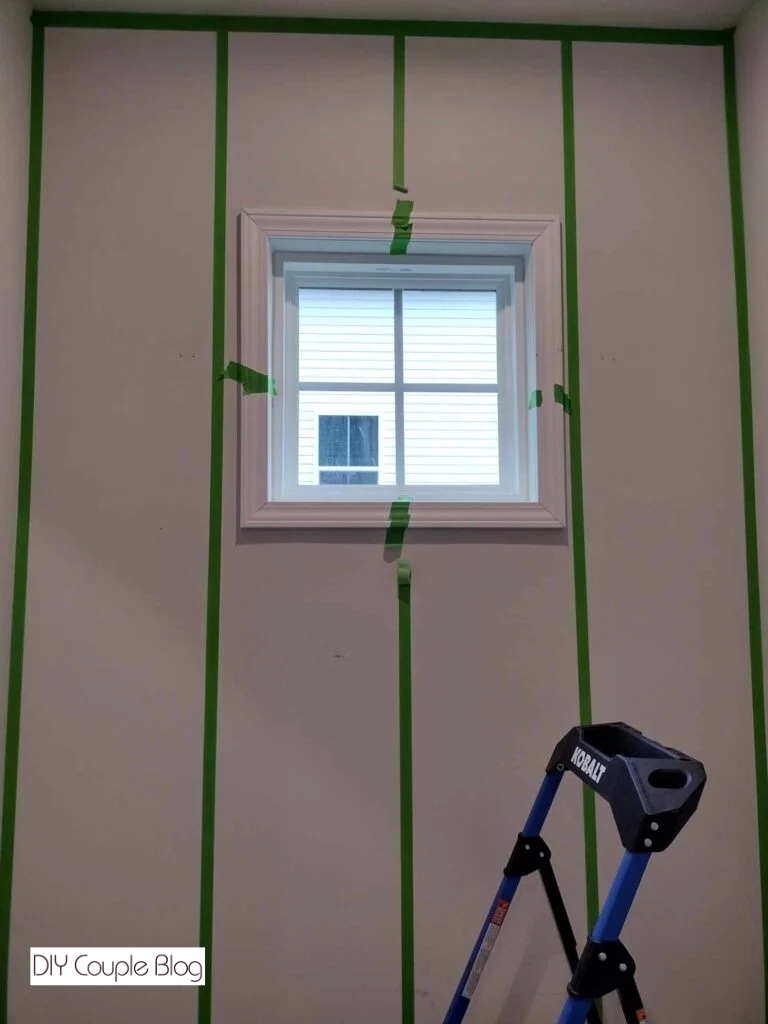
Before getting started with our board and batten wall, we trimmed out the window to set it apart from the board and batten. We liked the look of decorative casing versus using the same boards as the batten.
We measured our window and cut our casing to the correct measurements using 45 degree inside angles on each side of the boards with our miter saw.
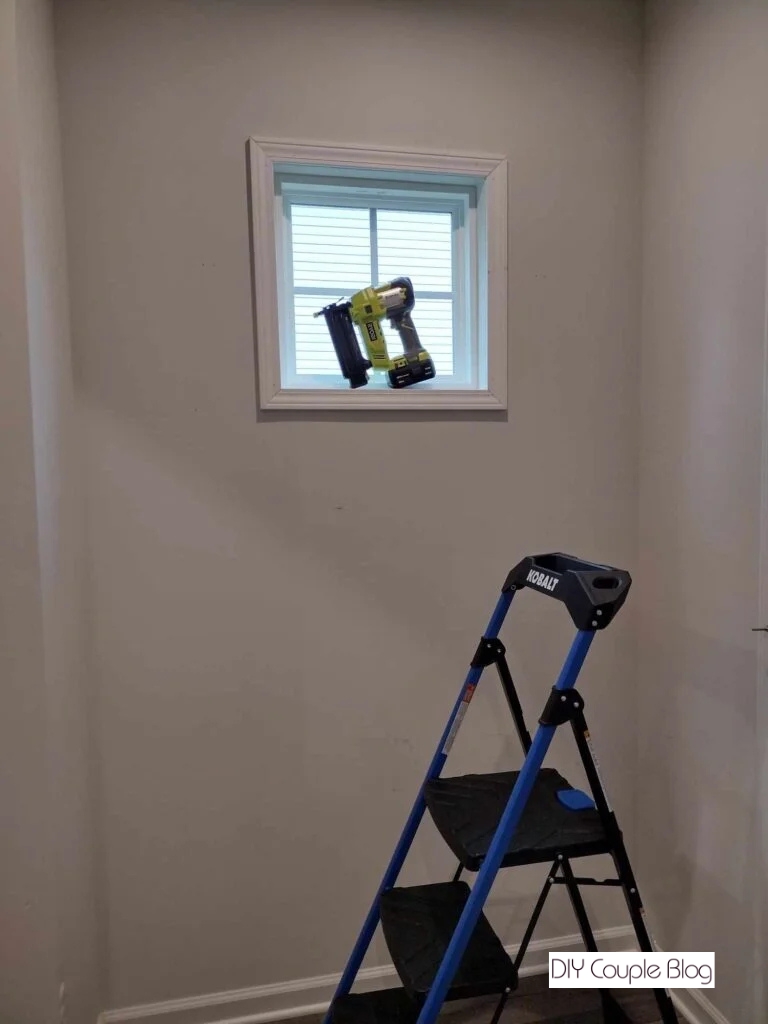
Once the boards were cut and ready to frame around the window, we attached them using our nail gun and 1.25 inch brad nails.
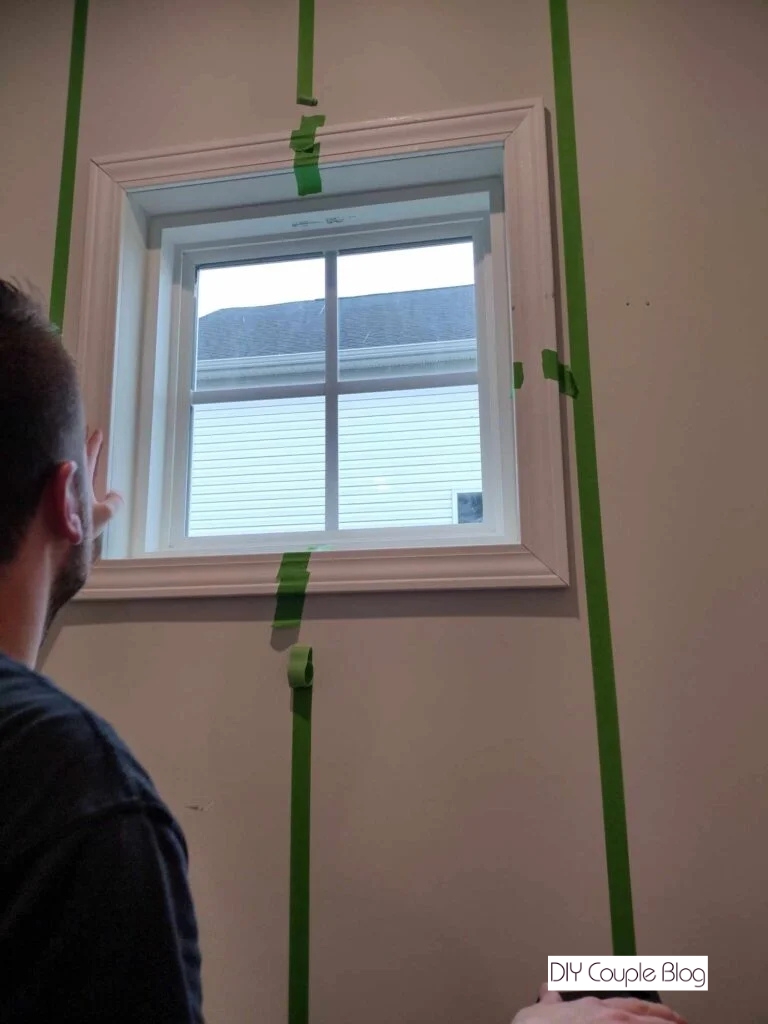
Pro-Tip: A small trick to do this perfectly is to use painters’ tape and tape the boards in place so that you can nail them down hands free.
Step 2. Top & Bottom Wall Board and Batten Trim
First, you’ll measure the wall noting the total length and height and figure your spacing.
We chose a wider size board (1 x 3) to trim out the top and bottom of our wall. These will meet up with our battens going down the wall.
For the bottom board we went right over top of our standard builder grade baseboard because we liked the bulky look of it, and we wanted it to meet flush which is completely preference. You could always snip the bottom of the board off at an angle (like we did here) but the bottom trim board seemed like the best route and comes together very nicely.
Since you already have the measurements across the top and bottom of the wall, go ahead and cut your boards with a miter saw, then attach these top and bottom trim boards with a nail gun and the 1.25 inch brad nails.
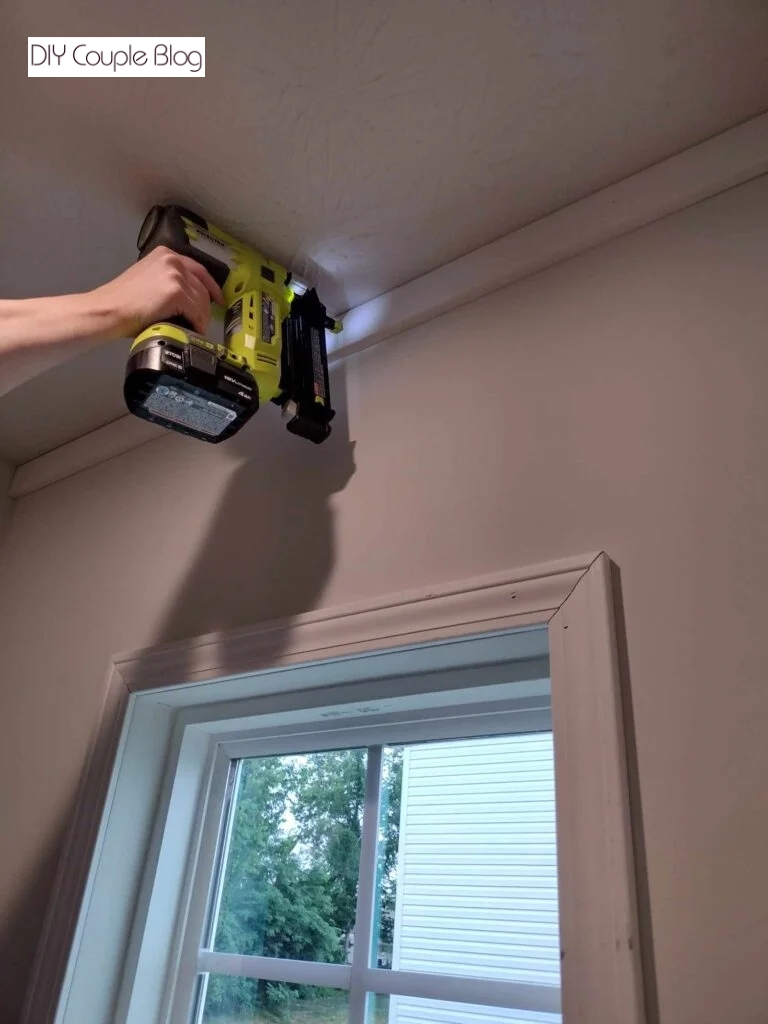
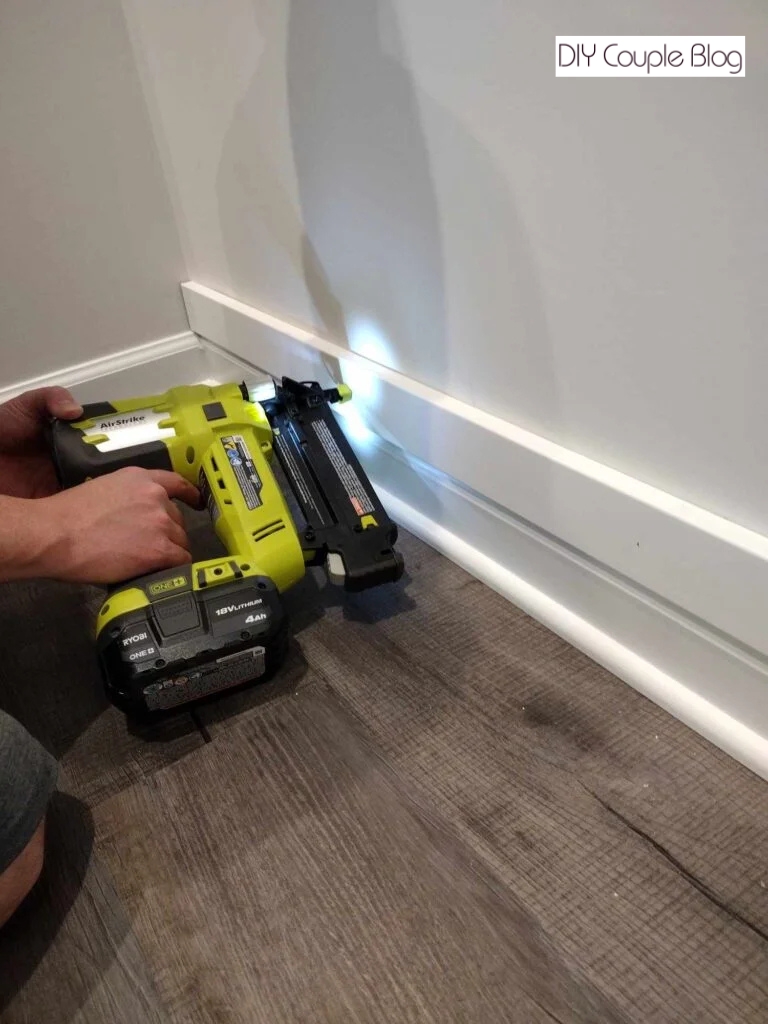
STEP 3. Now To Add the Vertical Wall Board and Batten
CORNER EDGE BATTEN BOARDS
At this point, we’re ready to measure for our smaller boards (1 x 2). Measuring from both top to bottom trim boards, from the corners of the wall. Now cut them at this length and install using a Nailer and same finishing nails as previous step.
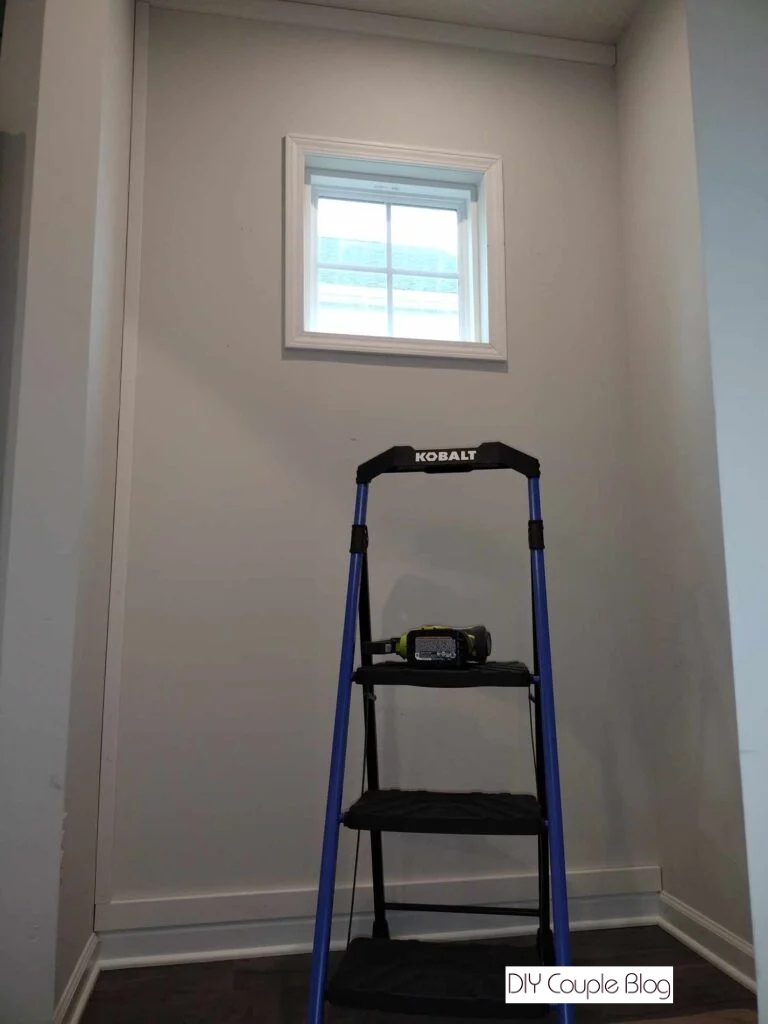
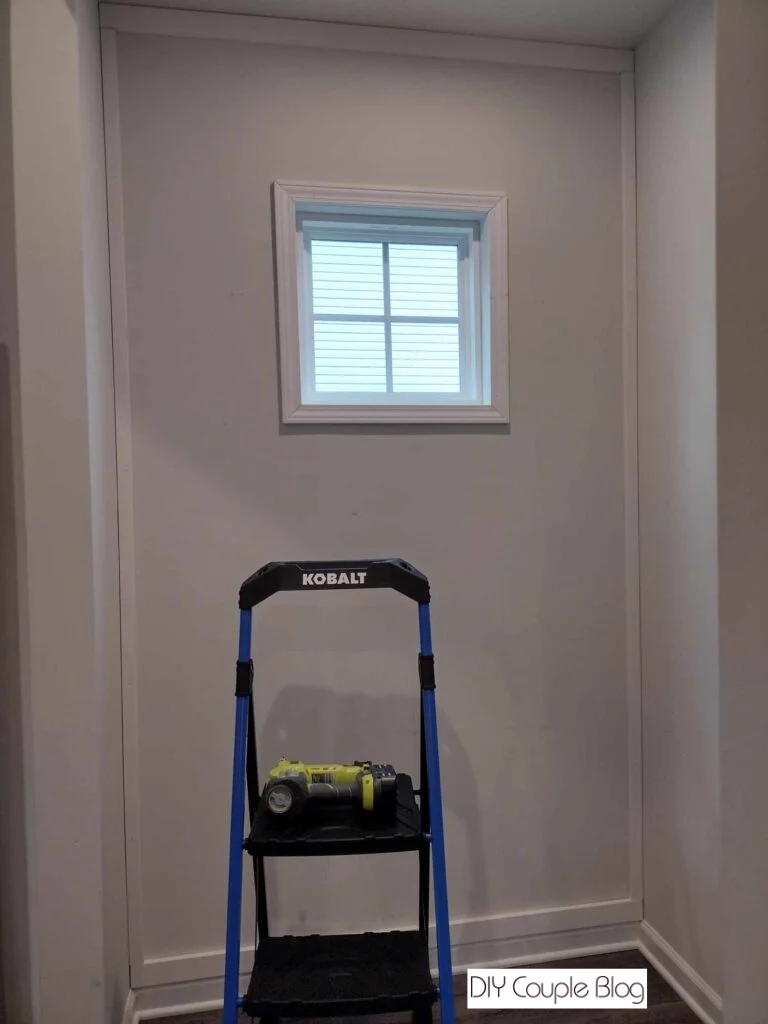
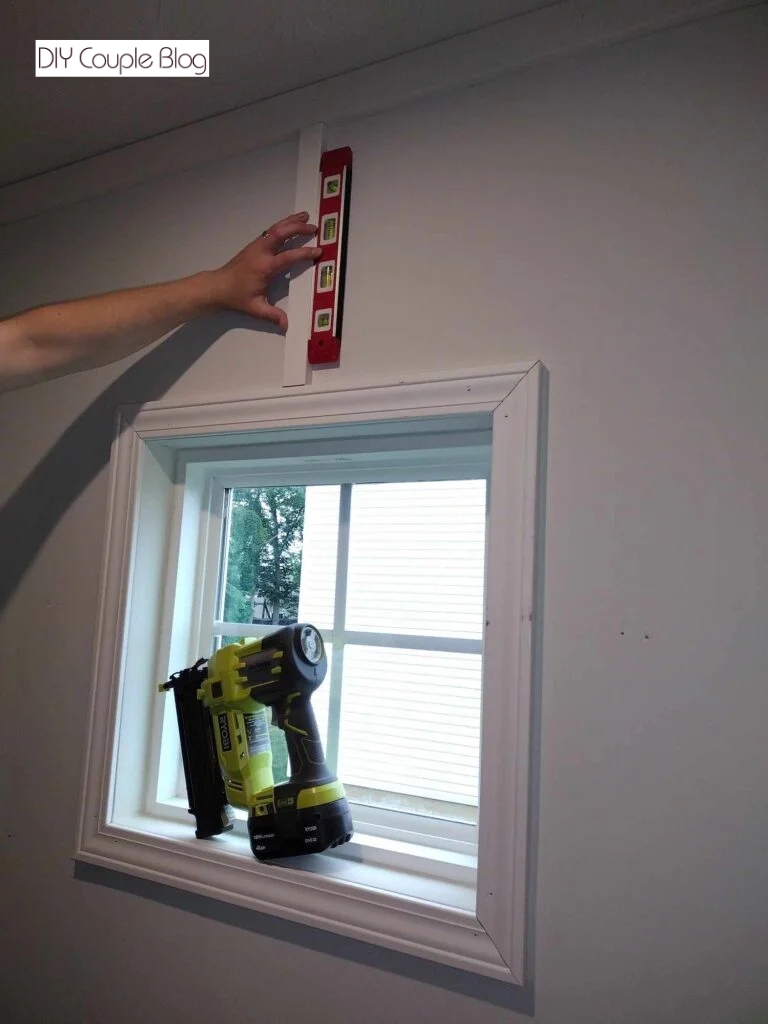
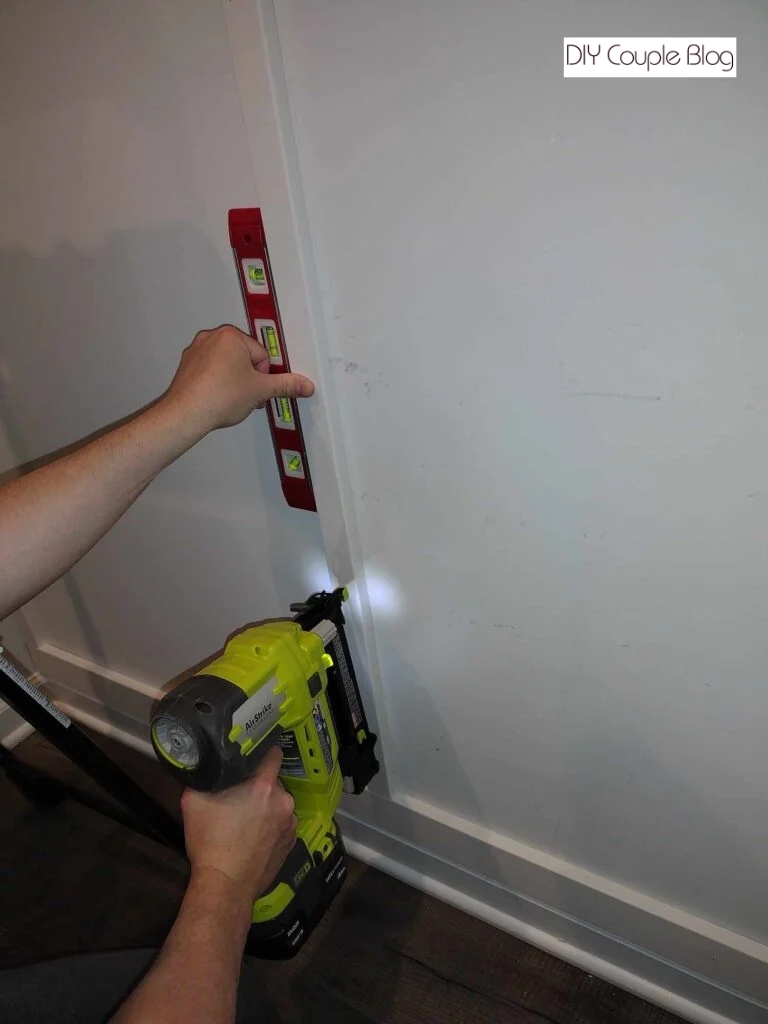
For this board, and each vertical board you install moving forward, use a level to make sure each one is straight before nailing. A common thing you may run into to is uneven walls.
Don’t stress too much, as you will be caulking to fill any seams and gaps that don’t perfectly line up.
Center Batten Boards with Window
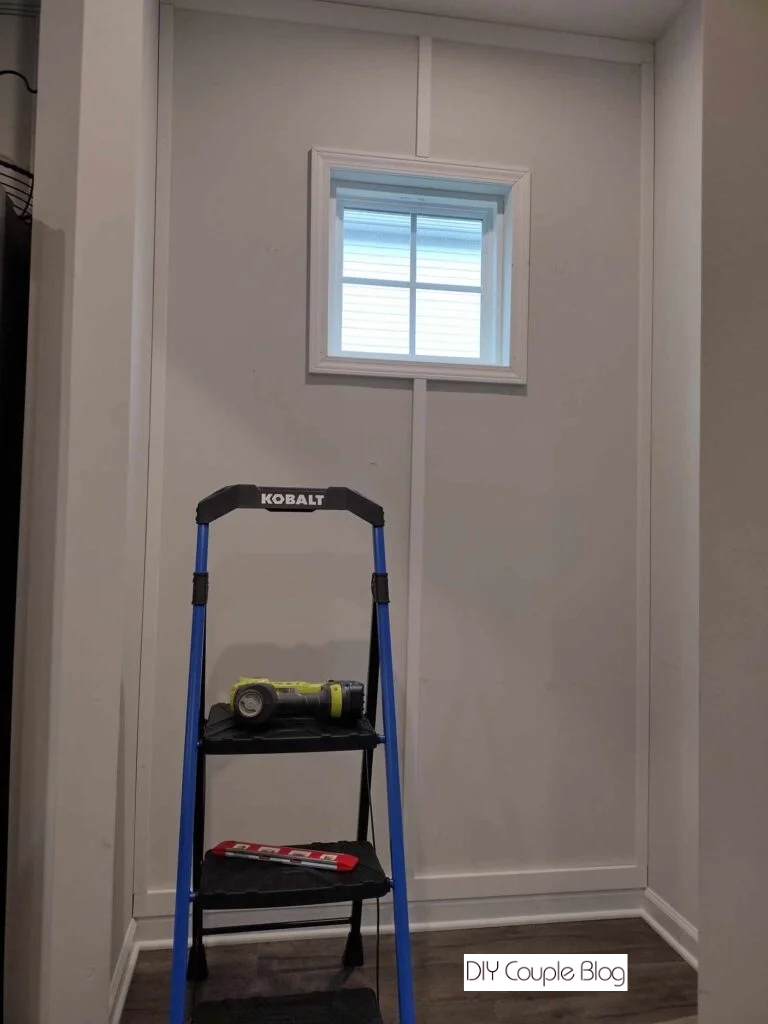
Using the same size batten board (1 x 2), we ran one down the center of our window. We cut a short board for above the window and a longer board for below the window at the appropriate lengths.
Additional Board And Batten Installation
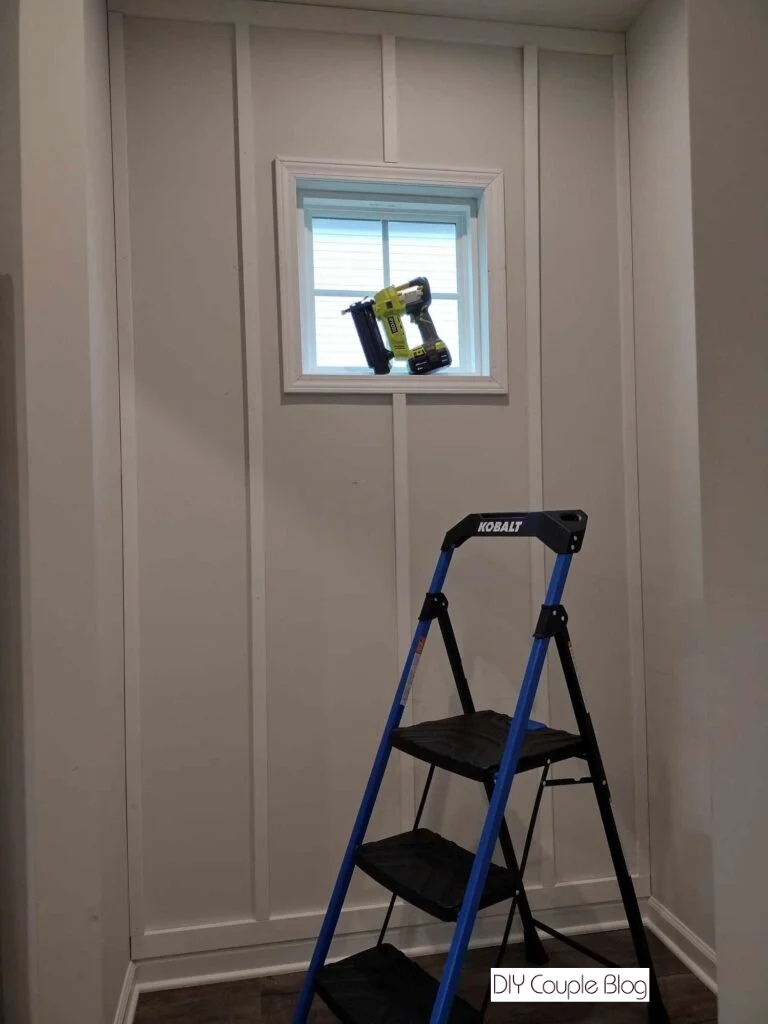
We then measured 2.5 inches from the side of the window casing and installed our boards using the same installation method. If you do not have a window in this area, then just place the board in the middle of each side of the center batten boards.
Step 4. Caulking Board And Batten Seams
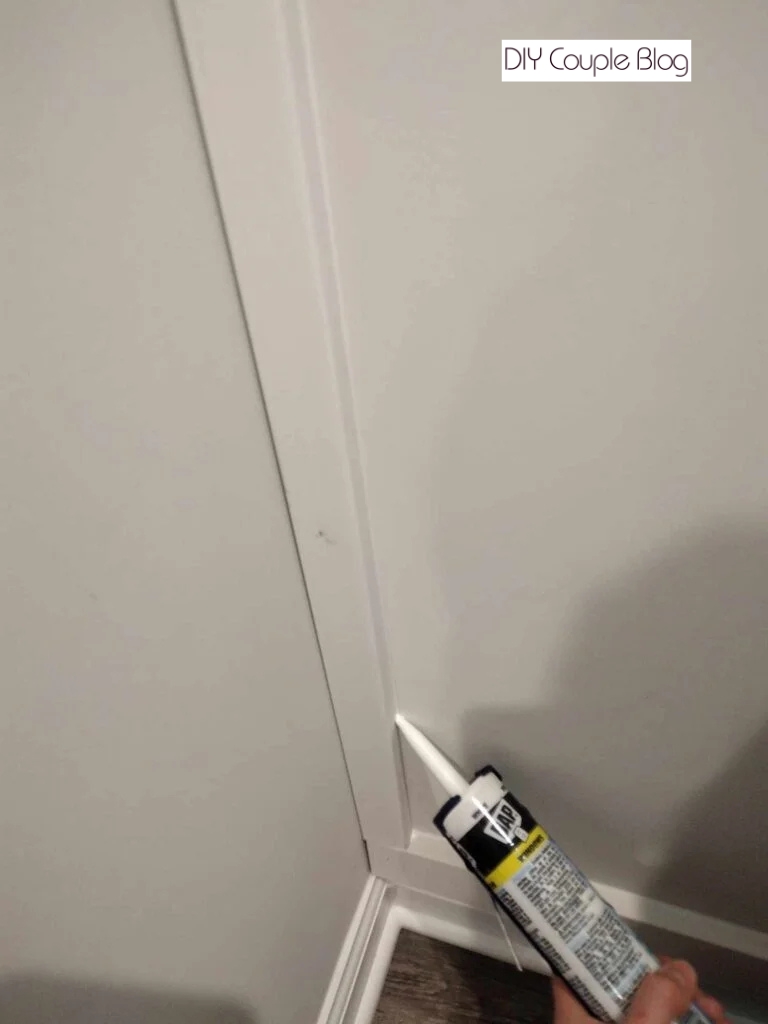
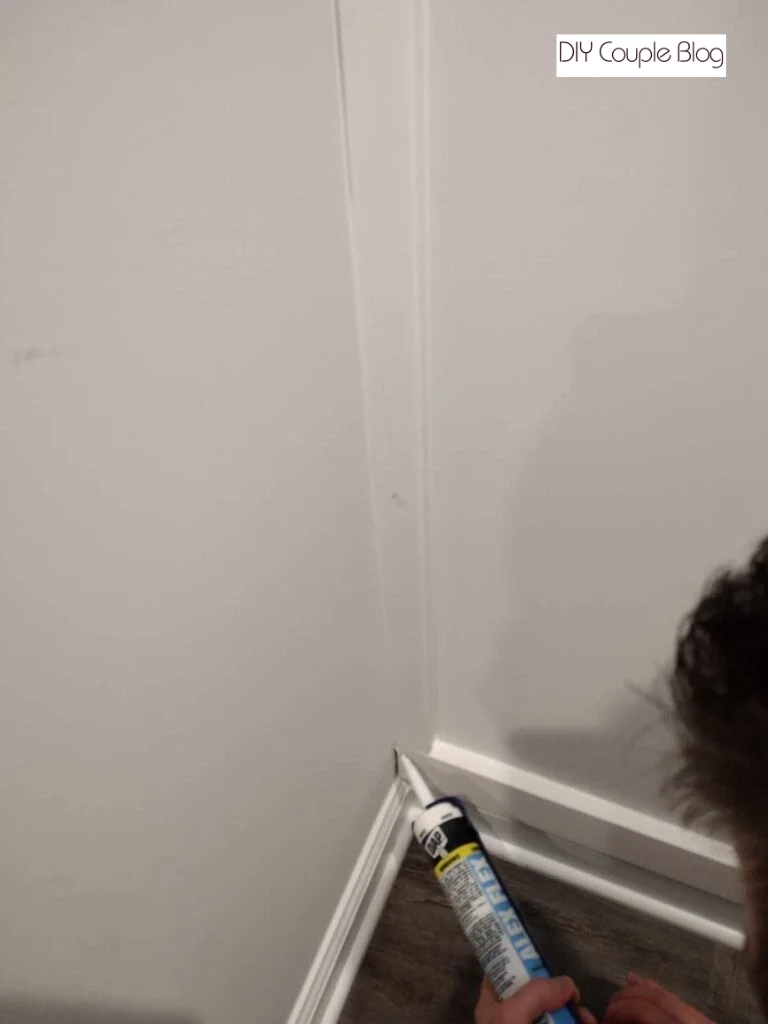
Caulking made all the difference in our board and batten wall and it’s a step you sure don’t want to skip. We caulked all the seams, edges, and nail holes.
Step 5. Eliminating Nail Holes on a Board and Batten Wall with Window
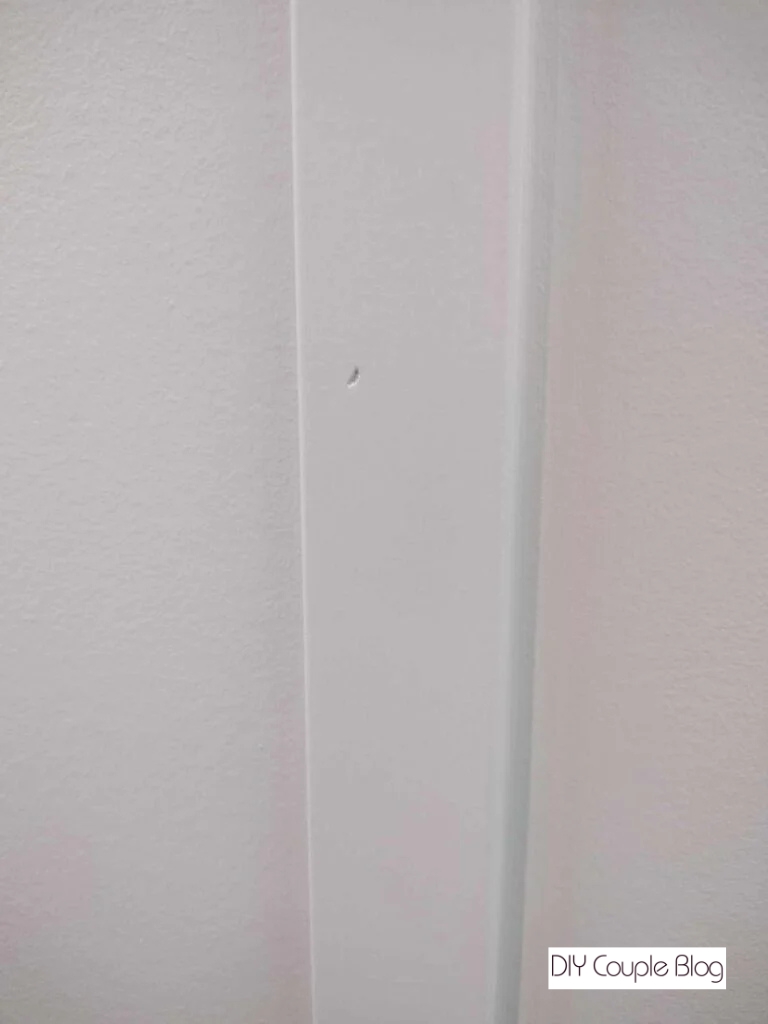
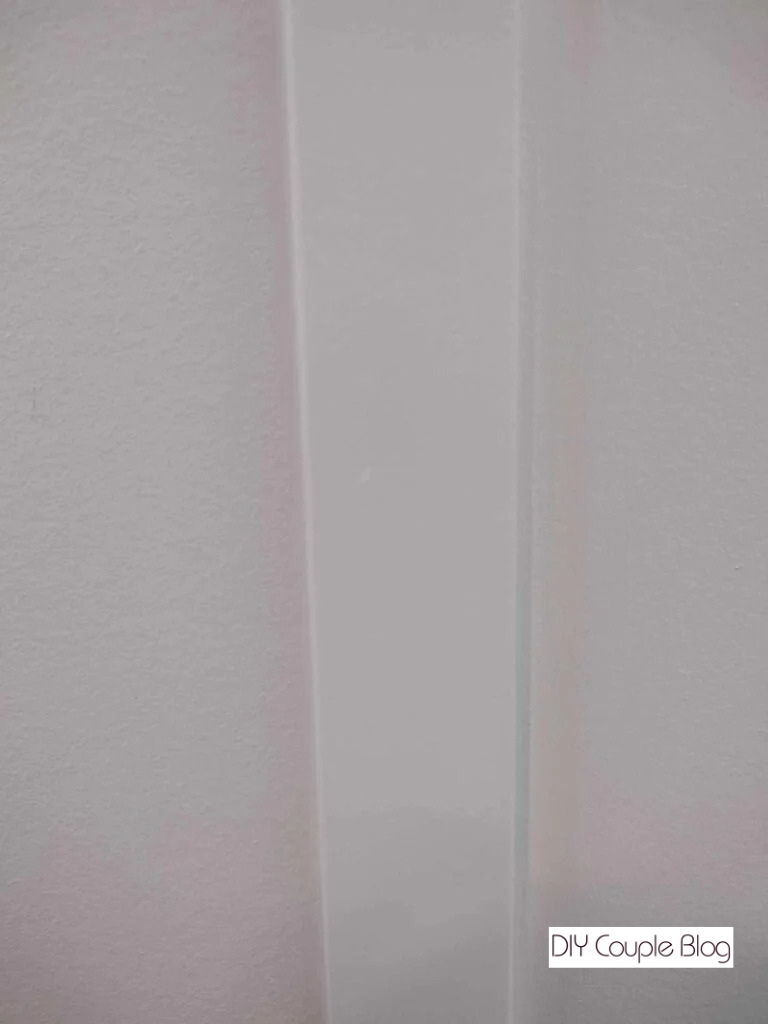
For the rest of the nail hole imperfections, we used our trusty Blend-fil pen. It works like a charm and no mess! You’ll work the pencil into the nail hole and rub it in with rag or finger.
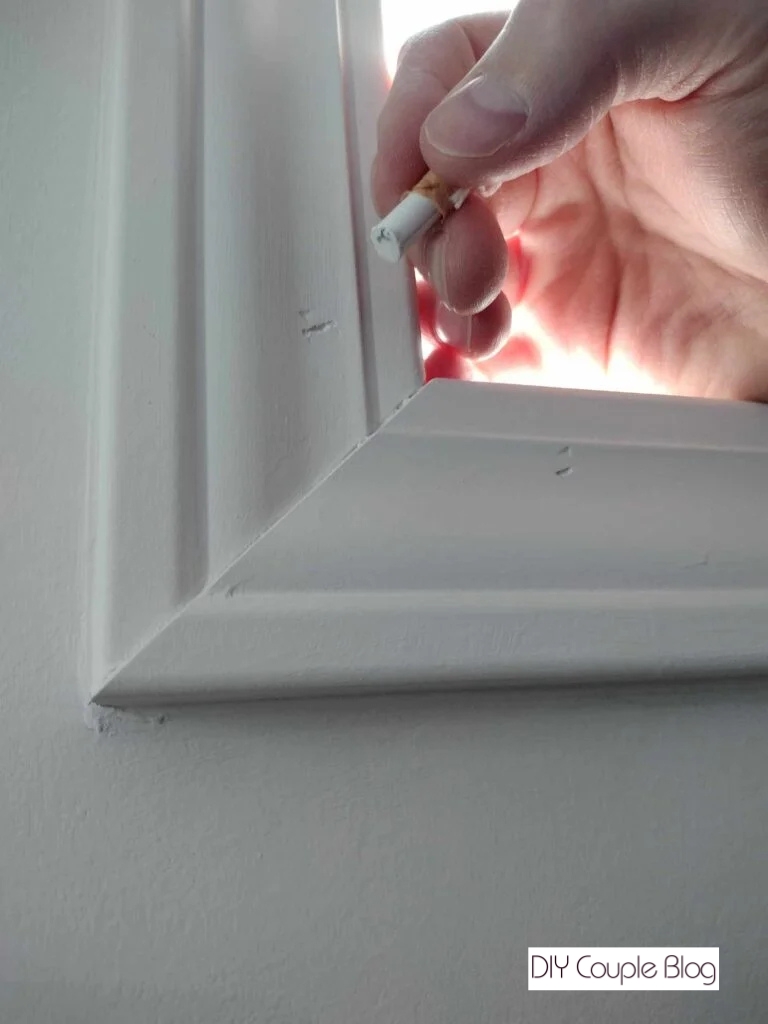
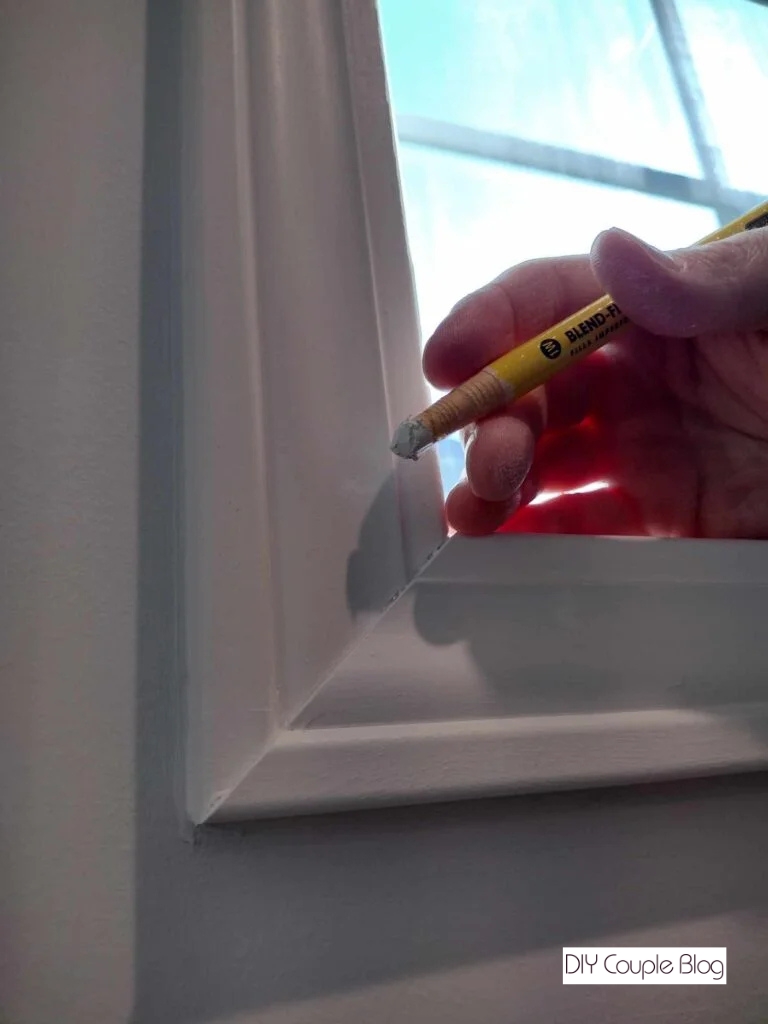
Here are the small nail holes disappearing.
Step 6. Paint Board And Batten
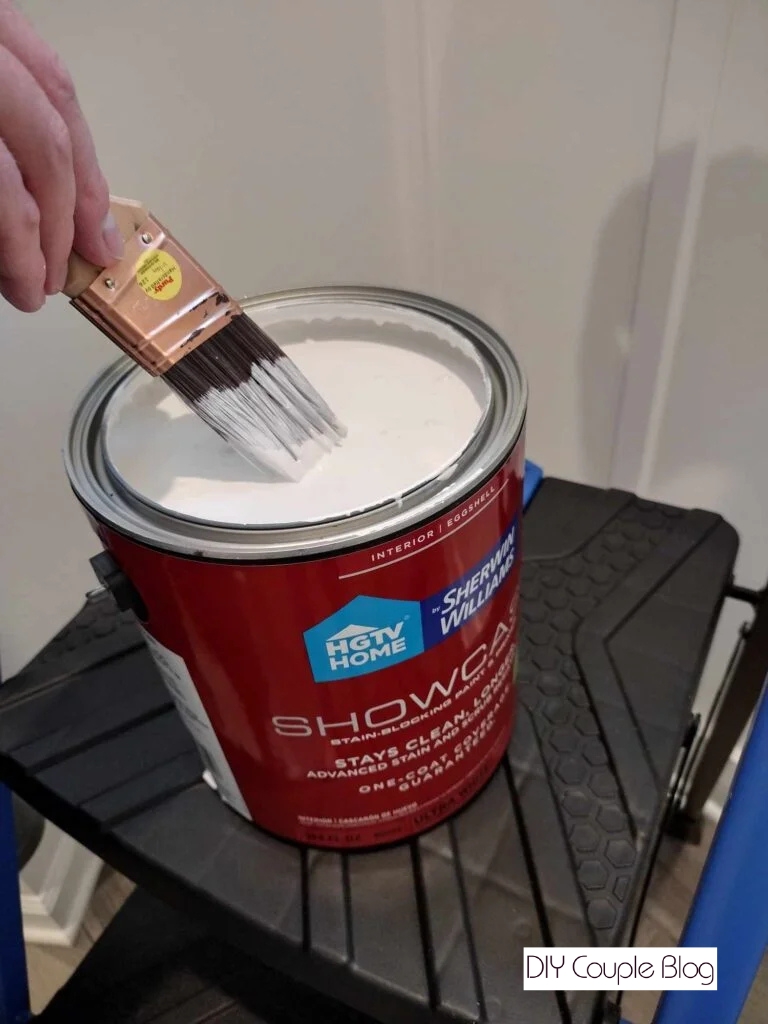
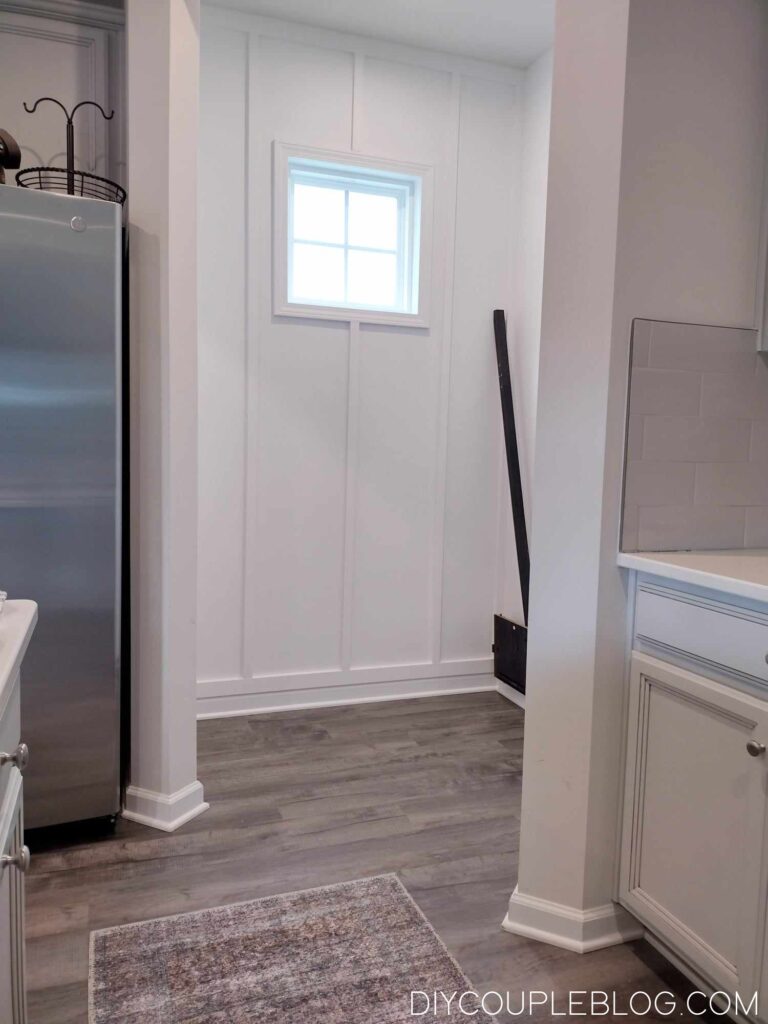
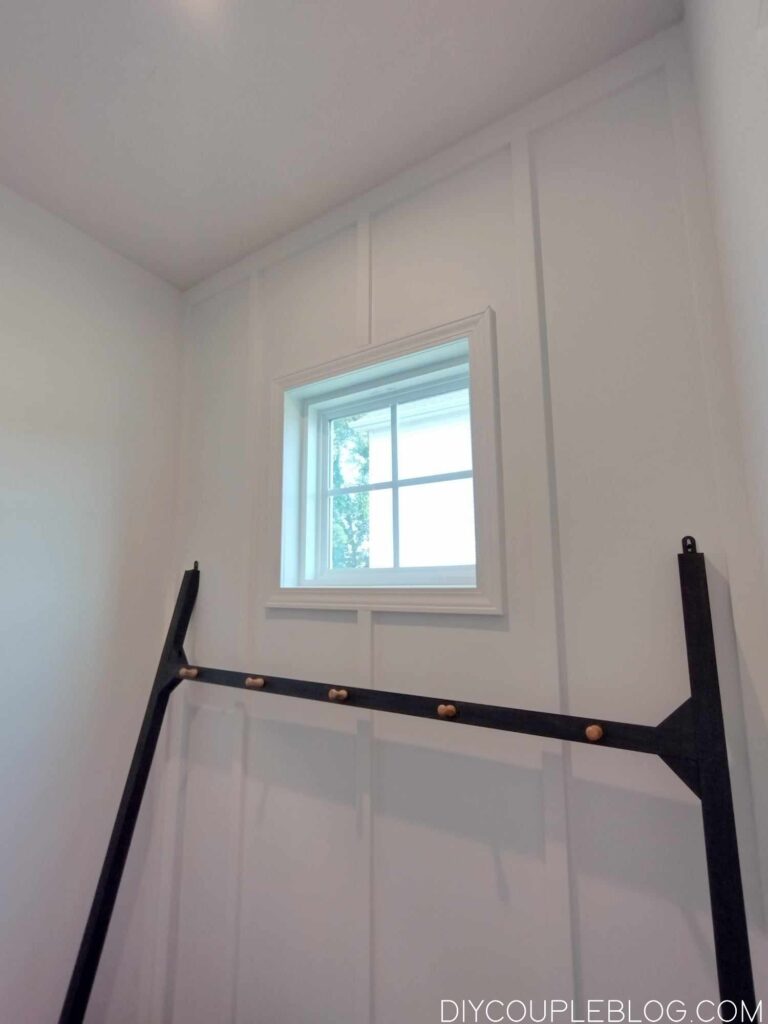
Time for paint! We painted our board and batten, the rest of the mudroom entry walls and the window trim all to match with a white paint color called Sherwin Williams Snowbound in eggshell. We had some of it left over from the basement playroom. It dramatically brightened up this small entryway space.
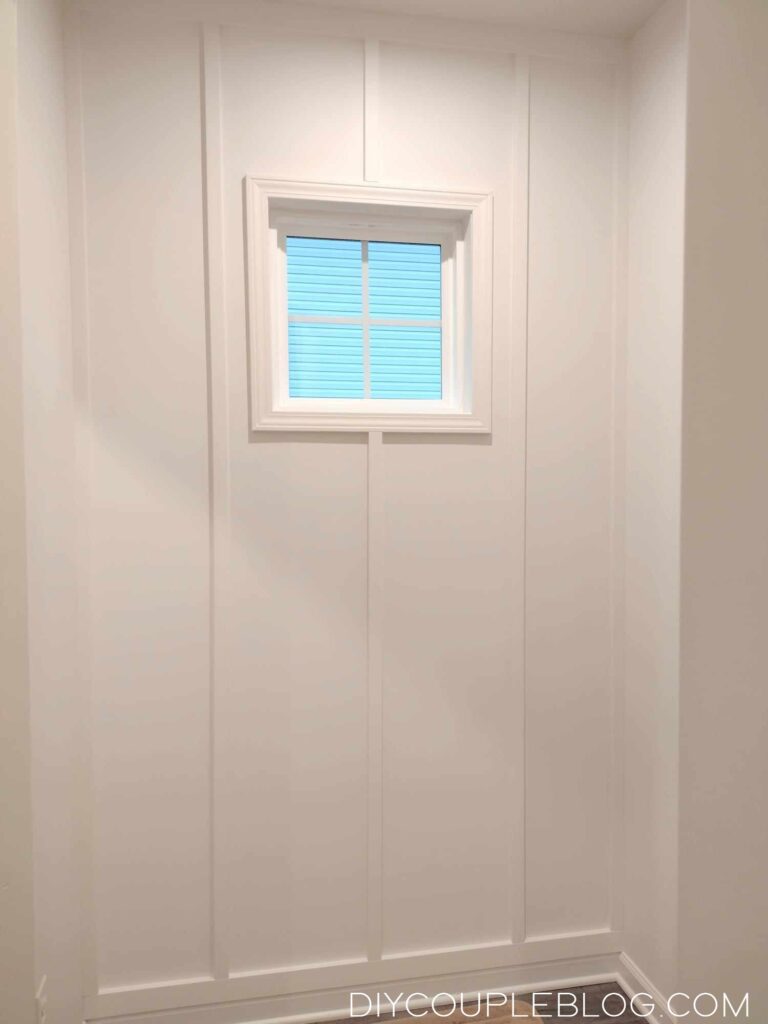
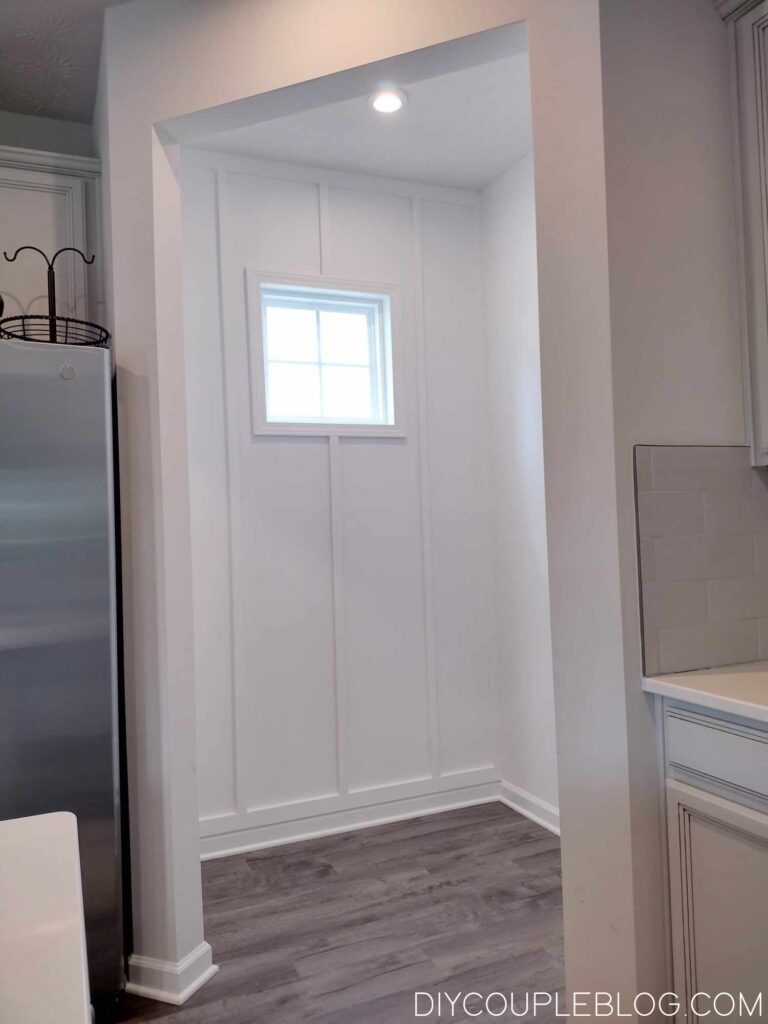
As you can see, we started putting together our mudroom bench. Right now, our other walls in our kitchen area are still city loft by Sherwin Williams. The mudroom was this color also before painting and adding the board and batten to give you an idea of the difference paint makes.
Pin it and save it for later when you’re ready to tackle an easy board and batten wall project for your home!
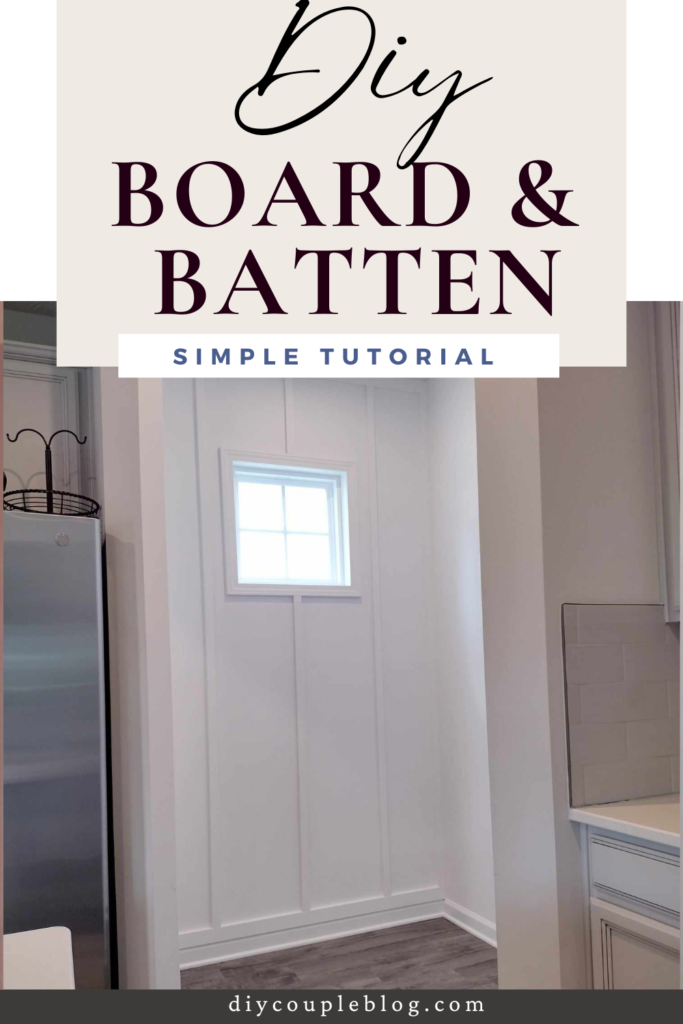

This corner nook was a little challenging to photograph and the lighting is a bit strange due to the high window. Here is some final photos of the board and batten.
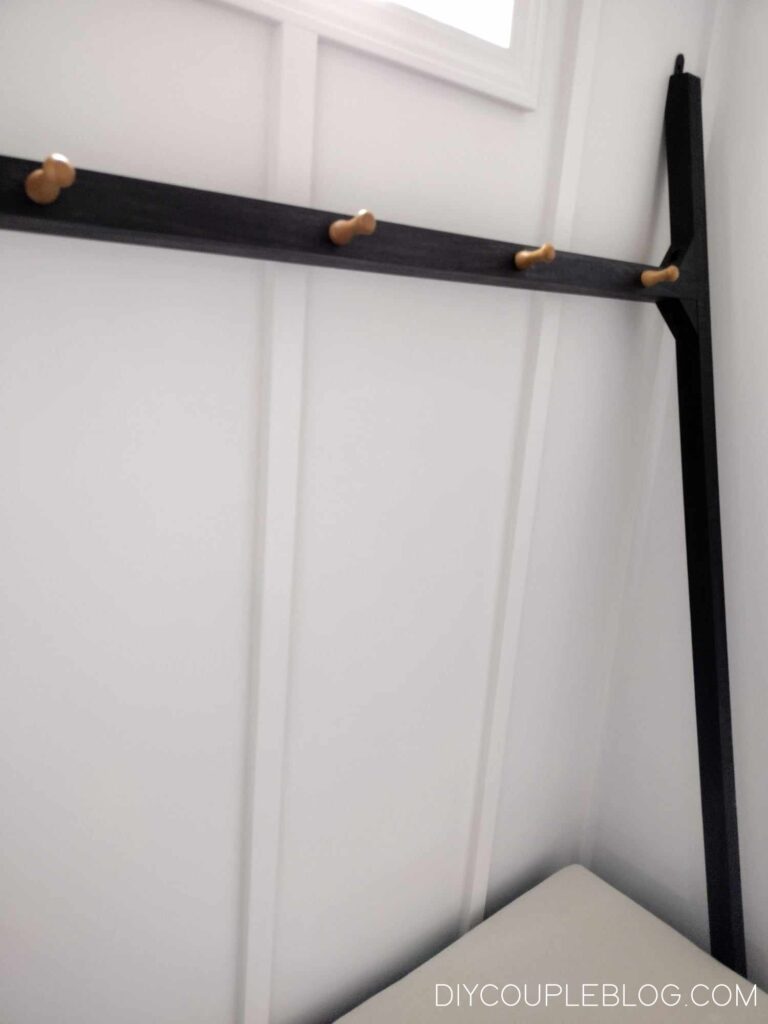
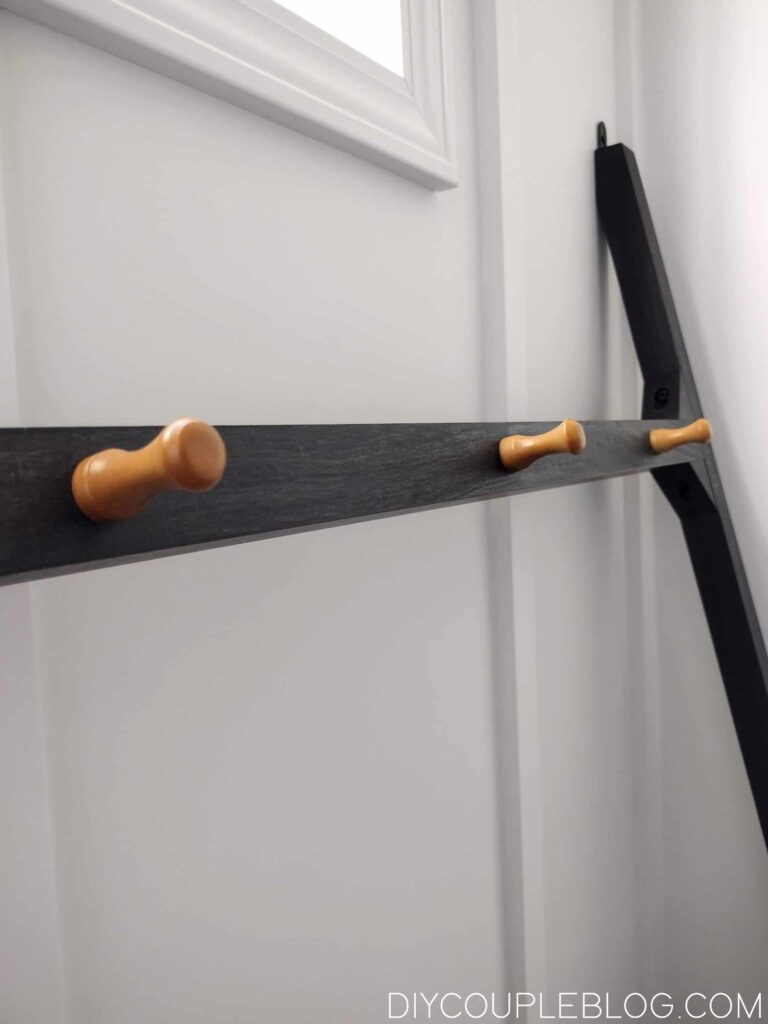
I love the vertical batten board look so much, I want to do another wall in our living room or bedroom sometime down the road.
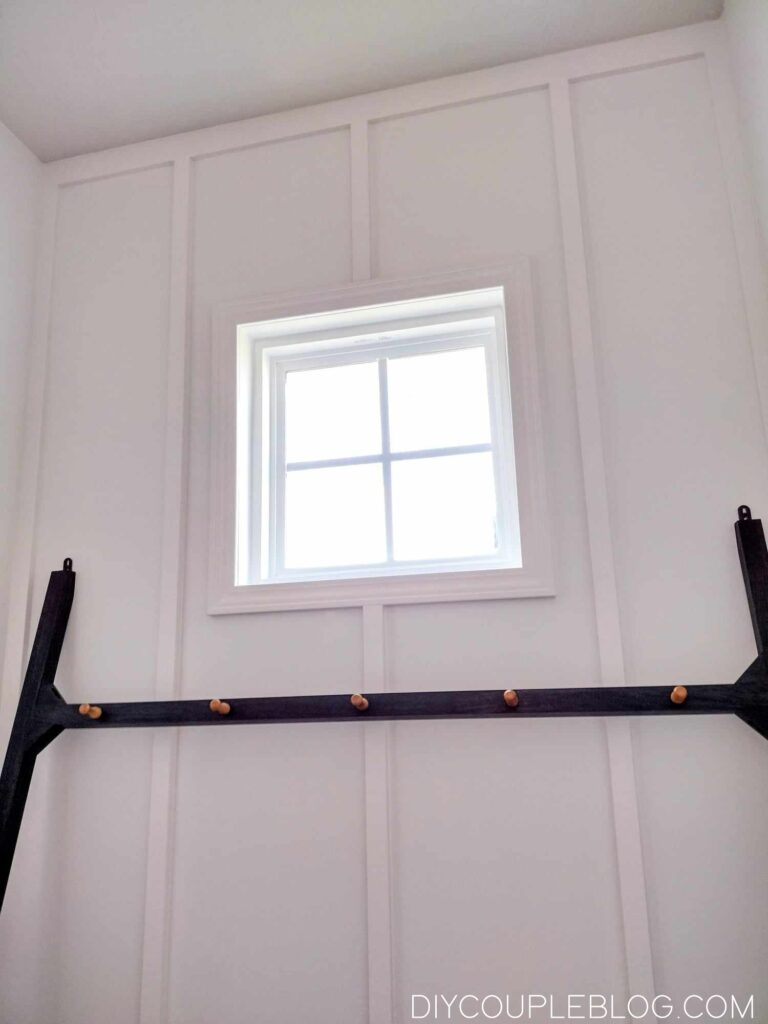
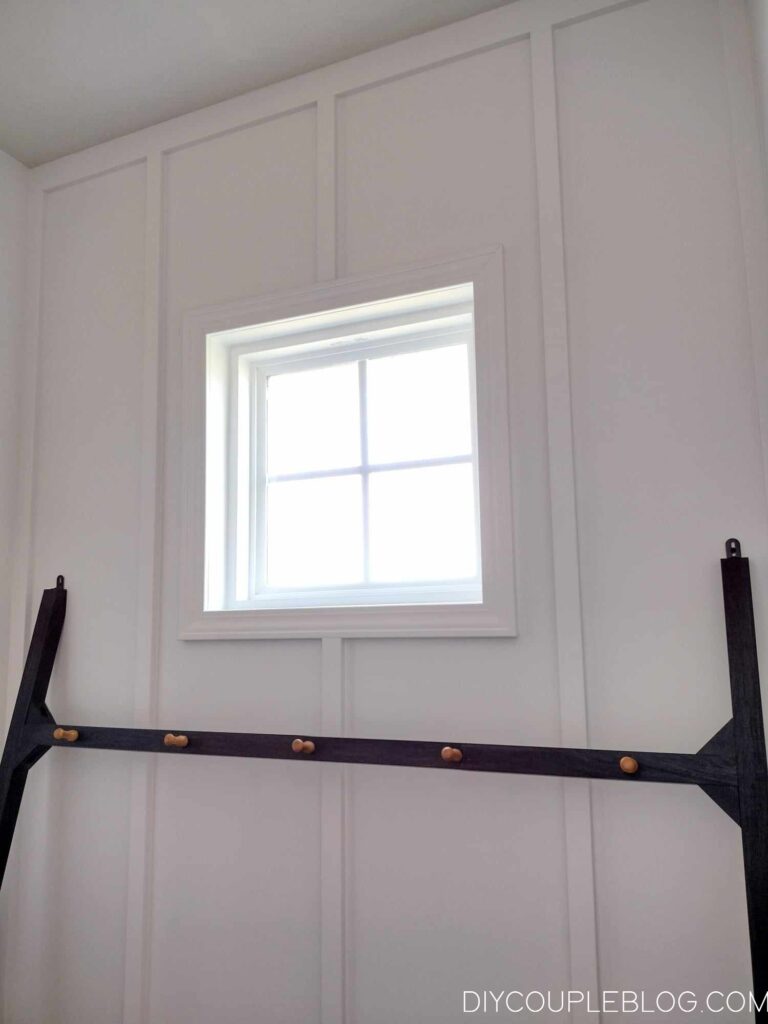
Framing around your windows and attaching board and batten around them might seem tricky at first, but precise measurements and a little patience completely elevate the entire space into a polished, custom feature.
Adding board and batten with windows doesn’t have to be so hard. Grab your tools, give it a try, and surely, you’ll transform your home one project at a time!
You May Also Like: