
This post may contain affiliate links, which means we'll receive a commission if you purchase through our links, at no extra cost to you. Read the full disclaimer here: https://diycoupleblog.com/disclaimer/
Last Updated on July 7, 2026: This easy shiplap kitchen island tutorial has been updated with new information.
If your builder-grade kitchen island could use an upgrade, you don’t need a massive budget or a full demo to change it. A DIY shiplap kitchen island makeover is one of the easiest, most cost-effective ways to add architectural interest, charm, texture, and modern farmhouse vibes to your space.
In this step-by step guide, we will walk you through exactly how to transform the front of your kitchen island using shiplap. This is an approachable weekend project that will take you no time to finish!
Shiplap Kitchen Island Inspiration
Both Shiplap Kitchen Islands and Shiplap Kitchen peninsula designs are everywhere these days. Pinterest has plenty of Drool-worthy ones! If you’re looking for a cheap, yet simple kitchen island home improvement project, then this one is for you!
We’ll walk you through the process (with pictures) so you can transform the look of your kitchen island with shiplap. You can achieve the farmhouse look you’ve always wanted with a DIY shiplap kitchen island!
We were able to do this shiplap kitchen island DIY for about $40 which is a very affordable kitchen island makeover cost if you looking to stick to a budget but improve the look of your kitchen.
Achieving a Modern Farmhouse Kitchen
We have black cabinets in our new builder grade house. When we built the house, we didn’t have many design options, so we went with the black, however they do make the kitchen look somewhat dim and dark.
In order to break up the space, I wanted to brighten up our kitchen without the hassle of painting any of them. That’s when I began looking into bright white beautiful shiplap kitchen island ideas. Shiplap kitchens are gorgeous if you love farmhouse style.
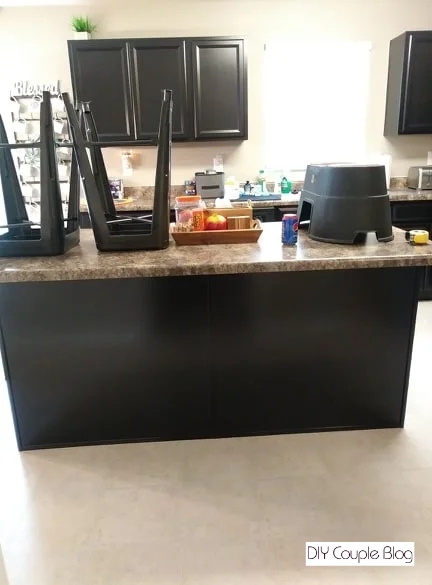
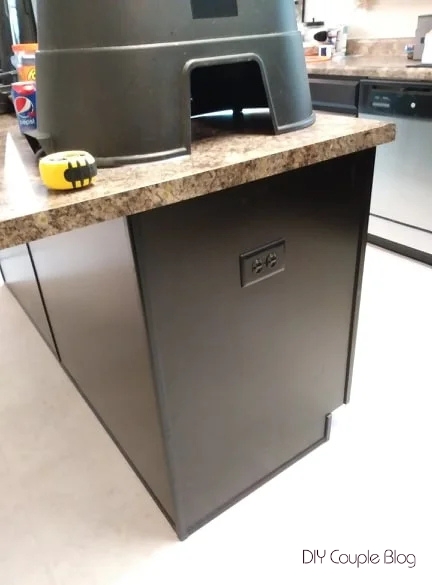
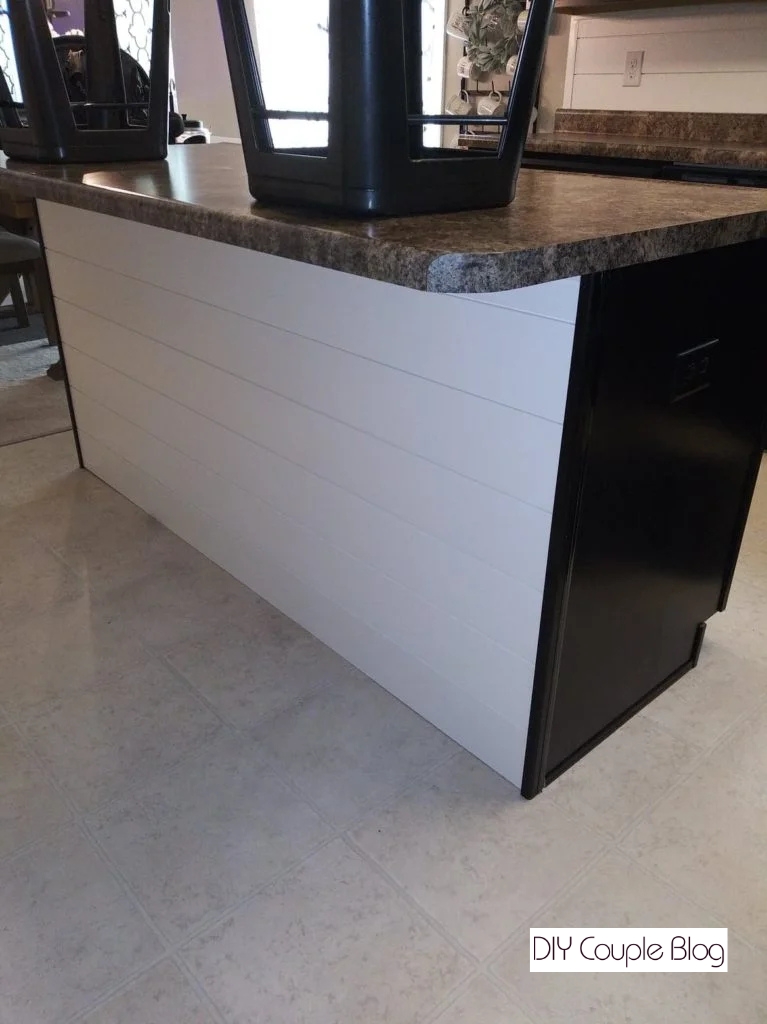
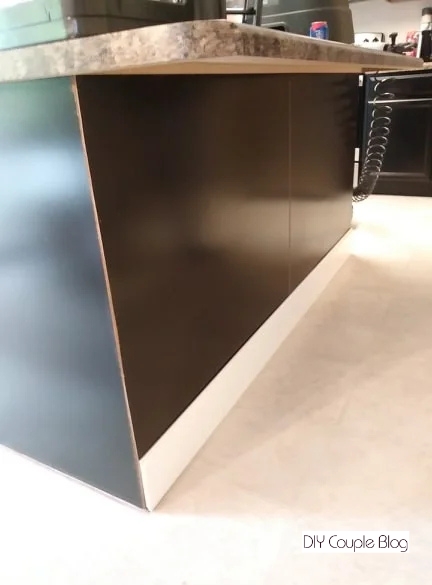
I was in love with the idea of a white shiplap kitchen island against the black color of the cabinet to help brighten up our kitchen. Here’s a few before pictures to show you where we started.
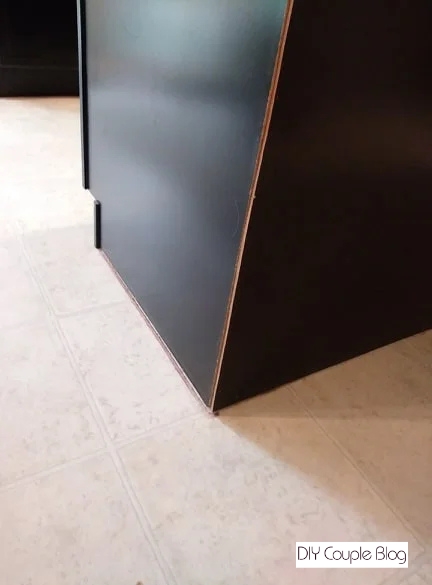
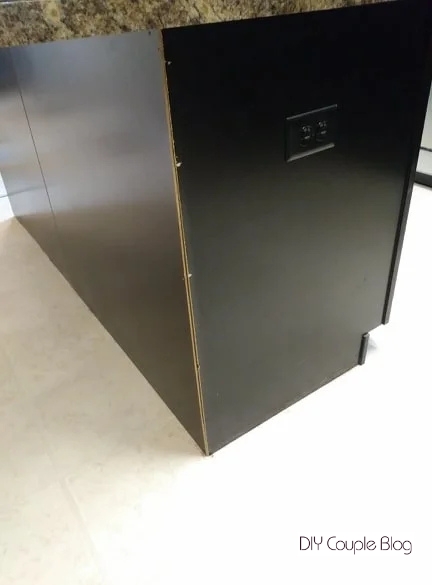
Before Adding Shiplap on Kitchen Island:
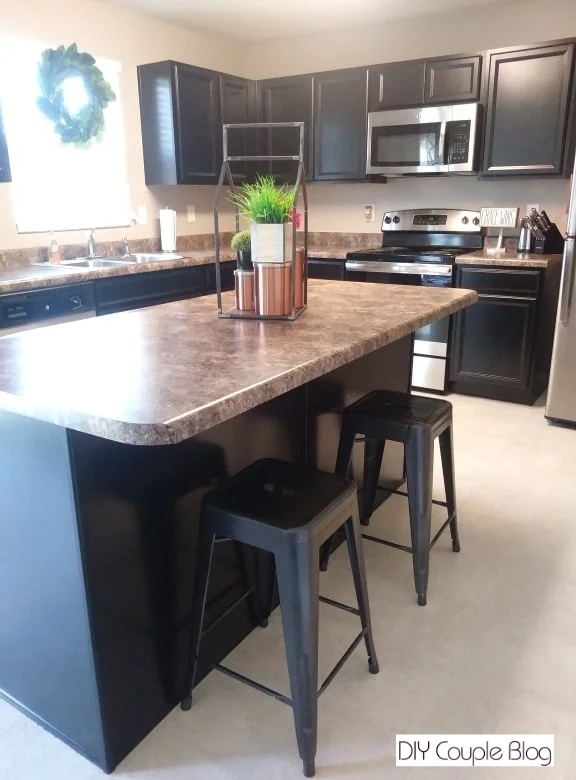
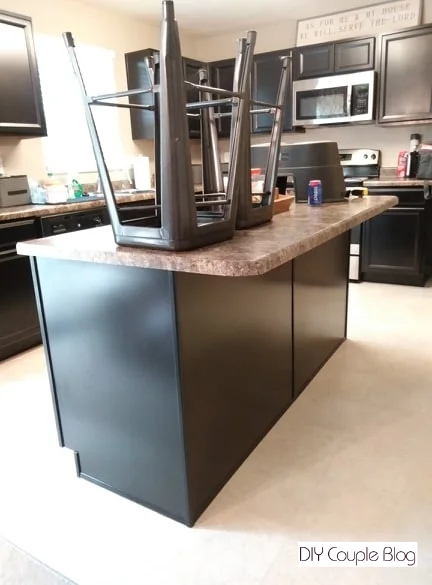
Once we cleared everything out of the way, we were ready to begin our shiplap kitchen island DIY project.
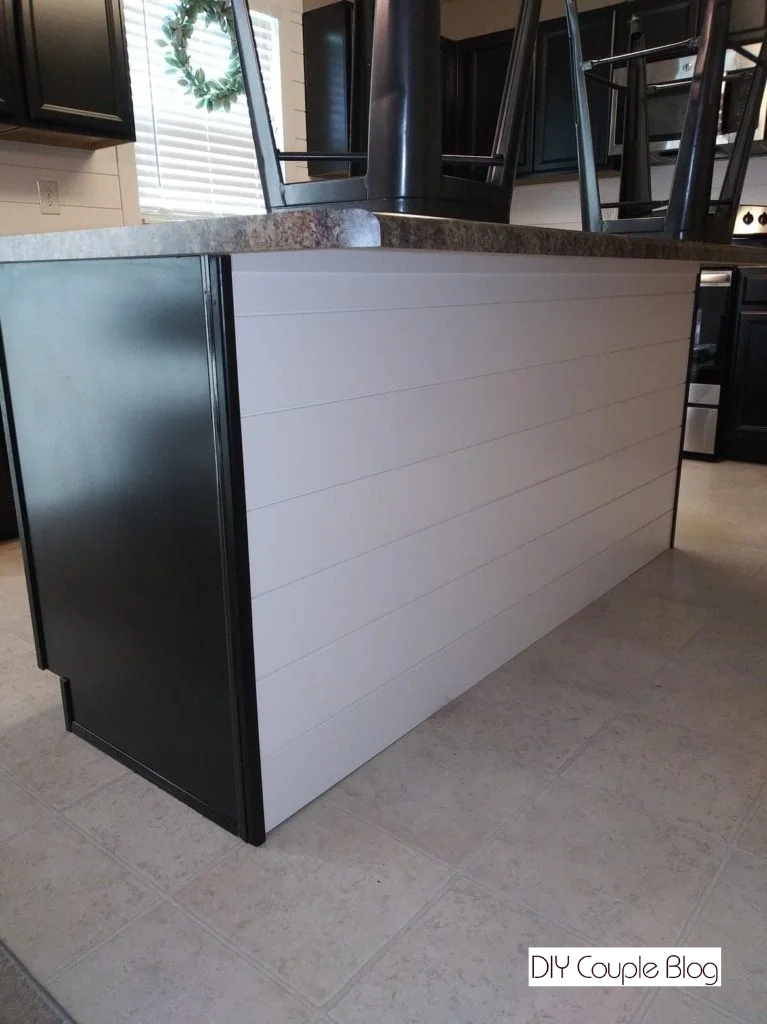
Shiplap Kitchen Island After Photos:
Here are the final pictures once the project was completed.
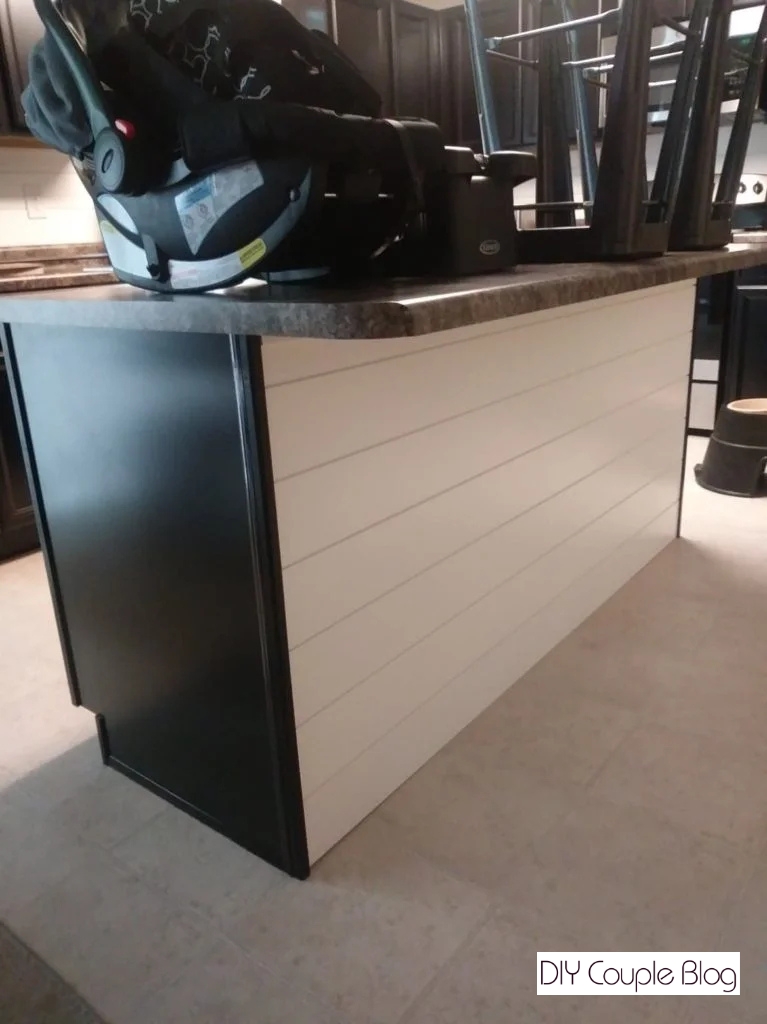
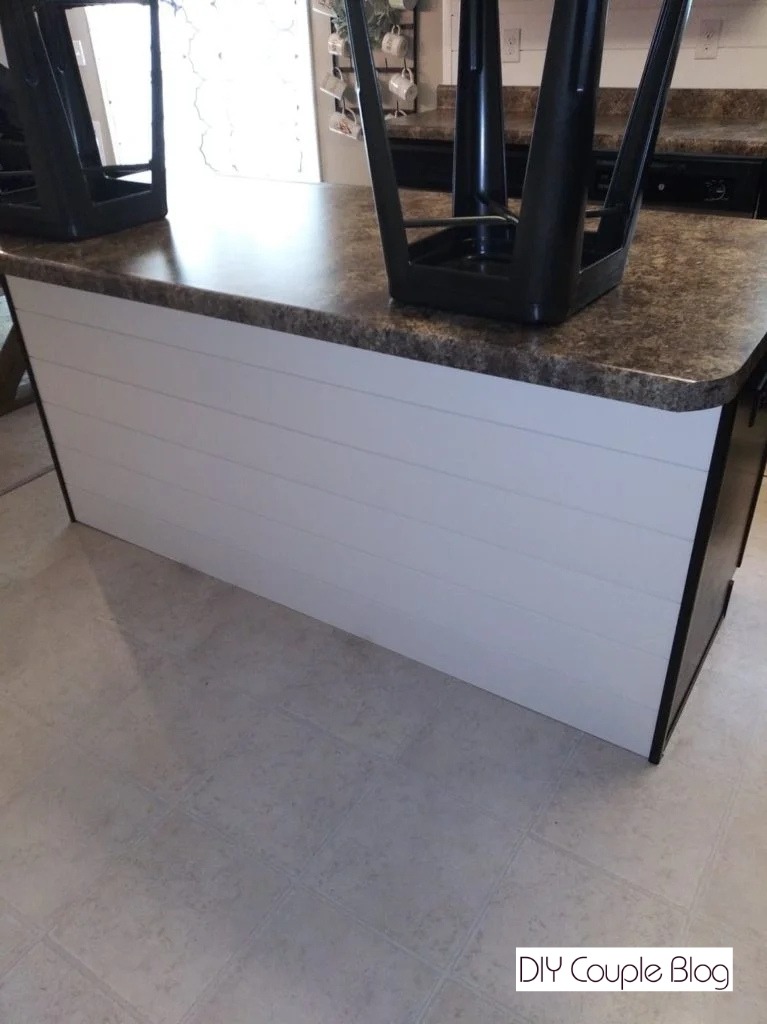
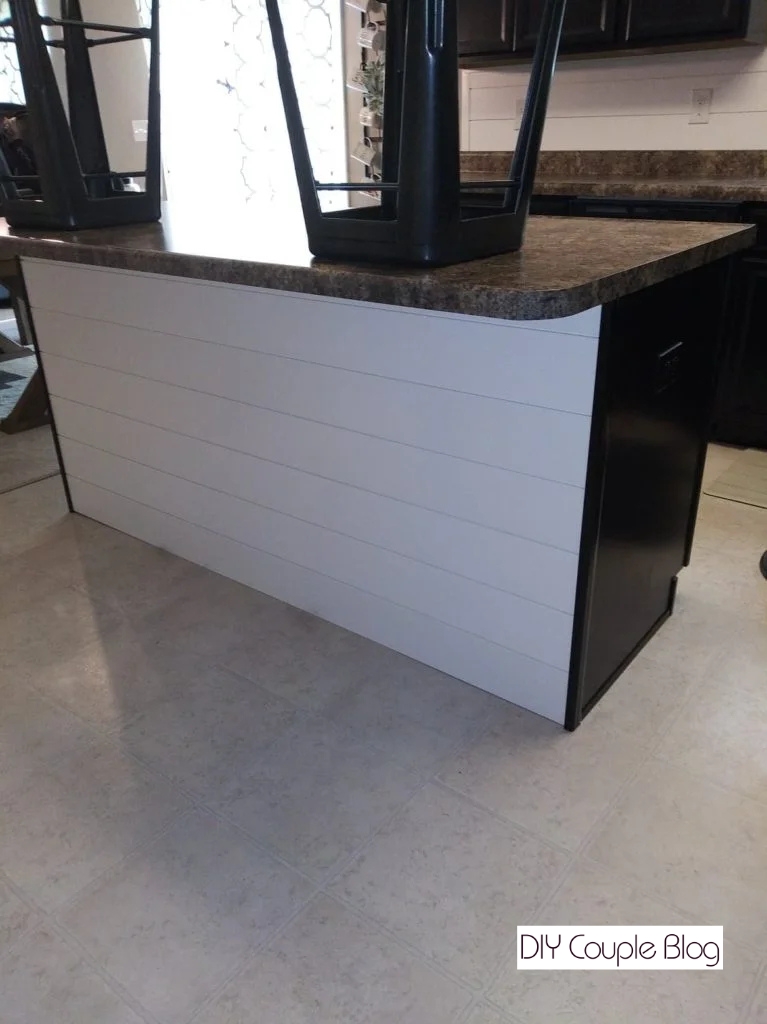
Tools Needed and Materials to Complete Kitchen Island Upgrade
Before heading to the hardware store, gather your supplies. Having everything on hand makes the process smooth and efficient.
Shiplap Kitchen Island-Tools Required
Brad nailer air compressor bundle (& brad nails) We used pneumatic which required an air compressor, you could also go with cordless for your project.
Skinny flathead screwdriver
Shiplap on kitchen Island-Materials Needed
PVC trim piece (optional)
Shiplap planks (8 ft, 12 ft) depending on coverage for the size of your island
Shiplap Kitchen Island Step-By-Step Instructions
Remove Trim
Begin by pulling out all the old trim using a flathead screwdriver (both bottom & sides where the shiplap will go). If you plan on using the same trim to re-attach at the end like we did, be careful not to damage any while removing. If you are adding new trim them no worries on salvaging the old.

Next, pull any nails out using a hammer that might be left exposed from trim removal.
Measure the Length of Shiplap
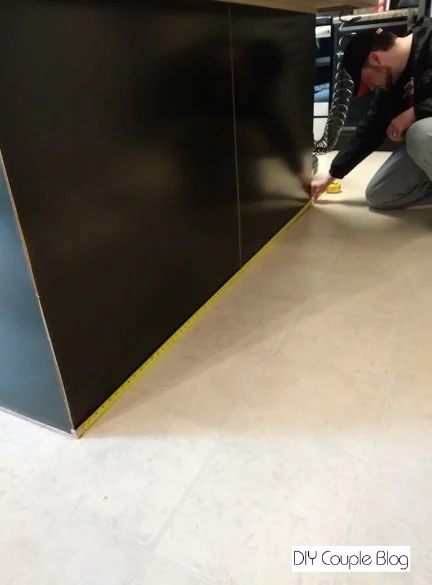
Measure the length of your island to cut your boards accordingly.
Attach Shiplap Boards
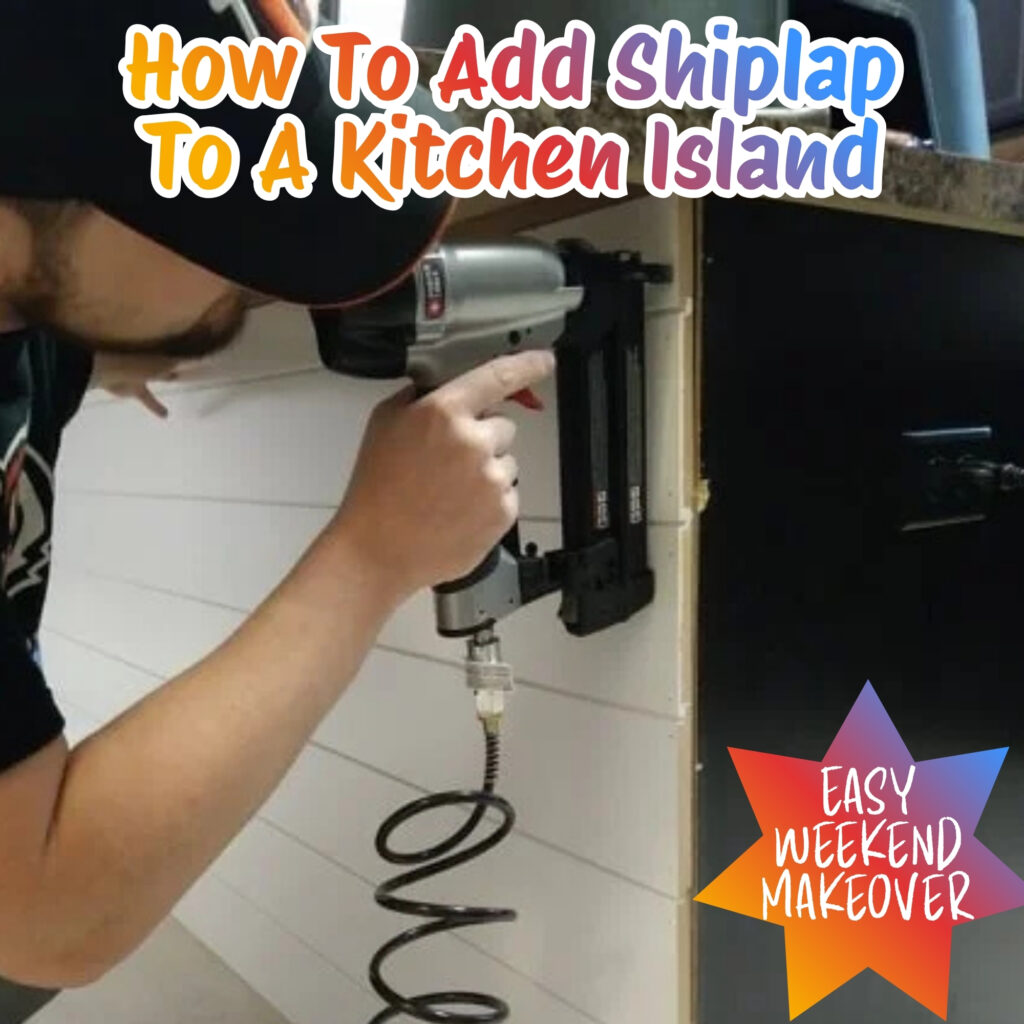
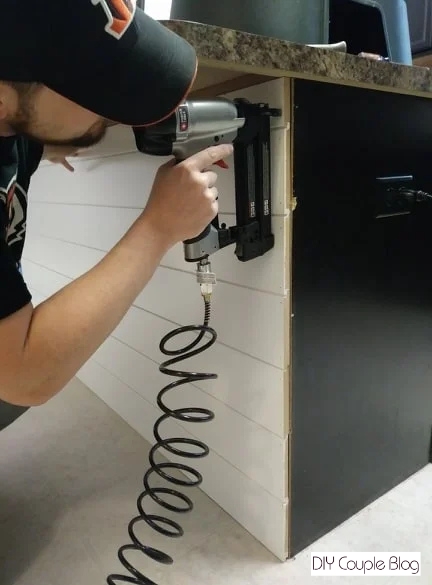
Starting at the bottom and working your way up, line your shiplap board up against the island, ensuring to make sure it is level and straight. Nail it into place. Continue to do this method going up.
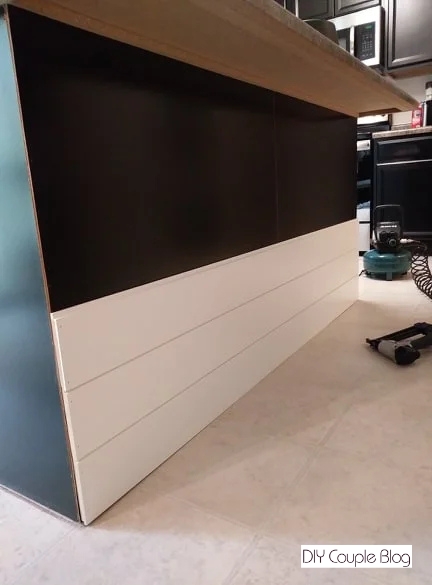
Rip the Last Piece
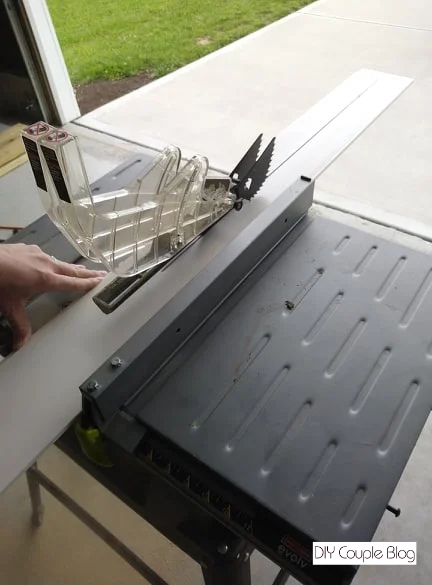
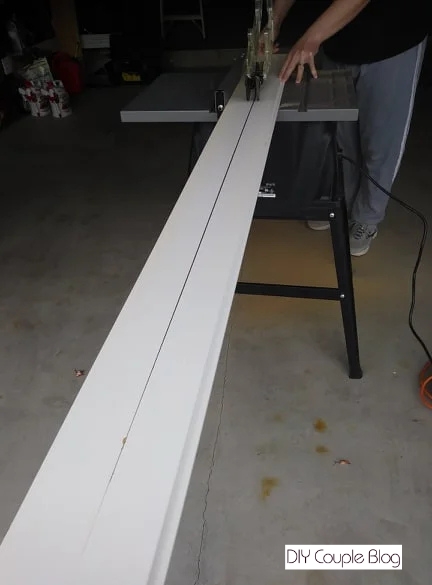
When we got to the top of the kitchen island, the width required less than a full-size board. We measured the width of the remaining space and ripped the board using a table saw to the right size.
Pro Tip: If you do this be sure to rip the right end so it fits to the next piece properly.
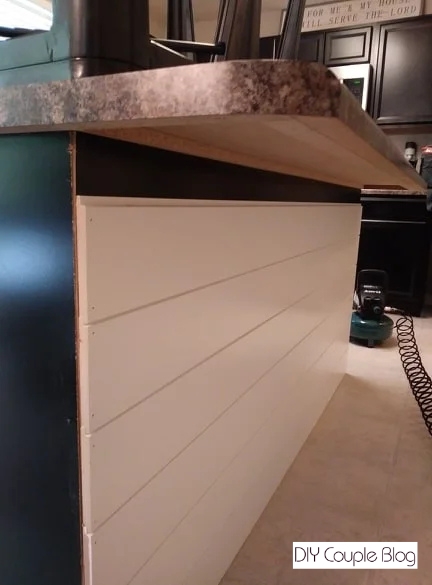
Because these shiplap boards were pre-primed and ready to go it made the process so much easier and faster. They were well worth the investment. You could definitely paint them if you choose to do so before installing them then go back add the finishing touches once the shiplap is done.
Almost done with our shiplap on our kitchen island!
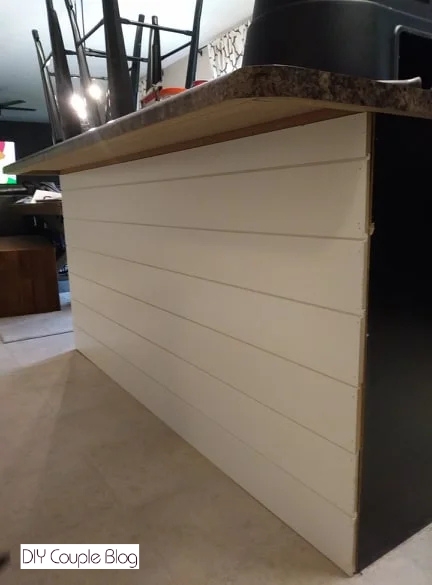
Shiplap Kitchen Island Finishing Touches
Trim
Raw shiplap edges on the sides of an island can look unfinished. To fix this, nail a piece of corner guard trim or outside corner molding to both edges. This completely hides the cuts and gives the island a professional, built in look. You can reuse the old trim or replace with new.

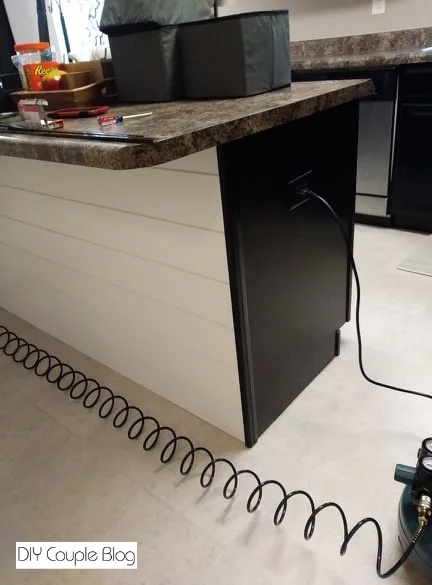
In our case, we chose to reuse what we had to be budget-friendly and give our kitchen island a more custom look since the pre-existing was dark trim. We put our old corner trim pieces back on & salvaged our old bottom (front) trim piece and put it next to the side corner pieces.
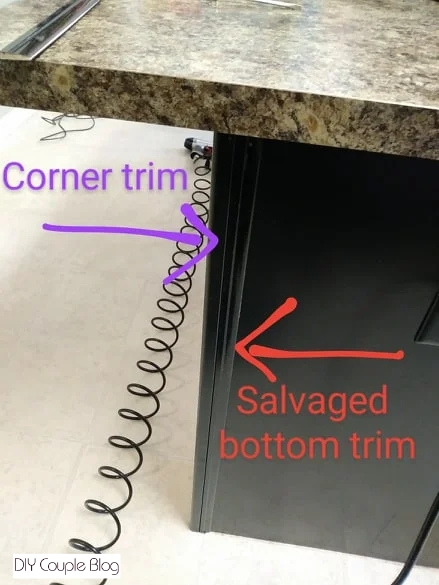
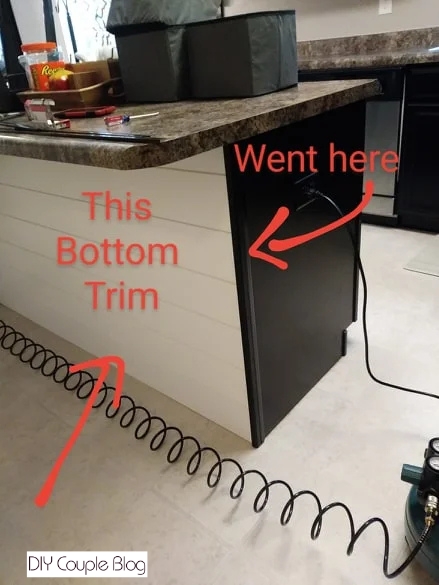
We then put the old bottom trim piece back on the sides of the island as it was before. Because we chose to add the extra trim piece next to the corner piece, we did have to trim it a little to fit back where it once was.
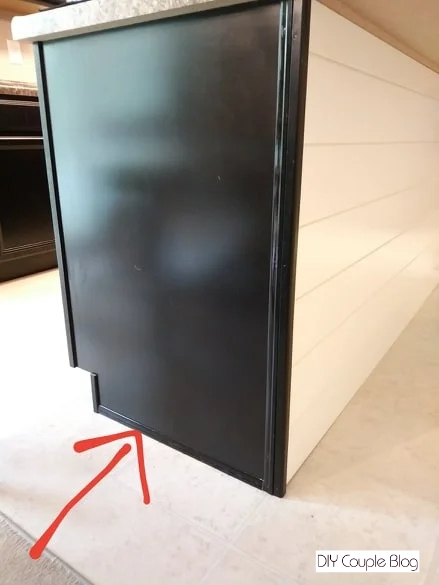
Trim for Gap Between Shiplap and Countertop
Lastly, we used a piece of white PVC trim to put above the shiplap where there was a gap meeting the countertop to give it polished look. You can’t really even see it unless you get right under there.
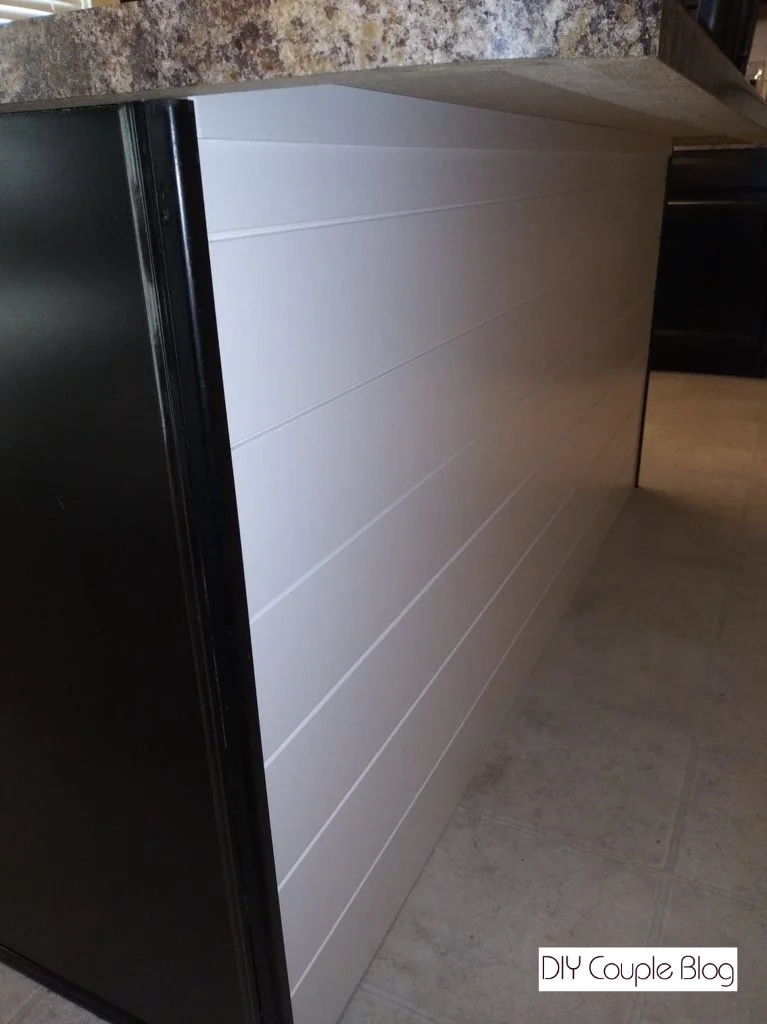
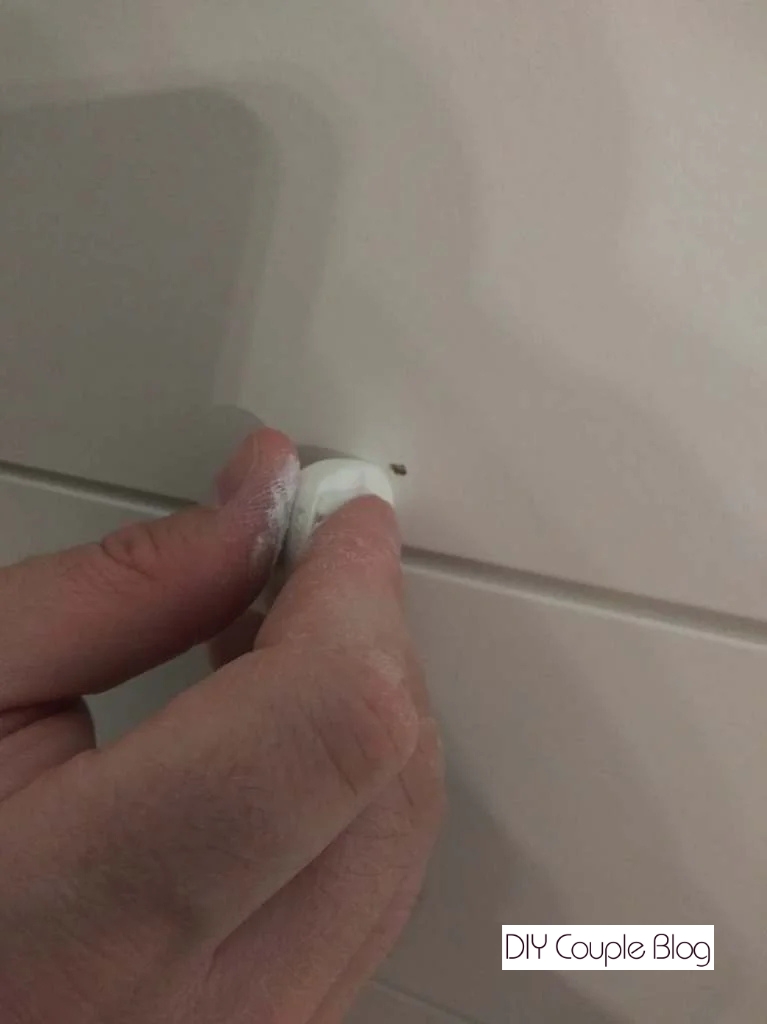
Fill Shiplap Nail Holes
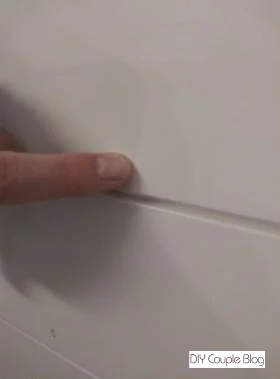
An extra little Pro-Tip that I found very helpful: After completing all the steps and you stand back to admire your hard work, you may notice the very small nail holes from shooting them in the shiplap. If this doesn’t bother you then don’t worry. It bothered me! Here’s my little secret that is now my favorite go-to tool for hiding shiplap holes.
We used this crayon-like product. It’s already white so just fill in the hole. I would recommend again and again-I only wish I knew about it sooner.
Shiplap on Kitchen Island: Final Thoughts
It’s amazing how a few planks of shiplap can completely change the energy of a kitchen. What used to be a plain, builder-grade island is now a stunning focal point that anchors the entire room. This project proves you don’t need weeks of demo or a large bank account to create a space that feels custom, cozy, and uniquely yours.
If you are on the fence about tackling this weekend project, consider this your sign to go for it!
You May Also Like: