
This post may contain affiliate links, which means we'll receive a commission if you purchase through our links, at no extra cost to you. Read the full disclaimer here: https://diycoupleblog.com/disclaimer/
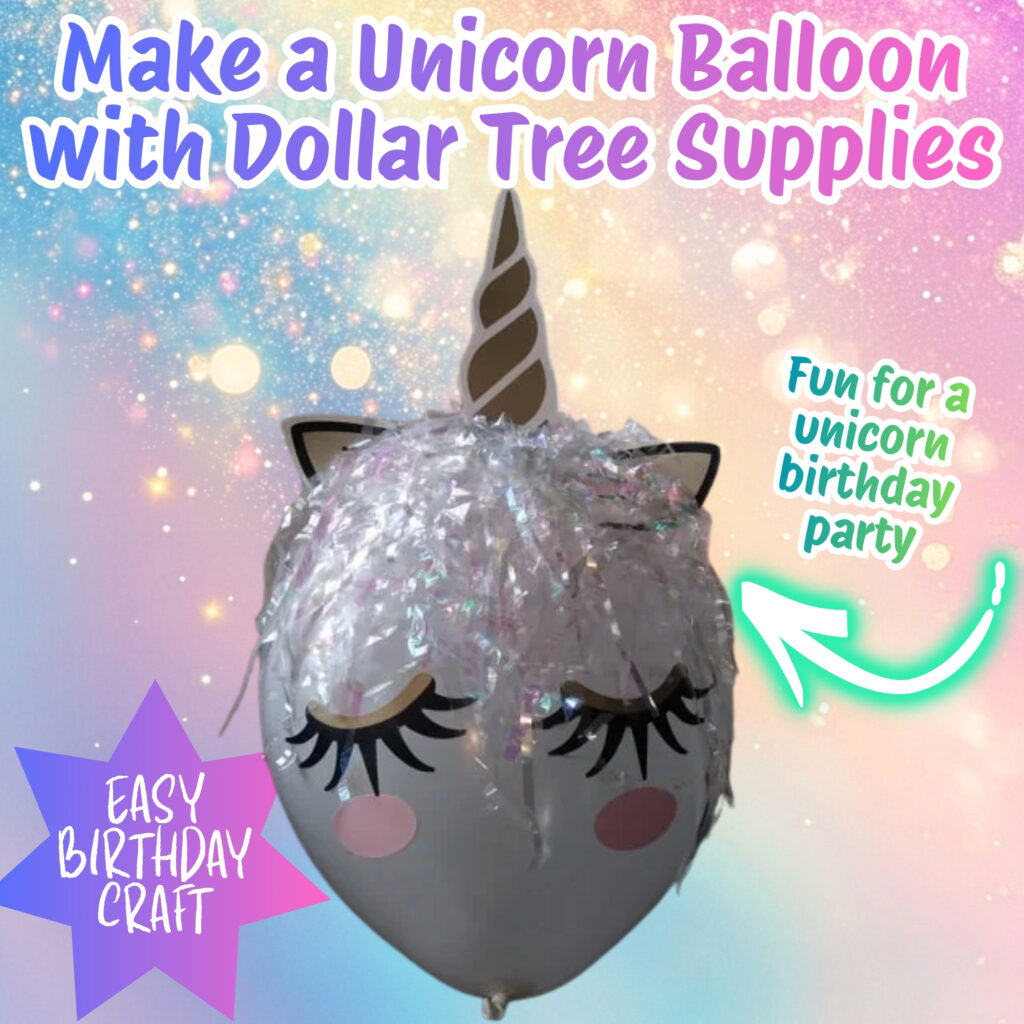
Last Updated on July 2, 2026: This easy tutorial has been updated with new information. Learn how to make a unicorn balloon for a budget friendly birthday decoration or craft idea!
Planning a magical unicorn-themed birthday party or looking for whimsical afternoon craft to keep the kids busy? You don’t need to spend a fortune on expensive, pre-made party boutique balloon packs. In fact, you can create adorable unicorn balloons using simple supplies entirely from the Dollar Tree.
This step-by-step tutorial will show you how to transform standard party balloons, budget-friendly wall decals, and decorative shred into sweet unicorn faces.
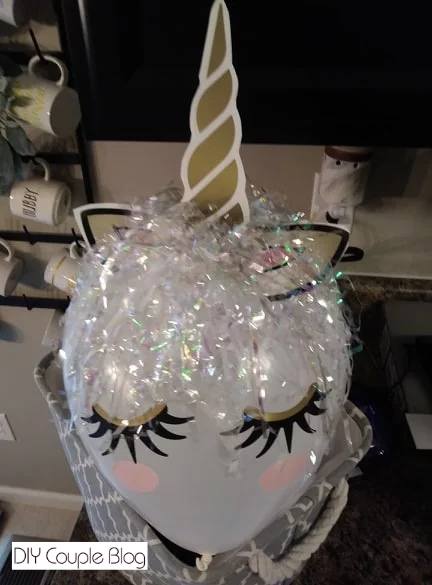
Why Make a Dollar Tree Unicorn Balloon
When searching for the perfect party decor, it’s easy to get overwhelmed by the cost of specialty balloons. This DIY version cuts the cost down by using clever dollar-store alternatives that still capture that whimsical, darling aesthetic.
Supplies You Will Need to Create a Unicorn Balloon
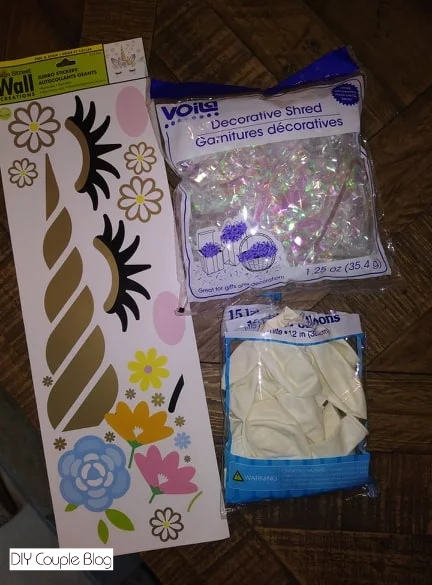
Here’s what materials you will need to gather to begin making this unicorn craft. You can look for most of these at your local Dollar Tree. I put links just in case you could not find them at your Dollar Store.
- Scissors
- Clear tape or clear double-sided tape
- Latex balloons: (Pastel shades like light pink, lavender or classic white give that magical unicorn vibe).
- Balloon pump (optional): Highly recommended if you are blowing up a large quantity.
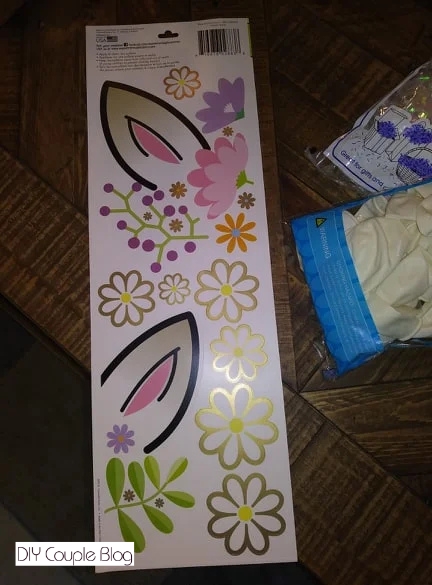
Easy Unicorn Birthday Balloon Instructions
Follow these simple step-by step instructions to bring your DIY unicorn balloons to life.
Inflate and Prep Your Balloons
Blow up your balloons to their standard size. Be careful not to over-inflate them; you want a nice teardrop or rounded shape. Over-inflating stretches the latex, making it easier to pop when you apply the decorations. Tie off ends securely.
Pro-Tip: If you plan to make these float, use a small personal helium tank. If you want them for a wall display or a balloon garland, standard air works perfectly and lasts much longer! Balloon sticks and balloon centerpiece displays would be a great addition to your unicorn birthday party that could tie in nicely with these unicorn balloons!
If you don’t have a helium tank, there is a way around it to mimic the look and create an illusion of a helium float, by taping the top of the balloons to the ceiling allowing the string to hang down.
Apply the Unicorn Face, Horn, & Hair
The Horn
Start by cutting out an outline of the horn & the ears. (Do not remove the sticker from the backing.)
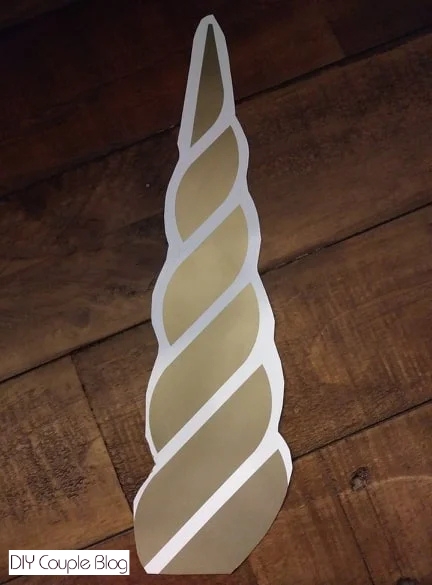
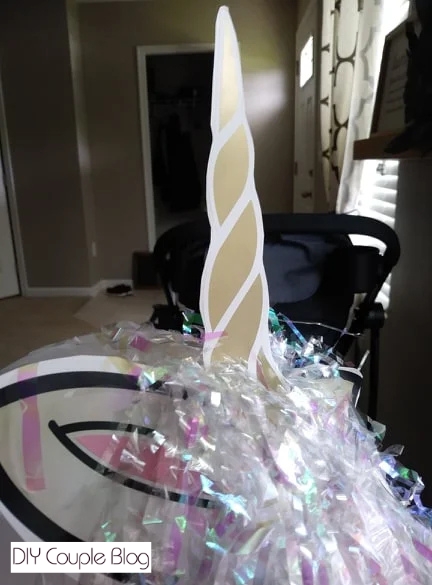
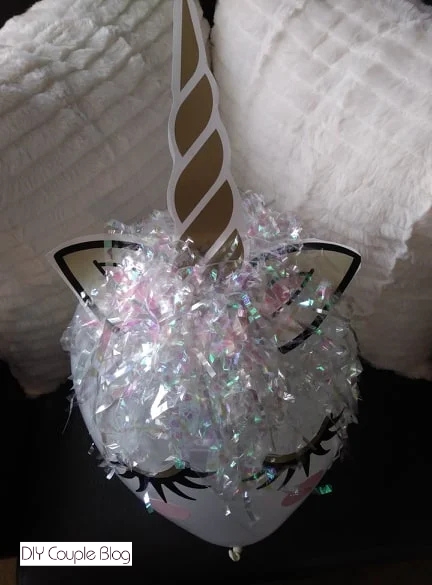
Tape the bottom of the horn to the flattest part of the top front of balloon ( If it doesn’t stand directly upwards, I was able to bend & manipulate it to get it where I wanted it-I did this at the end along with the ears.)
Once the horn was attached, I cut a plain skinny strip off the decal and folded it in half.
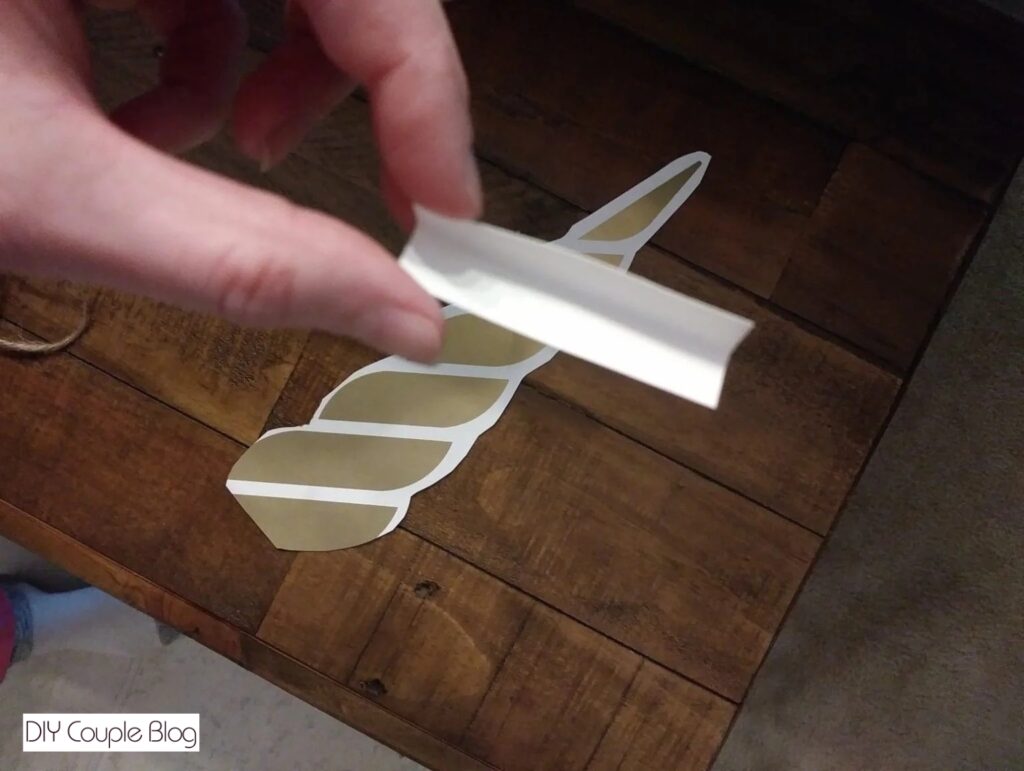
I placed this paper strip (outside crease down) stuffed it in the tight space between the balloon and the horn and taped both the top to the horn and bottom to the balloon. It should look something like this and will help support the horn and push it forward. You can cover it with the shreds (unicorn hair) so it’s not noticeable in the steps ahead.
Ears
Next, do the same thing with the ears. Cut outline of them (again, do not peel off from the backing). Then tape them overlapping the sides of the horn. They will go straight back versus forward. In order to bring them forward you can manipulate them like I mentioned earlier. I took the tip of the ear and did the bend and hold process to get it where I liked them.
Eyes & Cheeks
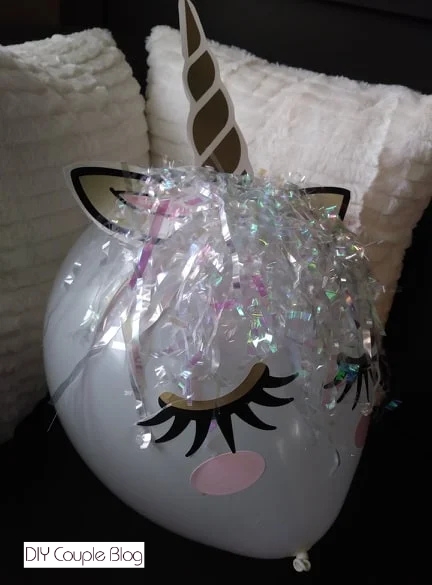
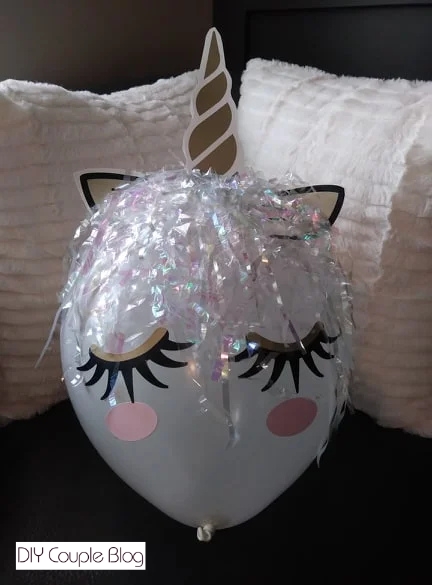
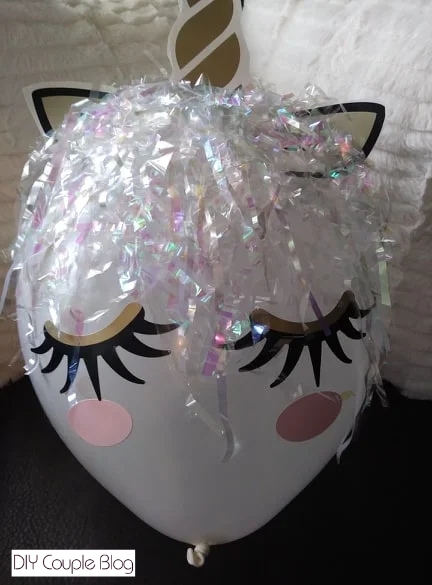
Then peel off the sticker eyes and the blushing cheeks from the sticker backing and stick them on the balloon.
Hair
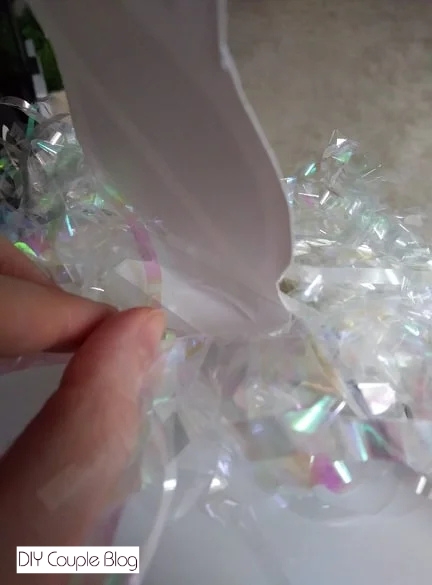
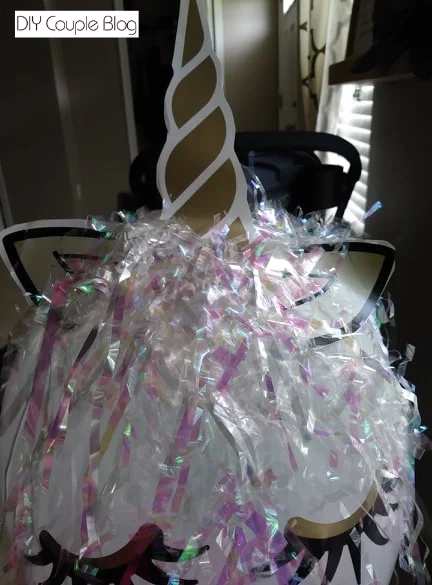
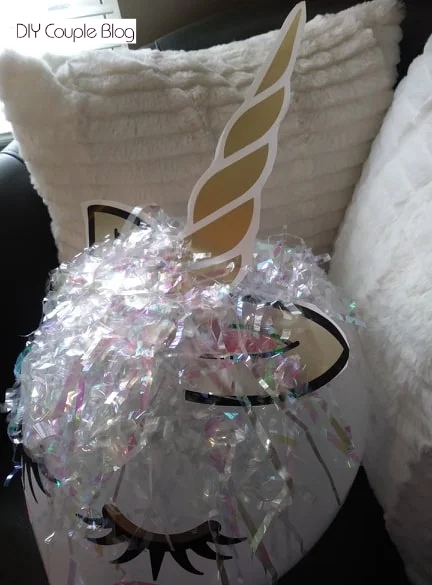
Now it’s time for the hair. Take long pieces of tape and dip them in the bag of shreds. This is why I said double sided tape would be suitable. You can stick one side to the shreds and the other to the balloon. I didn’t have double sided tape on hand, but it will work with regular tape, but you will just have to tape down the ends extra good because the handful of shreds will make it less likely to stick. Nothing a little extra tape won’t solve.
Finishing Touches
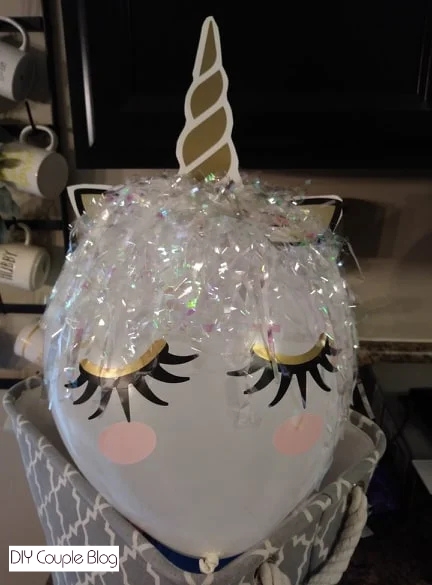
You can see below where the horn has a slight bend to it, in order to make it stand straight up, you can get this look by bending the horn down in front of the face and holding it. You could tuck it between the hair and let it stay for some time.
Final Thoughts: Magical Unicorn Balloon on a Dollar Store Budget
You don’t need a massive budget to create a truly unique and memorable experience for your kids. This DIY unicorn balloon craft proves that with a little imagination and a quick trip to the dollar store, you can easy out-style those expensive party decorations.
Give this craft a try for your next unicorn inspired celebration and watch your guests marvel at your crafting skills!
You May Also like some of our other crafts and DIY projects!