
This post may contain affiliate links, which means we'll receive a commission if you purchase through our links, at no extra cost to you. Read the full disclaimer here: https://diycoupleblog.com/disclaimer/
Last Updated on July 7, 2026: This easy guide to hiding cables for a wall mount TV has been updated with new information.
Nothing ruins the sleek look of a wall-mounted flat screen TV faster than a messy tangle of cords dangling from the wall. Hiding the TV cables instantly takes a room from cluttered and chaotic to polished and designer-level. Are you ready to conceal and manage those awful cords? Here is a practical and visual guide to hiding wires for a wall mount TV.
Creative Ways to Hide Cables for Wall Mount TV
While you can be super creative in hiding your cords for a wall mounted TV; like using command cord clips to brace your messy wires then position plants, artwork or stacked books in front using strategic decorating methods: Here are the best ways to consider hiding wall-mounted TV cables, ranging from basic quick fixes to a permanent DIY solution.
Paintable Cord Covers (Raceways)
These are plastic tracks that adhere to the wall and enclose the cables. They are a perfect fit for renters or quick fixes when cutting into drywall isn’t an option. You can paint them the exact color of your wall to make them blend in seamlessly. Shop for this cable management solution here.
Fabric Cord Covers
These are Decorative hook-and-loop sleeves that bundle your wires together, best suited if the cords drop straight down into a media console. Ideal for an easy hassle-free cord cover-up. Learn more about this cord concealment option here.
Behind-the-Wall Cable Routing Kits
This method requires cutting two small holes in the drywall (one behind the TV, one near the outlet) and feeding the wires through plastic grommets. Creates a completely hidden, professional look. Using an all-in-one, pre-wired kit to safely run both power and HDMI cables without handling raw electrical wiring.
Choosing Our Method of Hiding Cables for Wall Mount TV
We took all these methods into account for hiding our TV cords and decided on the behind-the-wall approach. If you are considering that, then this tutorial will help walk you through the steps and what to expect for when you’re ready to tackle your own cable routing.
In-Wall Cable Routing Prep
Fortunately, hiding those unsightly television cables can be done as a quick weekend project. After we finished up our board and batten wall in our living room, we were ready to mount our flat screen. If you are like us, wanting a completely seamless finish, routing the cables directly through the wall is the best approach to hiding cables for the wall mount TV.
Here is a before look at the space we are using where we are mounting our TV in the living room. Right now, it’s on our TV stand. Once we moved everything out from the wall, we were ready to get started on this DIY project.
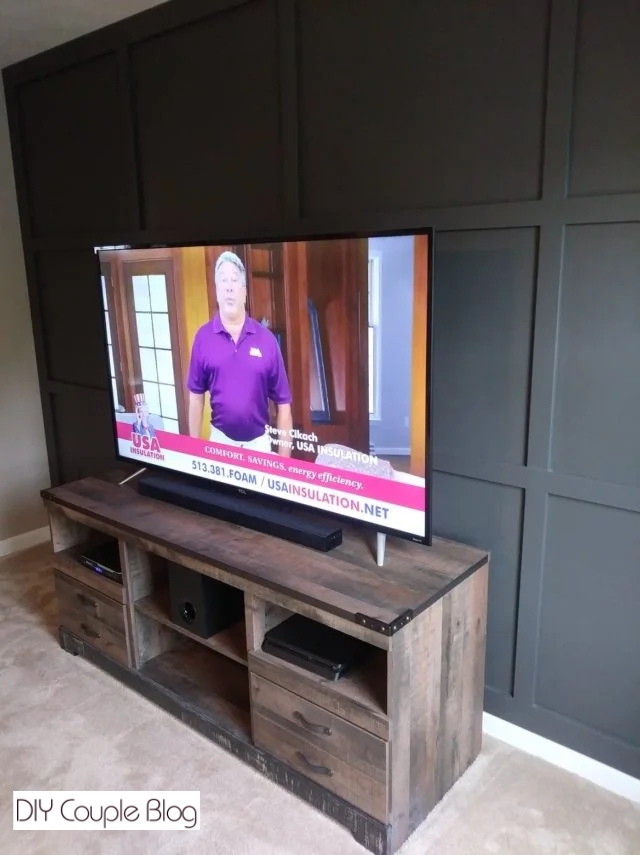
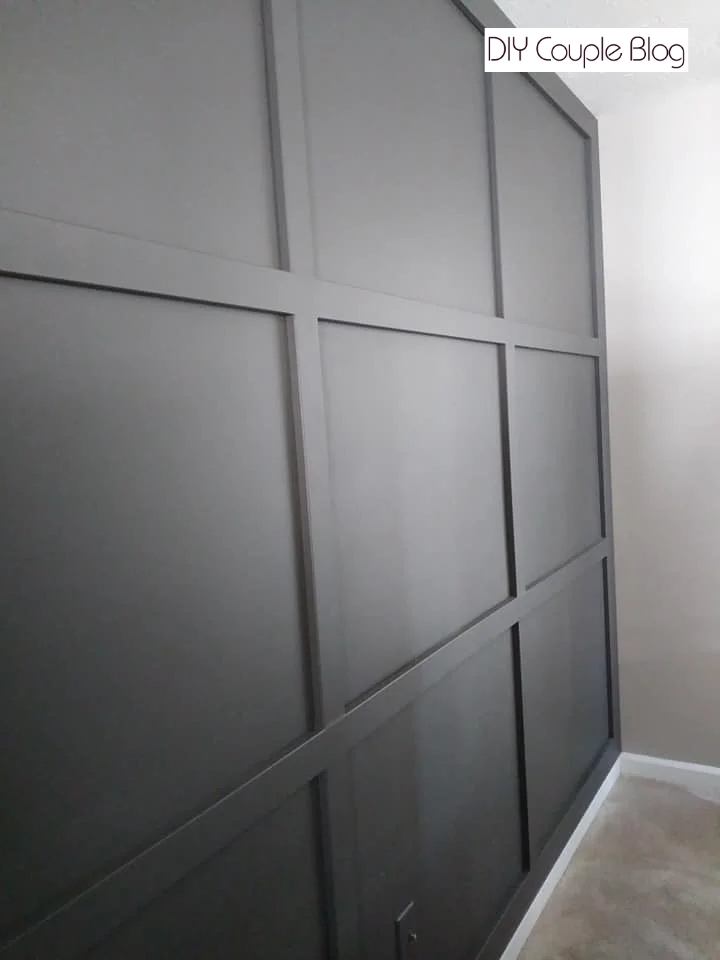
While a TV stand hides the cords most certainly, we knew once we mounted the TV on the wall they would be exposed and ruin the clean look. Using an in-wall TV installation kit was the best way to hide cables safely and professionally without hiring an electrician.
Here is a simple put step-by step- guide to achieving a flawless cord-free aesthetic in hopes to help you hide your cables for a wall mount TV.
Tools & Materials for Hiding Cables in the Wall
Measuring tape and pencil
Fish Tape or straightened wire coat hanger
Safety Note: Never run standard TV power cords directly inside a drywall cavity. Standard cords are not rated for in-wall use and pose a fire hazard. In-wall kits use specially shielded, code compliant cables to safely route power behind the wall. This installation kit includes it if you need the cord.
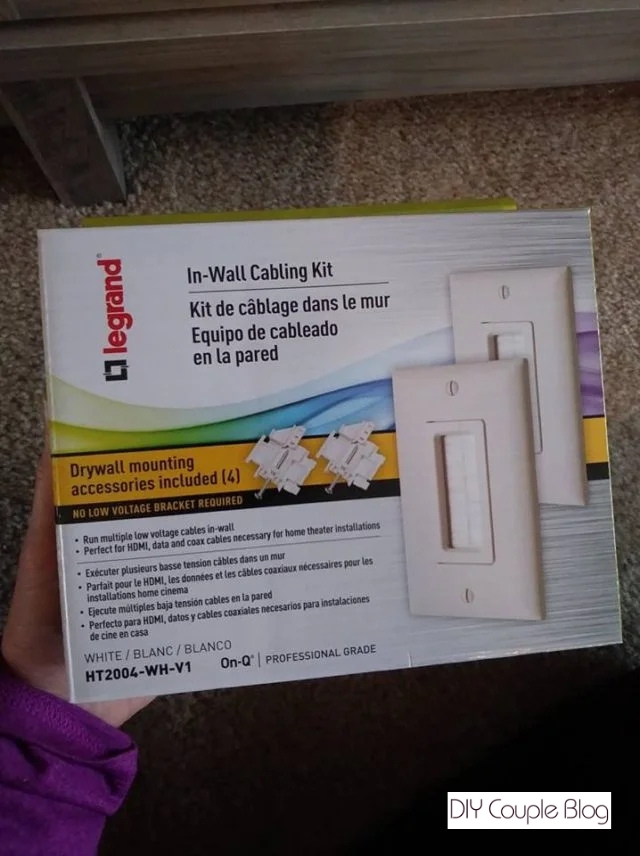
The pictures represent the in-wall cabling kit, if you already have a plug behind your TV then this will work for you. Follow the same steps below that pertain to this kit.
Hiding Cords for Wall Mount TV-How To
Step 1: Choosing the Right Location
Locate the Studs:
Use a stud finder to locate the studs in the area where your TV will hang. You must install the wire kit between the same two studs so the cable can drop straight down without hitting a wood obstruction.
Mark Upper Hole:
Place the upper module directly behind where the TV will sit, ensuring it is hidden by the television frame but accessible enough to plug cords into. Mark the outline using the template provided in your kit.
Mark Lower Hole:
Choose a spot directly beneath the upper hole, near the baseboard and close to an existing electrical outlet. Mark the outline for the lower module.
After our Flat screen TV was mounted and our locations were marked it was time to cut into the wall.
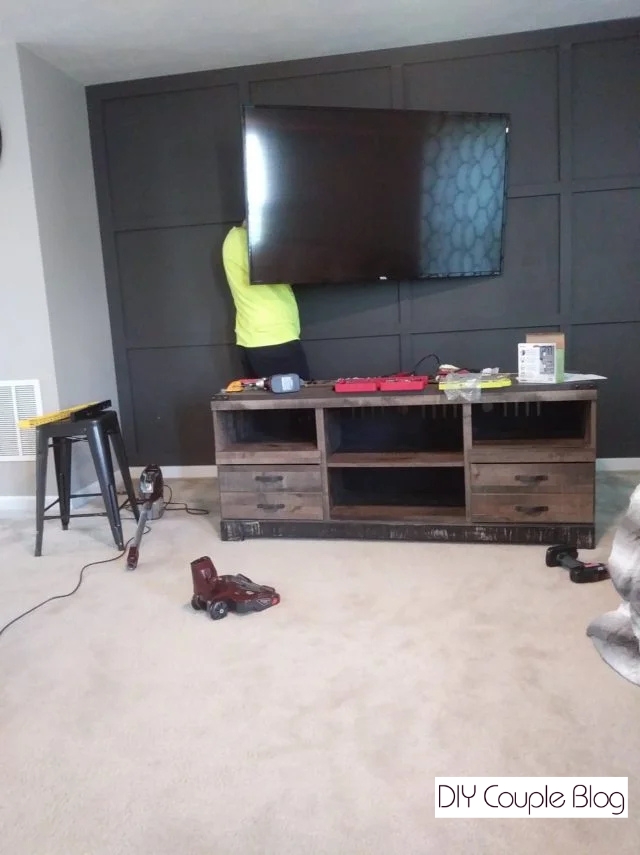
Step 2: Cut the Drywall Holes
Double-check your markings with a level to ensure the plates will sit straight.
Use a manual drywall saw to carefully cut out the template shapes, or if your kit includes a bit, attach the included hole saw bit to your drill for use.
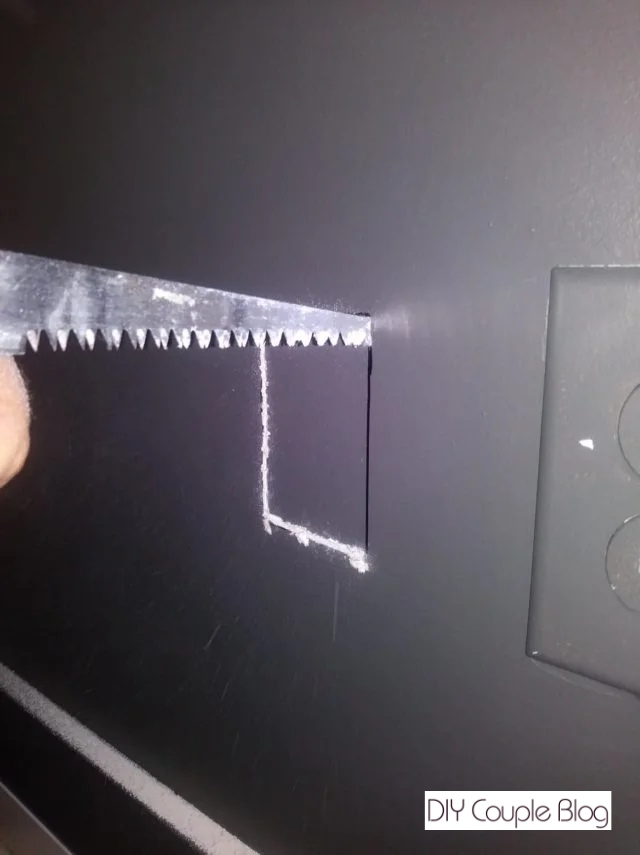
Tip: Go slowly to avoid creating excess drywall dust or accidentally hitting unexpected obstacles inside the wall. A small shop vac would also come in handy as cutting into the drywall, leaves a bit of a mess.
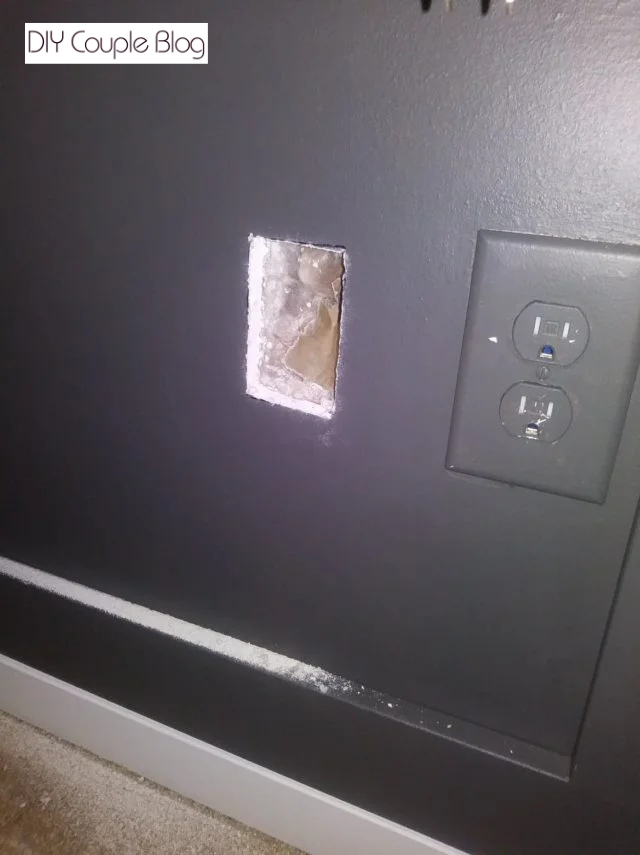
Step 3: Fish the Cables
Drop the kit’s pre-wired power cable from the top hole down to the bottom hole. If the wall has insulation, attach the cable to a piece of fish tape or a straightened wire hanger to help guide it through.
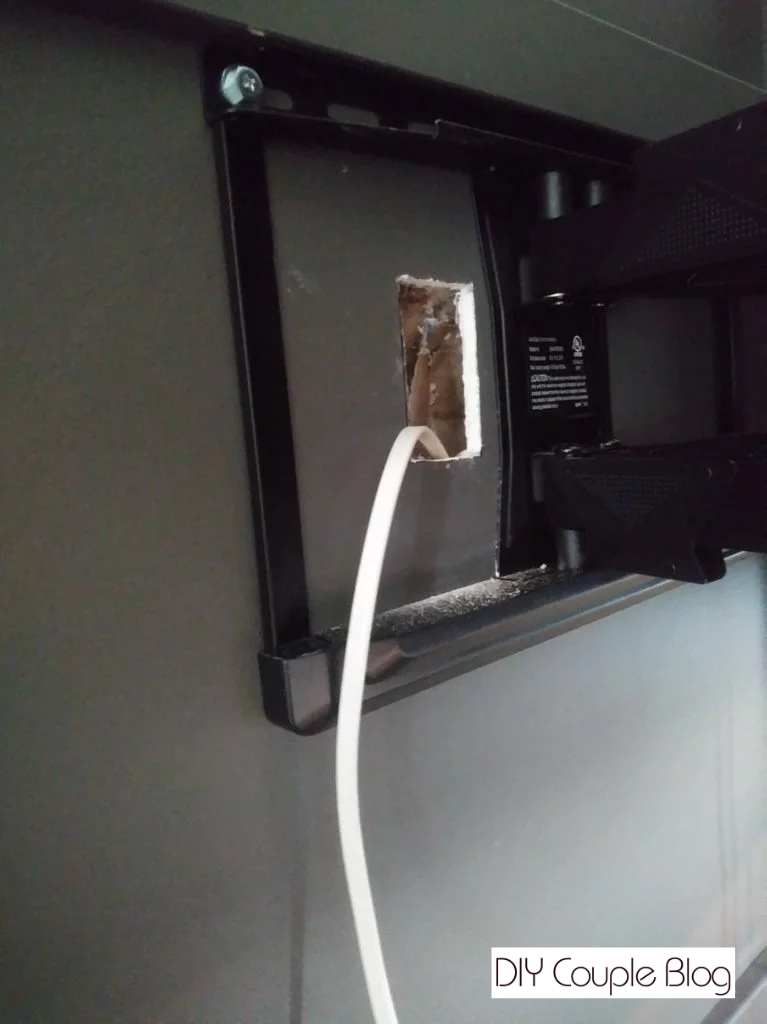
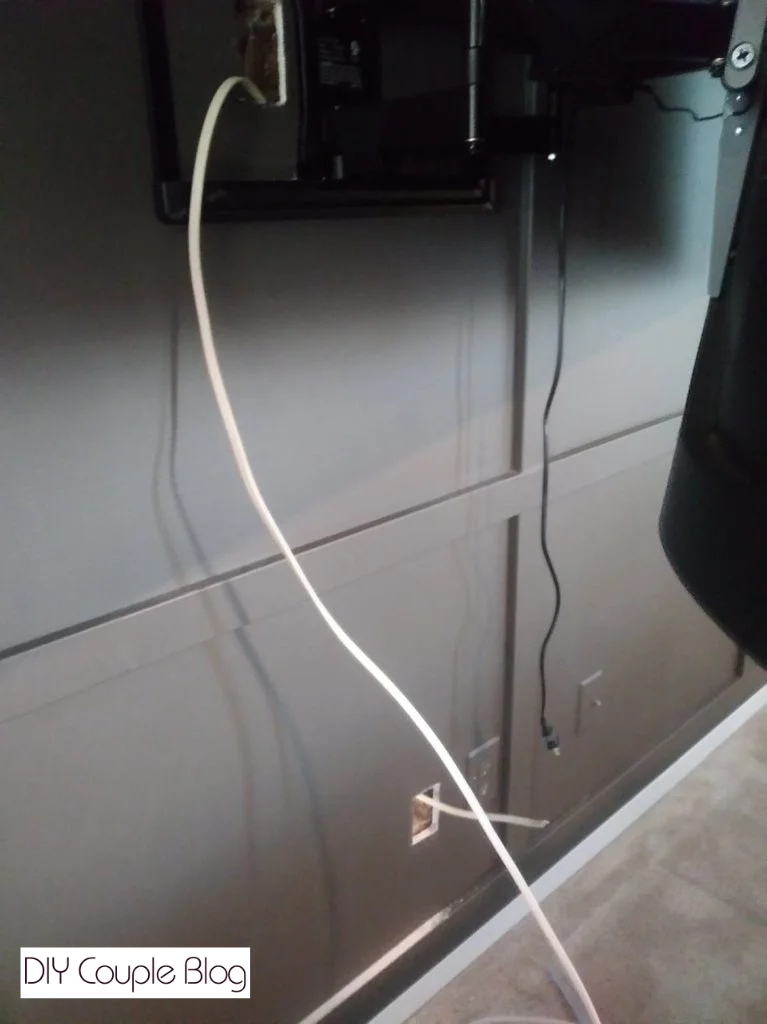
As you can see in our case, we just used a piece of electrical wire that we had on hand.
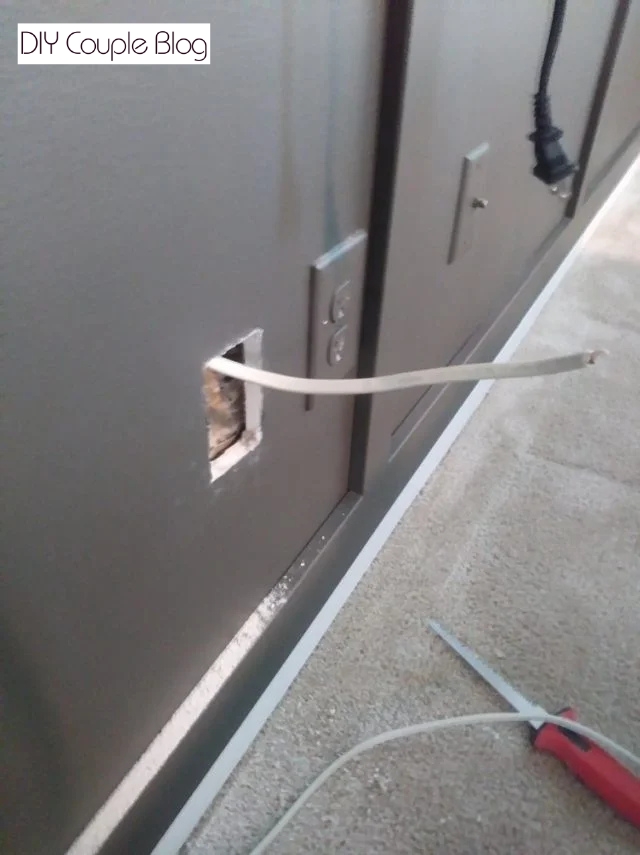
Pull the cable through the bottom opening. Feed your low-voltage cables (like HDMI, optical, or ethernet cords) through the brush or rubber pass-through openings on the upper module, down the wall, and out of the lower module.
Step 4: Secure the Modules
Connect the top and bottom power cables together according to your specific kit’s instructions (most feature simple snap-lock connectors).
Push the excess wire back into the wall cavity.
Insert the upper and lower housing units into the drywall holes.
Tighten the mounting screws. This engages the “wings” or “drywall brackets” behind the wall, clamping the modules securely in place.
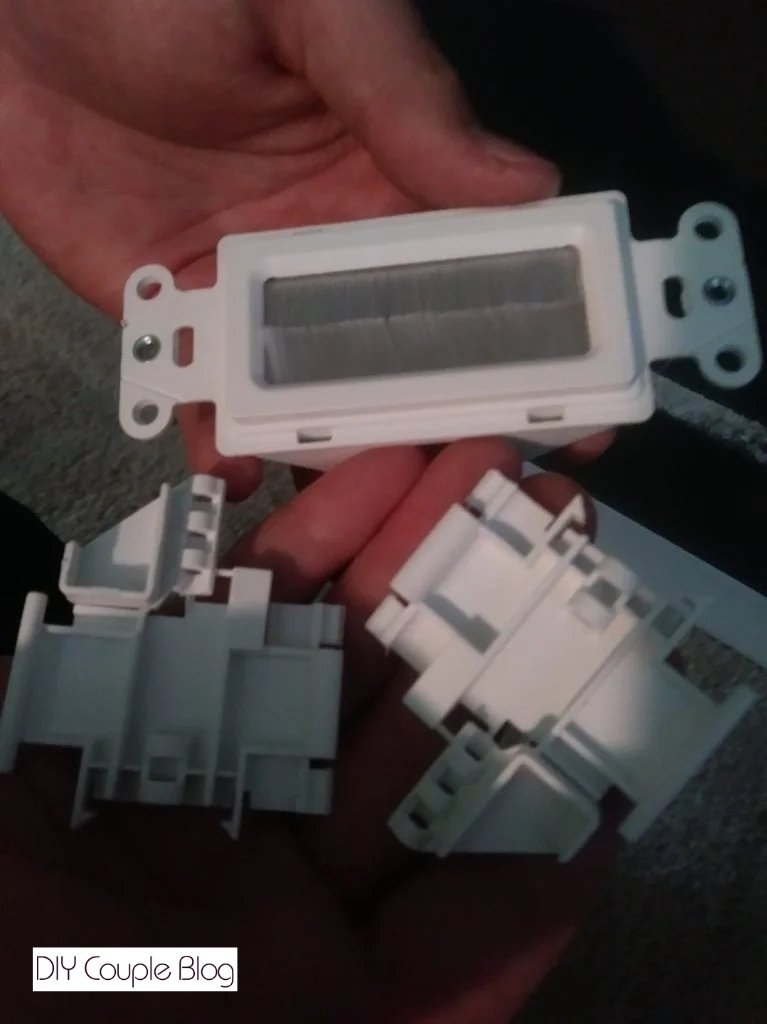
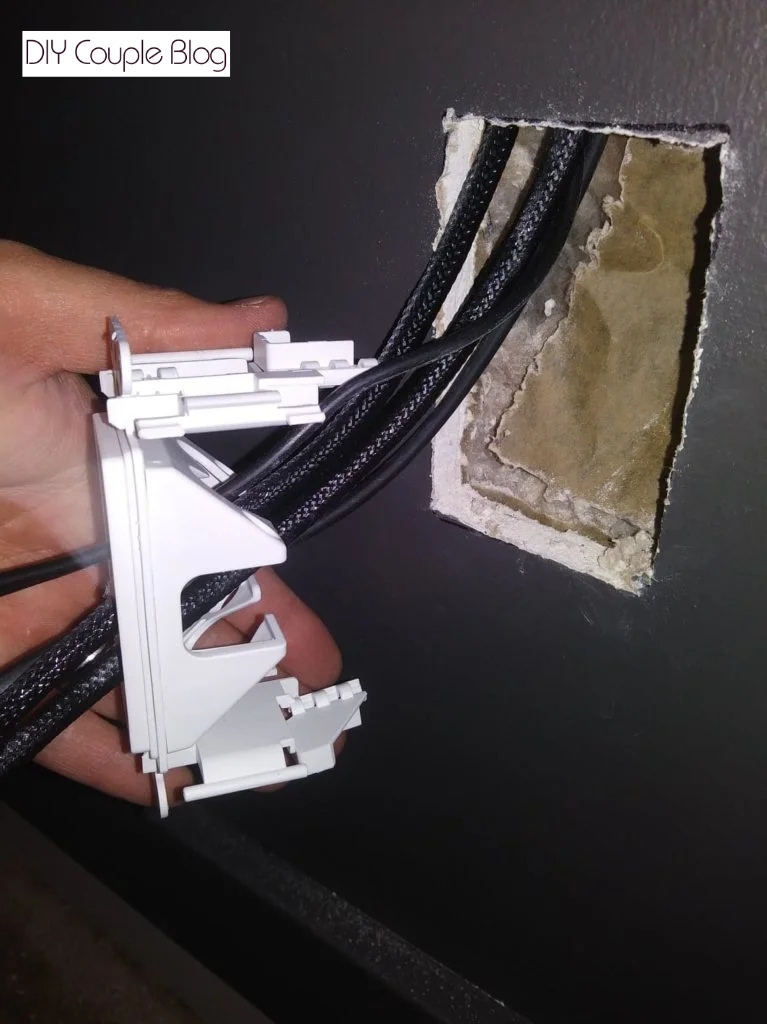
Attach the decorative trim faceplates.
Step 5: Power Up and Connect
Plug your TV’s power cord and HDMI cables into the upper module behind the TV.
Mount your TV onto its wall bracket if you have not already done so.
At the bottom module, use the provided extension cord (or one you have) to connect the lower outlet to your room’s existing wall outlet.
Connect your HDMI cables to your cable box, gaming console, or soundbar.
Enjoy Your Clean Setup
Turn on your television and enjoy the seamless look of a floating display and the visual appearance of hiding cables for a wall mount TV in the wall! By taking the time to route the wires through the wall properly, you create a sophisticated, professional focal point for your living space.
Final Thoughts: Hiding Cables for a Wall Mount TV
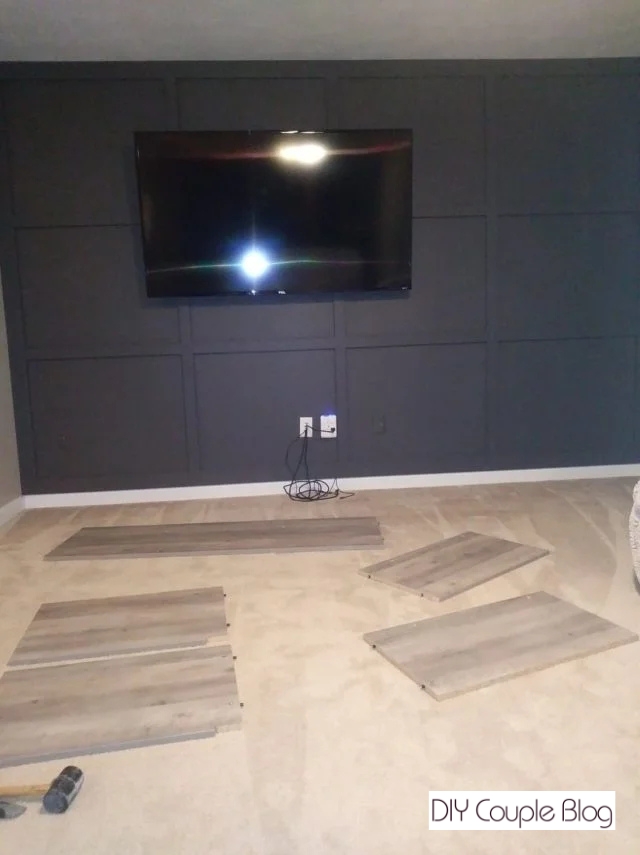
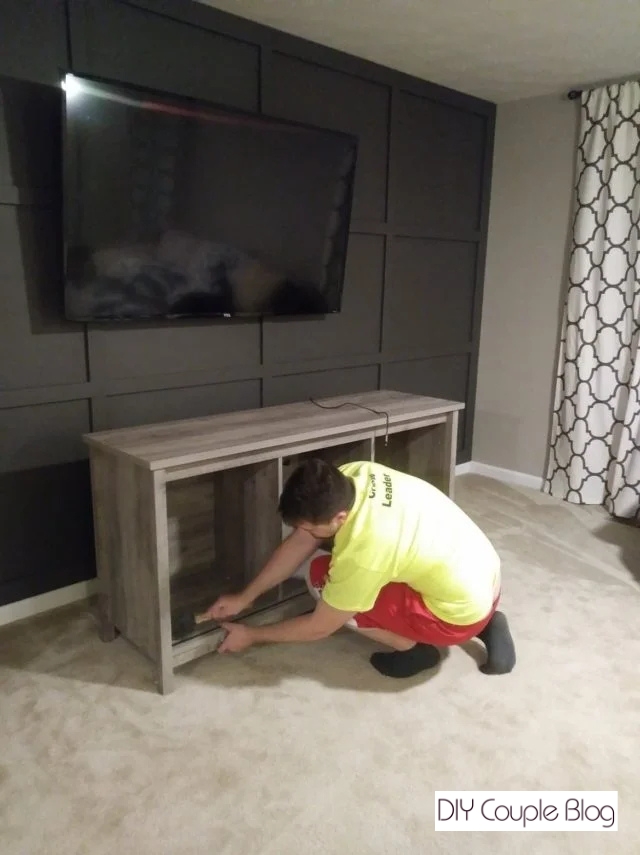
Once our flat screen was mounted and all the wires were hidden, we put together our new barn door TV stand. It’s taller than our old one and has much more hideaway storage for the electronics.
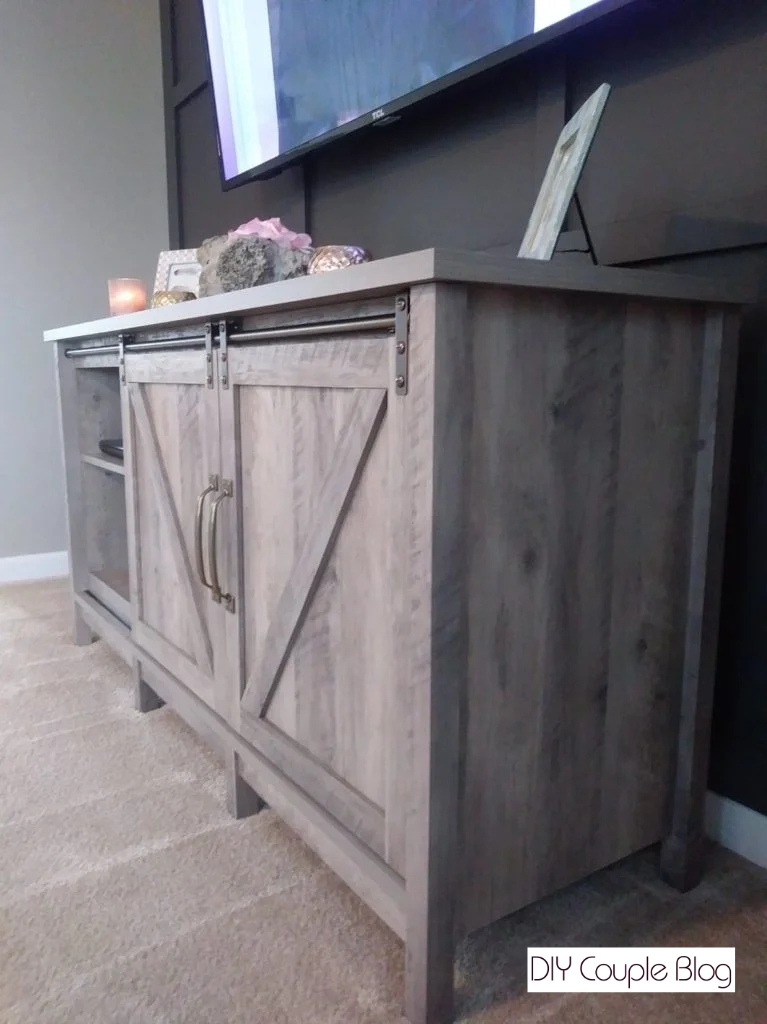
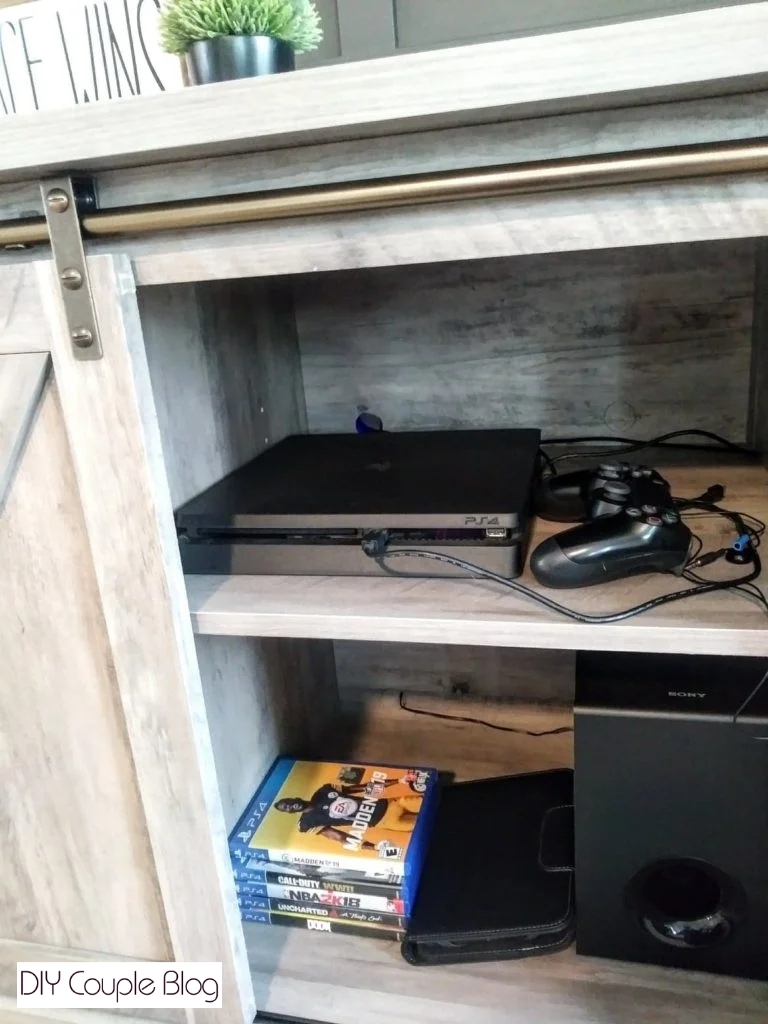
Since we’re talking about hiding things, while we were at it, I also picked up the matching sliding barn door cabinet. I hide all my books and movies behind the door. I keep the open side decorated.
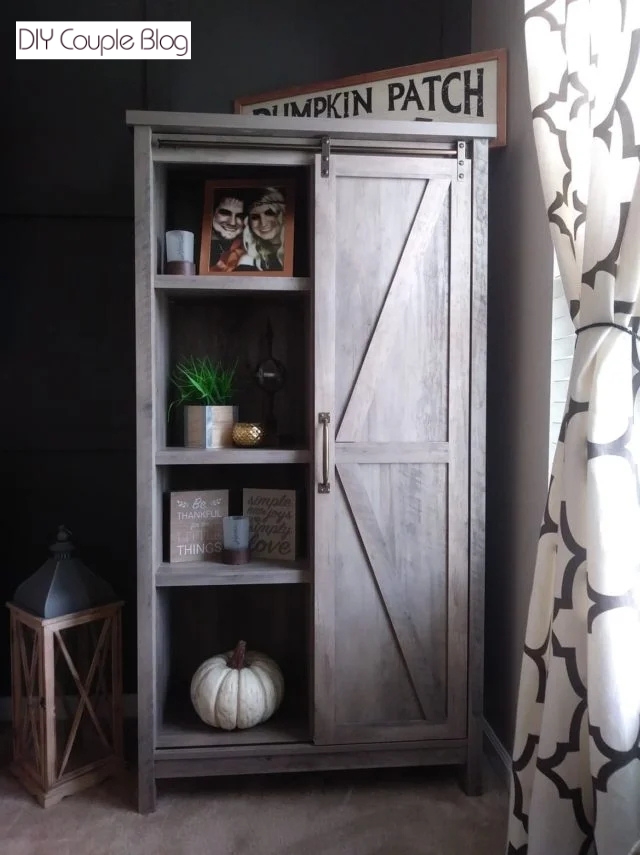
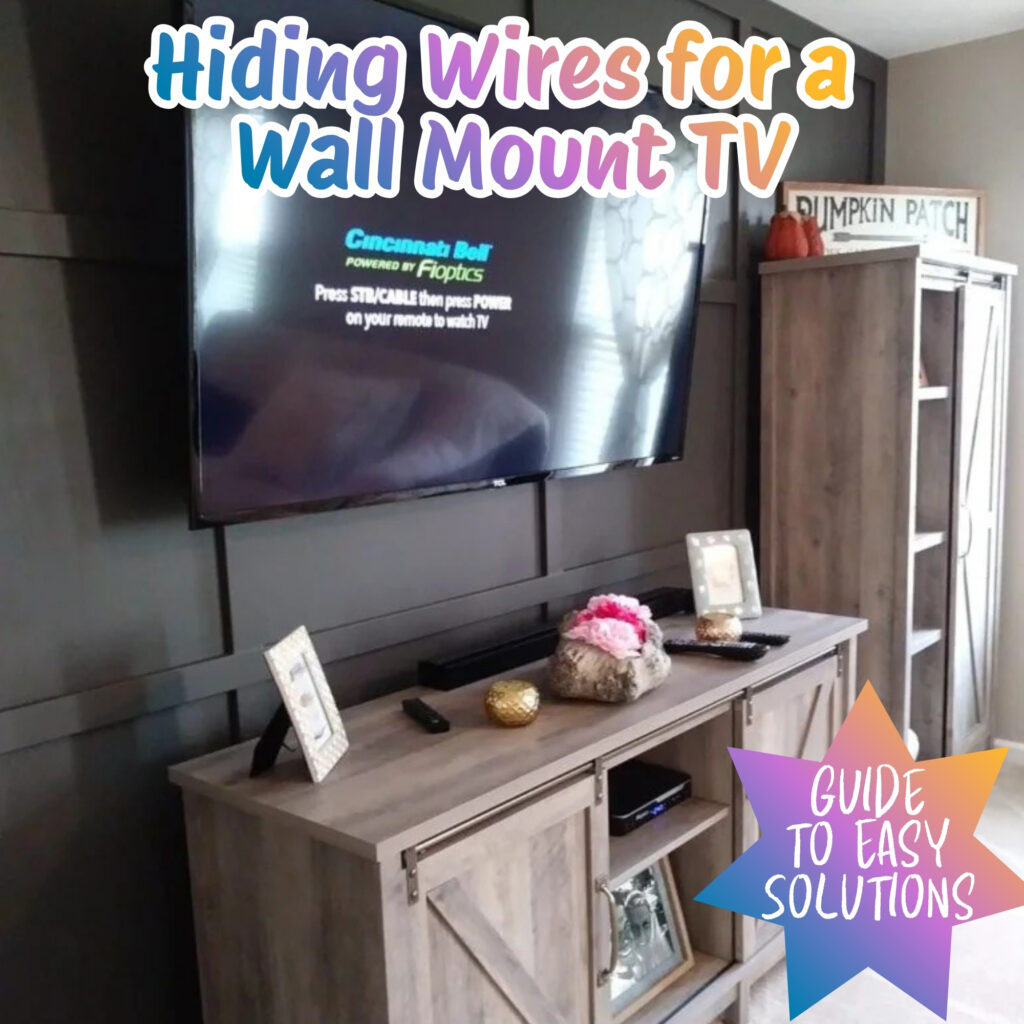
The new space looks completely upgraded with the television on the wall versus sitting on the TV stand and completing the final look with no cords showing at all. All Thanks to hiding the wires right in the wall!
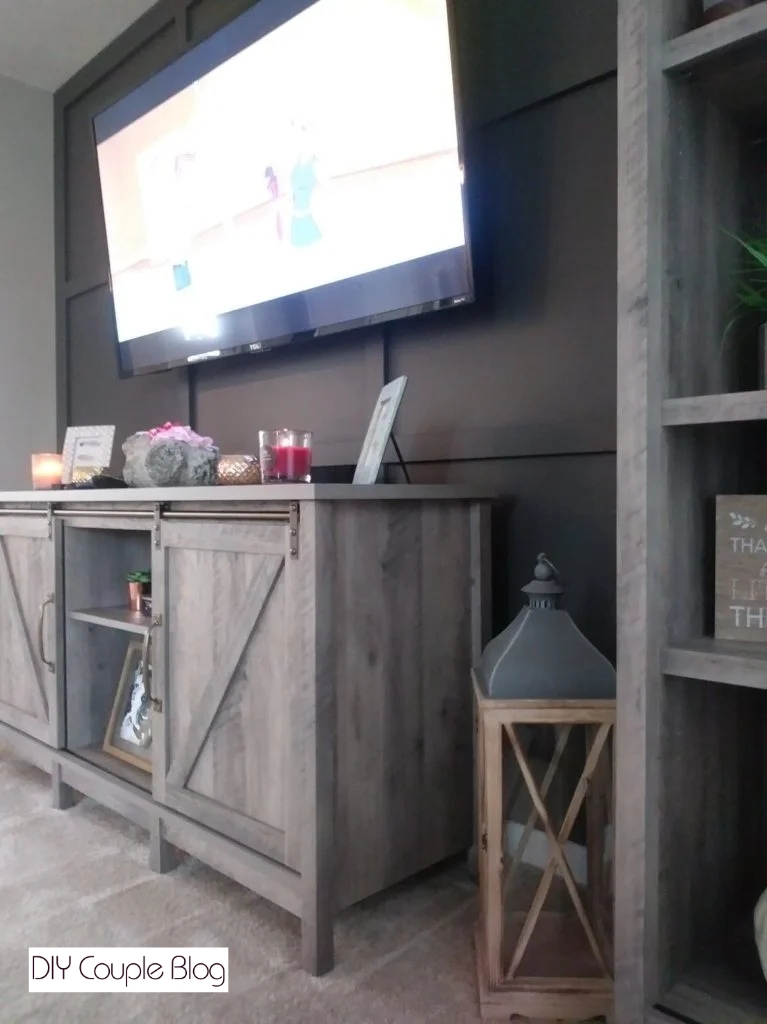
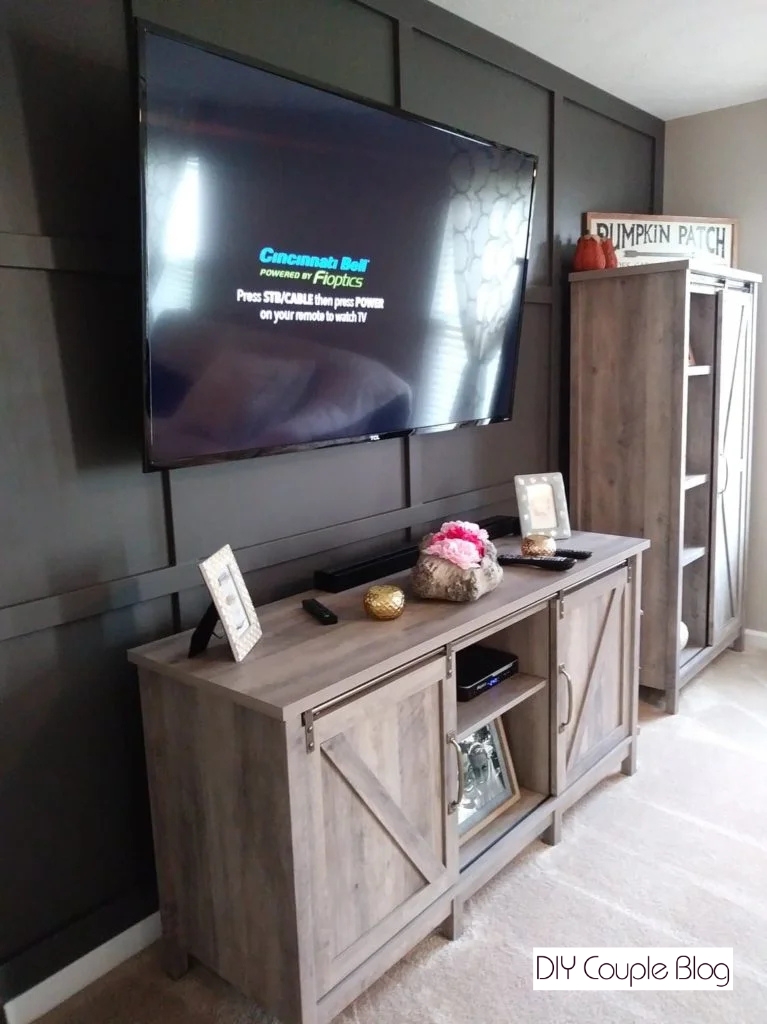
Hiding the cables for a wall mount TV is a small weekend project that makes a massive impact on your space. Whether you choose the quick fix of a painted cord cover or go all-in by routing cables behind the drywall, eliminating visual clutter instantly elevates the room. Choose the method that fits your budget and DIY comfort level, and enjoy your clean, refined new setup!
You may also like: