This post may contain affiliate links, which means we'll receive a commission if you purchase through our links, at no extra cost to you. Read the full disclaimer here:https://diycoupleblog.com/disclaimer/
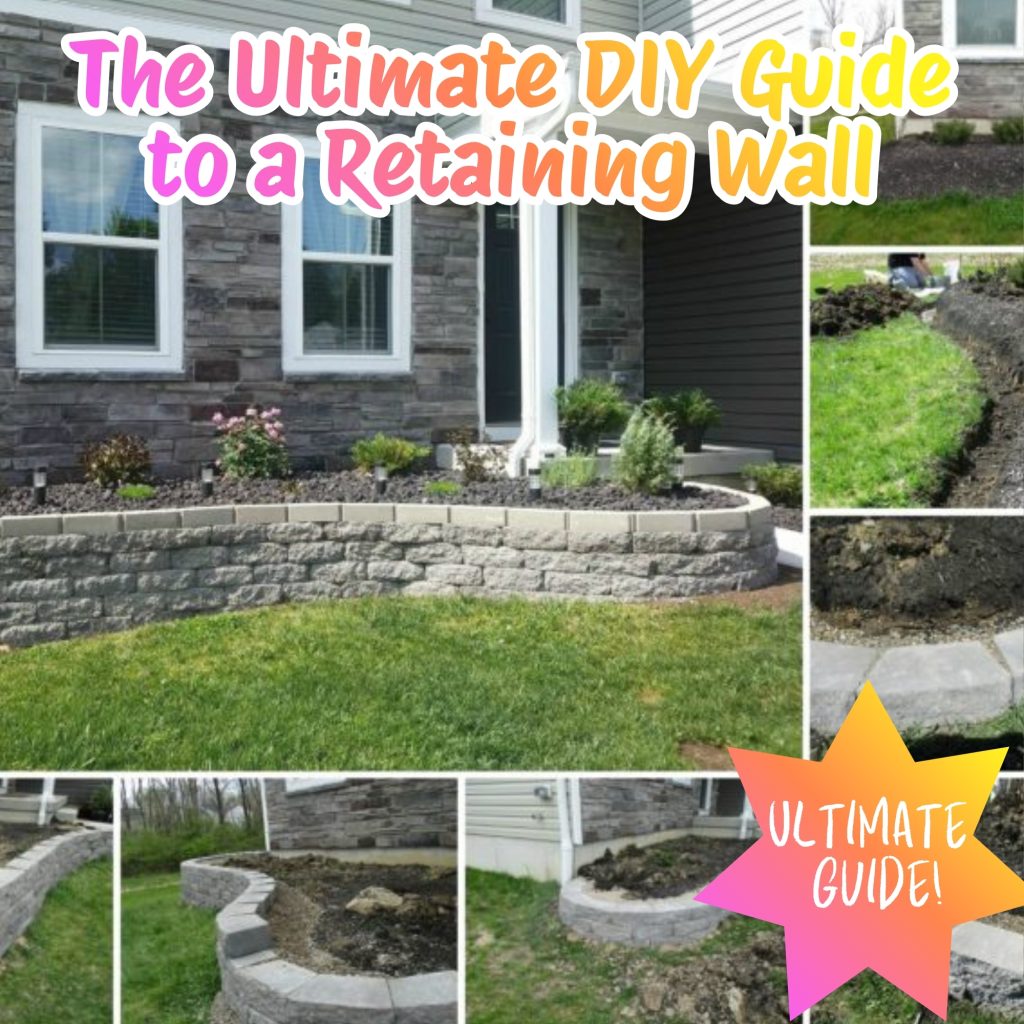
A retaining wall is the ultimate weekend warrior project. It tackles erosion, sloped yards, creates usable garden space, and adds serious curb appeal. Stick around for an easy guide to choosing and stacking stone for retaining walls.
Building one yourself might look intimidating, but it comes down to two main skills: choosing the right material and mastering the art of the stack. Get that right, and your wall will stand strong for decades. Get them wrong, and gravity will reclaim your yard.
This comprehensive how-to guide helps walk you through every step, including selecting your stone as well as stacking it.
Selecting the right stone for retaining walls involves balancing structural needs, your budget, and the architectural style of your home. The right choice ensures your wall stands the test of time against soil pressure and shifting weather.
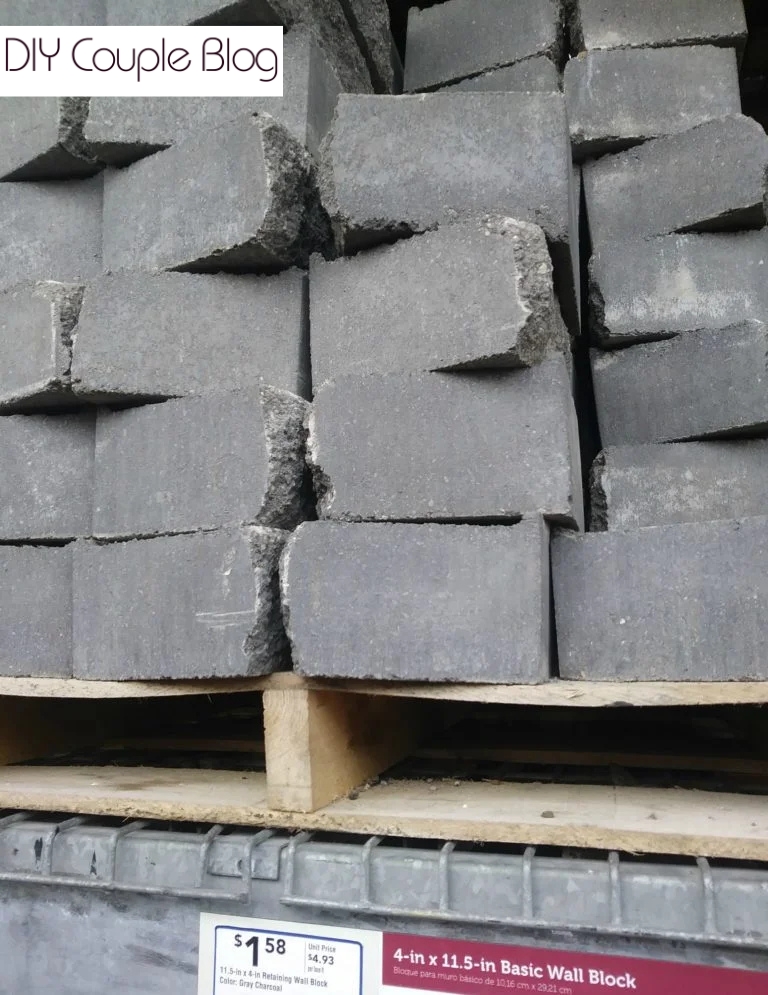
These are the most popular stone for retaining walls among DIYers & for high walls because they feature rear lips or pinning systems that automatically create the necessary backwards slope (batter) as you stack them.
The pros for this type of block are they have an interlocking system, highly durable, and budget friendly.
If you want a timeless look, choosing natural stone for retaining walls provides a premium and rustic aesthetic feel. However, because natural stone have irregular shapes, you will spend more time fitting them together like a puzzle.
Pros for natural stone are they will last for centuries and have an unmatched natural beauty.
Unforunately, the cons are it’s very expensive, labor intensive, and requires much more masonry skills.
A fantastic modern alternative where you fill steel wire cages with angular stone for retaining walls. They offer built-in drainage, preventing the hydrostatic pressure that causes other walls to fail.
The pros offer no mortar needed and excellent erosion control.
The cons are heavy lifting is required and has more of an industrial look.
The Essential Retaining Wall Blueprint
Gravity retaining walls rely soley on the weight of the stone for retaining walls to hold back the dirt. Understanding this is crucial when designing and tackling a large project like a retaining wall since it’s not anchored.
The anatomy of the wall consists of the buried base, your stone, the gravel backfill for drainage, and a filter fabric if you choose to separate the gravel backfill and the dirt.
Planning Your DIY Stone for Retaining Walls Project
Layout: Designing a Retaining Wall
First, start by taking some measurements of your desired height and width to get an idea of materials before you head to your local home improvement store.
To try to determine how much stone for retaining walls you will possibly need per row, divide the total length of the wall by the length of a block.
To discover about how many rows you’ll need, divide the ideal wall height by the height of a block. Don’t forget to account for buried or partially buried blocks for your base level.
To cover all bases, before you begin buying required materials or begin installing a retaining wall, check local building codes and your homeowner’s association regulations to see if there are any restrictions or requirements you need to follow. A permit may be mandatory in some areas.
Another handy tip: buy more block than you plan to use. The excess should account for breakage, chipped blocks, or measuring shy of what’s needed.
Stone for a retaining wall can be heavy to work with, so wear a back support if necessary. When laying your retaining wall foundation, a kneeling pad can be helpful as well. Enlist a helper to share the work. It could be an option to have the materials delivered.
Essentials Supplies for a Stone for Retaining Wall
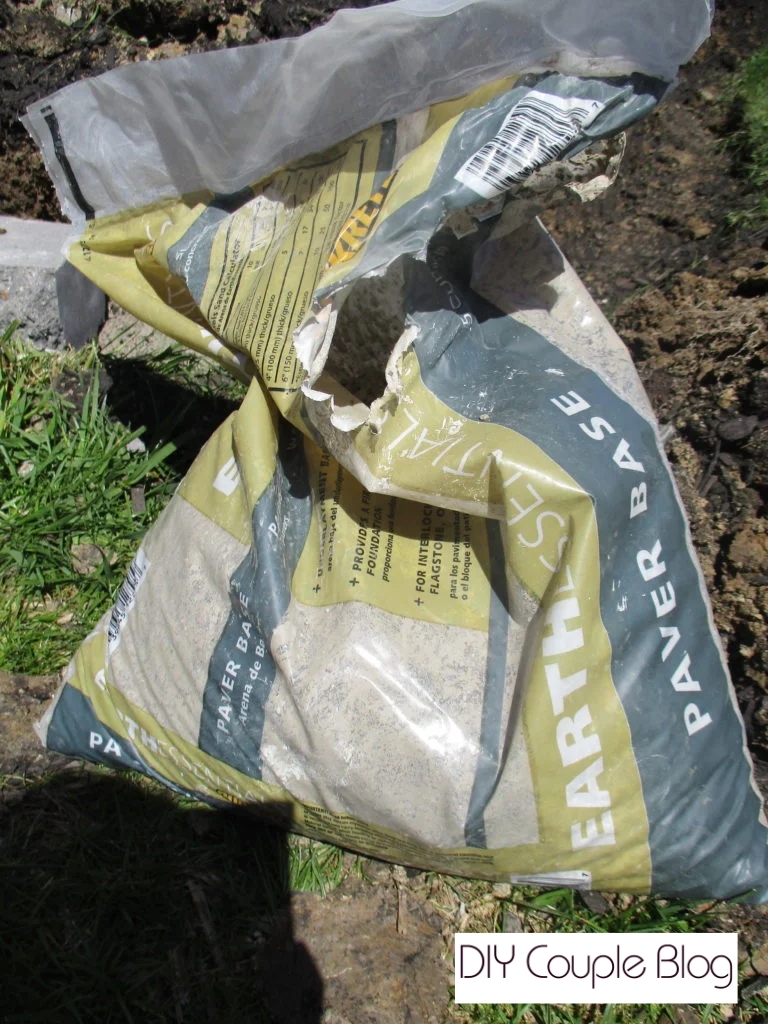
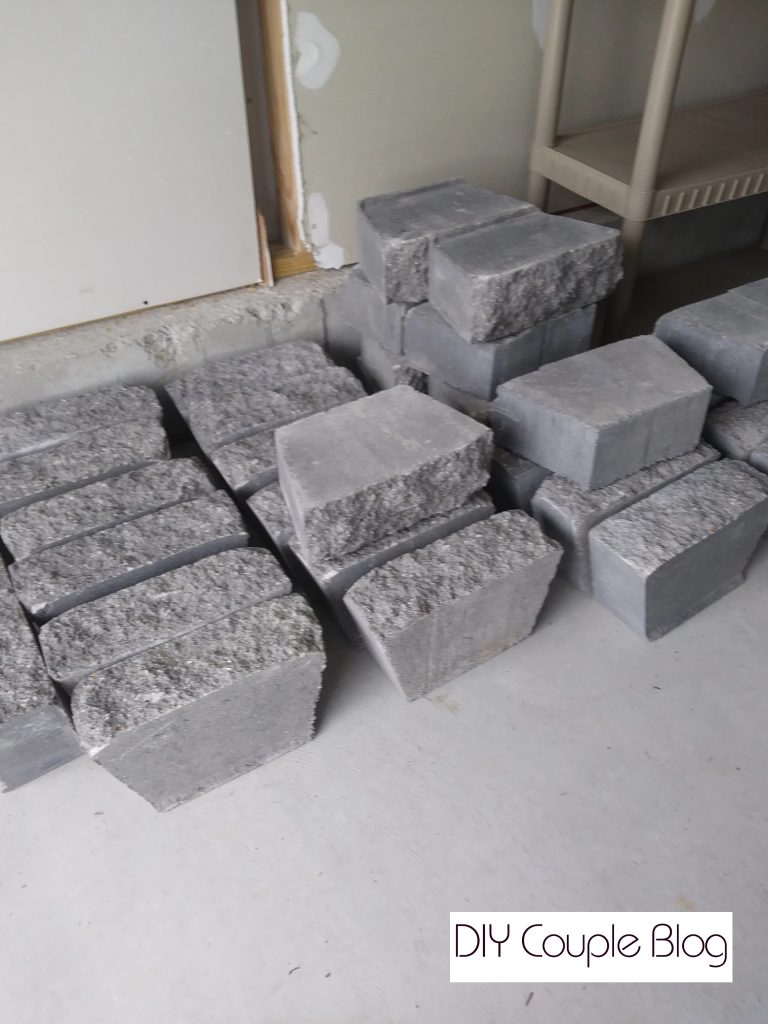
Pea GravelPaver BaseRetaining Wall concrete block stones
Step-By-Step Installing Guide for a Stone Retaining Wall
Disclaimer: We are DIYers, not licensed professionals. Always consult with a qualified professional and follow manufacturer guidelines for your specific project.
Prepping for a DIY Retaining Wall:
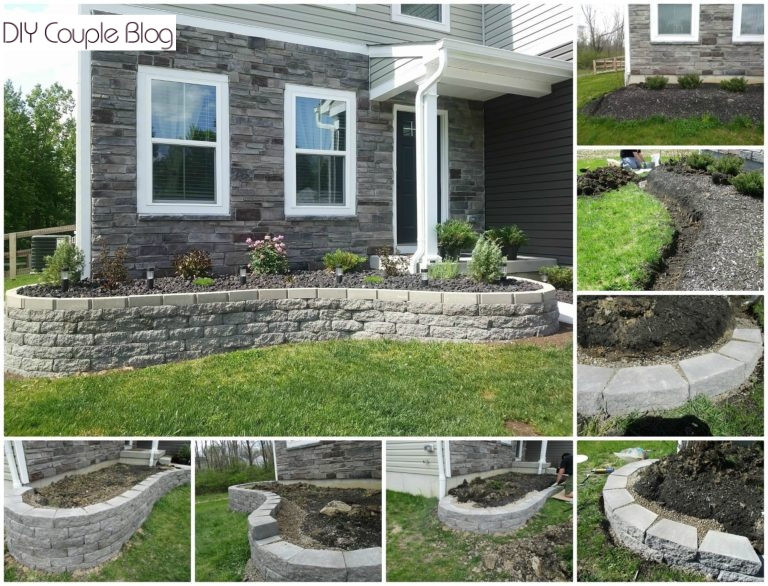
Now that you have a plan in place for your retaining wall layout, you can begin to prep the area and begin building the retaining wall. Here’s how.
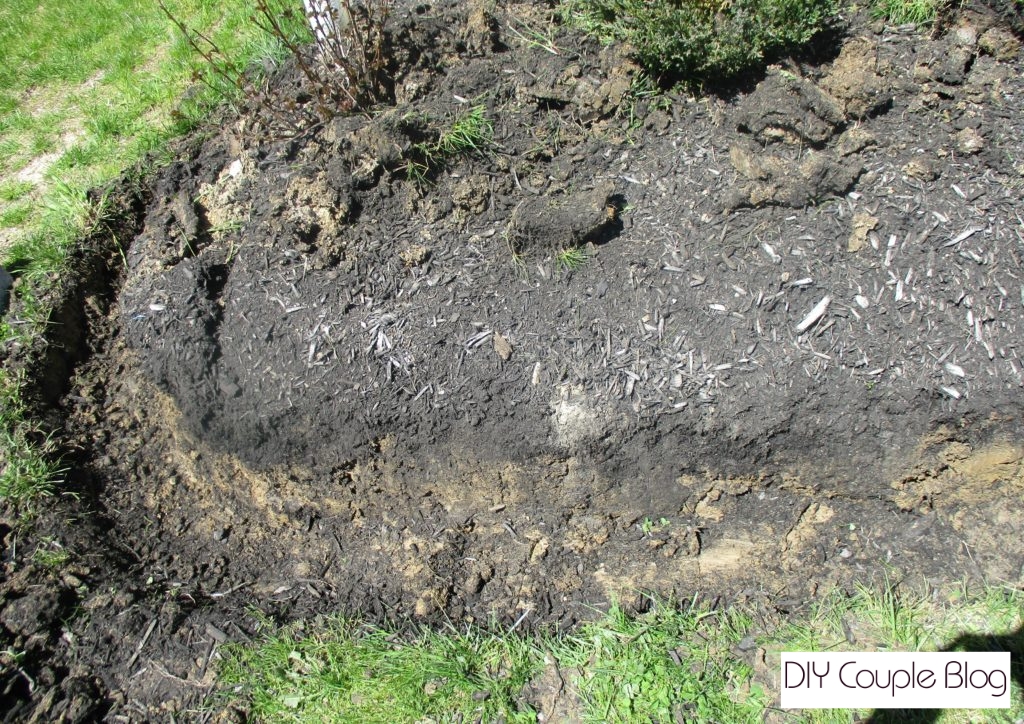
Dig for the First Row of Block for Your Stone Retaining Wall:
Start by preparing your retaining wall foundation.
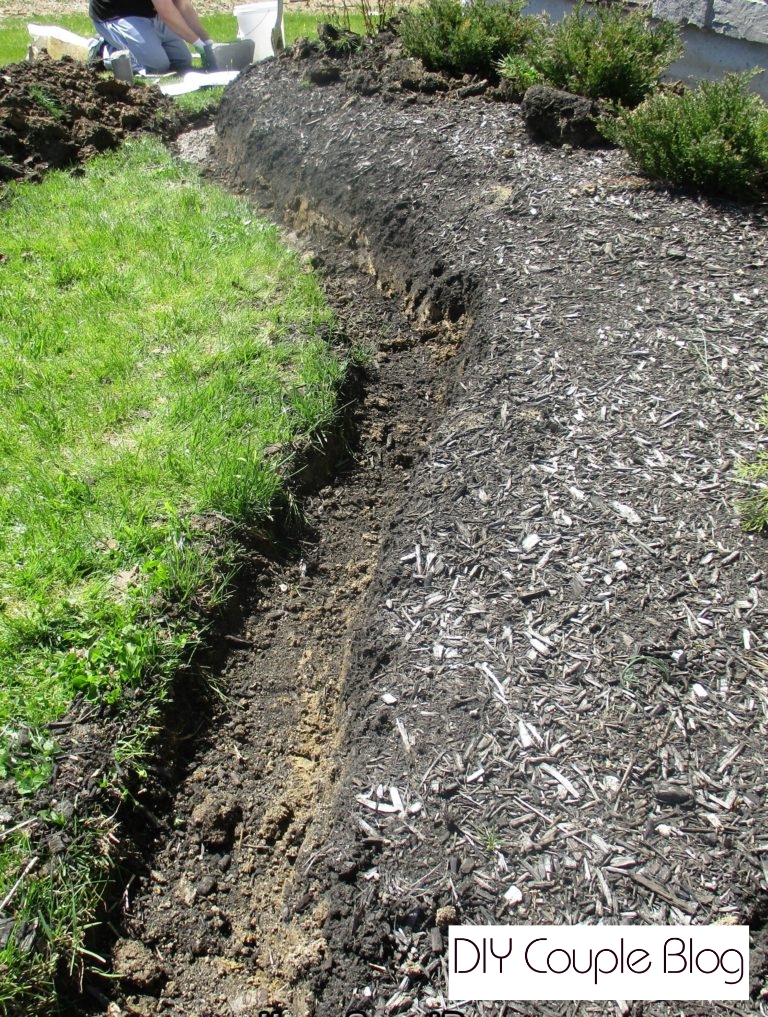
Trench Width:
Begin by edging around your chosen location and digging out a trench that is several inches wider than the width of your retaining blocks (it is recommended to make the trench at least 6 to 12 inches wider than your block size which provides necessary working space, nicely allows for minor adjustments, and accommodates gravel backfill for drainage.
Trench Depth:
Dig your trench one inch deep for every eight inches tall (minimum). Be sure to add an additional 3 to 4 inches for your level pad (paver base).
Adjusting for Sloping Ground:
With all that in mind, if you do not have a slope to work with it will be much easier. Our retaining wall is on a slope. Walls built on a sloping grade will require a stepped base approach.
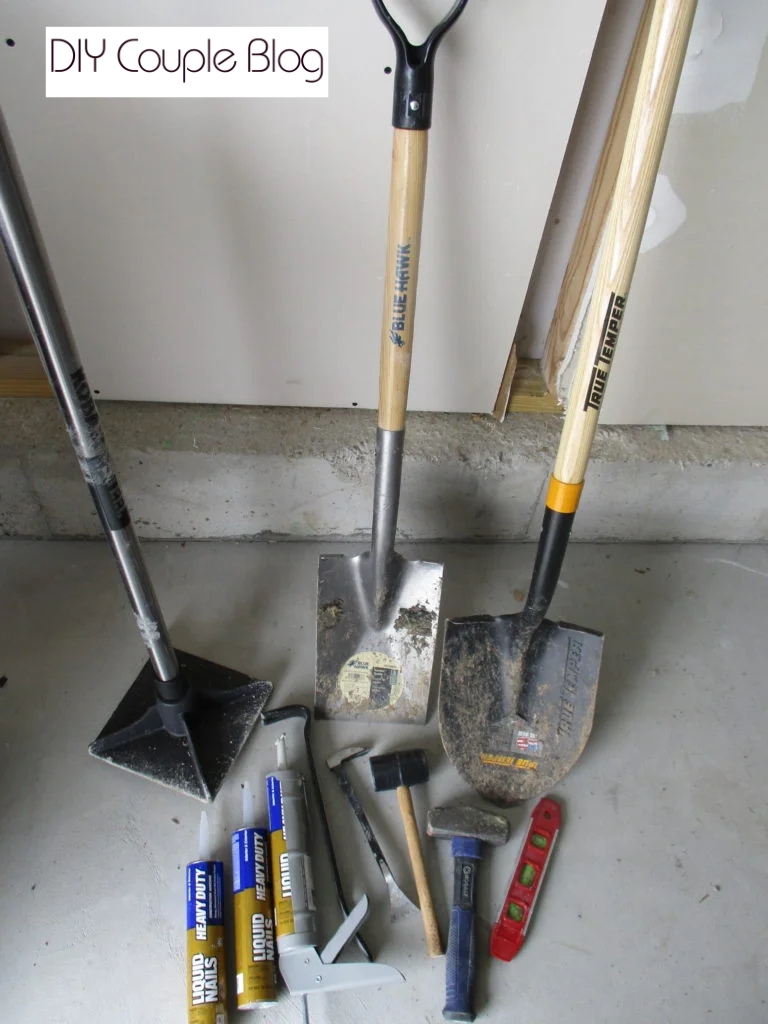
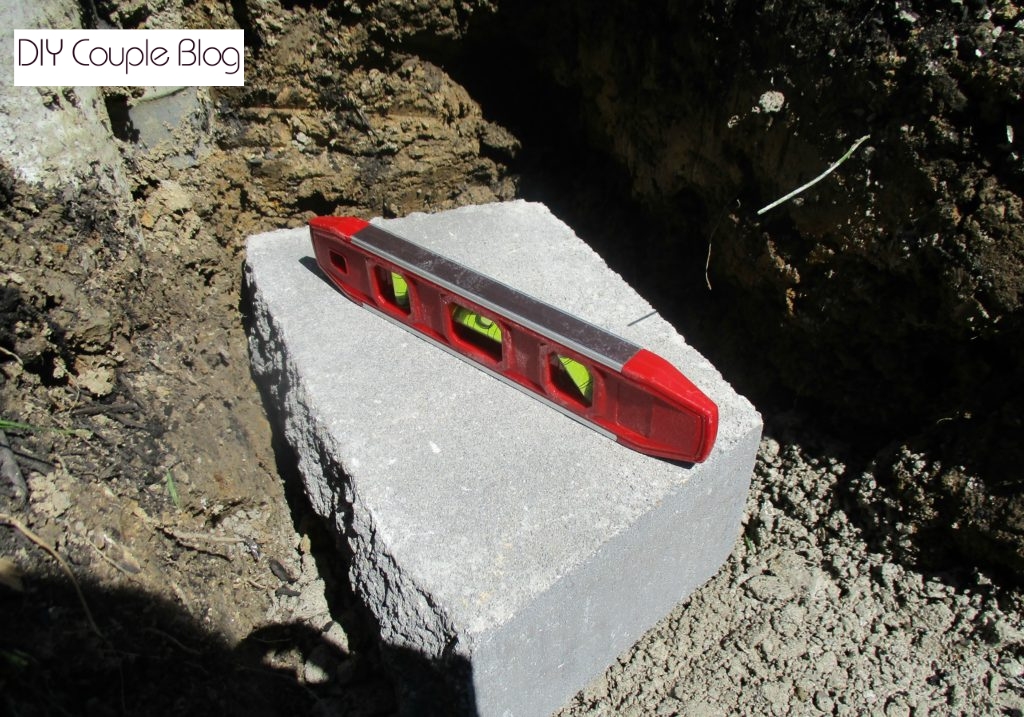
You will have to step up or down to keep the blocks level. A torpedo level is a helpful tool to create steps so that each section of your wall remains level.
This is an important part in making a retaining wall on a slope — you do not want the wall to run parallel to the slope. Lay blocks on the lowest step, then you will move up to the next step, ensuring the blocks on the new tier are level with the rest of the course.
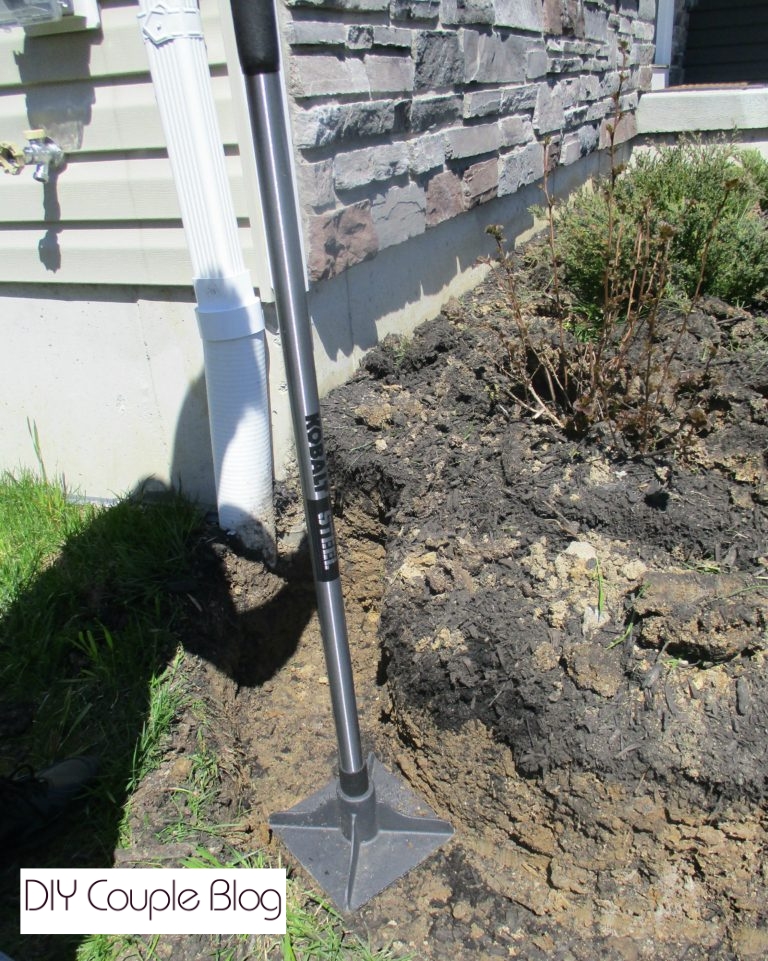
Level the Ground:
Using your Tamper Tool, Stamp down your trench you dug to ensure you have a flat level surface to start.
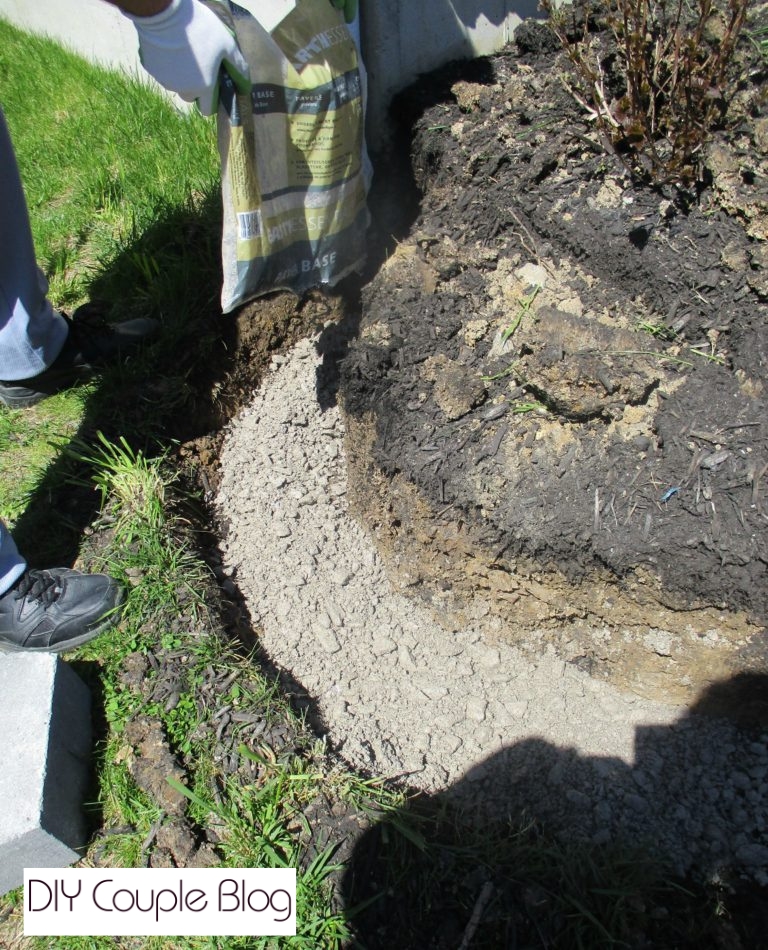
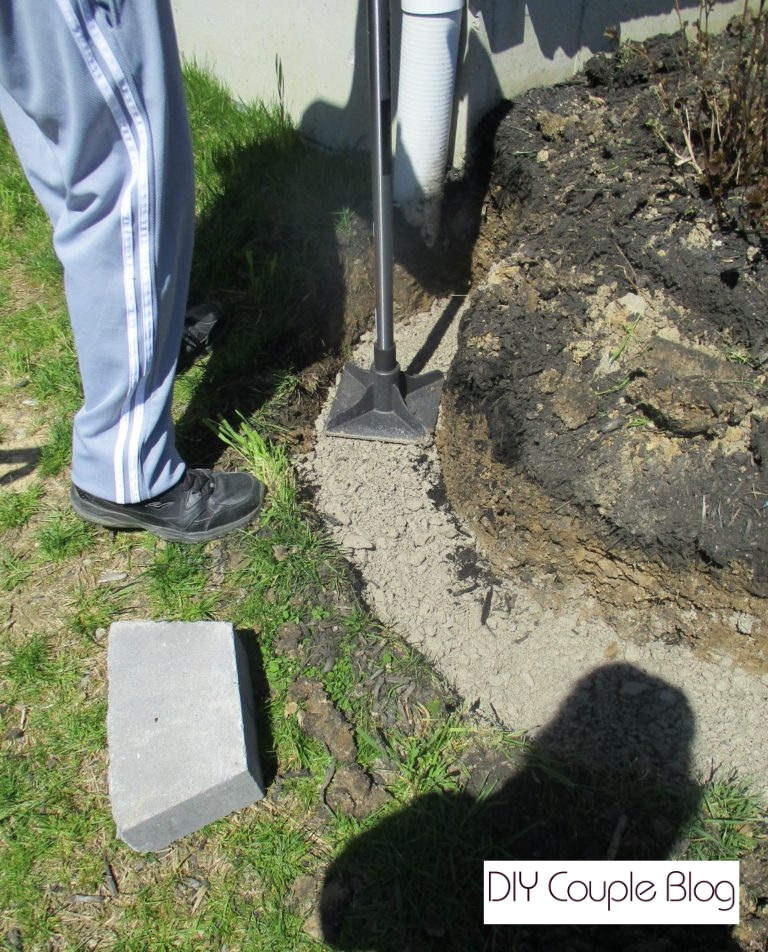
Paver Base:
Pour your paver base in the trench (about 3 inches) and re-stamp it to compact and level the surface once again. Once it’s level, you can begin installing the block.
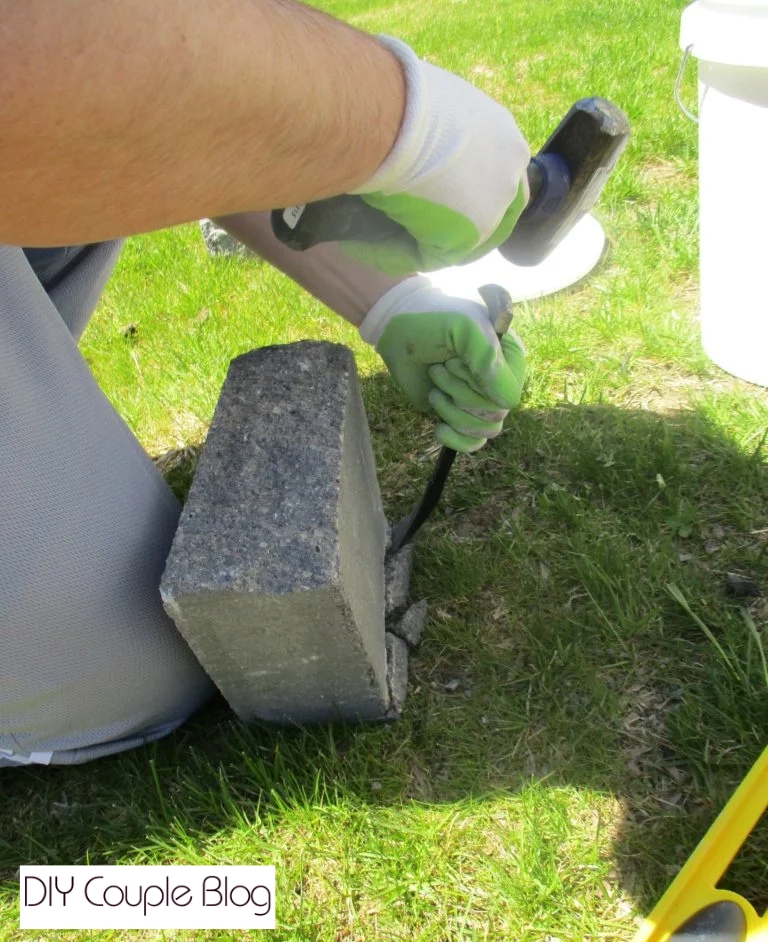
Lay the First Row:
Starting with row one, knock off the lip of the block with a chisel and a small sledgehammer, that way each block will sit flat. Use safety glasses and gloves for precautionary measures when you chisel the blocks.
Interlocking lips on the blocks (tongues) are engineered to prevent the upper rows of block from sliding forward under the weight of the soil.
This next step we did is optional depending on what kind of structural support you are needing for your specific retaining wall.
On top of removing the lip in the first row, we chose to remove the lip off the rest of the rows (which worked well since our purpose was for a flower bed).
For walls over 2 to 3 feet high or those that bear heavy pressure and weight, you should most definitely opt for keeping the lip on the wall block and consult the block manufacturer’s guidelines taking into account the products specifications and capacity.
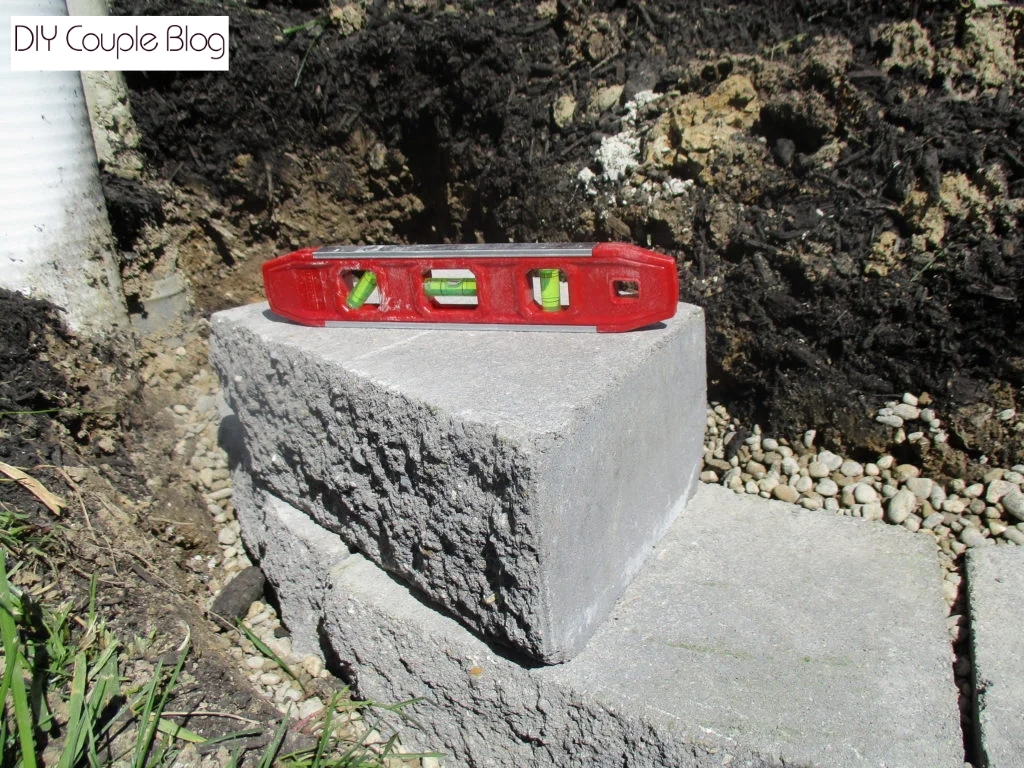
Start Leveling the First Block and Onto the Rest:
Beginning at the end of the trench at the lowest elevation, set the first block in place and using a mallet and a level, ensure the first block, and each one after is positioned level. Make sure each block being positioned is even with the first.
For low blocks, fill in under them with paver base and for high blocks, tap down as mentioned with a rubber mallet.
The mallet is useful for refraining from damage while you are hitting the block into place.
Keep in mind, it’s crucial that your first row is completely level for the rest of the layers to sit right.
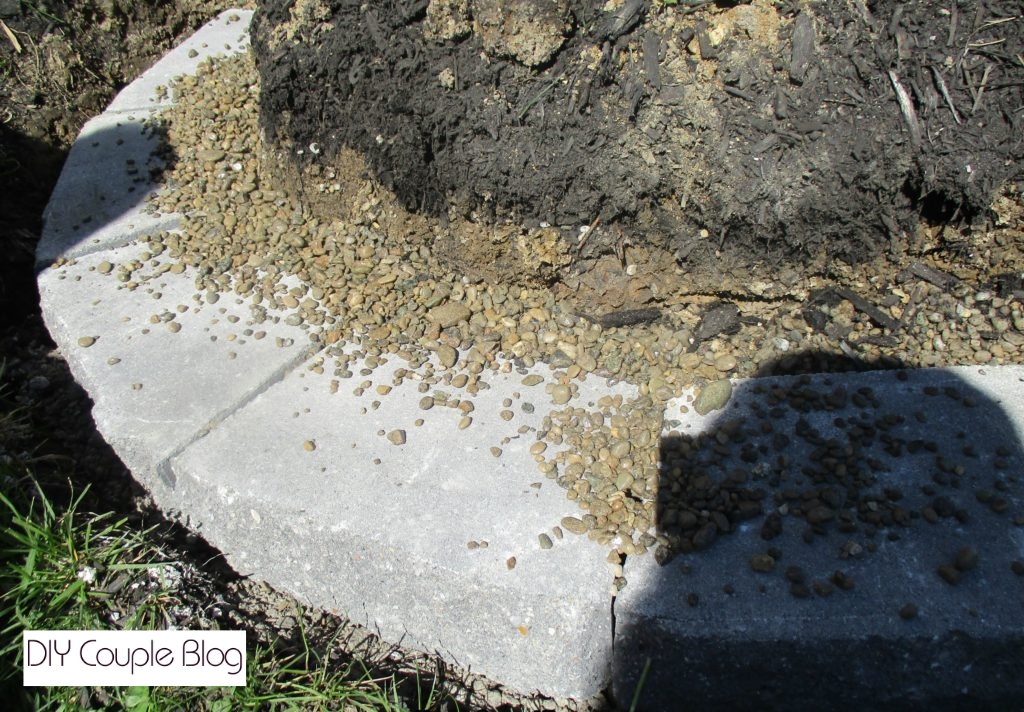
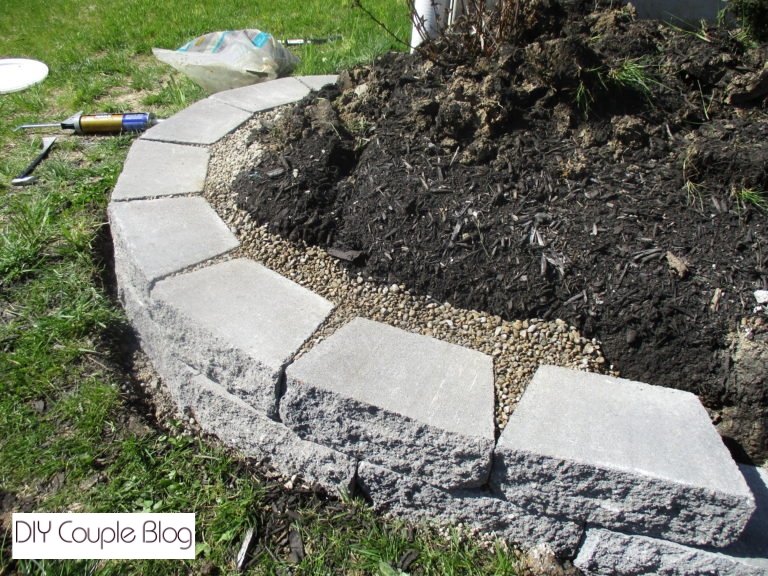
Stone For Retaining Walls Gravel Backfilling and Drainage:
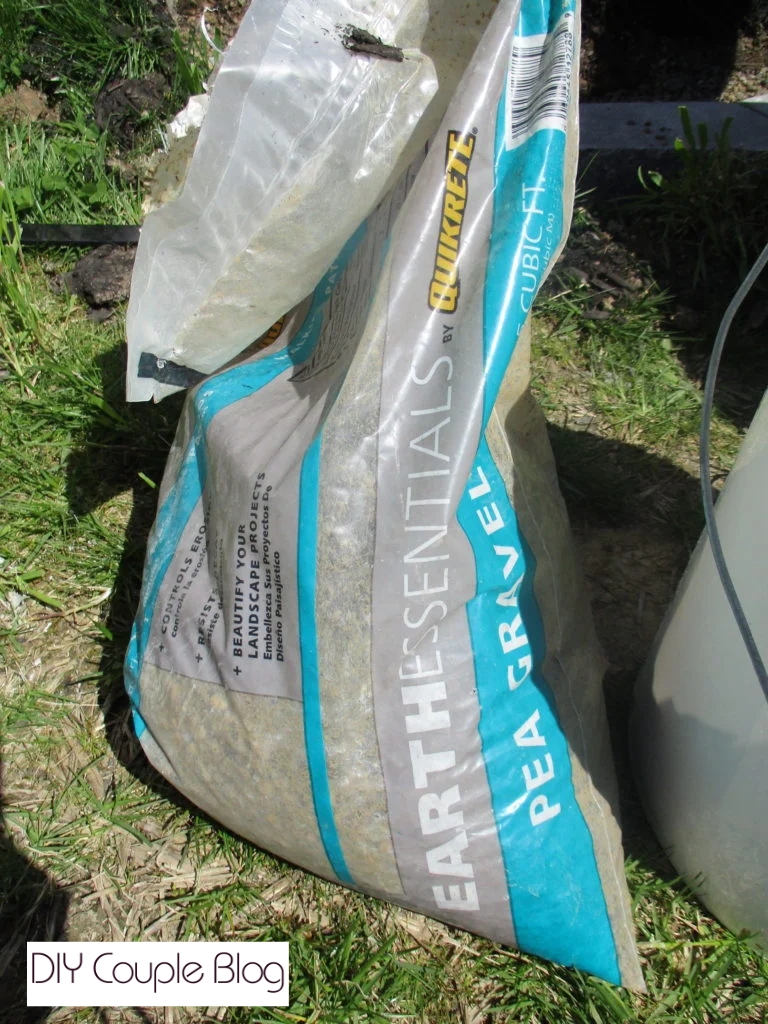
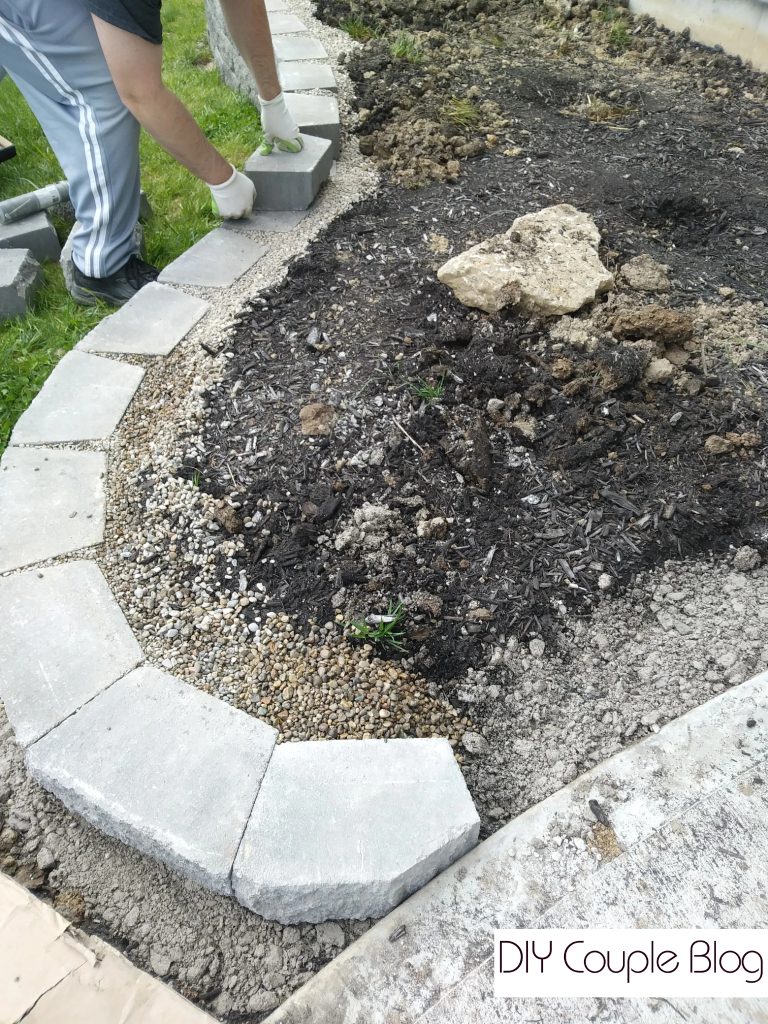
Once you we got our first row in place, we used pea gravel to fill behind the block for drainage. Always double check the manufacture requirements for your specific wall (typically 12 inches is standard). Since we did a small flower bed, we used roughly 5 inches behind the retaining block.
However, because the pea gravel is small and rounded, it lacks the interlocking strength of crushed angular stone. It is best suited for shorter or less structural walls.
Backfilling with gravel in the first row of a retaining wall is vital for water management and stabilizing the base of your retaining wall.
It constructs a highly permeable channel that stops water from pooling and pushing against your retaining block wall.
You will be repeating this pea gravel backfilling step on each row as you stack upward.
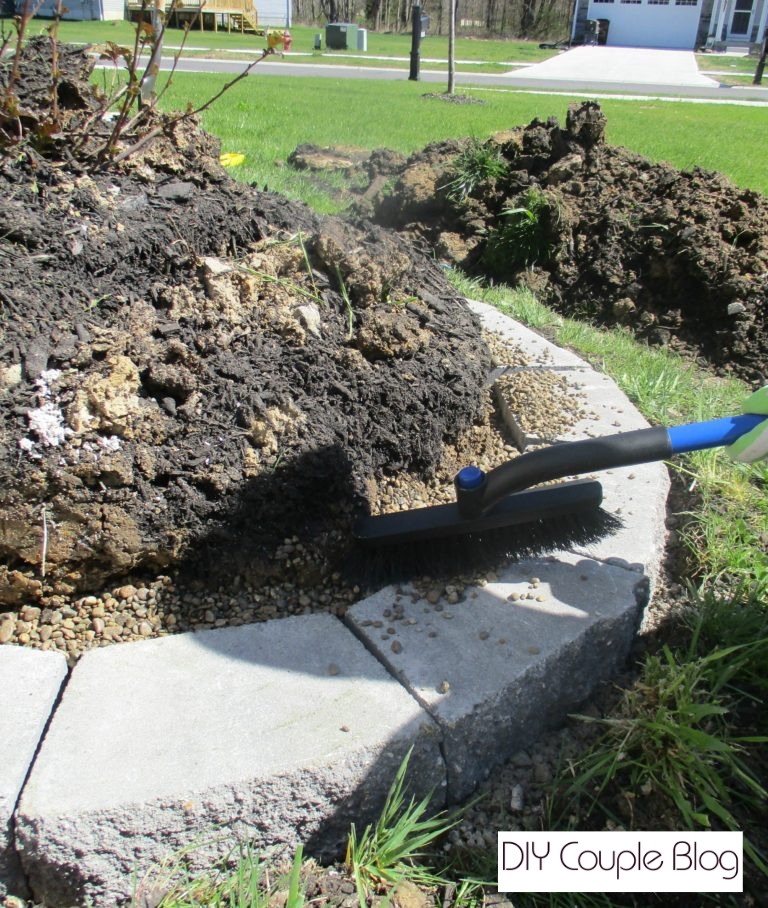
[Useful tip]Use a soft brush to sweep excess gravel off the top of concrete retaining blocks.
Continuing to the Second Row:
For maximum structural integrity and to help with distributing the weight you’ll want to offset the joints.
As you lay the second and consecutive courses, stagger the blocks so the vertical seams do not line up with the blocks directly below it.
Start the second row a half a block until you’ve reached your final height, while continuing using pea gravel backfill as mentioned above as well as leveling and hitting in place if needed.
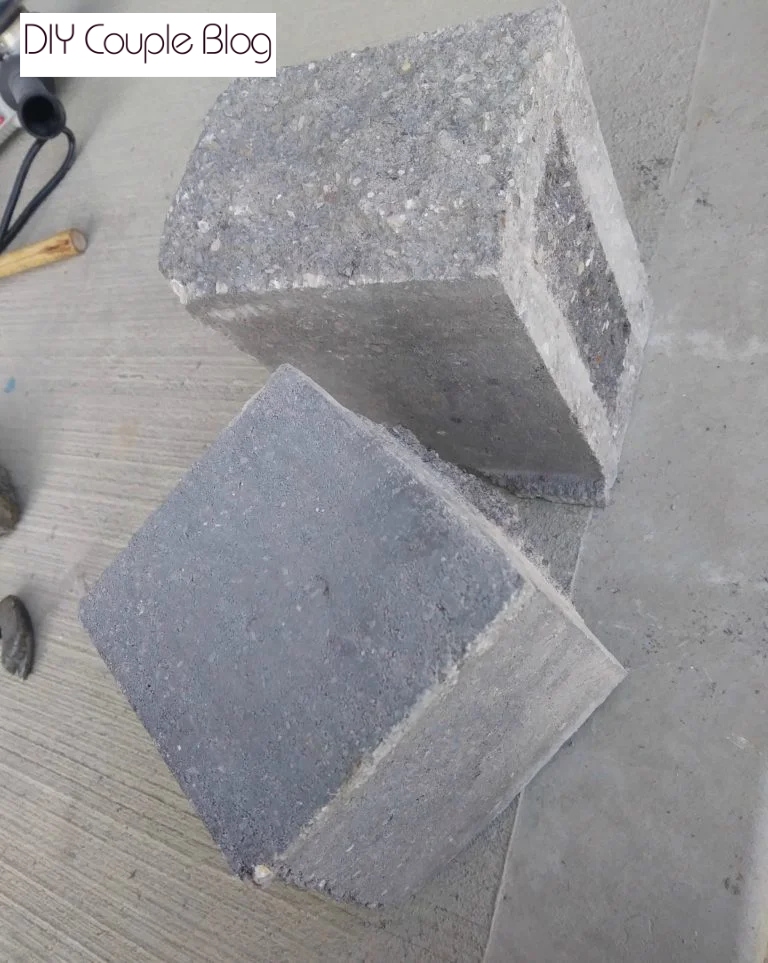
Where needed, due to offsetting your rows a half a block you will have to cut a few blocks in half as end pieces and may also need to cut blocks to meet any other specific design needs.
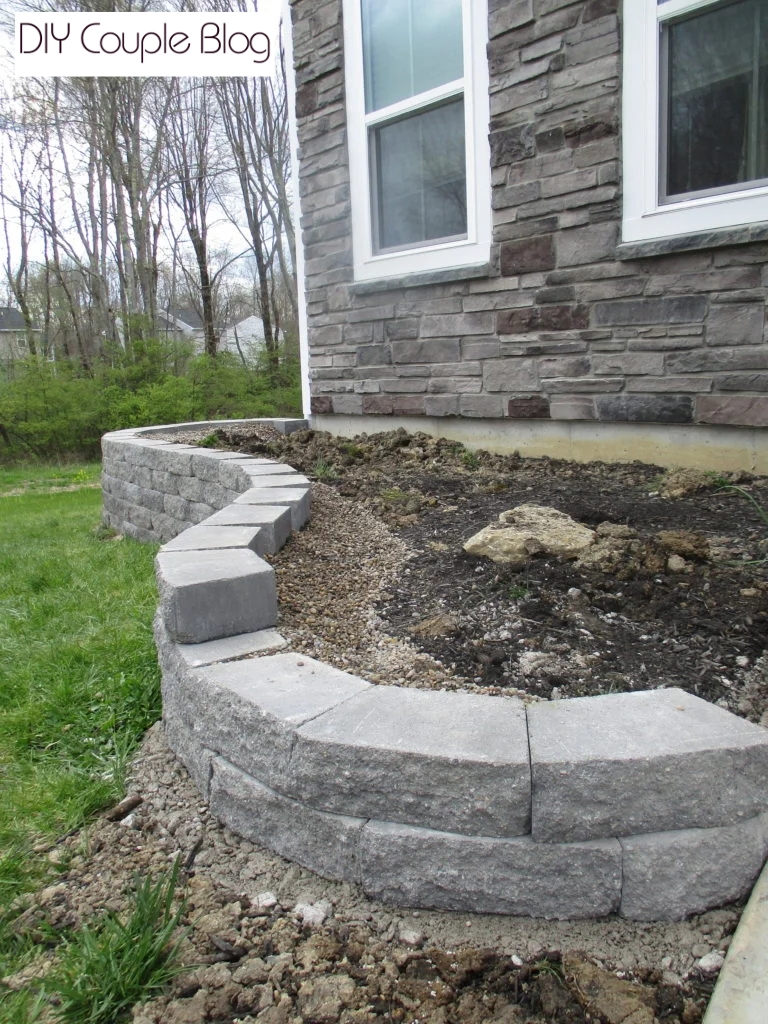
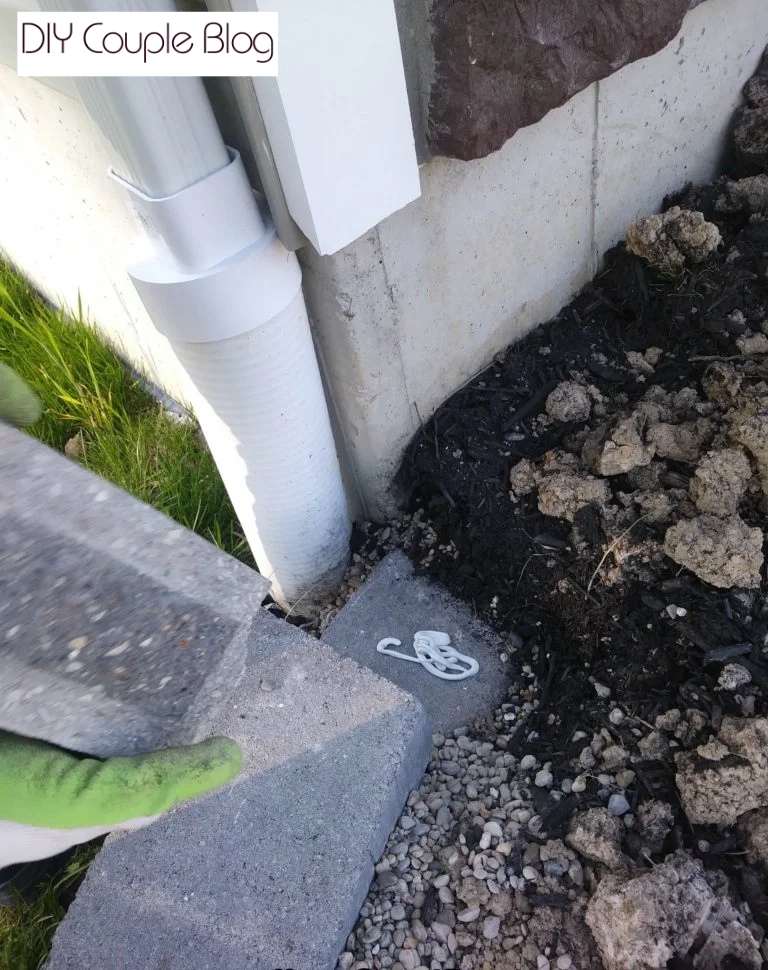
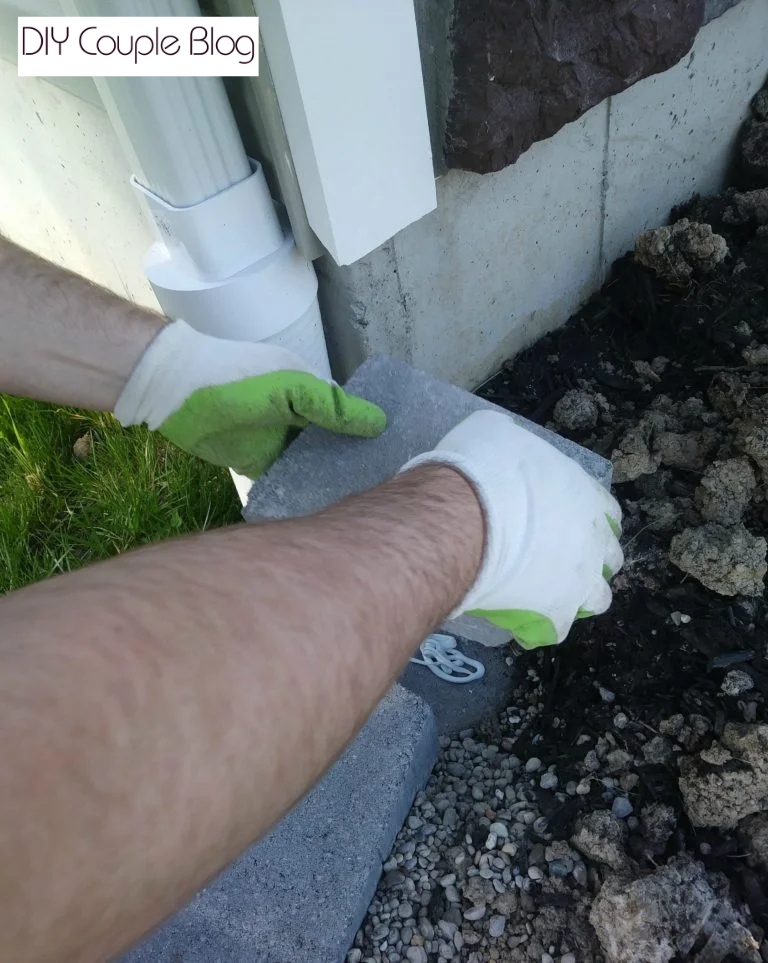
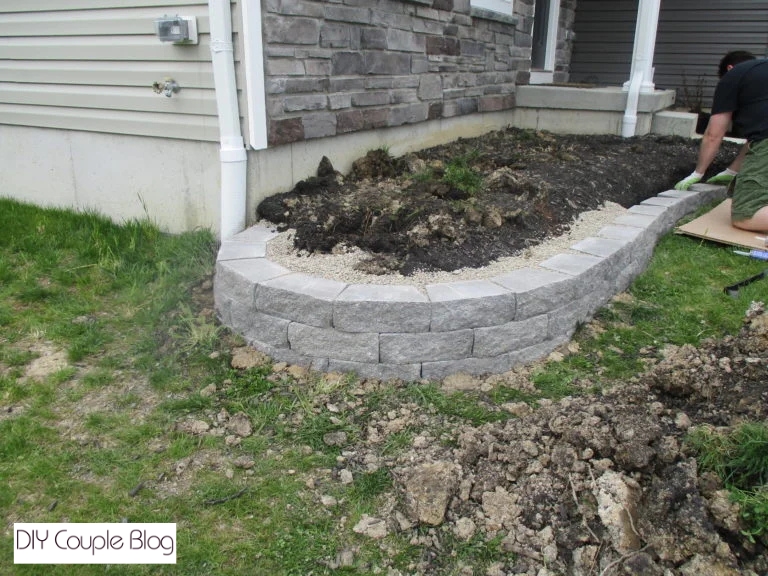
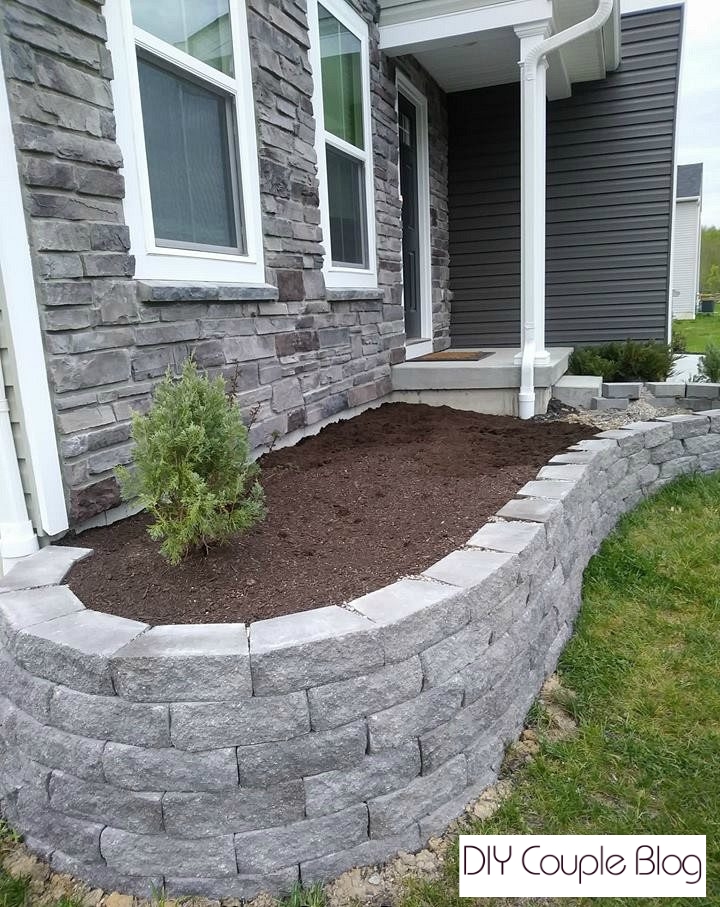
For example, In our design we chose to take the retaining wall all the way to our walk way so we had to cut the bottom stone that meets up to it precisely to fit against it, taking a small corner off. You may not need to do this.
Round Flower Bed Shape Design Cut Concrete Block to Fit against Walk WayContinued With Stacking Garden Wall Blocks
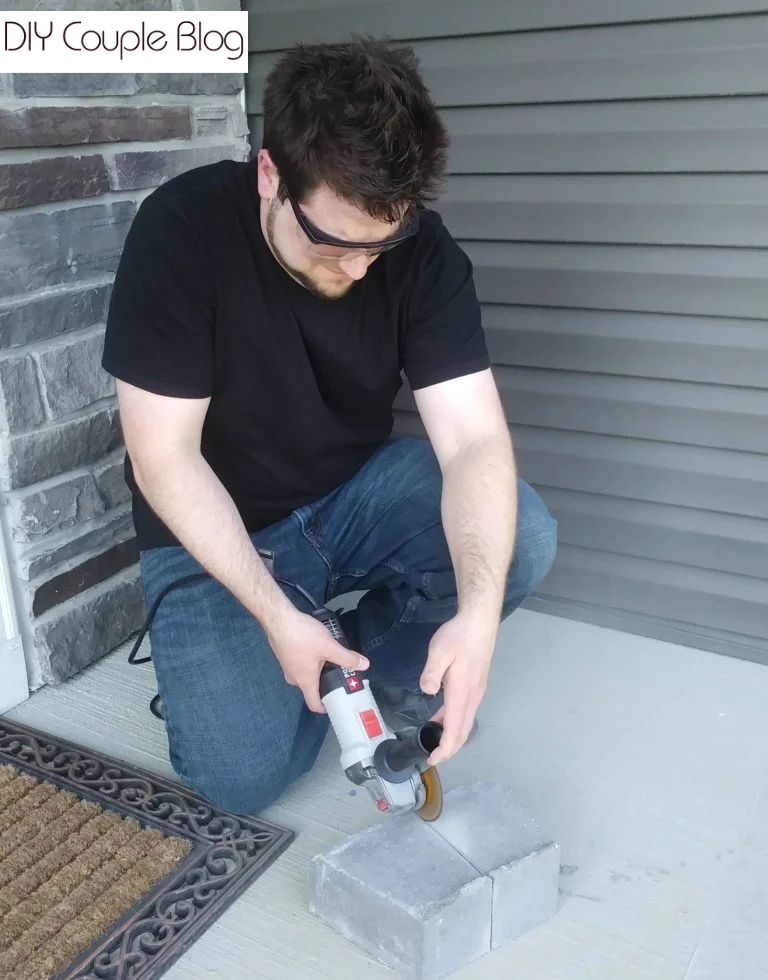
Cutting Retaining Wall Blocks:
For cutting the retaining wall blocks, we found using an angle grinder and a masonry blade was easiest for these intentions.
[Useful Tip] If you use a small angle grinder and it only semi cuts through the block, you can cut from both sides of the block then use your sledgehammer and chisel to break it the rest of the way, a 7-inch or a 9-inch grinder is more efficient because it can cut through in a single pass. Regardless of the size of the tool, use a diamond blade rated for concrete.
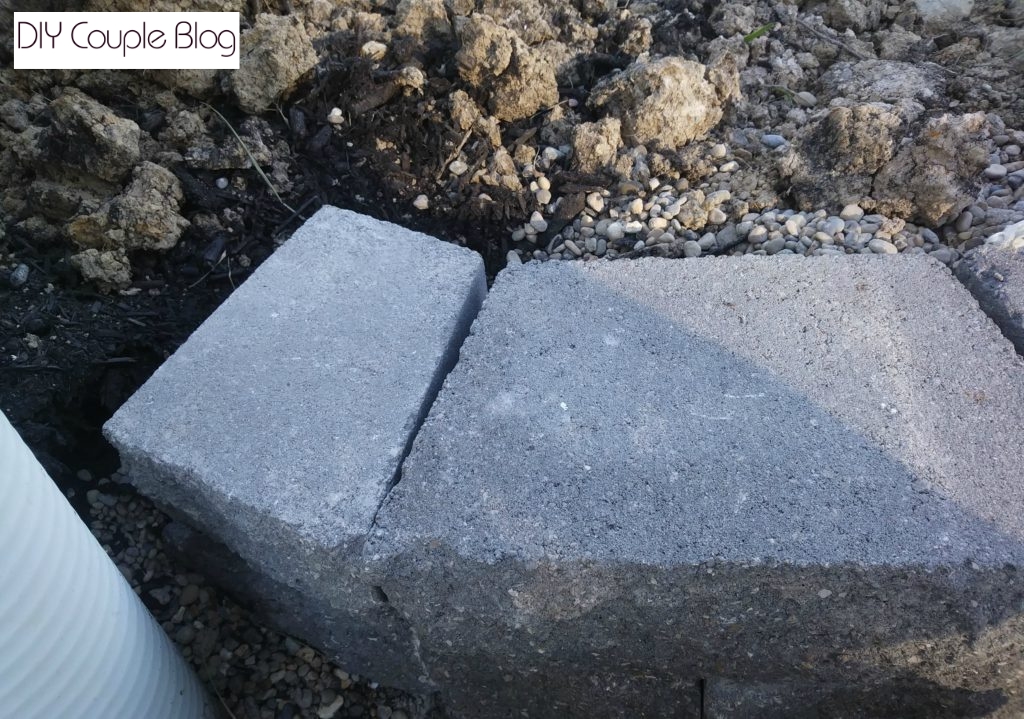
Installing Retaining Wall Block- The End Piece:
Use construction adhesive as an adhesive from the second subsequent row and upward on all the retaining wall blocks, so that the blocks stacking up to one another remain secure, providing a heavy-duty, weather-resistant bond.
This prevents any shifting caused by seasonal freeze-thaw cycles and soil pressure.
In this photo below, this is where the half concrete block we cut and placed on the end, due to offsetting mentioned above.
Block Caps or Finishing Stones:
Top Layer of Stone for Retaining Walls
Block caps or (finishing stones) are the secret to a polished, custom look. Think of them as the crown molding for your hardscape. The wonderful part is you can mix and match different block colors and finishing stones to create a custom wall.
To be comepletly unique, we decided on interlocking pavers to go on top of our retaining wall to create a seamless, integrated transition between the two hardscape levels.
Securing the Interlocking Pavers for a Stone Retaining Wall:
To secure them in place, we used our heavy-duty, exterior grade construction adhesive to glue every single paver down to the top course of the wall blocks.
Ensure that the top surfaces are completely free of dust, dirt, and moisture before applying the adhesive, or the bond will fail.
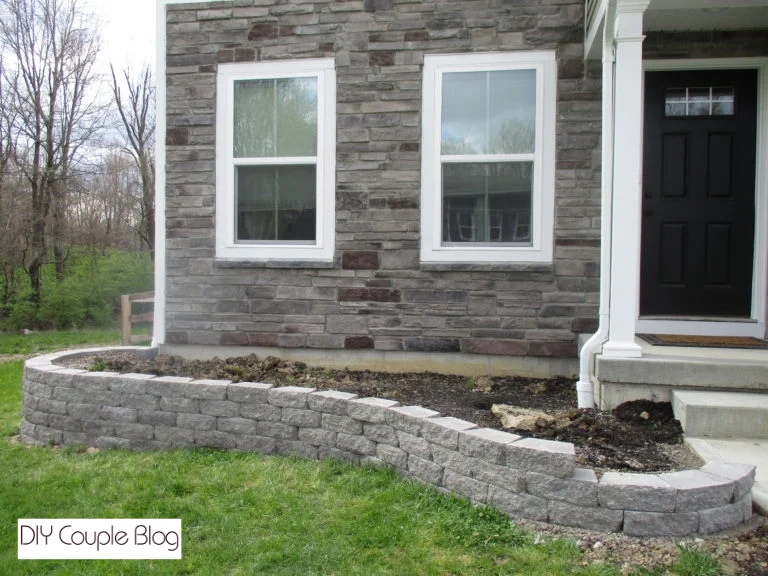
Per instructions (for maximum strength) it is best to wait 72 hours or up to a full week before adding dirt and flowers. Now that you have a beautiful stone retaining wall, you are all ready to fill your raised flower bed with dirt and attractive flowers. Top with mulch or rock to conclude.
By using stone for retaining walls, you can create a durable, long-lasting wall. Ensure your setup includes these essentials as listed throughout the steps:
Dig and level trench
Add compacted base (do not lay directly on bare dirt)
Use weather-resistant Adhesives for wall blocks and block caps
Gravel drainage backfill (behind the wall to channel water away)
Retaining wall step-back that features a slight backward lean into the slope to resist forward soil pressure.
Additional Stone for Retaining Wall Ideas
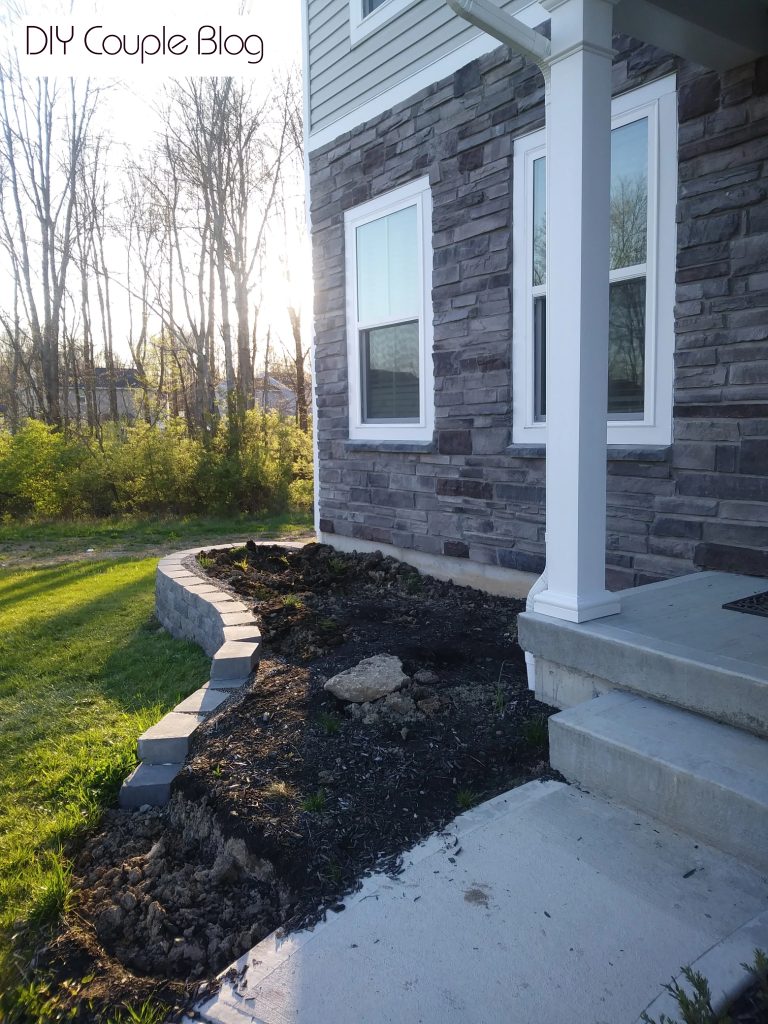
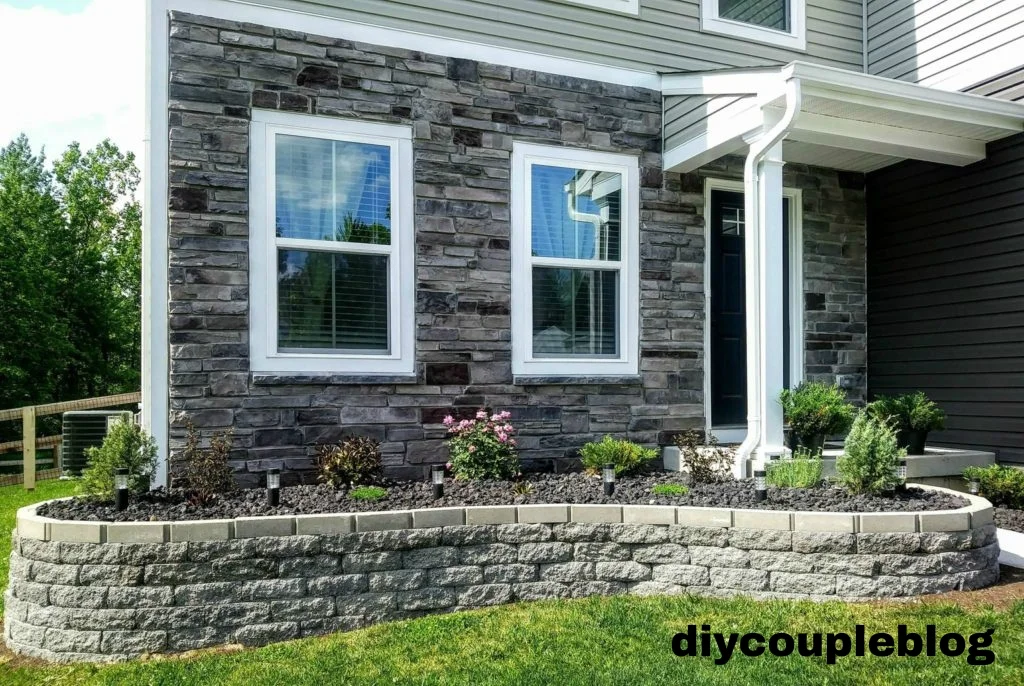
Once you know how to build a DIY retaining wall, consider some other uses for retaining wall block besides around a porch landscape like this one.
There are all kind of creative landscaping ideas to incorporate stone for retaining walls, with raised garden beds being just one.
Designs can work for around trees (tree rings), fire pits, benches, built-in patio seating, a patio nook, mailbox surrounds, driveway borders, even a backyard pond or waterfall feature.
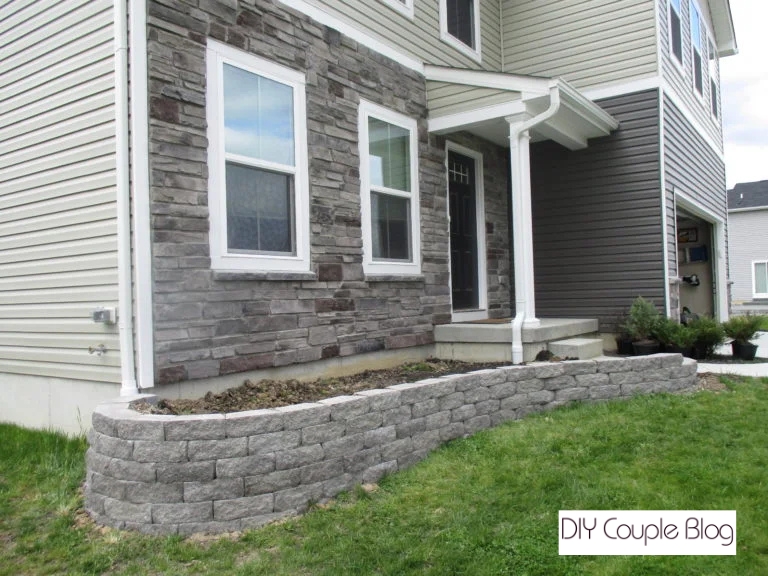
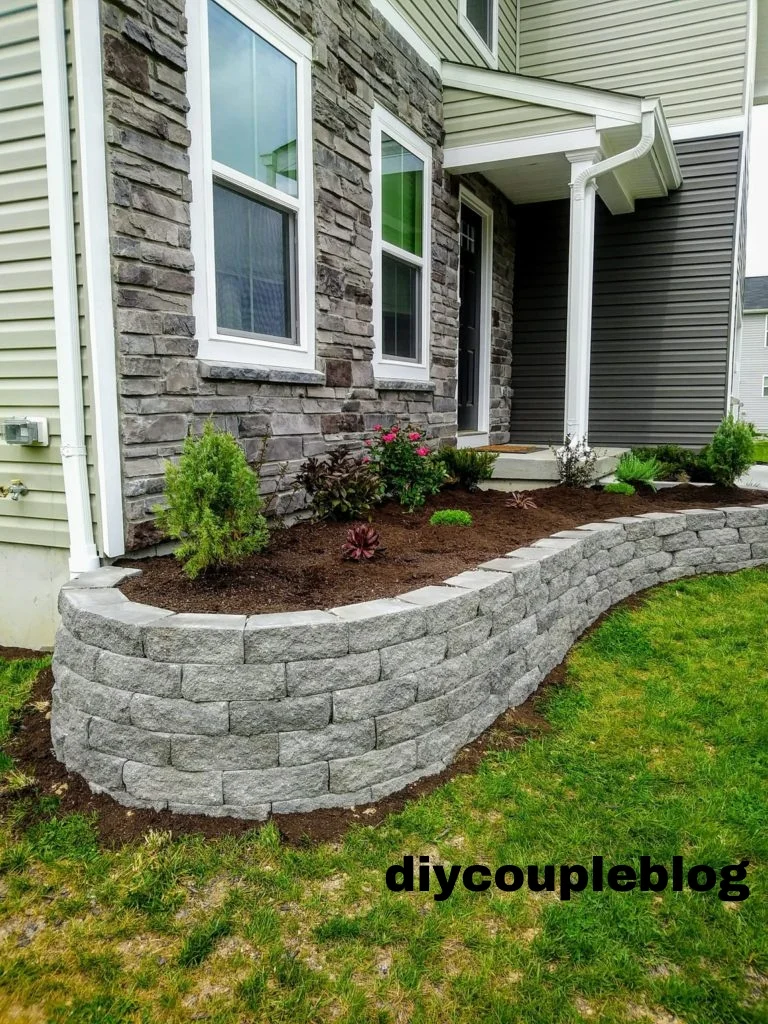
Final Results
Building a stone retaining wall is heavy, honest work but it is a project that rewards you with every layer you complete. It’s always gratifying to look back on a completed project!
By choosing stones for retaining walls that fit your skill level, structural needs, prioritizing your gravel base, and ensuring water can drain freely, you will create a stunning, natural landscape feature that will stand proud.
Now grab your gloves, pick out your stone, take your time with the foundation, and start stacking!
Looking for more inspiration? Browse our other outdoor projects and landscaping ideas to kickstart your next weekend transformation!