
This post may contain affiliate links, which means we'll receive a commission if you purchase through our links, at no extra cost to you. Read the full disclaimer here: https://diycoupleblog.com/disclaimer/
Get ready for a fun, engaging, and screen-free activity that turns everyday household items supplies into imaginative play! Turn screen-time into craft-time featuring cool paper plate game crafts!
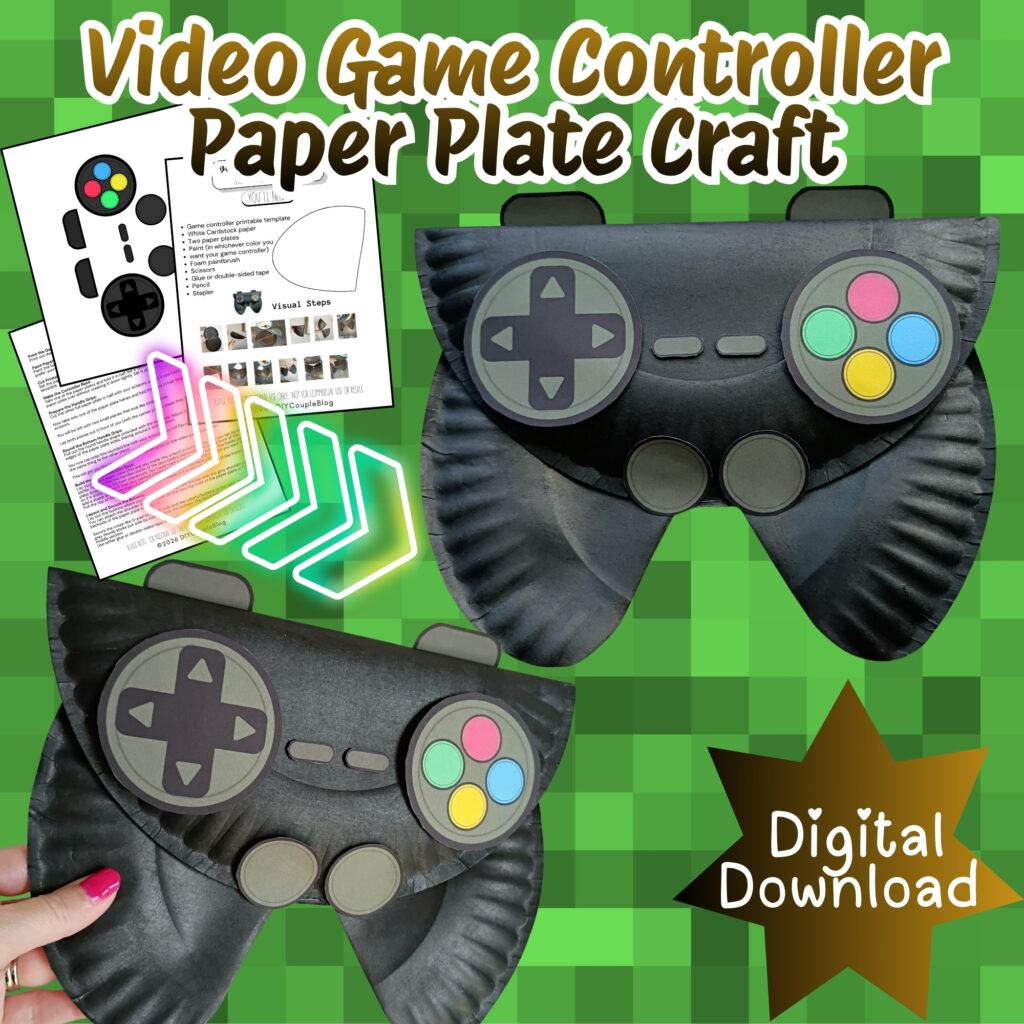
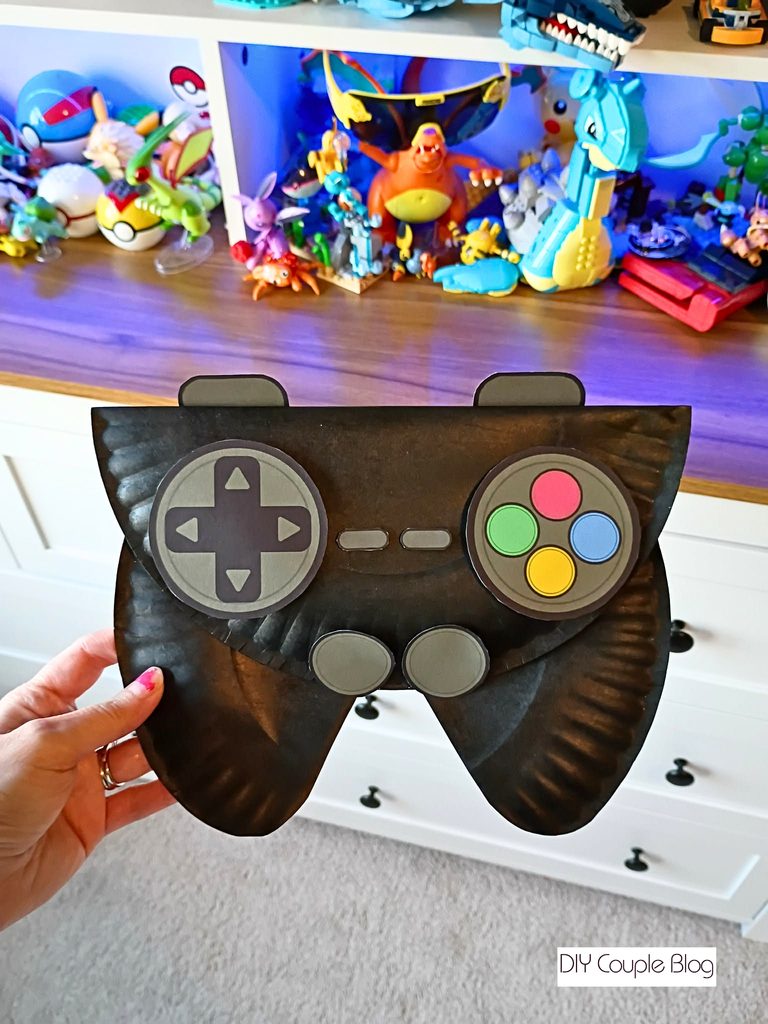
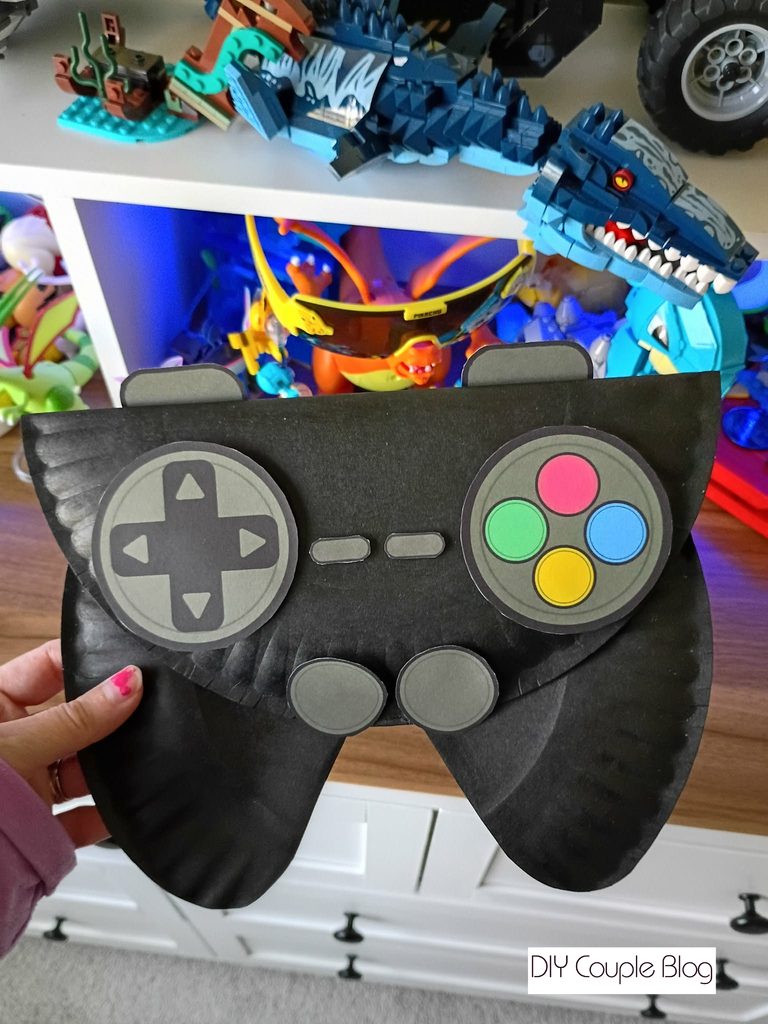
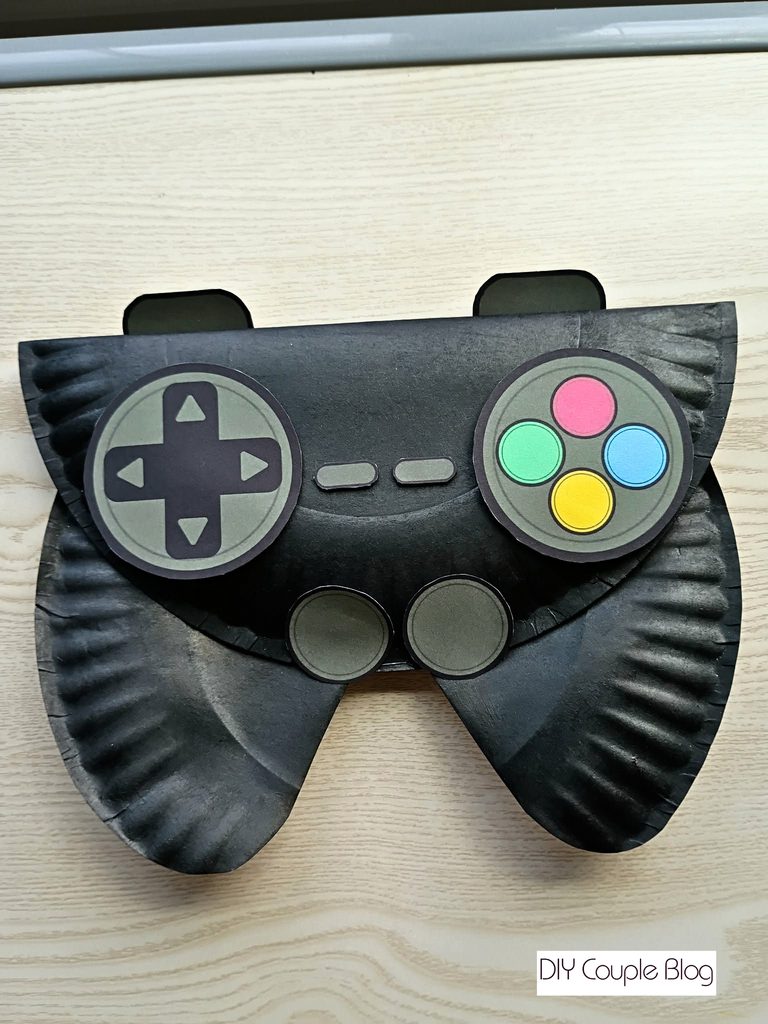
Today, we are sharing one of our favorite creative projects: the paper plate video game controller.
Making Controller Game Crafts: Free Printable
To complete this ideal gamer craft, we have provided the free printable buttons template. This gaming craft hits all the right buttons, combining hands-on crafting with interactive, pretend-play gaming that kids of all ages will absolutely adore. I mean, who wouldn’t like a video game craft!?
Whether you are hosting a video-game-themed birthday party, looking for a rainy-day boredom buster, or seeking an engaging fine-motor activity for young learners in the classroom, the video game controller craft is a sure winner!
This game craft allows children to build their very own retro-inspired or modern game pad, customize its design with your child’s favorite colors!
Why Both Kids (and Parents) Will Love This Gaming Craft:
Video games are immensely popular, but parents, teachers, and caregivers often look for creative ways to channel that excitement into physical, hands-on activities.
The paper plate controller game craft acts as the perfect bridge between digital entertainment and tactile creativity. Here is why this activity levels up!
Encourages Screen-Free Imaginative Play:
Kids get all the excitement of the video game controls without staring at an actual electronic display.
Develops Fine Motor & Scissor Skills:
Cutting out round buttons and shaping the paper plate give little hands fantasic scissor control and precision practice.
Budget-Friendly & Simple Setup:
You don’t need fancy supplies! This game craft uses everyday household items like paper plates, paint, and scissors.
Highly Customizable:
Every child can design a unique controller-from retro arcade styles to glowing bright futuristic game pads.
Materials Needed to Make These Controller Game Crafts:
Two paper plates
Black paint (or whichever color you choose for your game controller)
Glue or double-sided tape
Pencil
Easy Game Craft Instructions:
Print the Gamer Template:
Print out the printable template buttons on white cardstock paper.
Paint Paper Plates:
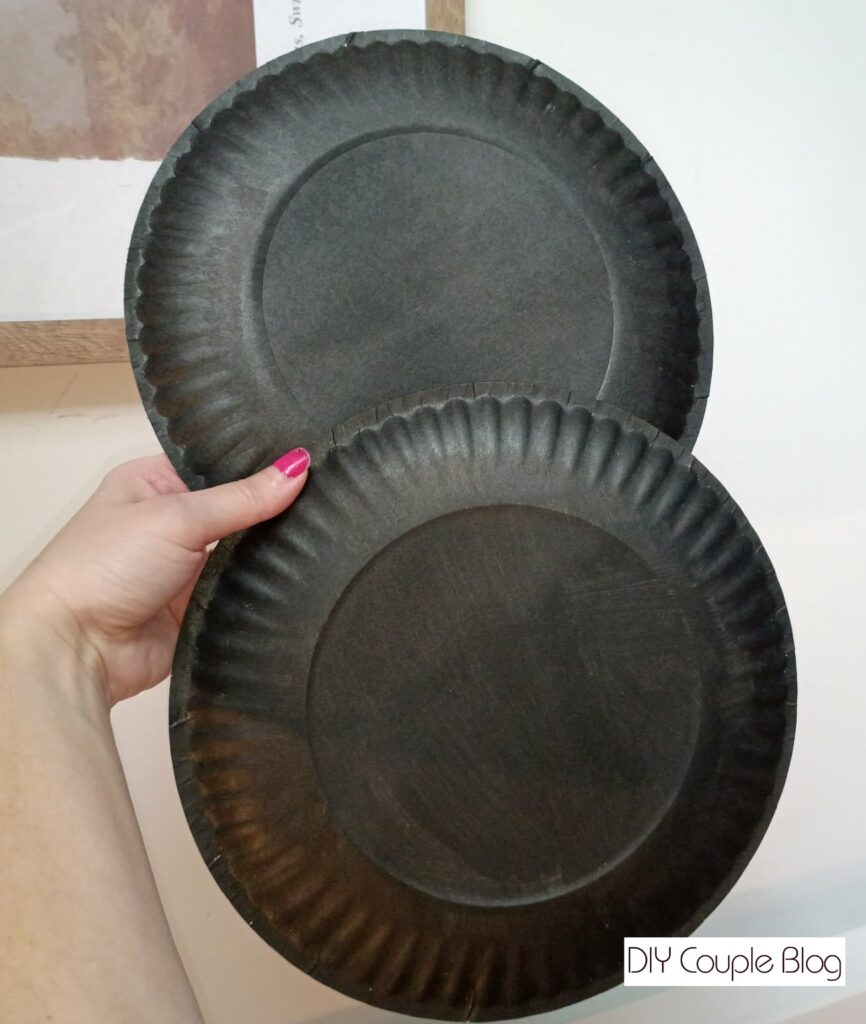
Paint the back side of both paper plates (black or gray are ideal or whichever paint color you prefer yours to be).
Cut Printable Elements:
Set the paper plates aside to dry and cut out all the video game controller elements from the template.
Make the Controller Base:
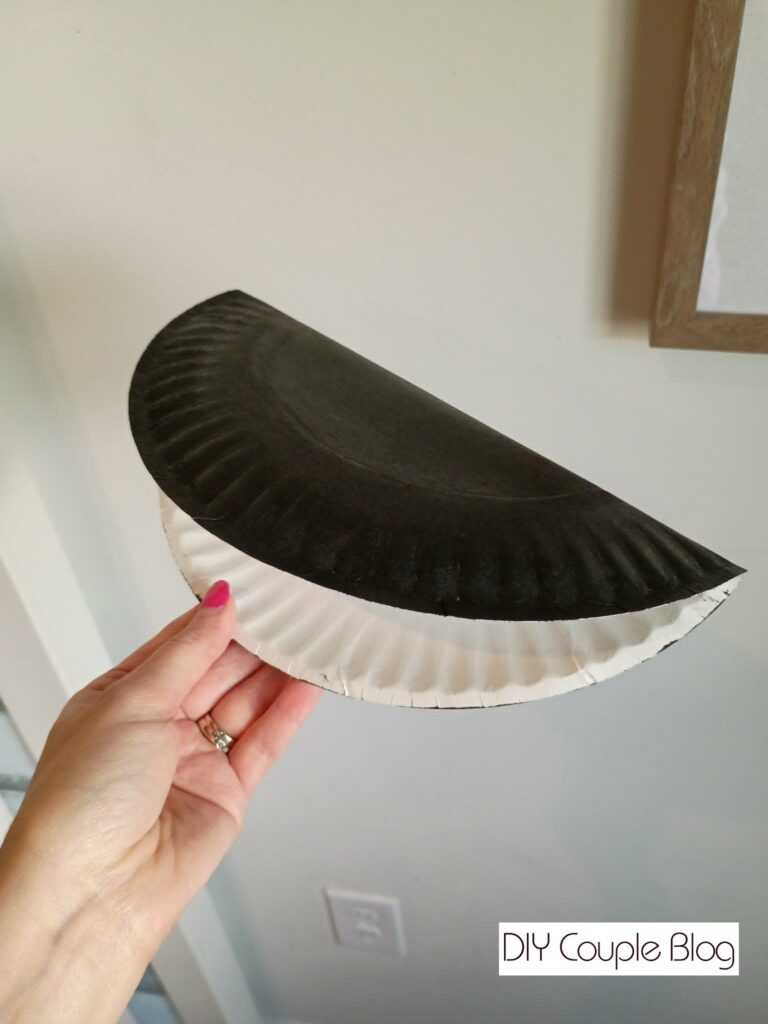
Take one of the paper plates and fold it in half like a taco. If you want a 3d effect, just bend the paper plate over without creasing it down tightly. Set it aside.
Prepare the Handle Grips:
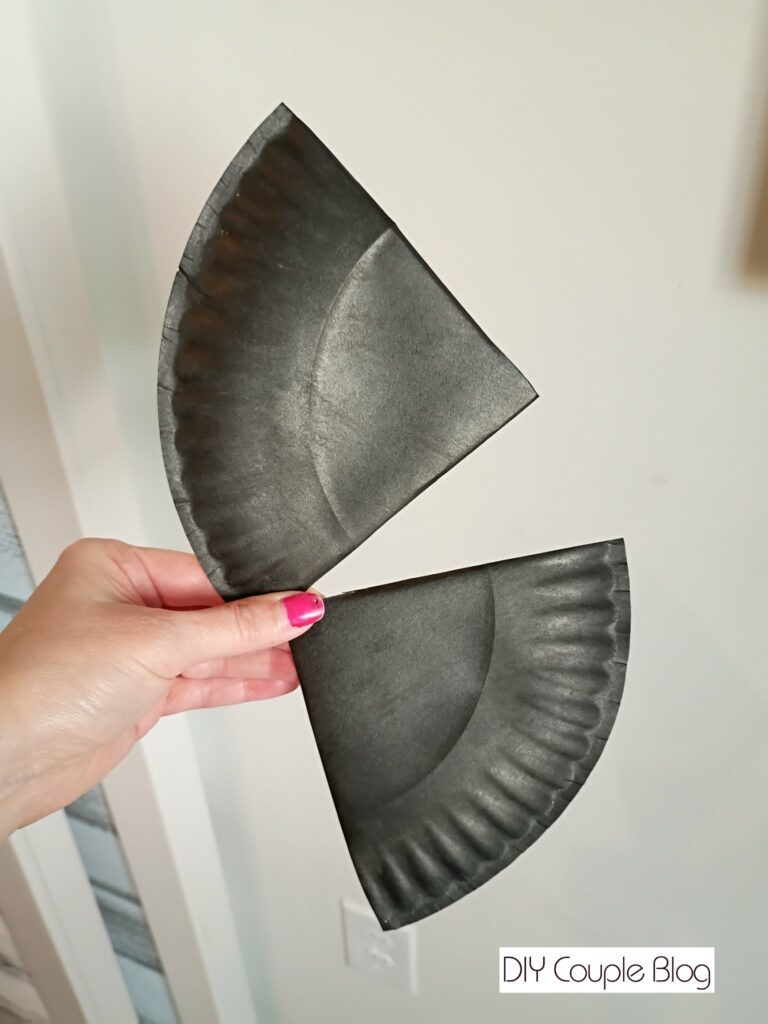
Cut the other full paper plate in half with your scissors, so you’ll now have two pieces.
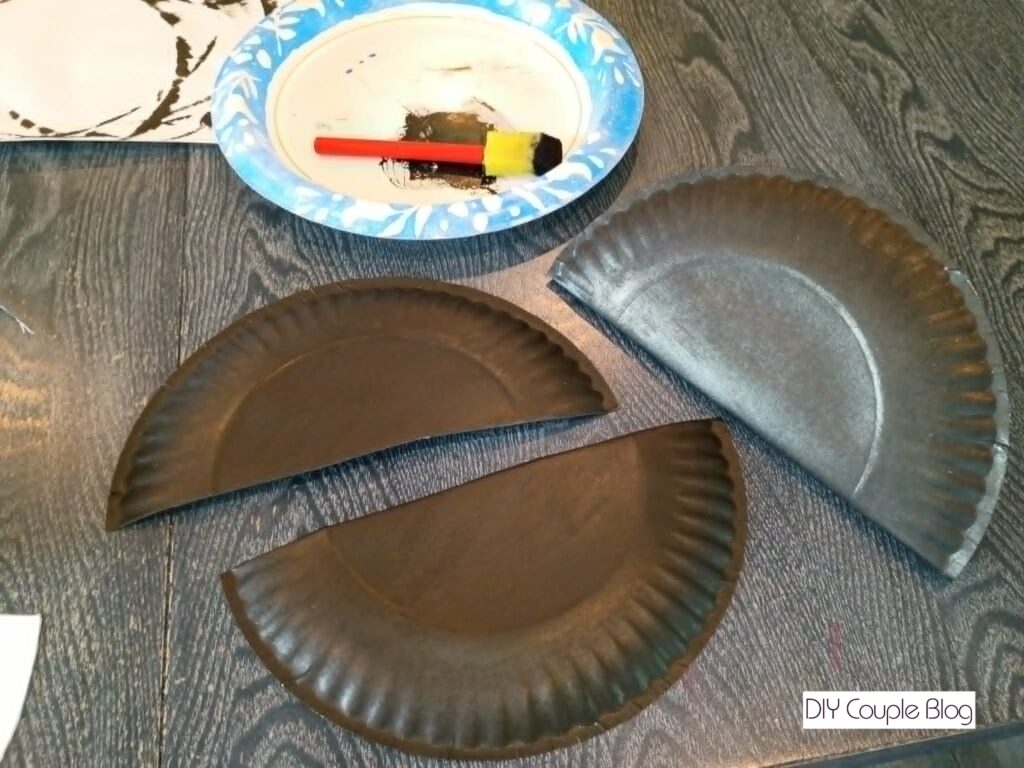
Now take only one of the paper plate halves and fold that one in half. Snip in half with your scissors.
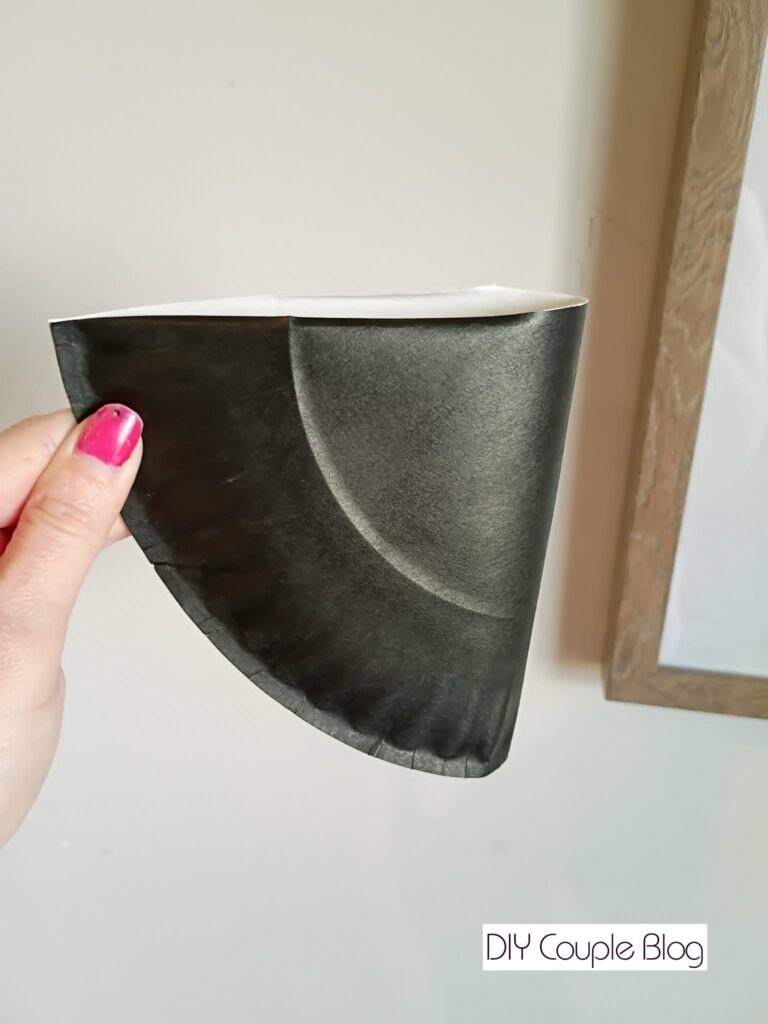
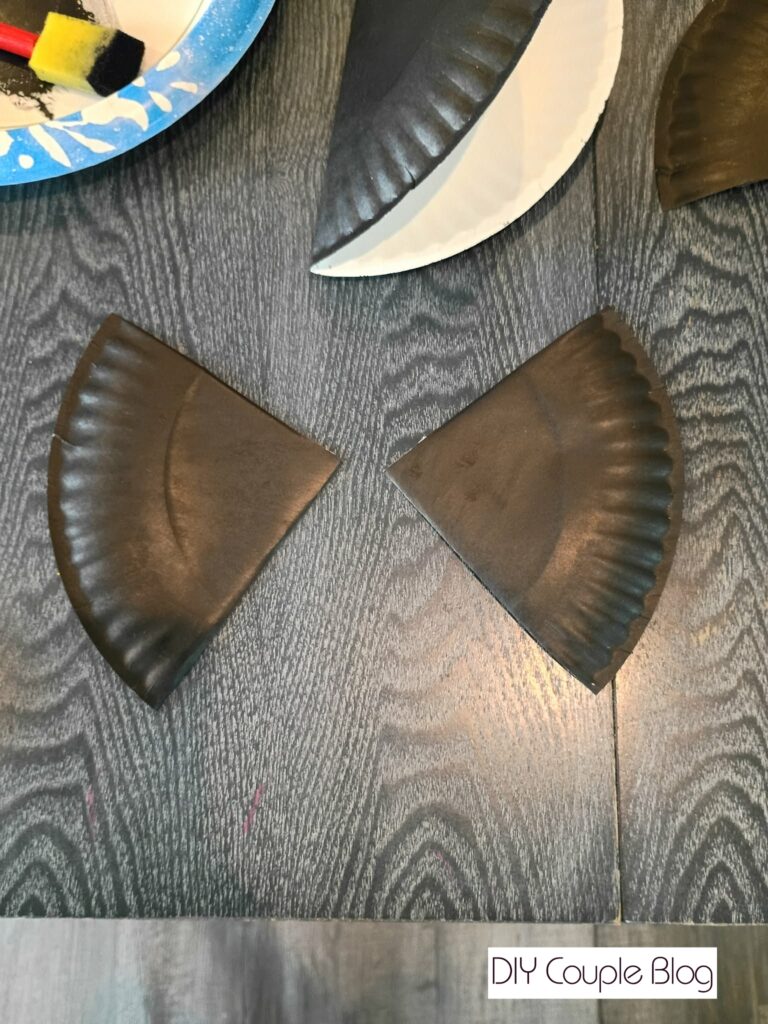
You will be left with two small pieces that look like small pizzas.
Lay both pieces out in front of you (with the center points where they face one another).
Round the Bottom Handle Grips:
Pull out the round handle shape provided with the template. Adjust it to align with the bottom edges of the paper plate sides, tracing around it with a pencil.
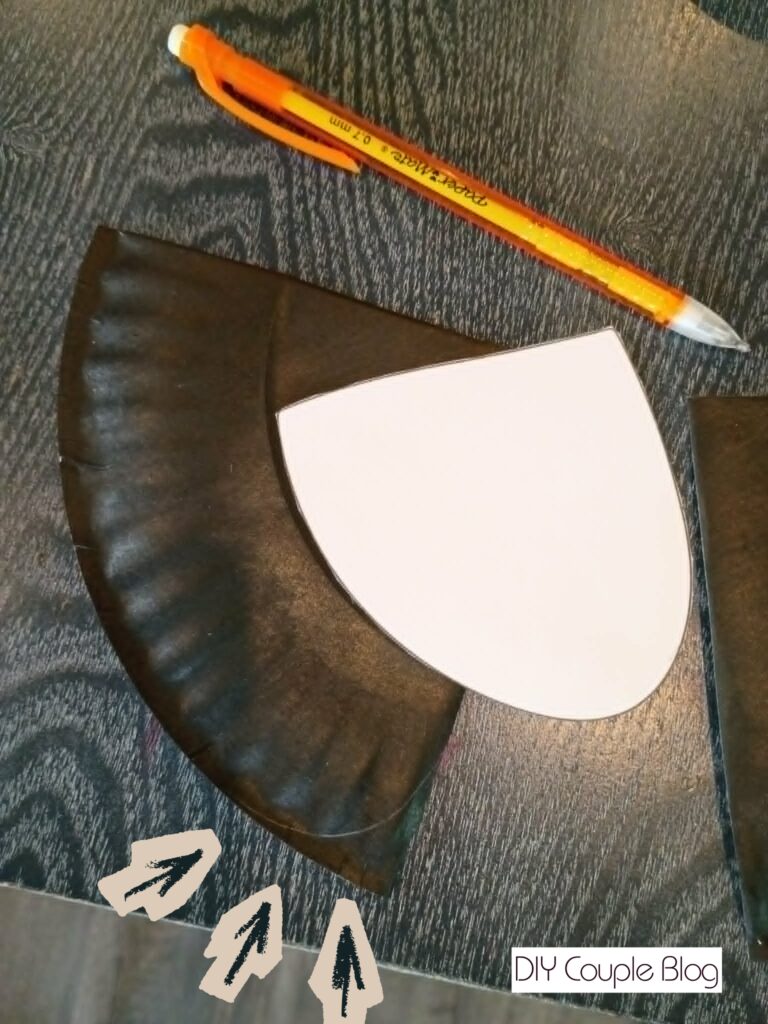
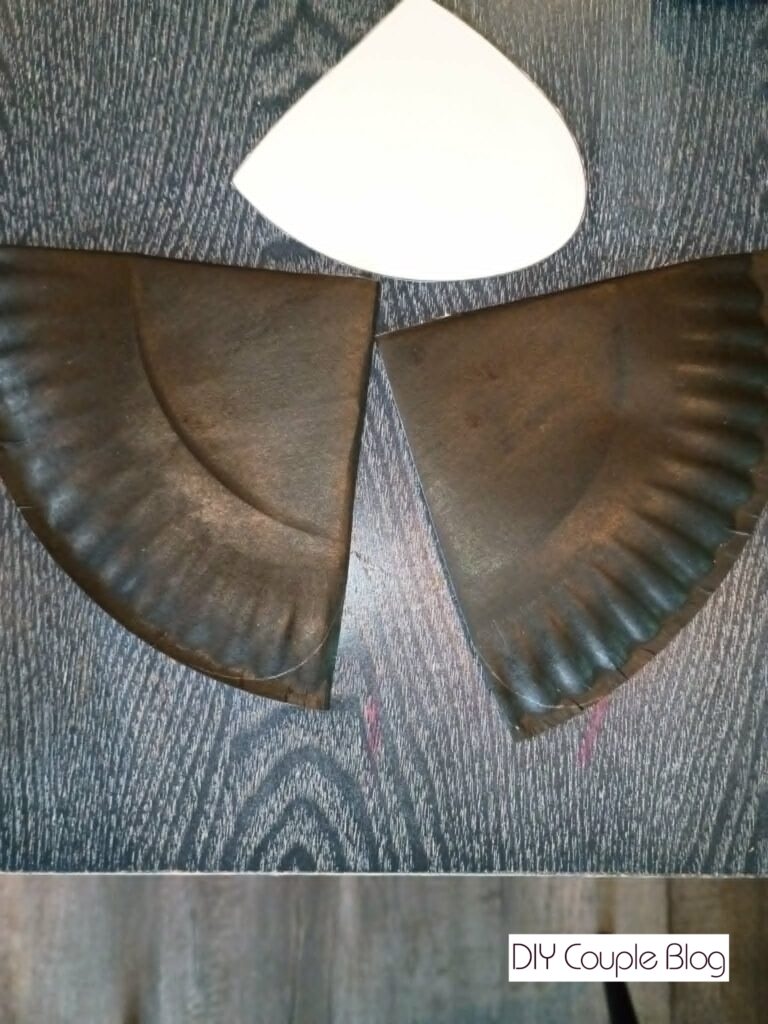
You now can snip this rounded line with your scissors. You will flip over the template shape to do the same thing to the other piece.
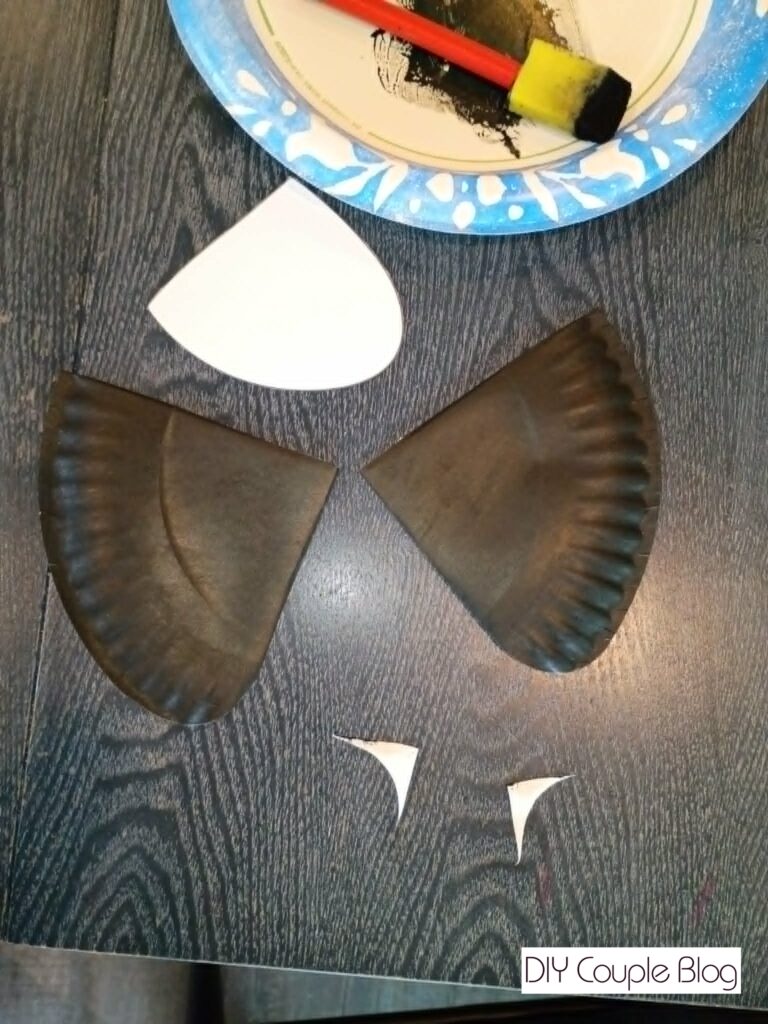
This will get you the round shape of the handle grips on the video game controller.
Build the Game Controller Base:
Lay your folded paper plate (the one you made into a taco) in front of you, that you set aside earlier. Position the two handles inside of the taco folded paper plate. Bring the front of the paper plate down to see the best placement. You could mark a line down the side of the inside piece, so if it shifts you won’t lose your perfect positioning. Once you align them where you want them, add a staple and fasten them down to the inside portion of the paper plate.
Pull the top of the paper plate down and put a staple in it at the very bottom of the front center.
Layout and Secure the Buttons:
Lay out the buttons where you want them, starting from the top with the gray shoulder buttons. You can attach the shoulder buttons either on the very top front of the paper plate or from the backside of the paper plate sticking up.
For this video game controller, I put them on the top backside, but you can see the ones in the front in our Sunday School version.
Secure the cross-like D-pad to the left side and the colorful buttons to the right. The two round gray thumb sticks put side by side towards the bottom. The two smaller buttons, secure to the middle section.
Use either glue or double-sided tape to secure everything down.
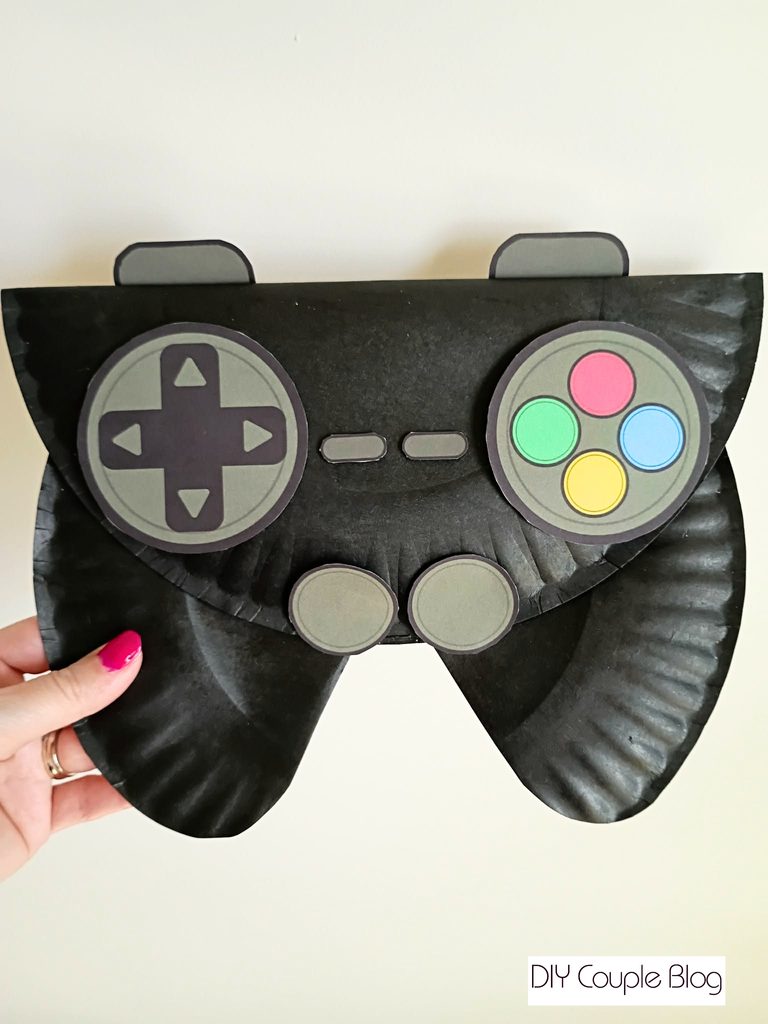
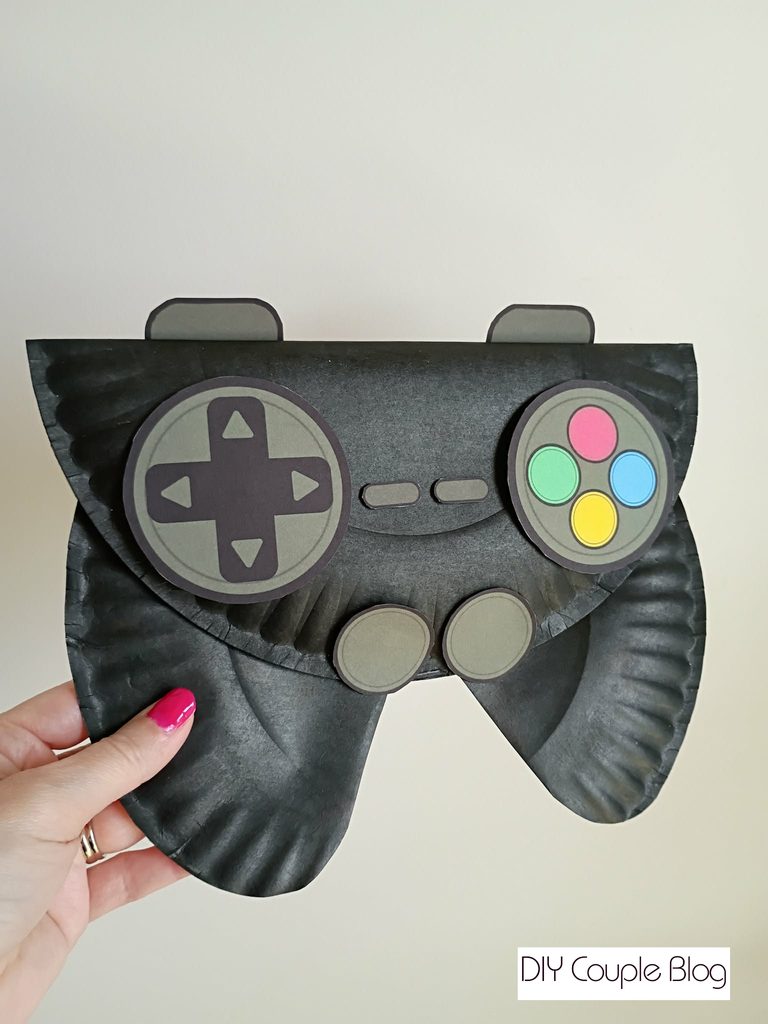
Paper Plate Game Crafts
Final Thoughts:
Our printable is ready to download straight to you, packed with your classic game pad elements, printable instructions and materials.
Paper plate gaming crafts are the ultimate combination of artistic crafting, fine motor skill practice, and energetic pretend play.
It costs pennies to make, keeps children entertained, and gives them a proud sense of creation. Game crafts like this one, easily bring video game enthusiasm off the screen and onto the craft table!
Don’t forget to grab your free printable button template below, and start building your custom game crafts today!
Feel free to use them for your young gamer kids or in the classroom and print as many as you need!
Please note: All of our downloadable printables and designs are copyright of DIYCoupleBlog. They are free and intended solely for your personal use (at home or in your classroom) Alteration, redistribution, or commercial resale of these files are strictly prohibited. Thank you for respecting the time and effort put into creating these resources!
Looking for a faith-based twist? Check out our Sunday school version of this gamer craft to share a fun, hands-on lesson with your kids!
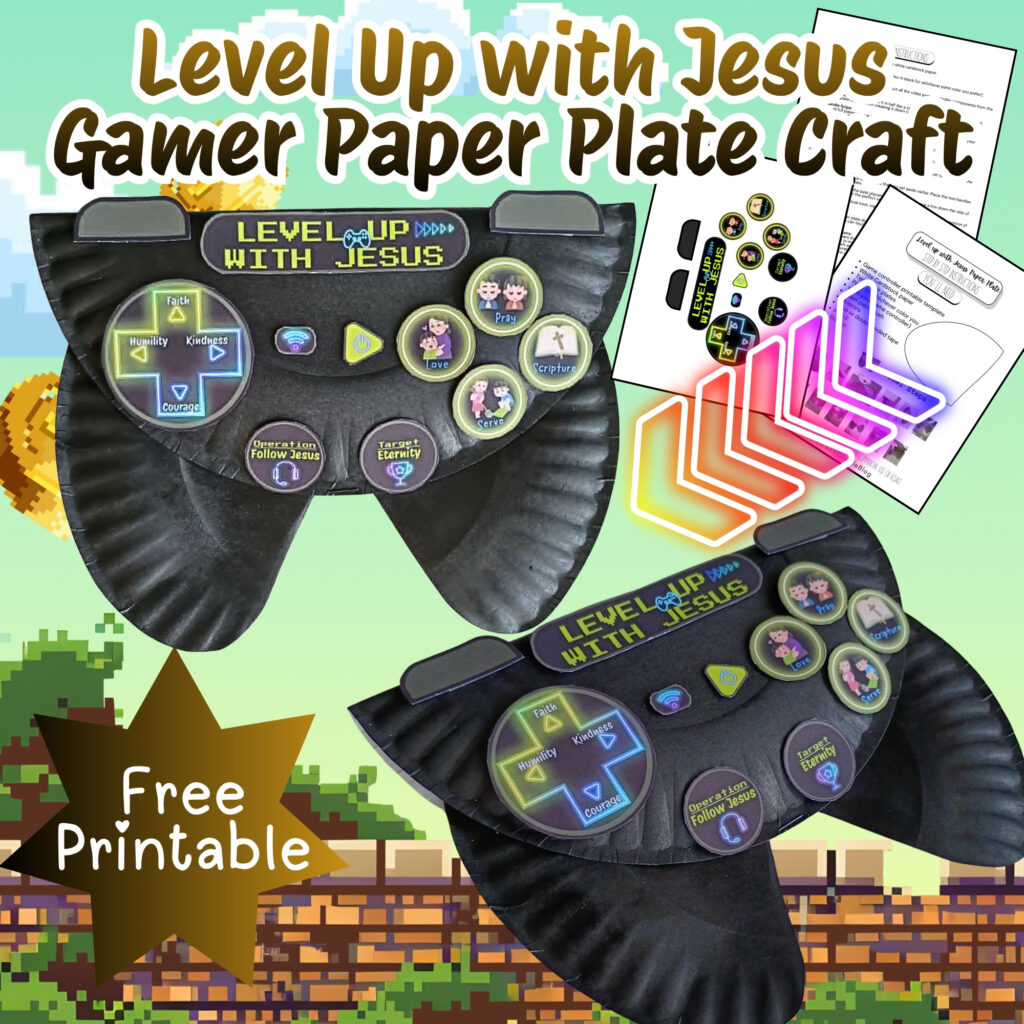
You May Also like: