
This post may contain affiliate links, which means we'll receive a commission if you purchase through our links, at no extra cost to you. Read the full disclaimer here: https://diycoupleblog.com/disclaimer/
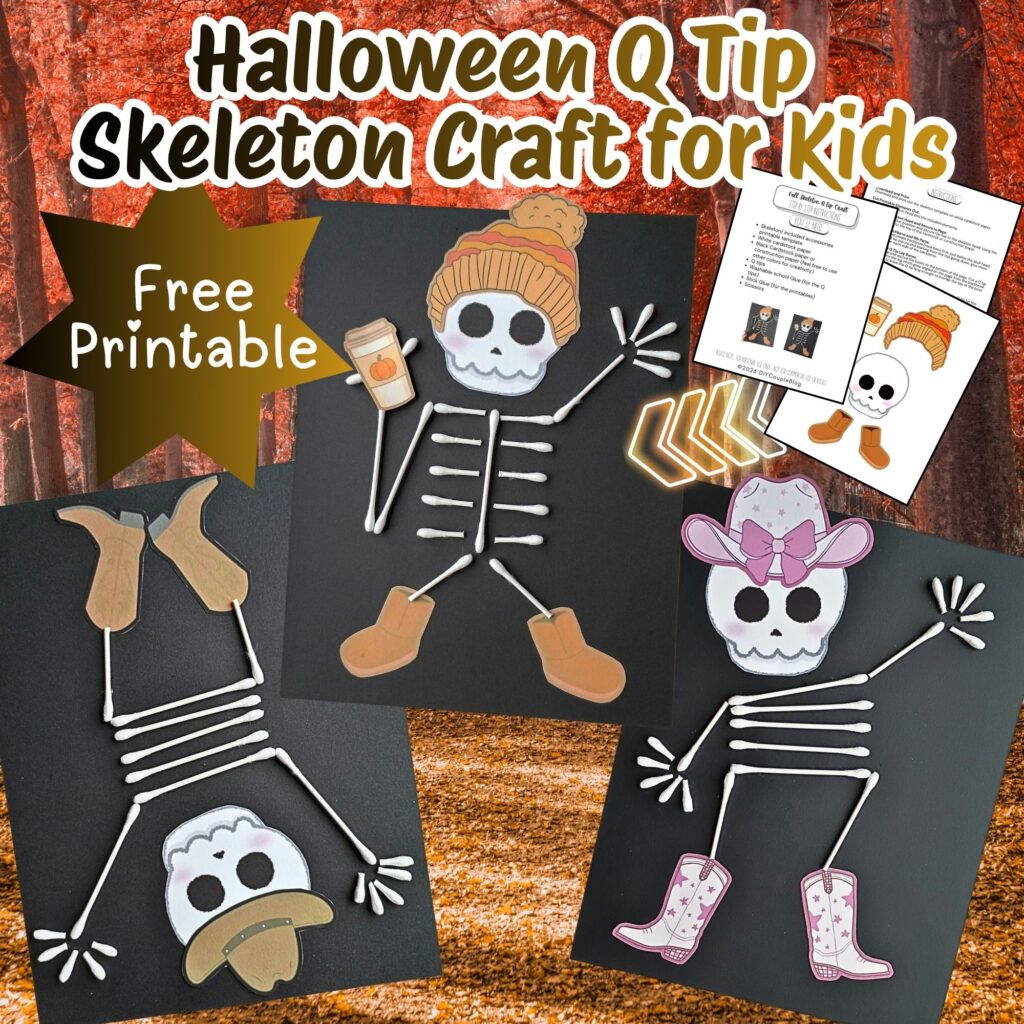
Looking for an amazingly fun, creative activity to kick off the Falloween season? You’ll love this iconic skeleton Q tip craft!
It’s a winner craft experience right at the kitchen table. Your kids will adore combining household items with our cute printable template options. Keeps little hands busy while practicing fine motor skills.
Skeleton Q tip Craft
A Q-Tip skeleton craft is so simple to put together and one that kids of all ages love making again and again!
Whether you are a parent looking for an October day activity or a teacher prepping for your preschool or kindergarten Halloween stations, this project is budget-friendly and requires easy to reach for supplies.
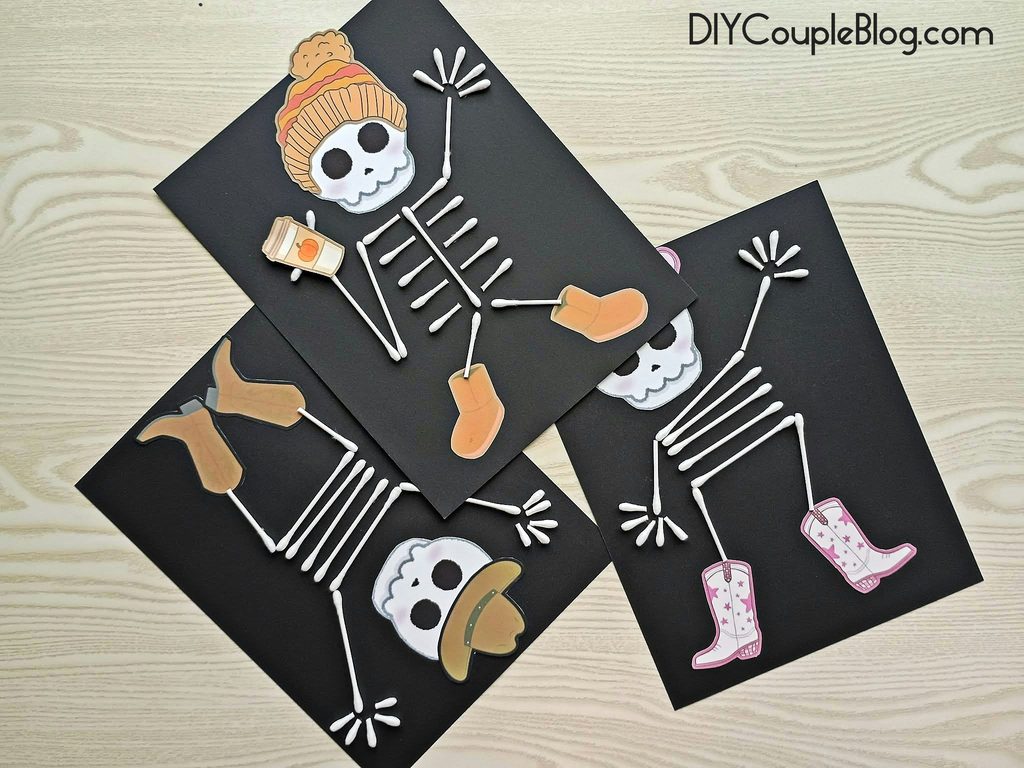
Skeleton Craft Printable
Free Printables
Skeleton bones and memories are sure to be made, and our free printables will be sure to get a giggle.
All you have to do is download our free printable template options at the bottom of this post to get started right away allowing your kids to customize their very own skeleton.
Review the easy materials list and follow along with the directions provided below and you’ll be all set to begin the cutest Q-tip skeleton craft with little time and effort! Feel free to adjust or customize the directions to meet your likes and needs for littles ones.
Skeleton Craft Materials List:
Skeleton/ included accessories printable template
Black Cardstock paper or construction paper (feel free to use other colors for creativity)
Washable school Glue (for the Q tips)
Stick Glue (for the printables)
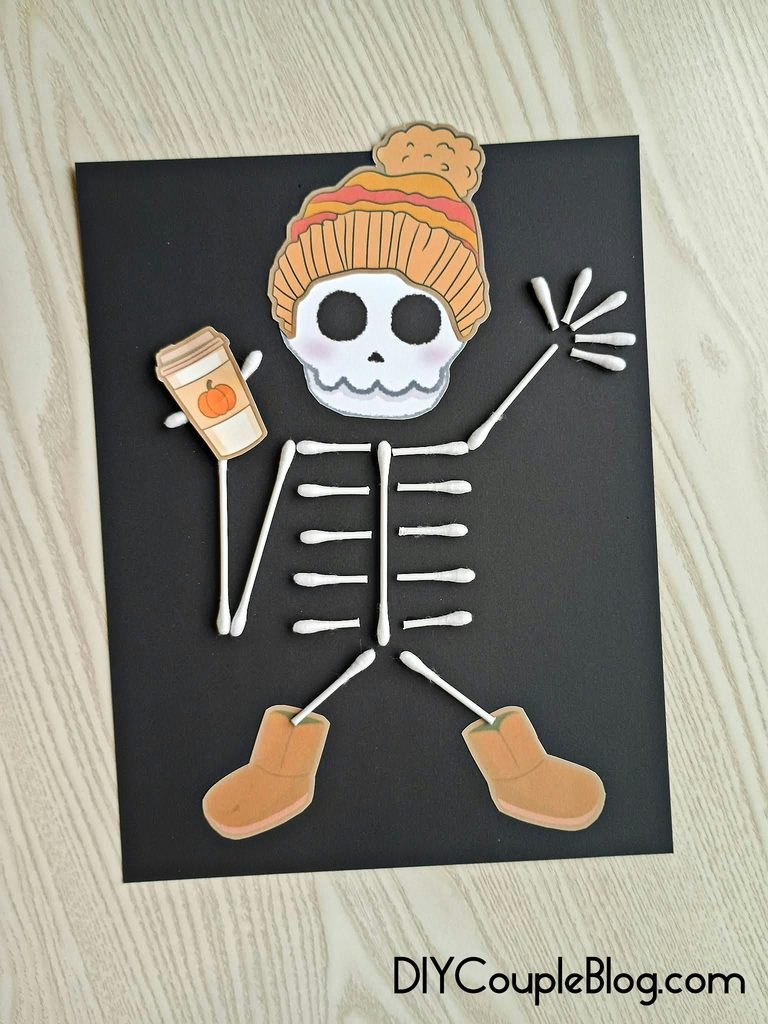
Fall Skeleton Q tip Craft Instructions:
Download and Print:
Download and print out the skeleton template on white cardstock paper.
Cut Printable Elements Out:
Cut out the skeleton head and the included elements.
Glue Hat to Skeleton Head and Secure to Page:
Using your stick glue, position and secure the hat to the skeleton head. Using the stick glue, stick it to the top of the cardstock or construction paper.
Glue Skeleton Backbone and Rib Parts:
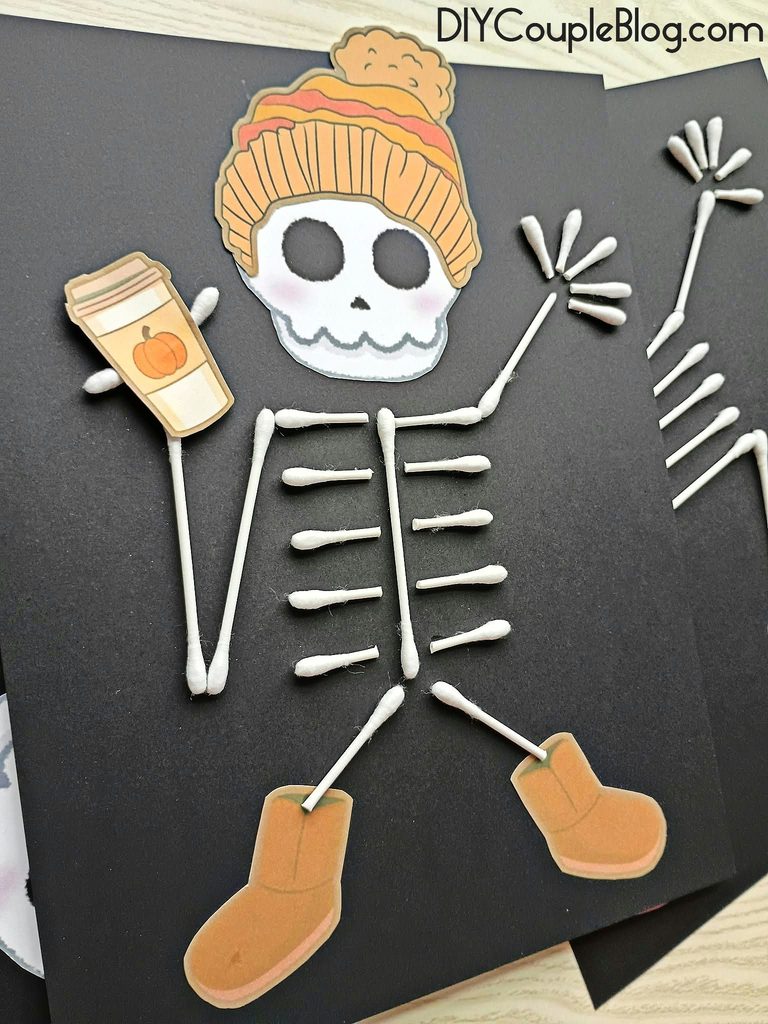
Take a full Q tip and create backbone/neck bone first, just below the skull head. Cut ten small tip pieces and starting from the top going down, glue them with school glue on each side of the backbone.
Secure Boots and Q Tip Leg Bones:
Take your stick glue and secure the boots to the bottom of the page. Cut a Q tip the size you need for the leg which goes angled on the page from the backbone to the boot. I liked to leave the Q tip long enough to overlap the top of the boot just a bit at the top.
Glue Down Right Arm with Fingers:
Starting from the right side of your skeleton cut the end off of the Q tip for the length you need giving yourself plenty of room for the fingers. Once you glue it down add five tiny fingertips from the ends of the Q tips.
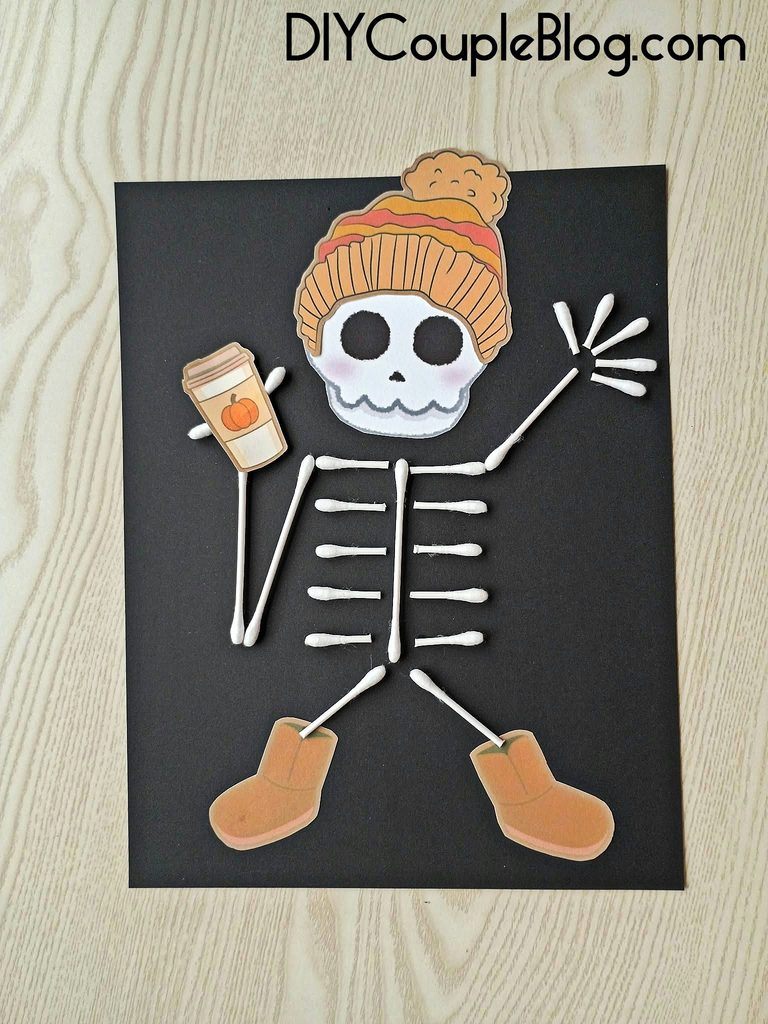
Complete the Skeleton Left Arm Holding Pumpkin Coffee:
For the left side of your Q tip skeleton, take a full-sized Q tip and angle it at a downward slant starting from the very top small piece. Add another full-sized Q tip placed straight.
Cut two tips for the fingers holding the pumpkin spice coffee as well as an extra piece in the middle for securing the coffee down.
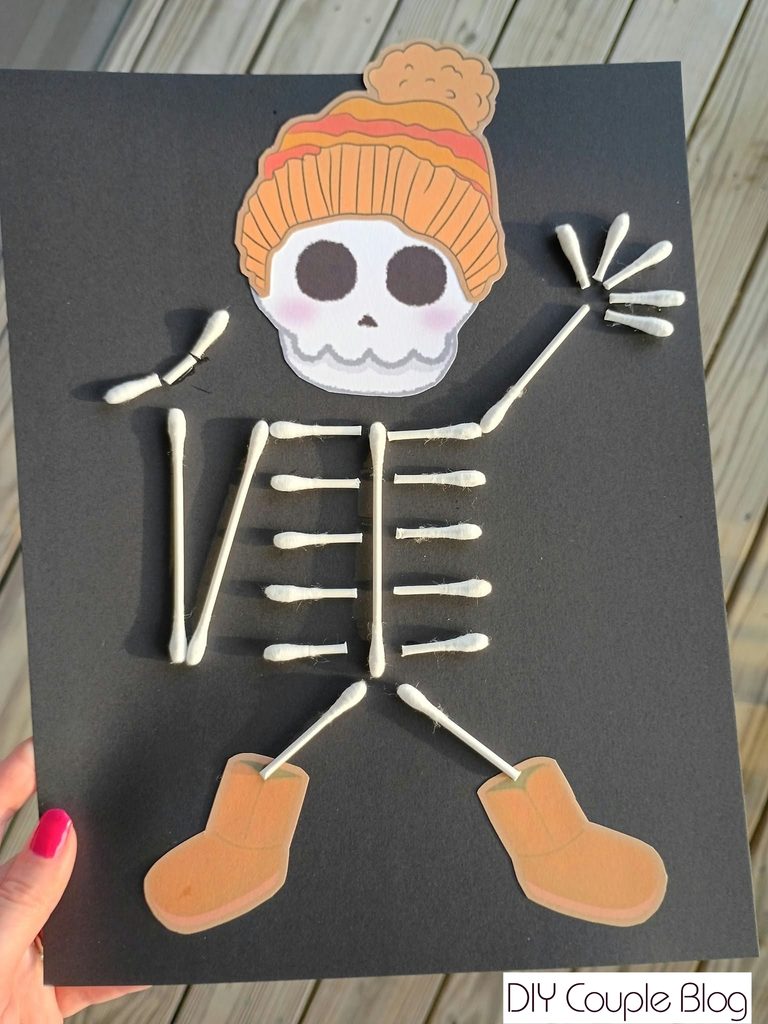
Position your coffee and glue it down with school glue.
Give everything plenty of time to dry and display the cutest pumpkin spice holdin’ fall dressed skeleton that you ever did see!
If you are unsure about anything, just refer to the photos for any placement help you may need along the way.
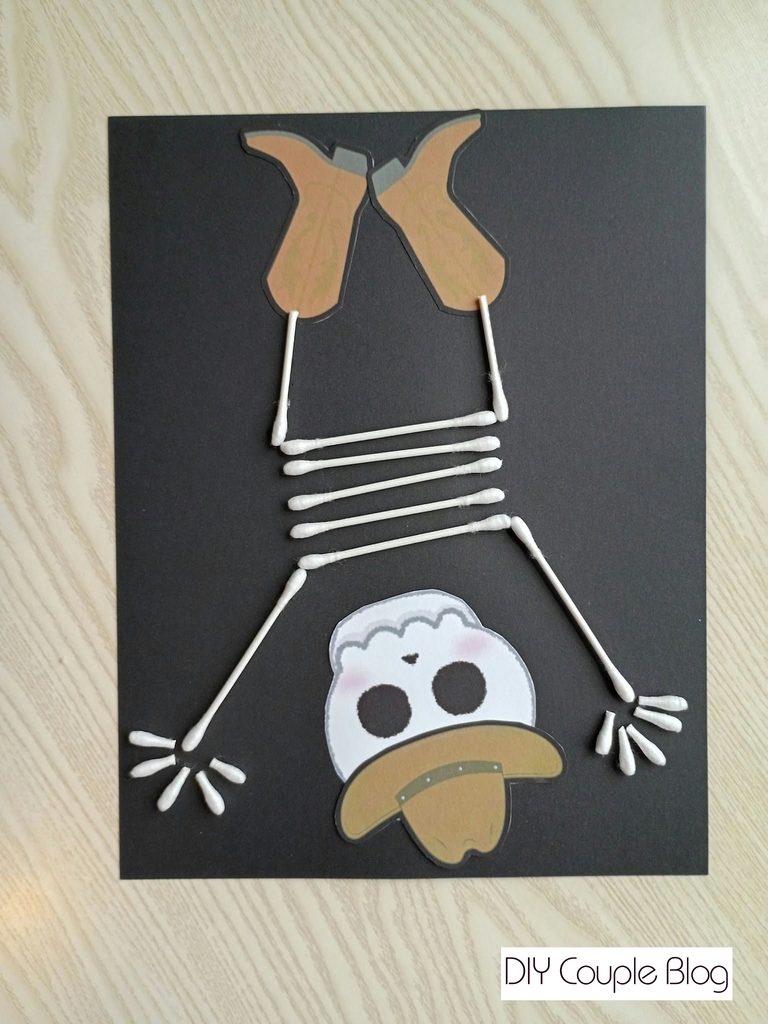
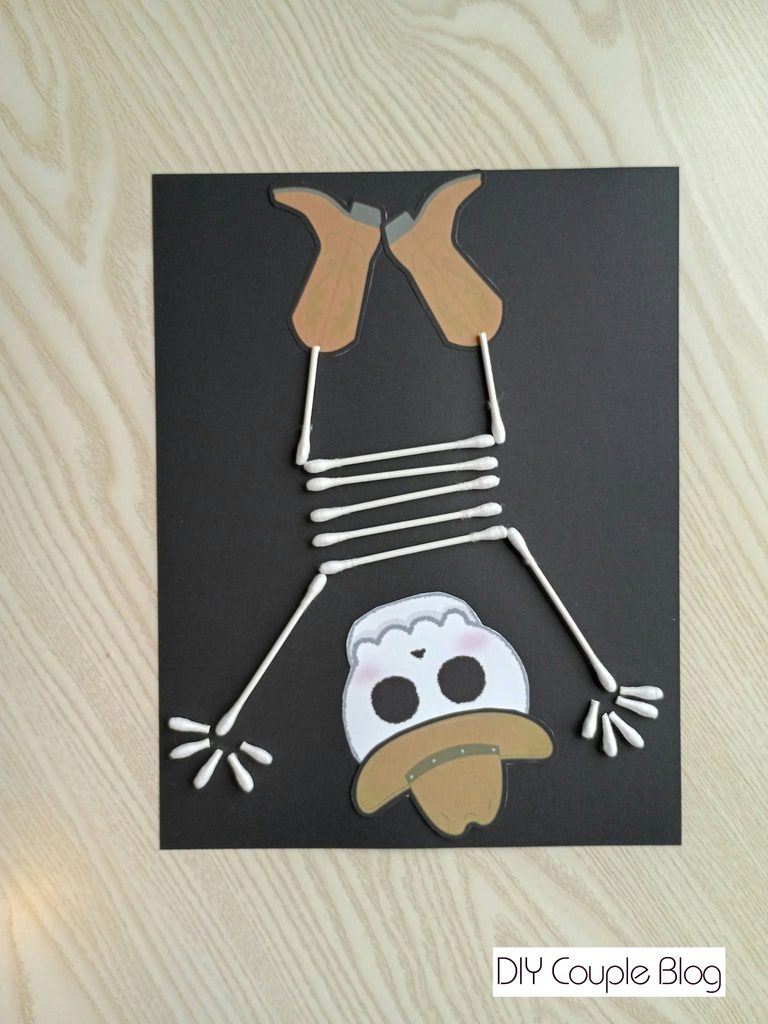
Cowboy Skeleton Q tip Craft Instructions:
Download and Print:
Download and print out the skeleton template on white cardstock paper.
Cut Printable Elements Out:
Cut out the skeleton head and the included elements.
Glue Hat to Skeleton Head and Secure to Page:
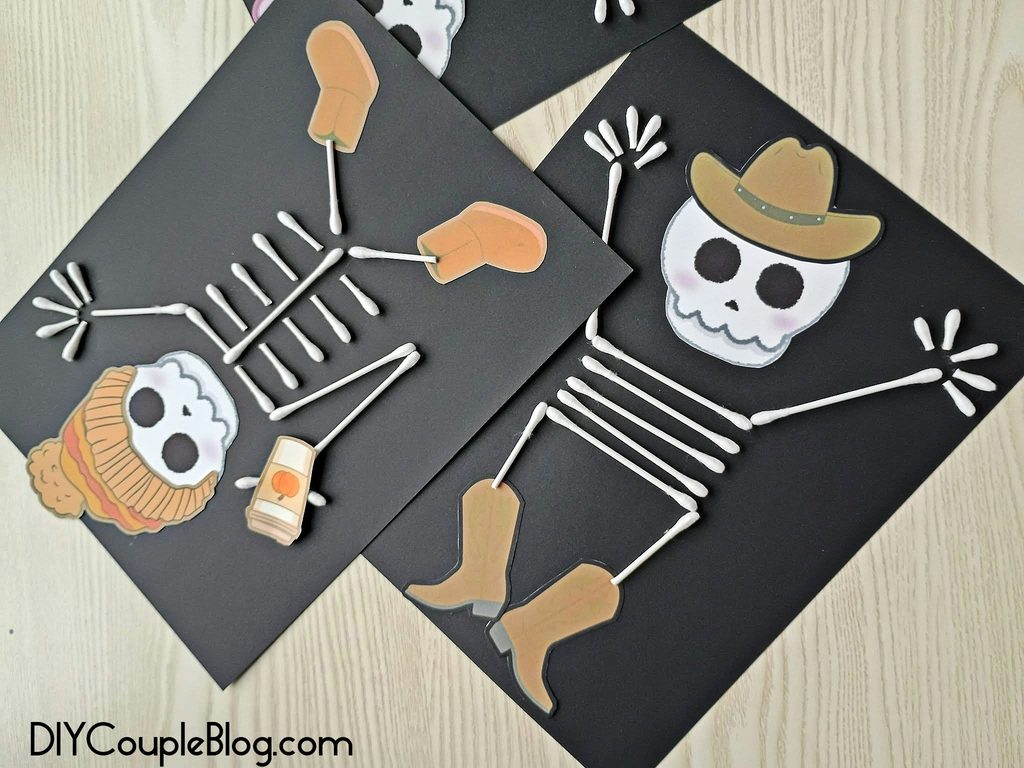
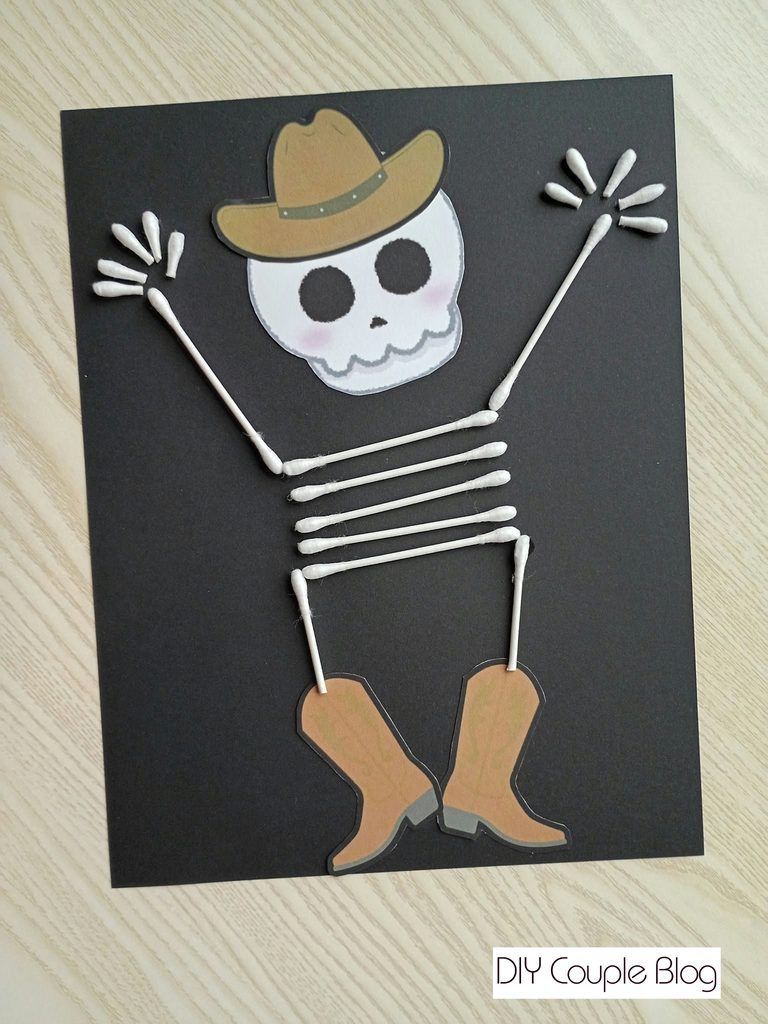
Use your glue stick and secure the cowboy hat to the skeleton head, then glue it to the paper.
Make the Body of Bones:
Lay five full-sized Q tips in a row for the bone body.
Glue Cowboy Boots and Leg Bones:
Take your glue stick and position and secure down the boots how you would like them. Cut two Q tips the length you need to reach from the body portion to the boot.
Make Q Tip Arms and Five Boney Fingers:
Angle and position the arms upward, starting from the first Q tip from the body portion and glue down. If a full-size Q tip has you maxed out on room for the fingers, just cut it down to the size you need. Cut five tips off the Q tips for fingers and glue around the arm Q tip. Repeat for the other side.
Cowgirl Skeleton Q tip Instructions:
Download and Print:
Download and print out the skeleton template on white cardstock paper.
Cut Printable Elements Out:
Cut out the skeleton head and the included elements.
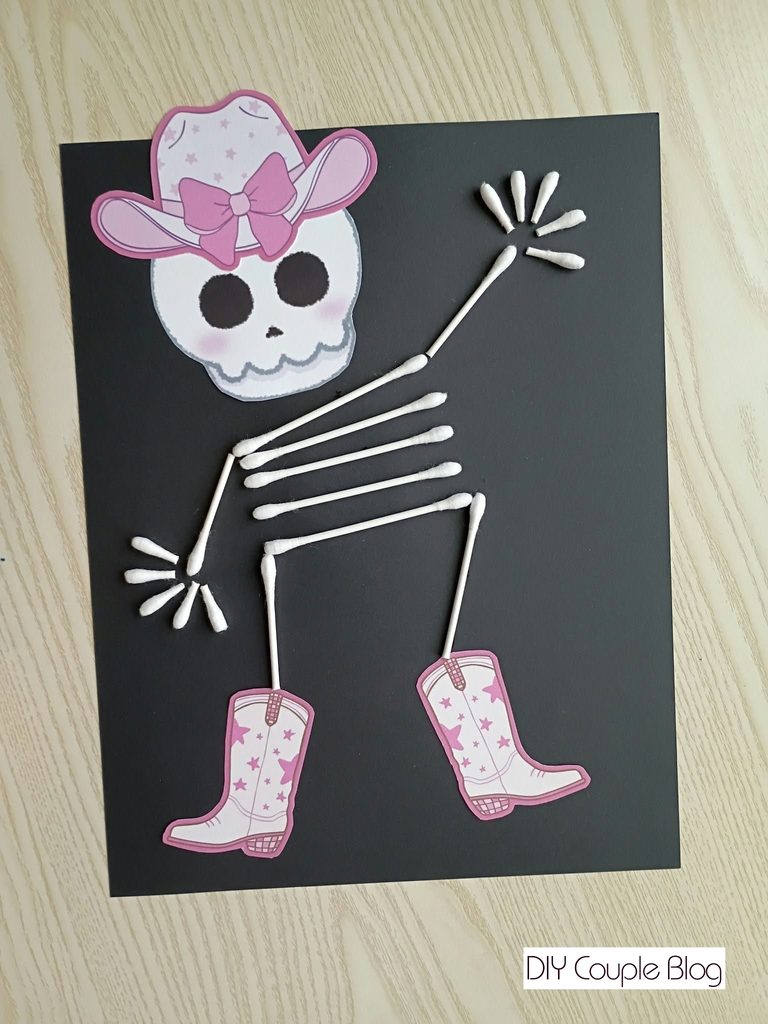
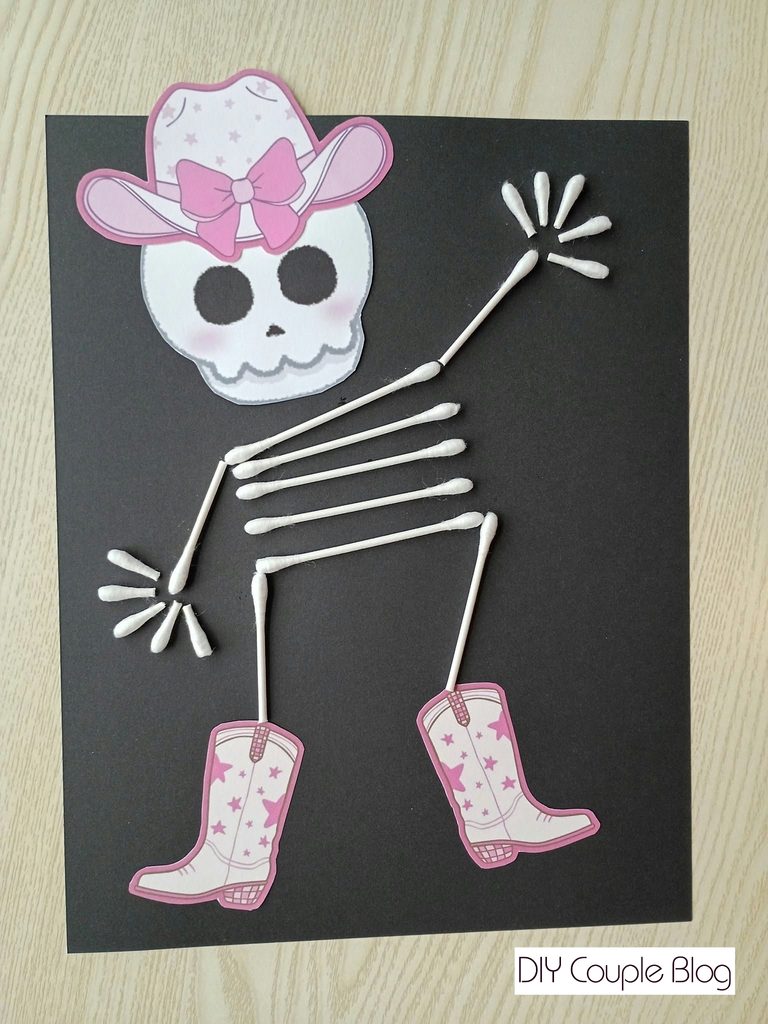
Glue Cowgirl Hat and Secure Skeleton Head to Page:
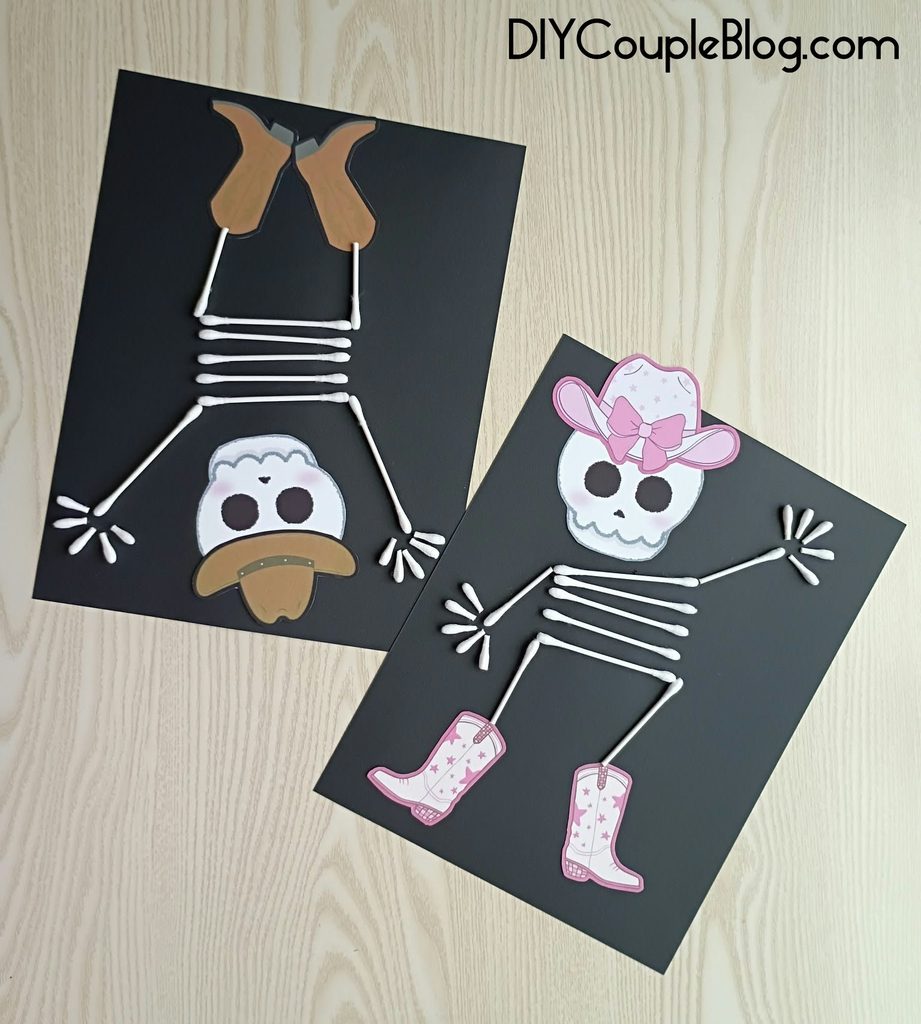
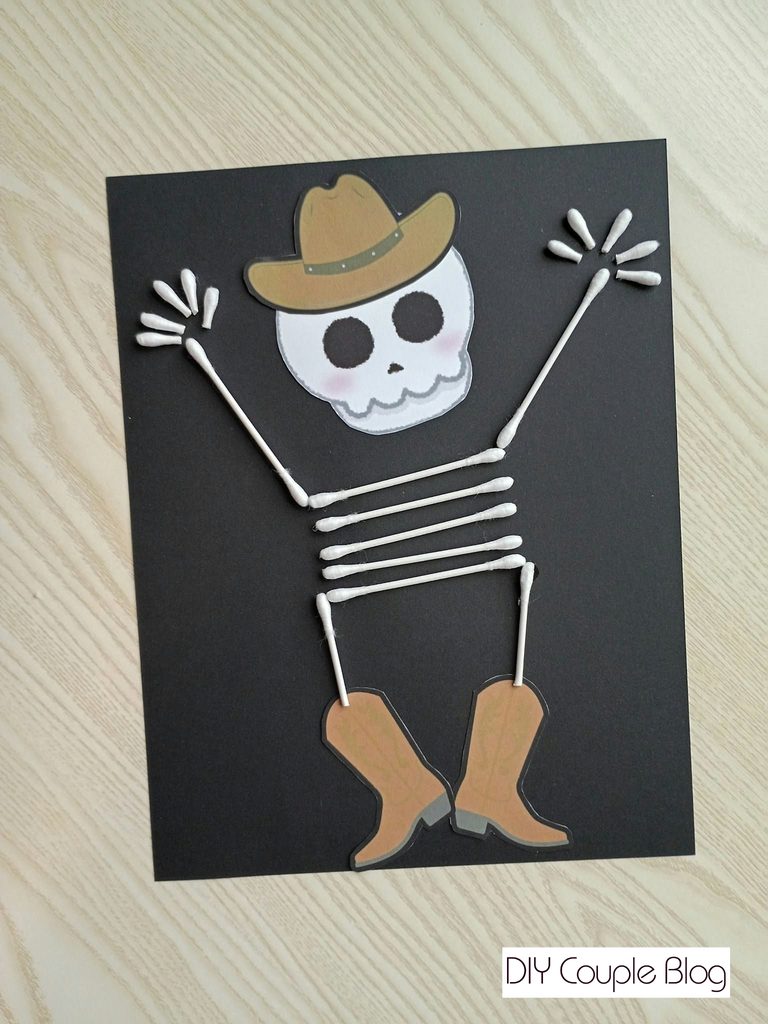
Use your glue stick and secure the cowgirl hat on the skeleton. Glue the skeleton head to the top left-hand side of the page.
Make the Skeleton Q Tip Body:
Lay five full-sized Q tips in a row, one beneath the other, to be the body of bones. Glue them with your school glue.
Add Boots and Boney Legs:
Glue the cowgirl boots at the bottom of the page positioned any way you like. Cut two Q tips to fit the space between the boot and the bottom body bone and glue them down.
Cotton Swab Arms:
Cut the end of two Q tips to be the arms. Glue the left side slanting downwards and the right side angled upwards from the top body bone.
Five Boney Fingers:
Cut five tips off the Q tip ends and glue around the arm to make tiny boney fingers.
Q-Tip Skeleton Craft Tips:
My kids had so much fun making this skeleton craft with Q tips! There are many ways to prep and make this activity work for your child. I thought I would share some things that might be helpful for your next skeleton craft and what seemed to work for us.
I squeezed some school glue onto a paper plate, so the kiddos could just “dip” their Q tips, but my kids liked just squeezing the glue straight from the bottle making a “line” on the page for their Q tips to stick to. They said they got less sticky.
Also, you will need to cut the Q tips for them. You could even prep before the craft to have it ready. We just did it as we during the craft, so the kids could make decisions on the layout as they went. It really is a simple craft, and they will be amazed at how it turns out. Who knew Q tips could be so fun!
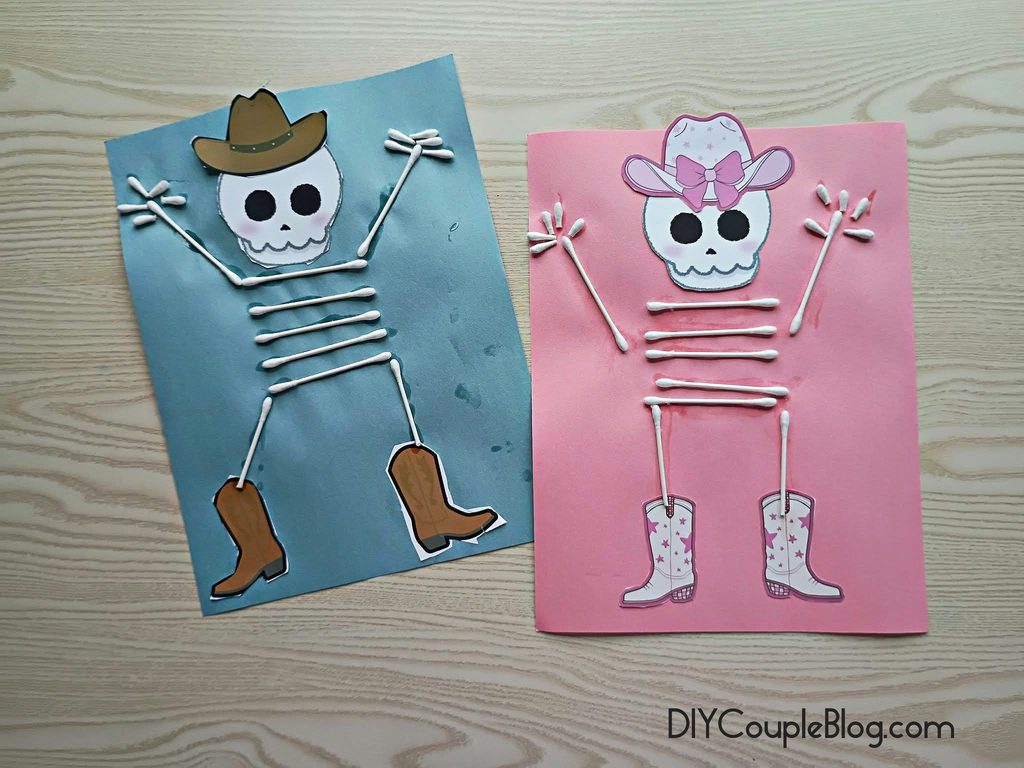
The kids decided to add some fun colors as well!
They turned out so cute!
Final Thoughts:
We hope you enjoy this free resource, and it adds some fun to your Halloween season. It really is the perfect way to add a little creativity to the month of October!
Ready to let your kids build their own skeleton craft with Q tips? Click the download button below to grab your high-resolution PDF printable template.
Print as many copies as you need for your home, classroom, or Halloween party!
Please note: All of our downloadable printables and designs are copyright of DIYCoupleBlog. They are free and intended solely for your personal use (at home or in your classroom) Alteration, redistribution, or commercial resale of these files are strictly prohibited. Thank you for respecting the time and effort put into creating these resources!
Check Out Our Other Posts:
Halloween Printable Craft Keepsake