
This post may contain affiliate links, which means we'll receive a commission if you purchase through our links, at no extra cost to you. Read the full disclaimer here: https://diycoupleblog.com/disclaimer/
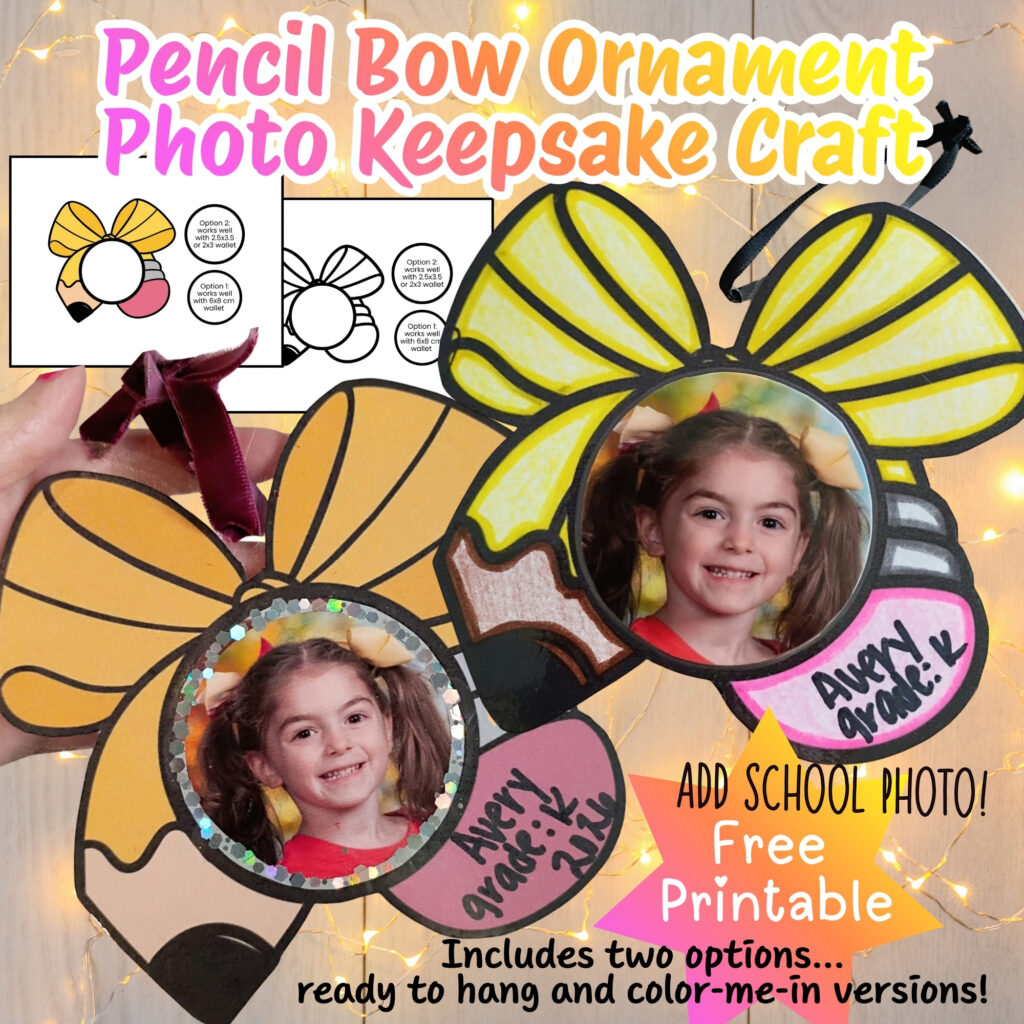
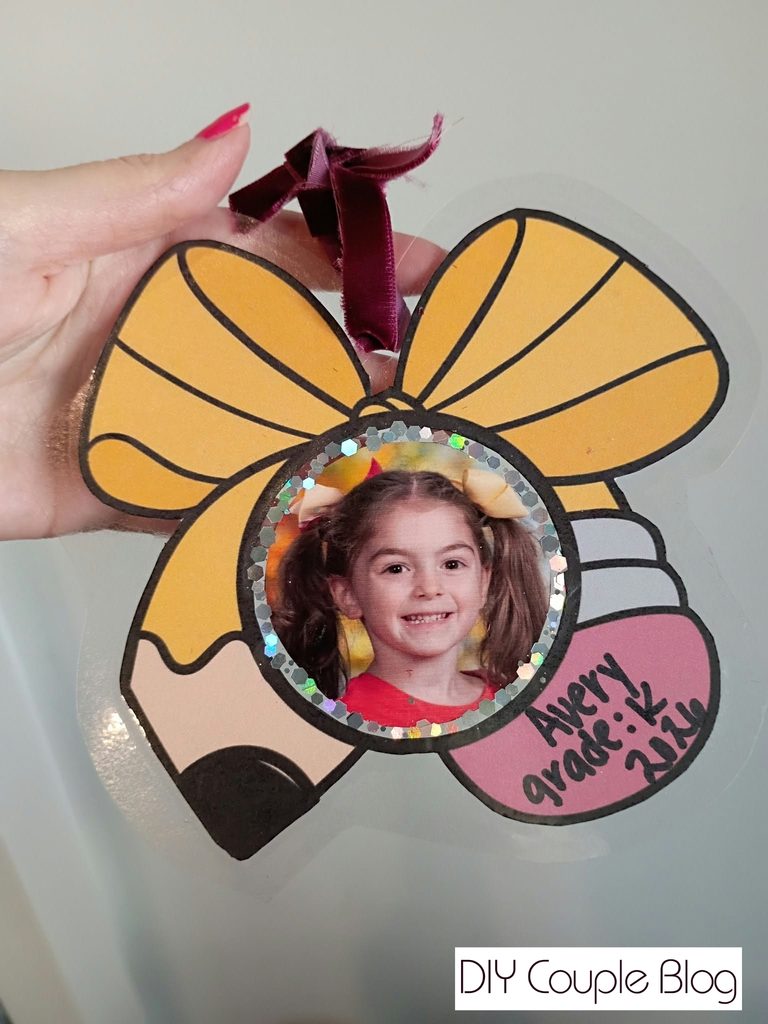
Turn your child’s first day of school or their school picture day photo into yearly treasures to always be cherished with these easy-to-make ornament print outs!
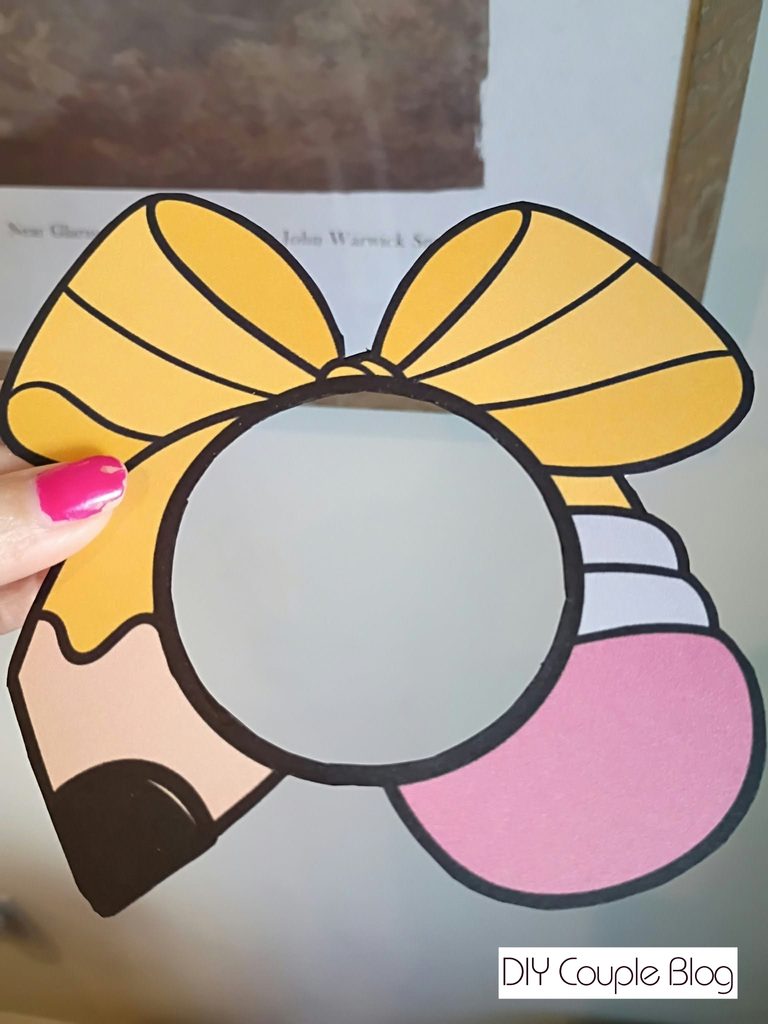
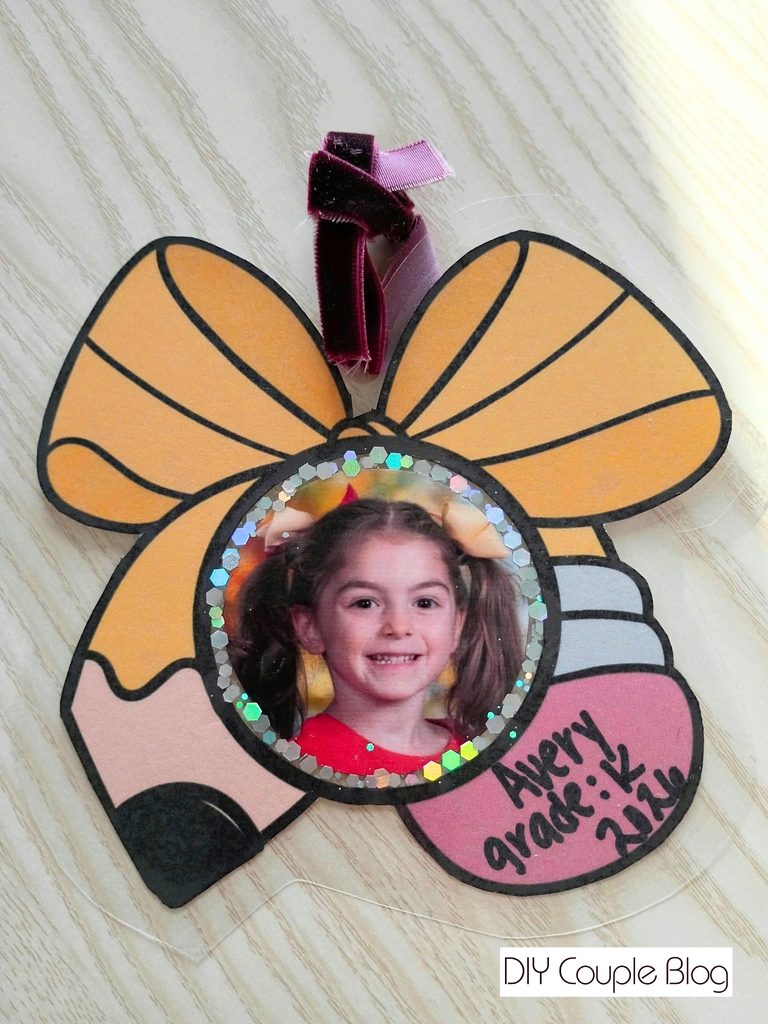
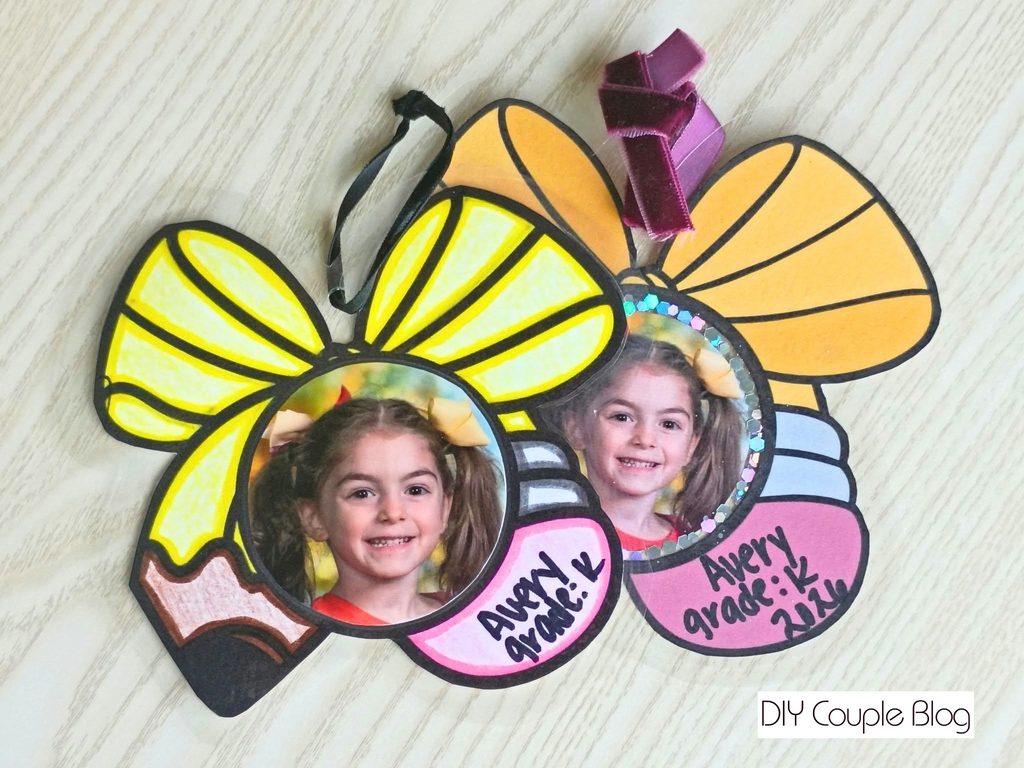
The adorable design featured is a bow shaped like a pencil. I have two versions up for grabs, a black and white version allows your child to color their special ornament, and the other is ready to run with, printed in color.
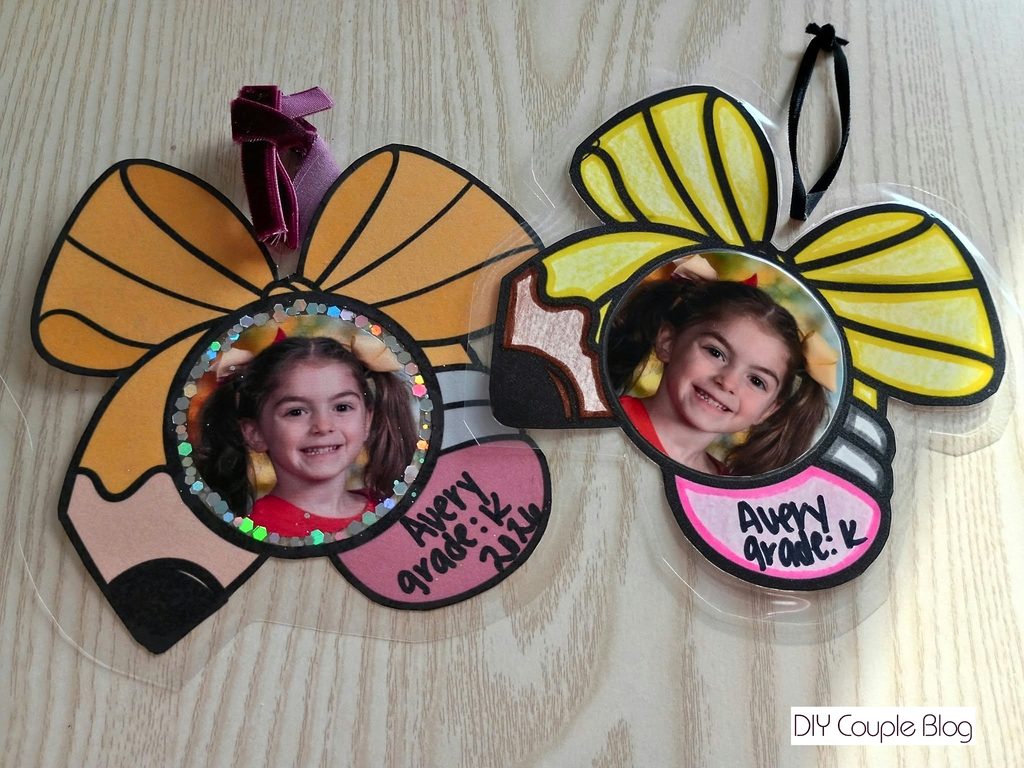
I am also walking you through two completely different ways to make them, depending on what size photo you’re working with! You’ll find those details in the photo heading of the instructions below.
Ornament Print Outs for Gifts
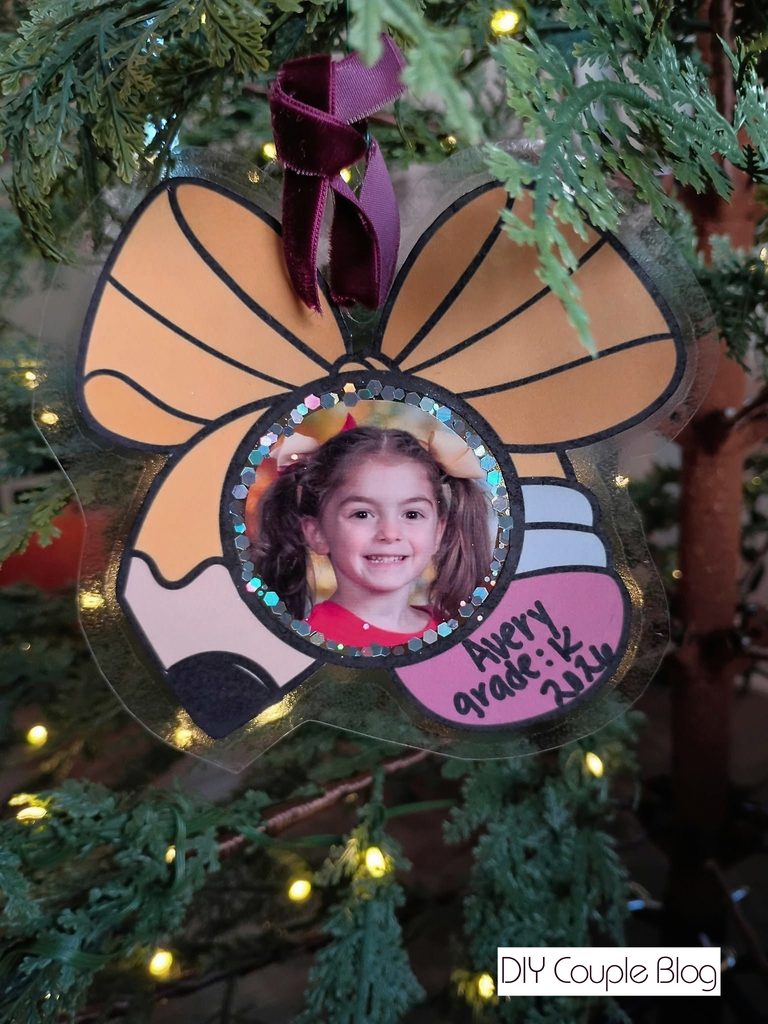
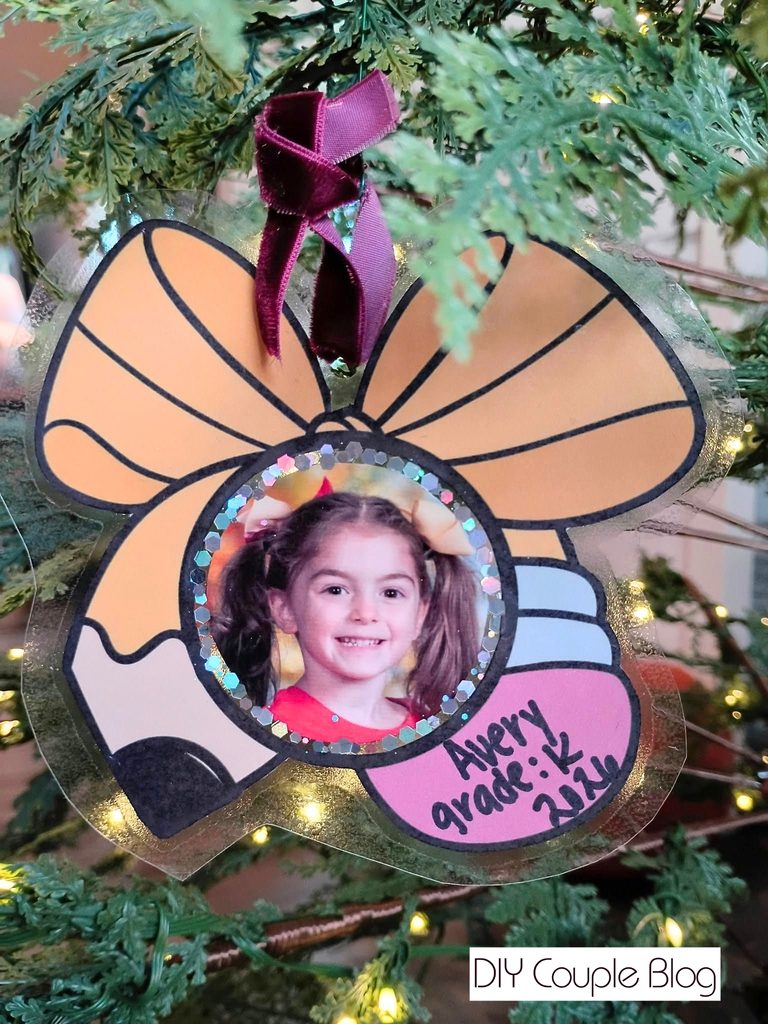
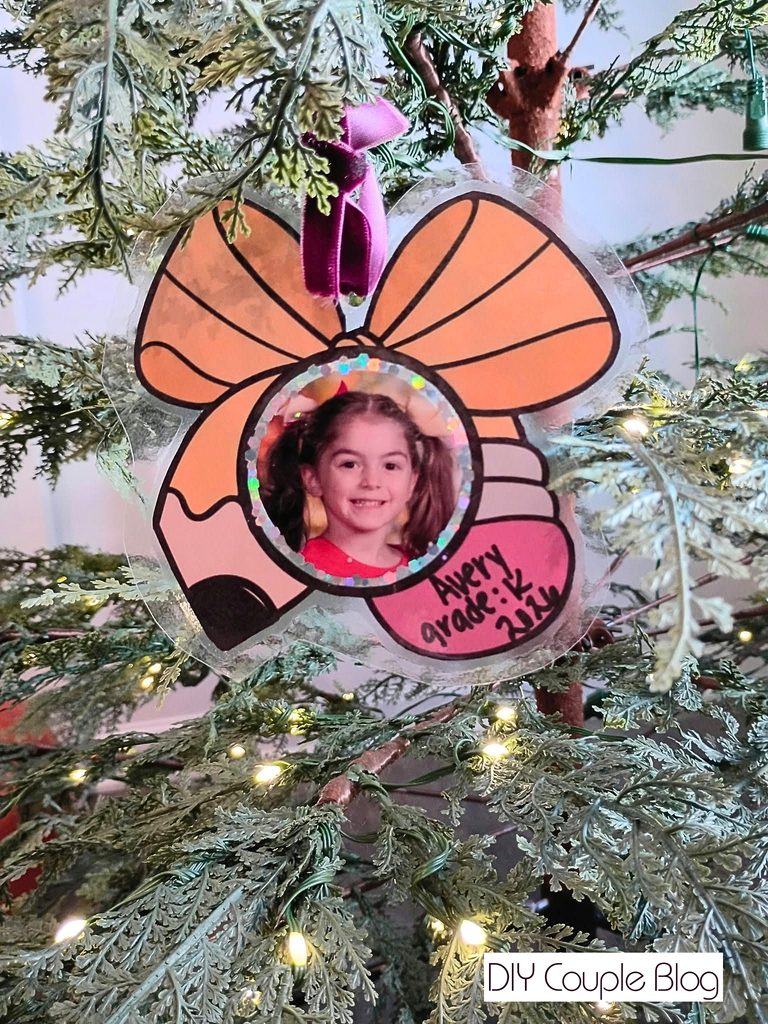
This personalized pencil bow ornament will make your child’s photo shine this holiday season. We absolutely love when we can transform a simple budget-friendly craft into a sweet, homemade keepsake or thoughtful Christmas gift.
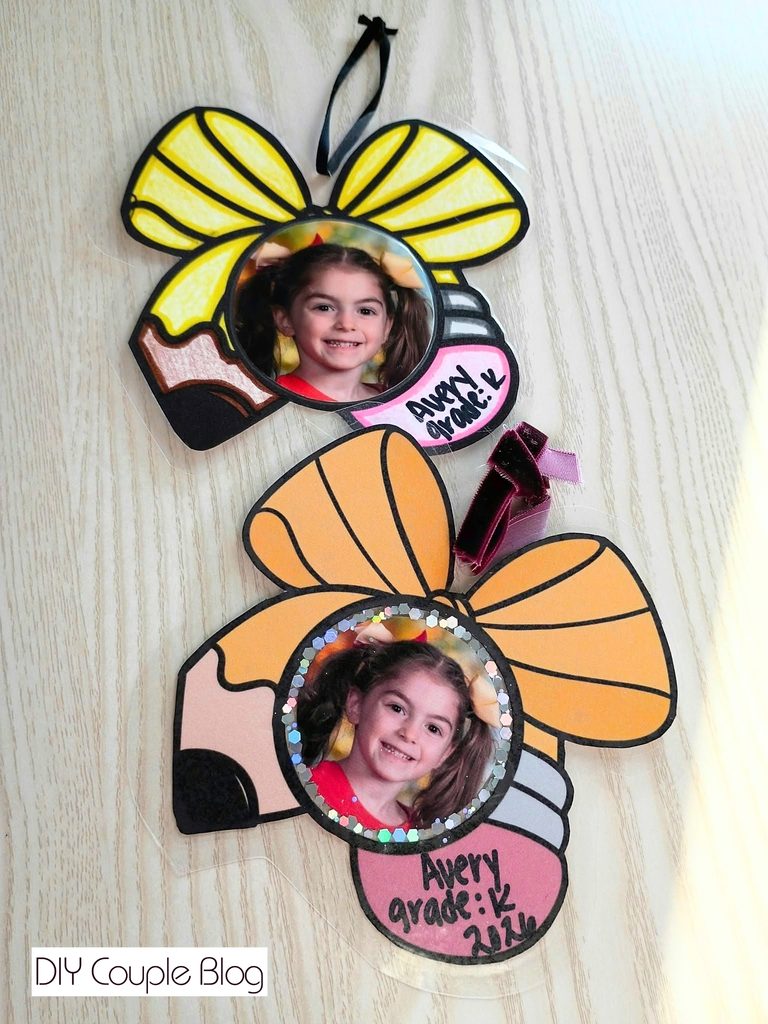
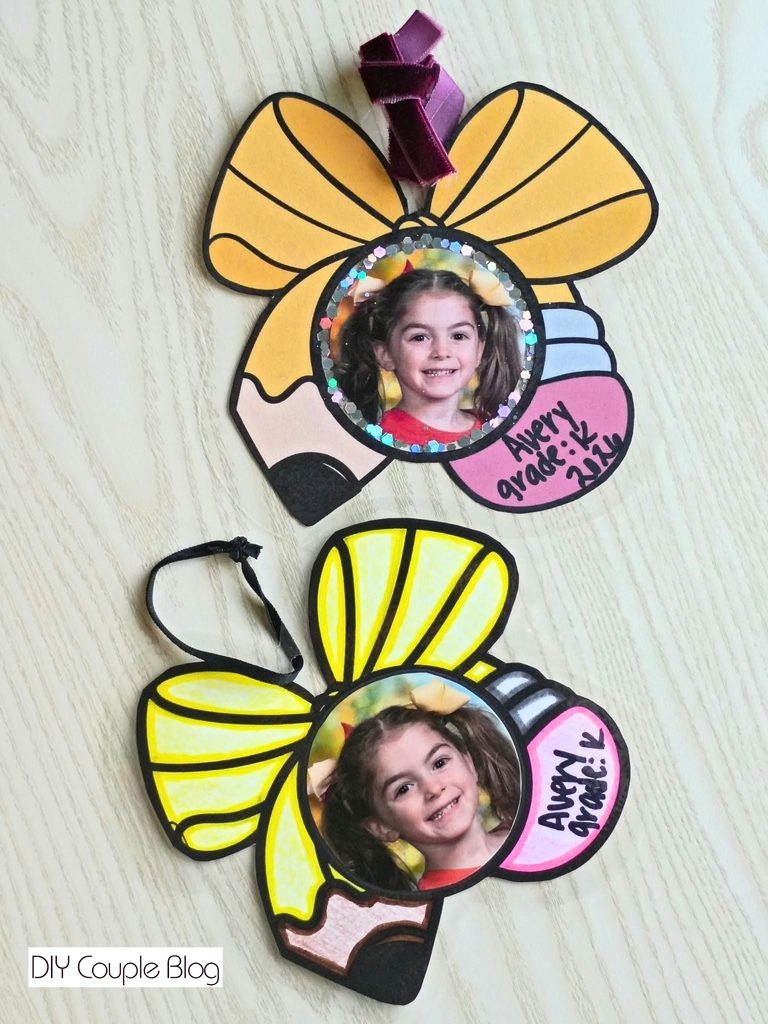
Parents and grandparents alike would absolutely adore a gift like this to decorate their tree with their kids or grandbabies. Not only are they cute, but DIY ornaments are so fun to make!
Make Your Own Photo Ornaments
Using our free printable template, a pair of scissors, self-laminating sheets, a hole punch tool, your child’s photo, plus a little ribbon, you can make these print out Christmas ornaments up in just a few minutes.
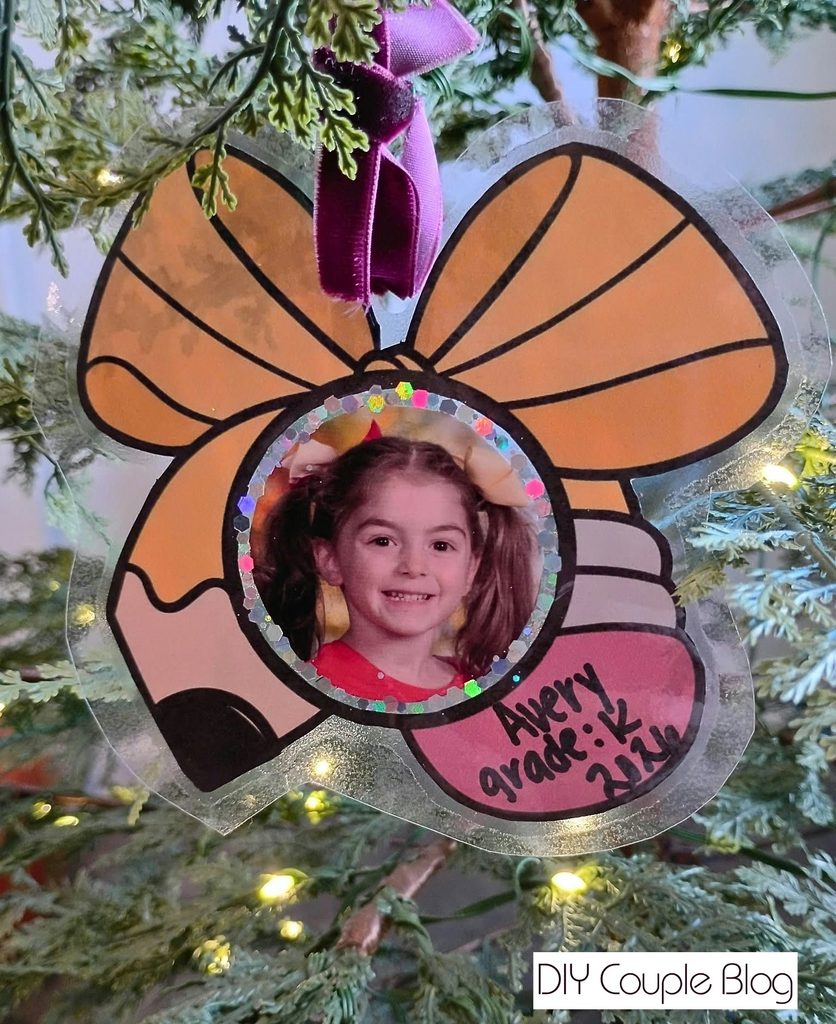
We’ve provided all the details including the simple instructions and the high-resolution free printable template so that you can get started making your photo ornament right away just in time to hang on the tree this Holiday!
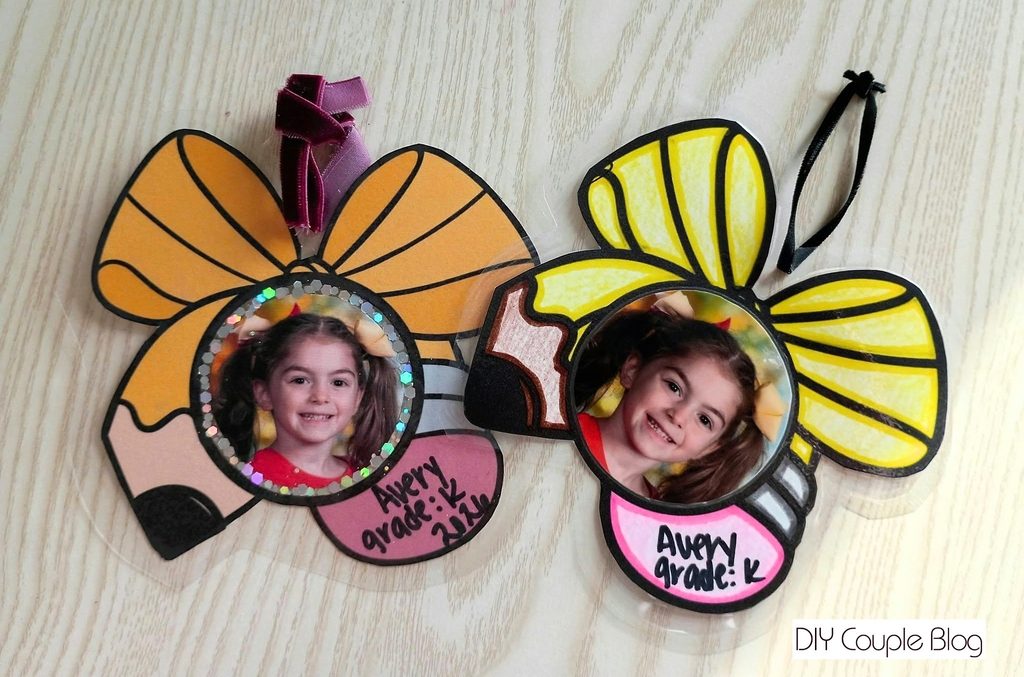
Ornament Print Outs Materials List: Option 1
Crayons, colored pencils or markers (Only if you choose the black and white template)
Scissors
Permanent marker and/ or pen
Ribbon or string
Photo Ornament Instructions for Option 1
Print Out:
Print out your pencil ornament template on white cardstock paper, choosing either the black and white version or the pre-made colored choice.
Color:
If you chose the black and white version, have your child color their pencil bow with either crayons, markers, or colored pencils.
Cut Out the Printable Elements:
Cut out the pencil bow with a pair of scissors as well as the circle shape to the side that is labeled option 1.
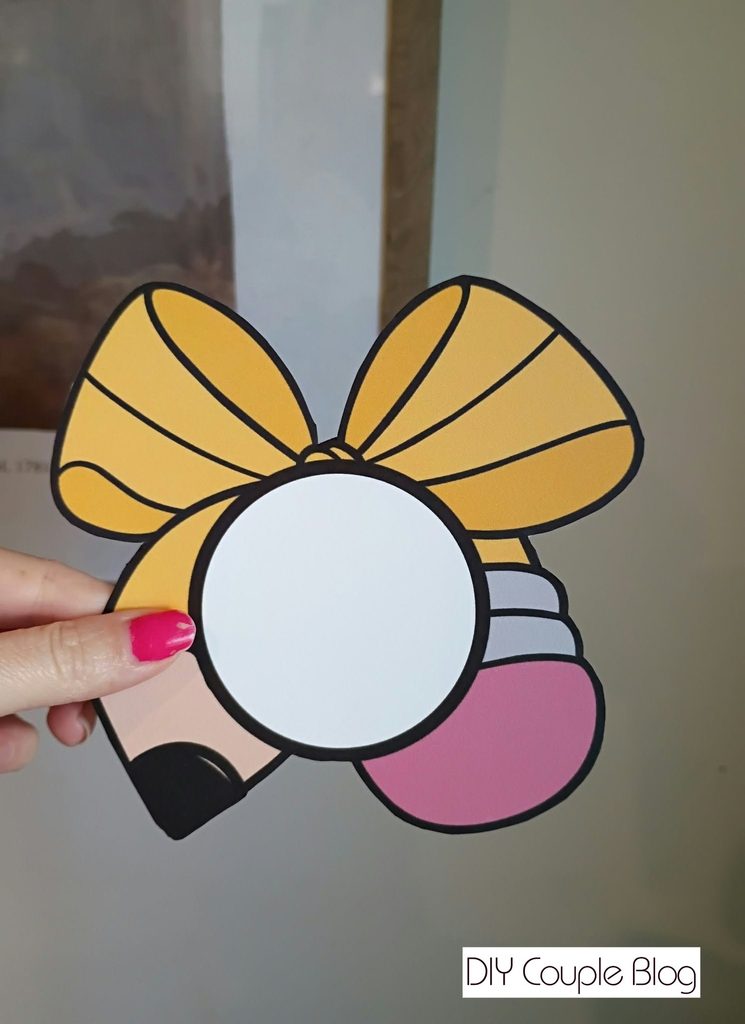
Snip the Middle Section:
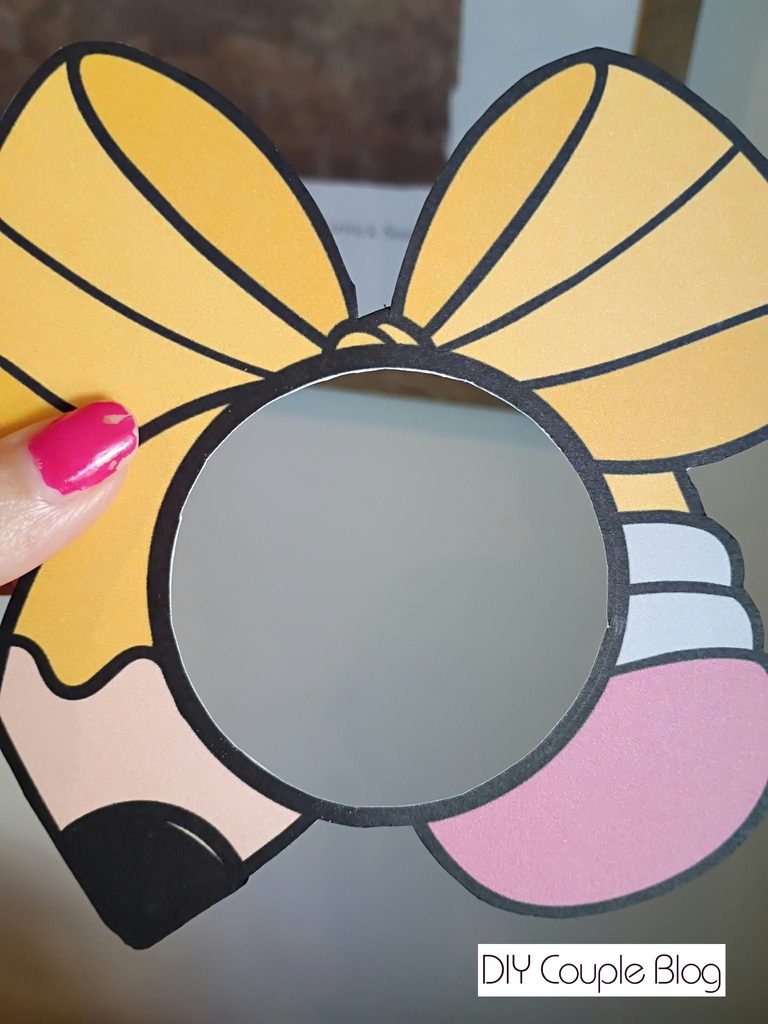
Cut out the middle center of the bow ornament (you can use a hole punch to get you started, as seen pictured below).
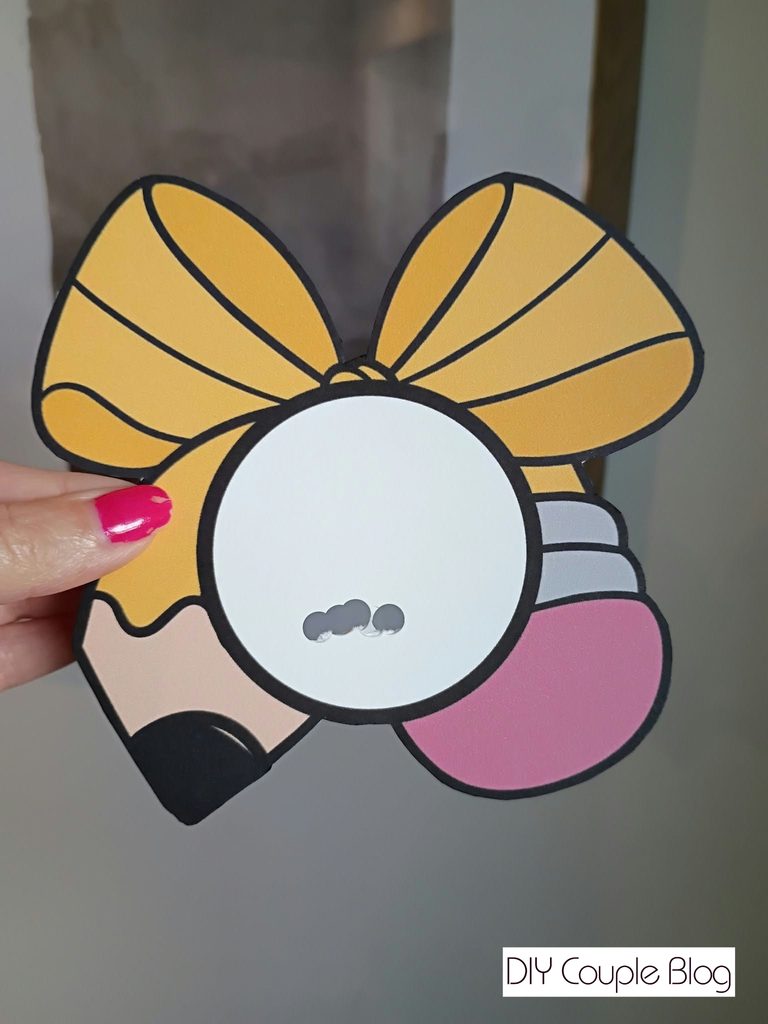
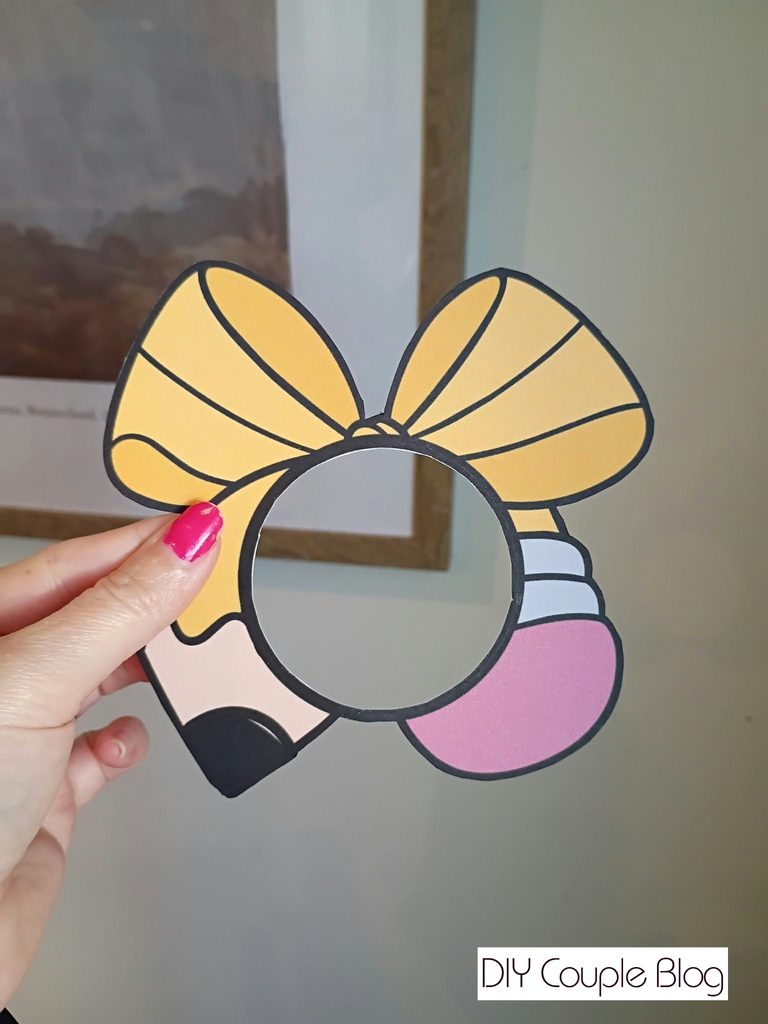
If you have white edges after cutting the inside, you can touch it up with a black sharpie for a more polished look.
Trace Photo to Size:
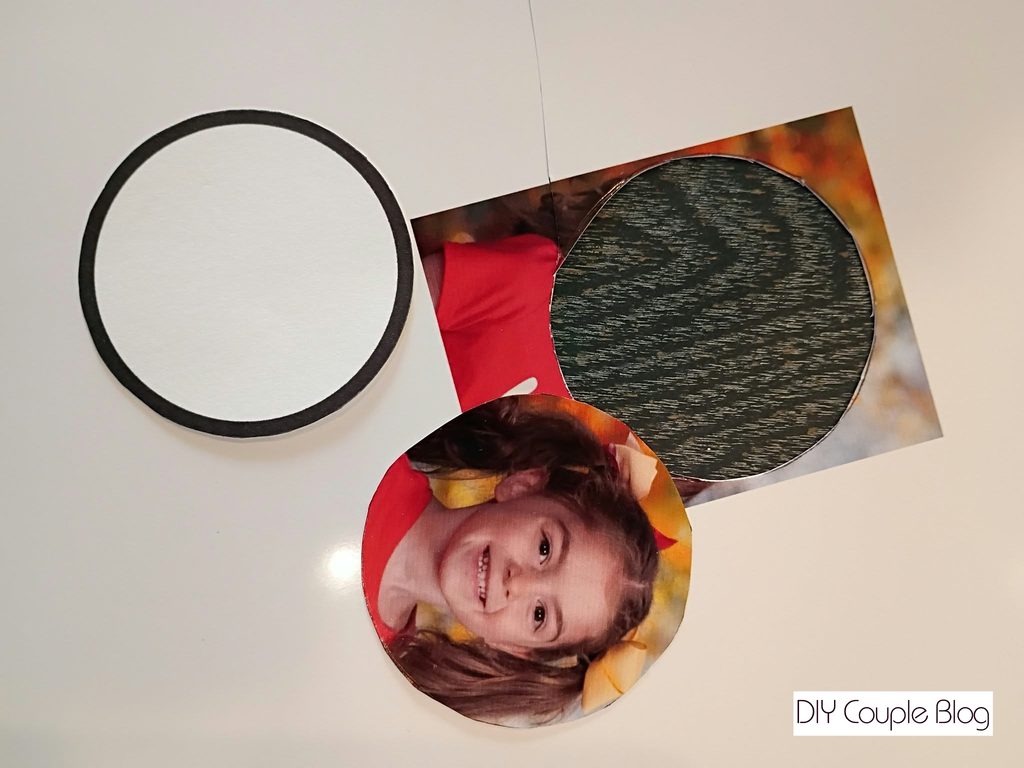
Use the circle shape provided with the template, trace and outline any picture you choose to use. To do this, I printed a 6×8 cm wallet from my computer. You can change it in the printer settings before you print, creating the perfect size. Make sure the photo is aligned within reason of the circle shape element so you’re not cutting off any important features (like an eye or pigtail).
Once you have traced your photo, cut around your line with scissors.
Personalize:
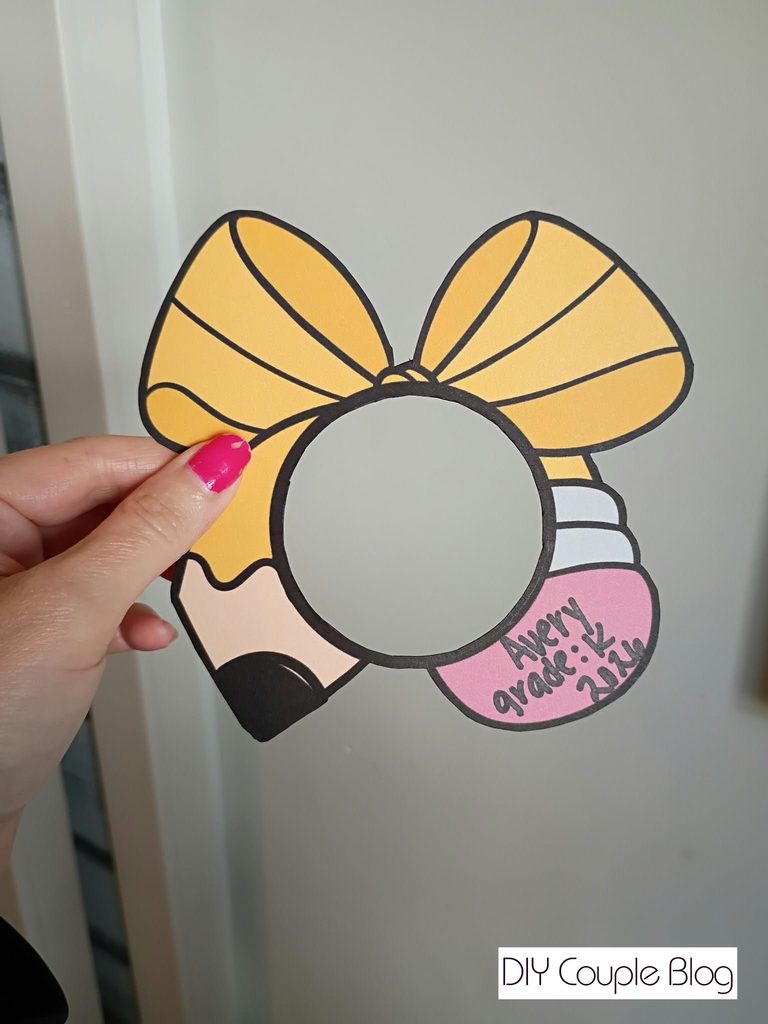
You can write (or have your child) sign their name along with anything else you would like to add such as the year, or their grade level in the eraser portion.
Seal with Self Laminating Sheets:
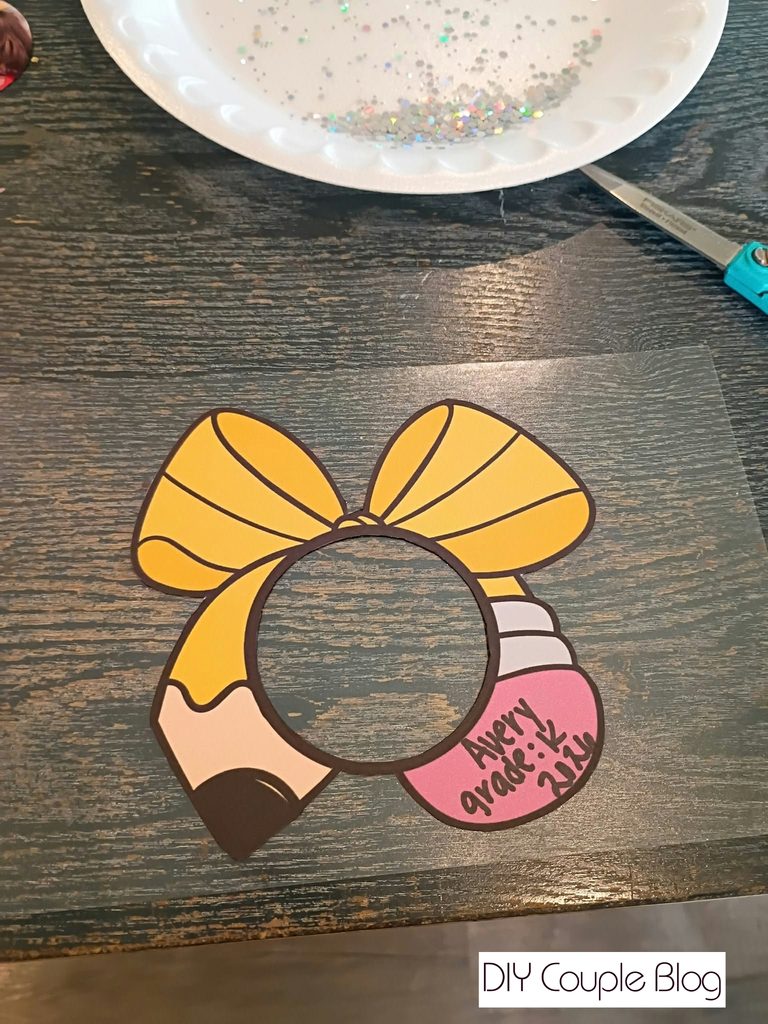
Now grab your self-laminating sheet, cut it in half. Peel back the backing of the paper and lay it on the table with the sticky side up.
Set the printable pencil bow template down on the sticky part, keeping away from any edges. Place your photo centered in the middle. Carefully add any glitter around the photo gap onto the sticky paper. Once the glitter is stuck, it’s stuck.
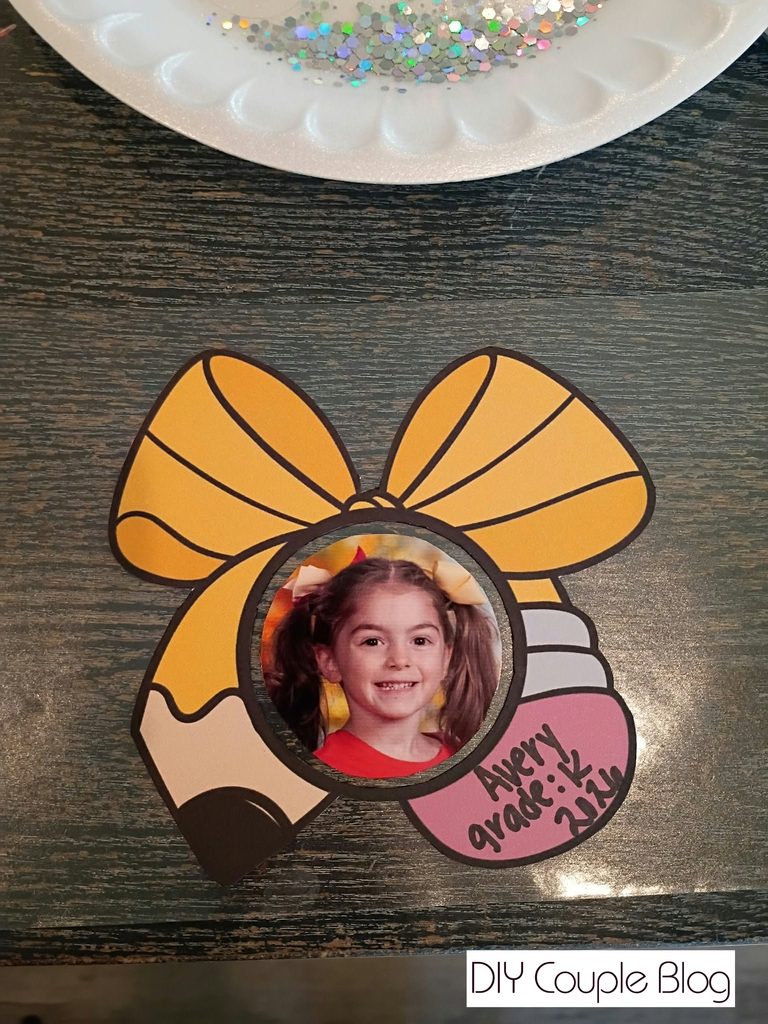
Peel the backing off of the second half you cut. Put the sticky side right over the top of everything.
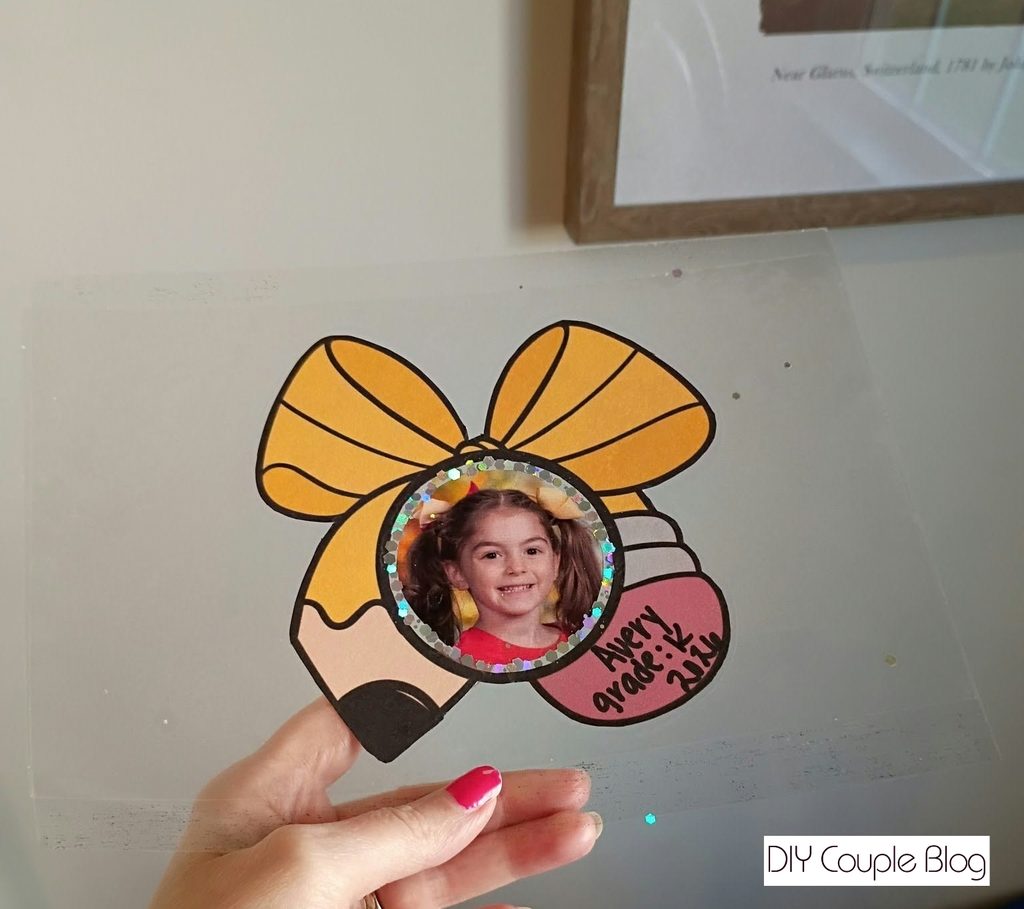
Smooth and press it flat, pushing out any air bubbles. Cut around it with scissors.
Add Hole and Ribbon:
Put a hole with your hole punch tool and tie a ribbon to hang!
Ornament Print Outs Materials List: Option 2
Crayons, colored pencils or markers (Only if you choose the black and white template)
Scissors
Permanent marker and/or pen
Ribbon or string
Photo Ornament Instructions for Option 2
Print Out:
Print out your pencil ornament template on white cardstock paper, choosing either the black and white version colored choice.
Color:
If you chose the black and white version, have your child color their pencil bow with either crayons, markers, or colored pencils.
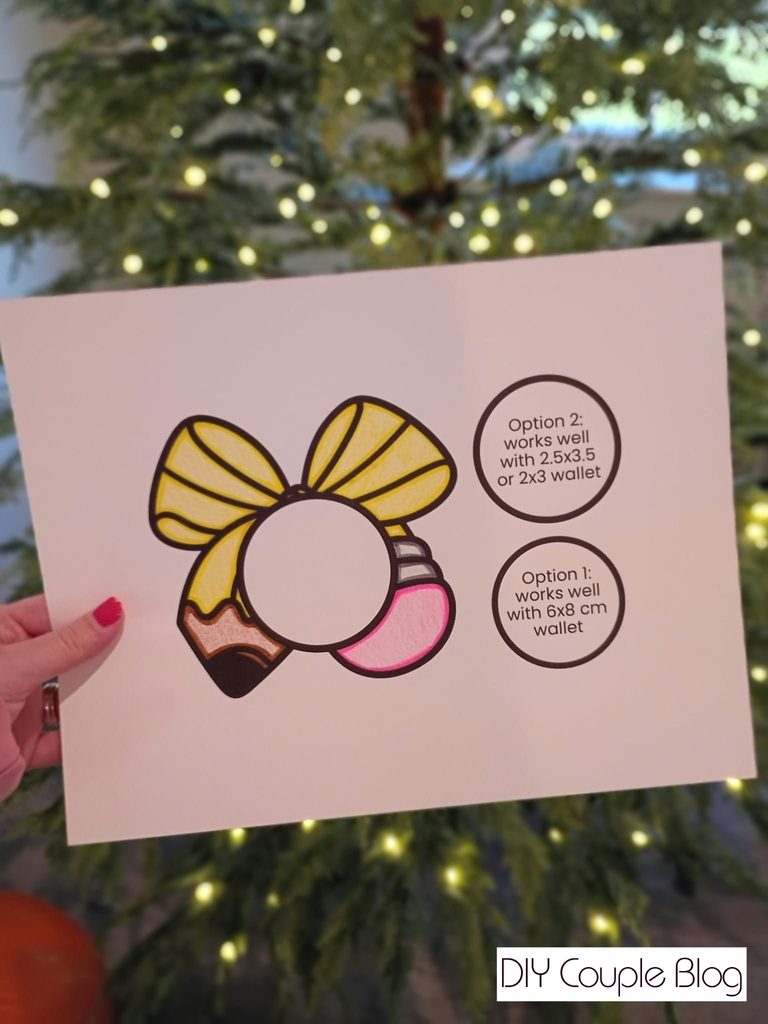
Cut Out the Printable Elements:
Cut out the pencil bow with a pair of scissors, as well as the circle on the printable template labeled “option 2”.
Trace the Photo to Size:
Take the option 2 circle shape you cut and trace the outline of any picture you choose to use. To do this, I used a regular 2.5 x 3.5 wallet size (a 2×3 works well too). Make sure the photo is aligned within reason of the circle shape element so you’re not cutting off any important features (like an eye or pigtail).
Once you have traced your photo, cut around your line with scissors.
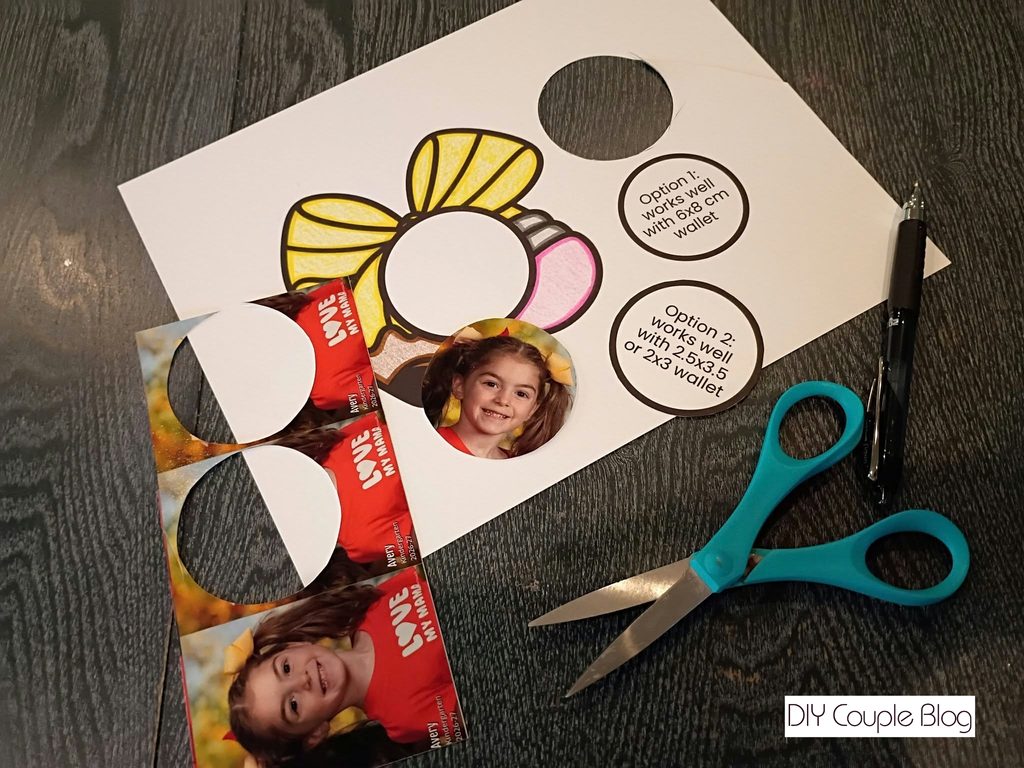
The photo will fit the whole circle versus having a transparent outline where you would see through the laminating film (as in option 1 above). Position the photo straight and centered and glue it to the inside circle of the bow.
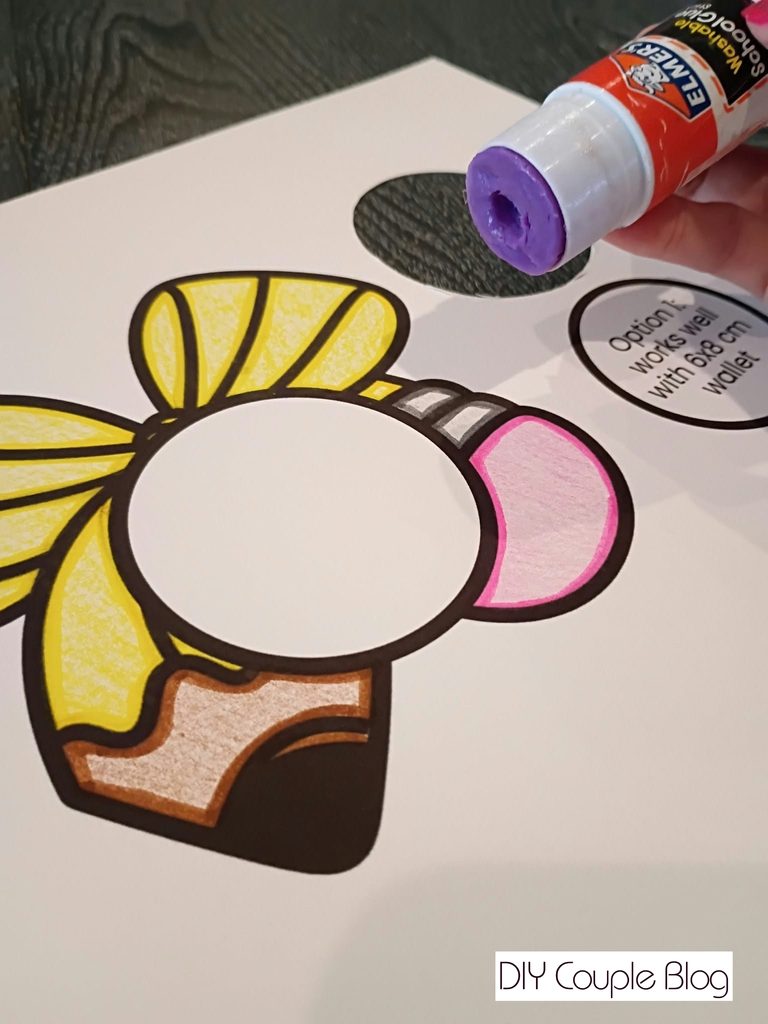
Personalize:
You can write (or have your child) sign their name along with anything else you would like to add such as the year, and their grade level in the eraser portion.
Seal with Self Laminating Sheets:
Now grab your self-laminating sheet, cut it in half. Peel back the backing of the paper and lay it on the table with the sticky side up.
Set the printable pencil bow down on the sticky part, keeping away from any edges.
Peel the backing off of the second half you cut. Put the sticky side right over the top of everything.
Smooth and press it flat, pushing out any air bubbles. Cut around it with scissors.
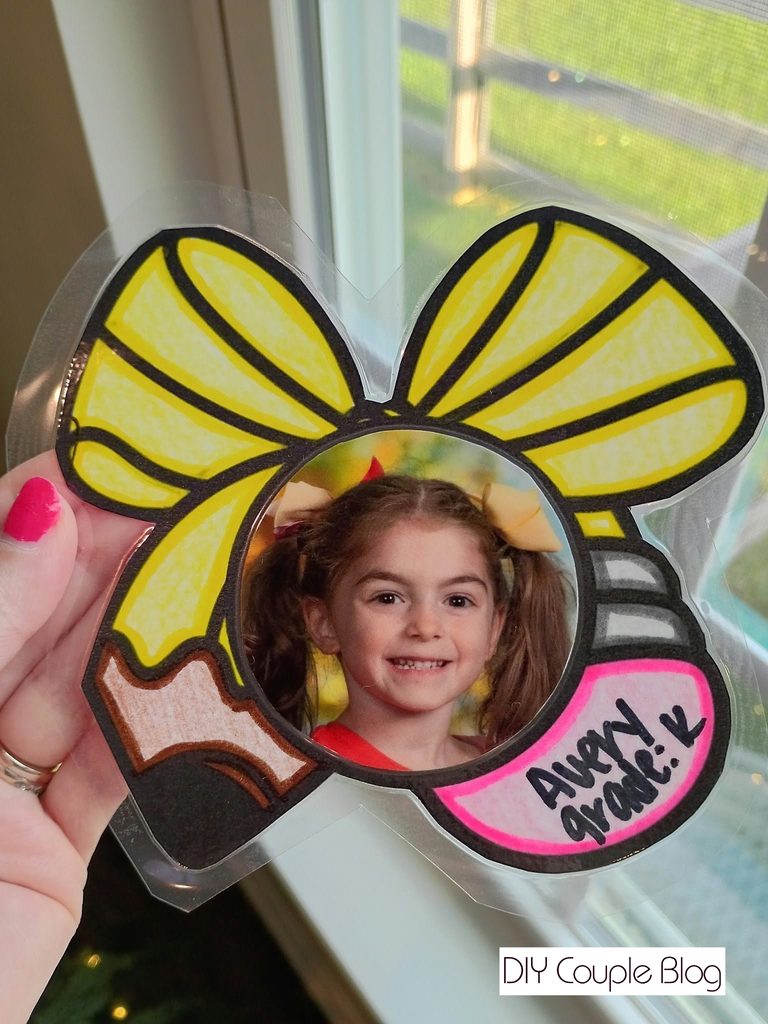
Add Hole and Ribbon:
Put a hole with your hole punch tool and tie a ribbon to hang!
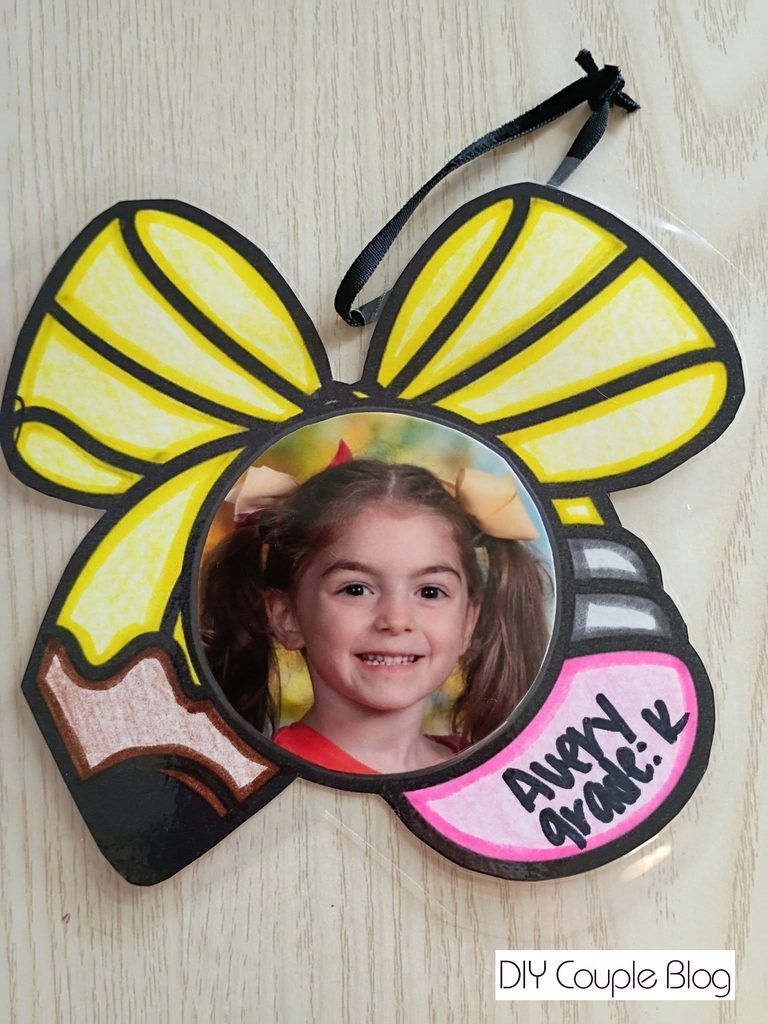
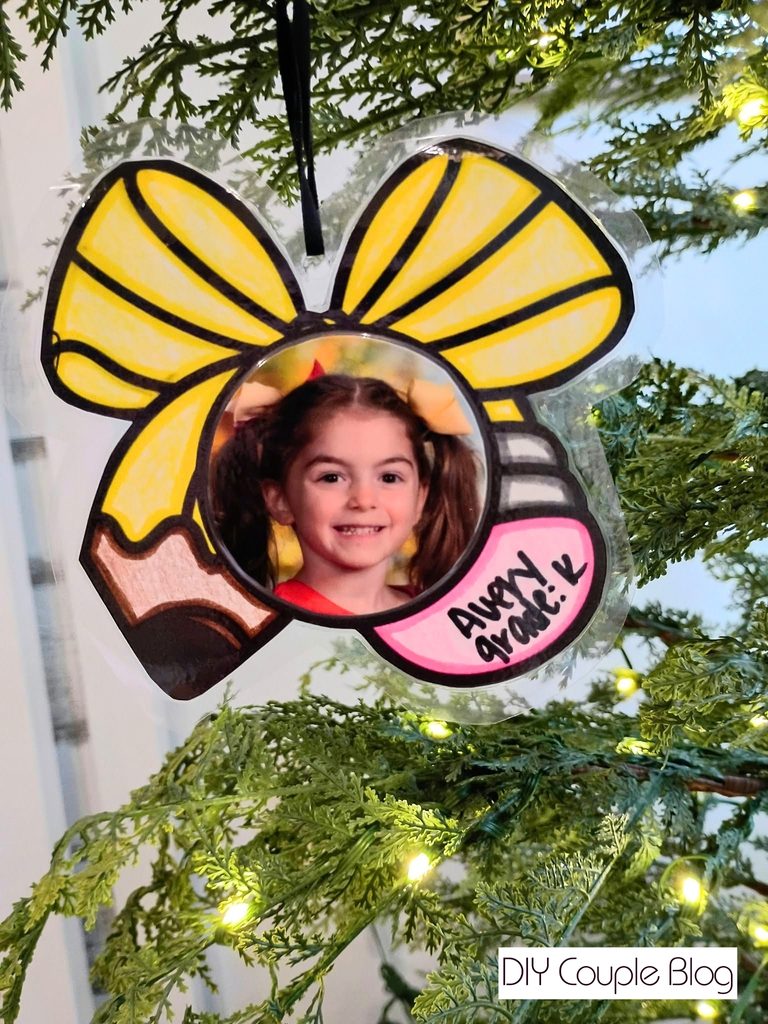
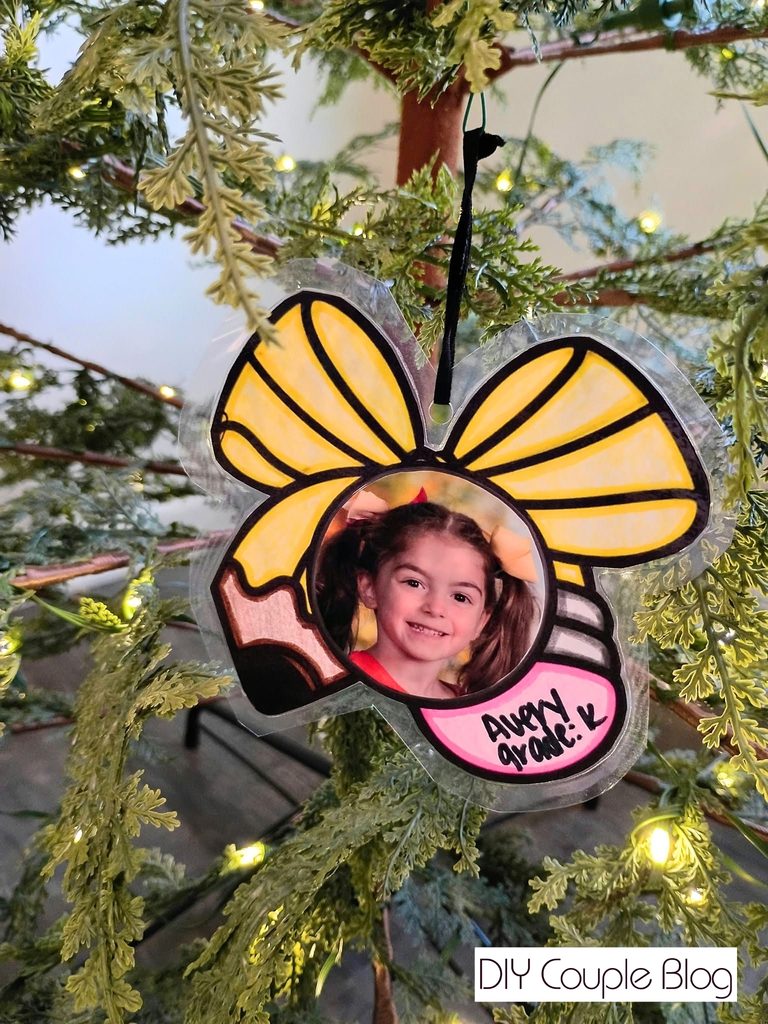
Can I Use a Laminator Machine for My Ornament Print Outs?
The self-laminating sheets are a great, budget-friendly DIY option and if you plan to go with option 1 tutorial, then I’d stick to those sticky contact paper sheets or even the rolls.
If you plan on making a bunch of ornaments or already have a laminator on hand, then the answer is yes, it’s most definitely a fantastic way to speed up the process of making them and the option 2 tutorial above would be perfect to run through the laminator. You can find decent priced ones on Amazon if you don’t want to spend too much.
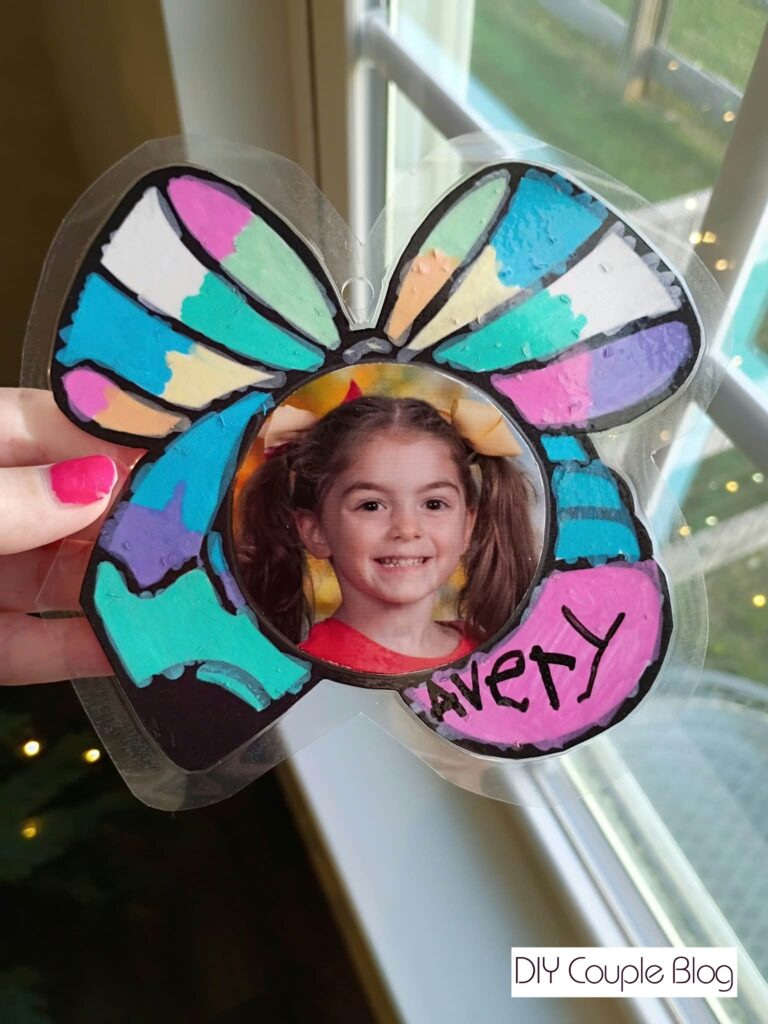
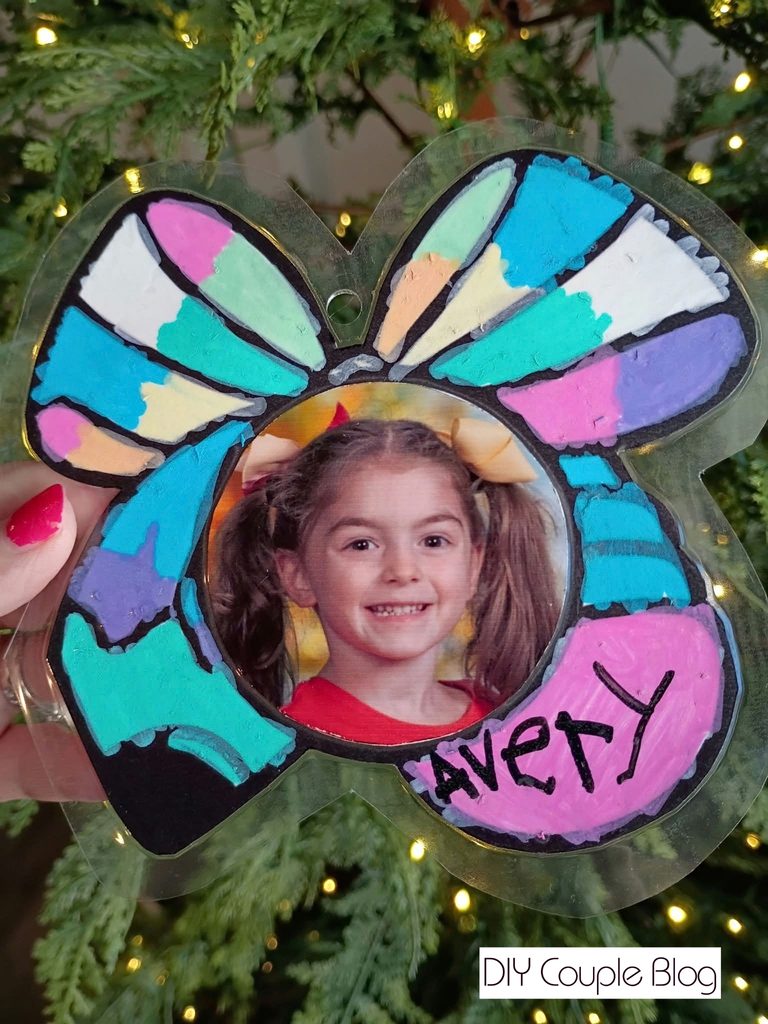
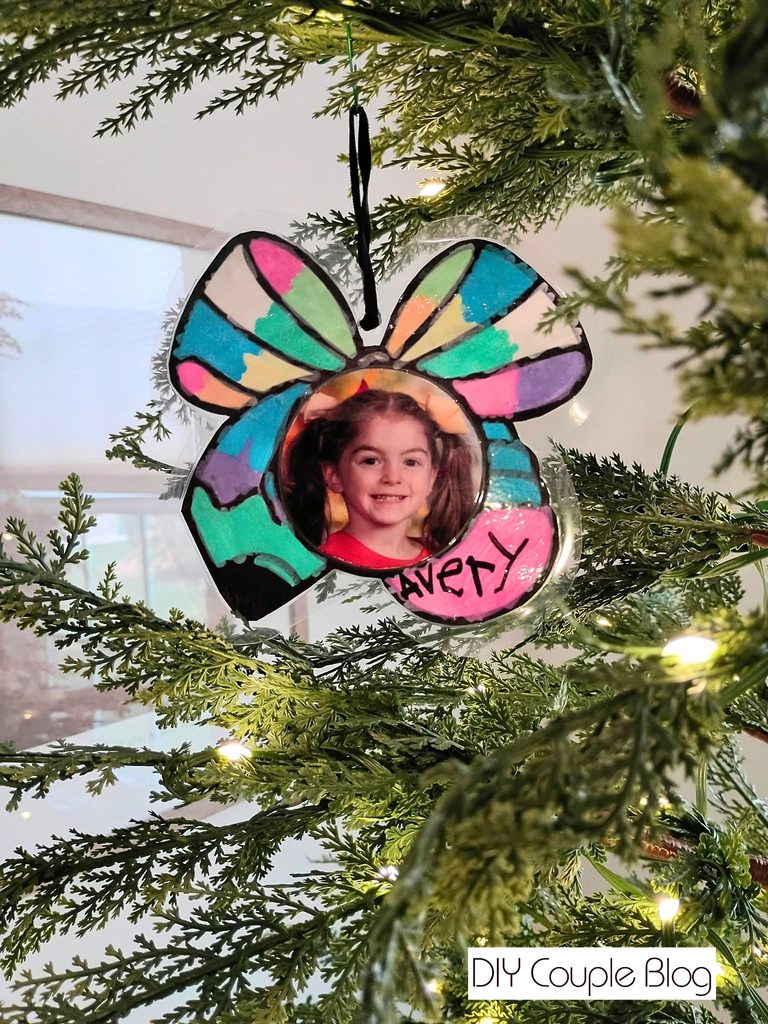
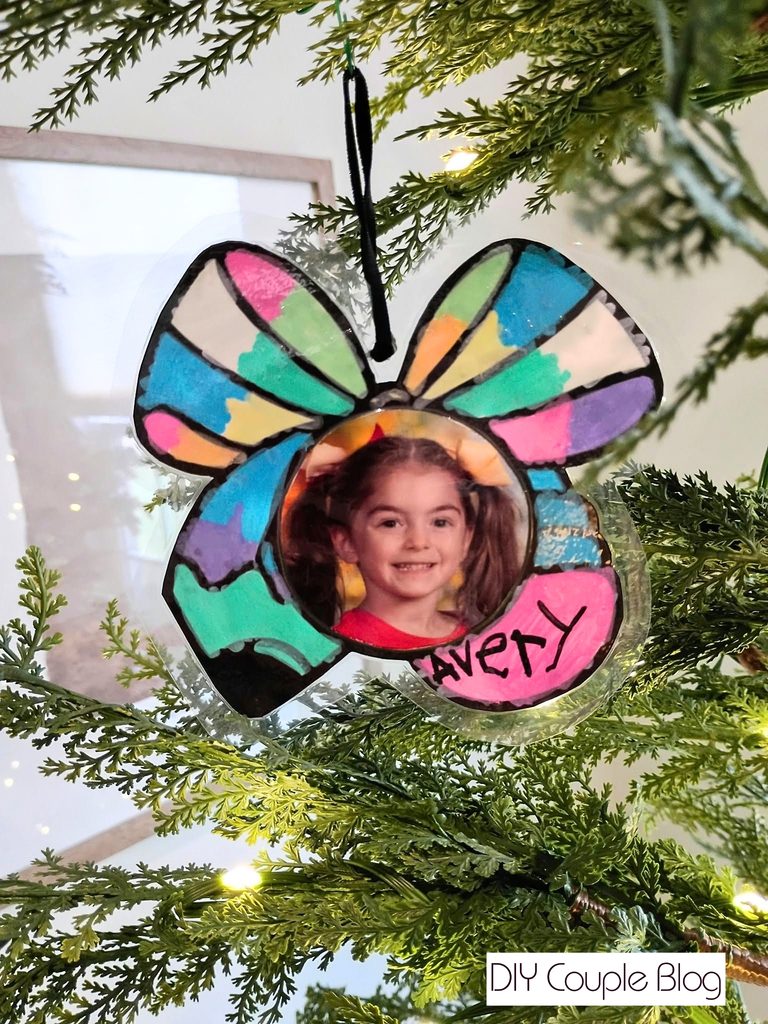
I gave my laminator a go on this colorful ornament my daughter made with milky markers, and after she finished signing her sweet little name, I ran it through the machine, and it worked out terrific.
Final Thoughts on Making These Adorable Pencil Ornament Print Outs:
Back-to-school season is filled with unforgettable firsts, from brand-new backpacks to that classic first-day smile.
While school photo day captures a single moment in time, those tiny prints often end up tucked away in a drawer or hidden in a photo album.
Creating a personalized Christmas ornament keepsake like this gives those special school pictures a permanent place in your family’s holiday traditions.
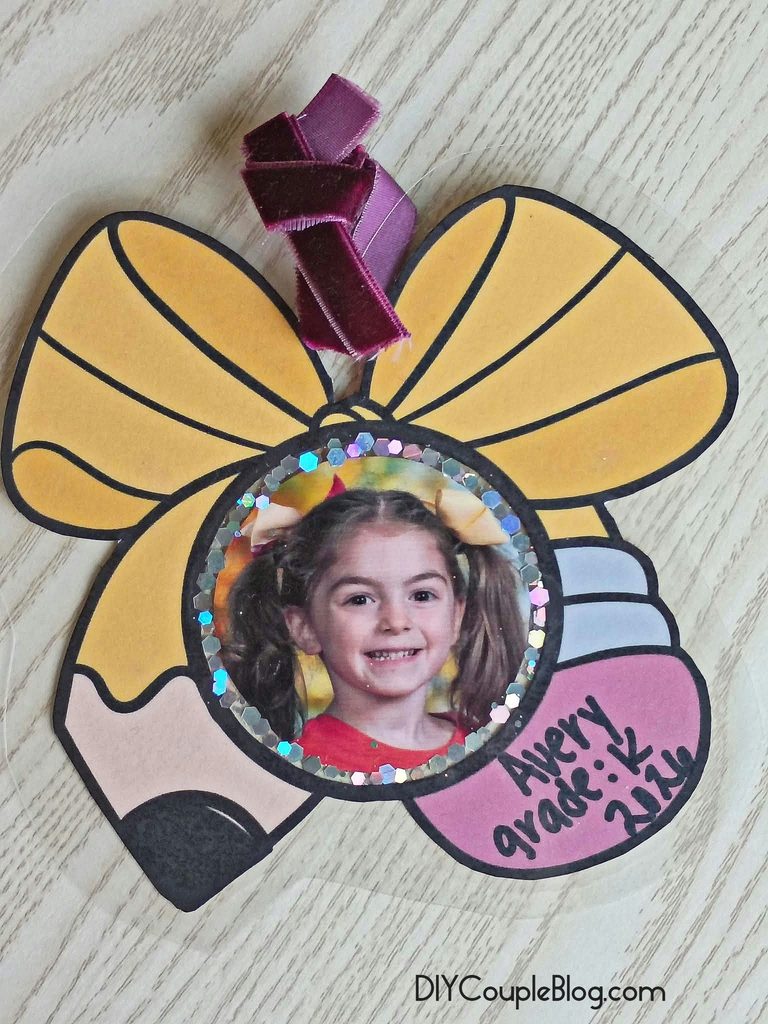
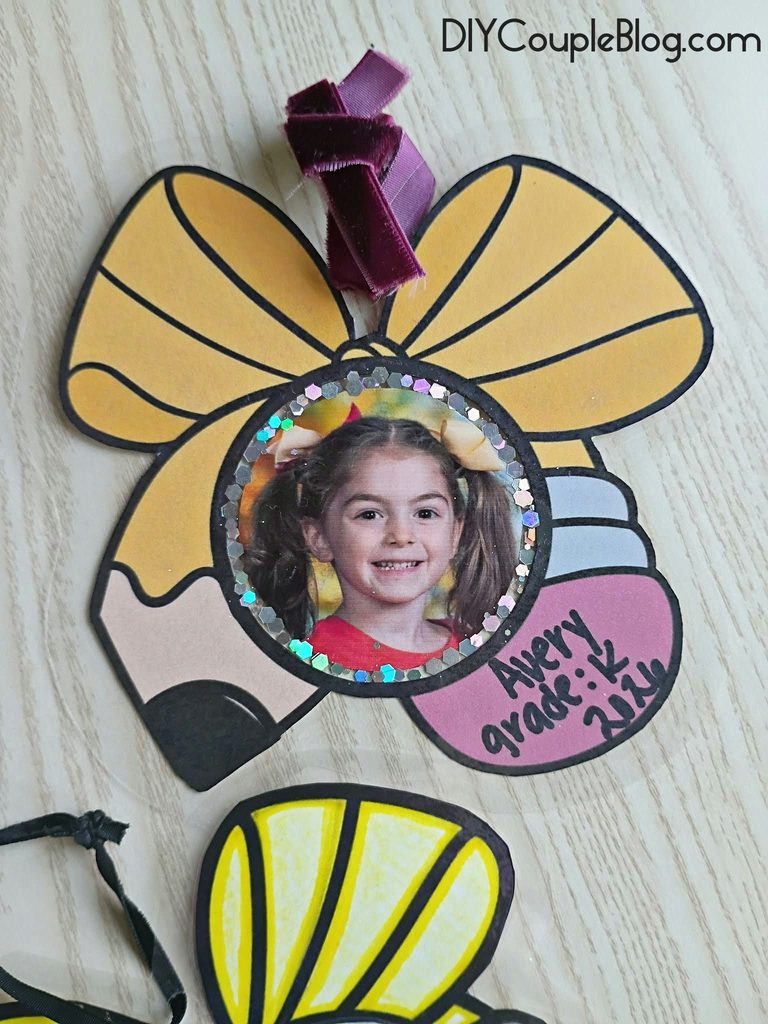
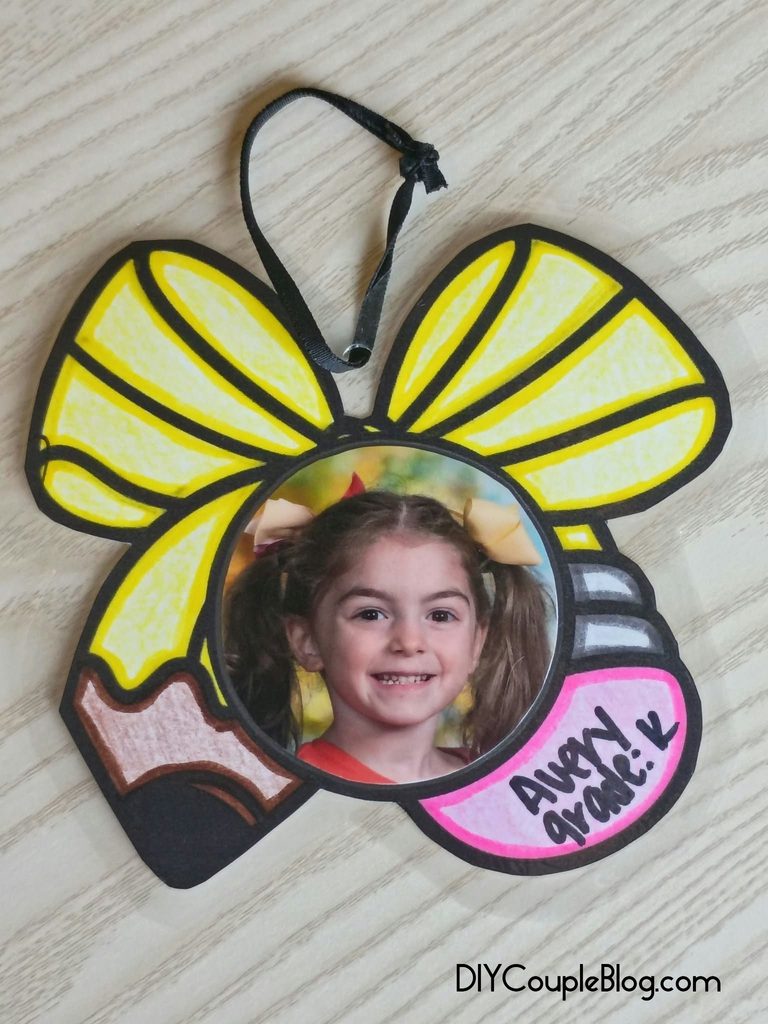
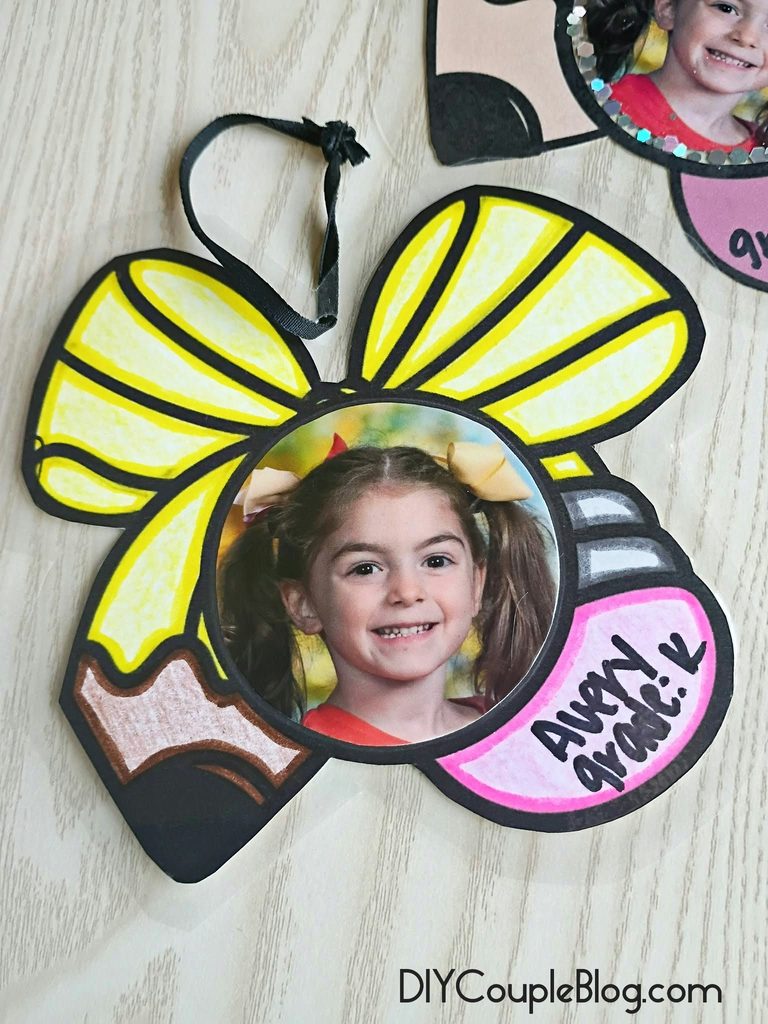
Every December, as you unpack your decorations and these precious ornament print outs you made, you will get to look back at how much your child has grown, transformed, and learned over the years.
It turns a simple school picture into a nostalgic keepsake that brings back sweet memories every time it hangs on the tree.
Click the button below to download our free printable and start making your homemade ornaments today!
Please note: All of our downloadable printables and designs are copyright of DIYCoupleBlog. They are free and intended solely for your personal use (at home or in your classroom) Alteration, redistribution, or commercial resale of these files are strictly prohibited. Thank you for respecting the time and effort put into creating these resources!
You May Also Like:
Paper Plate Controller Game Craft
Jesus is the Light of the World Craft
Aluminum Foil Tear Sheild of Faith Craft