This post may contain affiliate links, which means we'll receive a commission if you purchase through our links, at no extra cost to you. Read the full disclaimer here.
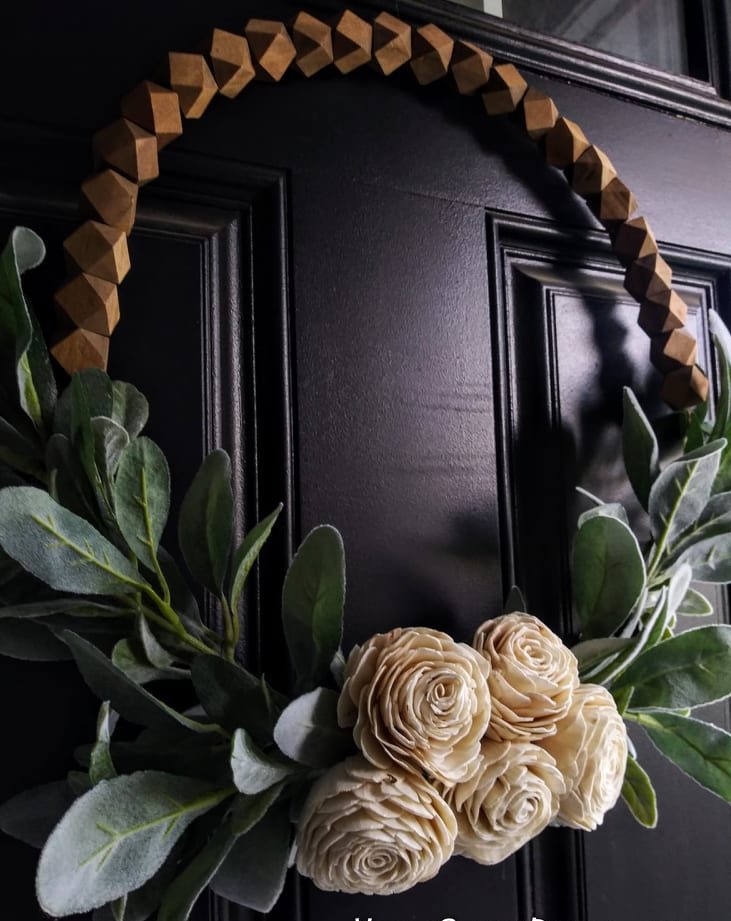
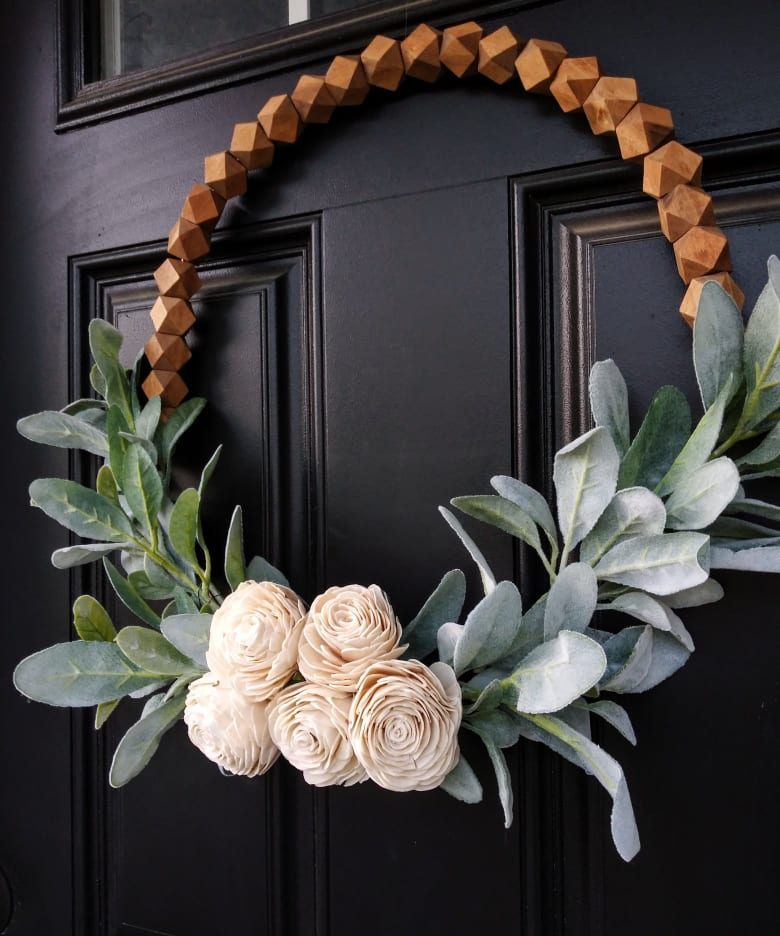
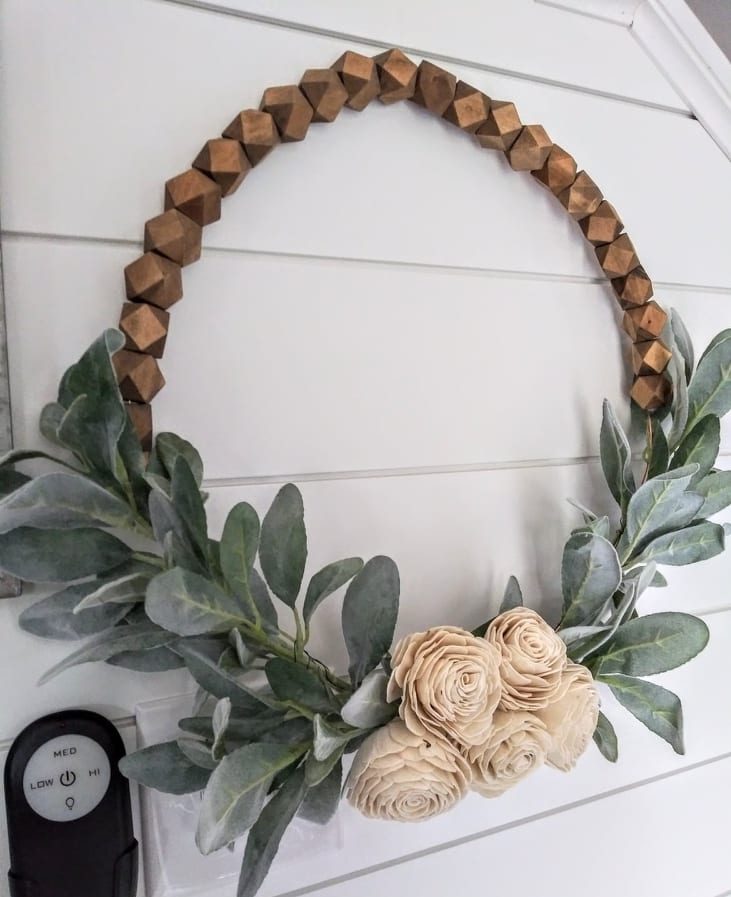
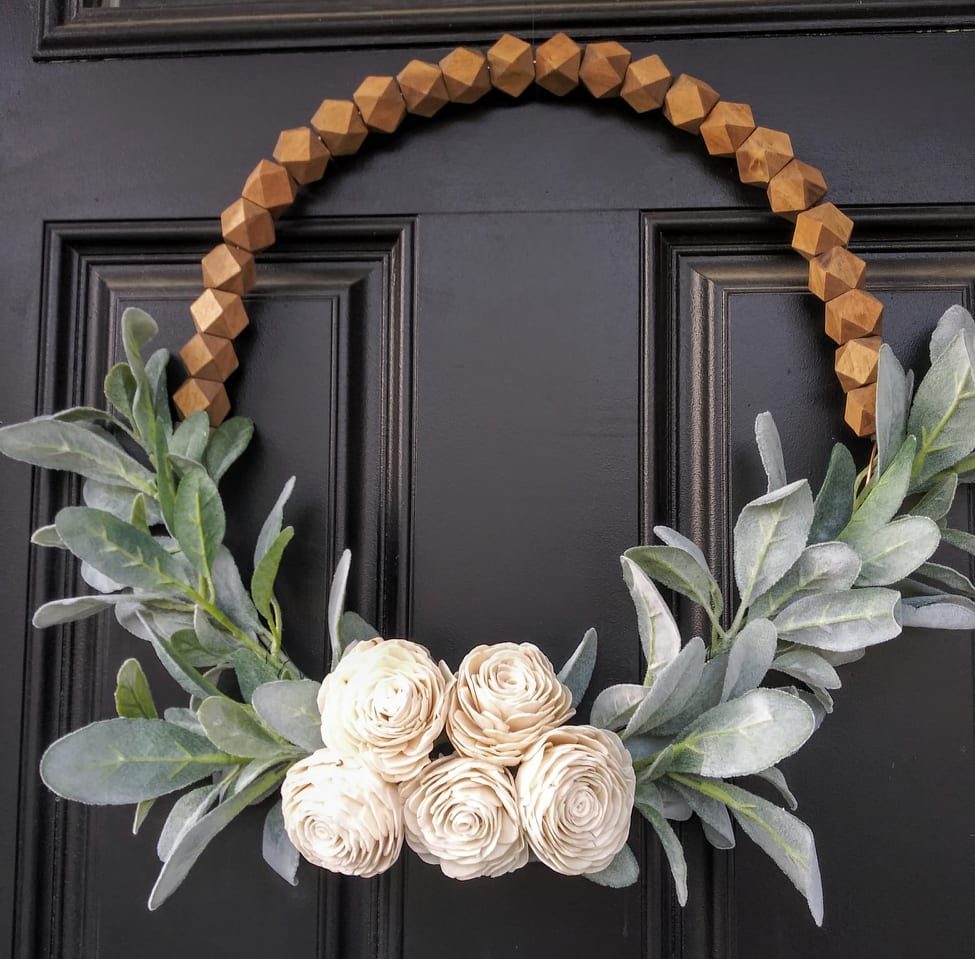
Make This Wooden Bead Wreath with geometric wood beads, sola wood flowers, and some lambs ear!
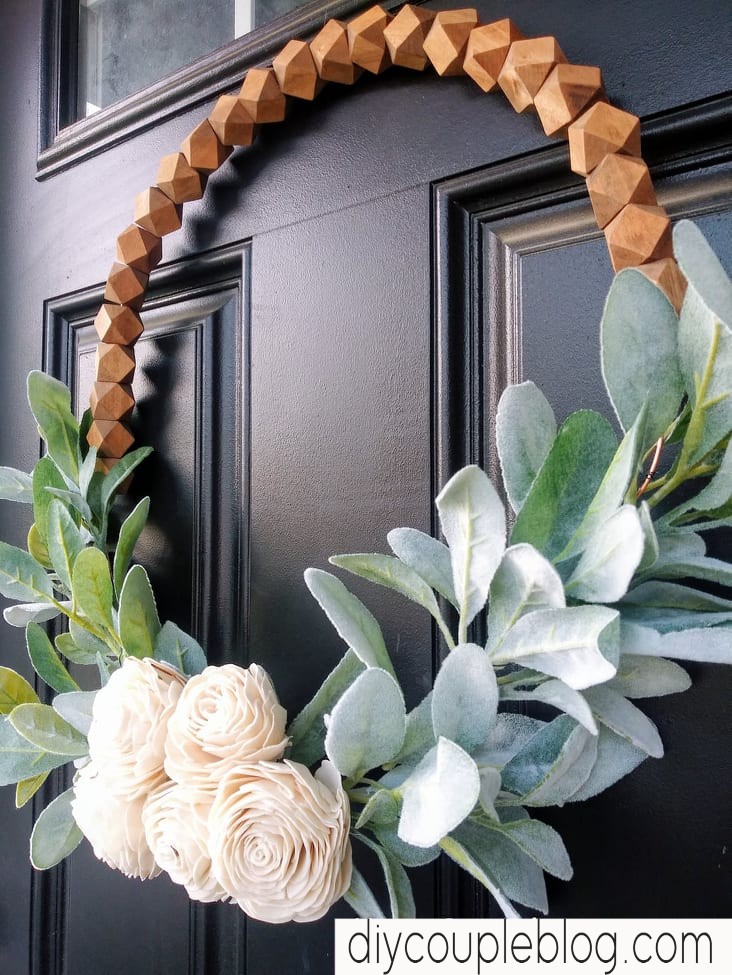
I’m ready to share my latest project with you guys! I am completely in love with the finished product and the change up in beads, as all the wooden bead wreaths I’ve been browsing lately are round and feature a natural unfinished wood color (which is still beautiful by the way).
I hope you like the unique turn I took on a wood bead wreath. I’ve been wanting to try this for awhile.
Hop over here to see how I changed the color of my beads to a darker wood shade.
My bead wreath turned out really pretty on my front door. And It wasn’t hard to make at all.
Supplies Needed To Make A Beaded Wreath
Hot Glue Gun (Here’s the one I use, it’s seriously amazing & has a detailed tip, Here’s the glue sticks as well)
Cutters (or if your Plyers can cut)
Make A Wreath
The steps for a wooden wreath with Beads
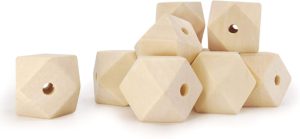
Before getting started with the steps below, stain your beads first if you choose to do so. You’ll need to allow 24 hours for them to dry before making wreath.
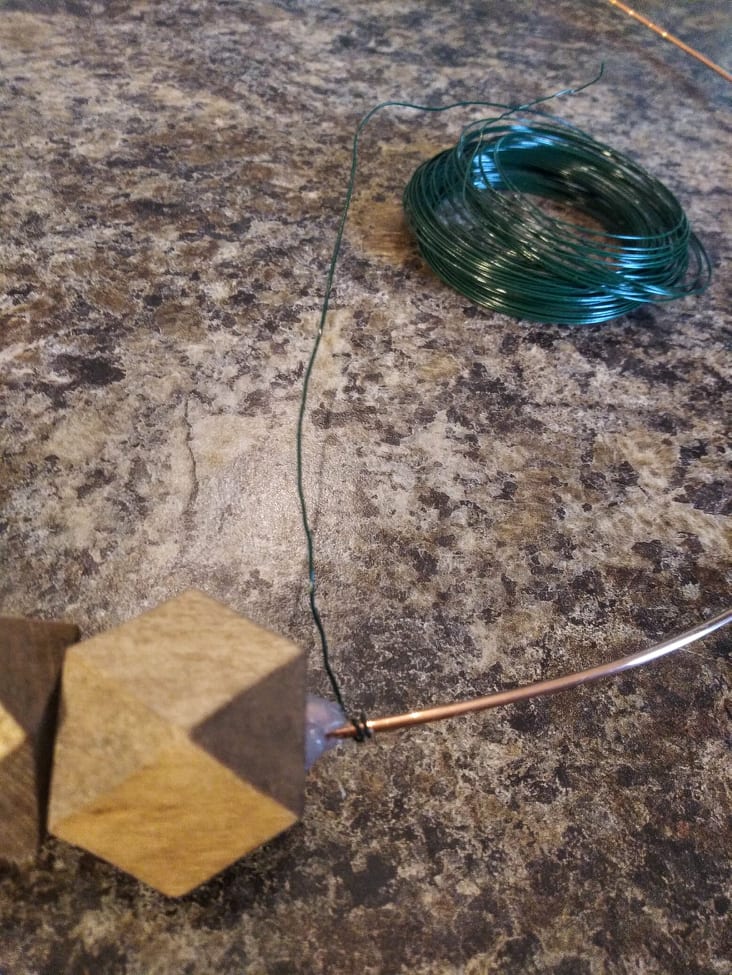
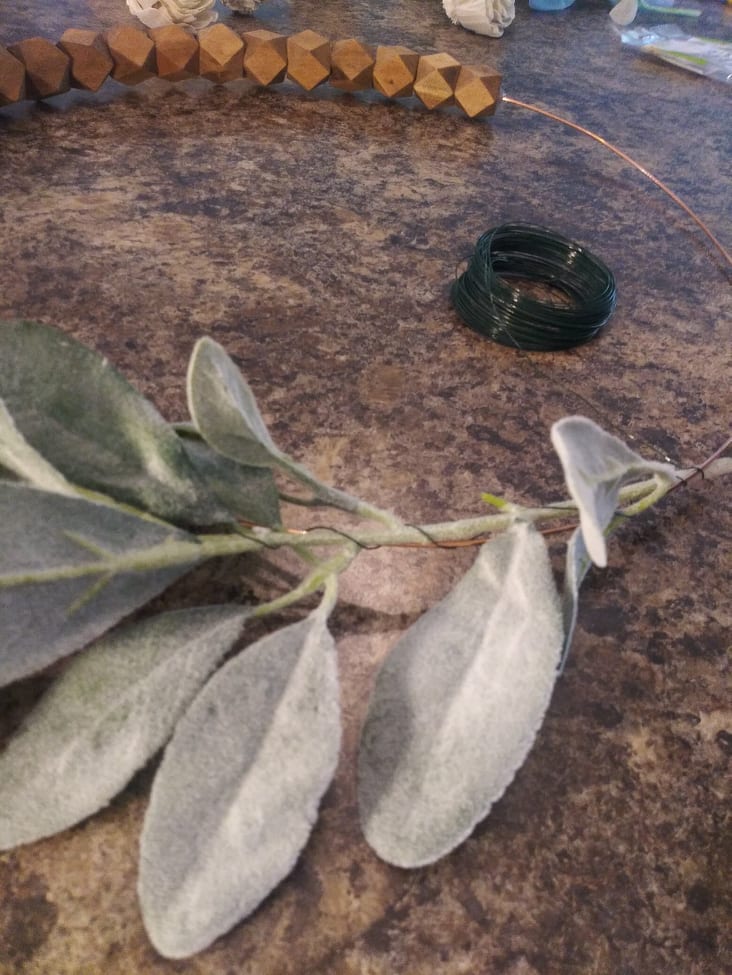
1. Wire Wreath Form And Stringing Through Beads
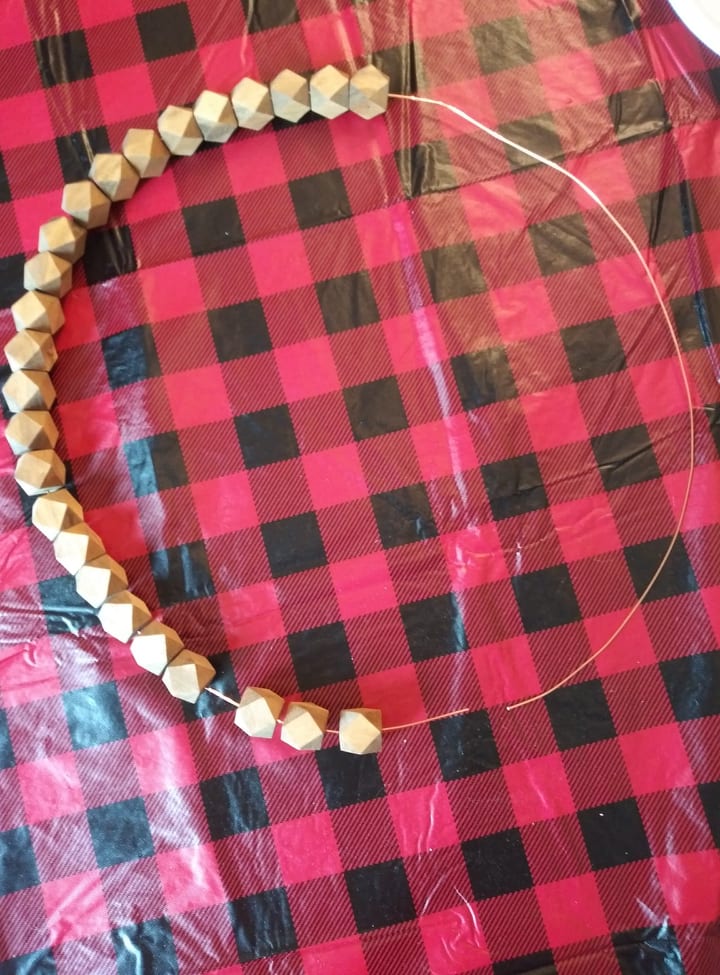
Cut a piece of copper (for your wire frame) roughly 75 inches long. We cut it with our needle nose plyers.
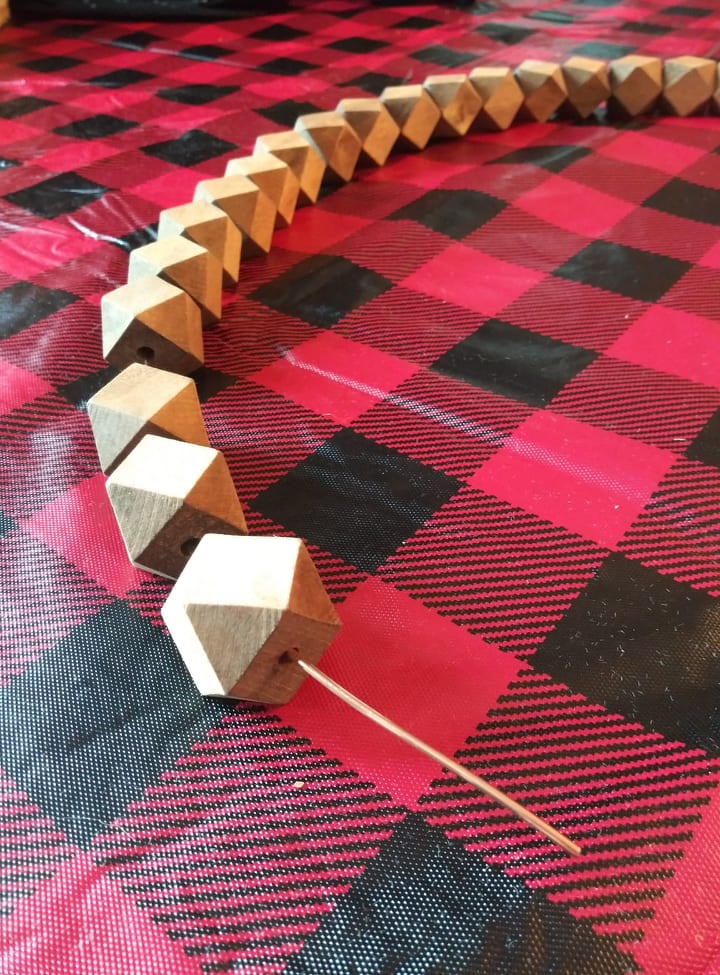
Put all your beads on the copper wire.
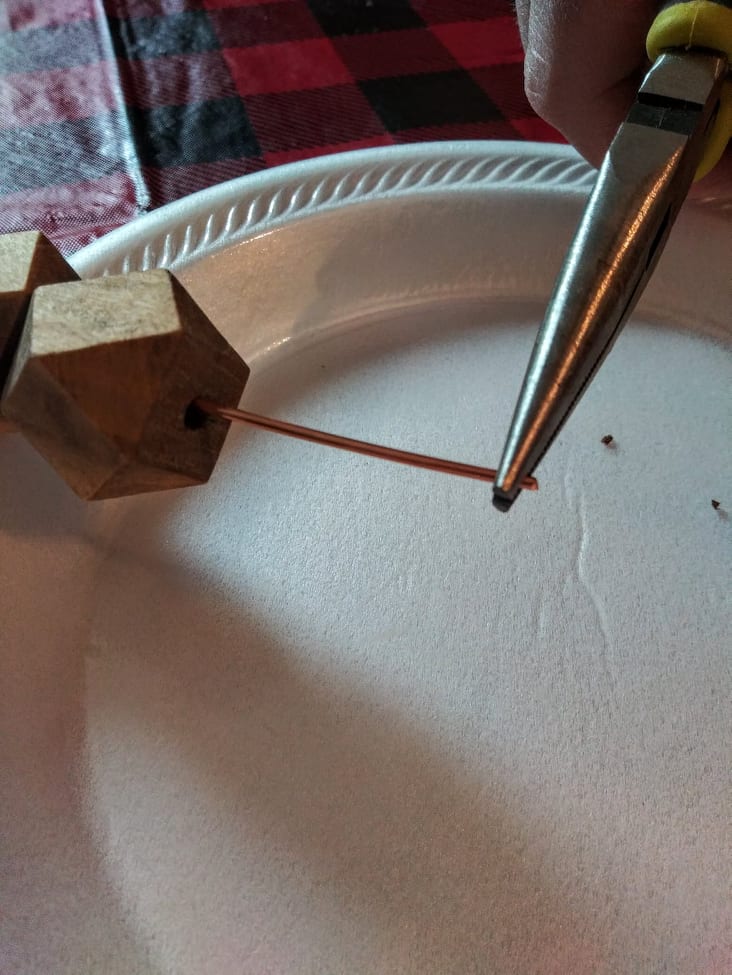
Take your needle nose plyers and make a loop on the end of the wire tip.
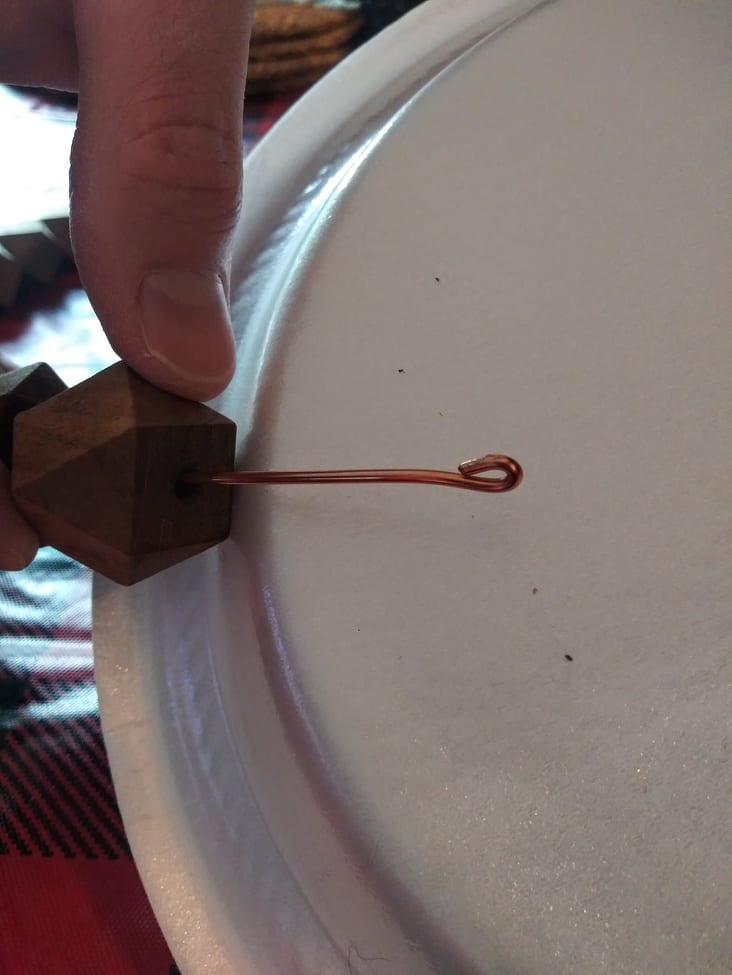
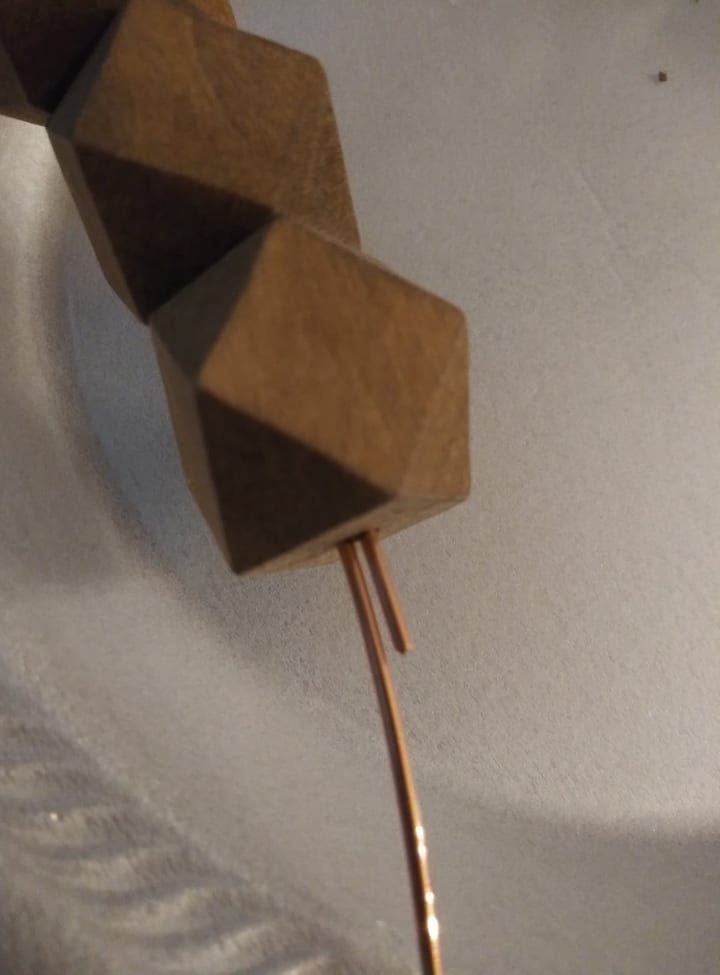
Take your other wire end and thread it through all of your beads until you get to the last bead.

Then make another loop like you did the other side.
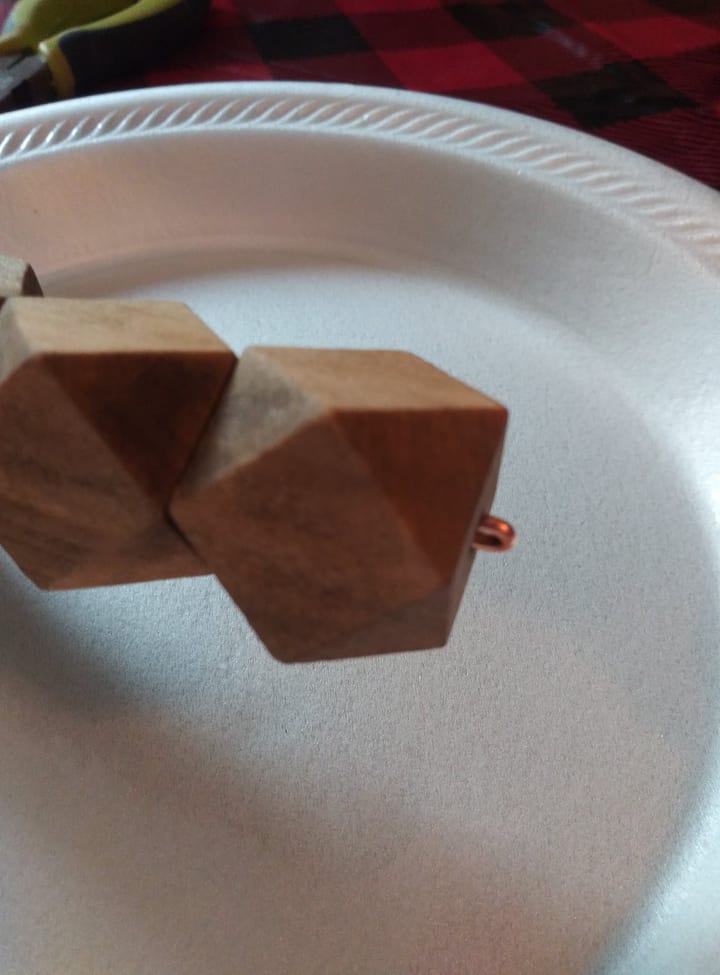
At this point, push your beads so they are fitted tightly together. Your loops will then look tight next to beads like this at the ends.

Using a hot glue gun fill in the hole and around your wire loops.
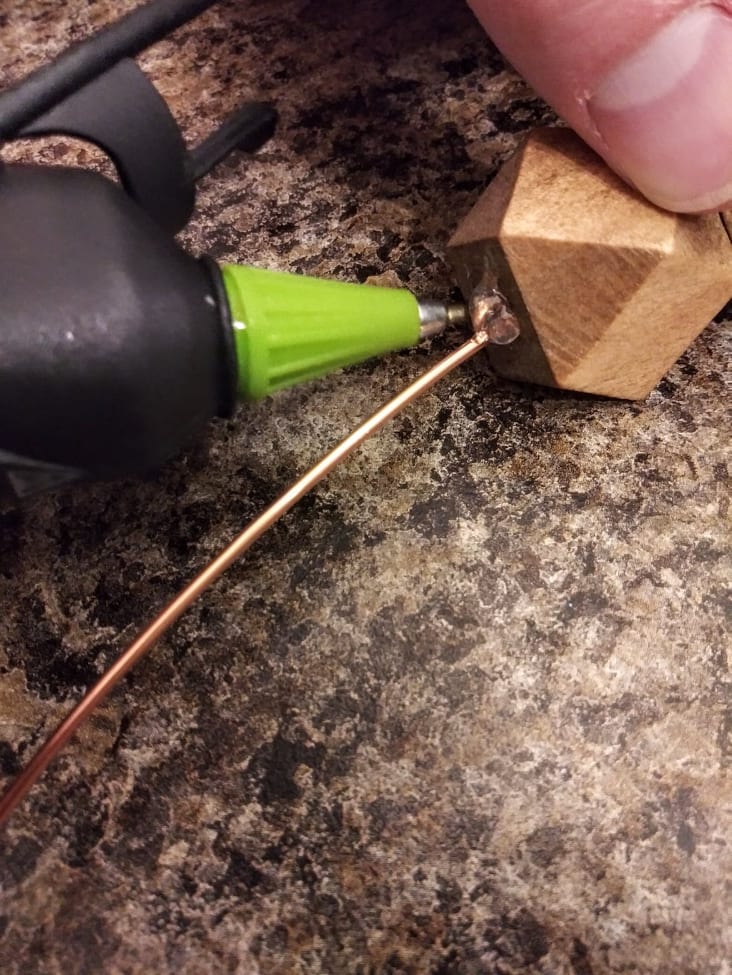
Flip the wreath over to make sure the back got covered as well. If not, add some more hot glue.
2. Attaching Lambs Ear And Sola Wood Flowers
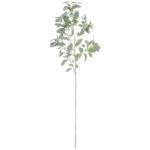
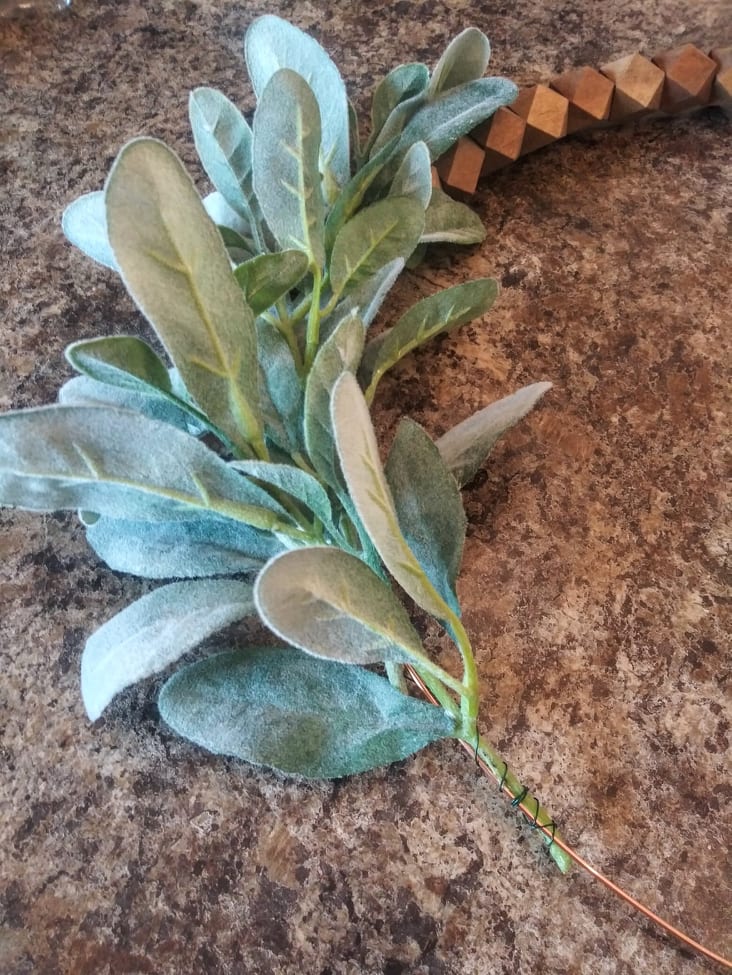
Using cutters (or your plyers that have the option to cut, like we did) cut 6 stems off of the lambs ear bundle.
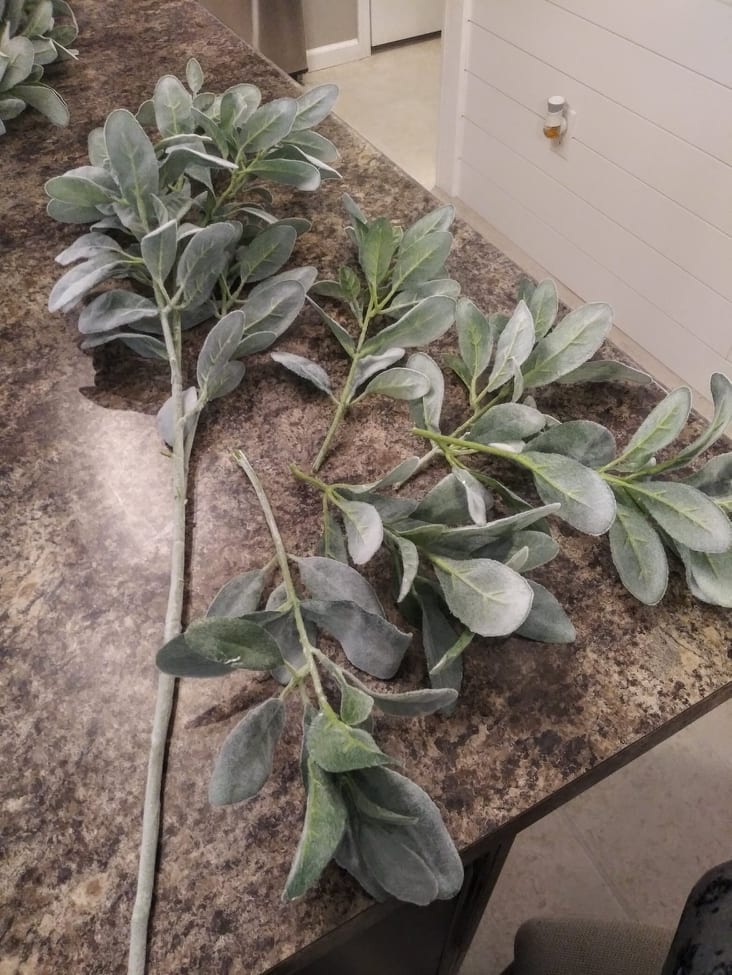
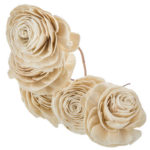
Then cut your sola wood flowers flush, off of the branches.
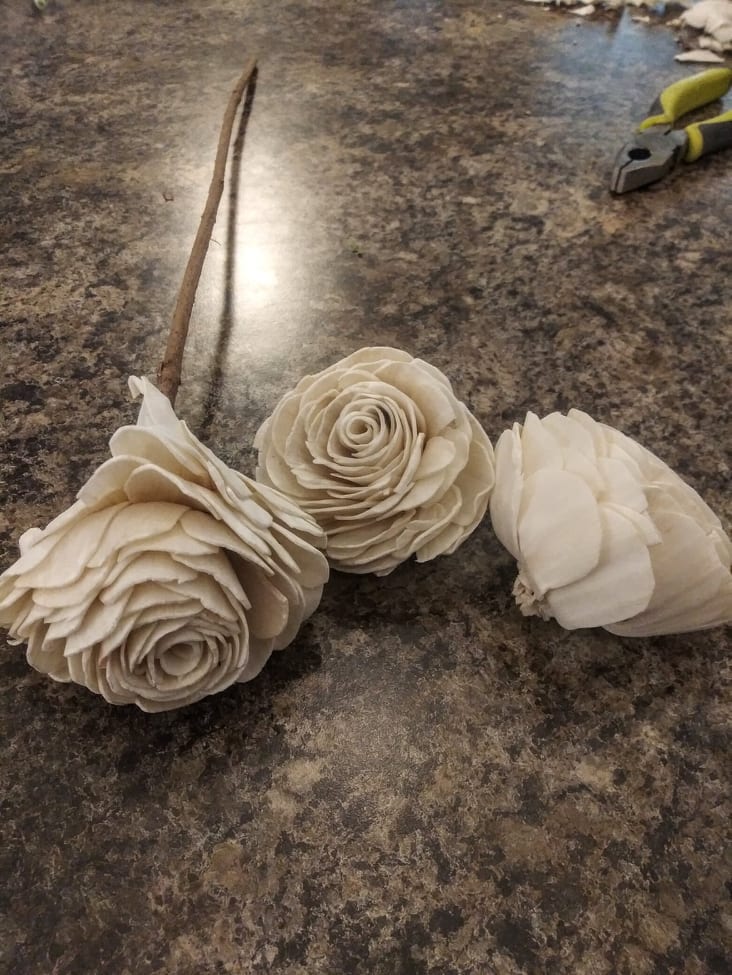
Extra Tip:
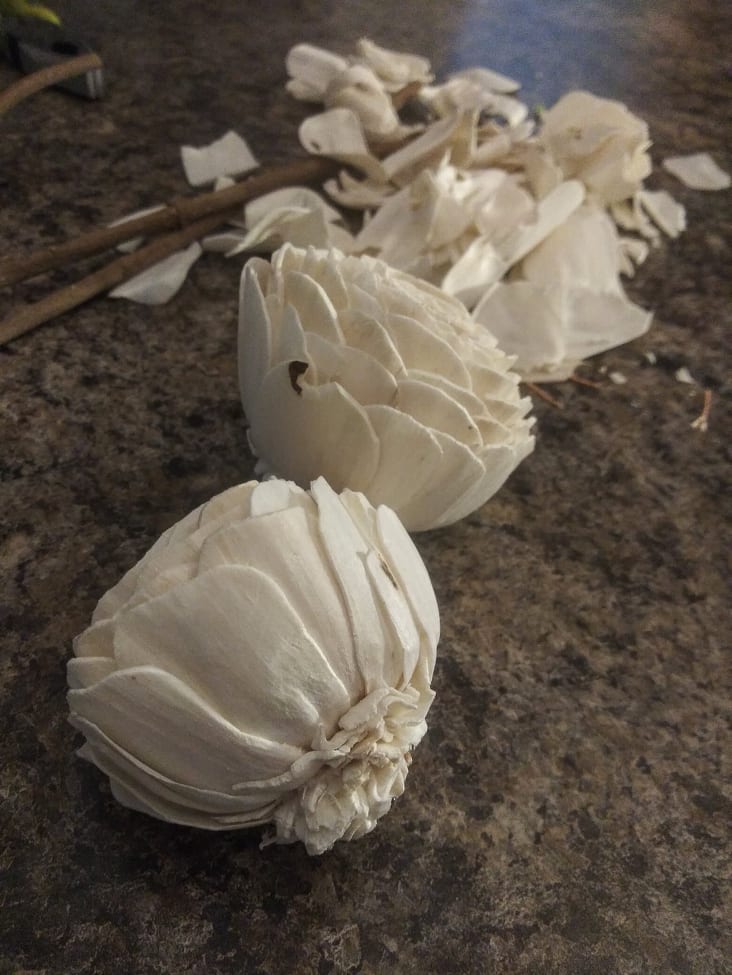
When I was shopping sola wood flowers, the only ones left at my local hobby lobby had tons of smashed petals. I was able to get a discount (check with yours to see if they will work with you if this is the case at your store) and then I was able to take them home and salvage them.
Here’s what I did! I started pulling off and trimming away any peices of the damaged petals and also taking scissors to trim any weird or out of place petals.
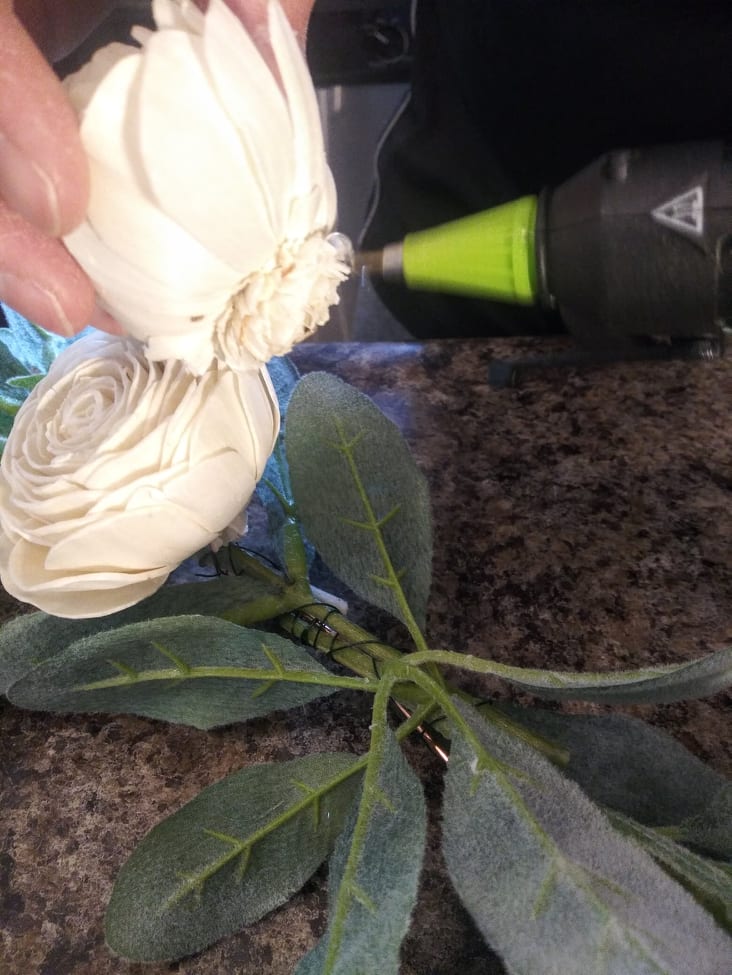
Take the floral wire and loop it around to secure it to your hoop wreath.
Lay on your first lambs ear stem, continue to wrap the wire around the stem so that you are securing it down.
Now, lay the next stem on top so that it overlaps and hides the wire. Wrap the wire around at the bottom of that stem and go on to your third stem overlapping and wrapping the wire towards the bottom.

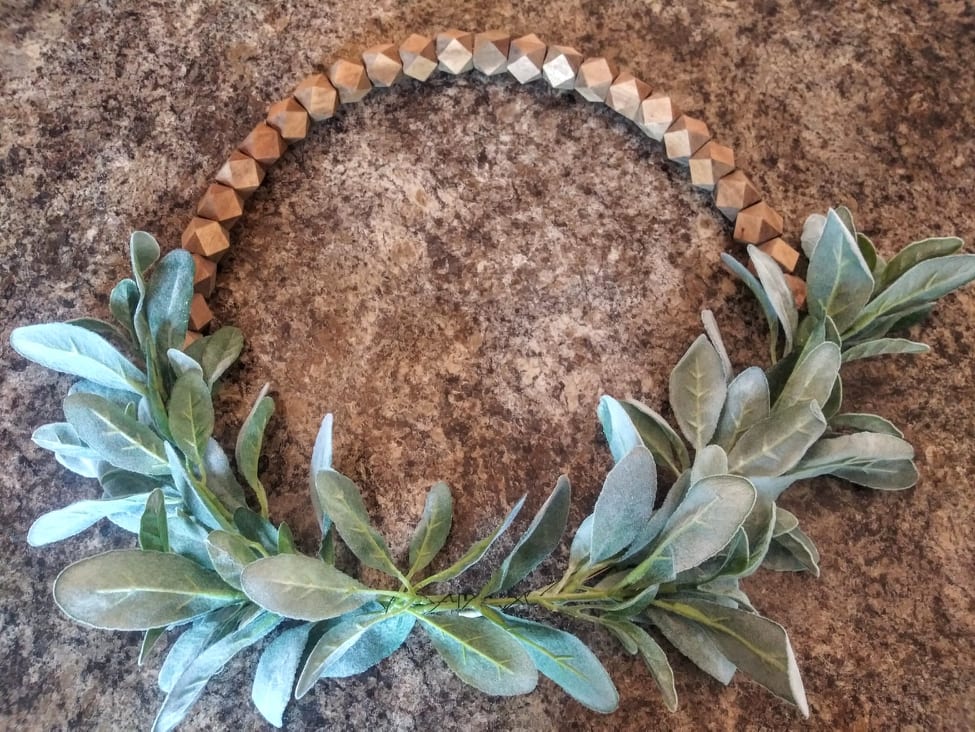
From here, repeat this process for the other side of the hoop.
Side Note:
Do your best to hide the wire as much as you can but since it’s green it’s okay to show as it somewhat does blend in and not too noticeable.
Now your ready for your Sola Flowers!
I chose to go with 5 flowers total. 3 at the bottom and 2 on top.
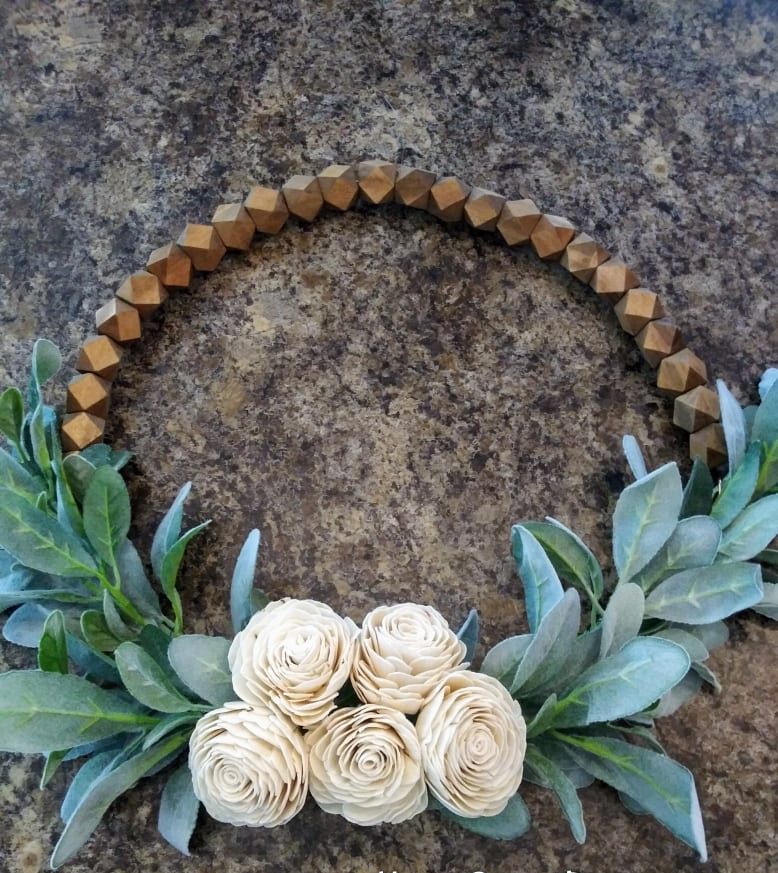
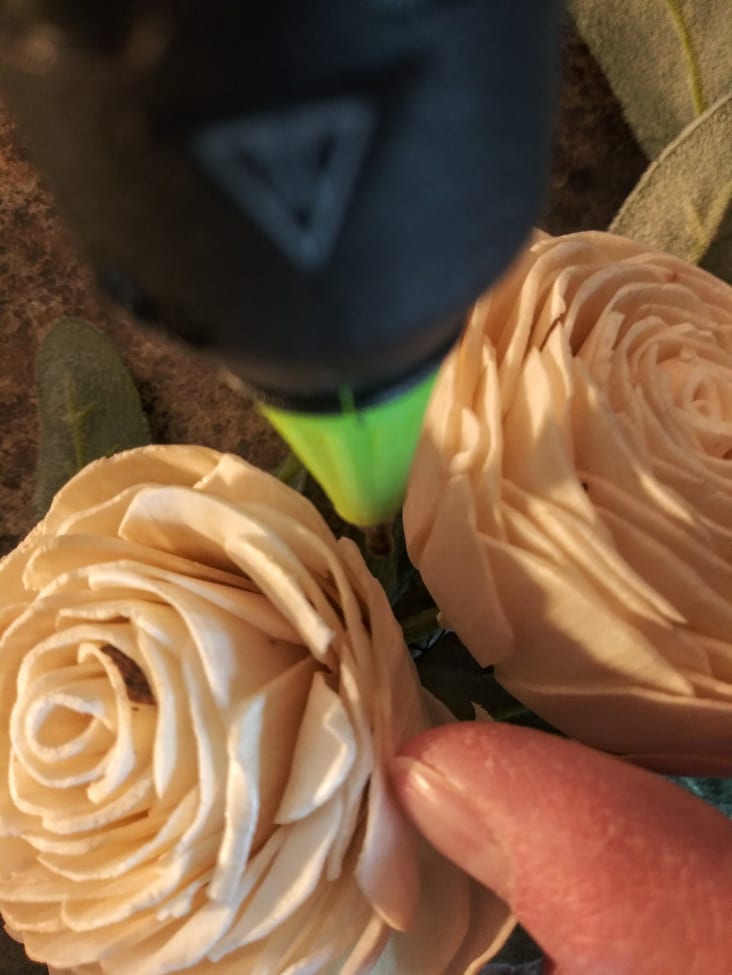
Go ahead and glue your flowers down to the lambs ear in places you can as well as spread each flower that touches and dab some hot glue between them and press together. Be sure to hold them long enough for the glue to dry.
The wreath is easy to manipulate and bend if you want it to have an oval or round particular shape.
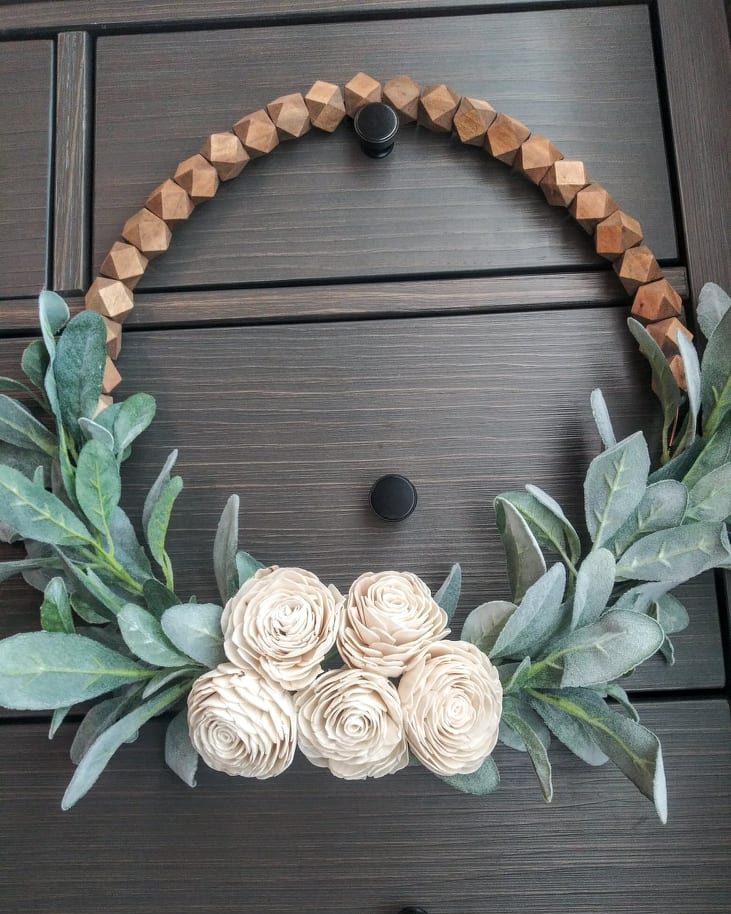
You could absolutely change the color of the unfinished beads and the raw flowers to whatever you like.
If your greenery is on the heavier side (mine was somewhat) you can add some extra support in the back with your copper wire or you can flip this scenario and put the beads on the bottom and the greenery on top.
Anyhow, I hope I inspired you to get creative and even tackle your next diy wreath! I may make another version of it here soon!

Click To Shop Related Products