This post may contain affiliate links, which means we'll receive a commission if you purchase through our links, at no extra cost to you. Read the full disclaimer here.
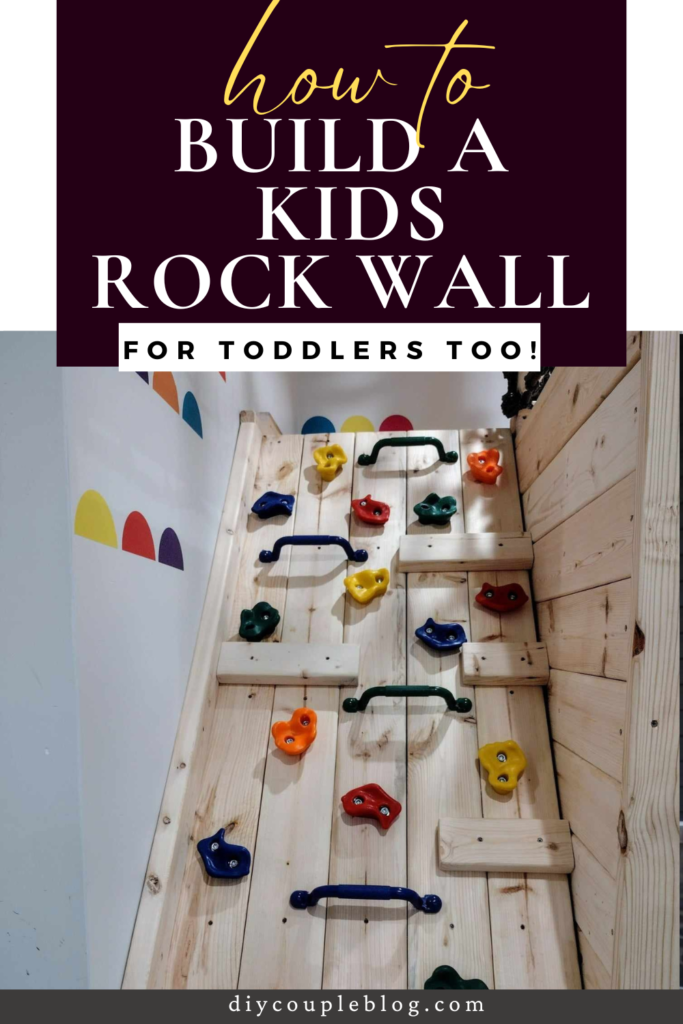
Build a Kids Rock Climbing Wall with Our Step-by-Step Guide Below!
I recently shared our labor of love for our children, which just so happens to be an indoor playground, where we’ve spent all our spare weeknights (and a couple weekends too) in our basement playroom making the kids wildest dreams come true. Today, I’m sharing the full tutorial for how we built our DIY rock climbing wall. It’s the perfect climbing wall for kids, even toddlers!
PIN FOR LATER!
How To Build a Kids Rock Climbing Wall: Step by Step
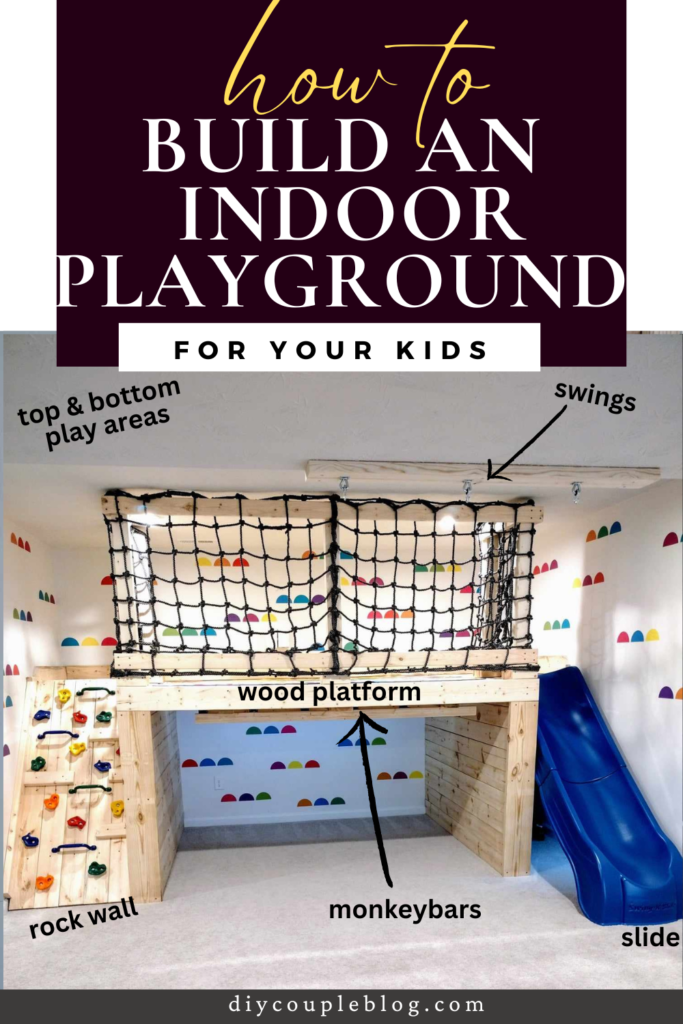
We built our DIY rock wall for our specific needs based on our indoor playground platform; however, if need be, you can adjust to your platform requirements.
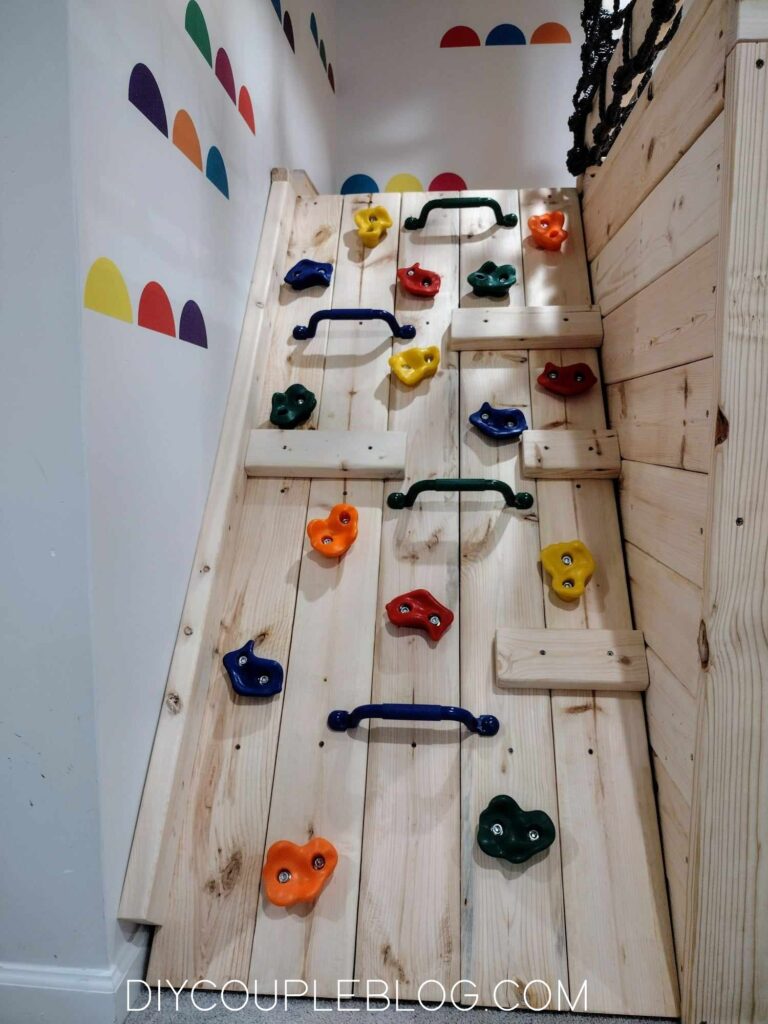
Supplies Needed for Kids Rock Climbing Wall:
3.5 inch screws (we used leftover exterior screws we already had on hand to save $)
Climbing rocks set (we used this one)
(2) 2x4x8 studs
(5) 2x6x8 lumber
Tools Required for DIY Rock Climbing Wall:
Table saw (optional)
Marker
Level or straight edge
Sander & 180 grit sandpaper/ 36 grit sandpaper
Getting Started with a Rock Climbing Wall:
Measure The Height of Your Kids Climbing Wall
First, you’ll measure the height of how tall you want the kids climbing structure to be. We went with 67 inches designed especially for our platform on our indoor playground. As mentioned above, if you are making your kids climbing wall for a different purpose, then adjust the measurements and directions accordingly.
Cut & Sand Down Wood Planks
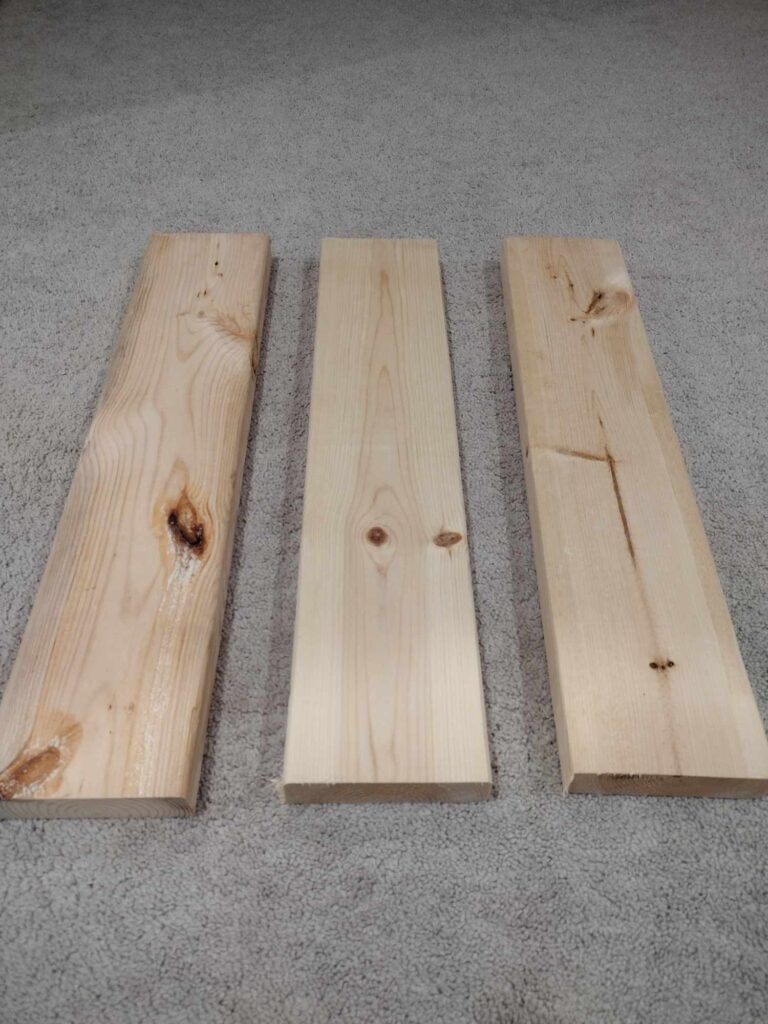
Now you will cut five 2×6 planks at 67 inches long. Once the planks are cut, you are going to sand all the boards down using 180 grit for a smooth surface. If you have bad splinters or chunks in the boards, you can use 36 grit to knock down all the burrs as we did.
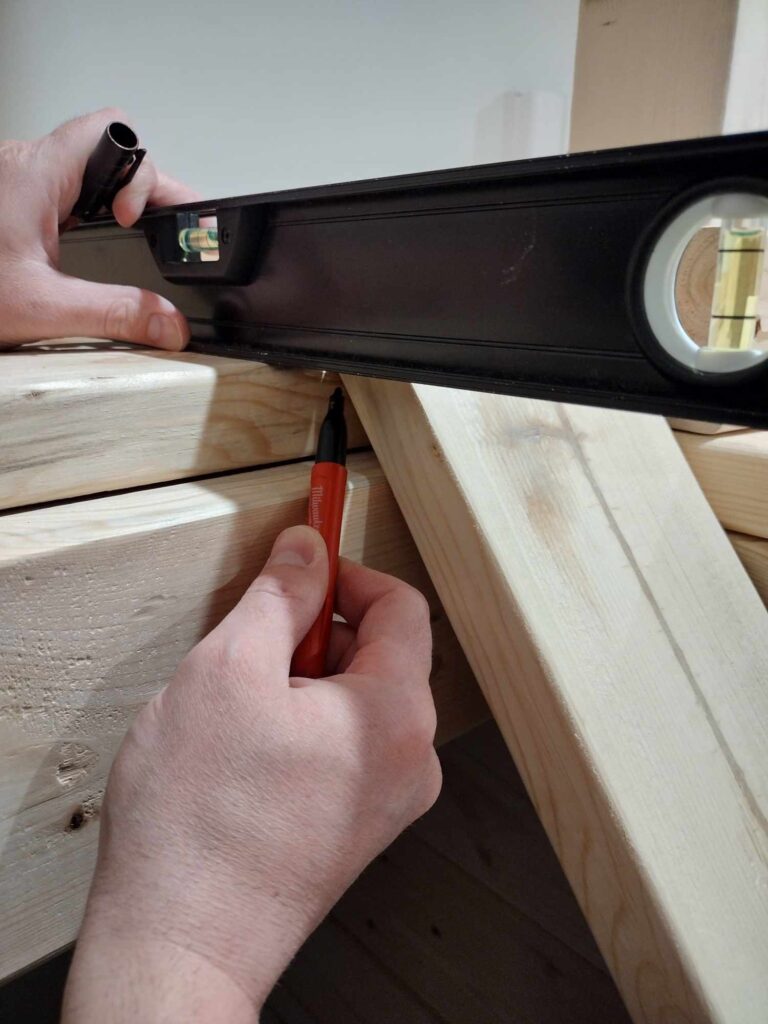
Take the first plank, lean against your platform and using a scrap piece of 2×6 or even 2×4, line it up on the rock wall side of the platform so that the corner of the plank lines up with the top of the scrap piece you laid down.
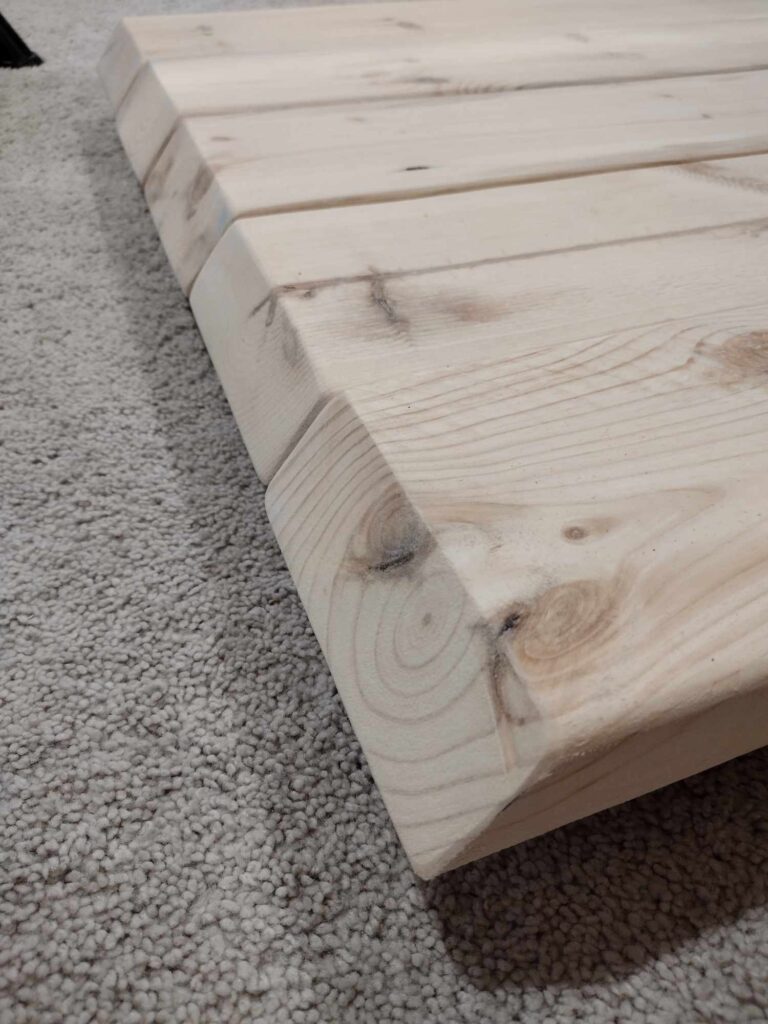
Use a level or straight edge and mark straight across the side of the board and this will be used as the angle at the top.
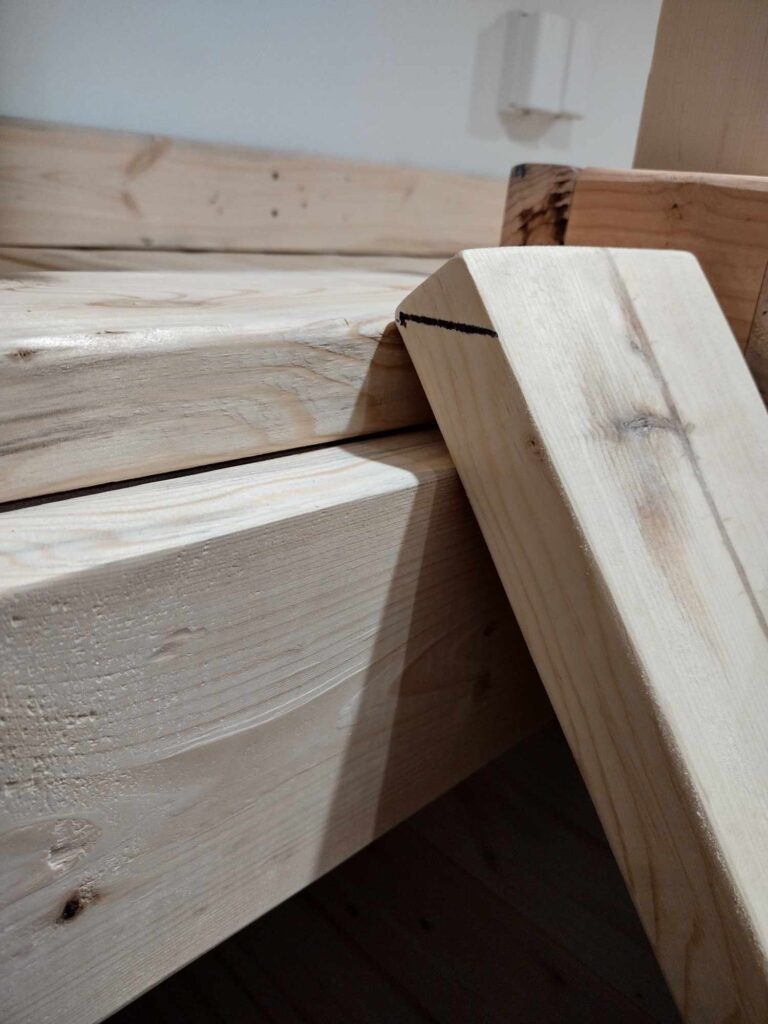
Cut the angles using a miter saw. Re sand them down as needed.
You will then cut three boards at 26 inches.
Attach The Boards Together
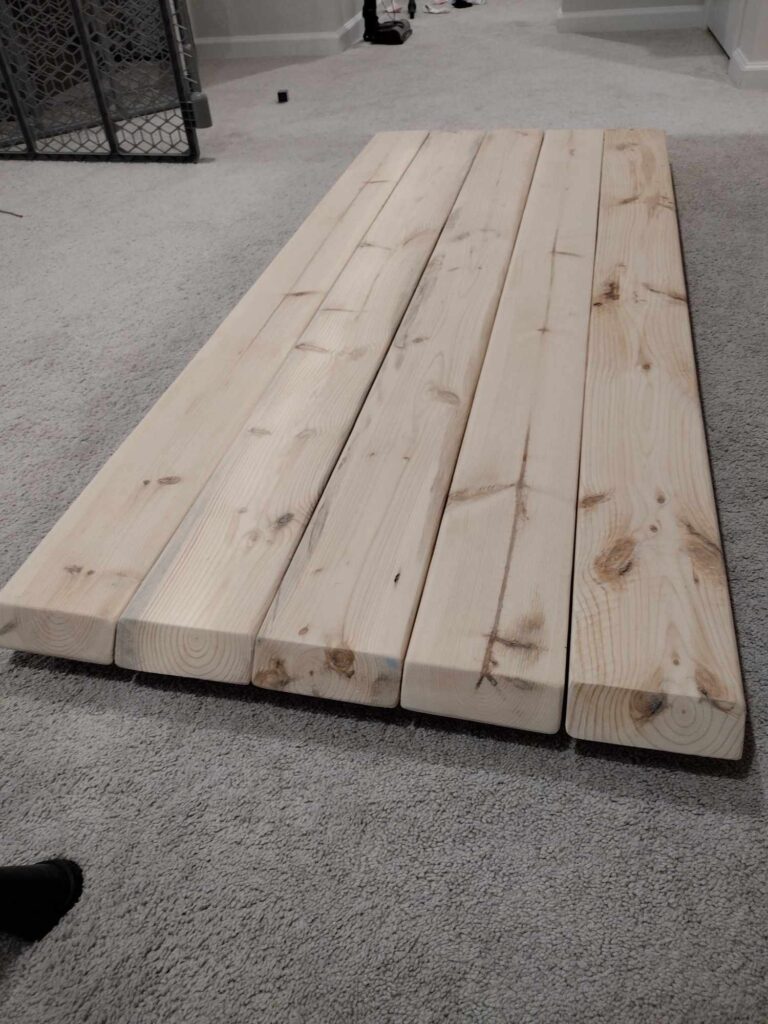
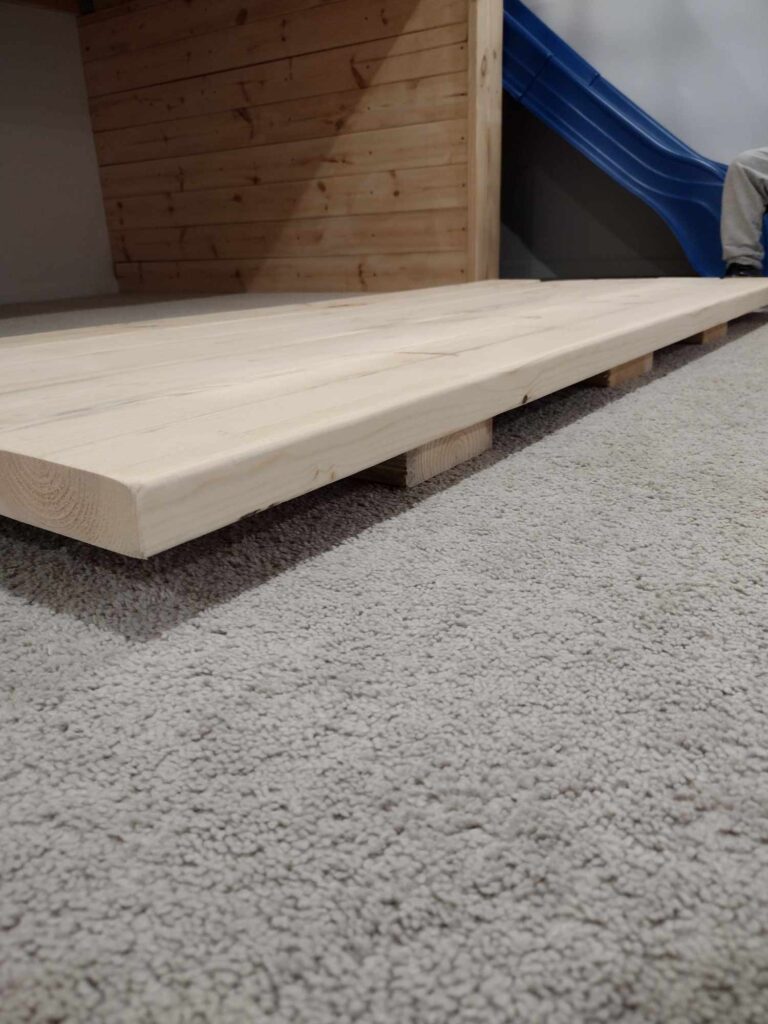
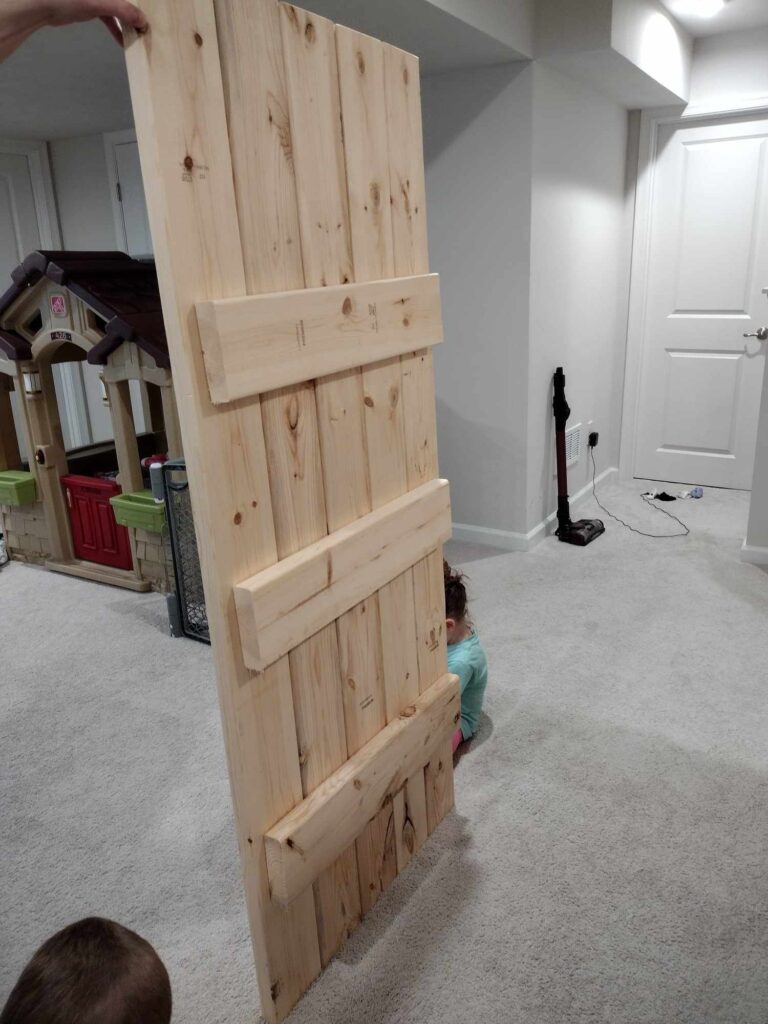
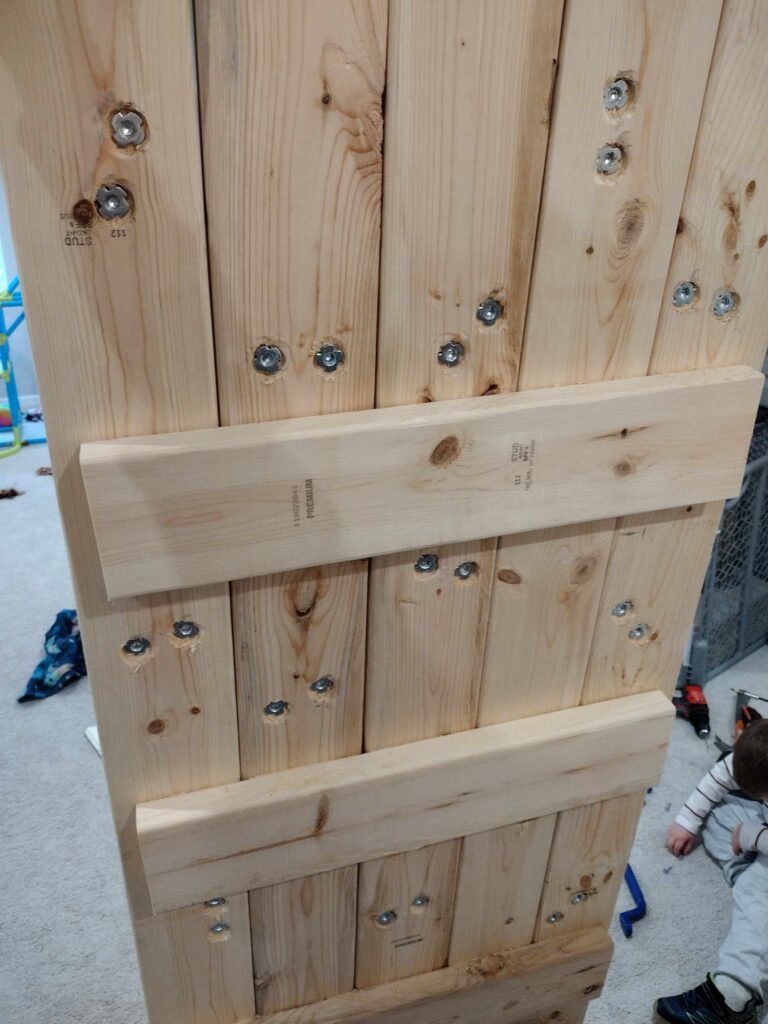
At this point, lay the 26 inch boards out about a foot apart approximately, then lay the 67 inch boards on top.
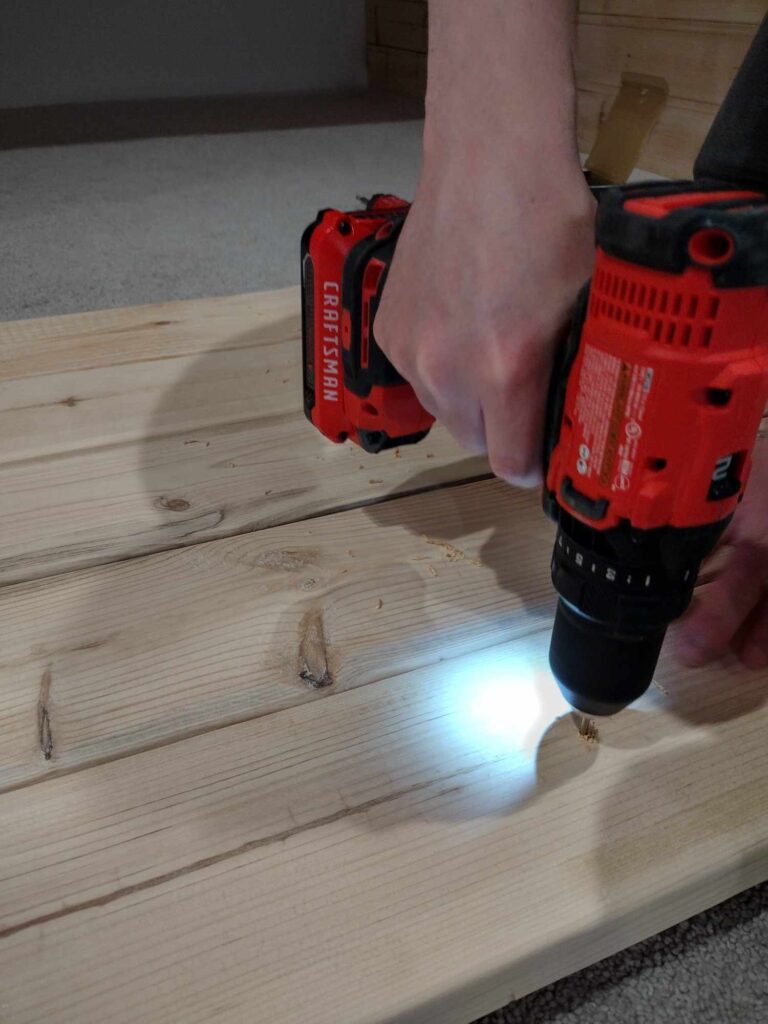
Using a 1/8 inch drill bit, drill pilot holes to attach your boards and 2 inch screws to do so ensuring you sink the screws between 1/8 inch to 1/4 inch into the wood.
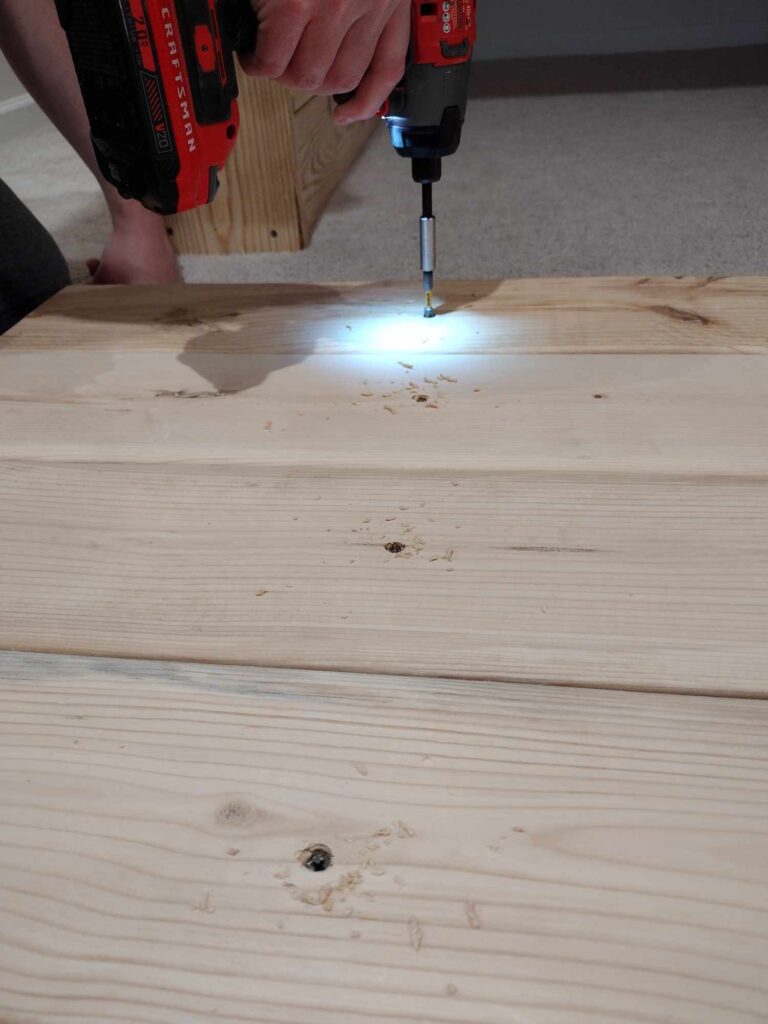
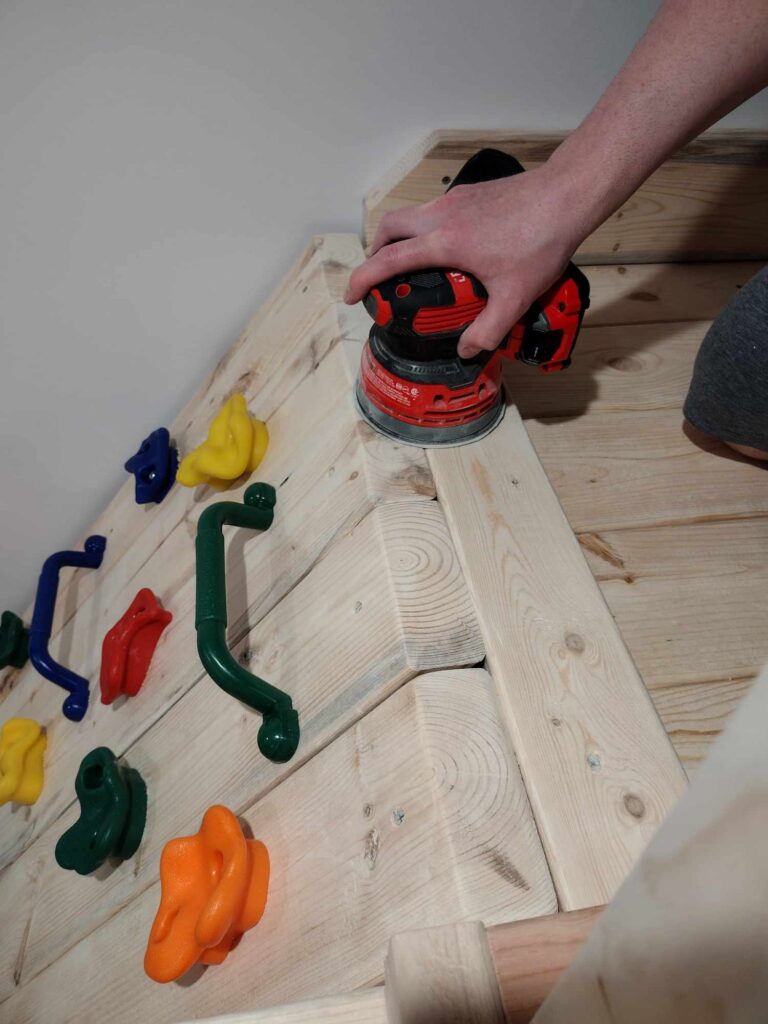
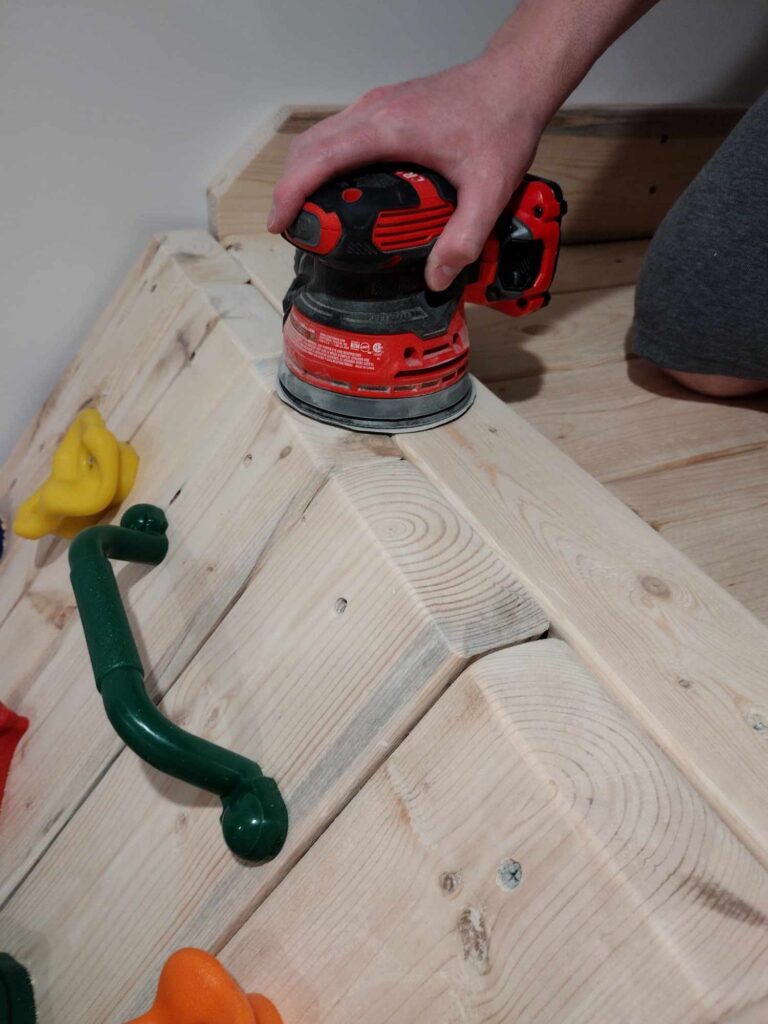
After it’s all screwed in place, go back over the screw holes with a sander to be sure there are no burrs.
Installing Climbing Rocks
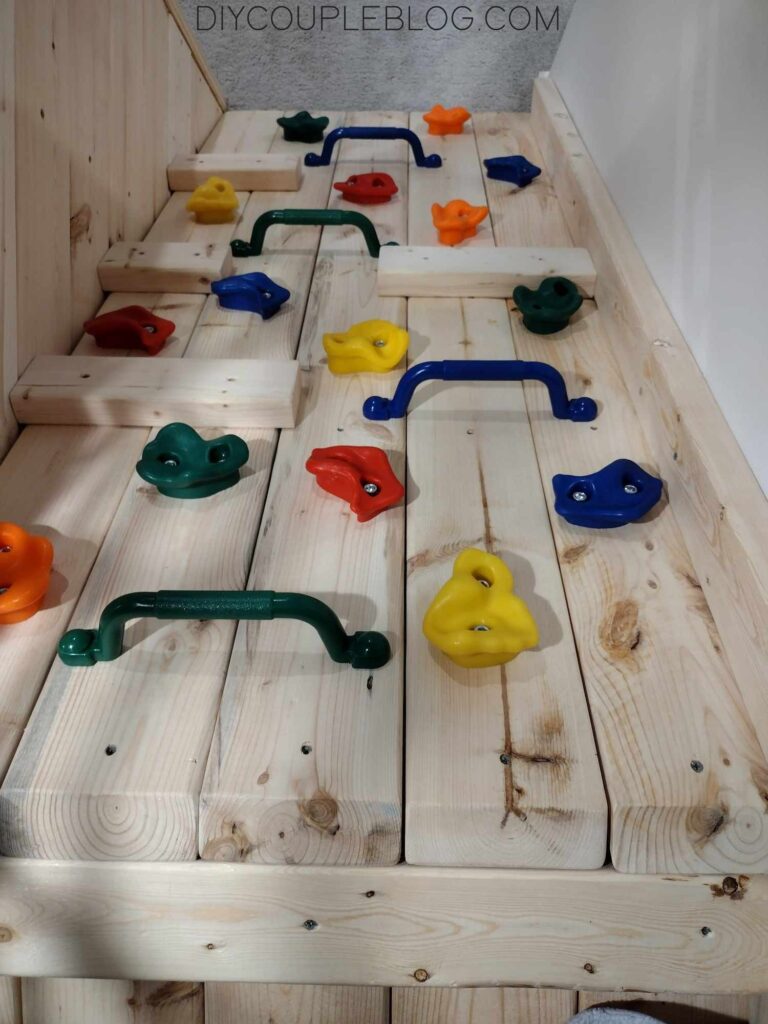
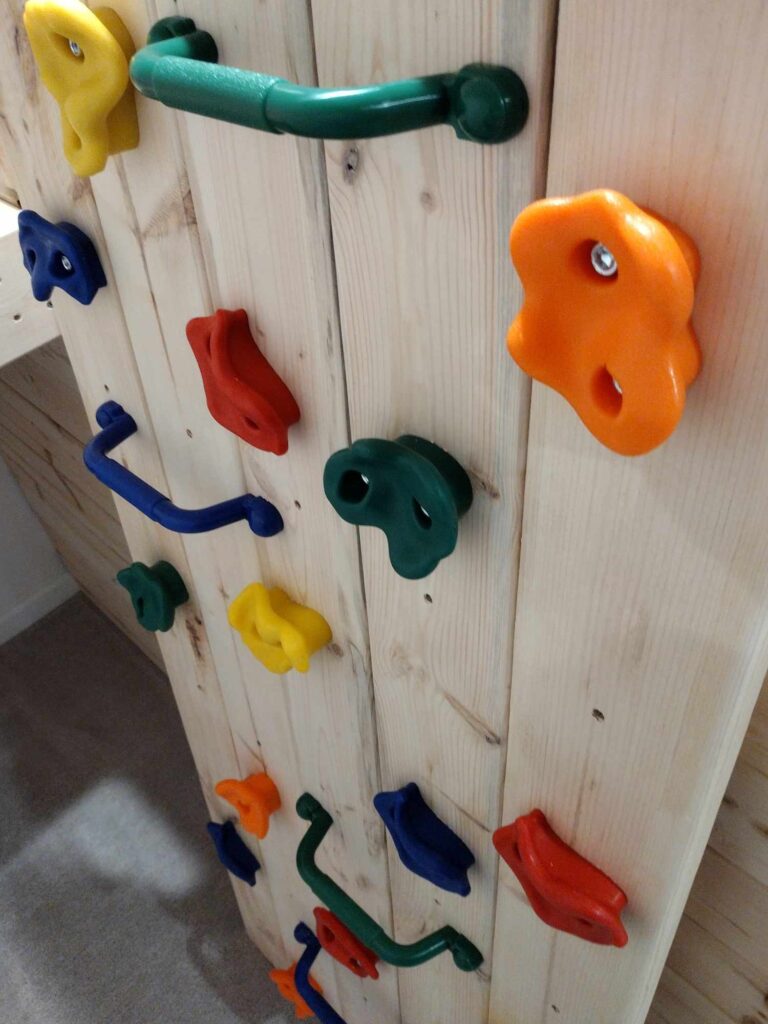
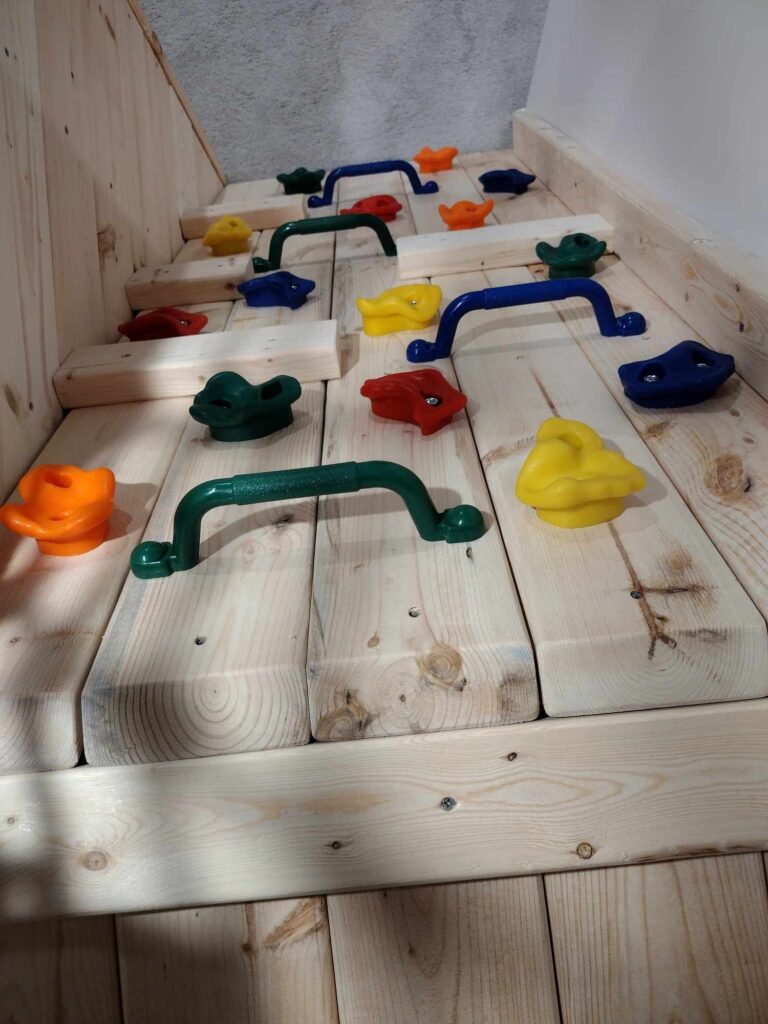
Now you are ready to mount the climbing rocks following the instructions that came with them. Ours came with the drill bit needed but you will need a 1/8 inch paddle bit to drill the back of the boards roughly 1/4 inch deep.
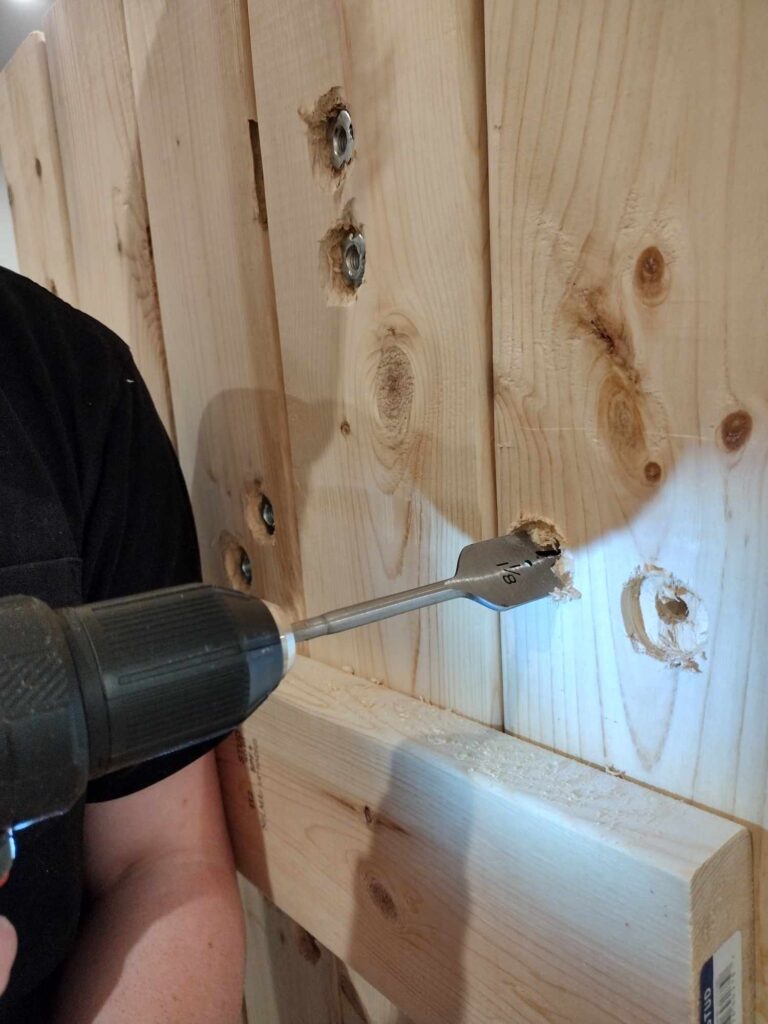
This will allow you to smack the backs into the recessed wood so that you have plenty to screw into.
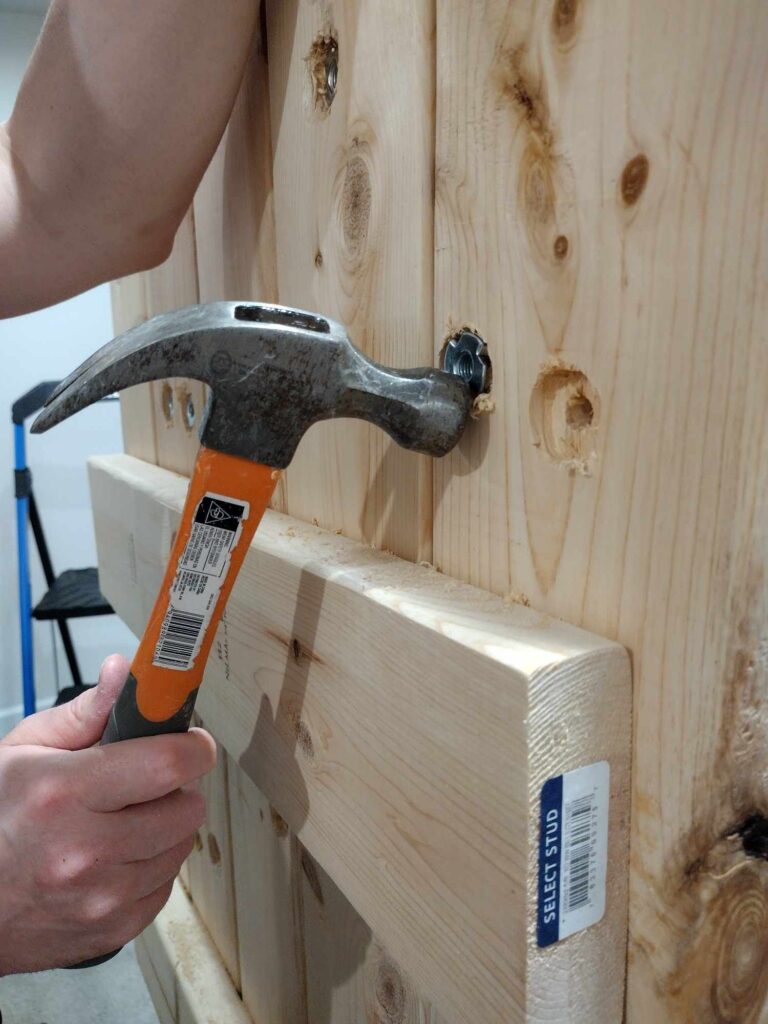
We recommend trying to work around the boards in the back otherwise you can quickly pop them off with your drill then put them back in place.
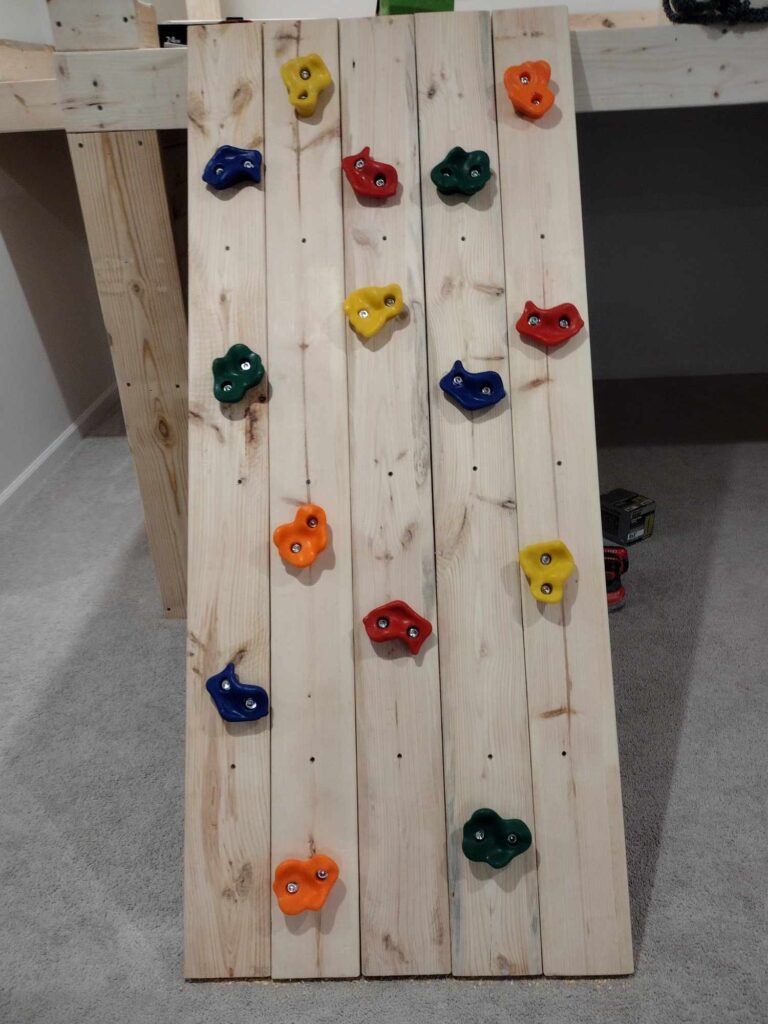
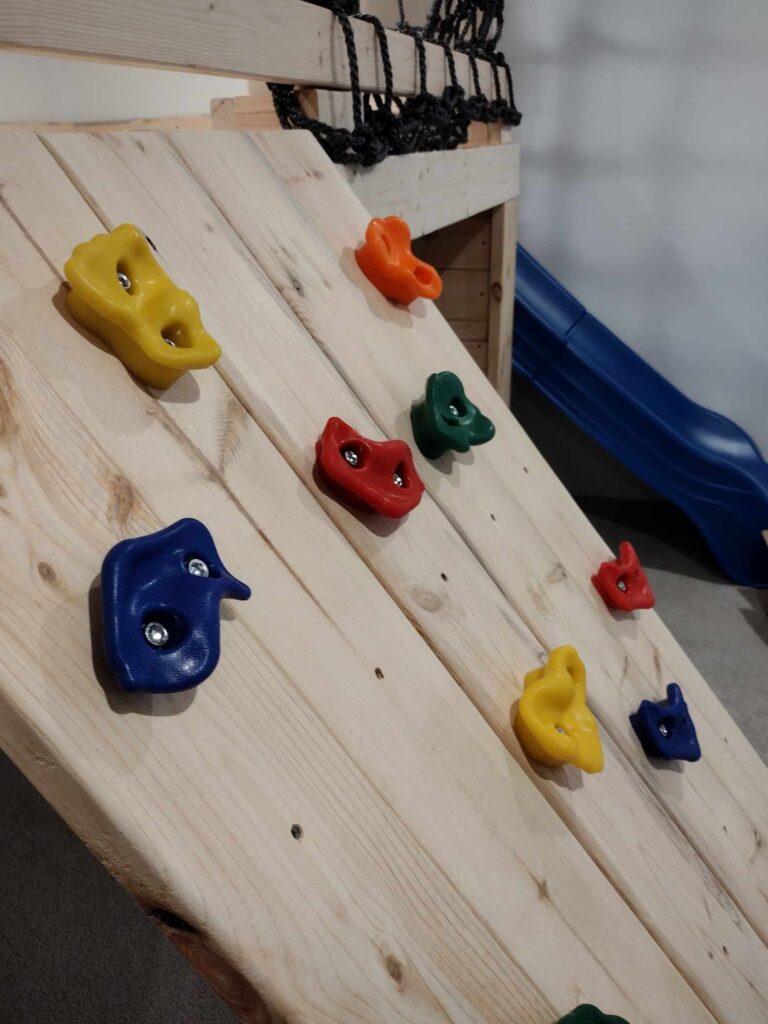
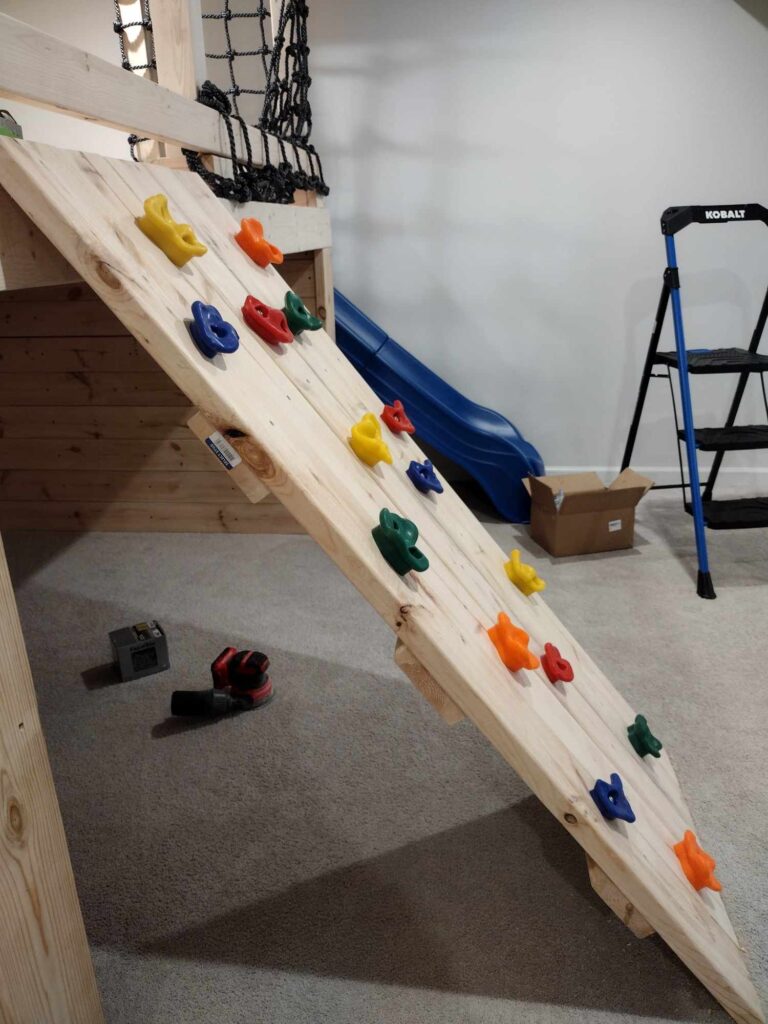
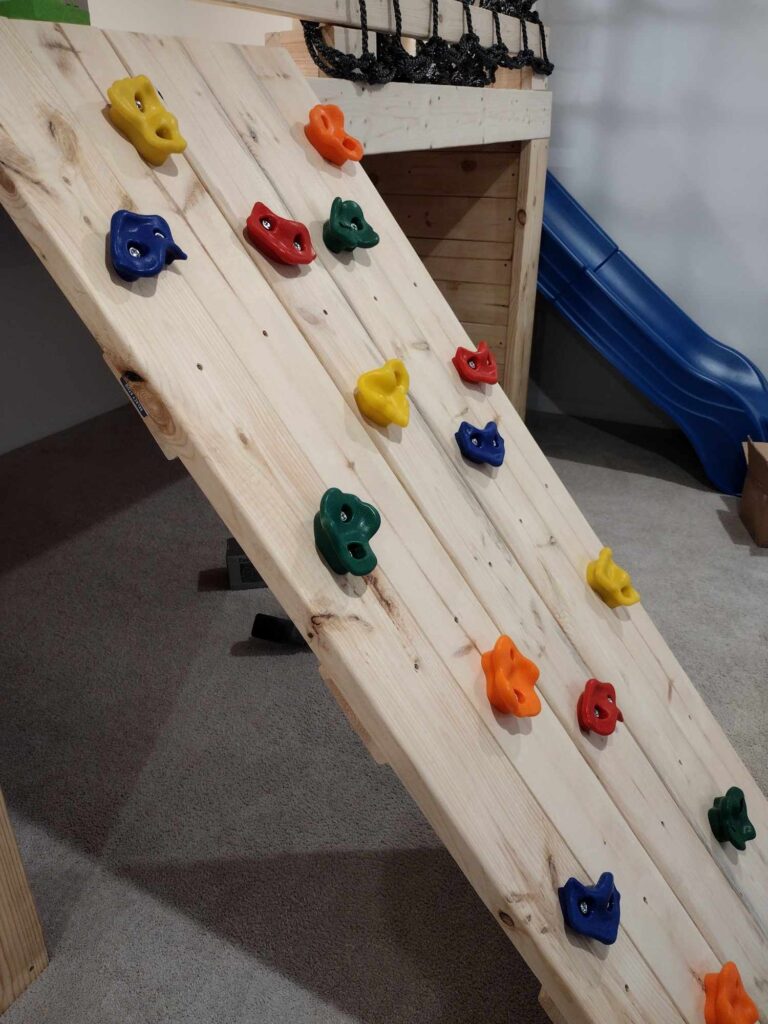
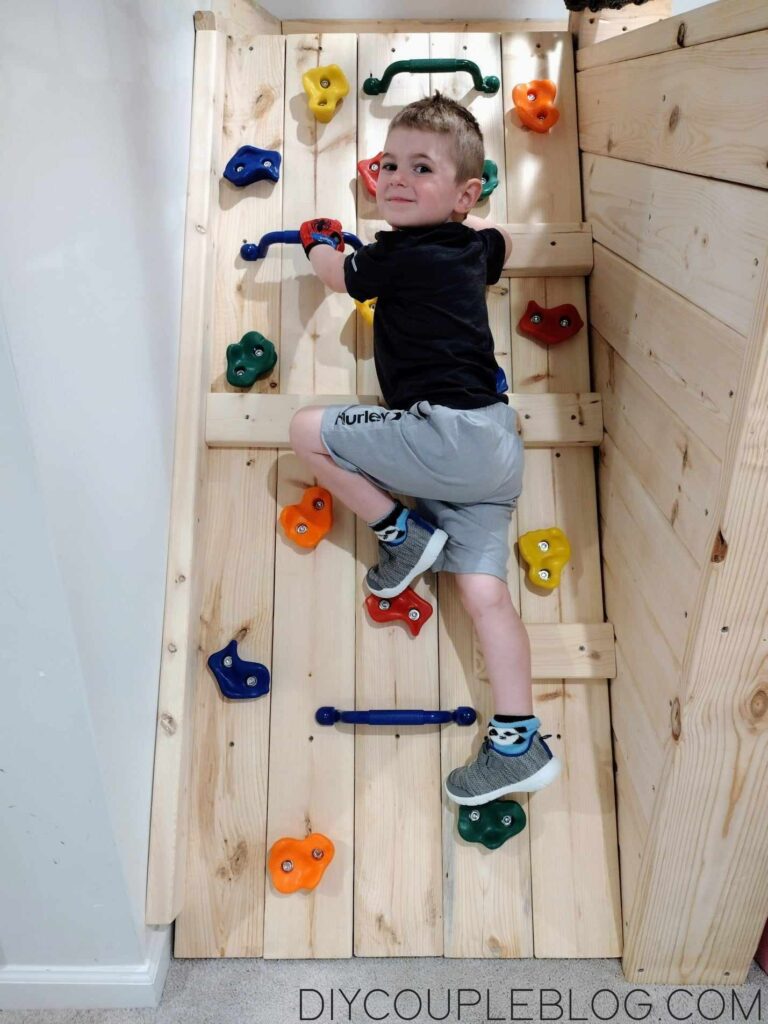
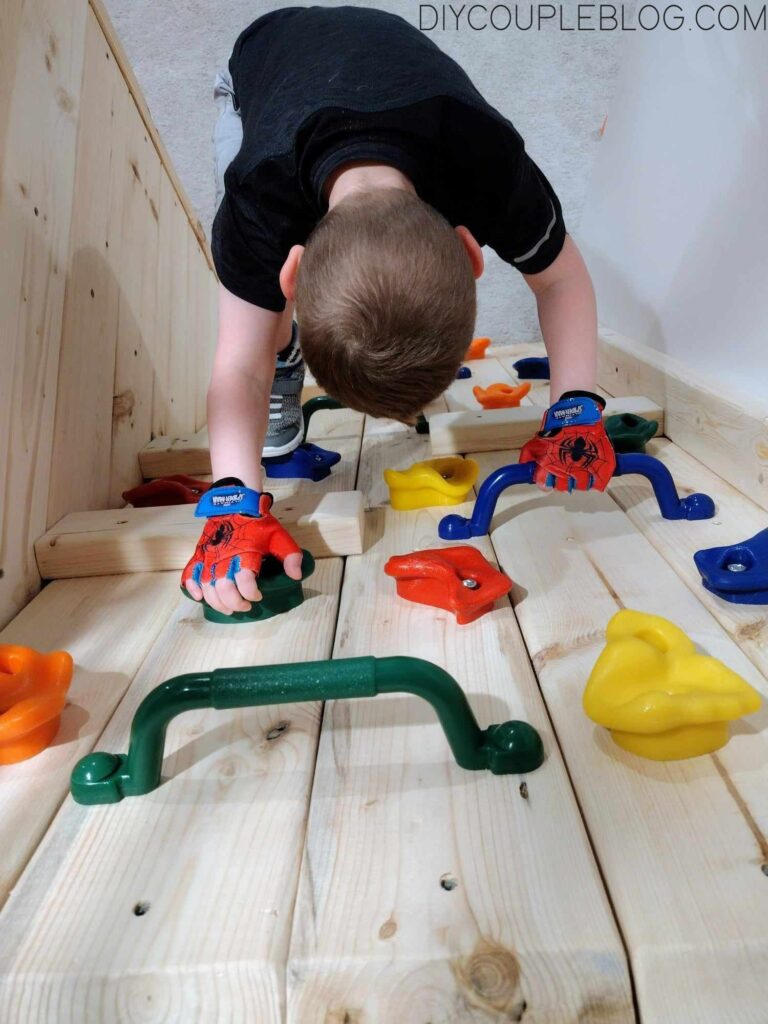
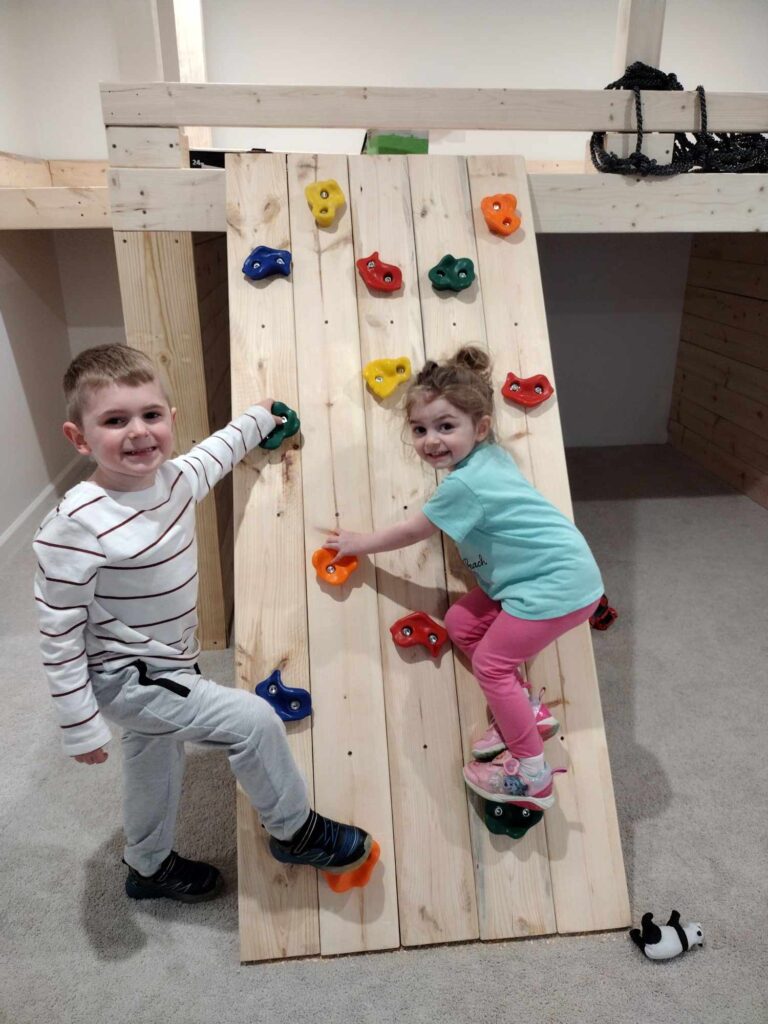
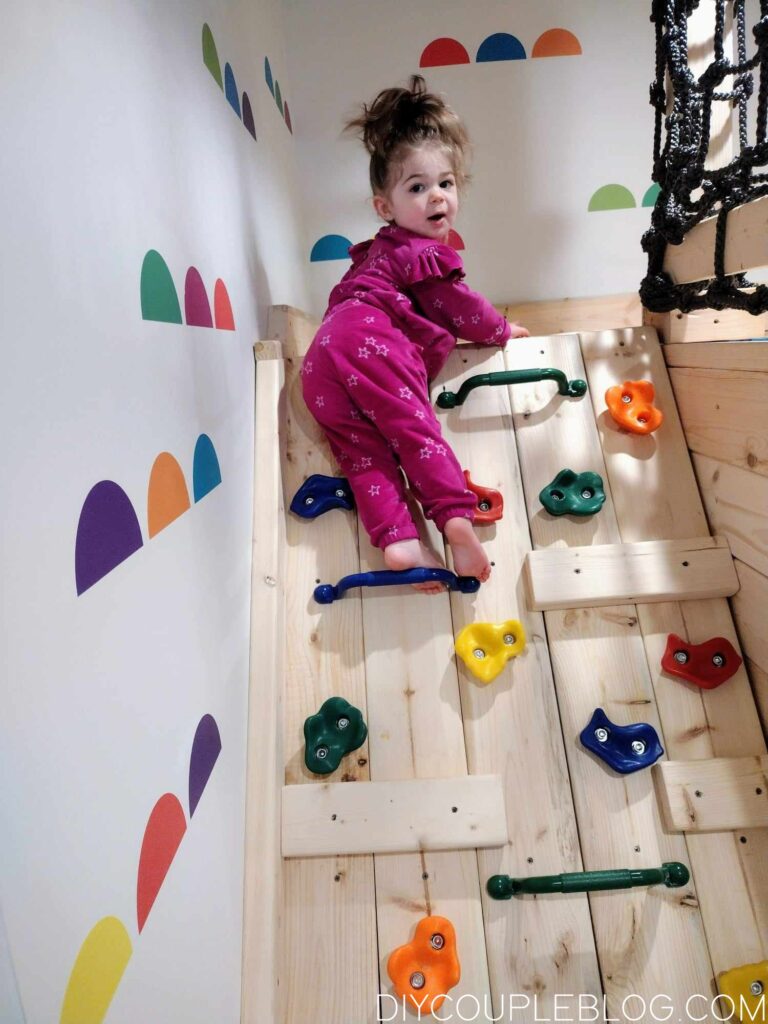
Here’s the kids ready to test out their new rock wall!
Installing Kids Rock Wall to Our Platform
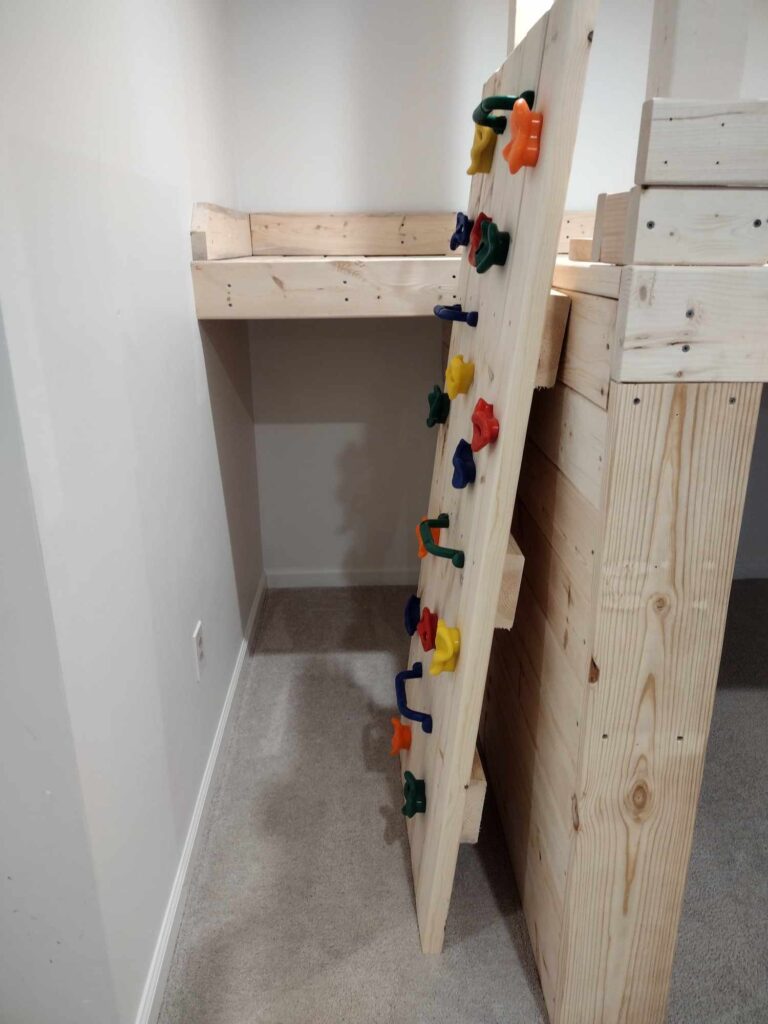
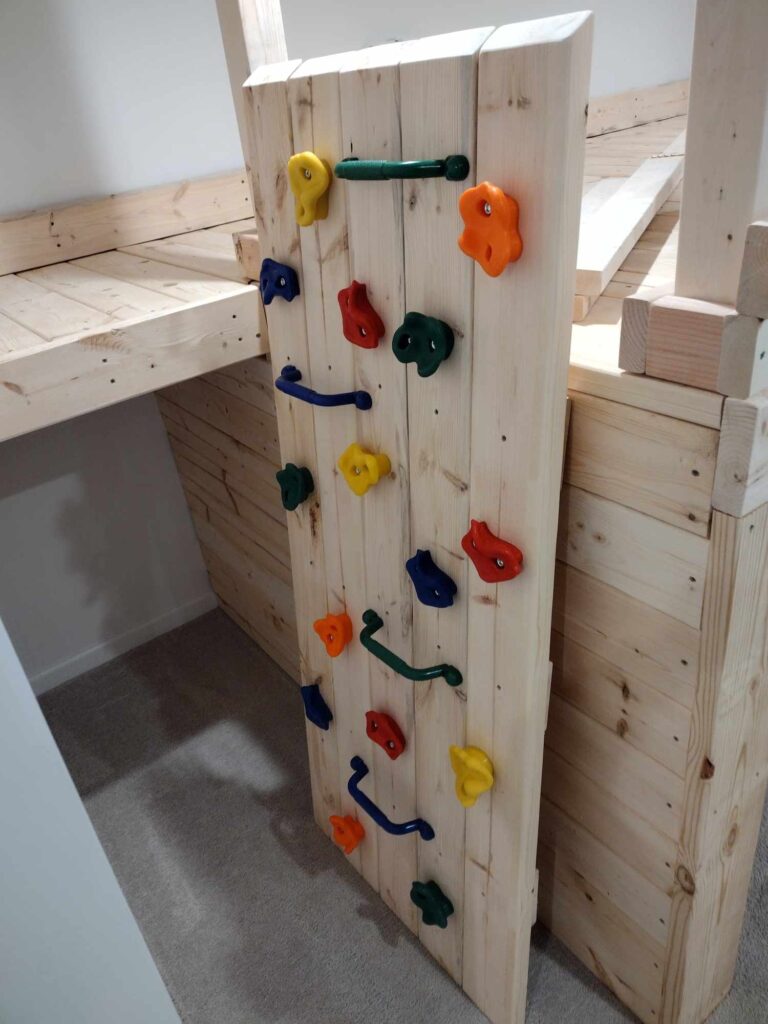
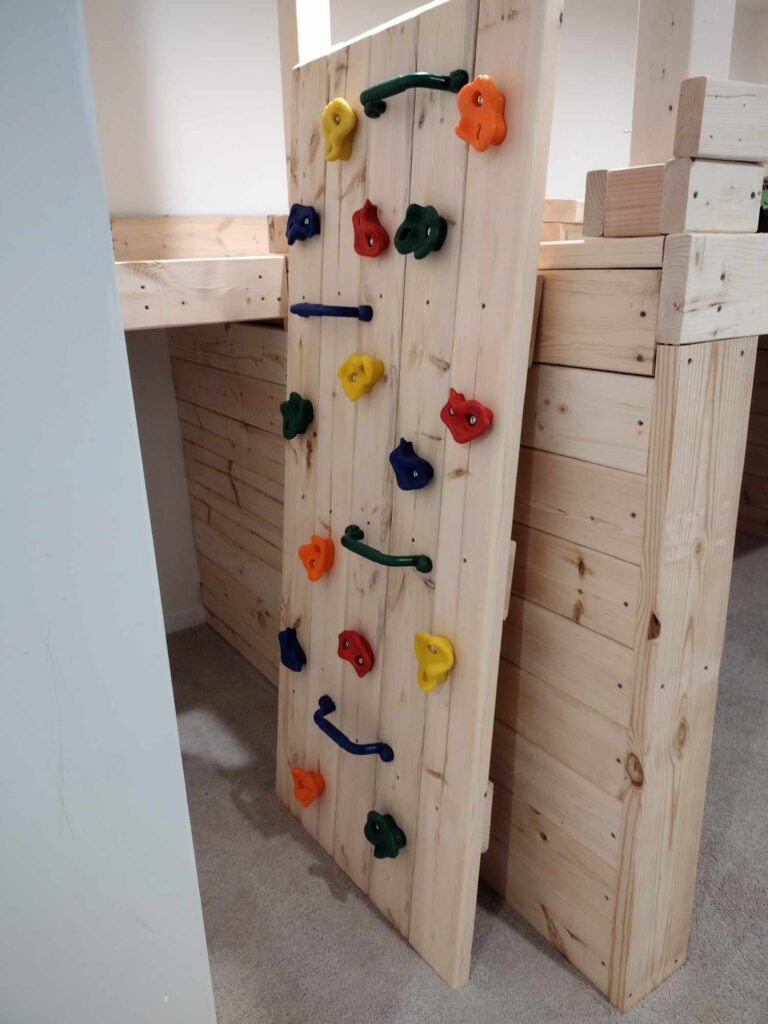
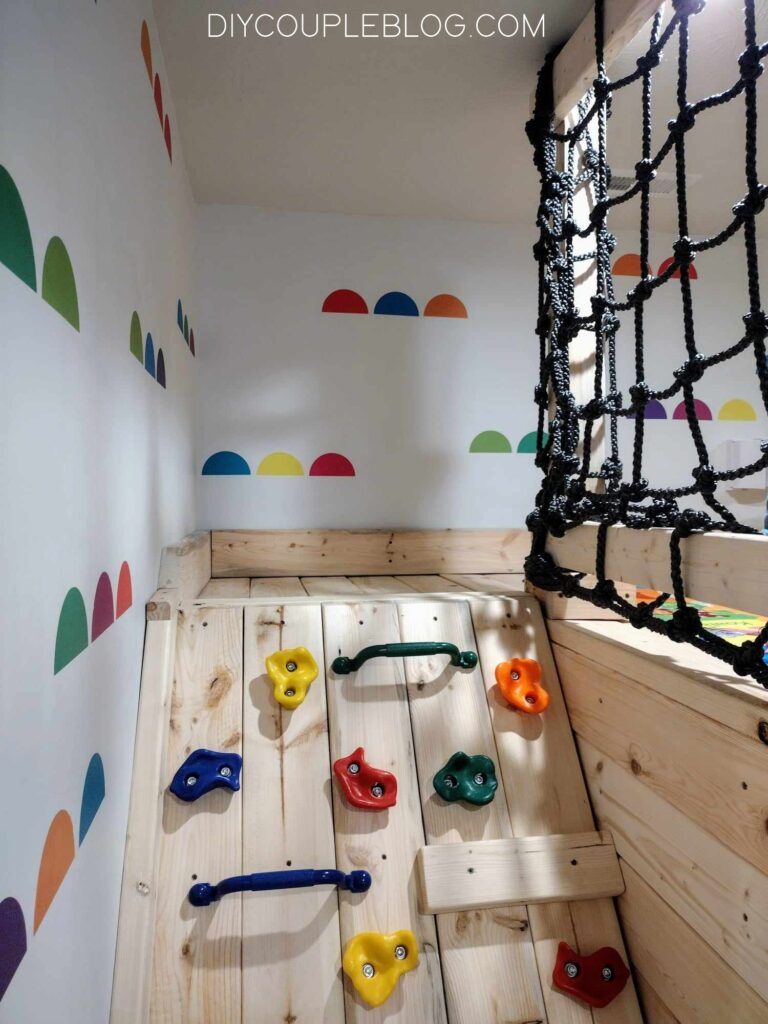
Cut a piece of 2×4 for the length of your top opening. Sand it down and position the 2×4 and the rock wall so that the angled pieces are at the top and everything’s flush then fasten your 2×4 to the platform using 1/8 inch drill bit for pilot holes and 3.5 inch screws to screw it down.
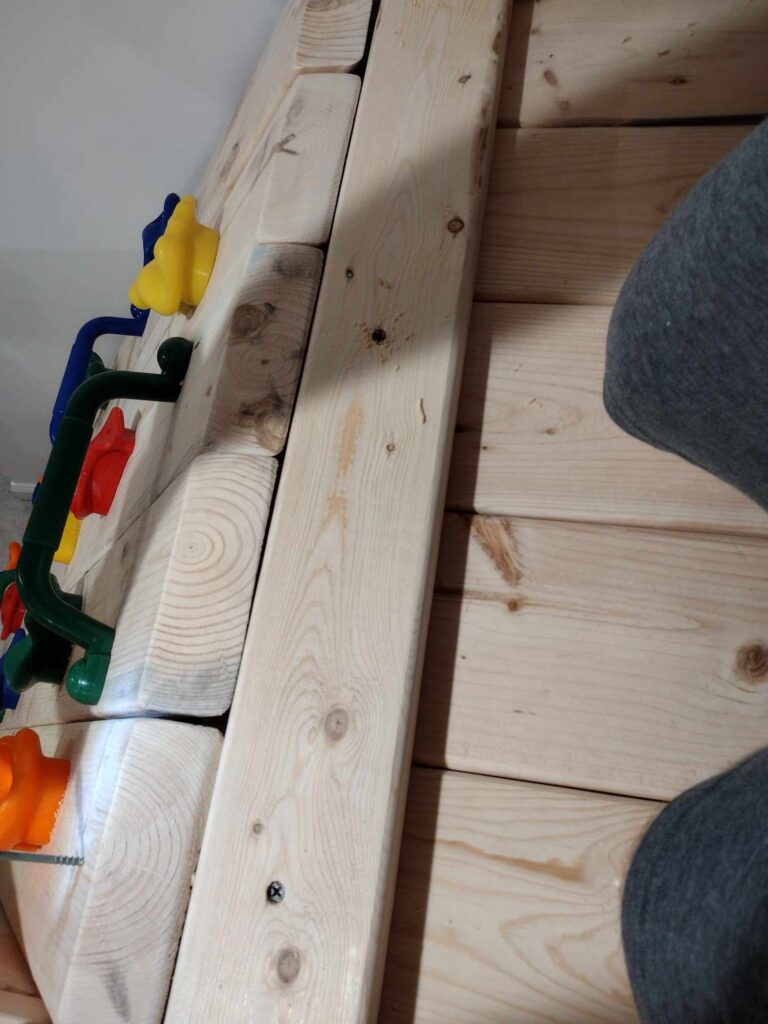
Once the 2×4 is secure, fasten the rock wall to the platform. You’ll be screwing each plank one inch down from the top of your angled cut in the center of the board.
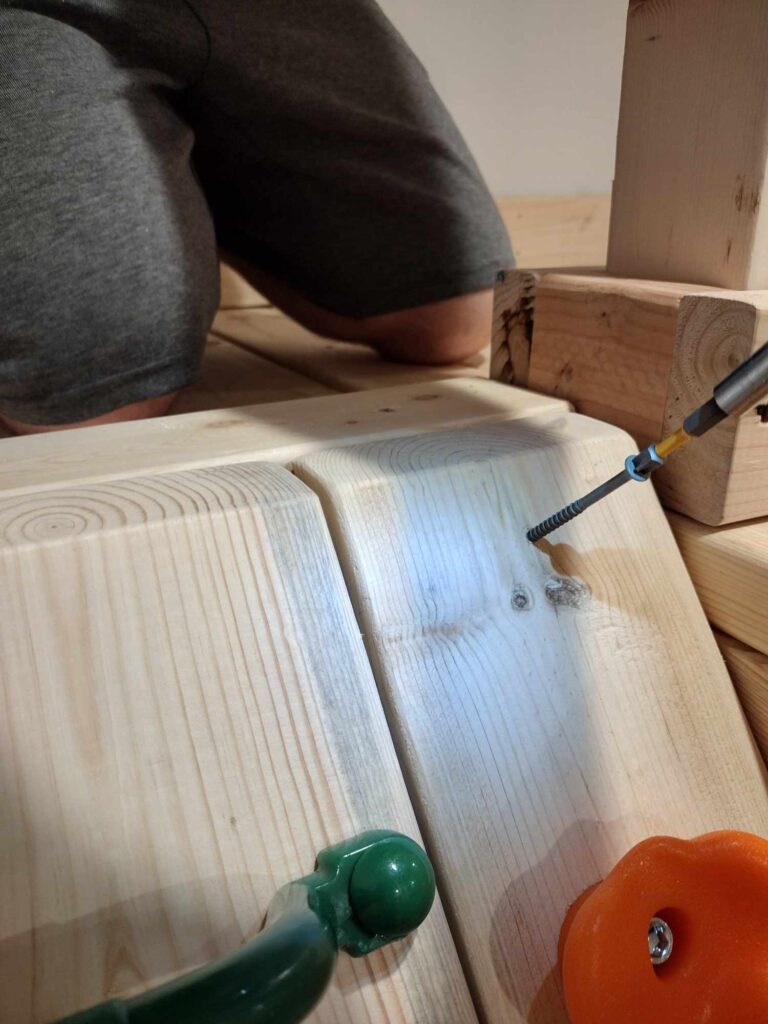
Once they were attached, we gave it a good smooth sanding. 180 grit or greater works for final finish.
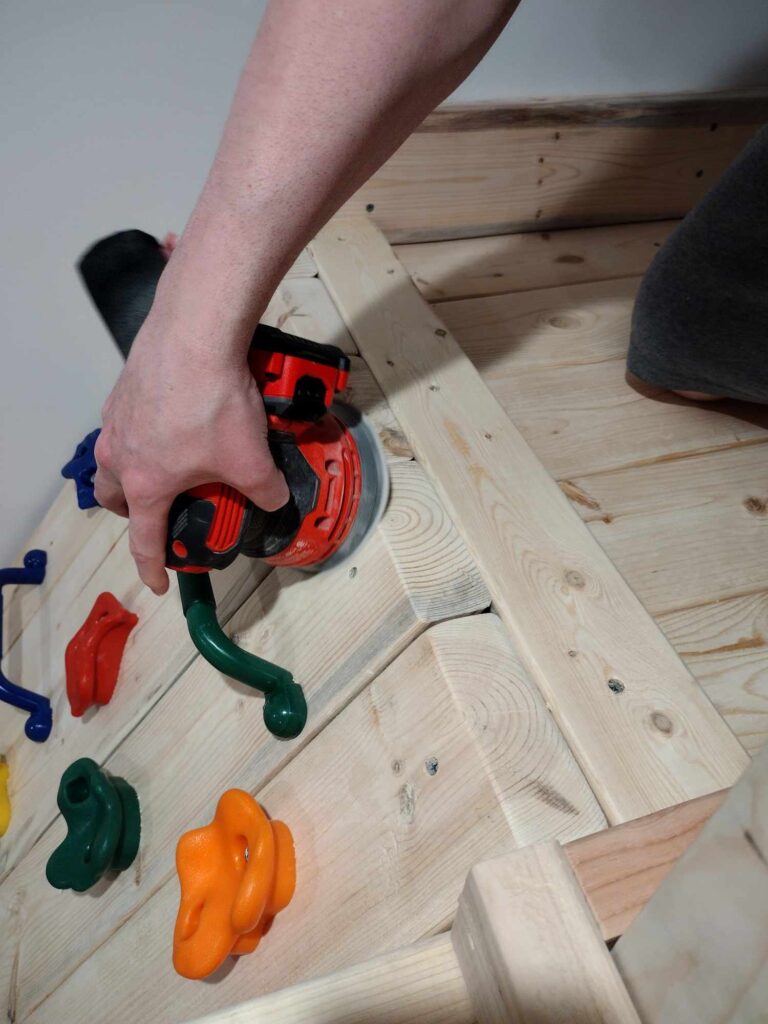
Finishing Touches We Added to Our Indoor Rock Climbing Wall for Kids
Since our indoor climbing wall DIY was right next to the wall, we had a small gap from the baseboard, so we decided to add some finishing touches.
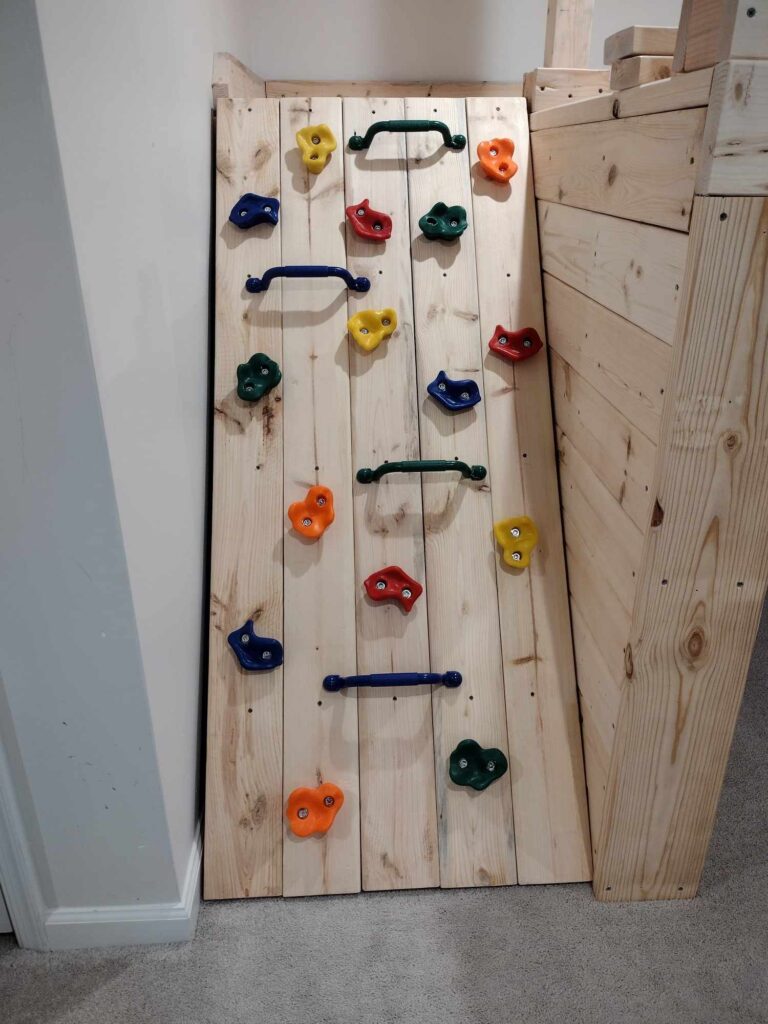
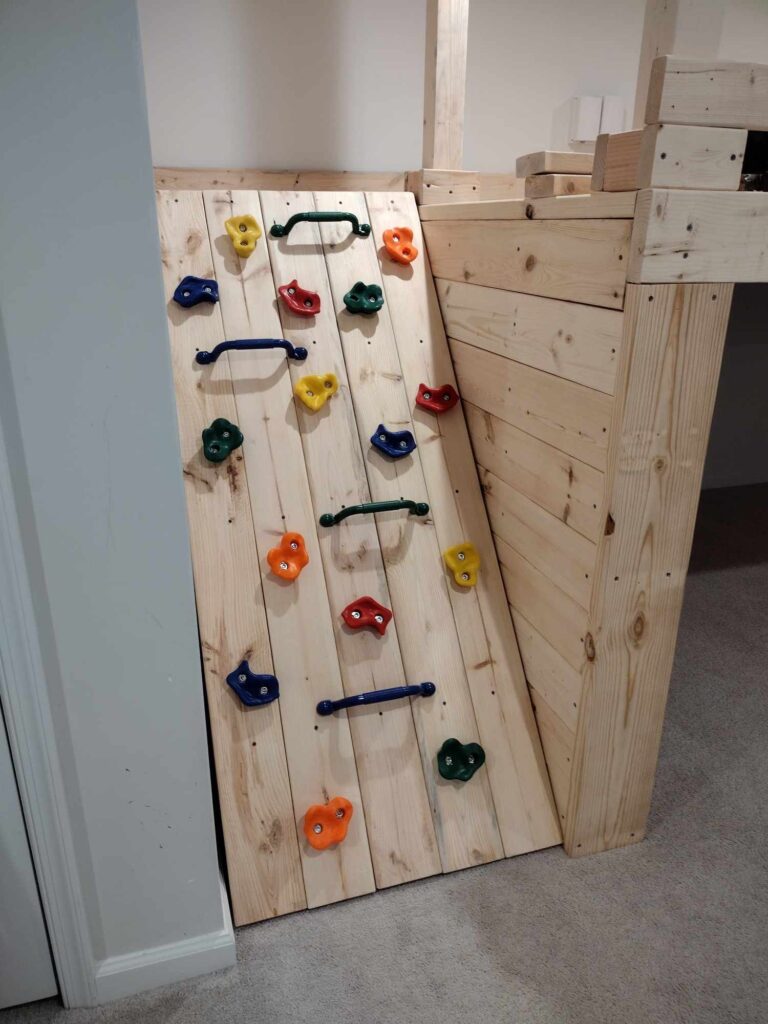
We measured the length from our baseboard trim up to the top of the rock wall angle. Cut a 2×4 to that length, then cut the top corner at the same angle as the rock wall. Sanded it down.
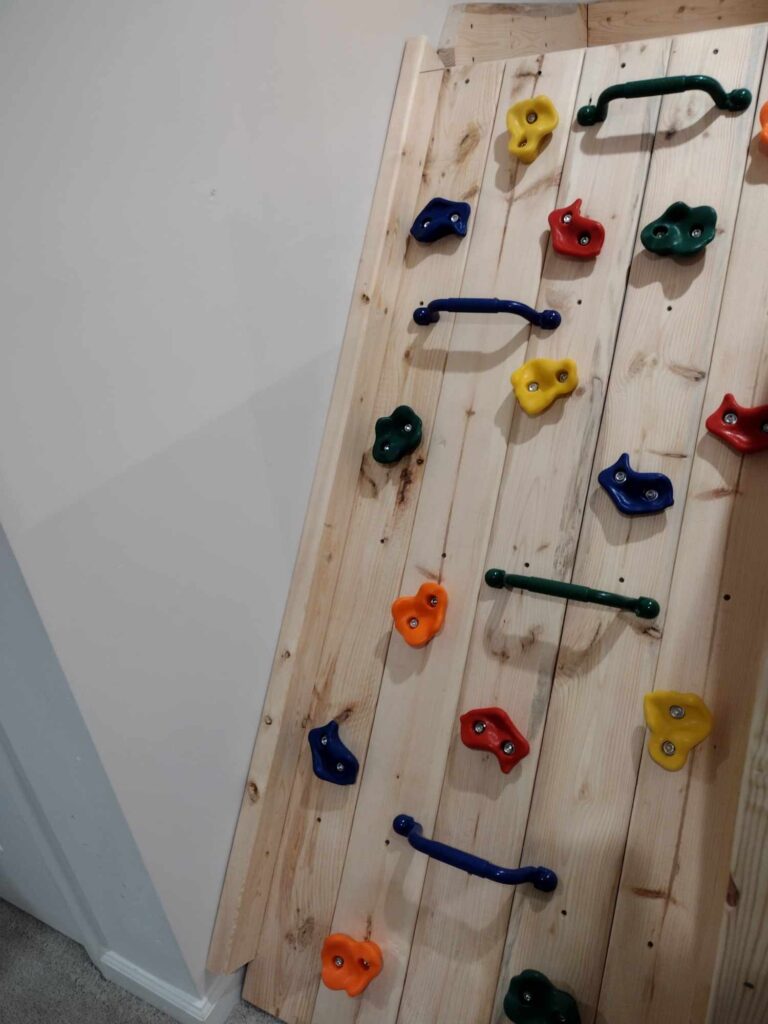
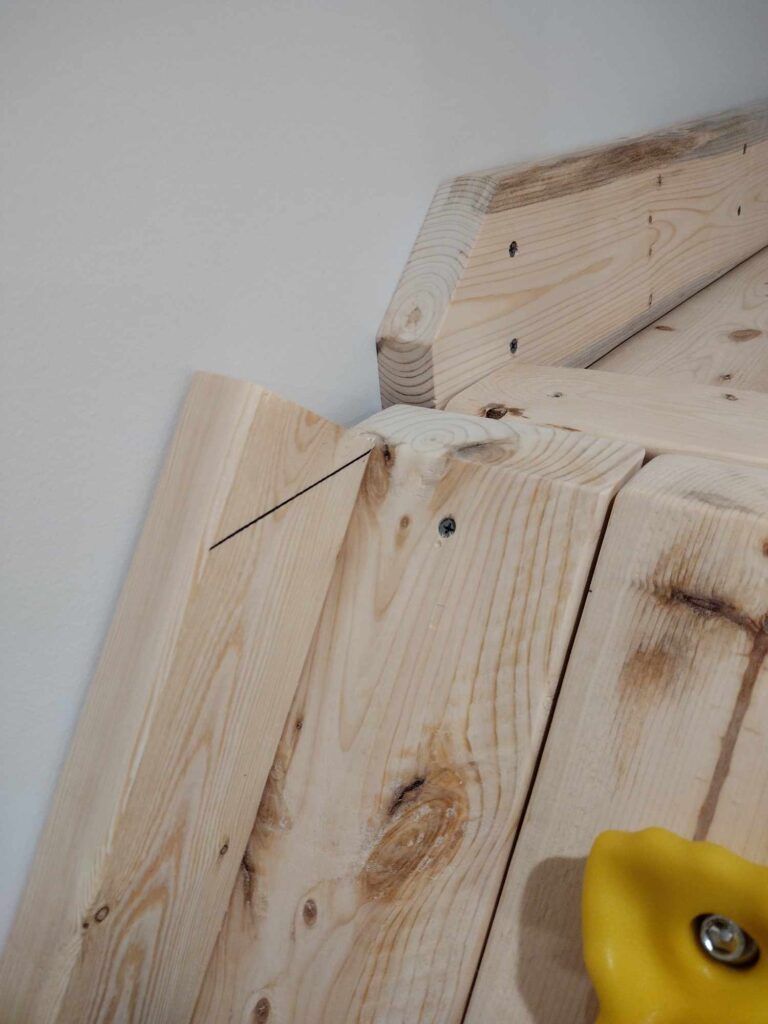
Find the studs in the wall and attach with 3.5 inch screws.
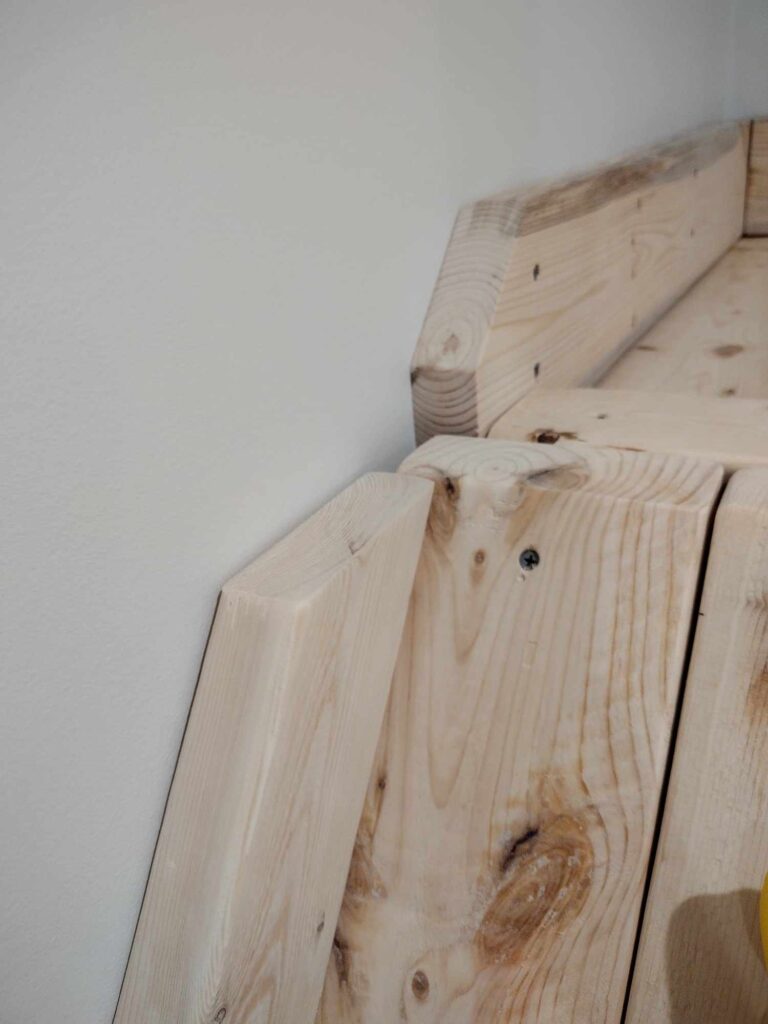
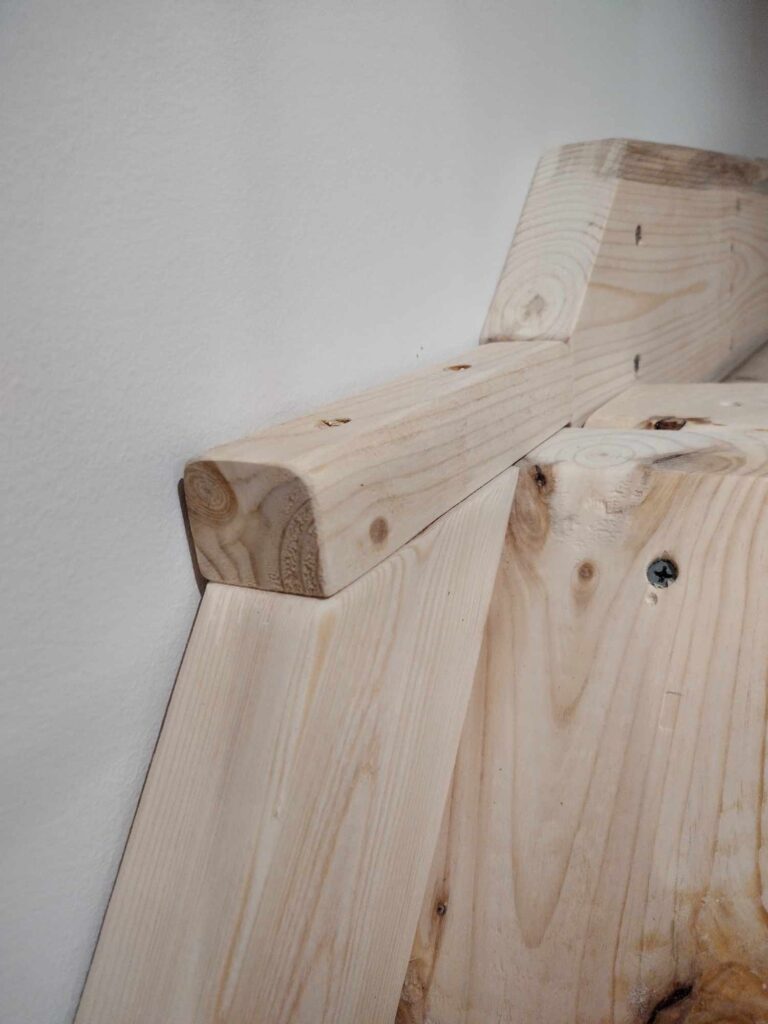
The finishing touches are completely optional, but we added a trim piece to the top gap as well, where the angles were. We just measured the length across the top board along the wall.
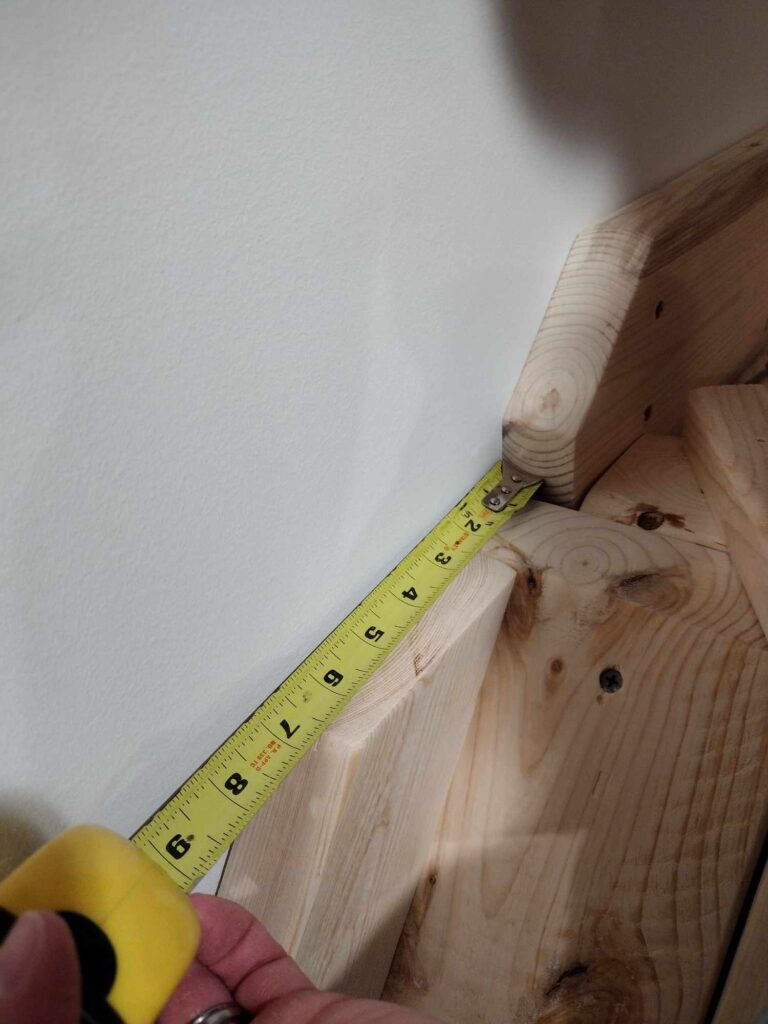
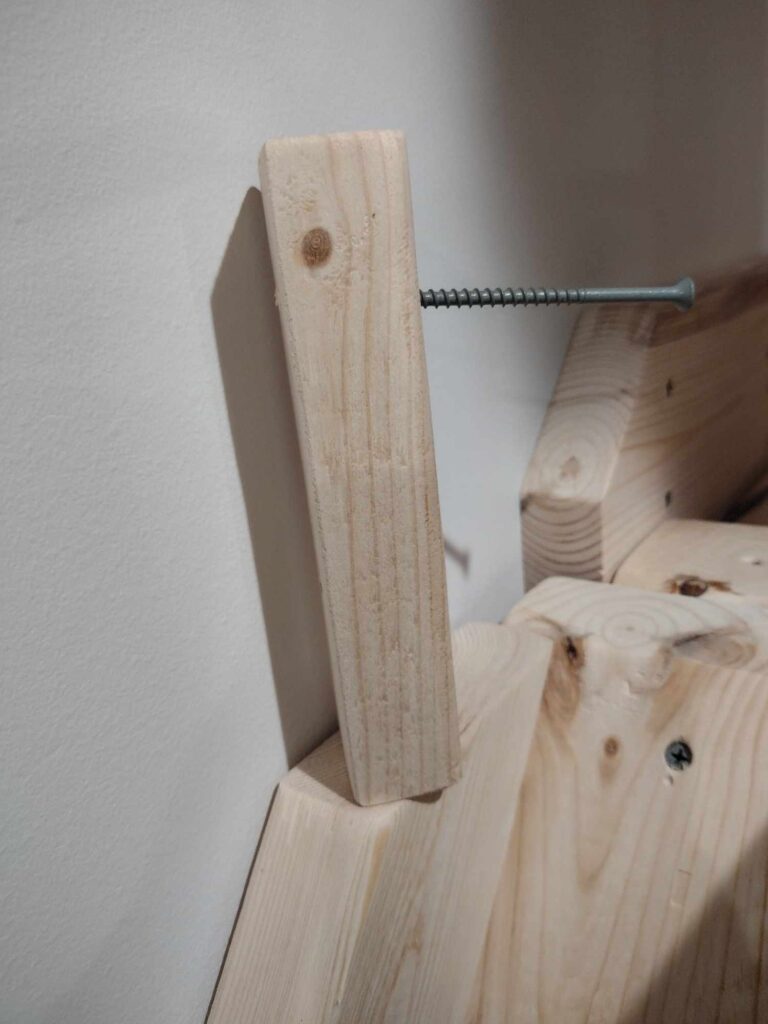
Cut a piece of 2×4 to the length (scrap wood works good for this) and now measure the depth of the board used for trim on the platform up to the angled cut. Rip your wood 2×4 with a table saw and attach using the 3.5 inch screws.
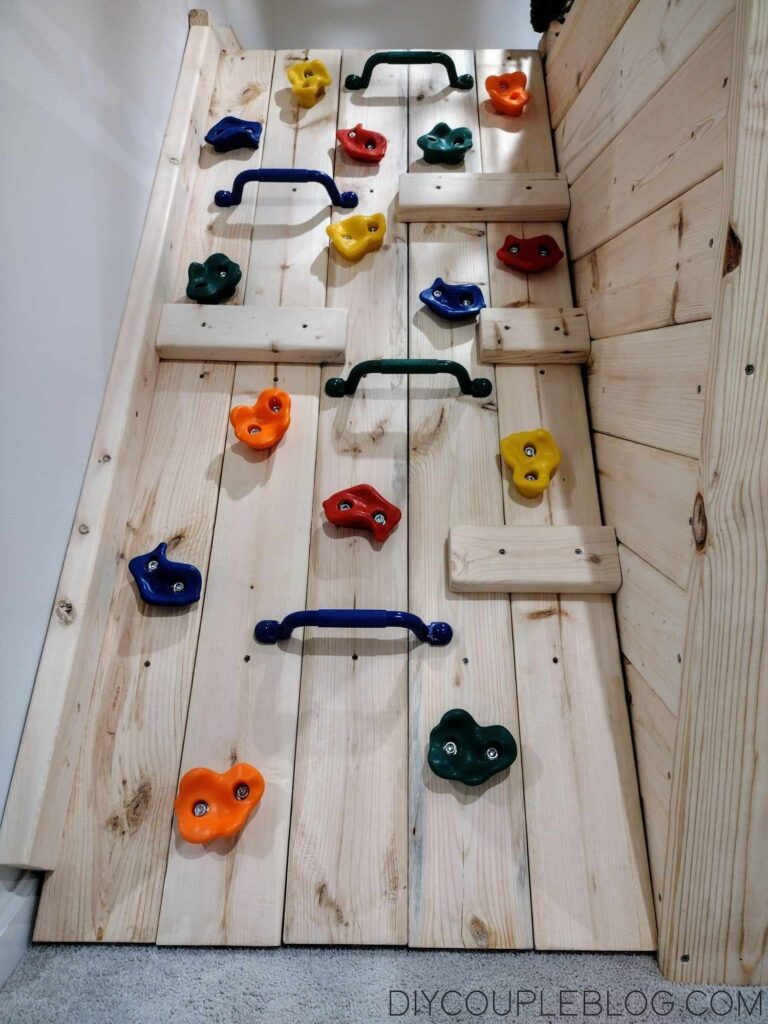
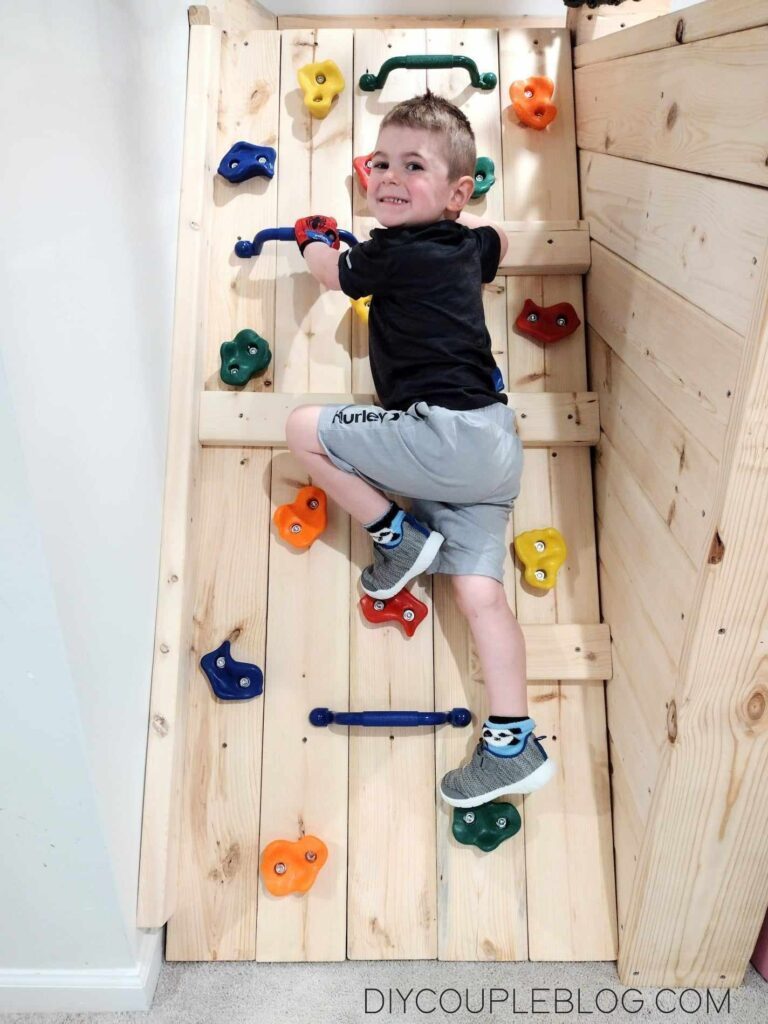
Rock Climbing Wall for Toddlers
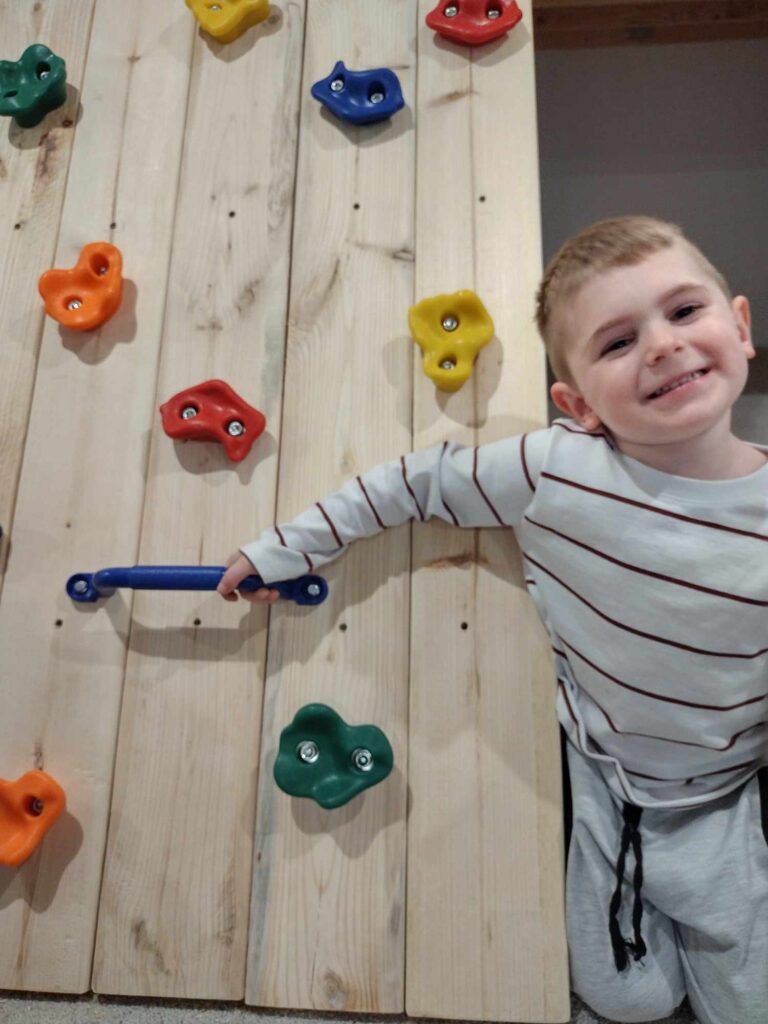
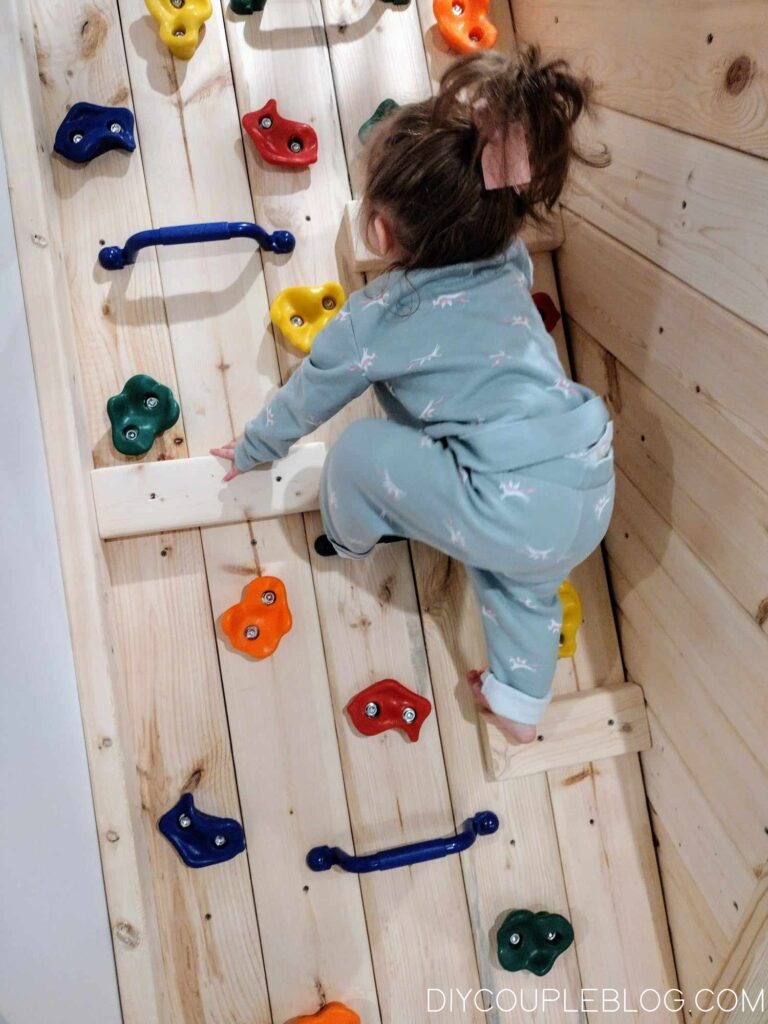
Also, I wanted to mention, our three and four year old got right up the rock wall and loved the challenge of climbing but we ended up adding handlebars throughout (came with our rocks we bought) plus cut some wood blocks with our 2×4 scraps to help our two year old with stepping and grabbing because she was having trouble, which is definitely optional as well.
Click any of the pictures below to be directed!
Shop Our Playroom
Swing & Swinging ladder / swing hooks
Additional Related Posts for Our Indoor Playground:
Build an indoor playground platform
DIY safety net railing for kids playground
Wall stickers for kids playroom

