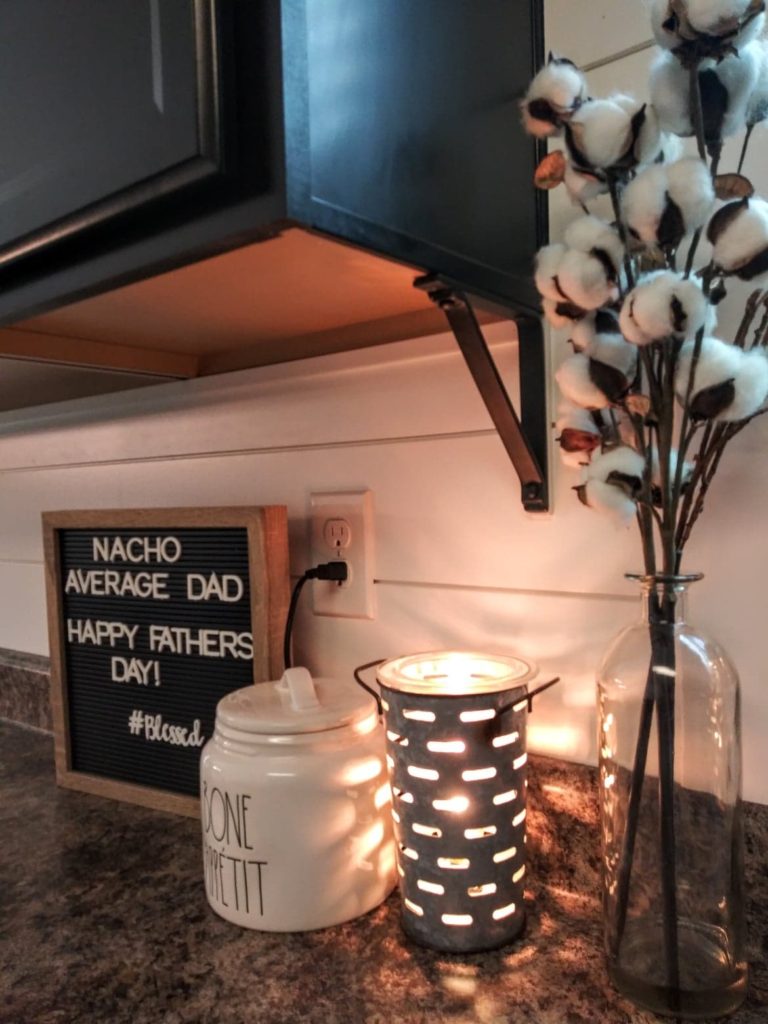
This post may contain affiliate links, which means we'll receive a commission if you purchase through our links, at no extra cost to you. Read the full disclaimer here.
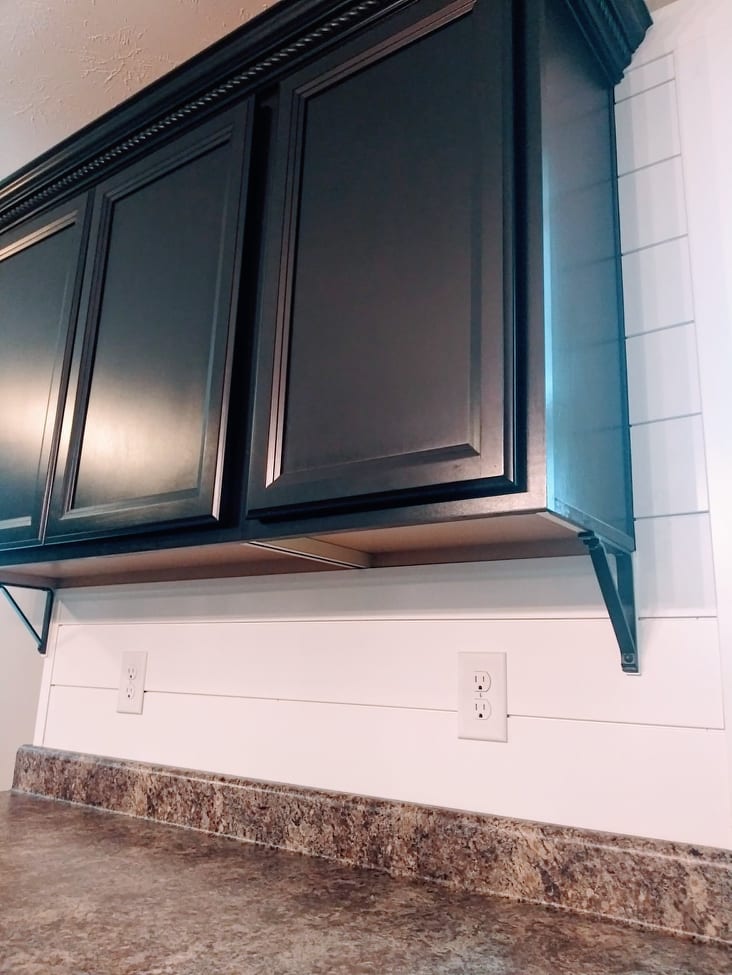
Transform the look of your kitchen by installing brackets underneath your cabinets. This Shelf Brackets DIY is an easy budget-friendly way to add character to your kitchen.
Sometimes you’ve got a million things (and projects) going on and you’re on a tight budget, but, in the meantime you want your kitchen to still look amazing. The expensive stuff takes time to happen (and lots of money). However, today, we’re forgetting about all those expensive remodeling ideas and I’m sharing a simple one that won’t cost very much moolah. The little details can matter too!
I’ve been sharing some of our kitchen projects (like our shiplap backsplash) here lately and going for the look of farmhouse kitchen cabinets.
Shelf Brackets DIY For Modern Farmhouse Kitchen Cabinets
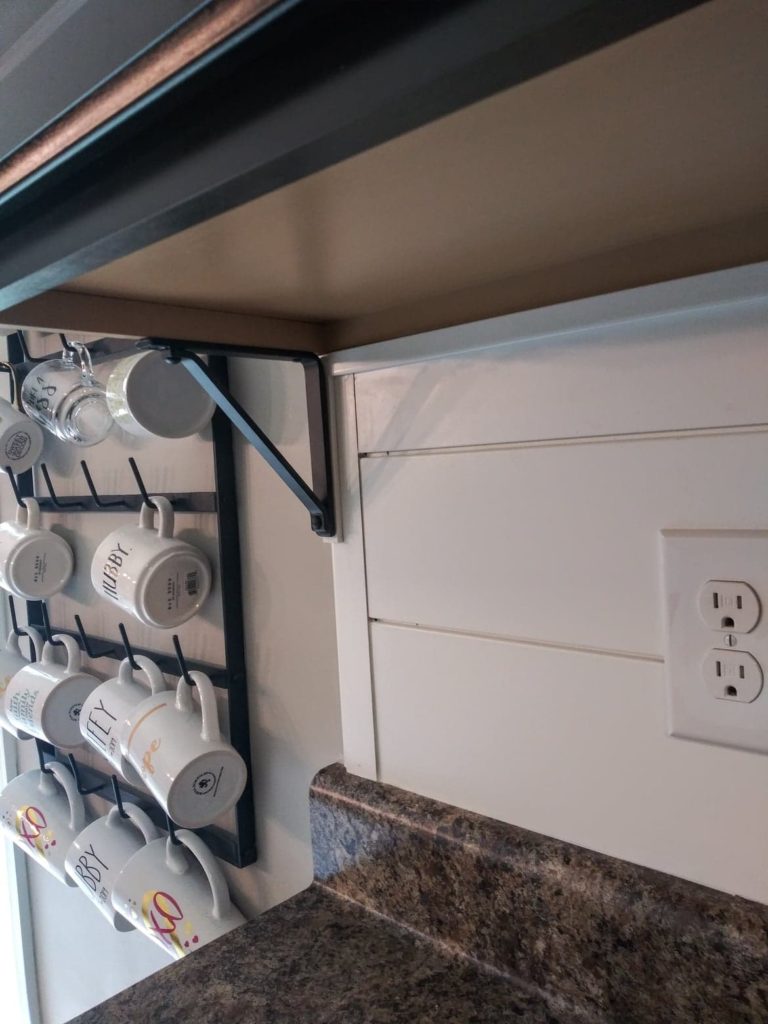
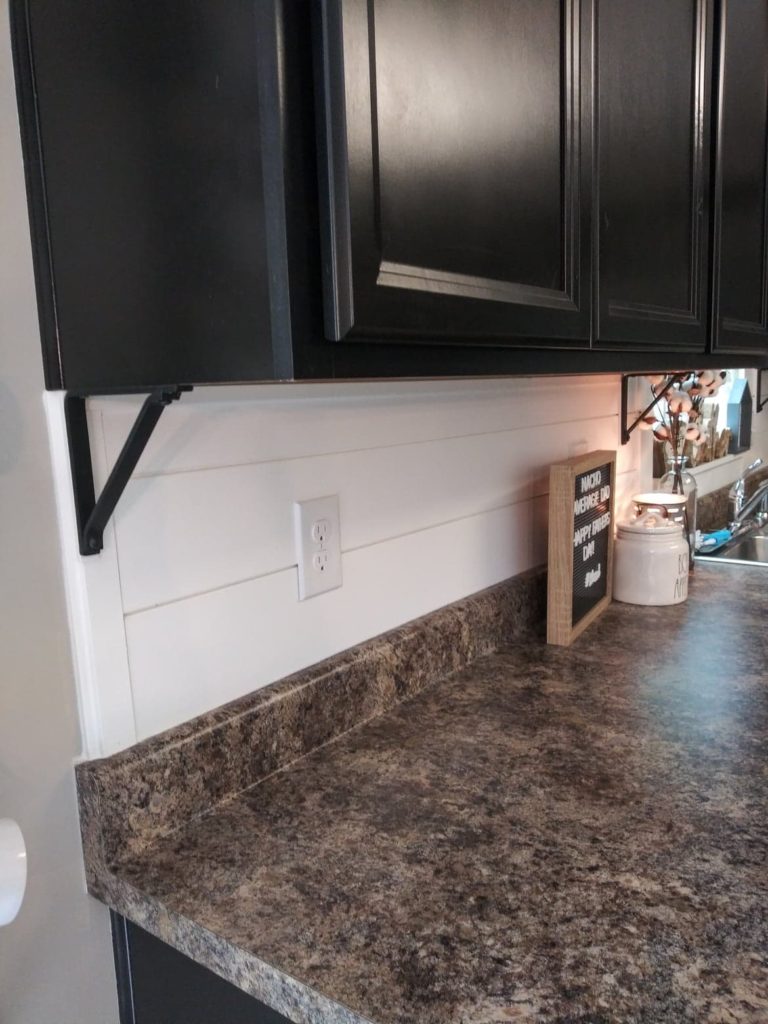
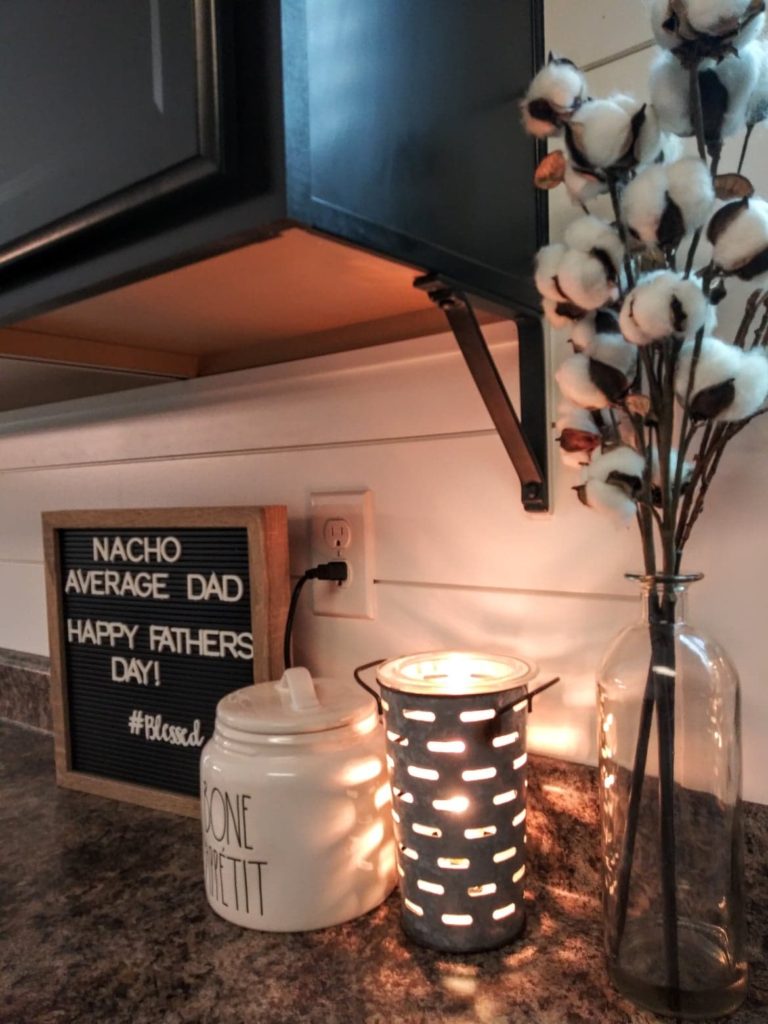
It’s pretty impressive what a simple shelf bracket can do by installing them underneath your kitchen cabinets. Here are some before and after’s for ya! You could also go with lovely corbels underneath like we did our kitchen island.
The After Photos





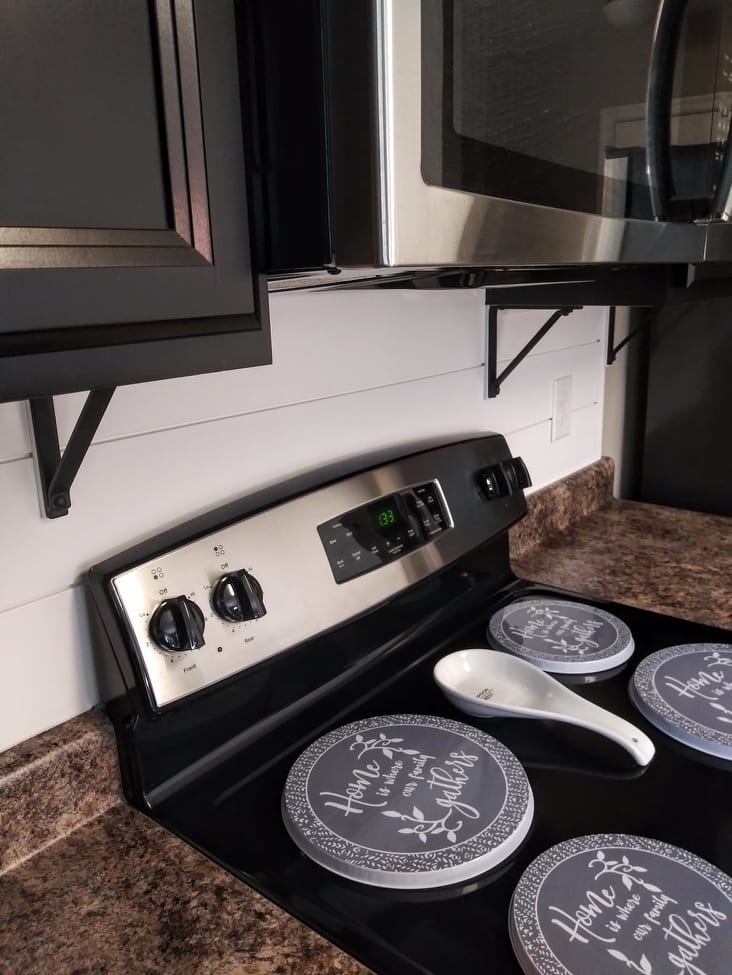
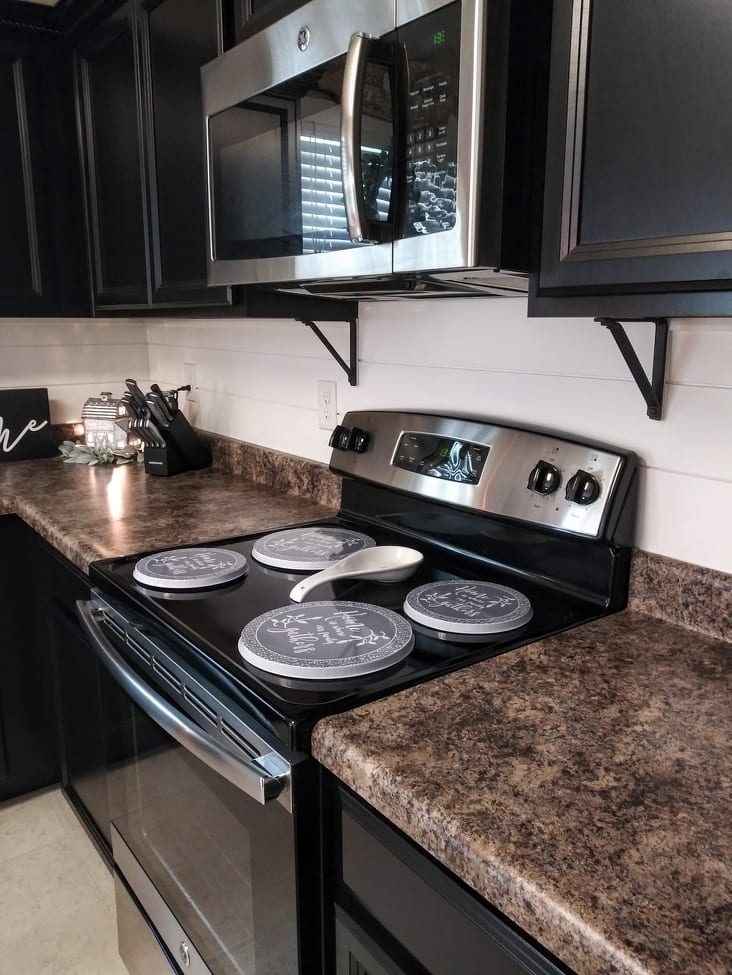

Supplies Used For Shelf Brackets Install
Measuring Tape
Decorative Shelf Brackets Of Choice (installation instructions may vary depending on the bracket) Ours are no longer available but you can find some similar ones here.
Drill/Impact Drill (this is the set that we use all the time for our projects)
Screwdriver
How To Install DIY Shelf Brackets Under Your Cabinets
(Before getting Started: these instructions we used were based on our shiplap backsplash, which is why we cut the trim piece. If you are going against the wall with brackets you do not need the trim}.
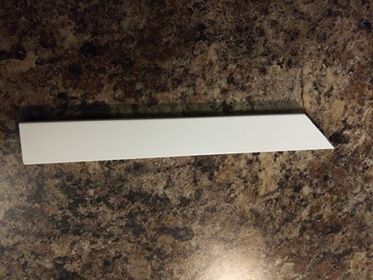
We cut our leftover scrap piece of trim (this piece was scrap from our shiplap backsplash) at a 45 degree angle to meet up with the trim underneath the cabinets. We did this to one end only.
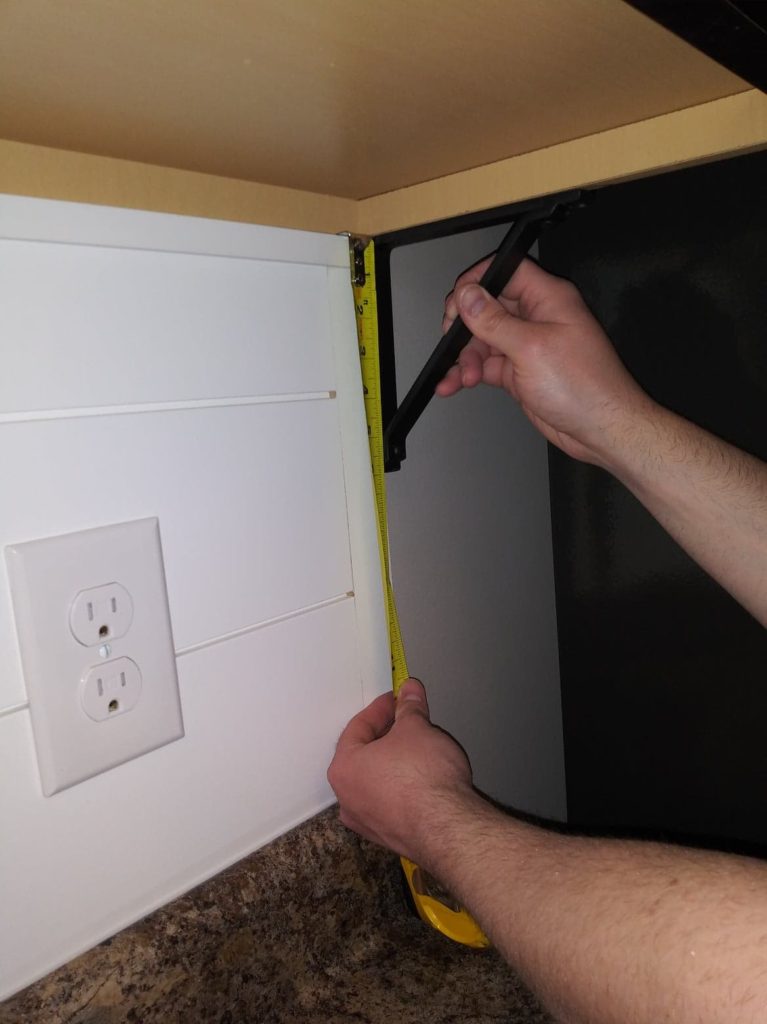
We held our bracket up first, on top of trim, measured down and cut the trim 1/8th inches past the bottom of the bracket.
Then used a brad nailer to nail the trim. We nailed the top and then double checked the bracket to ensure it was straight before nailing the bottom.
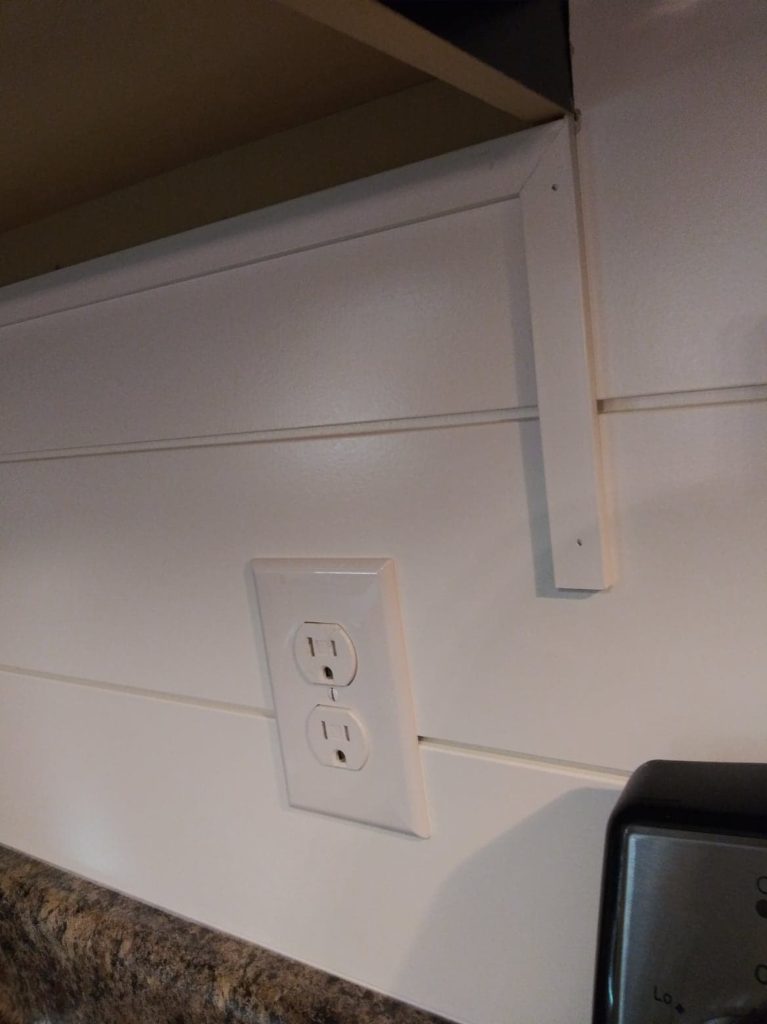
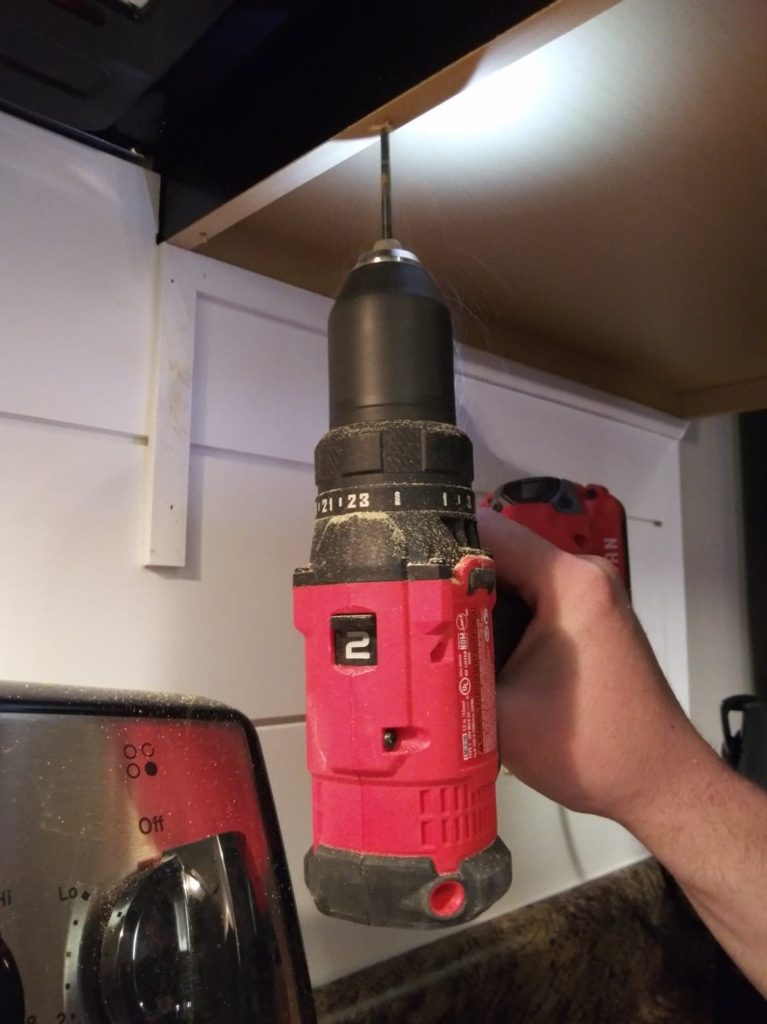
Next, after the trim peice was attached, we put our brackets over top and lined them up accordingly on the trim. We marked the holes under the cabinet while holding the bracket there. Then taking off the brackets, drilling a pilot hole for the screws.
(Side Note:) We had to be sure to drill precisely where holes were marked so they would not be off).
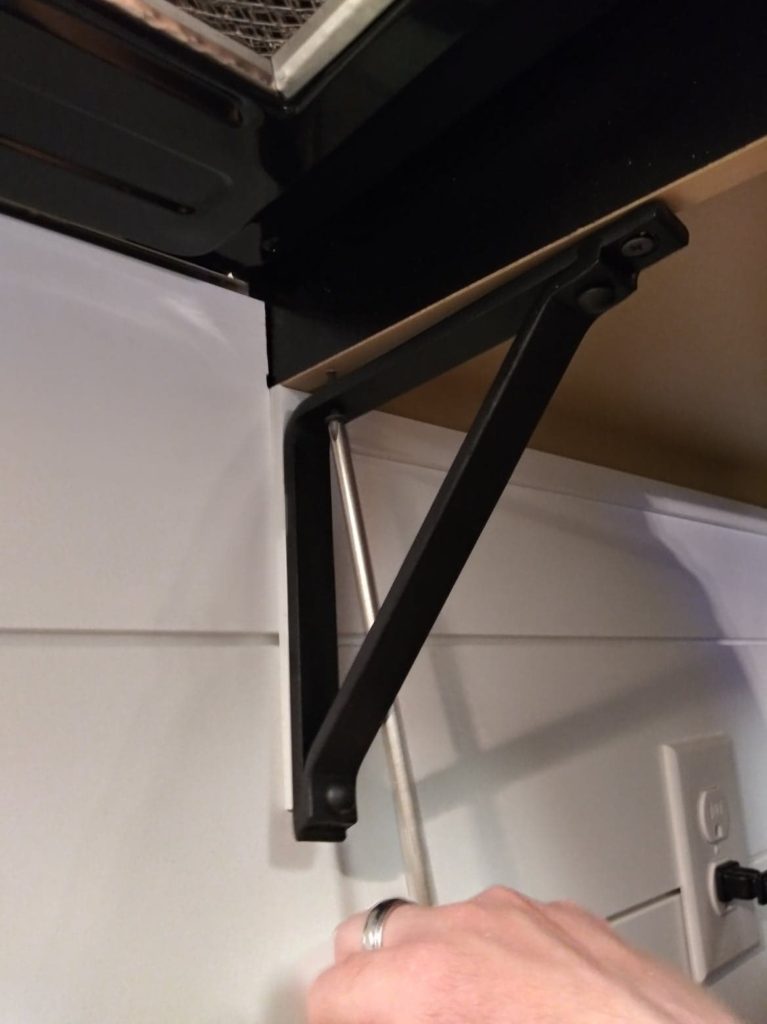
Time to screw in the brackets with a screwdriver! We chose to use a screwdriver, this way to make sure the drill wouldn’t go too far through the cabinets.
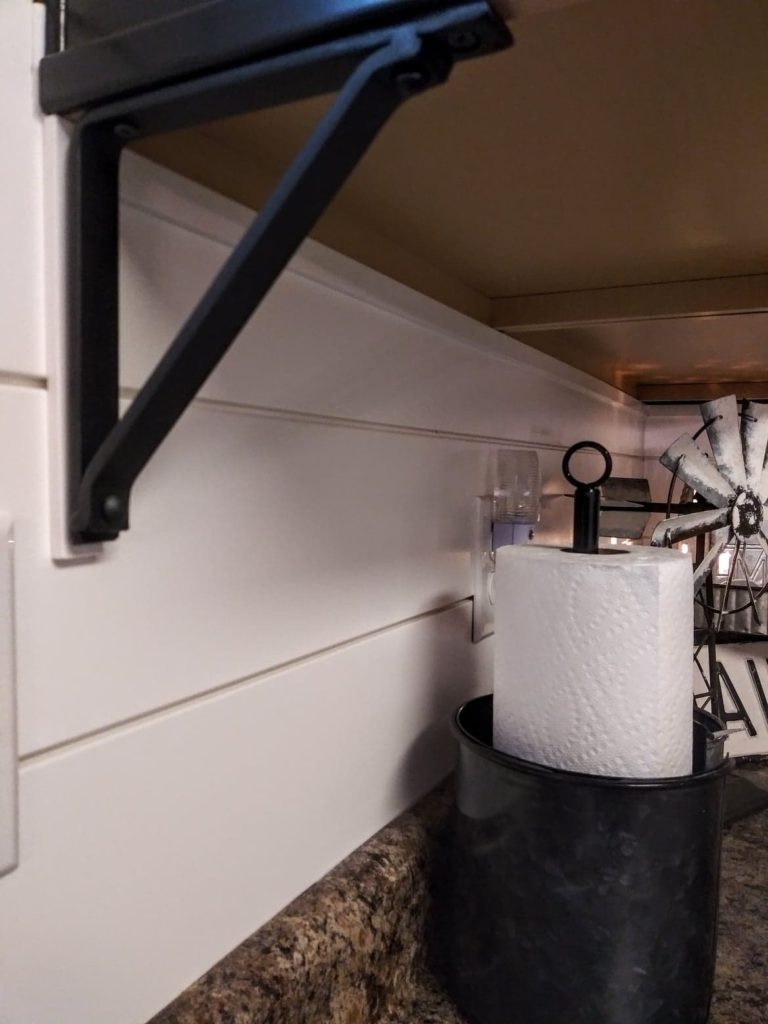
All done! How’s it look?!
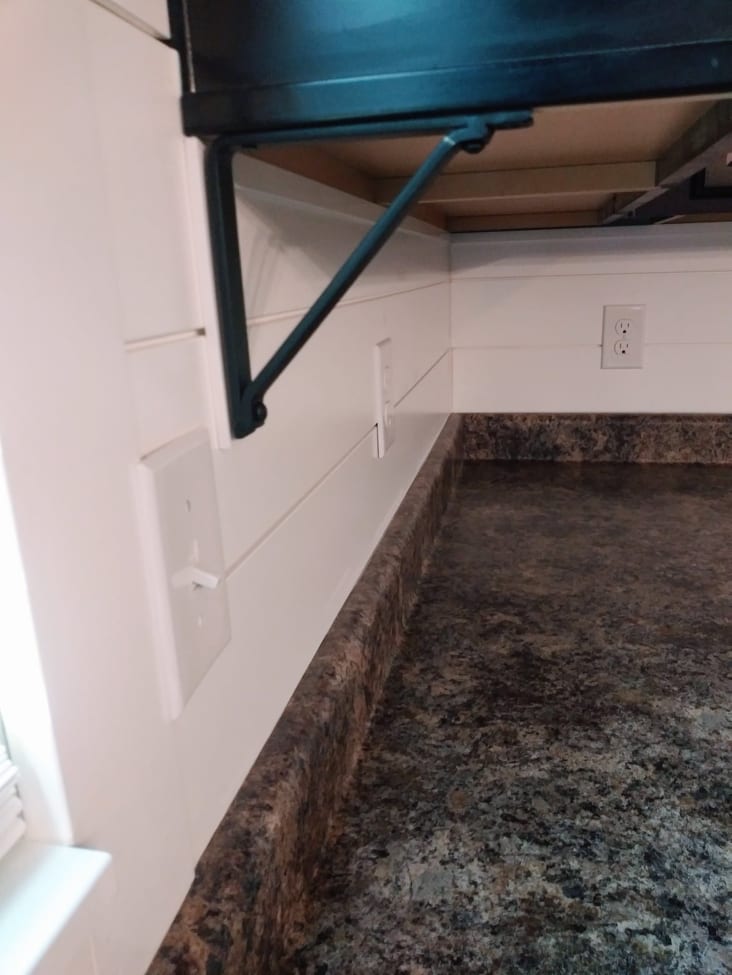
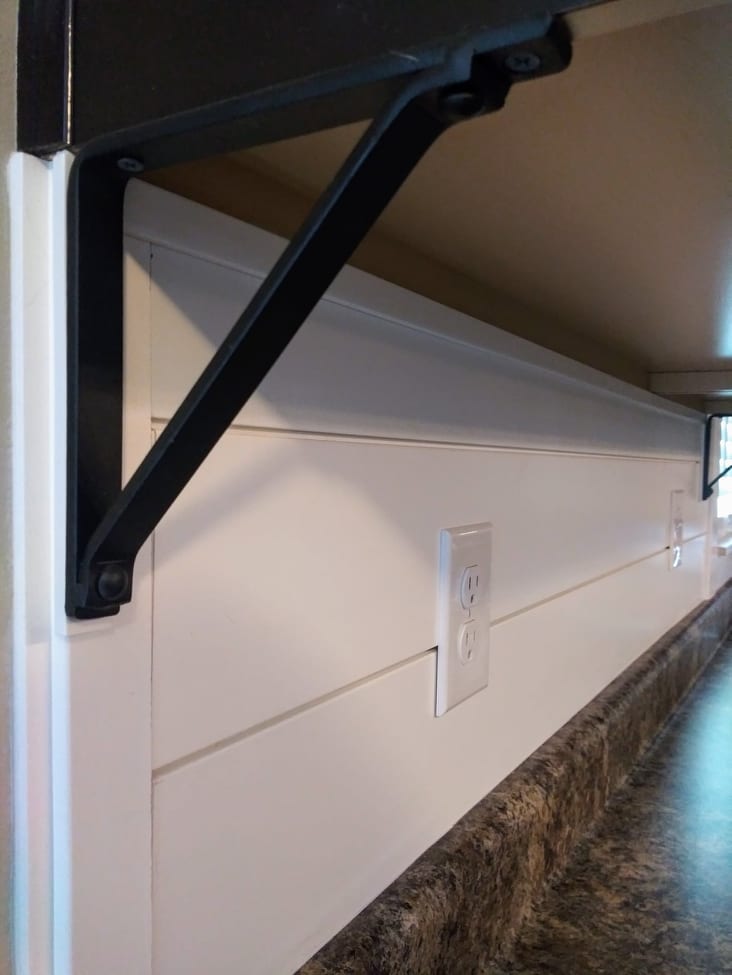
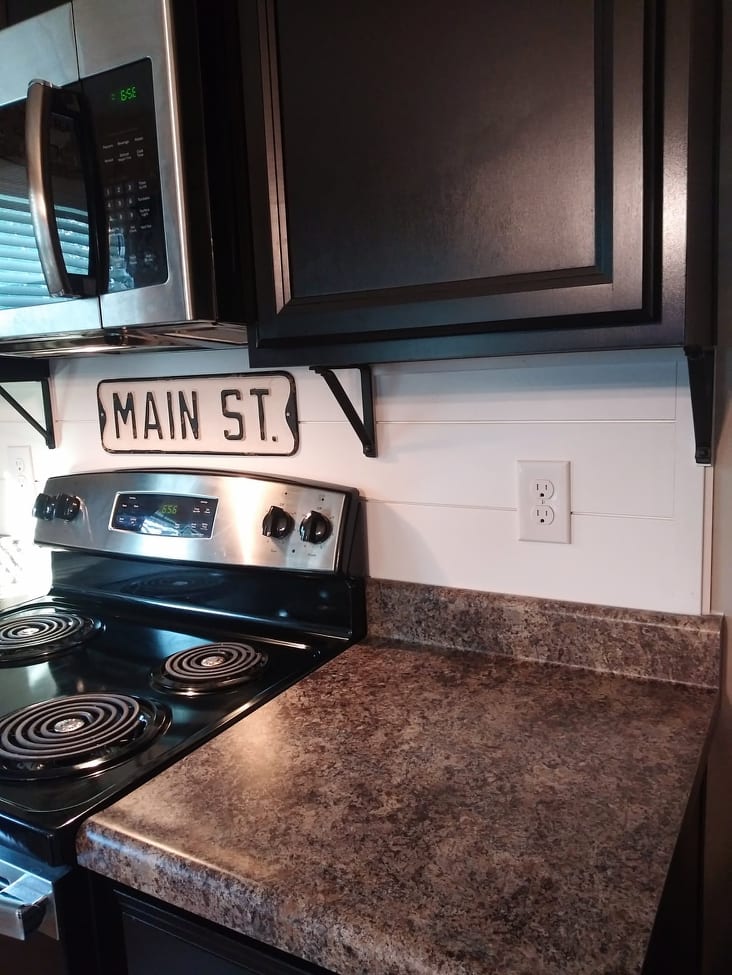
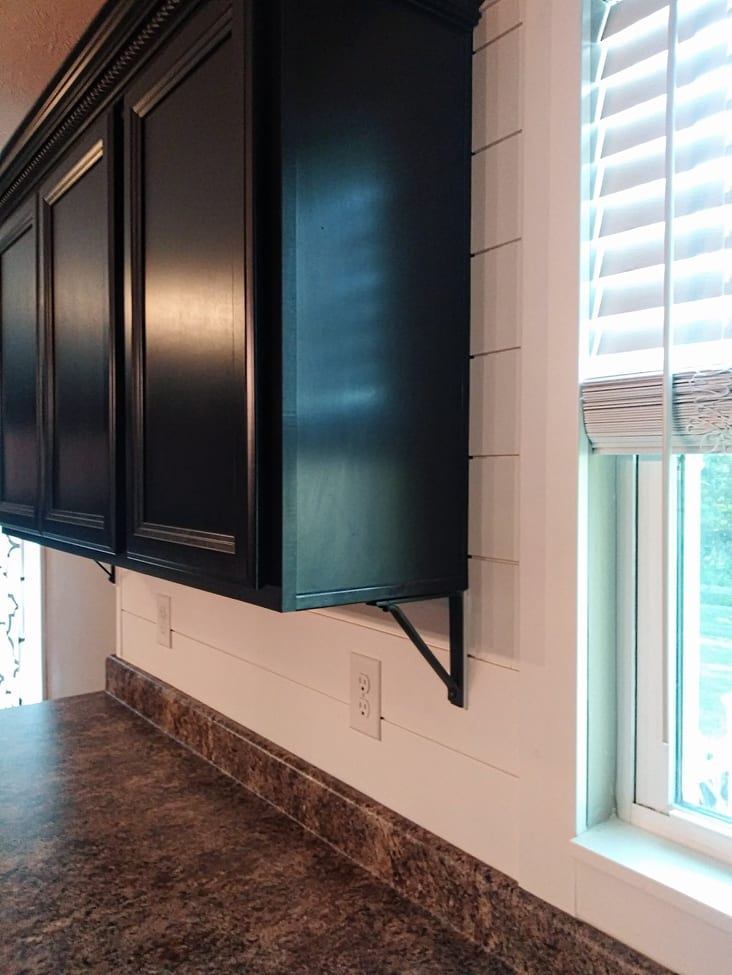
I’ll be sharing some more things we’re working on around our house soon! As always, Thanks for stopping by!

