This post may contain affiliate links, which means we'll receive a commission if you purchase through our links, at no extra cost to you. Read the full disclaimer here: https://diycoupleblog.com/disclaimer/
An easy DIY bathroom mirror frame for that frameless piece of glass on your wall. Give your boring basic builder grade bathroom mirror an instant makeover for under $50 with this DIY wood frame tutorial!
This project has been on our list of things to tackle in our new builder grade home for a while now.
After searching bathroom mirror ideas (there’s some gorgeous ones out there) we came to the conclusion large mirrors are quite ridiculously expensive and ya just hate to throw out something that’s perfectly good.
The most cost effective thing to do when your adding character or redoing a bathroom on a budget is to frame builder grade mirror (removing it didn’t seem too fun either!)
DIY Bathroom Mirror Frame: Before + After
Let’s get started with all the details and we’ll show you how you can easily recreate this project yourself.
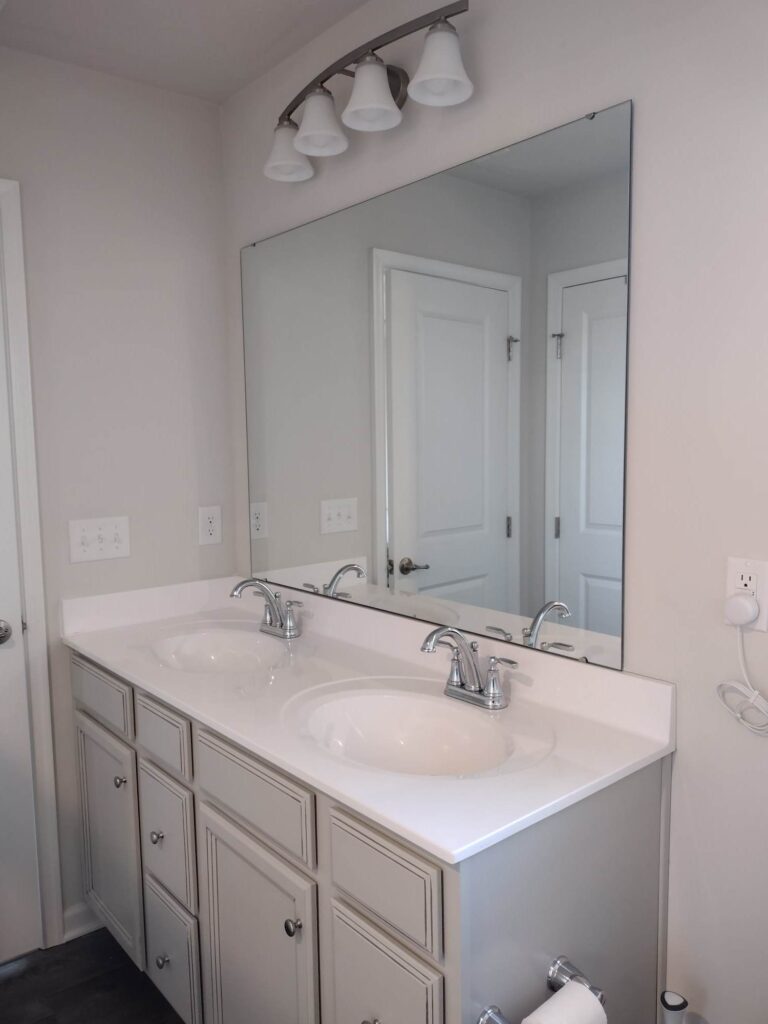
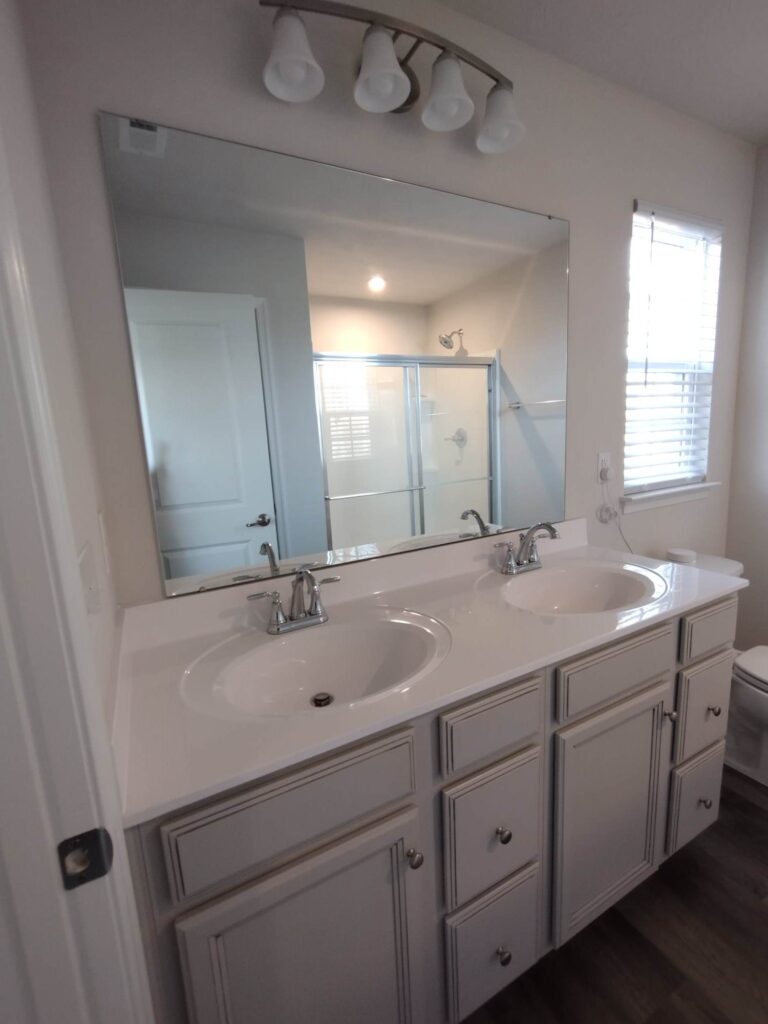
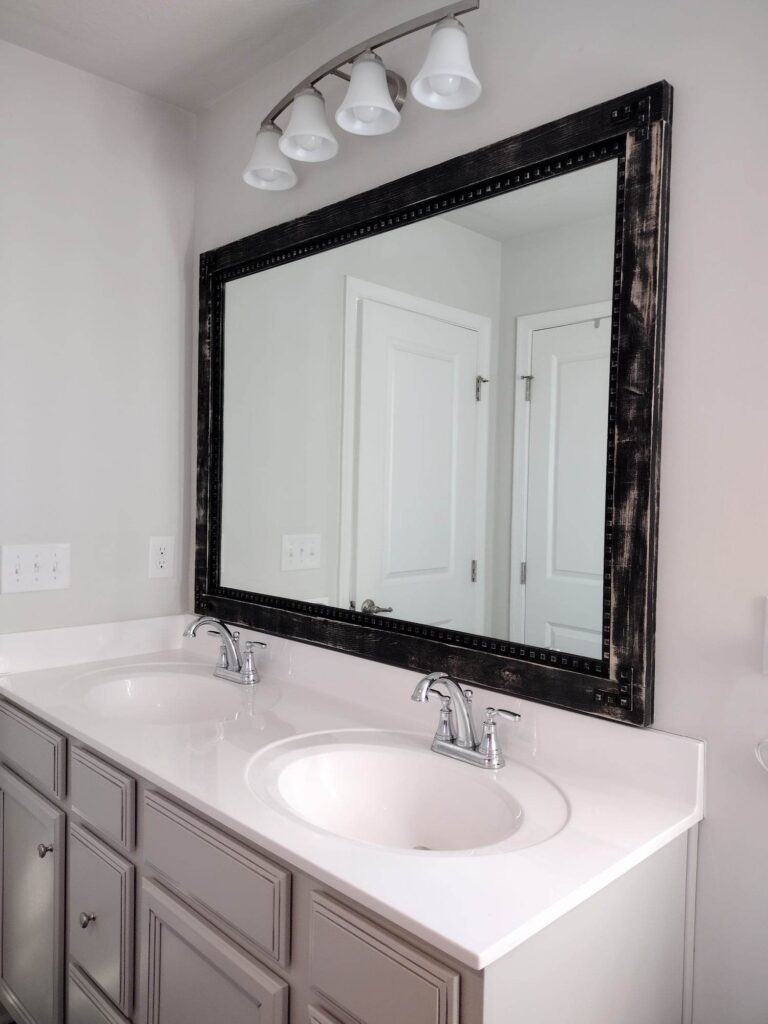
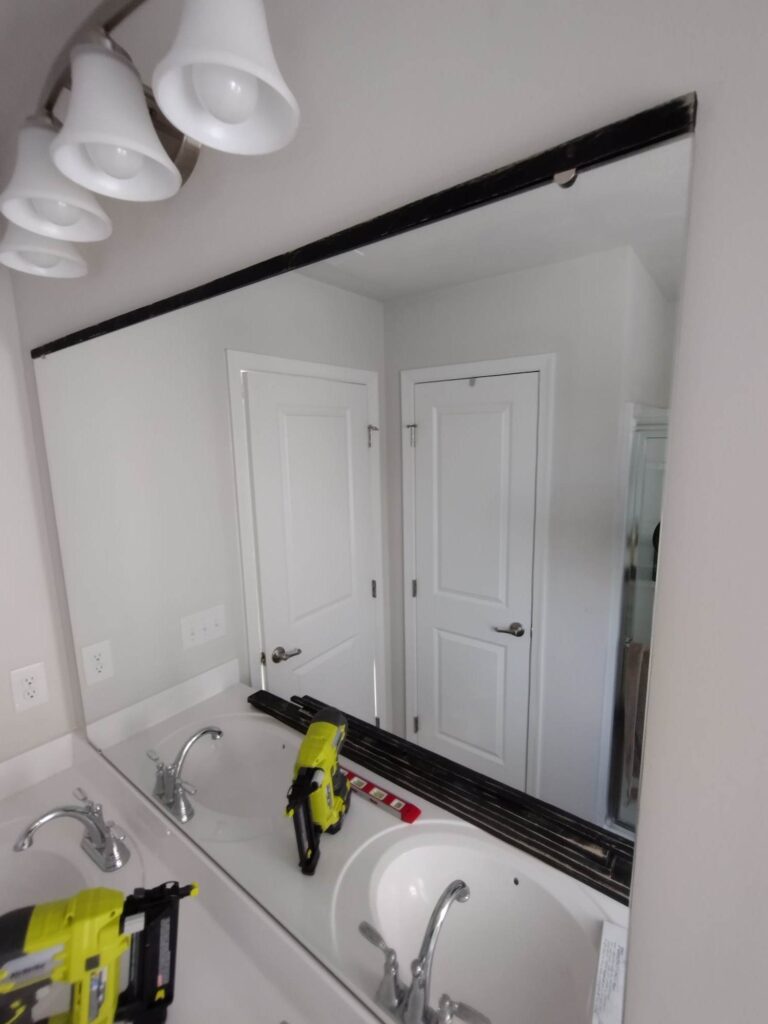
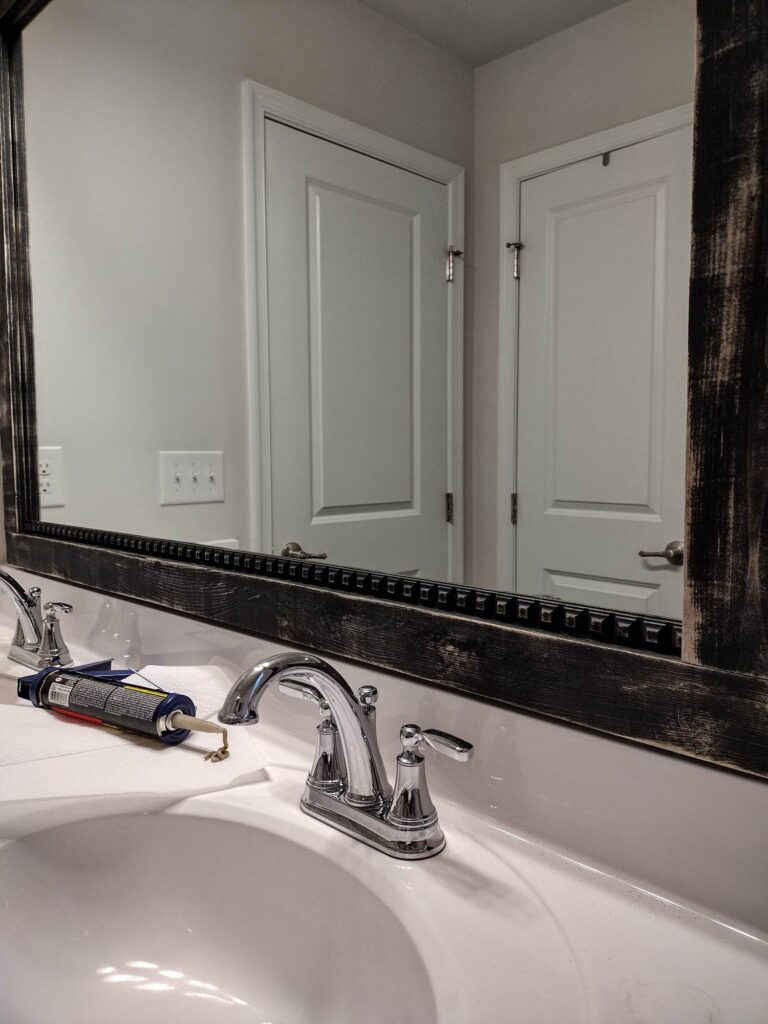
But first, here is a before photo of how our builder grade mirror looked before we got started with our diy bathroom mirror frame.
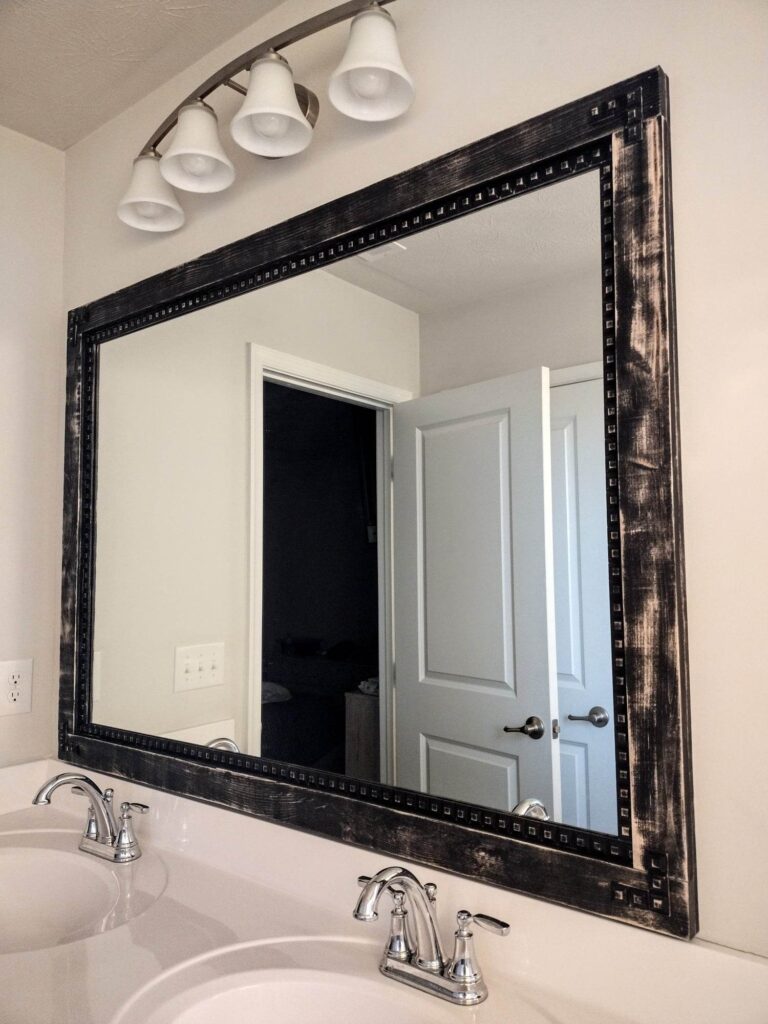
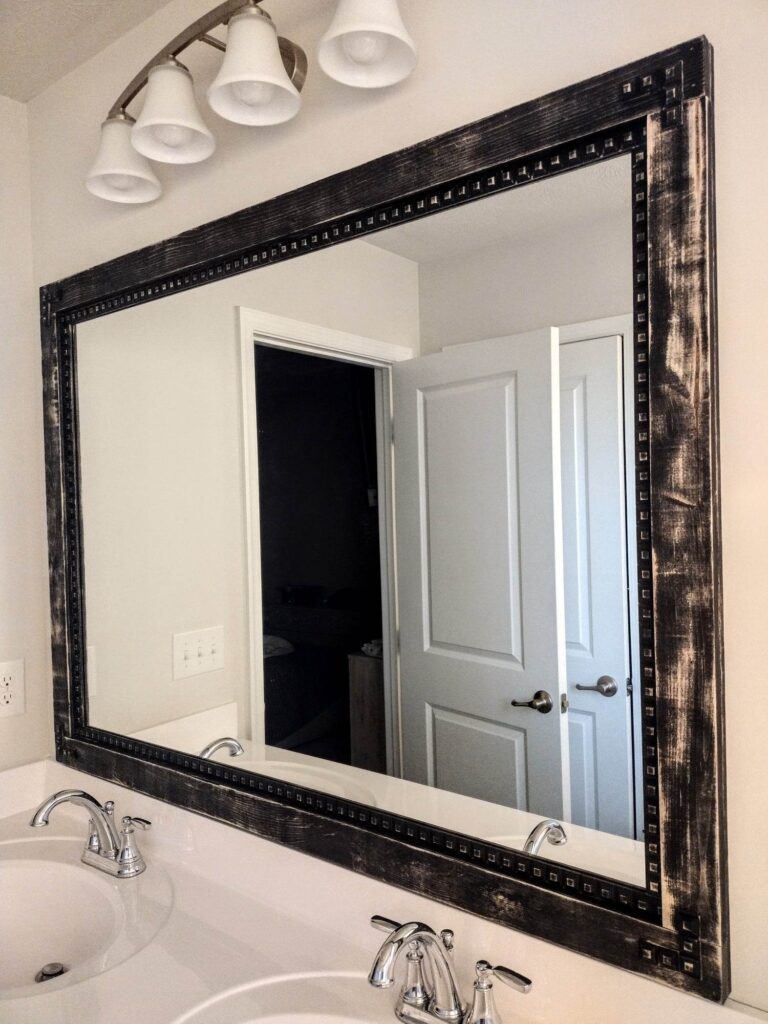
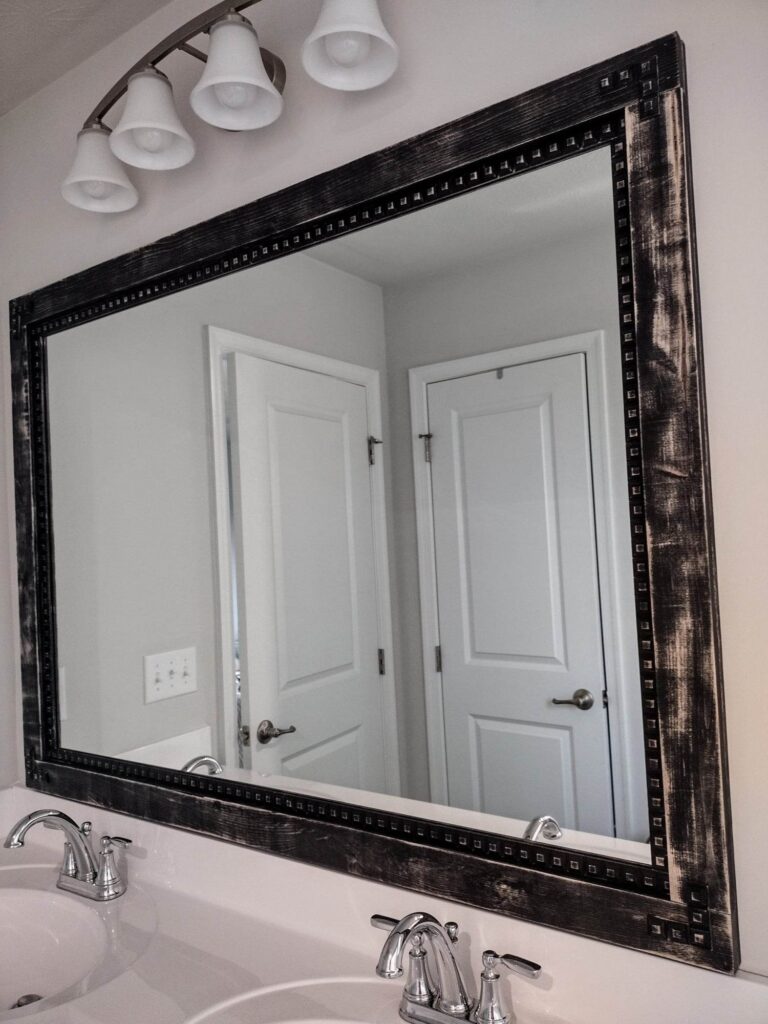
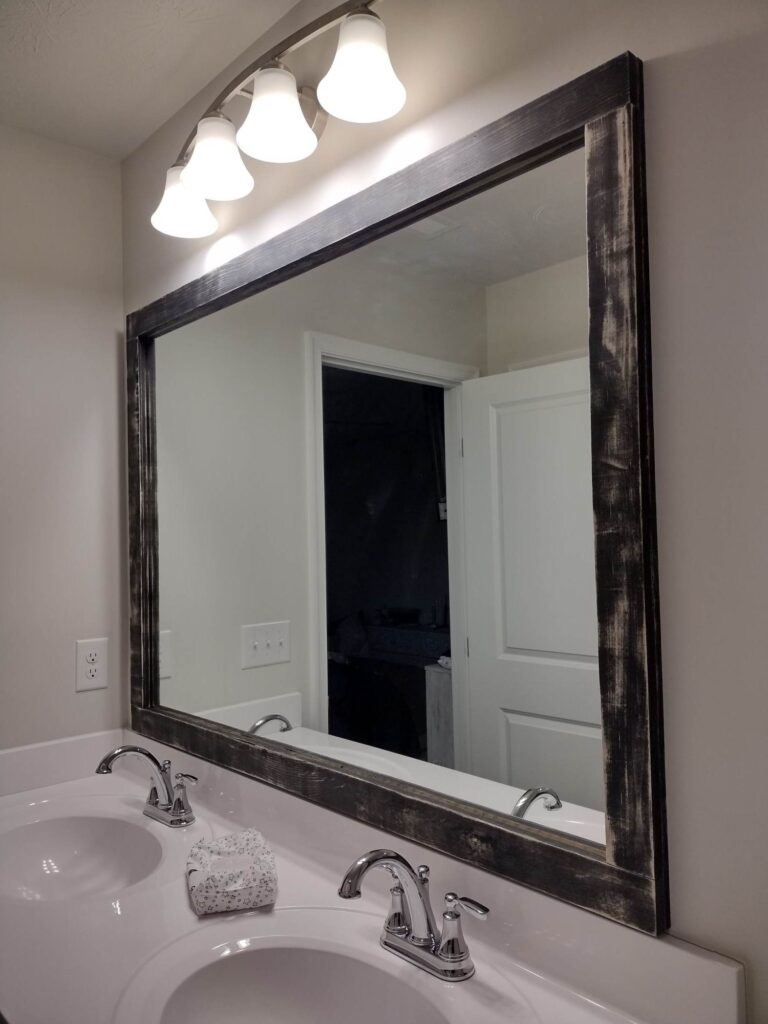
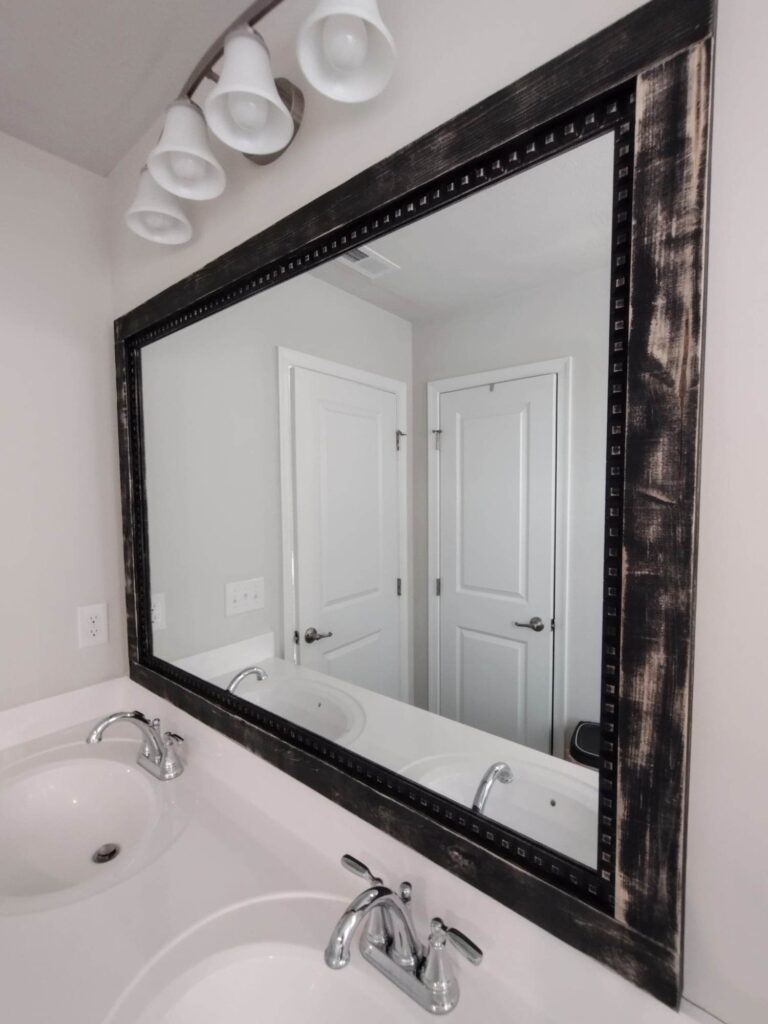
& here it is all finished!
Tools Required:
Orbital Sander ( 80 grit sanding pad)
Materials Needed For This DIY Bathroom Mirror Frame:
(3-4) 1x3x8 wood boards
(2-3) Decorative Trim (optional)
Painter’s Tape (optional)
How To Frame A Bathroom Mirror
Build A Wood Framed Bathroom Mirror With These Steps Below!
Note: Measurements in parenthesis are included in our post for our specific mirror, you will need to adjust measurements accordingly if you have a different size mirror.
Measure Your Existing Mirror
The first step is to measure the width, height, and depth of your mirror. We recently bought a new Ryan Home (this is our master bathroom in the Allegheny Model) Our mirror measured 52.75″ width, 39.75″ height and .5″ depth.
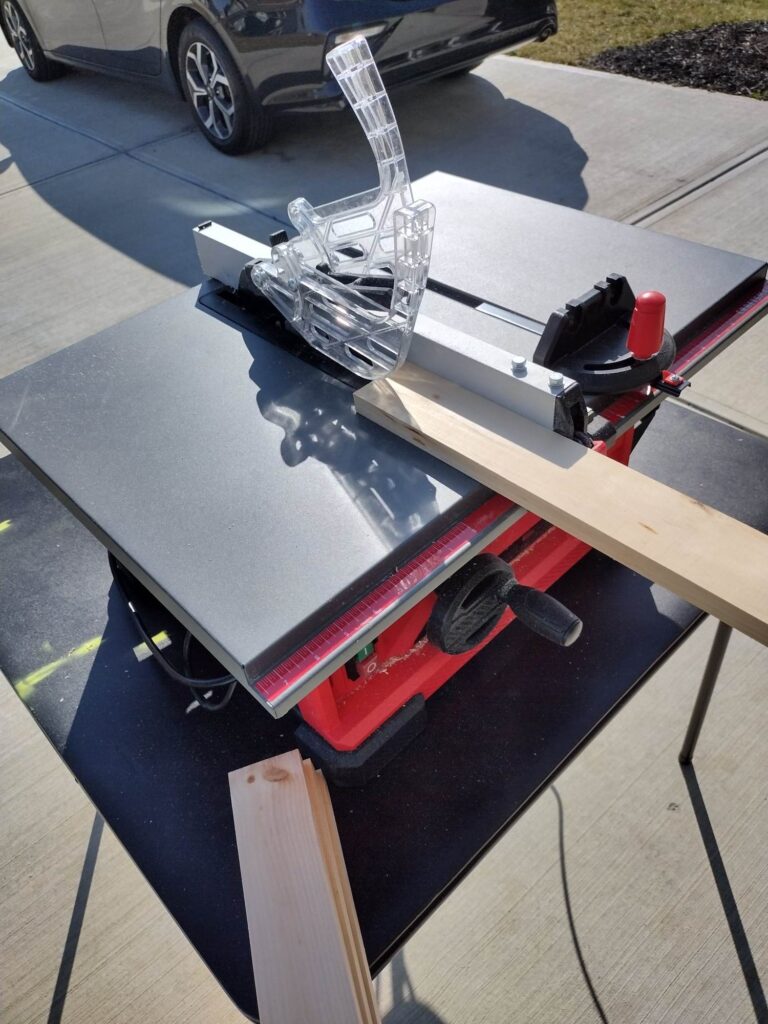
Make Your Cuts For Bathroom Mirror Frame
Using your miter saw and one piece of your wood, make a cut at your width dimension. (52.75″)
From here, you’re going to set the table saw to the depth measurement. (.5″)
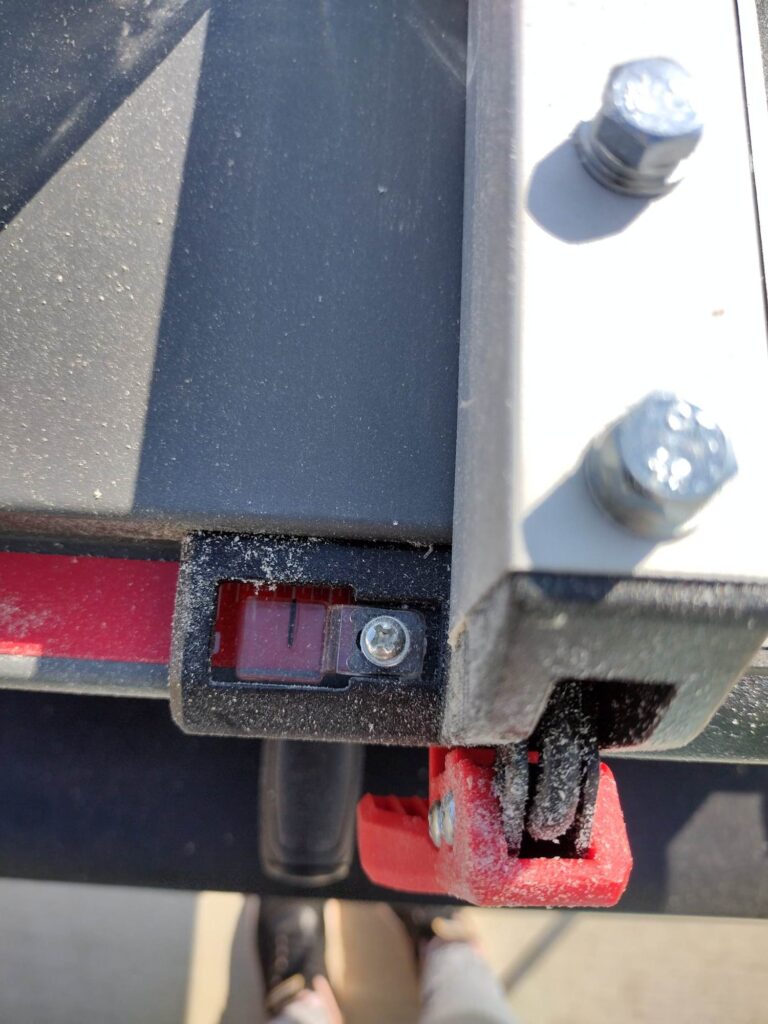
Rip one piece off of that wood. Set it aside.
Now take the original piece you just ripped from and cut that piece on the miter saw at the height dimension (39.75) plus .75″ =(40.5″).
Go ahead and rip two more pieces at .5″ with this piece. Along with your first piece of wood you should have one long piece and two shorter pieces.
Using two more pieces of wood, cut them with the miter saw at your length (52.75″) plus 1.5″ = (54.25″). (These two pieces will be the tops and bottoms).
Using the two leftover pieces you’re going to cut on the miter saw your height (39.75″) minus 4.25″ =(35.5″).
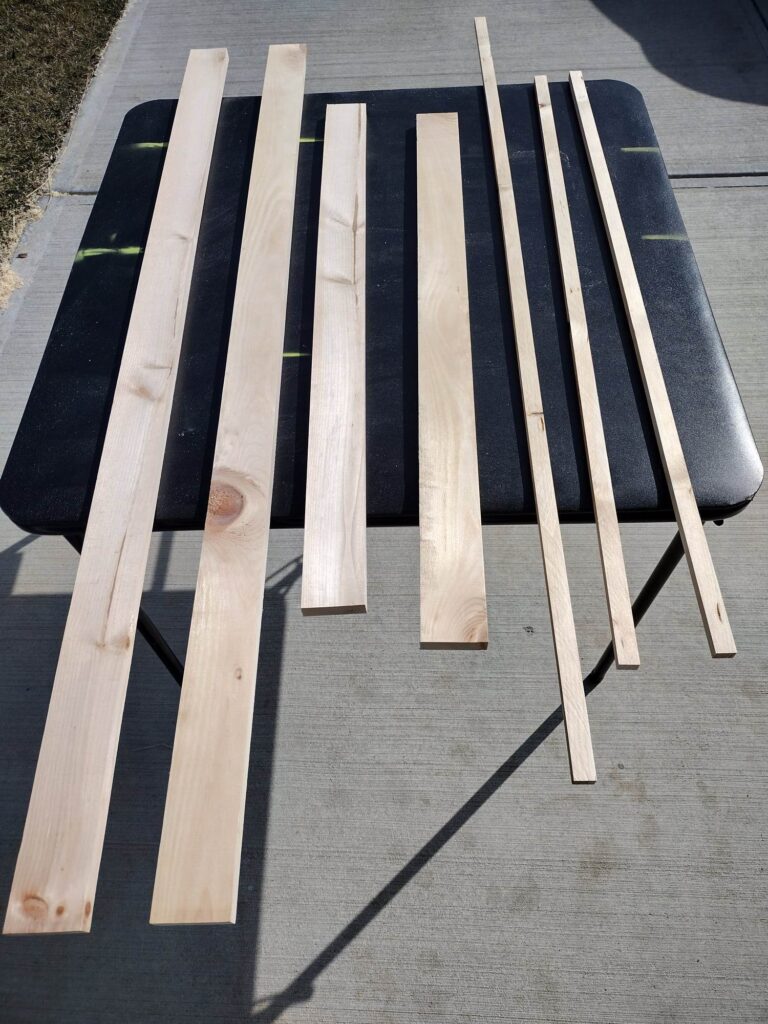
You’re Mirror Framing Pieces Are Ready For A Coat Of Paint!
At this point you can stain, paint, seal or whatever you choose. We went a little bit of a different route.
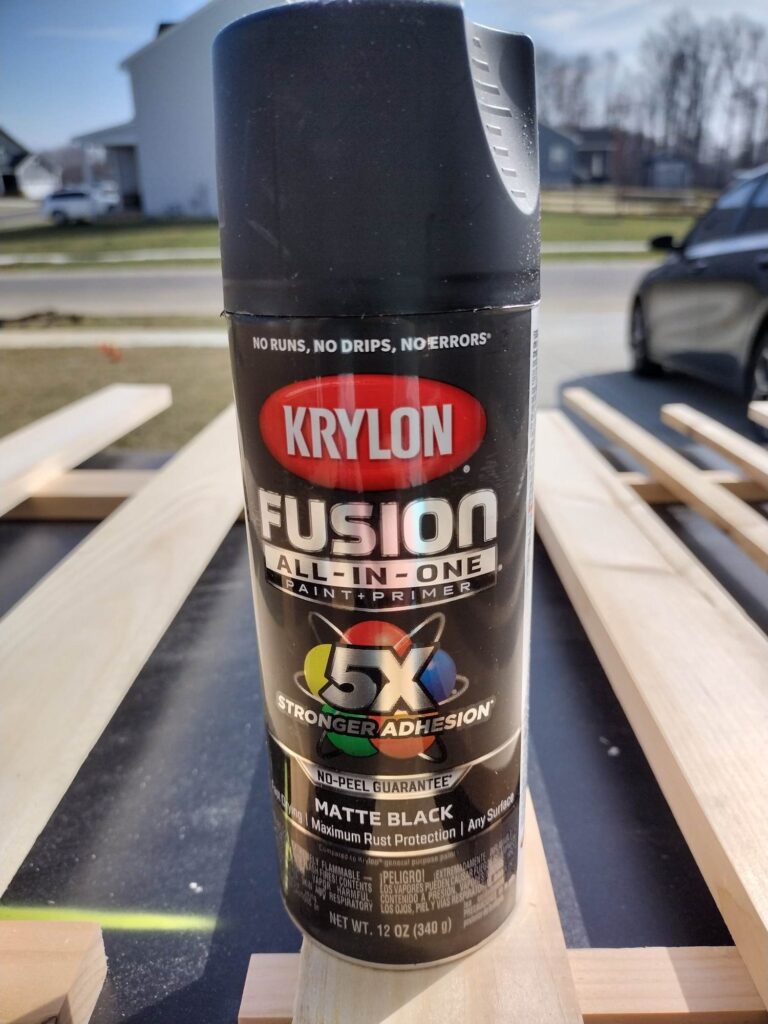
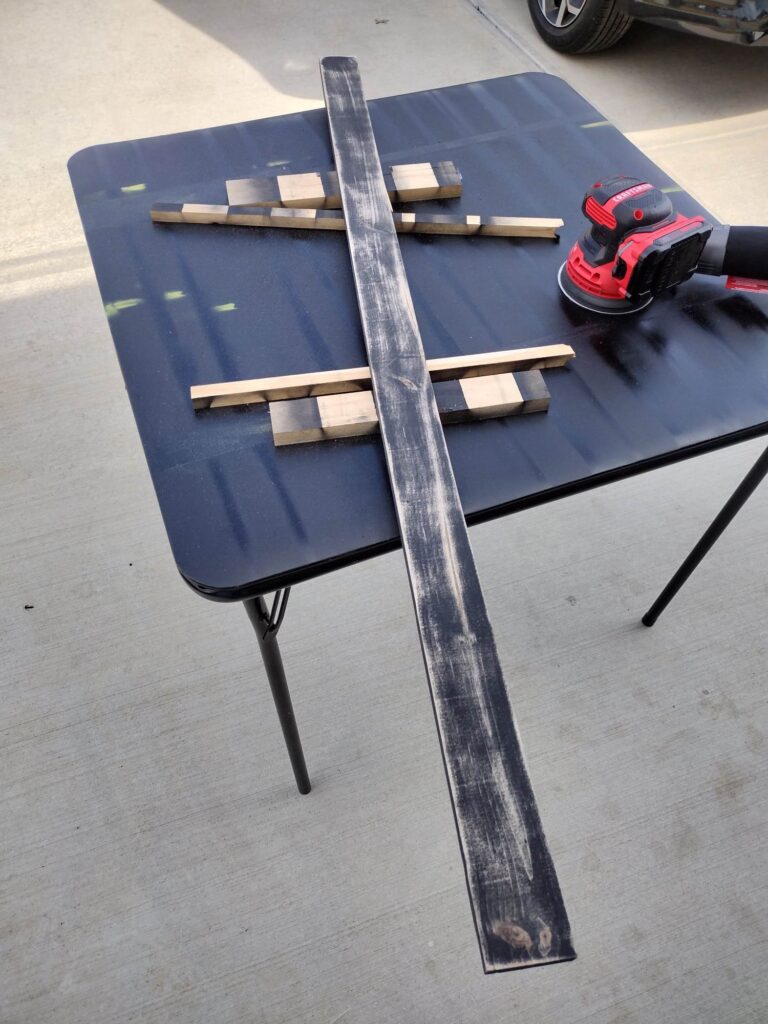
We’ve been wanting to try out a new technique with spray paint + primer on our wood. It has a really cool effect once you take a sander to it.
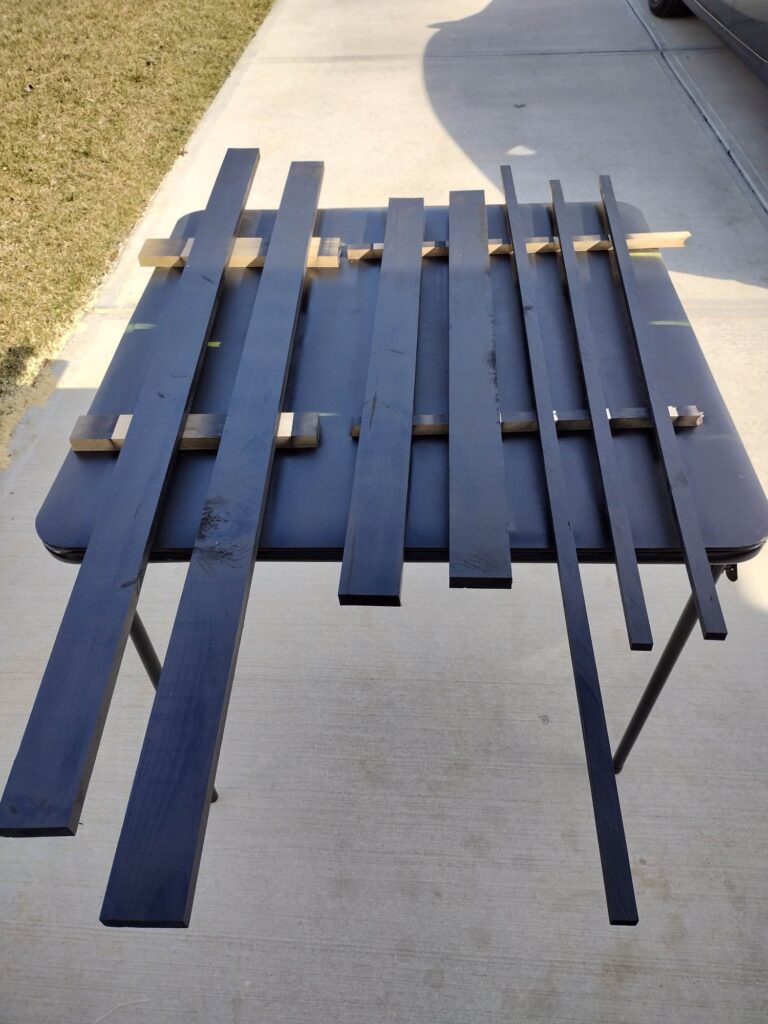
We spray painted all our pieces and left them alone to dry for at least a couple hours. It’s a crucial step to paint the sides and the back of your boards. The backs will show through the mirror!
If you are following through with the decorative trim, like we did, then painting the backs will be optional since you will not see them anyway.
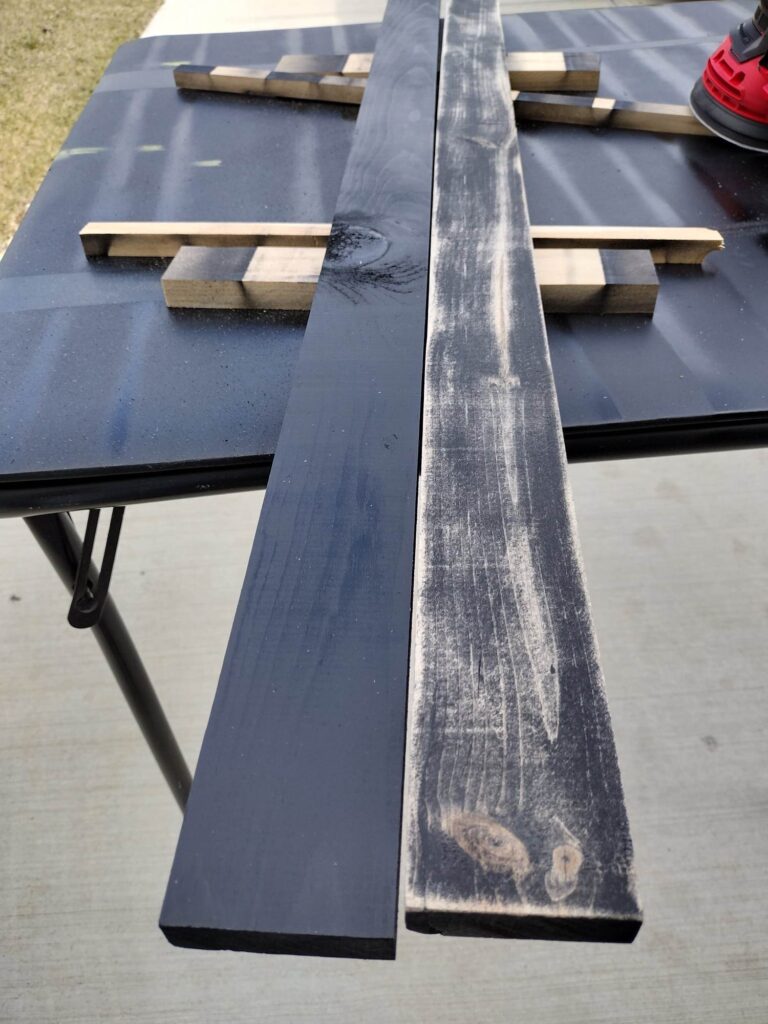
Then we had some fun with our sander roughing up the paint for a distressed look.
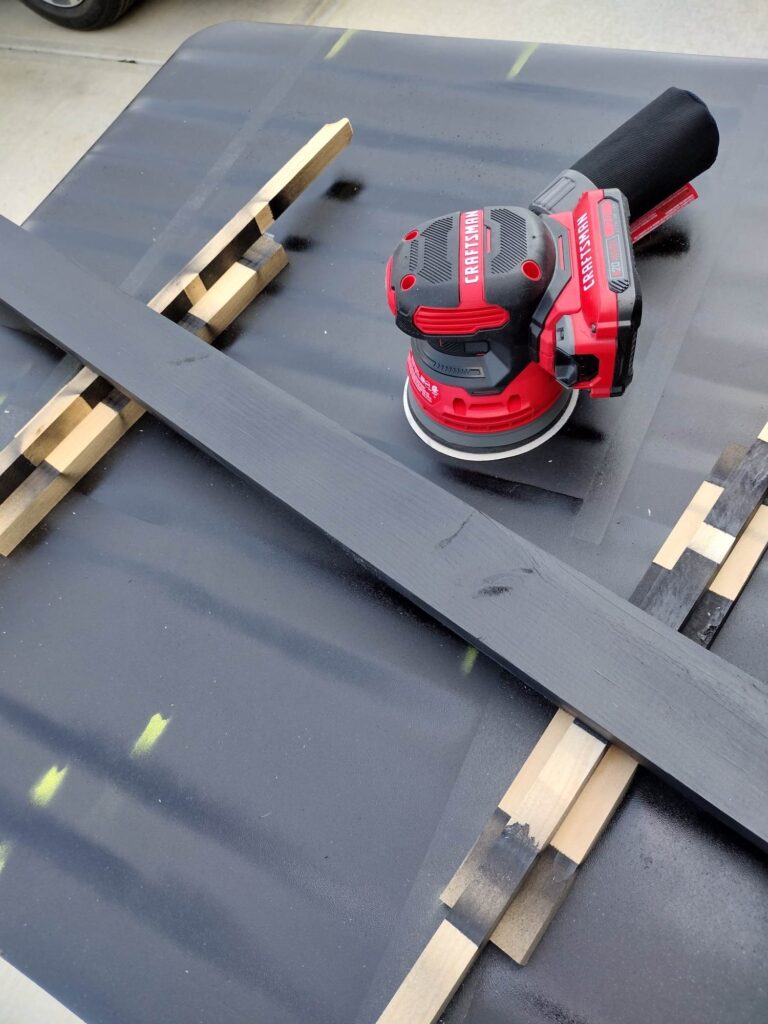
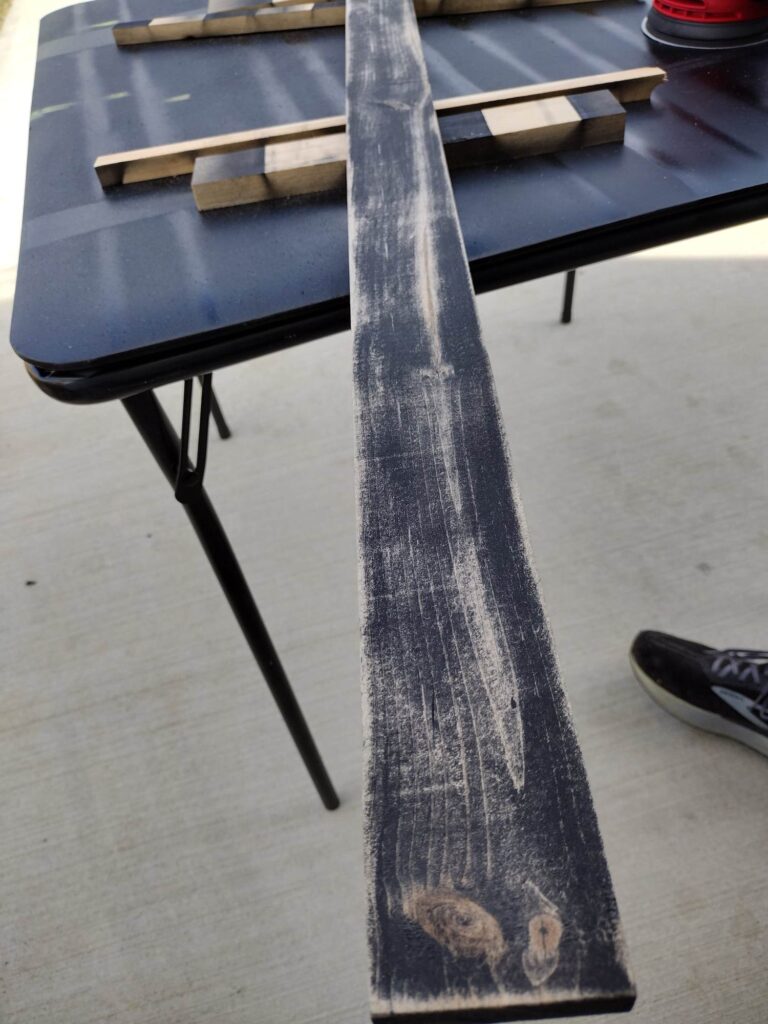
You can really see the difference between the look here!
Framing A Vanity Mirror- The Installation
Finally, you are ready to start installing your diy bathroom mirror frame!
Attach the top piece (52.75″ x .5″ board) flush to the top of the mirror (make sure not on the mirror!) Do this with your nail gun.
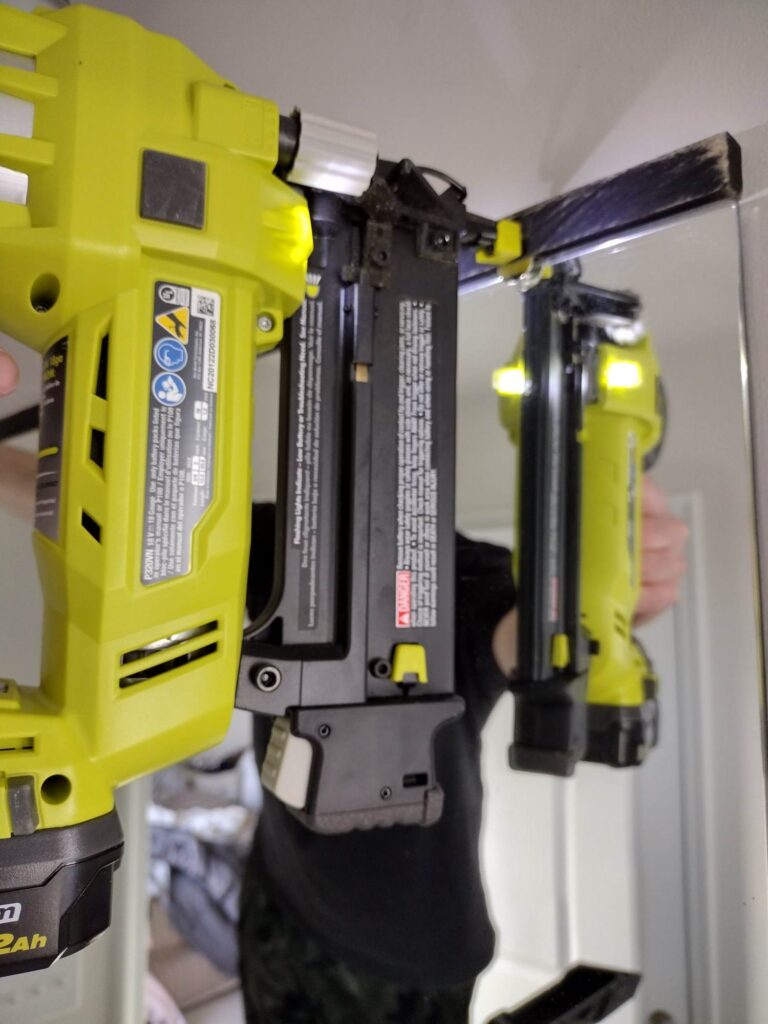
Now you can attach your sides (40.5″ x .5″) the same way so that they are even with the top piece.

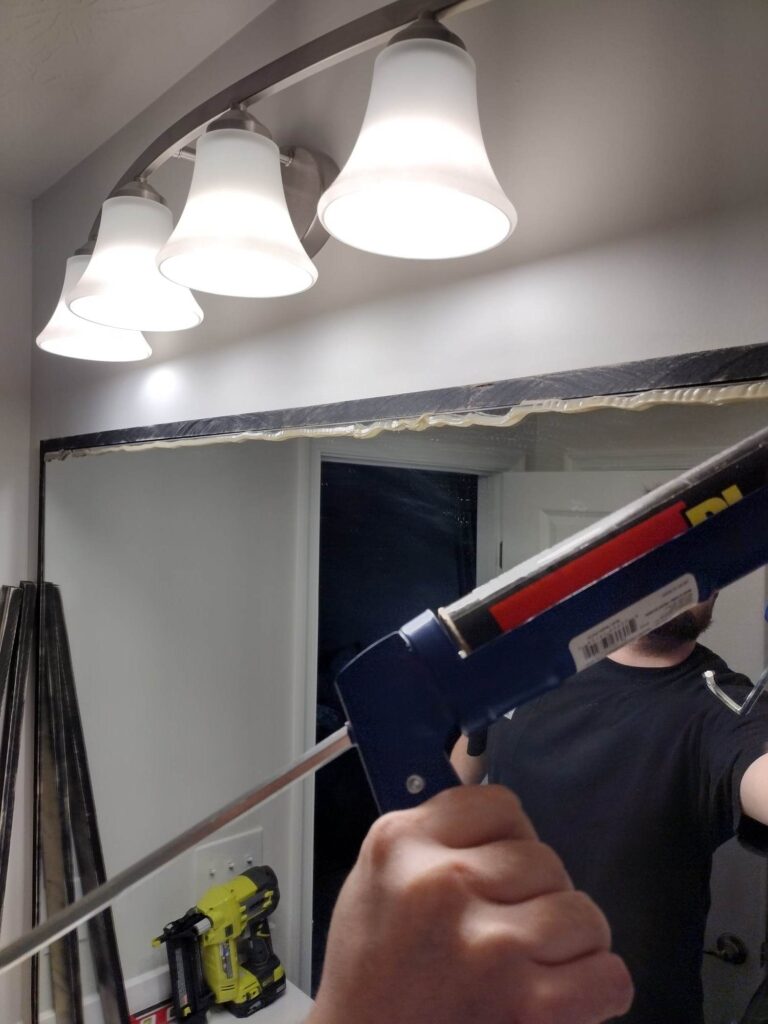
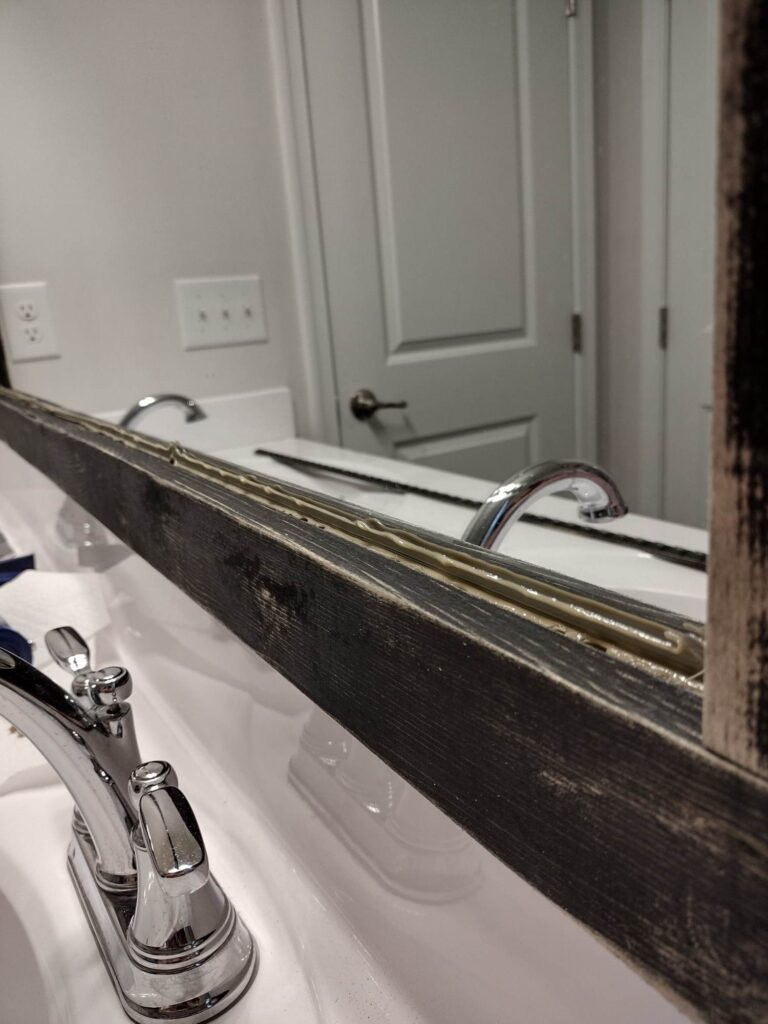
Now add the top piece of your frame by squeezing down a bead of adhesive all the way across. You’ll want work in sections, one board at a time for the adhesive so you can judge where it goes the best.
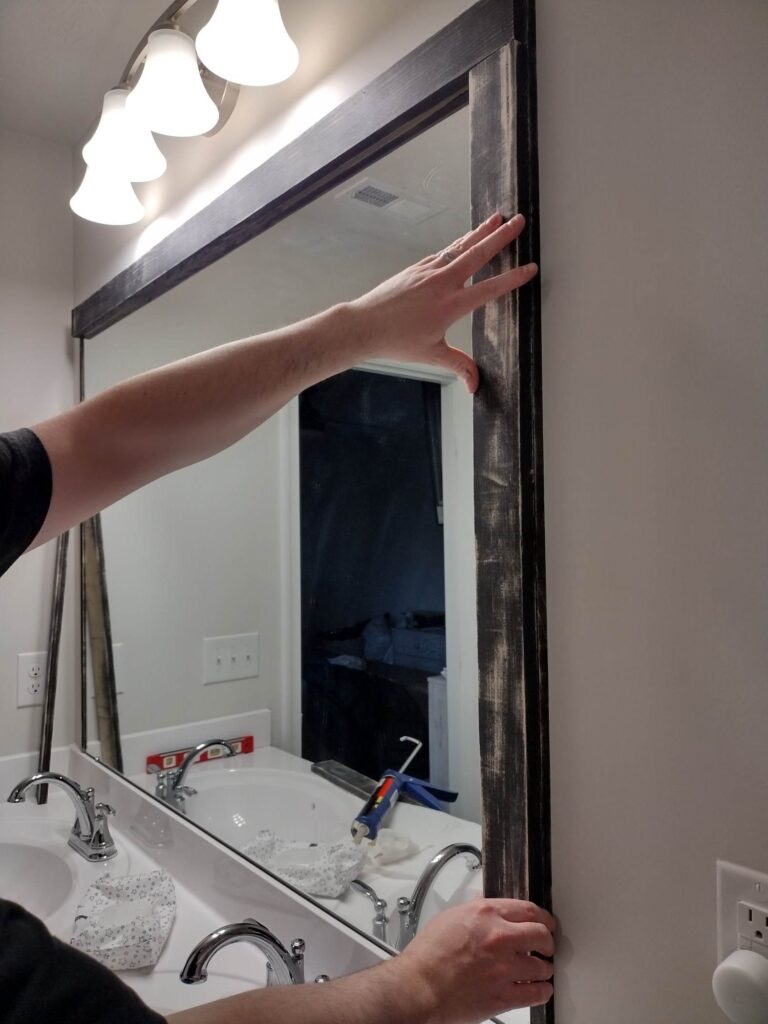
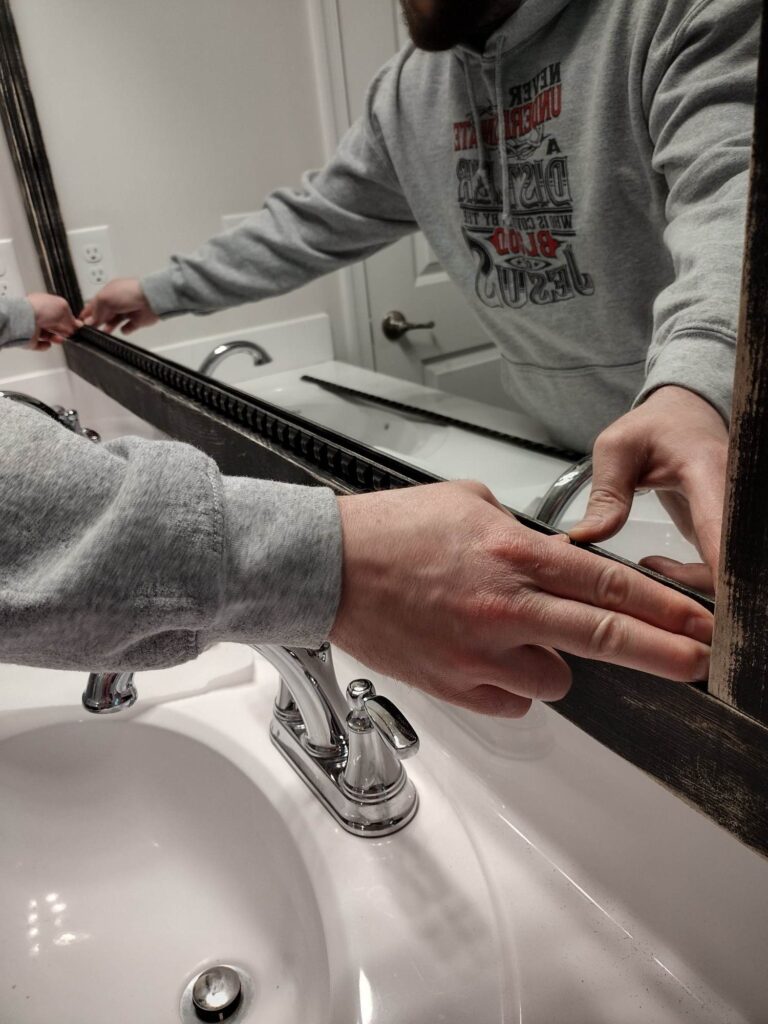
Line up your top board (54.25″) with the top of the wood trim that’s attached to the wall. Gently press it into the adhesive and using your nailer, nail it in very carefully on the edges, not to hit the mirror.

Attach both sides the same way and repeat for the bottom. I can’t stress enough to be careful and do not shoot into the mirror.
Note: The bottom piece will only have nails on the side due to it being all mirror above the vanity.
Framing Bathroom Mirror- The Inside Decorative Trim
The last couple steps of this post are completely optional but worth it. The bathroom mirror frame at this point looks super pretty but we wanted more detail for the look of our mirror! That is why we saved our paint when deciding not to paint the backs of the boards since we were going to cover them up with decorative trim on the inside.
Decorative Trim For Your Framed Bathroom Mirror-The Steps
First, you’ll need to measure and cut the top and bottom of the inside of the mirror. After you get those cut with your miter saw, have someone hold those two pieces on for you (or you could use painters’ tape to hold them on) that way you measure correctly for the sides. Now cut those.
Note: If you want the ends of each trim piece to be the same, offset the trim so that each end will be symmetrical after your cuts.
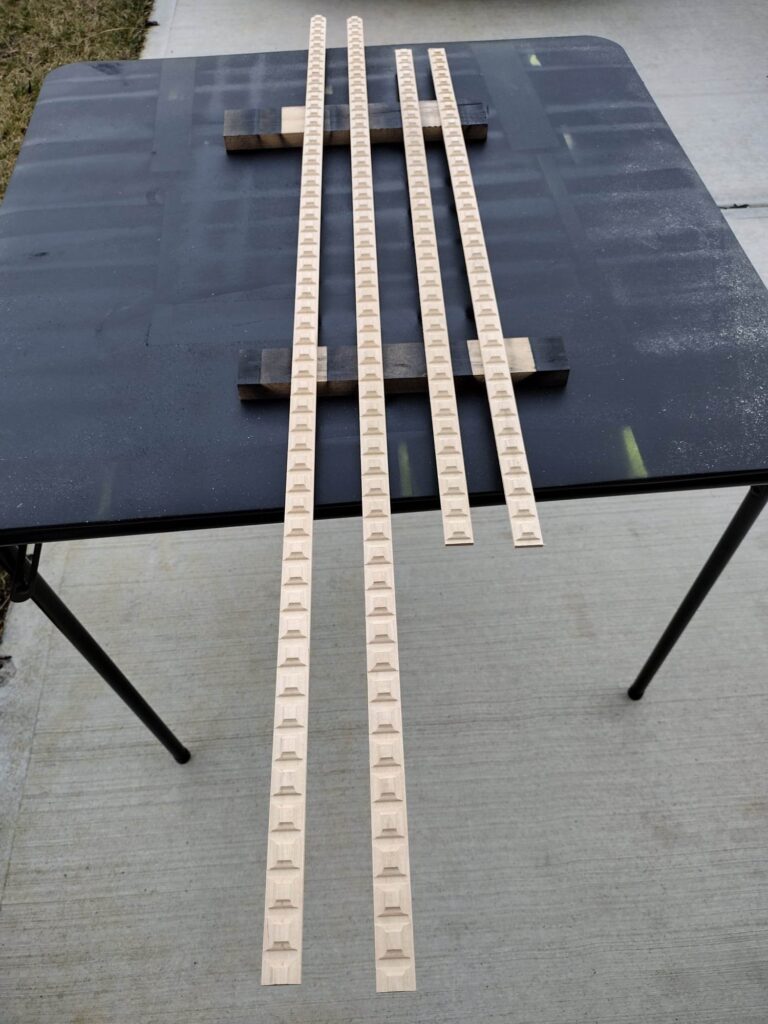
Now you are ready to paint and sand your decorative trim to match the frame around bathroom mirror. Again, we did the same technique as the diy mirror frame above.
You’ll also notice in the photo below we are using up the extra pieces for the steps further below, which are decorative corners.
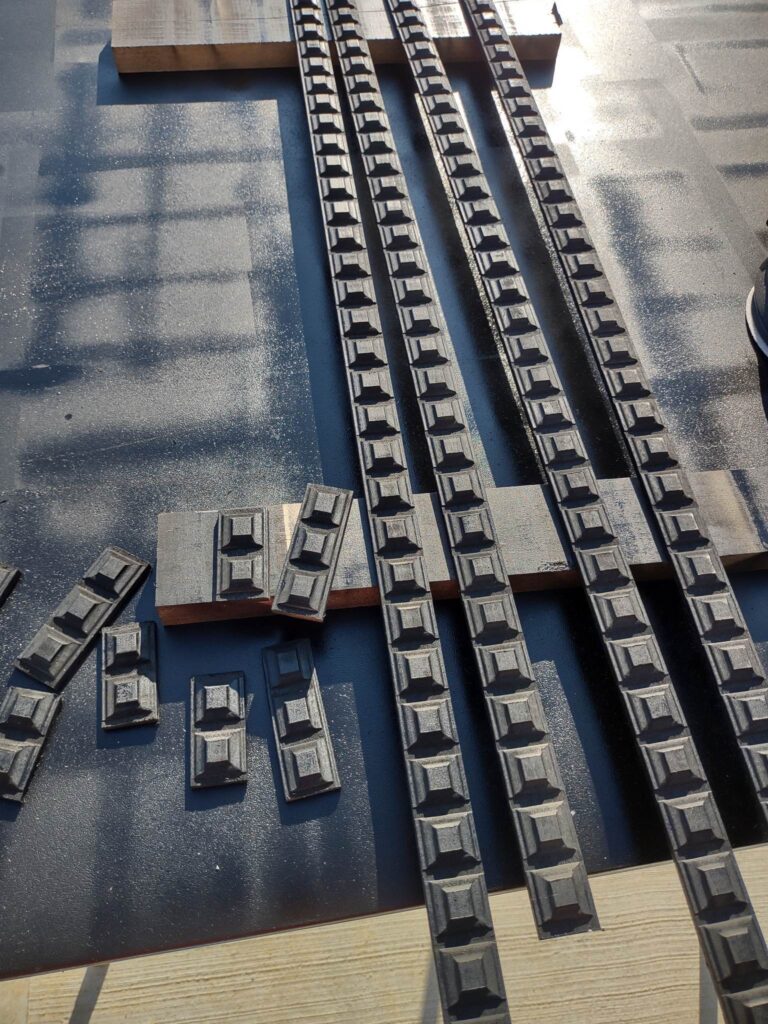
Spraying with our black can of spray paint, giving time to dry (do not forget the sides and back of boards) then distressing with the sander. obviously, the orbital sander will not quite get in the grooves so this is the look we were going for.
At this point, it’s all ready to adhere to the mirror!
Ensure you don’t put too much adhesive, so you are not seeing it in the reflection. Put the adhesive on the inside edge of the frame. It’s optional but you can use painters’ tape to hold pieces on until finally cured.
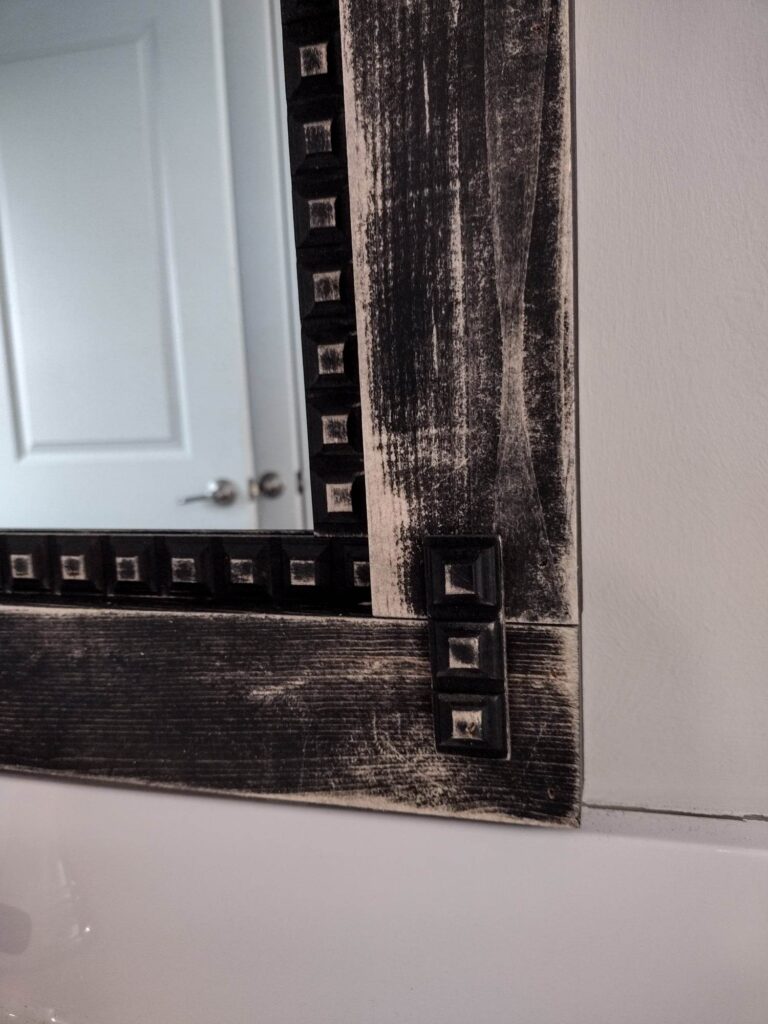
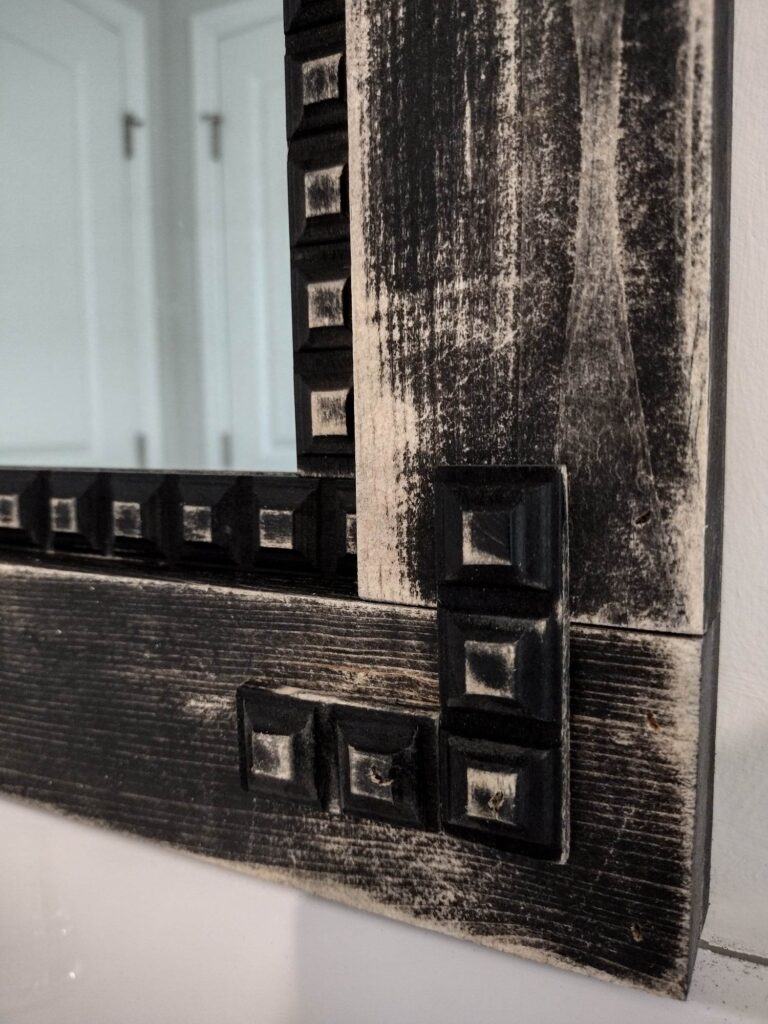
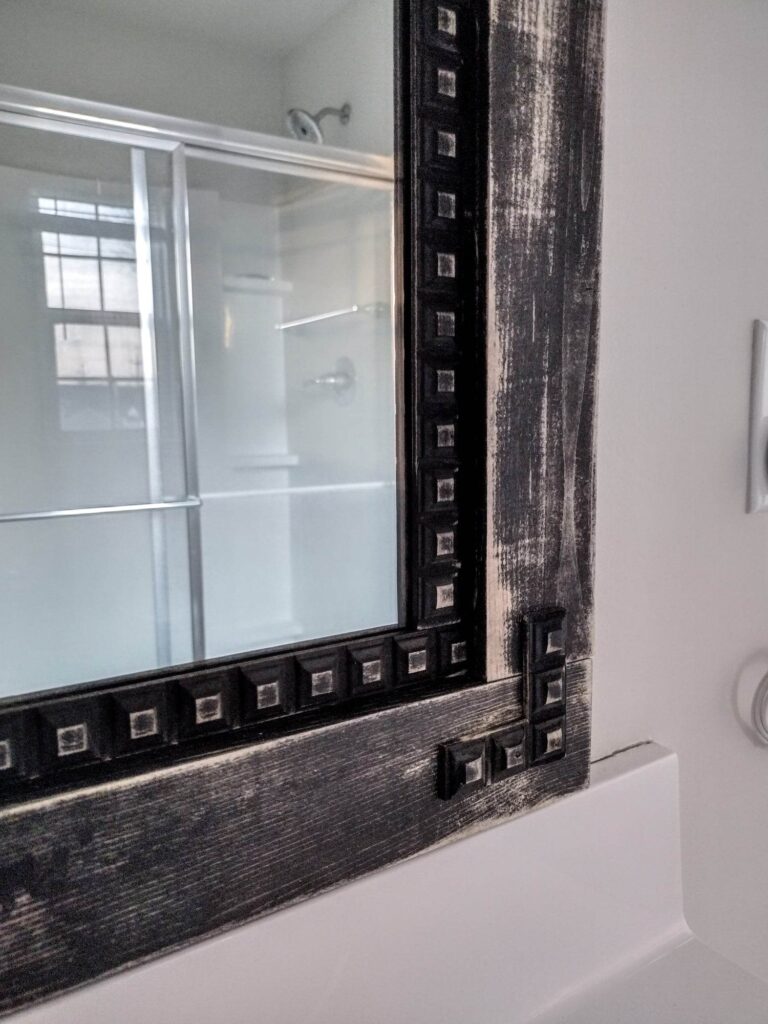
Now our bathroom mirror frame has the inside trim attached and I love it so much! The studded squares add so much visual interest and make it look expensive. Almost done!
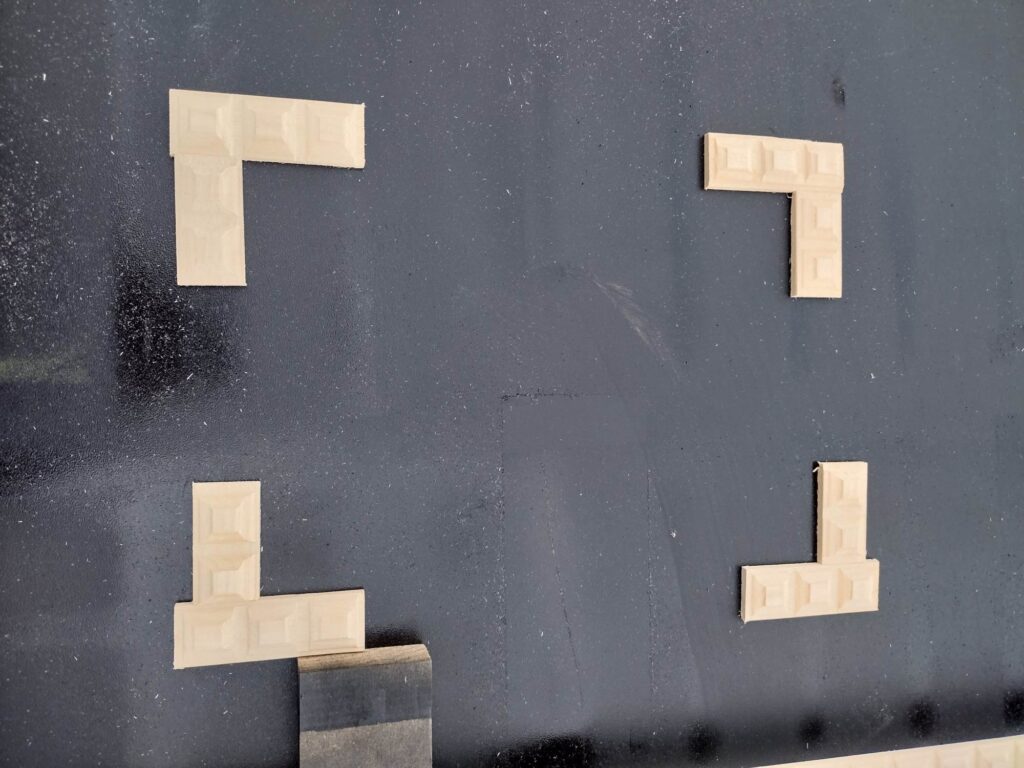
Decorative Corners of Framed Bathroom Mirror
With the leftover trim you will have just enough to do four rows of three and four rows of two to make a studded L bracket look to add to the corners of your diy bathroom mirror frame. We carefully cut our pieces with our miter saw.
Then hit it with our black spray paint then the sander once it was dry. We used our brad nailer and 3/4 inch 18 gage nails to shoot a nail through the top of them to attach.
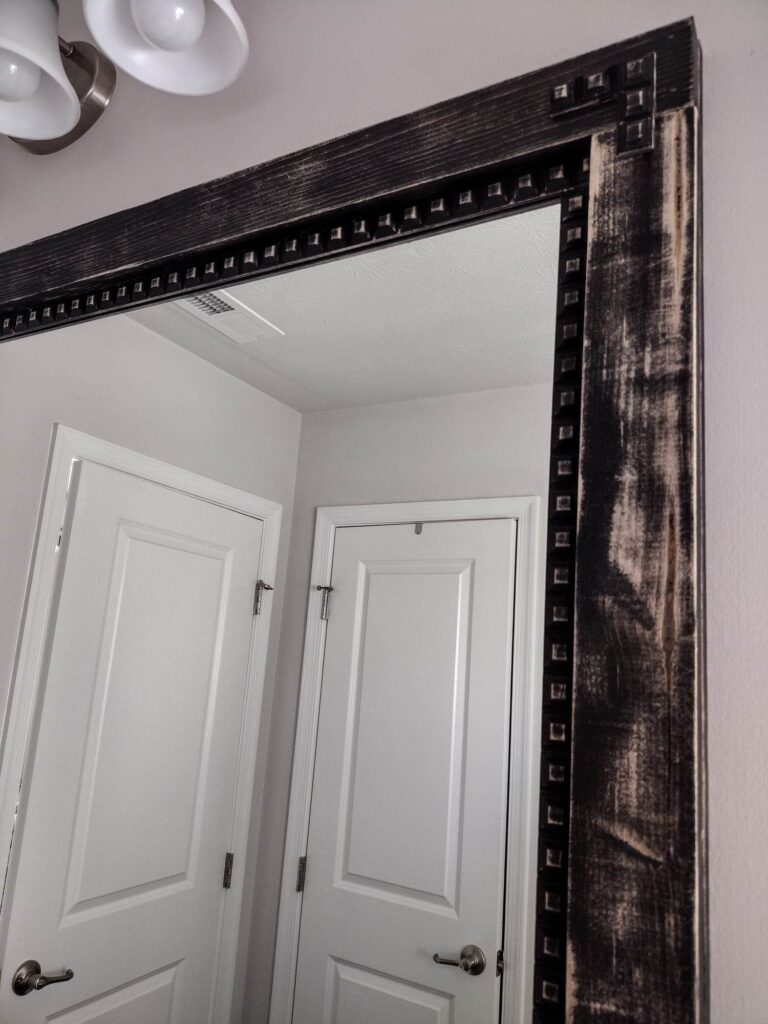
All finished! Turns out, I’m so glad we didn’t buy mirrors and we chose to diy bathroom mirror frame on the existing mirror after all. This can easily be a weekend project and will transform your bathroom completely while giving your builder grade mirror a whole new look.