
This post may contain affiliate links, which means we'll receive a commission if you purchase through our links, at no extra cost to you. Read the full disclaimer here: https://diycoupleblog.com/disclaimer/
Last Updated on July 18, 2026: This DIY headband holder tutorial has been updated with new information.
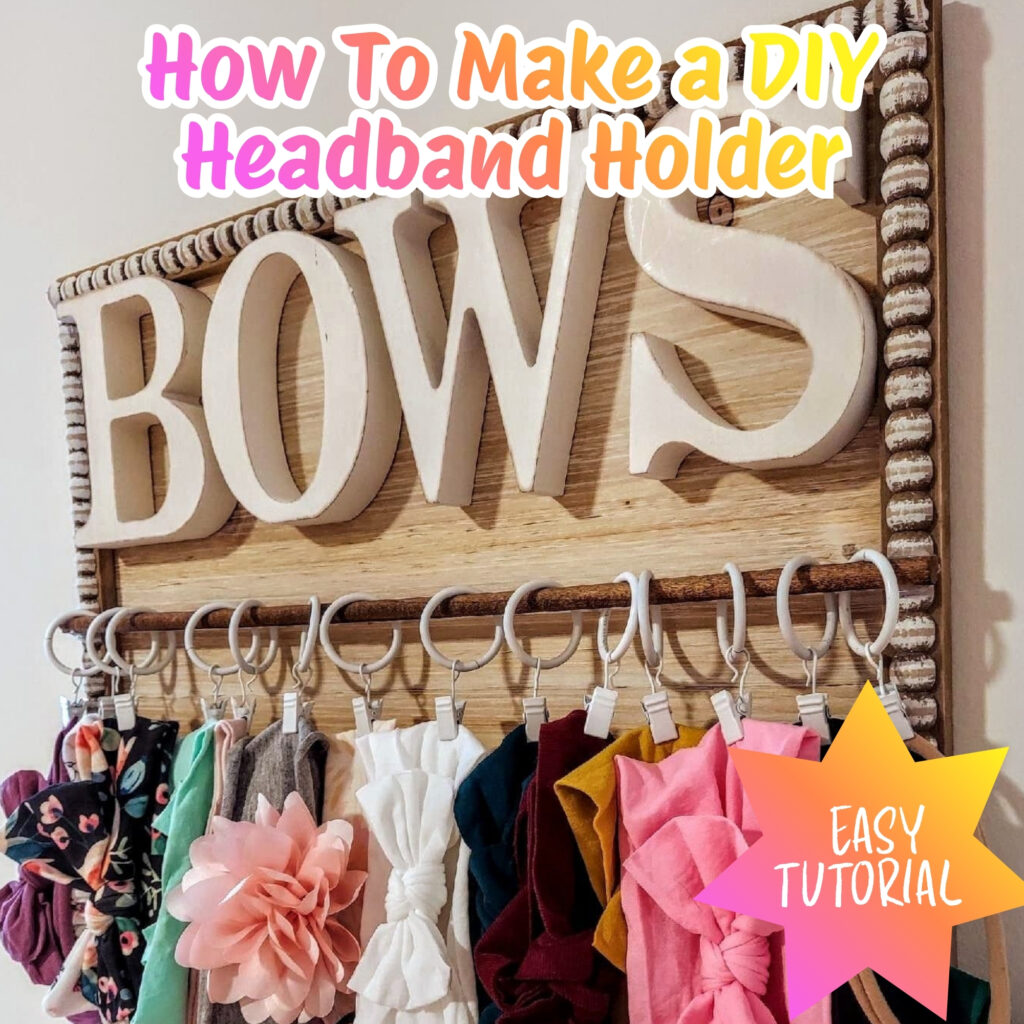
Make this DIY Headband Holder to hang on the wall in the nursery or in a girl’s room. It’s a pretty but functional way to organize all those adorable stretchy headbands and bows, because let’s face it, a little girl can never have enough hair bows and hair accessories! One for every outfit, am I right?!
Why a DIY Headband Holder Is a Brilliant Idea
Say Goodbye to Clutter, Get Organized
Are you struggling to organize and keep all those bows for your little one together? They can quickly take over a dresser or a bathroom counter. Finding a storage solution that keeps them organized, but not negotiating on your valuable surface space can be a challenge.
While some DIY headband holders use bulky tabletop stands or upcycled cardboard rolls, this wall-mounted DIY headband holder is a game-changer.
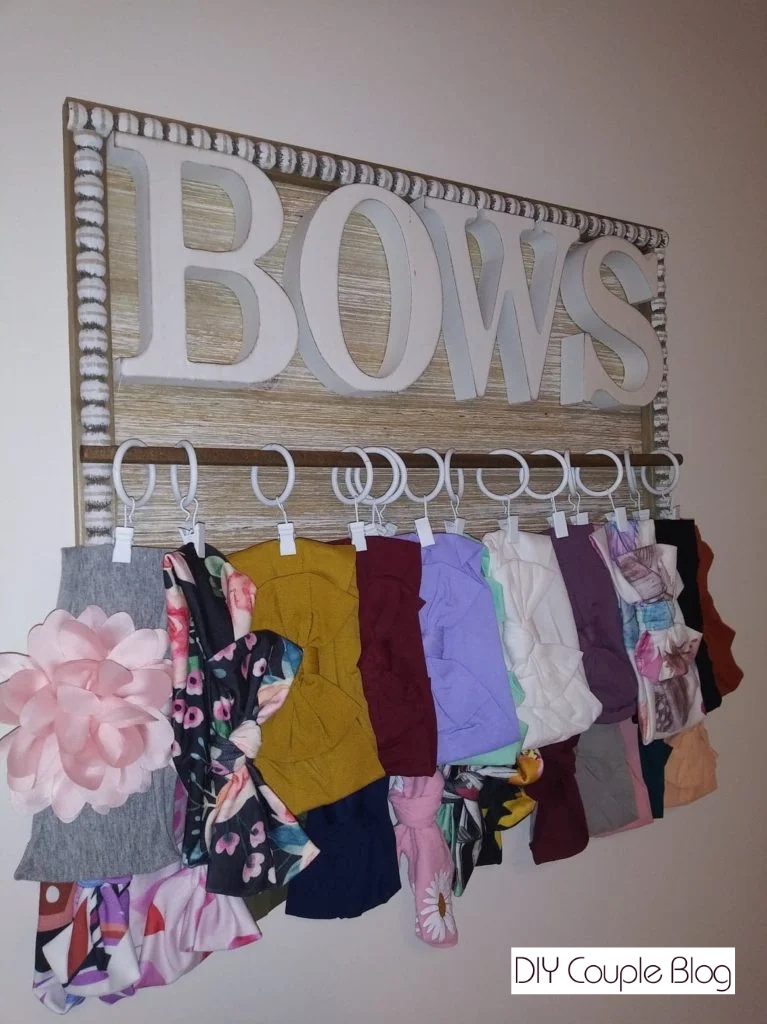
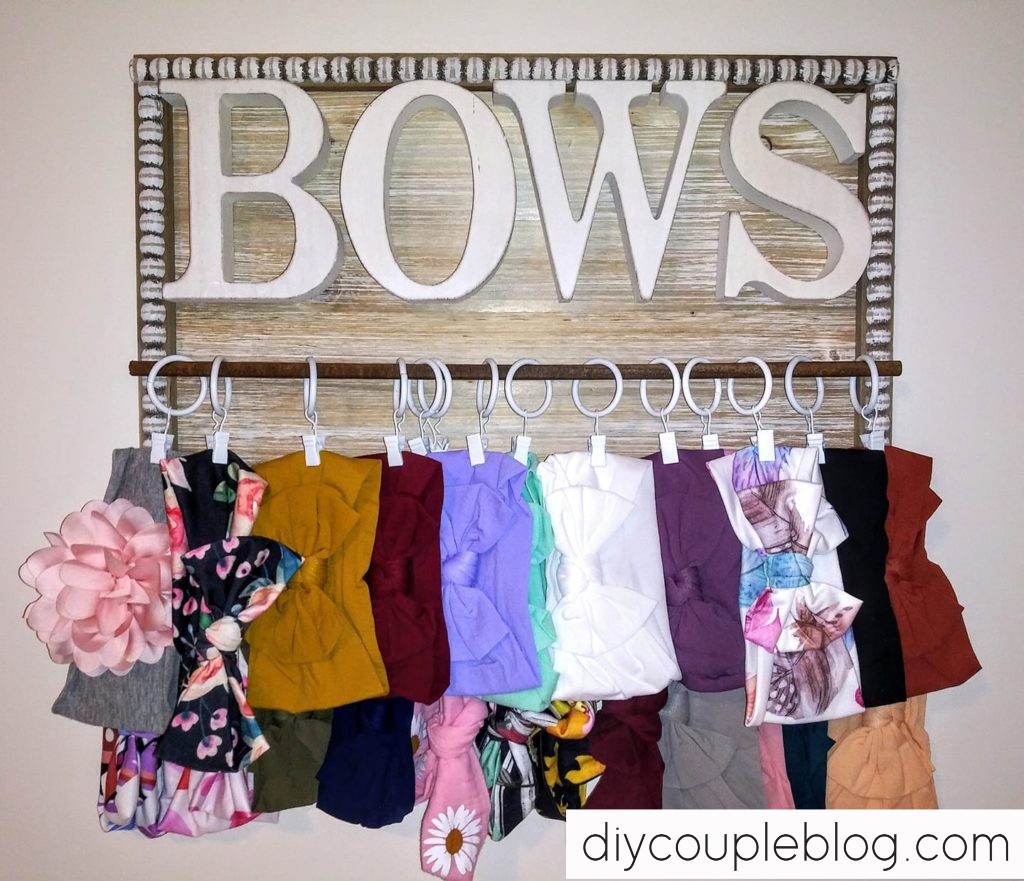
Using a simple wood sign, dowel rods, and stylish curtain clips, you can create a beautiful, farmhouse-style display that keeps your headband and bow accessories organized and easy to grab.
This quick and simple step-by-step guide is the perfect weekend project, requires minimal tools and looks like it came straight from a high-end home boutique.
Baby Headbands Holder for Nursery
Wall Headband Organizer DIY
When I was pregnant, I began accumulating all kind of headbands for our little one. Alot of the bows and headbands came with either outfits or they were a baby shower gift for our baby girl.
I wanted to make something to hang them all. That’s how this DIY headband organizer came about. A simple wall hanging sign storage solution that looks chic and farmhouse altogether. It makes for great nursery wall décor, too.
Headband Holder Gift Idea
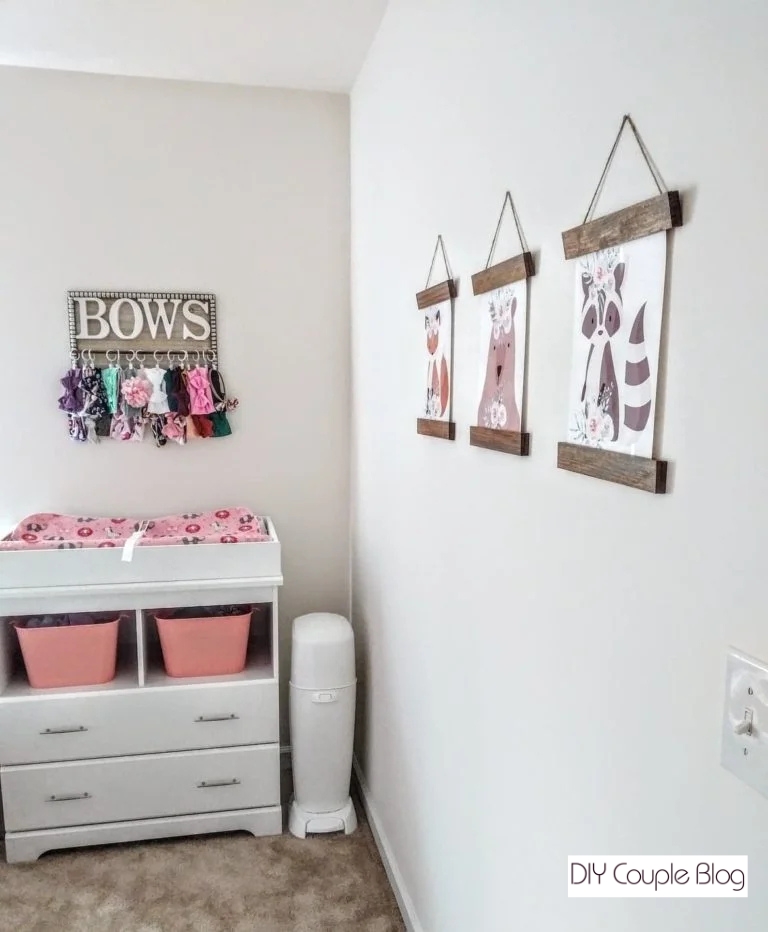
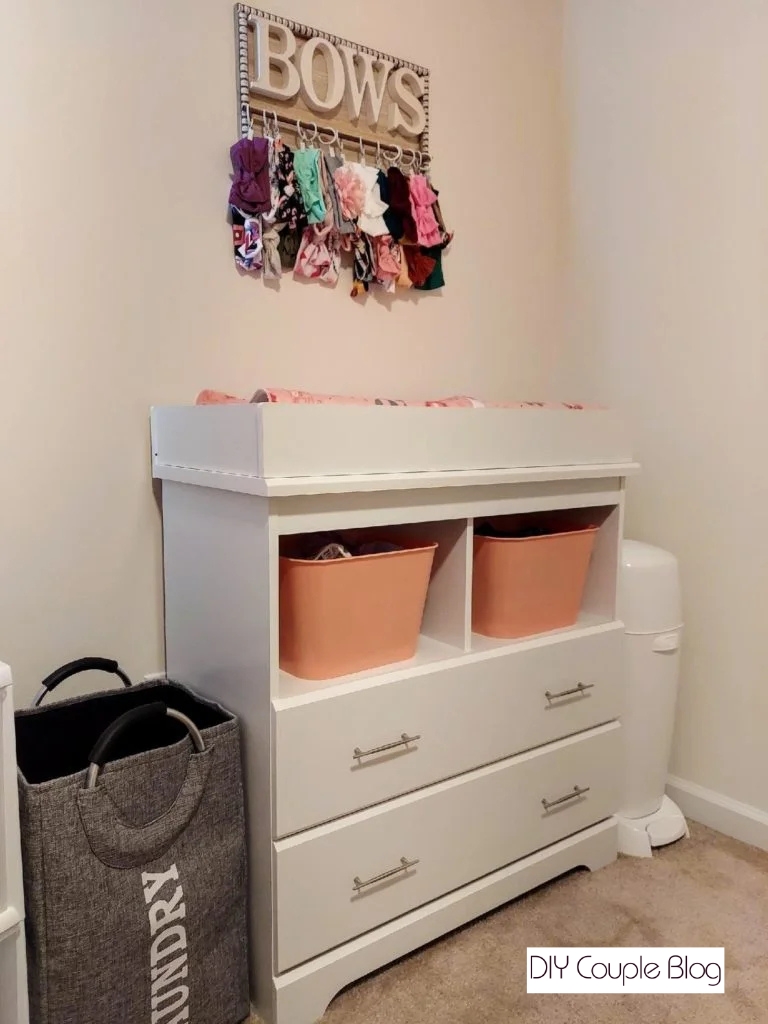
I chose to hang our DIY headband holder right above her changing station since that is where I will be dressing her. If you do this too, be sure to secure it good. It’s cute with convenience.
A DIY headband holder would also make a gorgeous baby shower gift for a friend or family member. Hang their first sets of bows on it and gift it to them. They would absolutely adore a headband holder for their precious new addition. They won’t believe you made it!
Rather buy or short on time to make this DIY headband holder? Here are a few ready-made headband holders you can grab on Amazon!
What You Need for this DIY Headband Holder
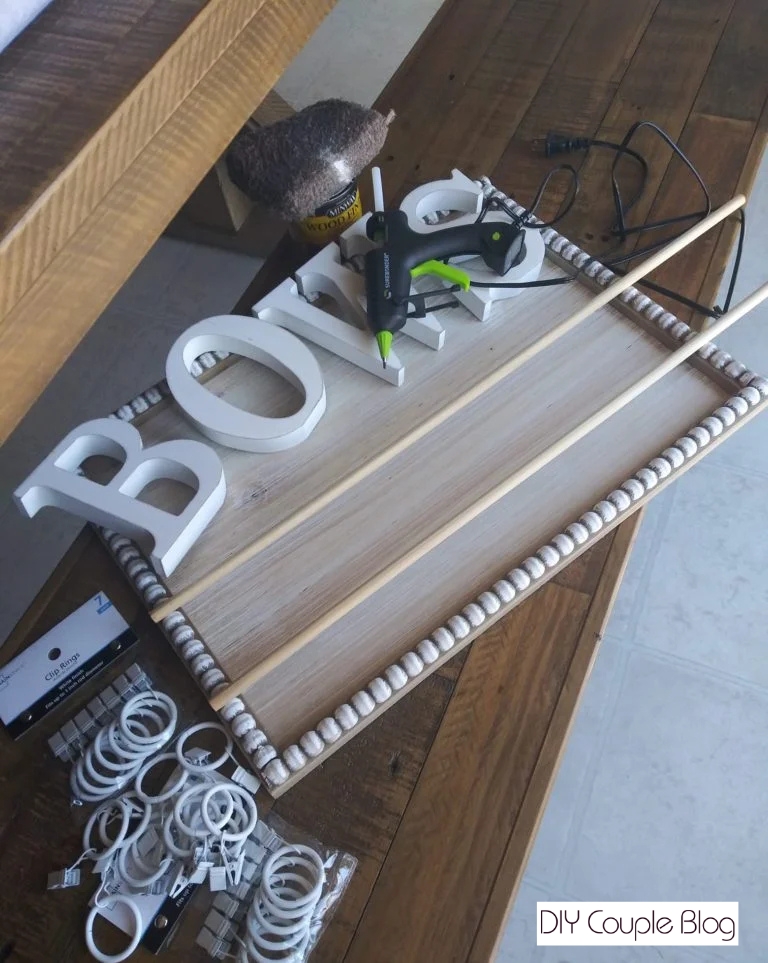
Supplies to Gather and Get Started:
Clip Rings (we went with these white ones)
Two dowel Rods (we used these 3/8 inch)
Wood Letters (I loved these ones we chose, wait to snag them when they go on sale for 40% off! You cannot beat the price for them being already finished and ready to go, no staining or painting needed.) (Letter B; Letter O; Letter W; Letter S)
Wood Sign (this beaded sign is similar to what we used, and already finished for you-again snag it on sale during a 50 percent off sale, which they rotate bi-weekly).
Hot Glue Gun (Mine held up great with enough glue however if your headbands are on the extra heavy side or if you wish then you can try gorilla glue sticks for that extra hold.
Headband Holder DIY Easy Instructions
Step 1. Letter Placement “BOWS”
To get started with this baby headband holder DIY, lay out your letters on your wood sign how you want them placed. Push them all the way to the top edge and evenly space them out.
We did the B and the S where they are all the way up and touching both the side and top of the sign.
Step 2. Glue on Letters
Put a small bead of glue outlining the back of each letter and put them back down in place. Press down firmly on them for about 10 seconds.
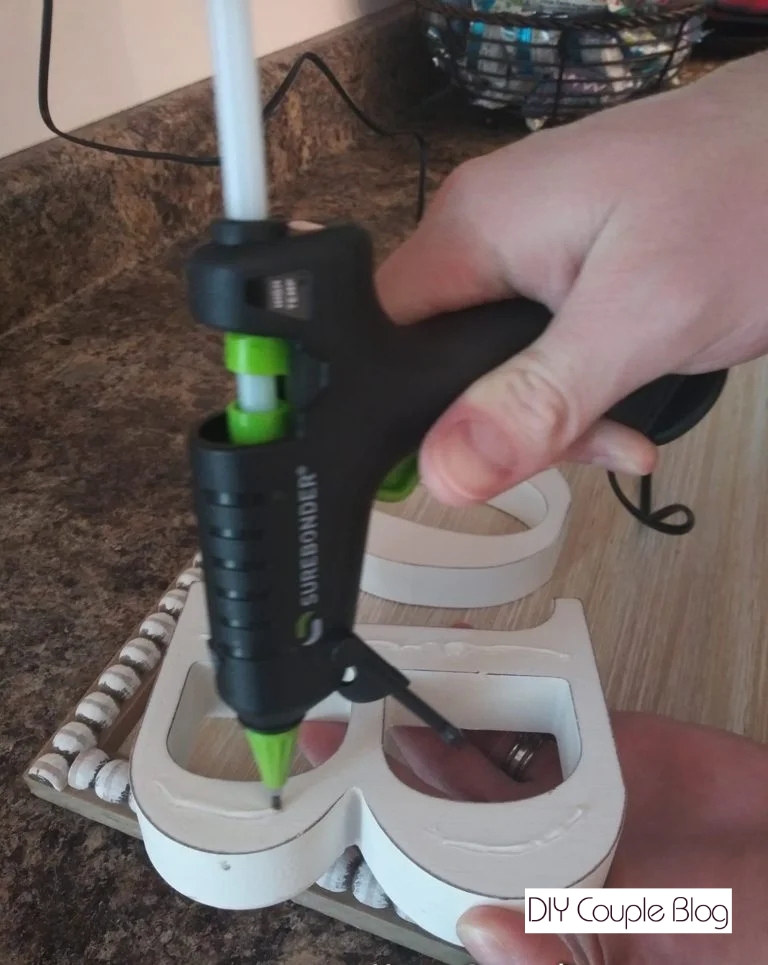
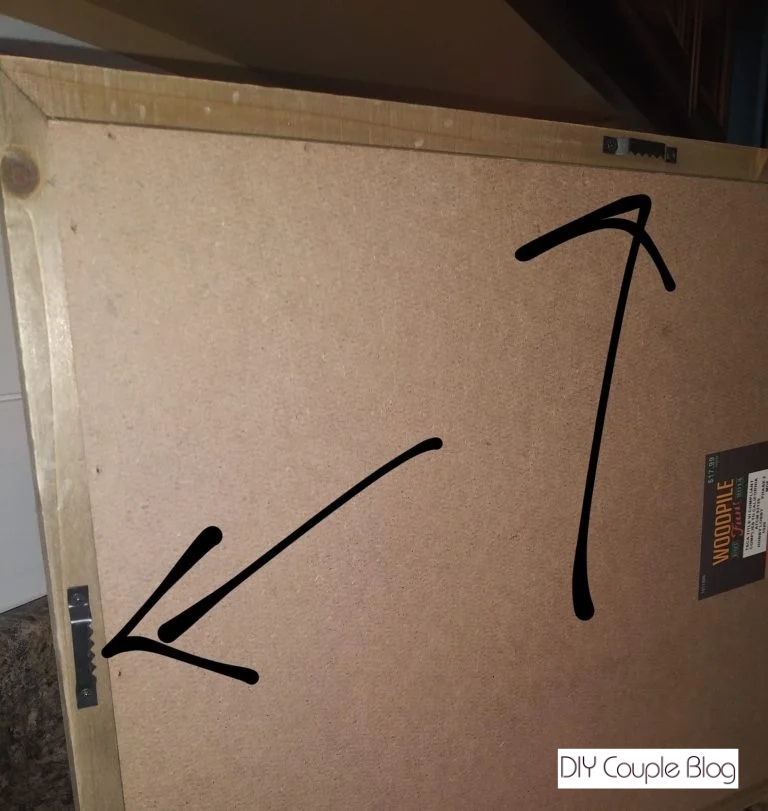
Pro-Tip: Be sure to overhang the picture hooks on the back over the edge of your table or counter (ours had one on the side and one on the top), this is so when you are applying pressure to your letters you have a flat surface otherwise you could accidently push the wood backing through.
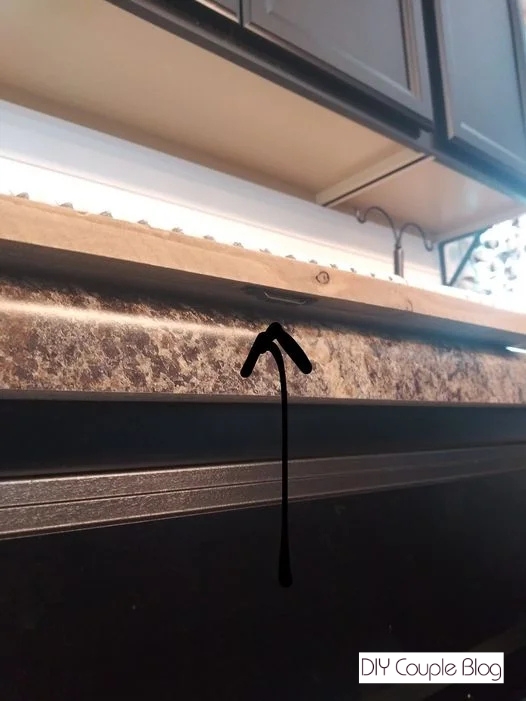
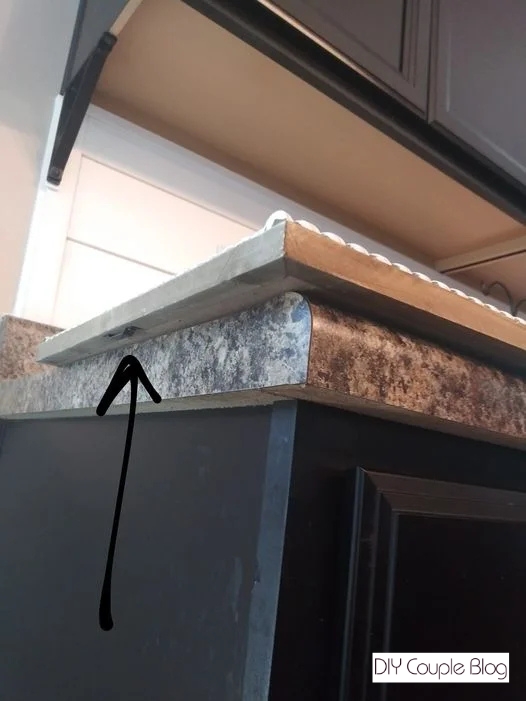
Step 3. Dowel Rod Placement
Lay your dowel rods on the wood sign so that you’re first rod is three beads down from the bottom of the letters.
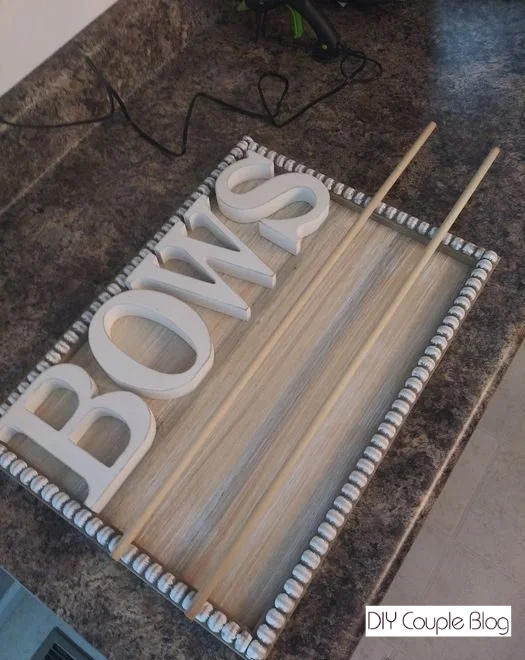
Put your other dowel rod below that one, nine beads down from bottom of the letters.
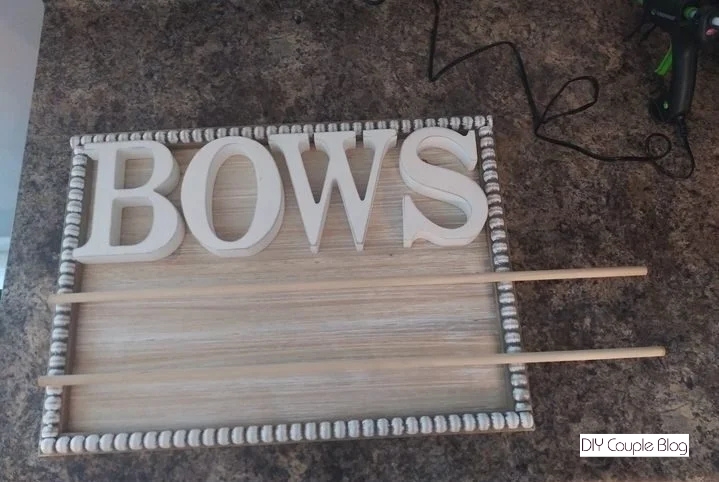
Now, mark your spot with a pen or marker so you don’t lose your spot for where they will go.
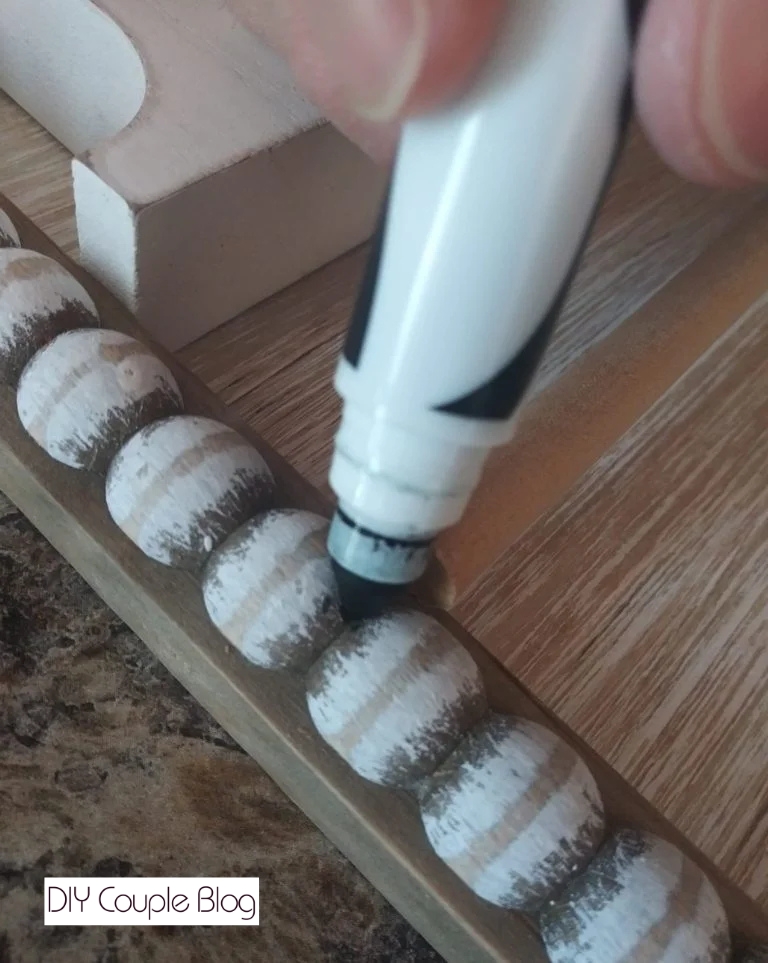
Step 4. Mark Your Cuts
Next, with a pen or marker, mark a spot on your dowel rod for the length of the sign. Make your cuts with a miter Saw.
Step 5. Apply Stain to Dowel Rods
Go ahead and stain your dowel rods with a staining cloth (you could very well paint, or you even could leave them the unfinished wood color they are).
If you go the staining route, you’ll want to wear gloves, so you don’t get it all over your hands.
Step 6. Adding Clips & Dowel Rods
Slide your ring clips on each dowel rod. At this point center your dowel rods over the sign and put a large amount of glue between your marked beads.
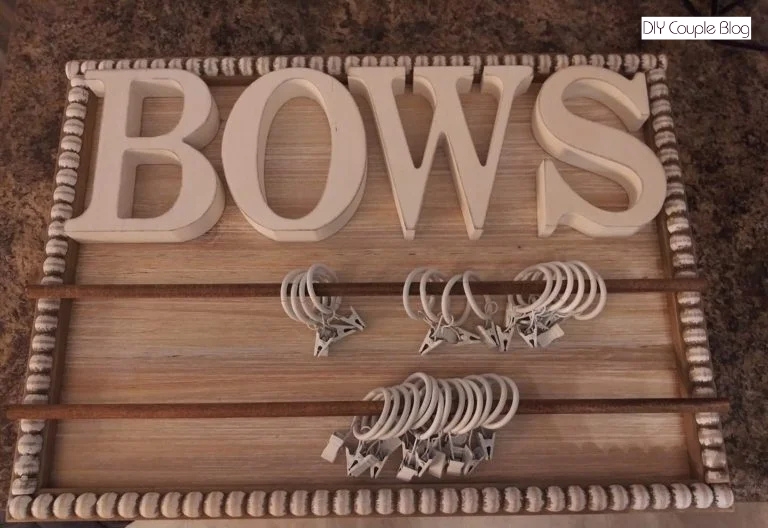
Be sure to put enough glue so that the dowel rods will get pushed into it with plenty of excess glue on the sides. Repeat this for both sides of both dowel rods.
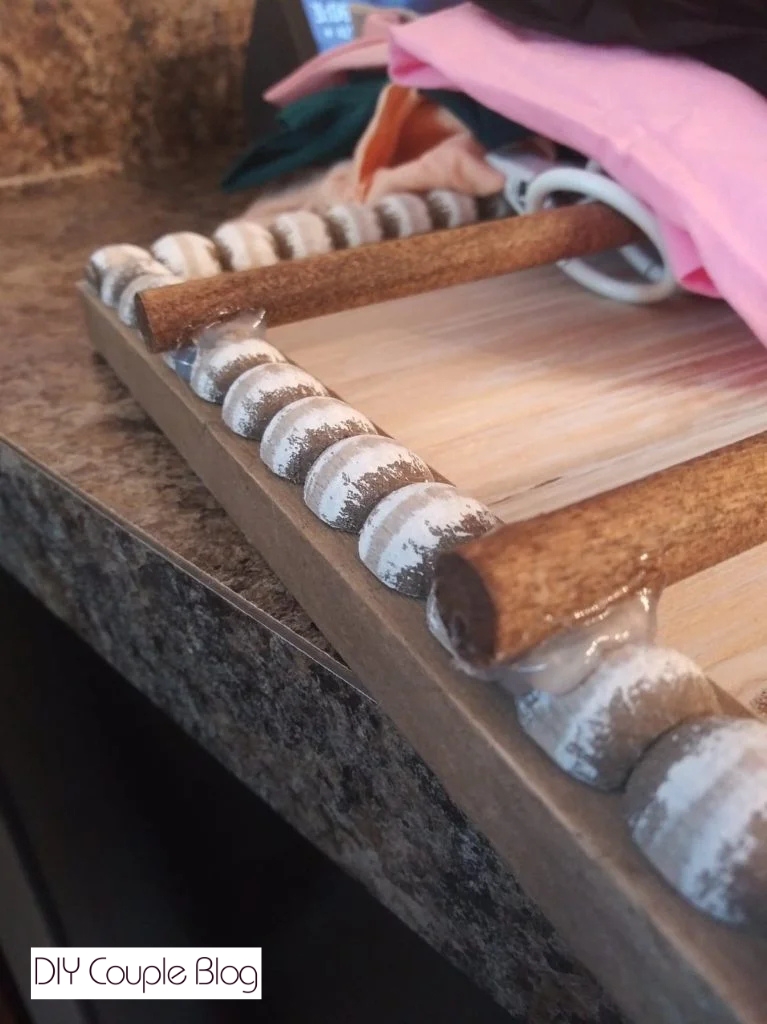
Make sure you allow of time for glue to harden and completely dry before adding any weight from the clips.
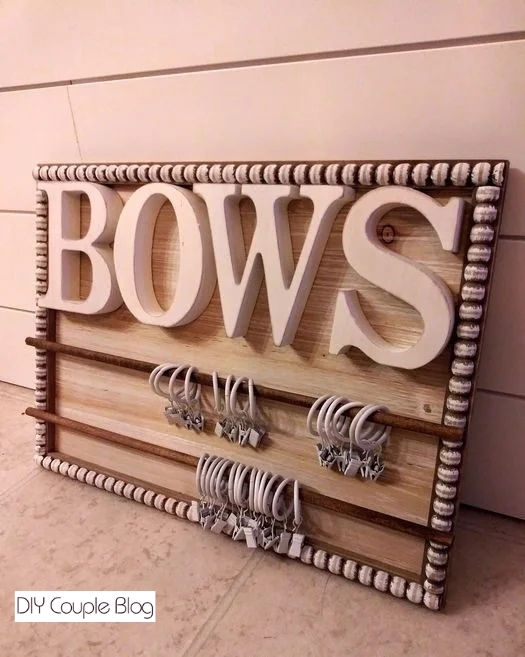
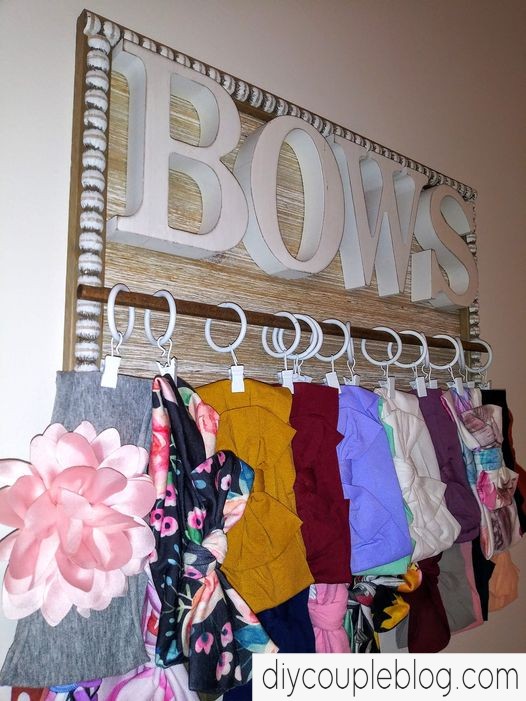
Organized headbands and bows never looked so good. This simple DIY headband holder is the perfect weekend project to throw together. Clear the clutter and add a touch of style to your space.
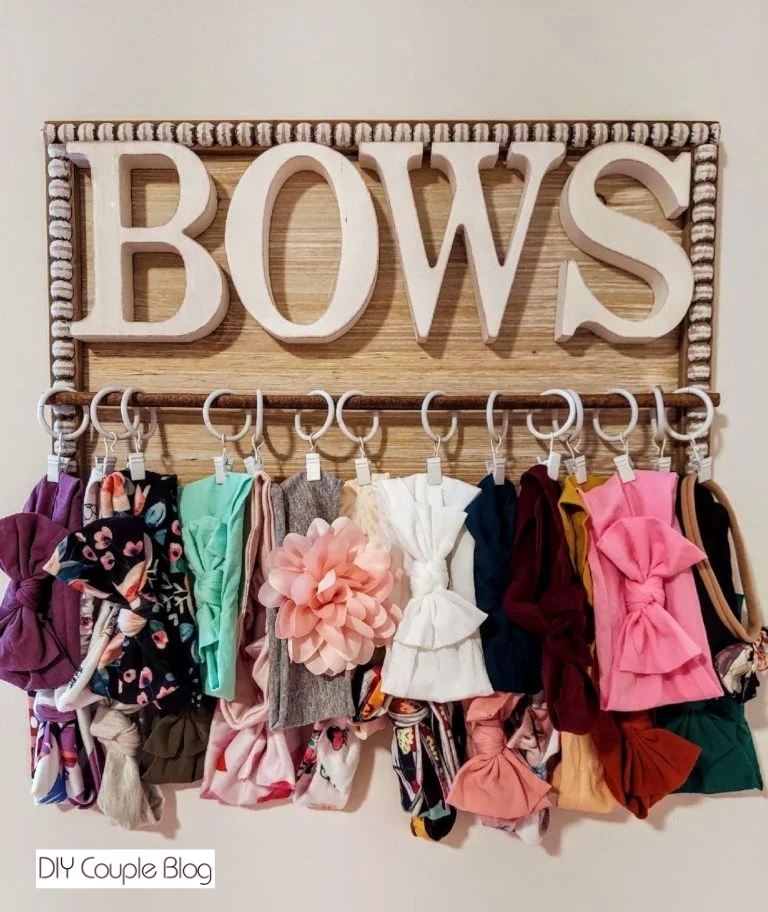
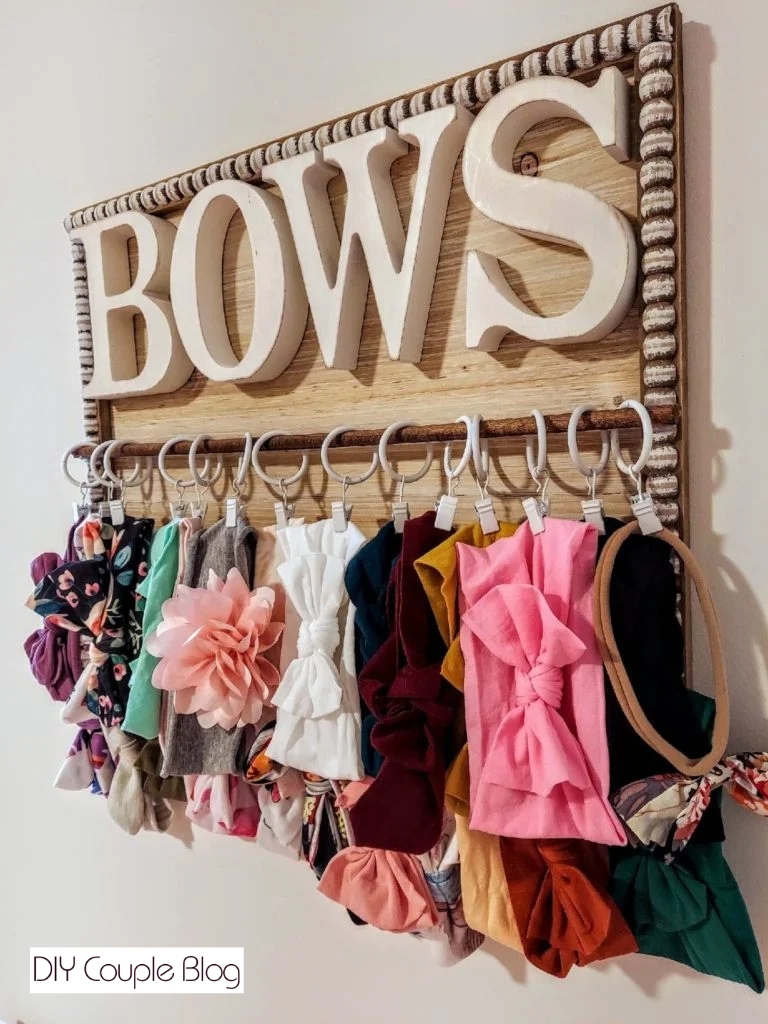
Start hanging your favorite baby girl hair bows and headbands from the clips to make your gorgeous headband display.
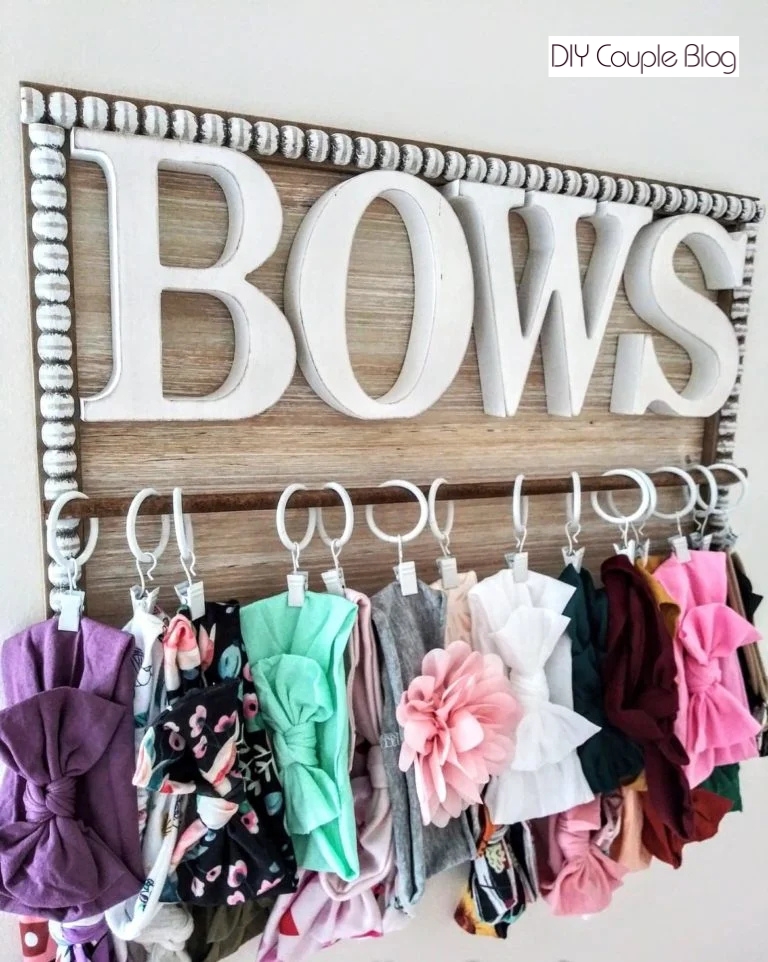
Share this DIY headband holder to your favorite Pinterest board!
You May Also Like: