This post may contain affiliate links, which means we'll receive a commission if you purchase through our links, at no extra cost to you. Read the full disclaimer here: https://diycoupleblog.com/disclaimer/
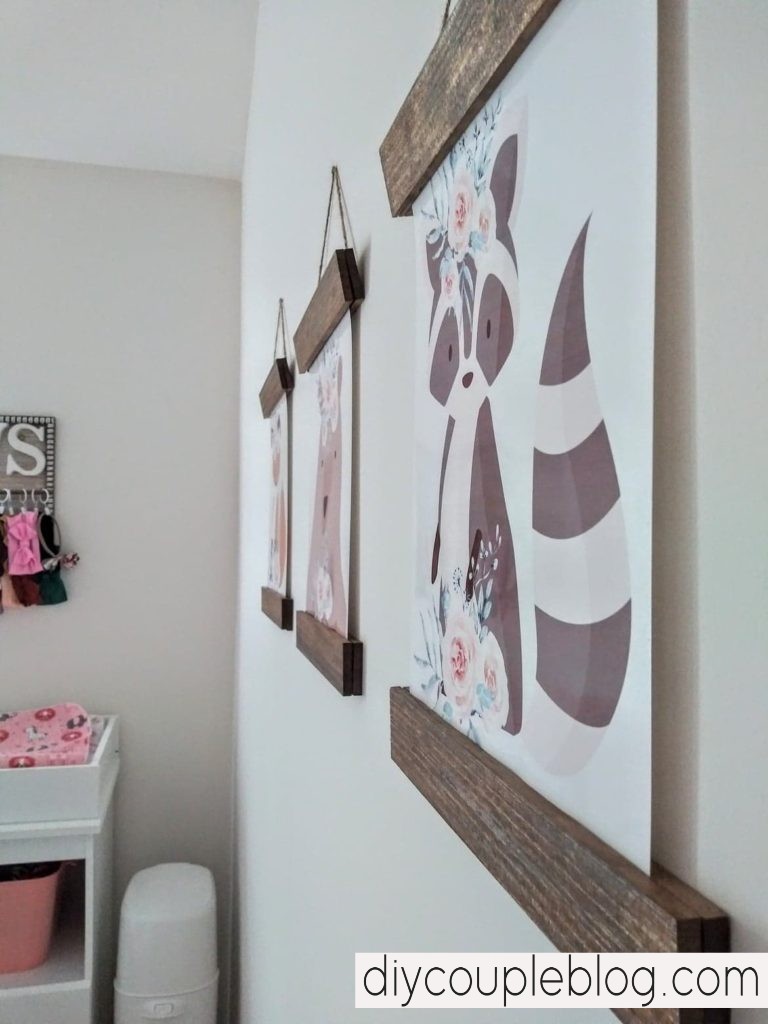
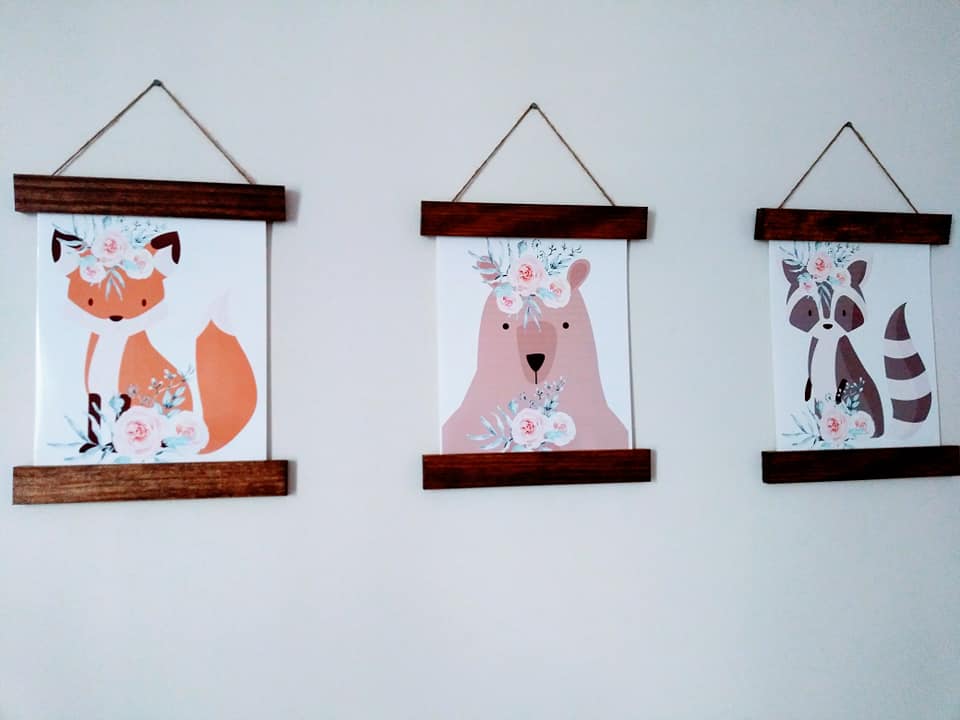
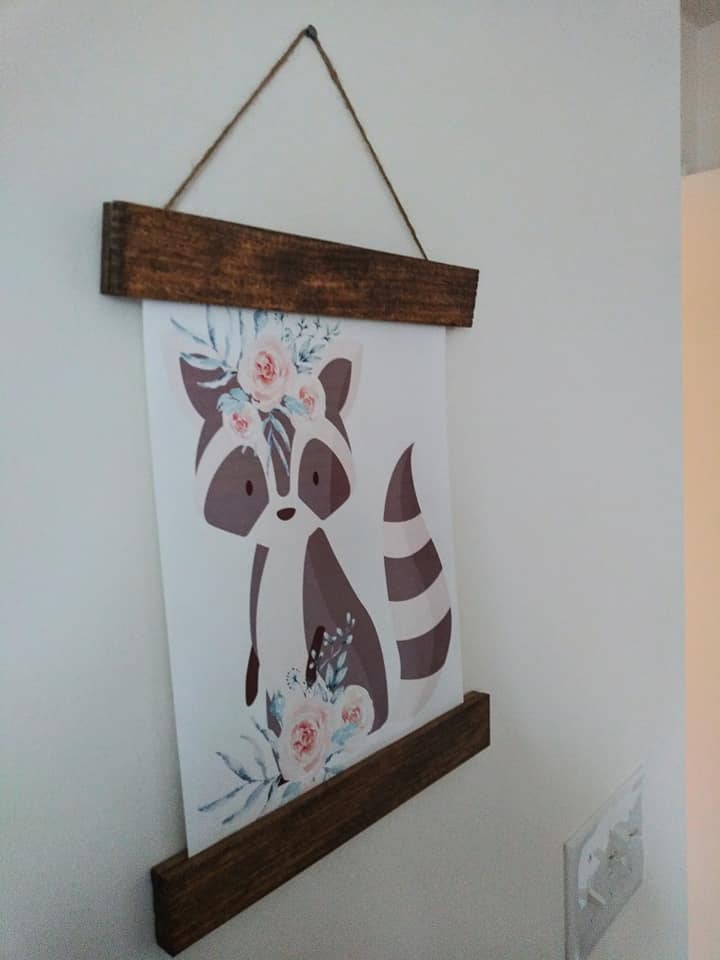
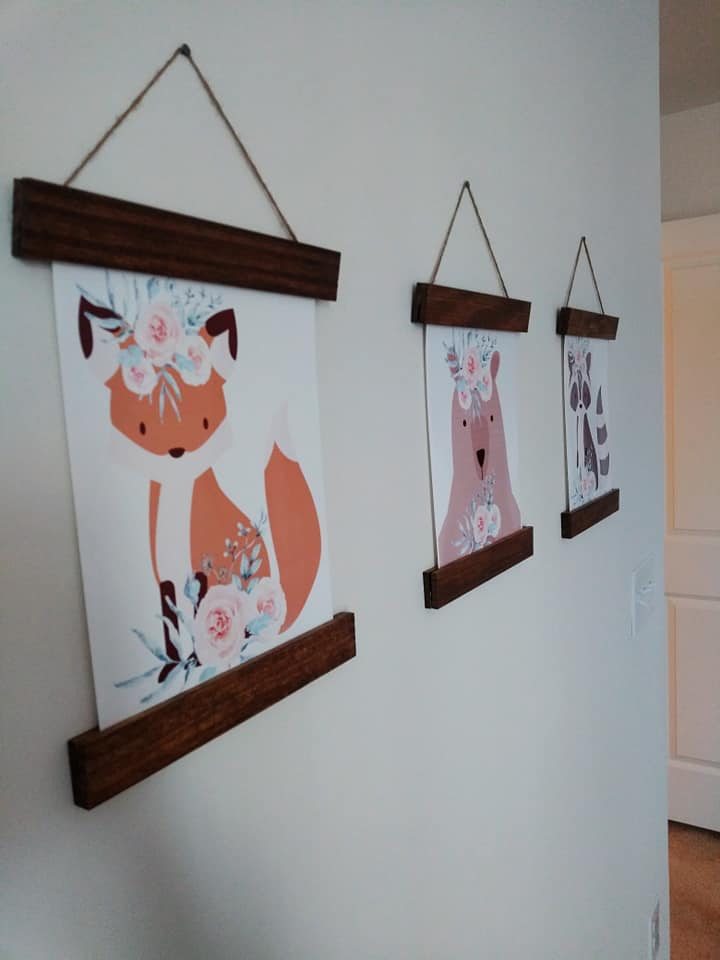
A Simple DIY Project with Woodland Nursery Decor Prints to add décor to a baby girl’s nursery on the cheap.
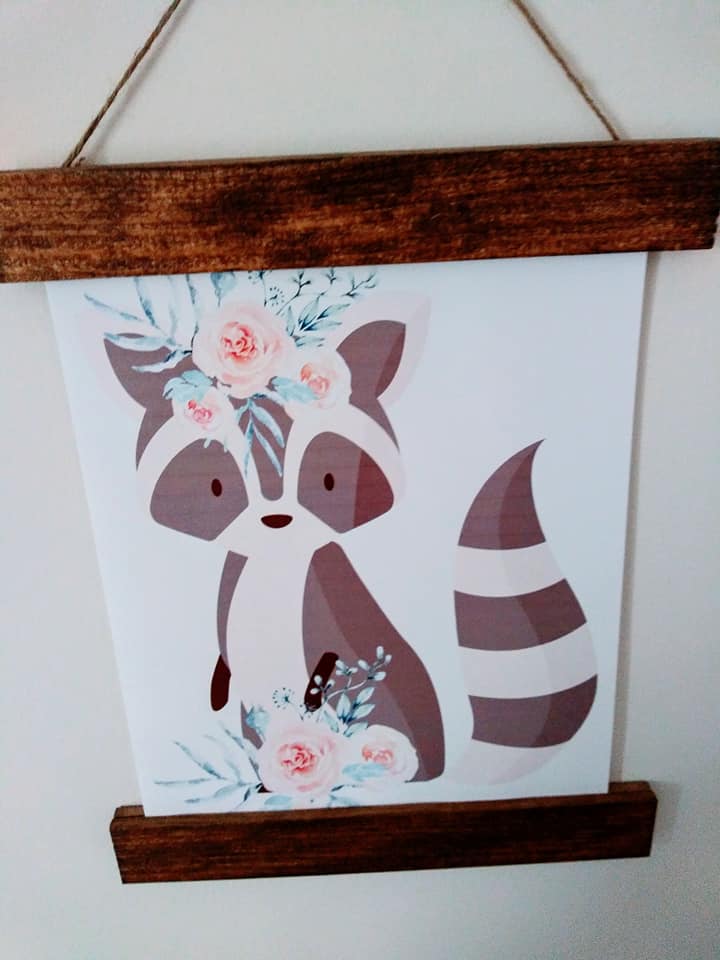
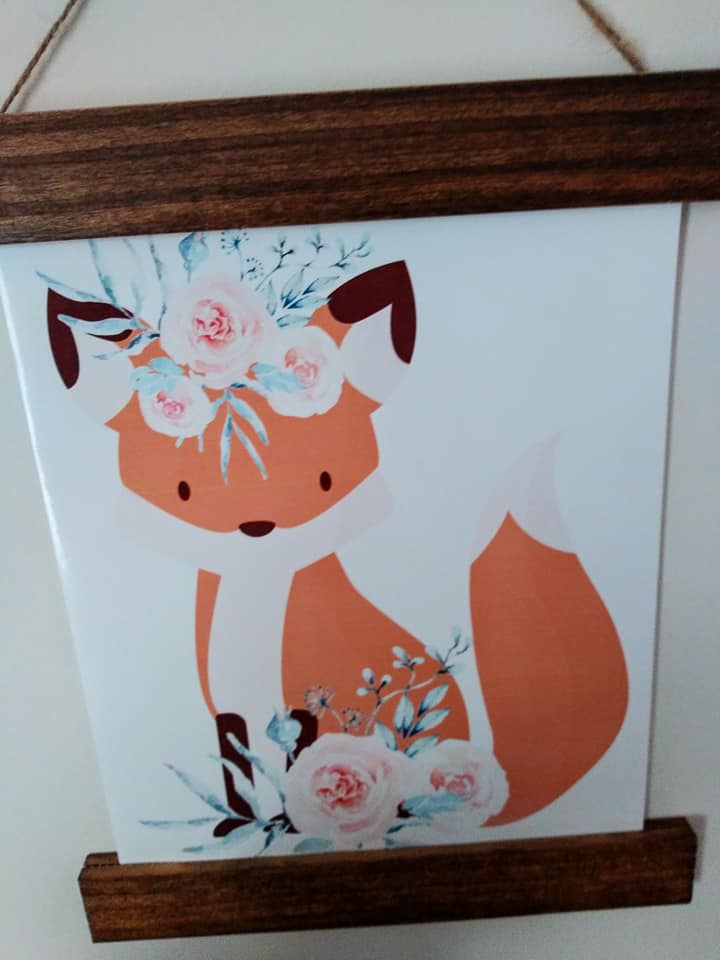
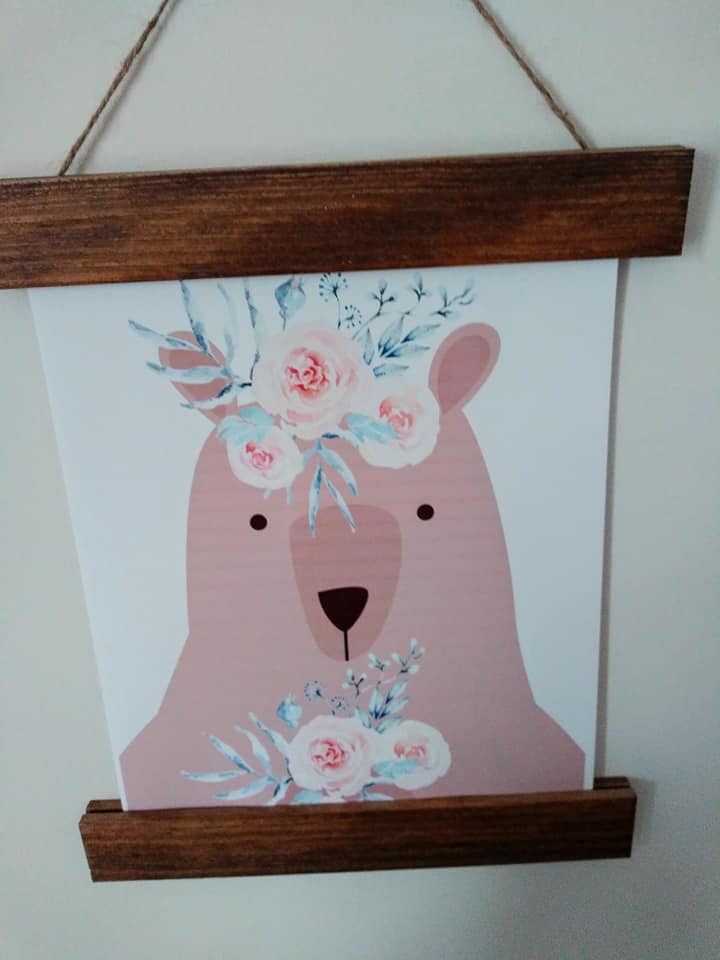
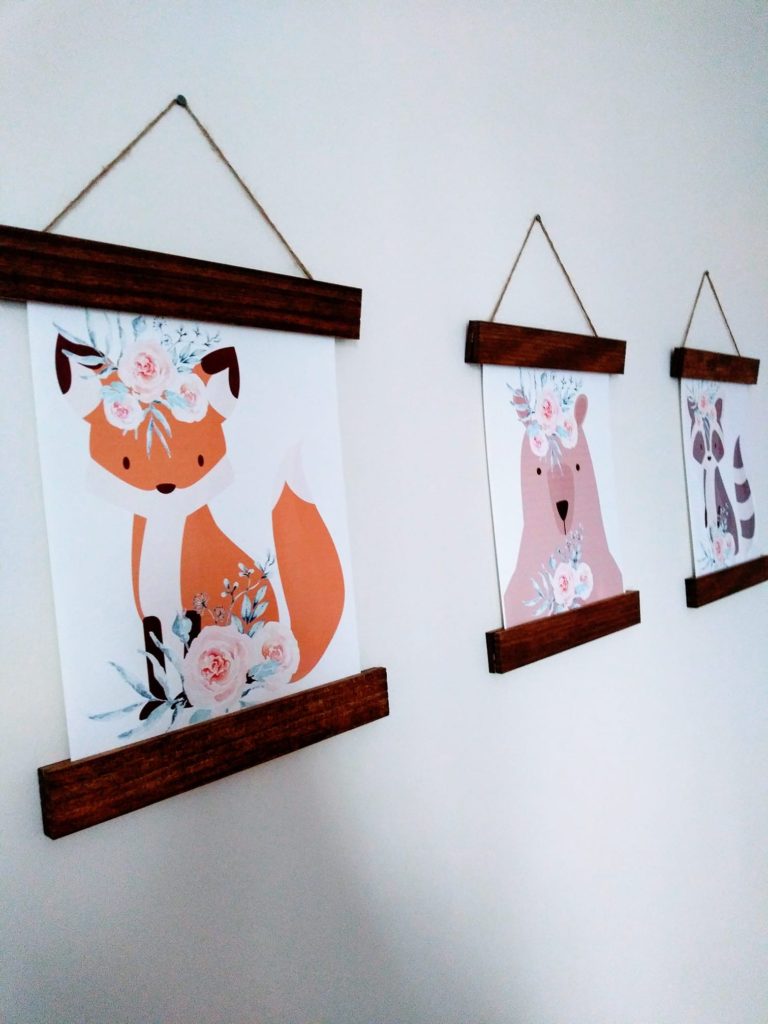
Hey guys, I’m back today sharing a cute little DIY that won’t take up a whole lot of time and if you’re in a hurry and on a budget (like me), finishing up a little gal’s baby room, then this is perfect for you. The woodland nursery prints I am offering up as a freebie (read more about that below). You will need a printer to print them out, they even match the free printable nursery closet dividers I shared last week, otherwise you are welcome to use your own set of printable art to make this cheap DIY nursery décor. This would even be a fun idea not just for a woodland animal’s nursery, but also a baby shower gift, shower décor (If you’re planning a woodland baby shower), or girls bedroom prints! Anything with a woodland animal’s theme, really. Now let’s get to how to make this adorable wall art.


A Few Things You’ll Need To Create Woodland Nursery Decor:
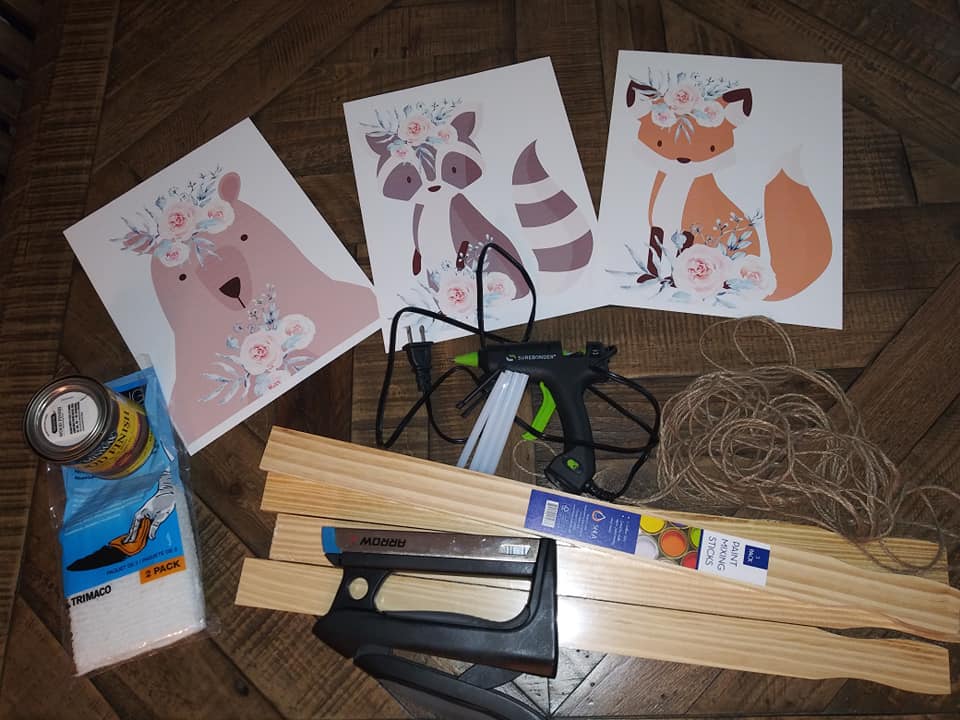
Printables (Grab our Free Woodland Prints From This Page)
Hot Glue Gun (Here’s the one I use, it’s seriously amazing & has a detailed tip, Here’s the glue sticks as well)
Paint Mixing Sticks (We chose ones that had a blank side so it wouldn’t show through once we stained the wood peices)
Wood Stain (here’s the one we used)
Miter Saw (click here to see the one we use for our projects)
Staple Gun (the one we used) Along with these size Staples
How To Make Woodland Animal Nursery Prints To Hang On the the Wall
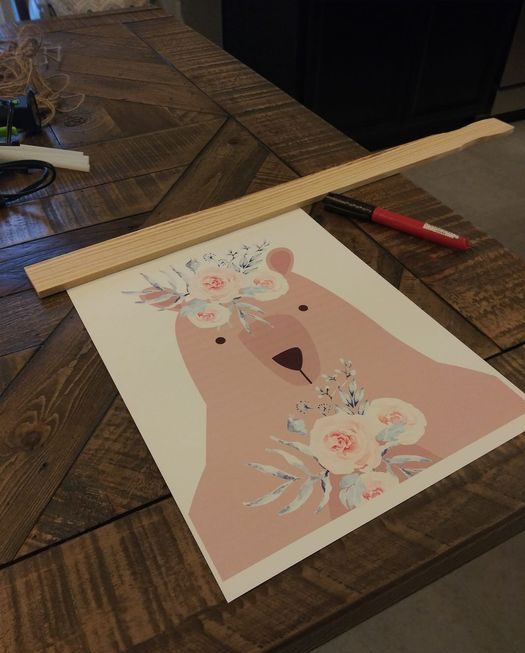
Step 1. Cut your wood mixing sticks to your desired length. We chose to leave 3/4 of an inch overhang on each side of the picture.
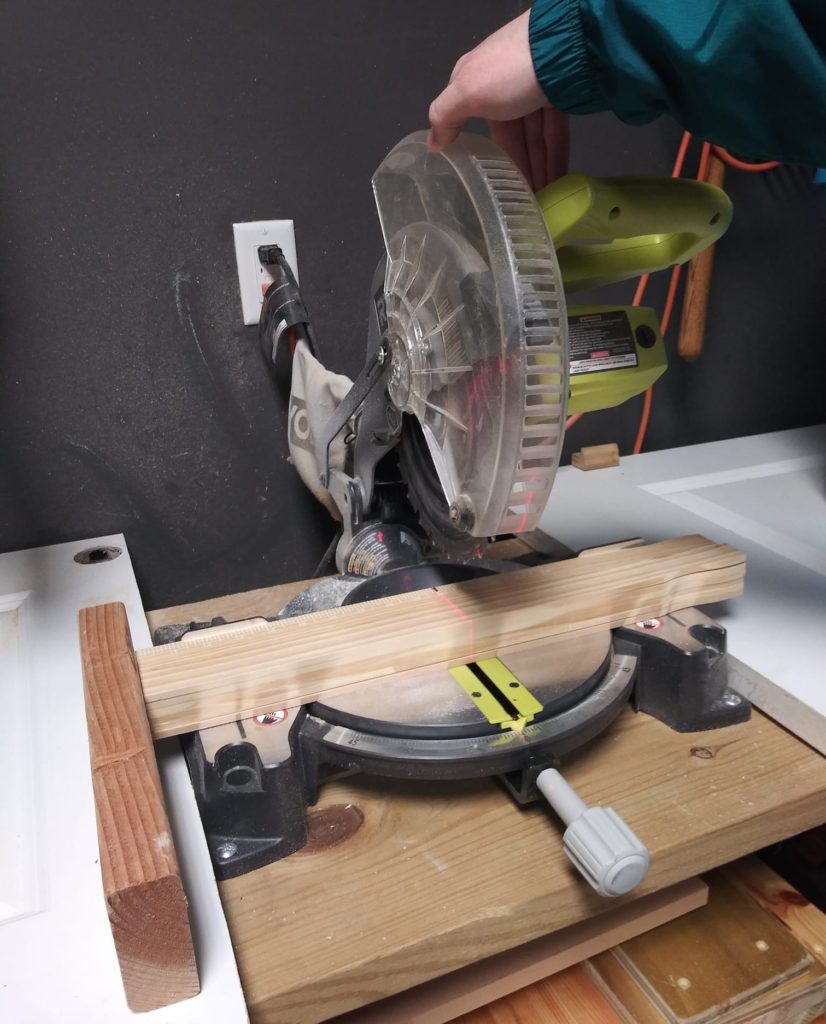
Using the piece that you have marked for your length, go ahead and line it up on the table saw stacked with all the other wood pieces you will need. Each picture required 4 wooden paint sticks (two for the bottom of the picture and two for the top).
With our 10 inch saw it was safer and easier to cut two rows of six.
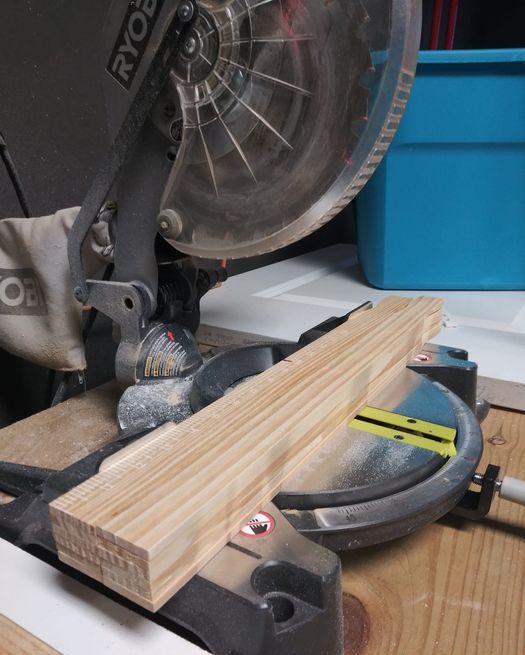
Make sure to at least cut them in pairs if you are not able to do it like this all in one cut. This will ensure they are the same exact length and the ends meet nicely.
Helpful Tip: We used a scrap piece of wood at the end to line all of our peices up flush.
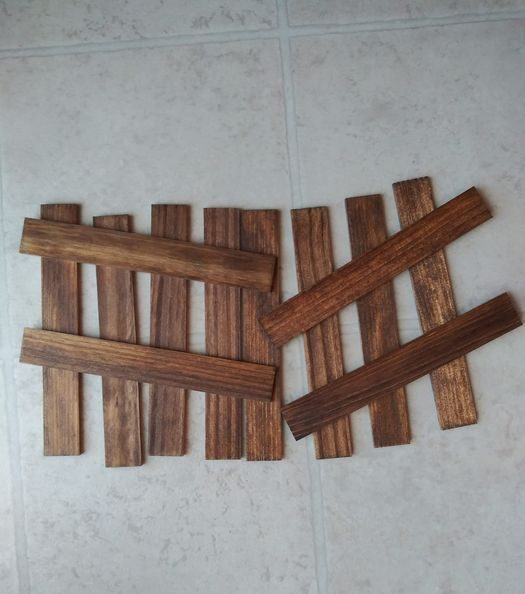
Step 2. Once the cutting is out of the way, stain your paint sticks and allow plenty of time to dry.
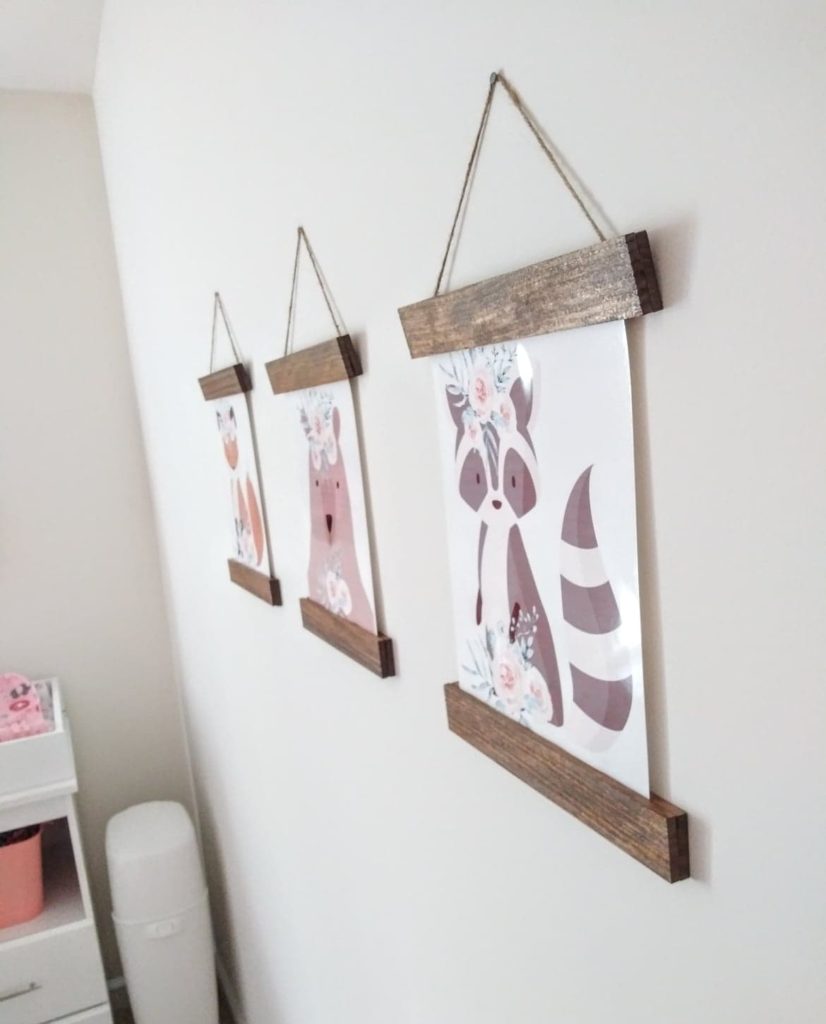
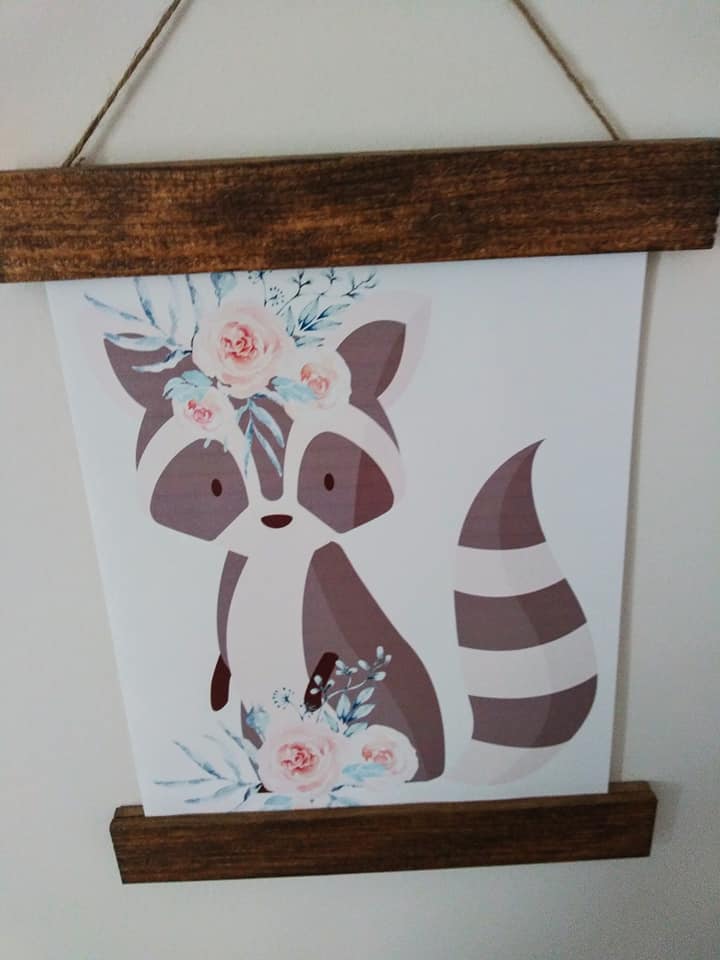
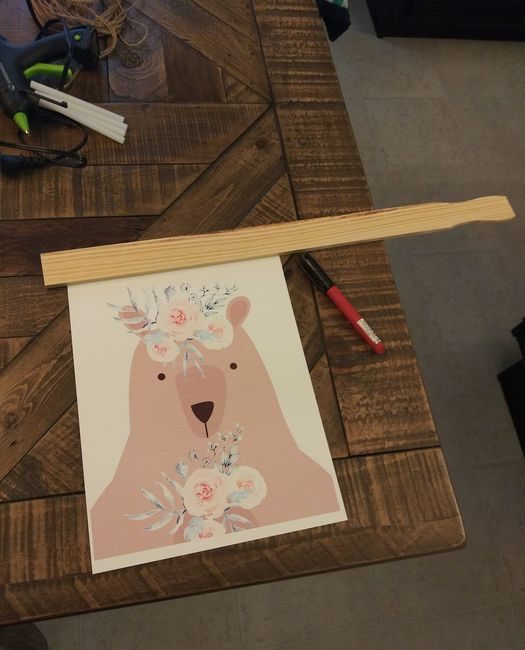
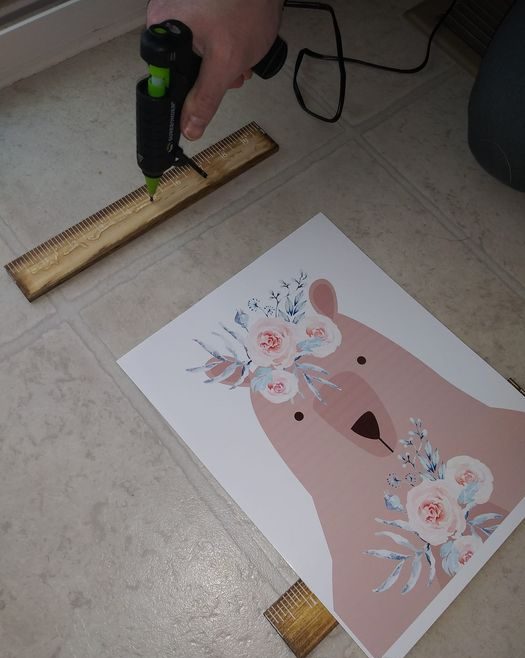
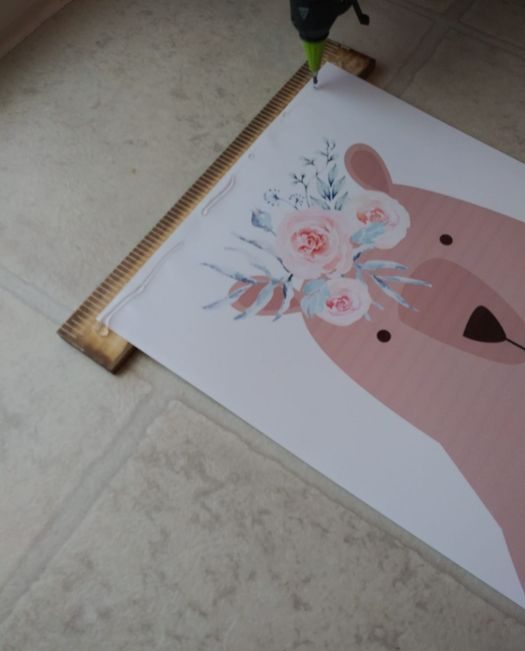
Step 3. Lay your piece of wood so that the unfinished ruler side is facing up. Run a bead of glue down the center and lay your printable centered over top of your glue (picture facing up so the backside is being pressed into glue). You will want to be fast when getting it in place, the glue dries quickly.
Step 4. Run another bead of glue over top of the printable then lay another wood piece of top making sure you place it even and centered with the bottom piece. Press down and apply pressure with either the palms of your hand or knuckles.
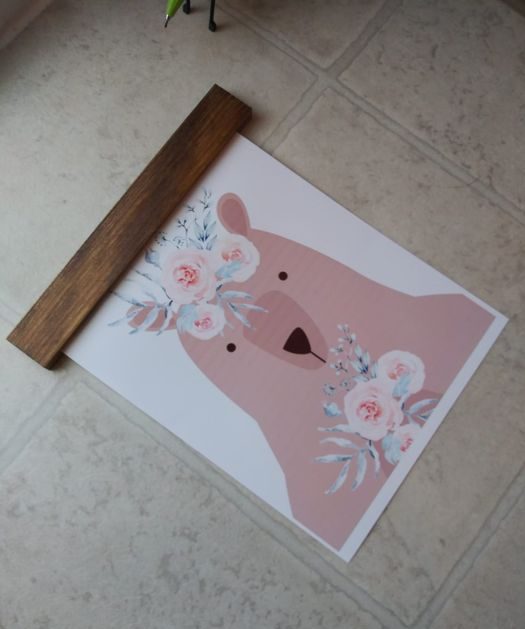
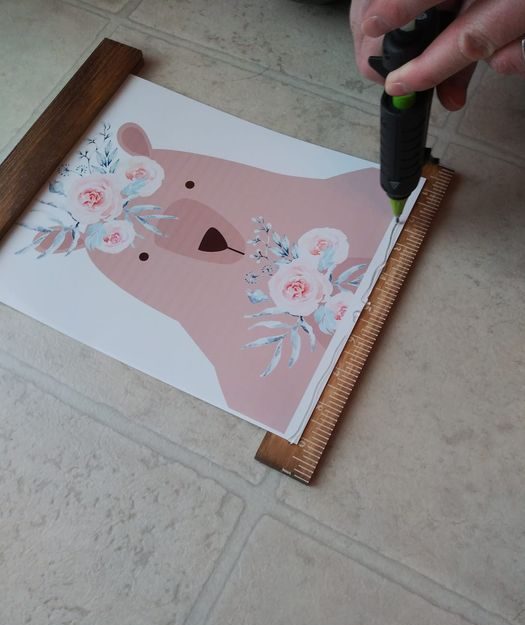
Step 5. Repeat this process for the bottom half of the printable page.
Step 6. Now measure your string and make it 1.5 times the length of your wood.
Flip your nursery prints over, so you can now attach the string to the back of the wood. Make sure the prints are right side up so you don’t make a rookie mistake and put the string on the wrong end. Begin by tying a small knot on each side of your string. Now staple where the edge of the paper is.
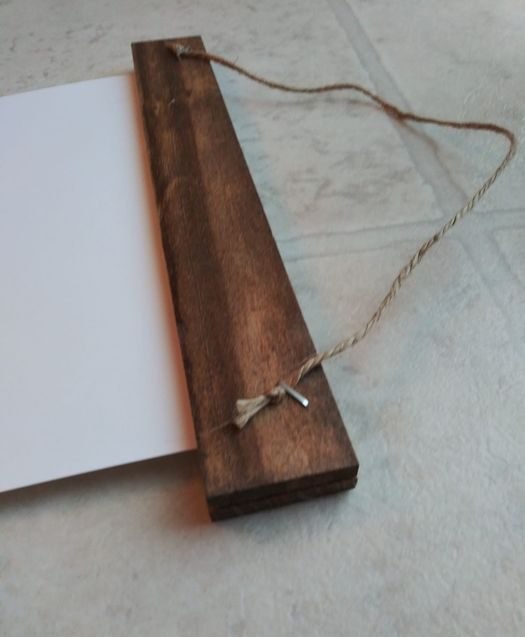
Helpful Tip: If your staple does not go in all the way or doesn’t seem tight enough, gently hit it in with a hammer.
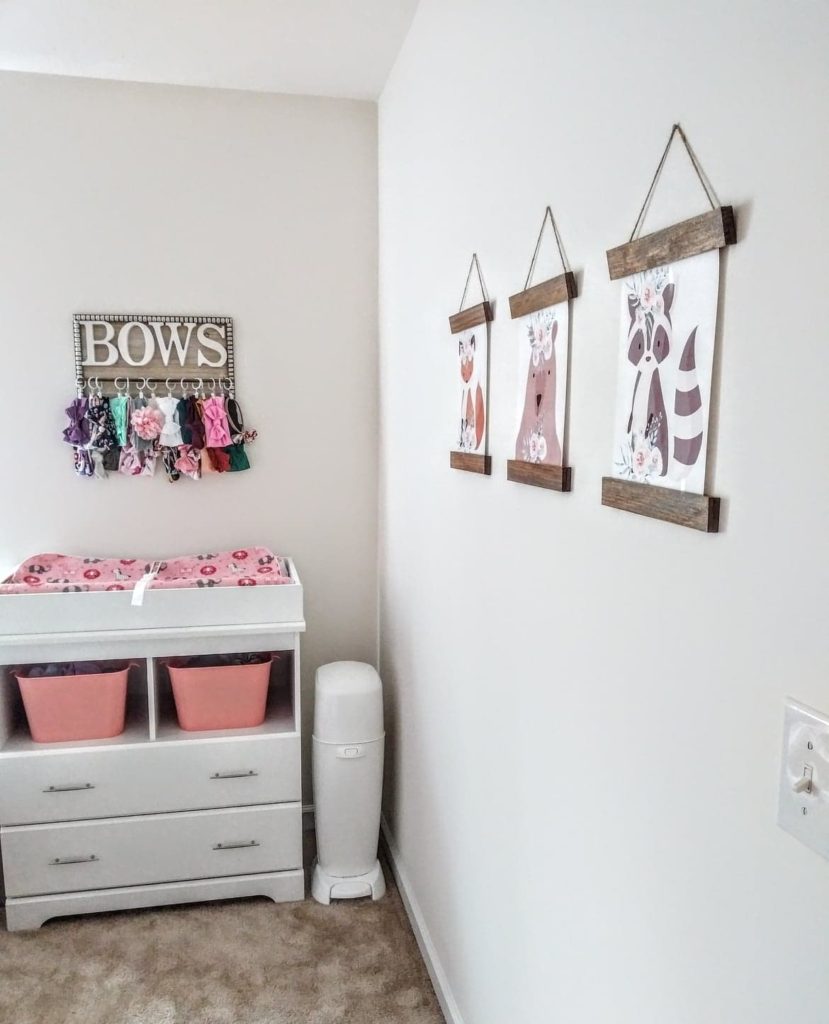
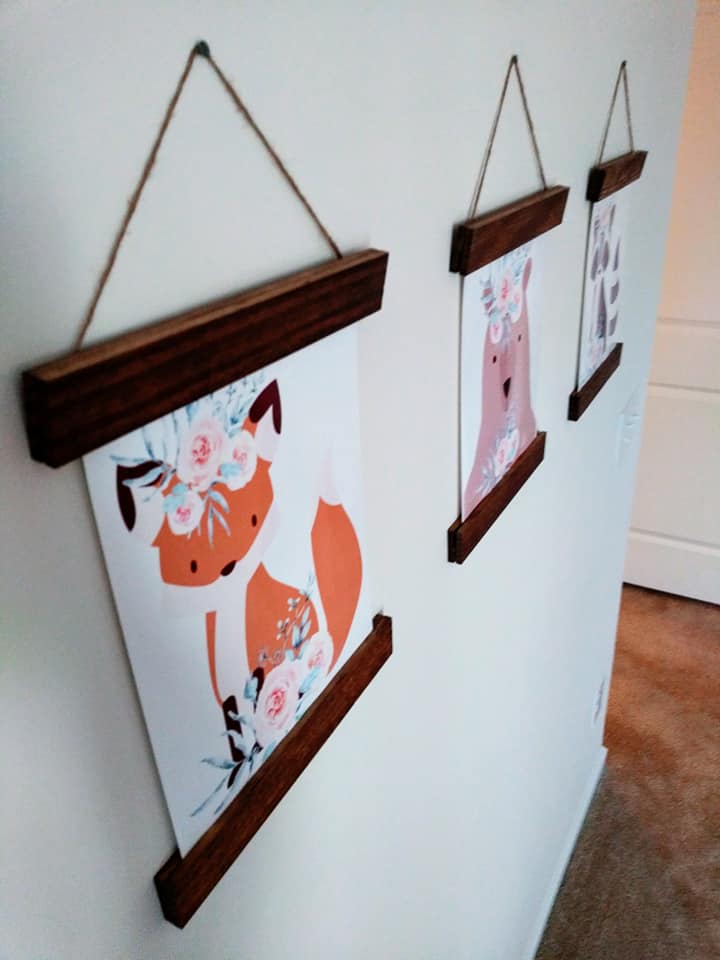
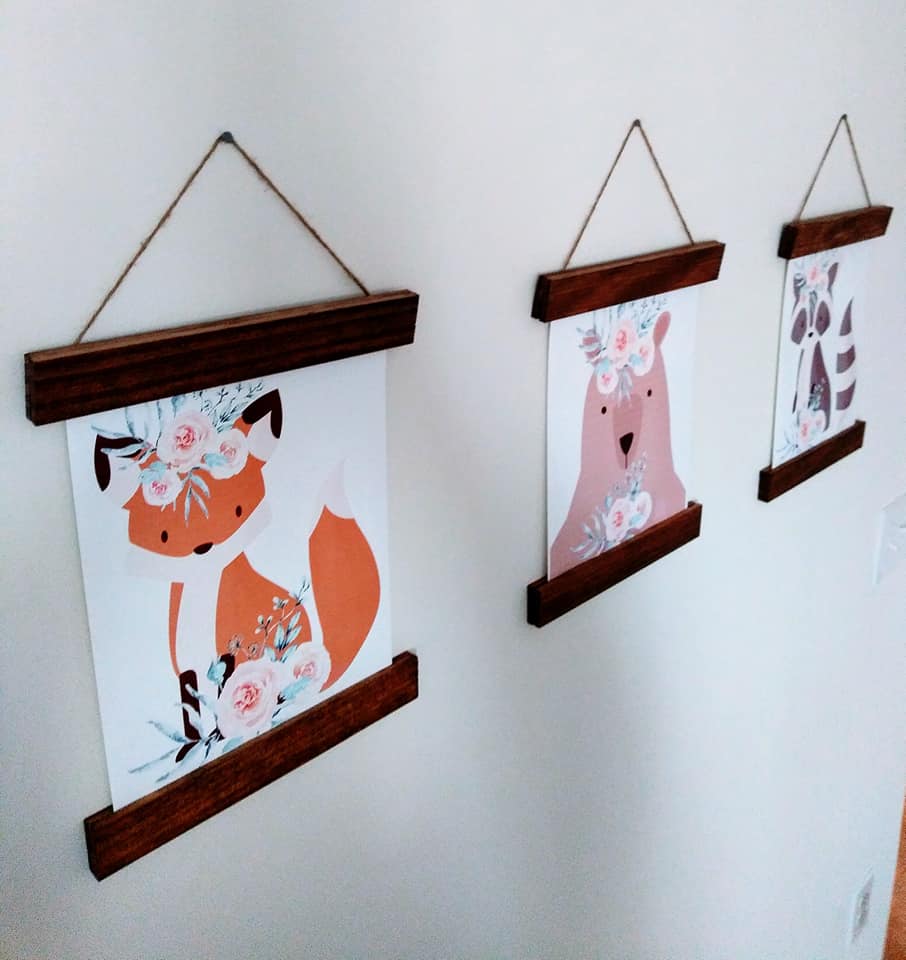
Wal-la, your all done with this project! Now you have some lovely nursery poster prints to hang on your baby room wall! I really loved how our woodland nursery wall turned out, I will definitely be making more here soon. I hope you enjoyed this quick DIY.
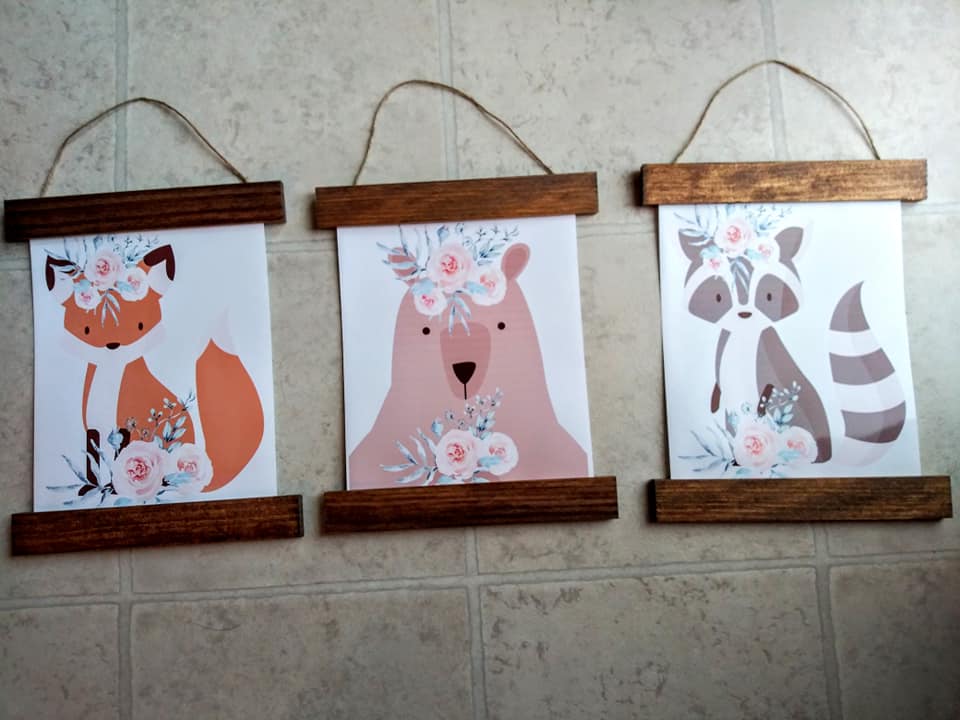
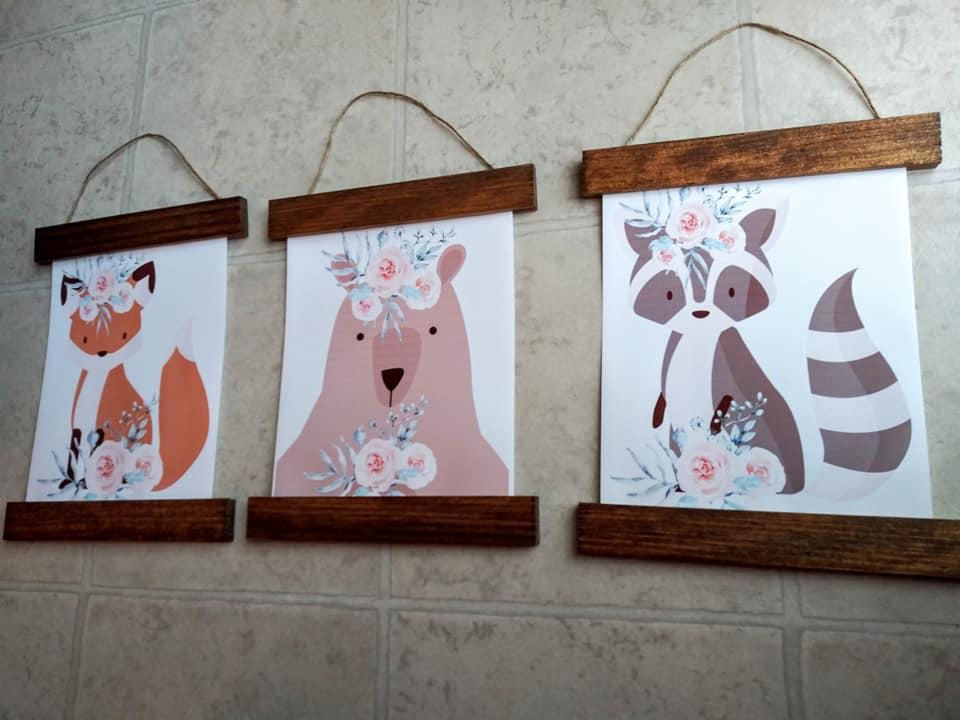
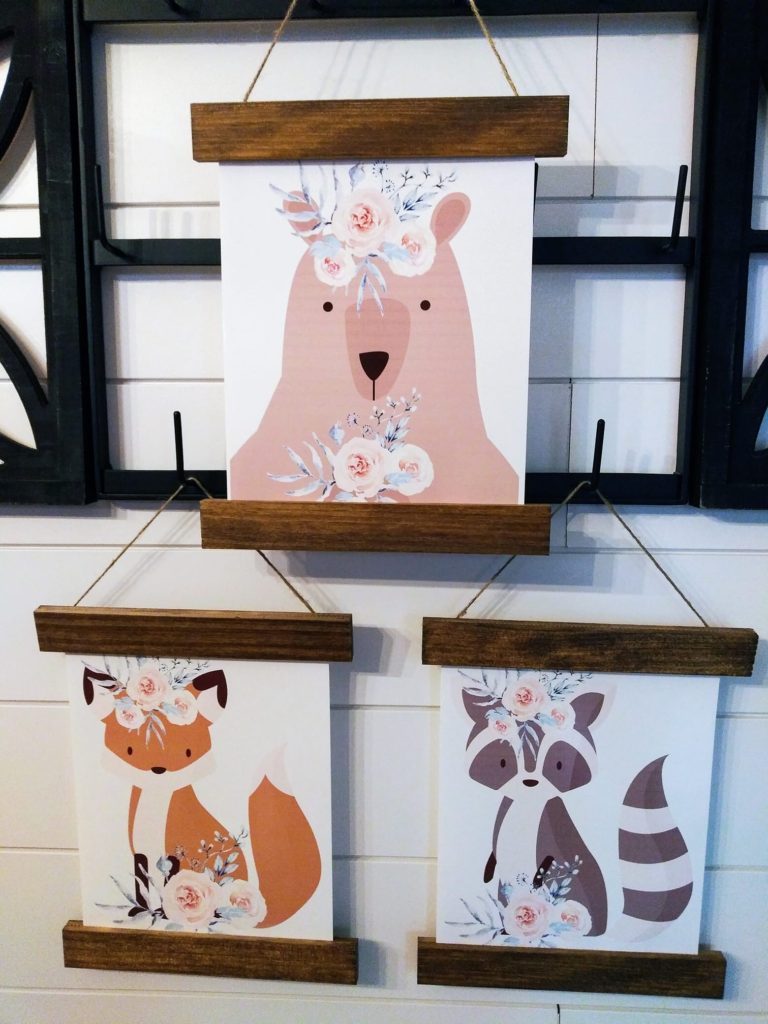
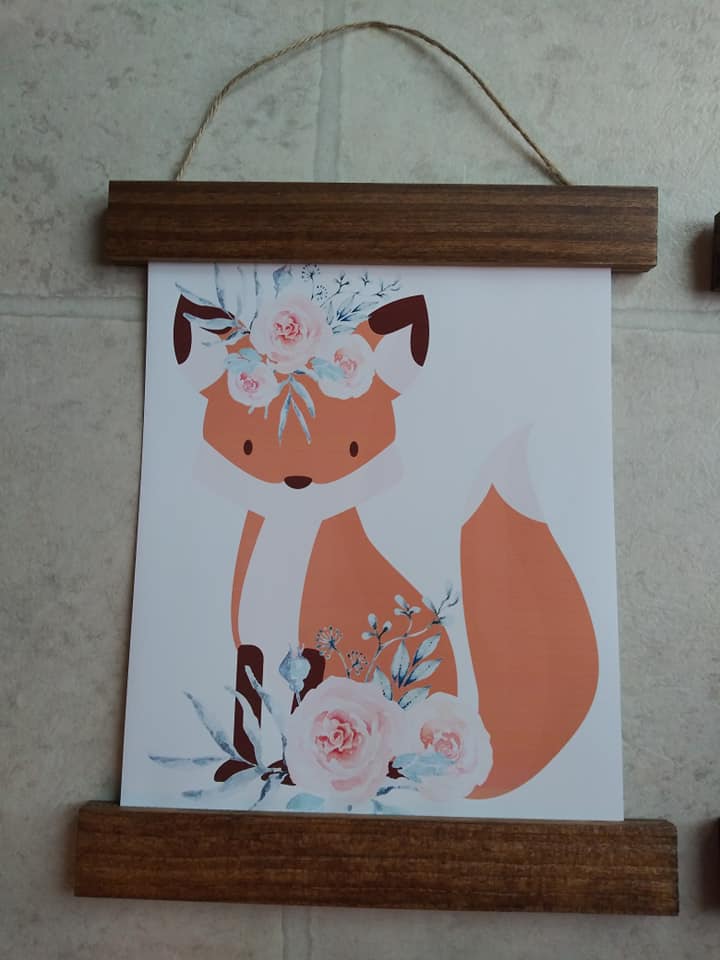
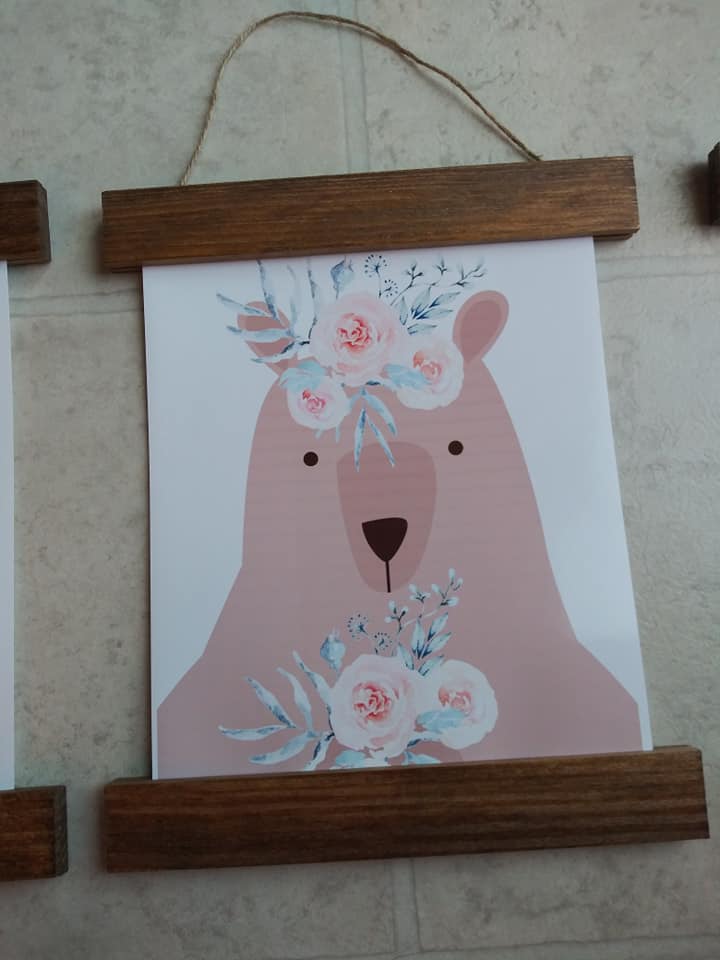
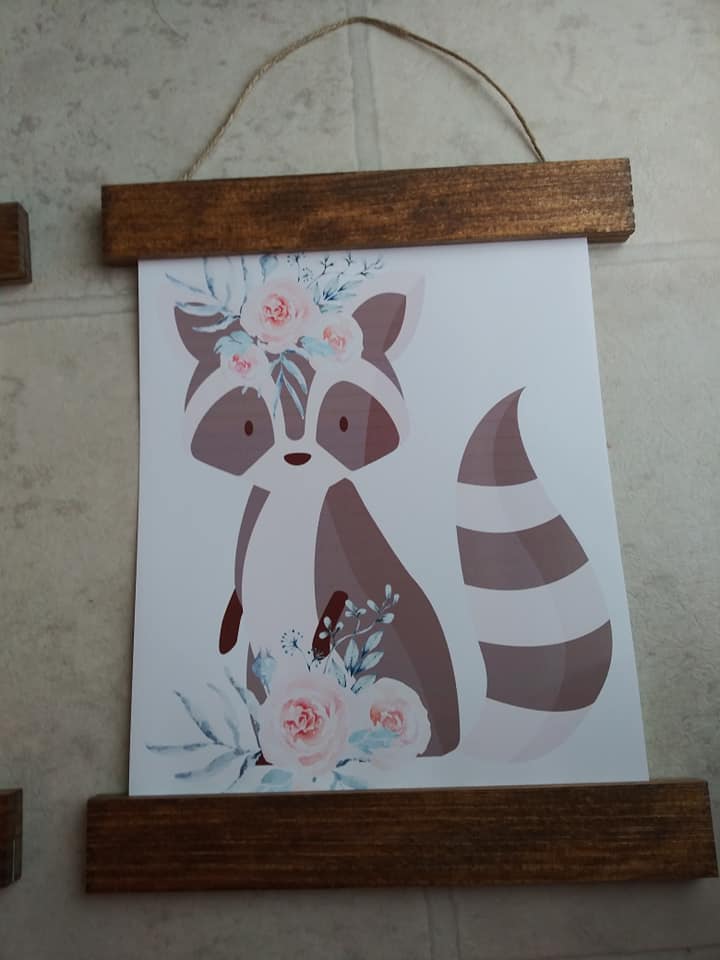
Don’t forget to head over here for your nursery animals print. Not up for a DIY but would love to snag the free prints, anyway? You could always Display your woodland nursery art in your favorite frame.