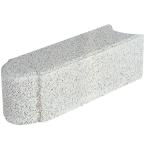
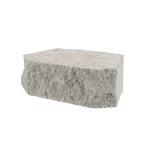
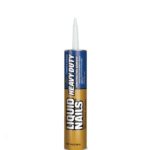
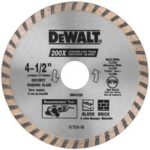
This post may contain affiliate links, which means we'll receive a commission if you purchase through our links, at no extra cost to you. Read the full disclaimer here.
An Overdue Retaining Wall DIY Tutorial With Plenty Of Pictures & Instructions To Walk You Through.
Retaining walls make for a Gorgeously Jaw-dropping landscape feature. If you’ve been searching for retaining wall ideas for sloped front yard…look no further!
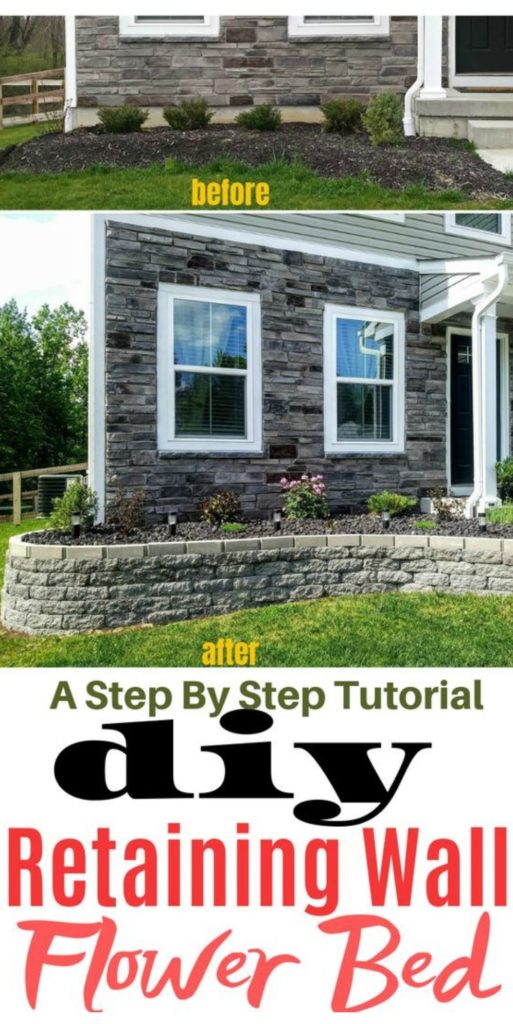
Our garden retaining wall will give the front of your home the ultimate curb appeal and in this post, we’ll let you in on our tips and tricks and show you how to build a retaining wall garden step by step that will cost less than hiring it out to a professional.
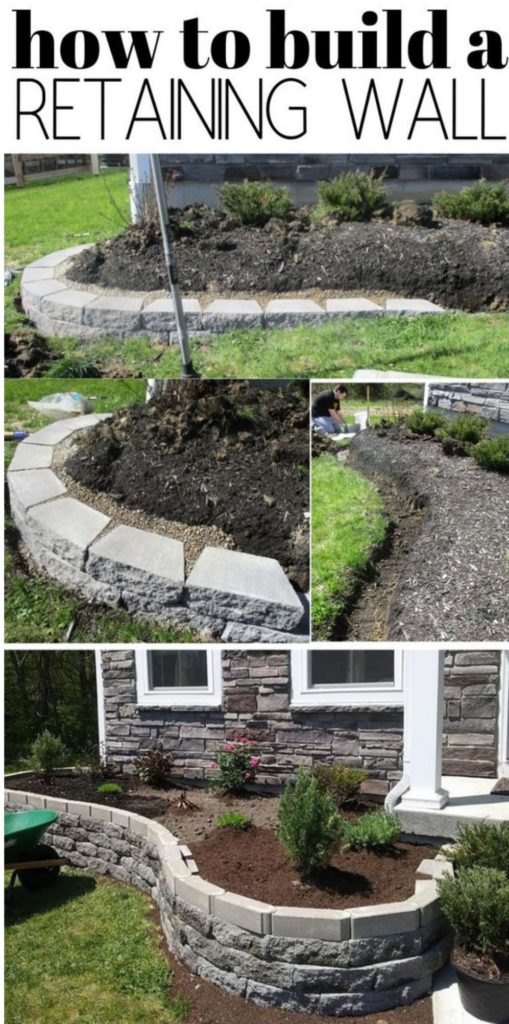
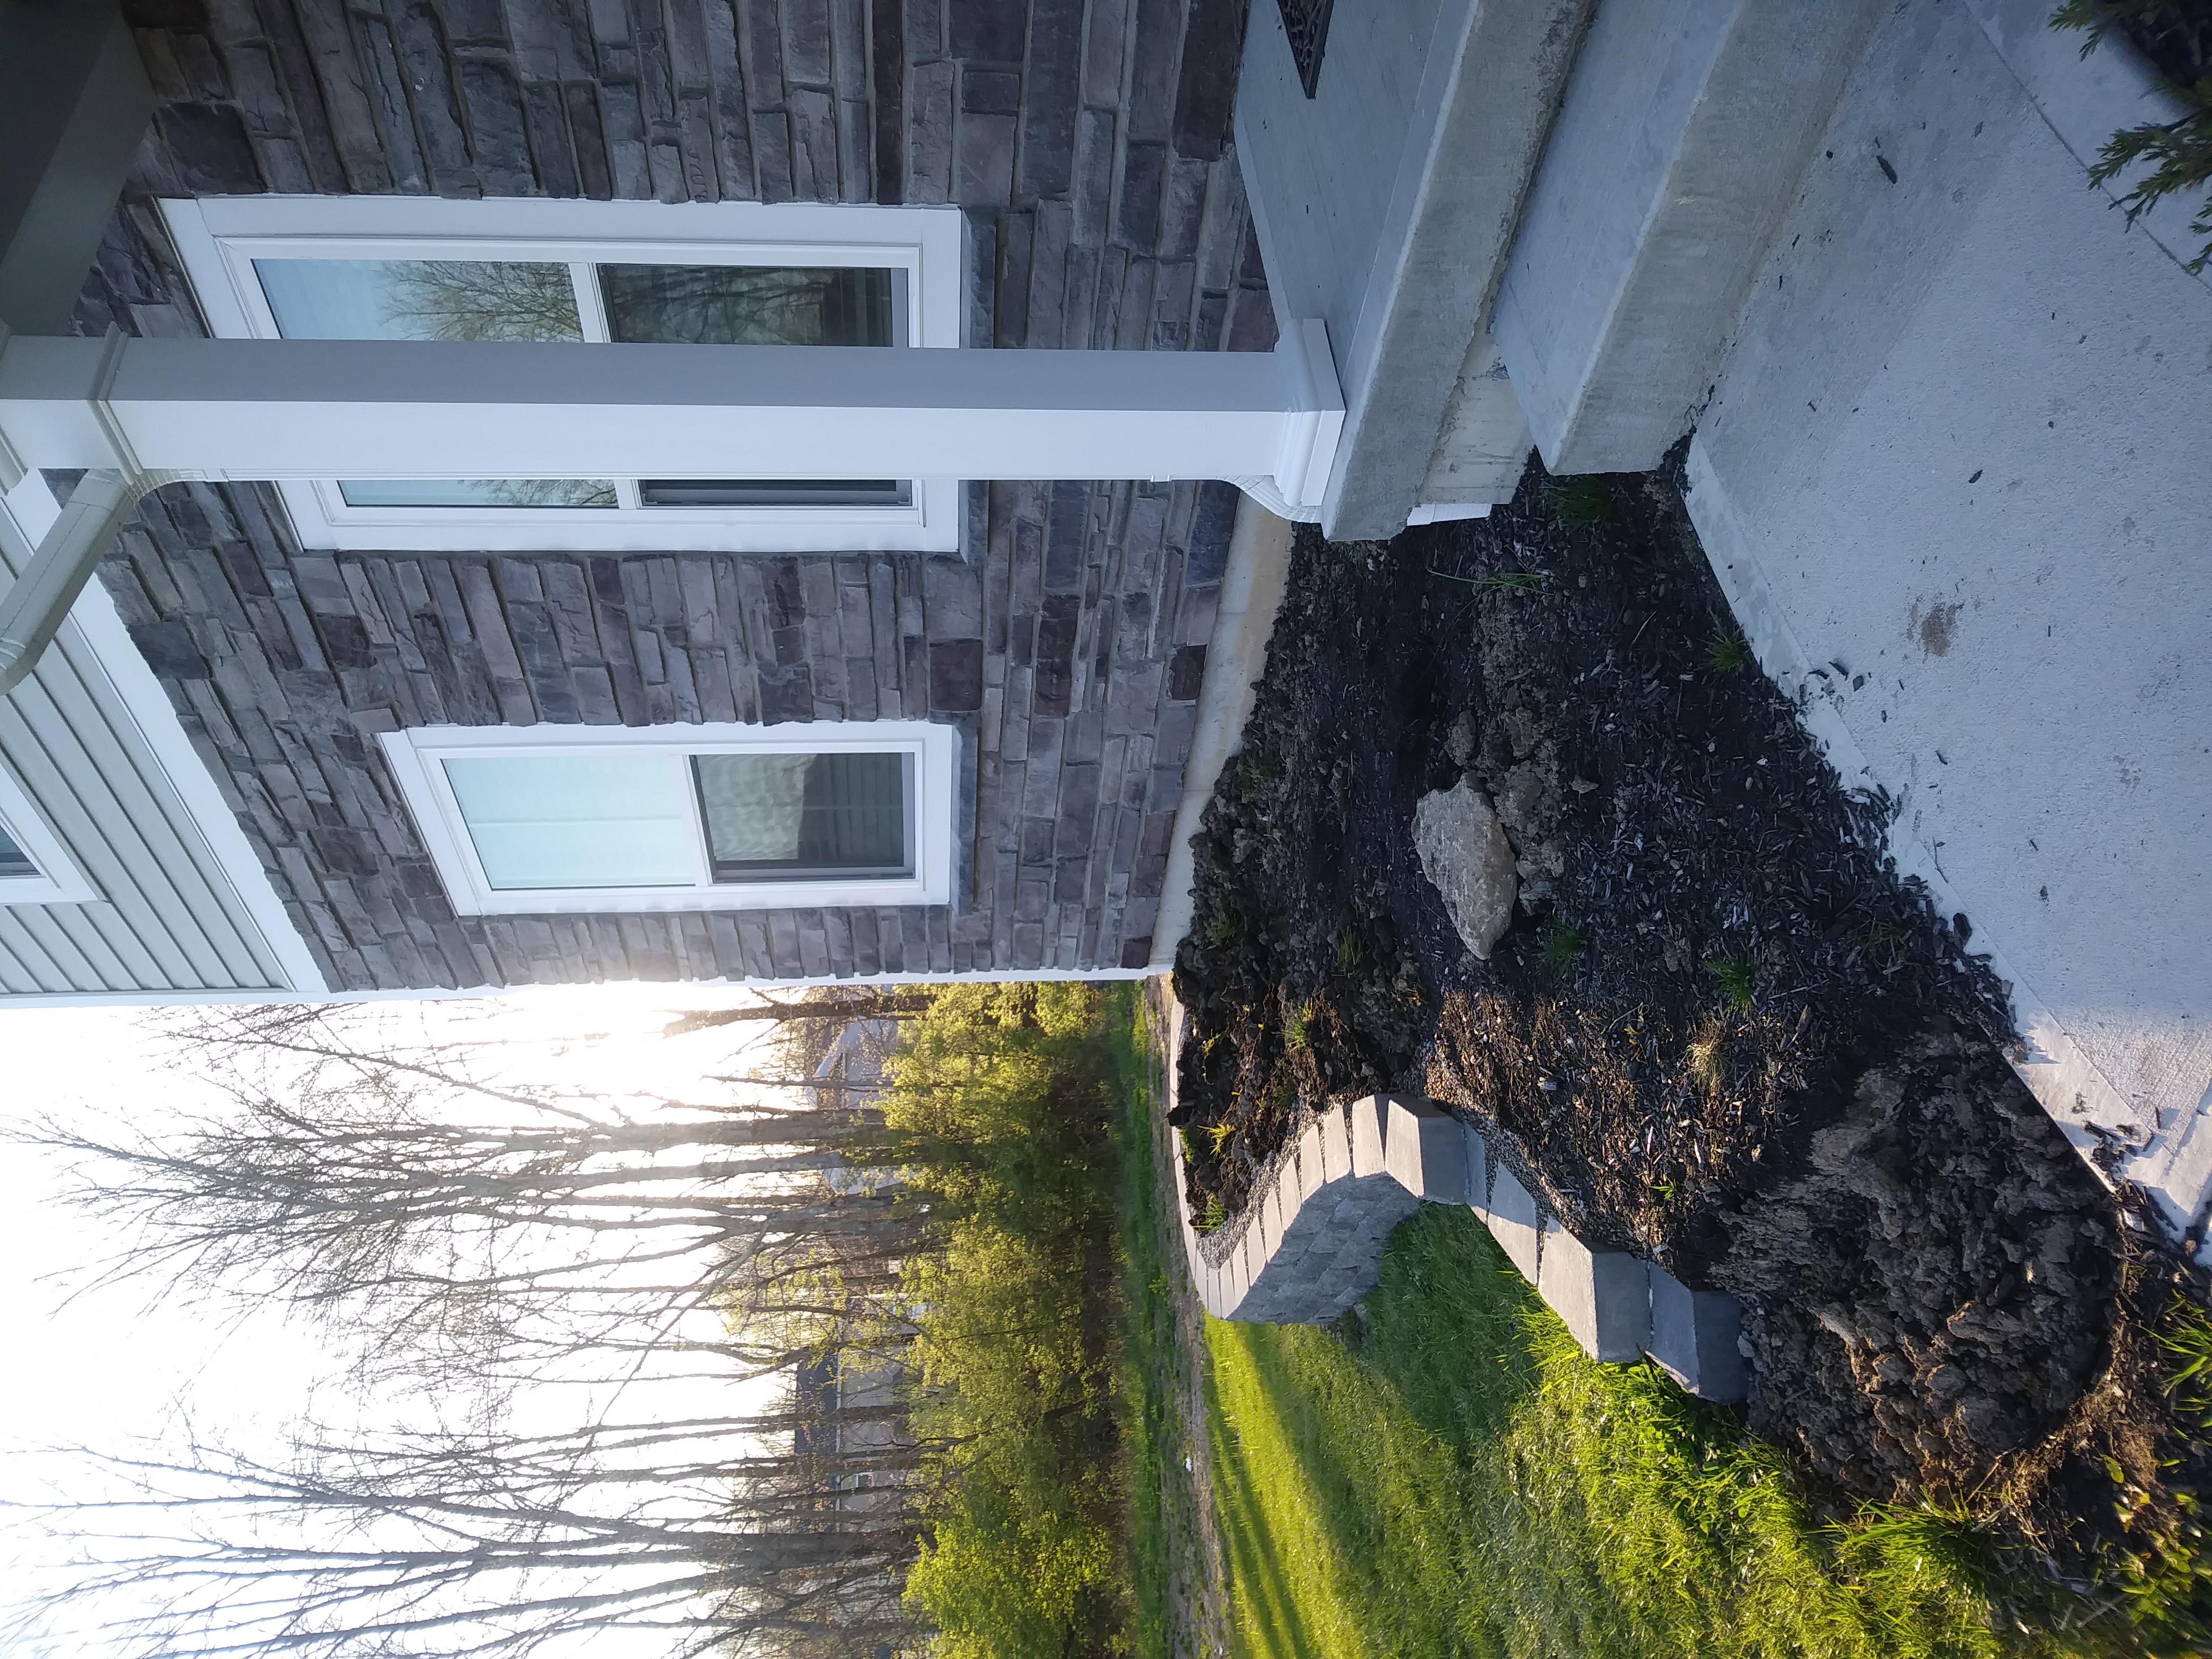
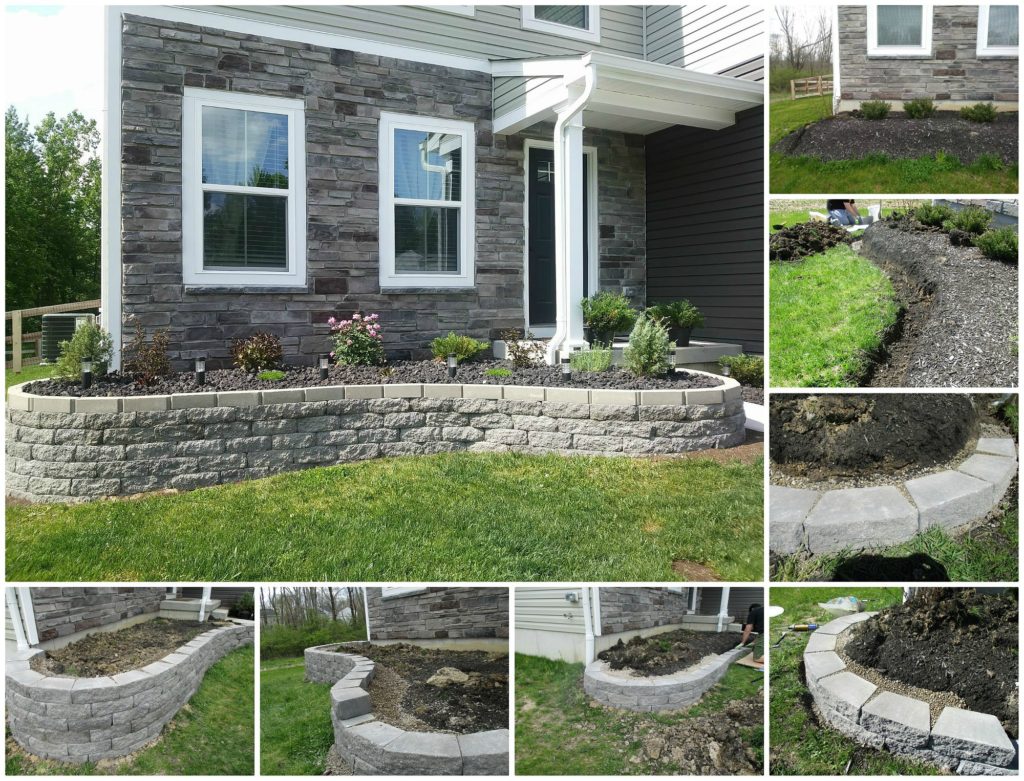
A small recap: Over the summer months, my husband and I were able to tackle one of our favorite outdoor home improvement projects to date. A stone retaining wall garden space to house our beautiful plants and create unbelievably captivating landscape to the front of our home. It was a easy project for the most part, only requiring a few weekends and some physical labor. By few weekends, this counts for everything including raising the flower bed by stacking and laying concrete block, shopping for material and yard tools needed, planting perennial flowers and spreading dramatic black lava rock. Topping this garden wall with interlocking pavers to create a detailed design and complete look!
Retaining Wall DIY: A 10 STEP PROCESS
In order to make it less complicated than it really is, I’ve provided pictures and narrowed down a bunch of necessary words into 10 easy steps to follow. Get ready for notable compliments from your neighbors! I’ve made a list of what you will need below and linked to the products we used or if I couldn’t find it, I linked to a similar product in case you were unsure what exactly something was.
Disclosure: We are by no means experts in this field, these are simply our own DIY project steps & experiences.
Retaining Wall Tools:
- Tamper
- Chisel
- Sledge Hammer (2.5 LB)
- Mallet
- Angle Grinder with a concrete blade
- digging shovel
- Liquid Nail
- Level
- Garden Spade
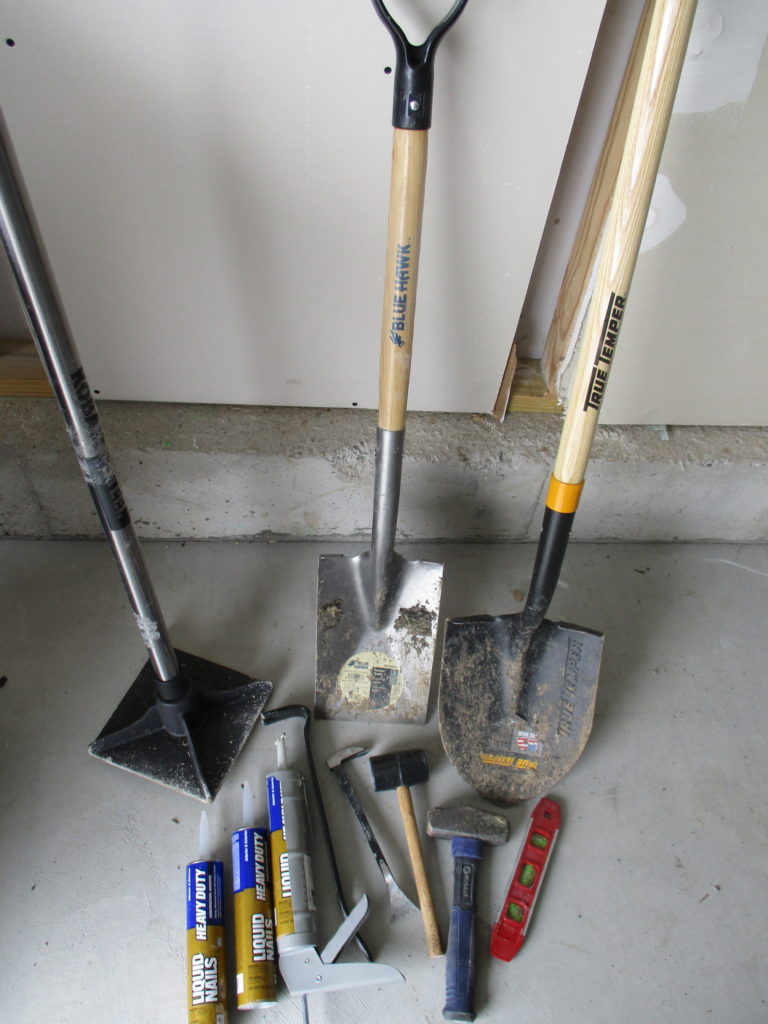
Other Materials Required For Building A Retaining Wall:
Step By Step Instructions Of How To Build A Retaining Wall On A Slope (with photos)
STEP 1:
First, start by taking some measurements of your desired height and get an idea of how tall you would like your retaining wall landscaping to be. While gathering measurements, be sure that you dig your trench one inch deep for every eight inches tall. More about the trench in step 2. Taking in consideration the measurements will also help give you a better idea of the how much material you will need before you head to your local home improvement store. (We did not have a truck so we were okay with the multiple trips and buying more as needed and we also had little to configure as we left the flower bed in the same shape, only to determine the height.) With all that in mind, our retaining walls landscaping is on a slope (as mentioned) , however, if you’re ground is not on a slope you have it much easier. Once you have your measurements and an idea of the layout design, you are more then ready to move on to step number two.
STEP 2:
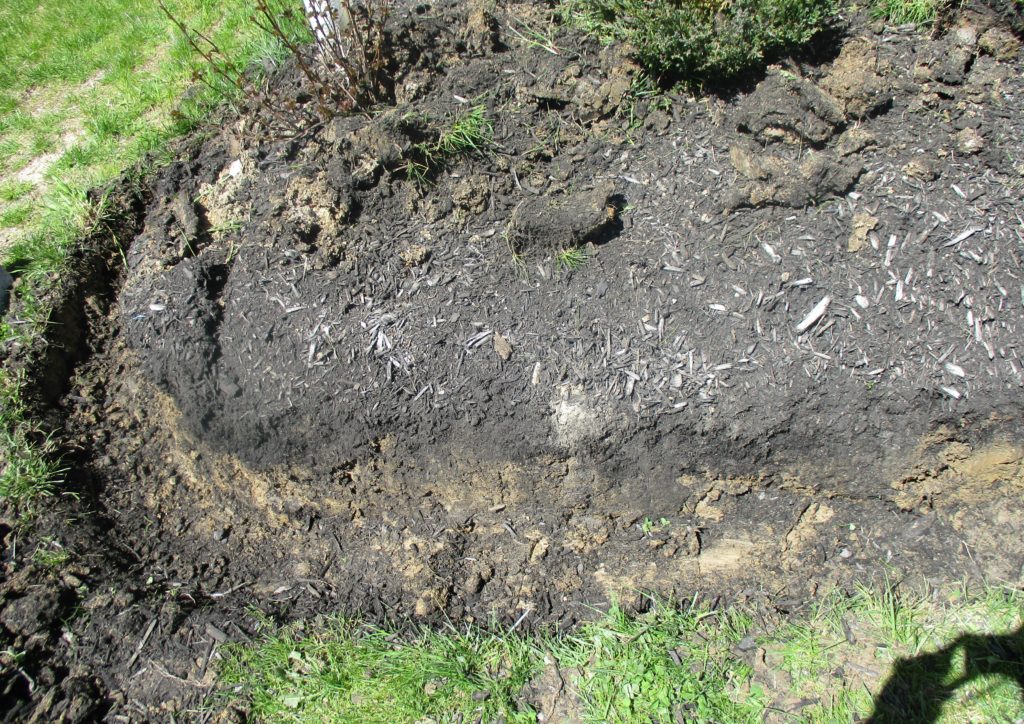
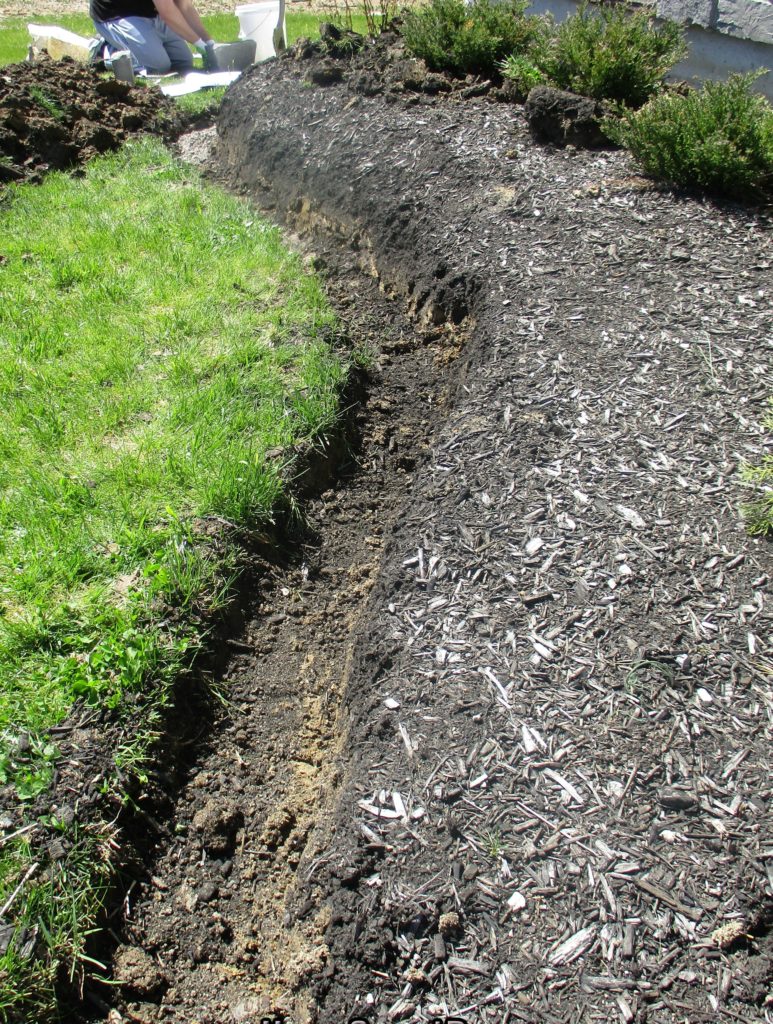
Start by edging around your chosen location and digging out a trench that is several inches wider than the width of your retaining blocks.
STEP 3:
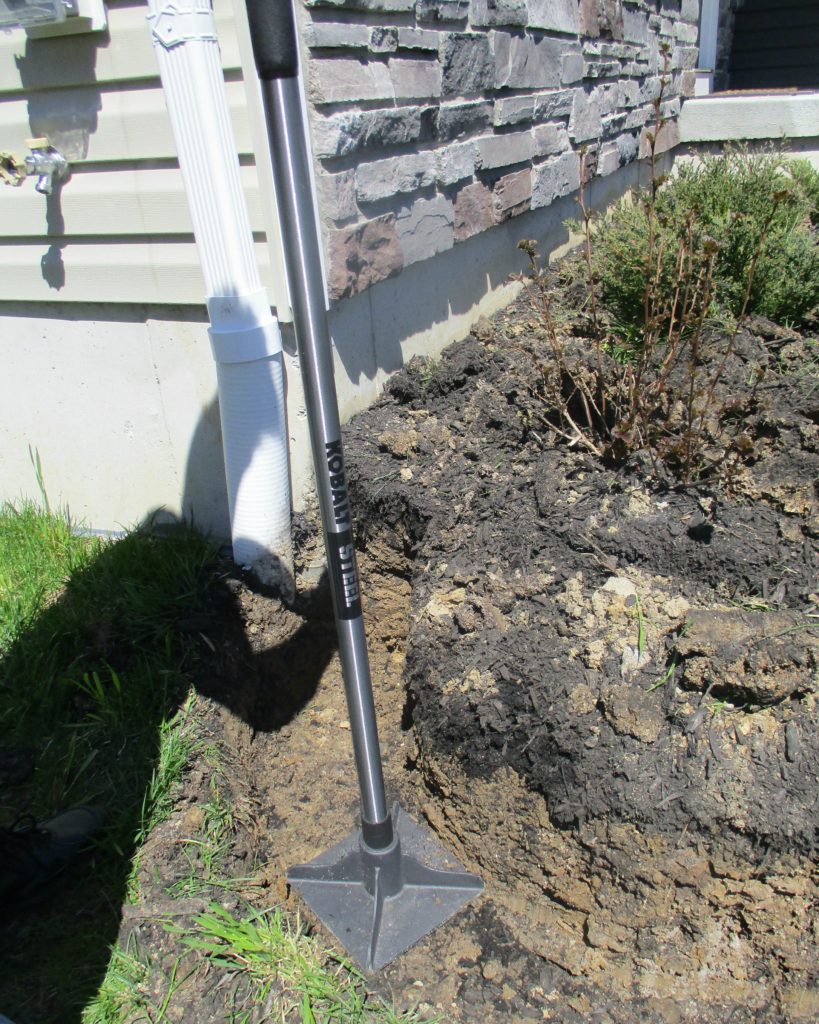
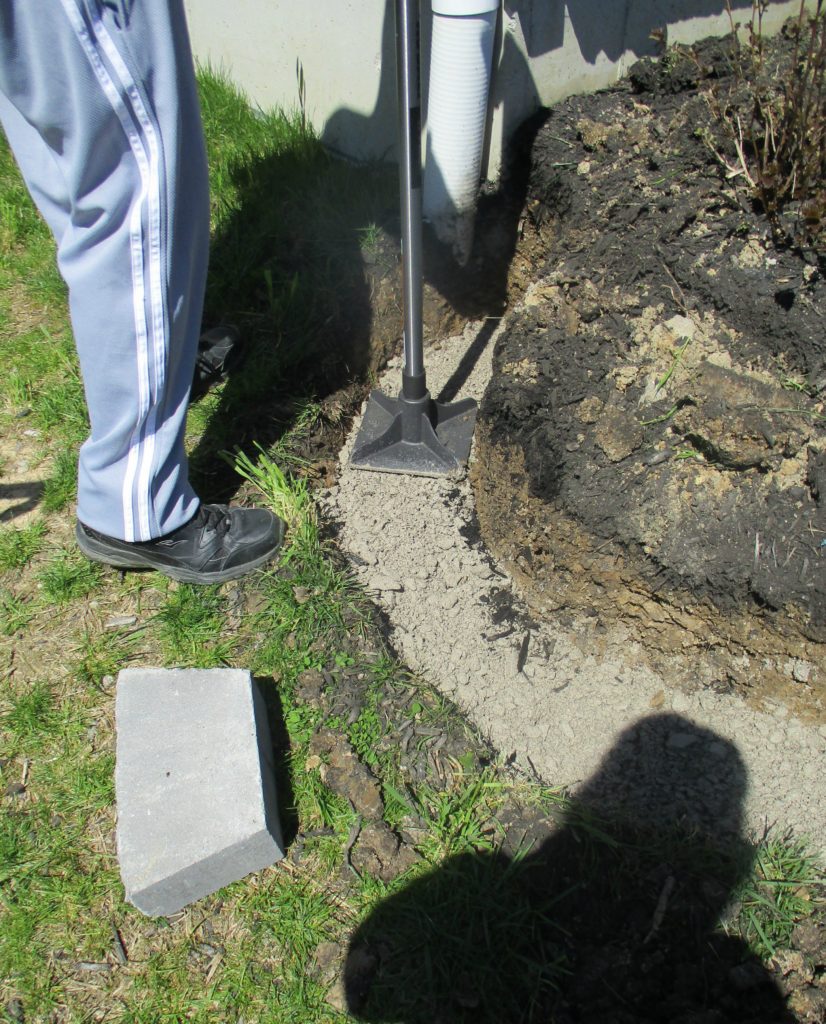
Using your Tamper Tool, Stamp down your trench you dug to ensure you have a flat level surface to start.
STEP 4:
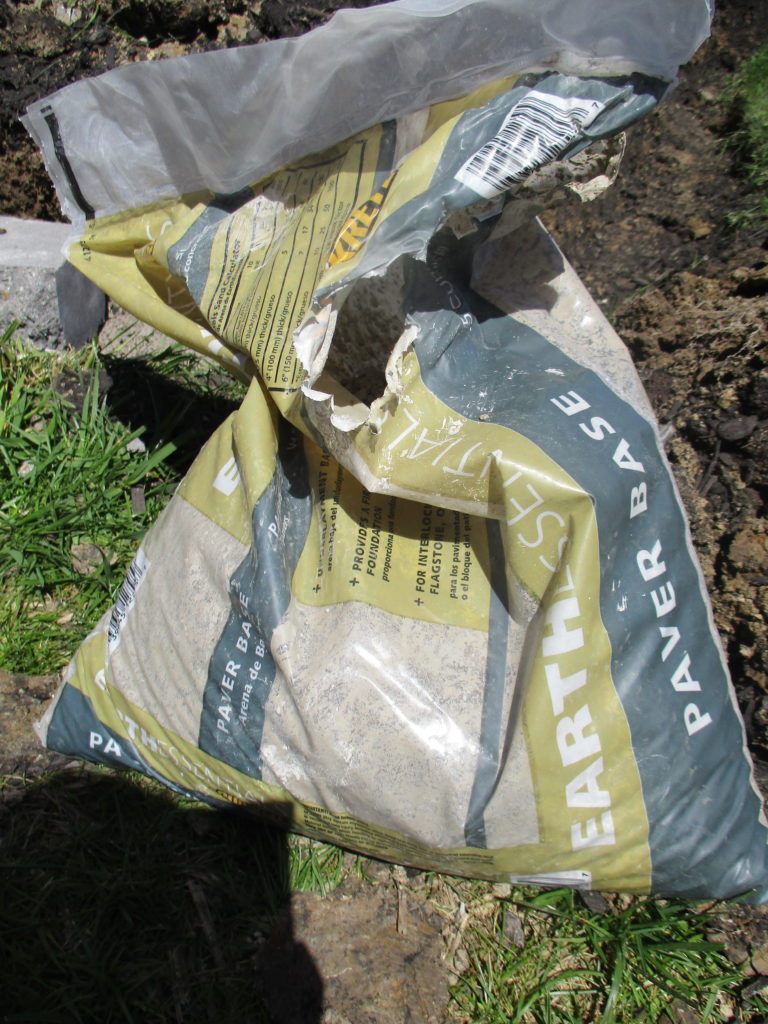
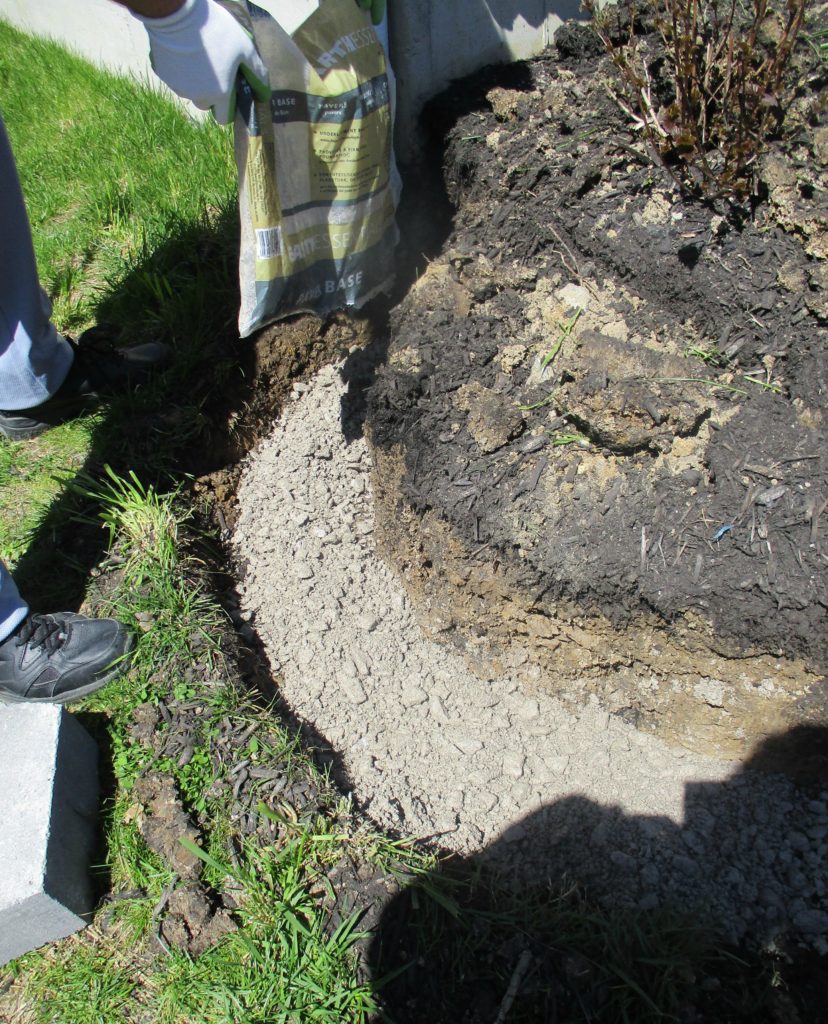
Pour your paver base and re-stamp to compact and level the surface once again.
STEP 5:
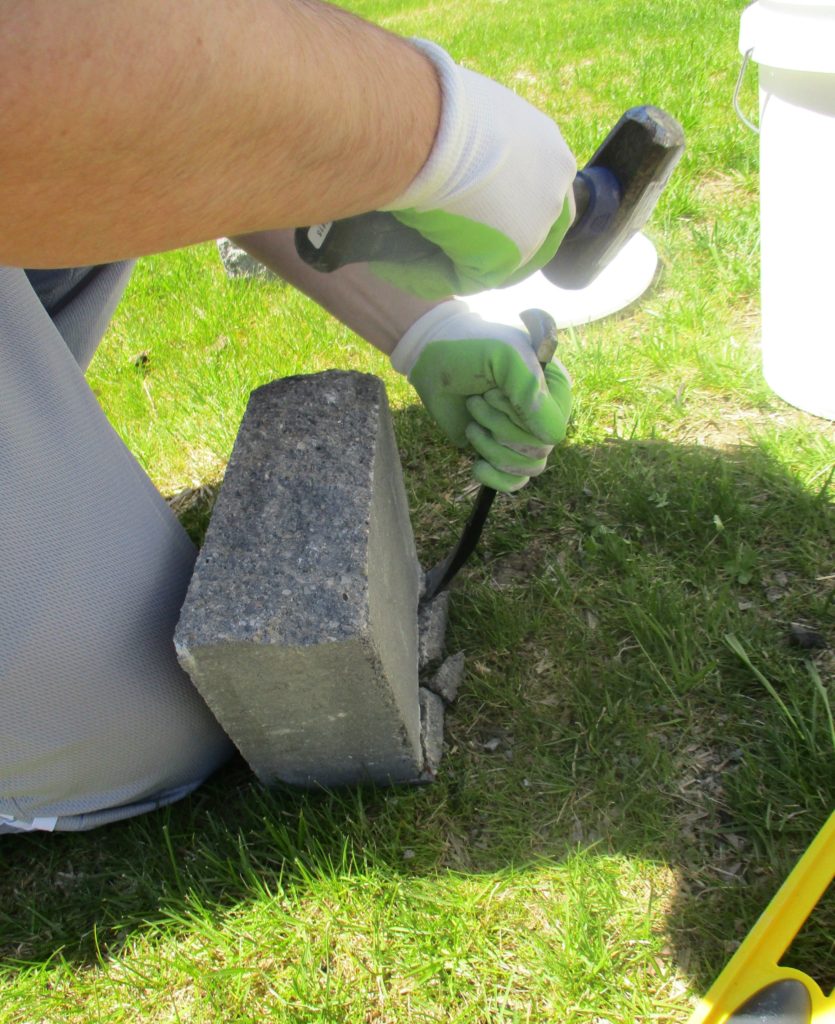
This step is optional. Since our purpose is to not retain much pressure and weight of the soil back with a wall structure but used for more of a landscaping feature this was perfectly fine. We took the lip off to give more of a stacked stone versus tiered. If you choose to go this route, like ours, Chisel the lip on the back of the retaining block using a chisel and a small sledge hammer. This will allow your concrete blocks to sit flat. If you choose not to do this or need more of a wall structure for your slope, you may leave the lip on the stone and go for the tiered retaining wall design.
STEP 6:
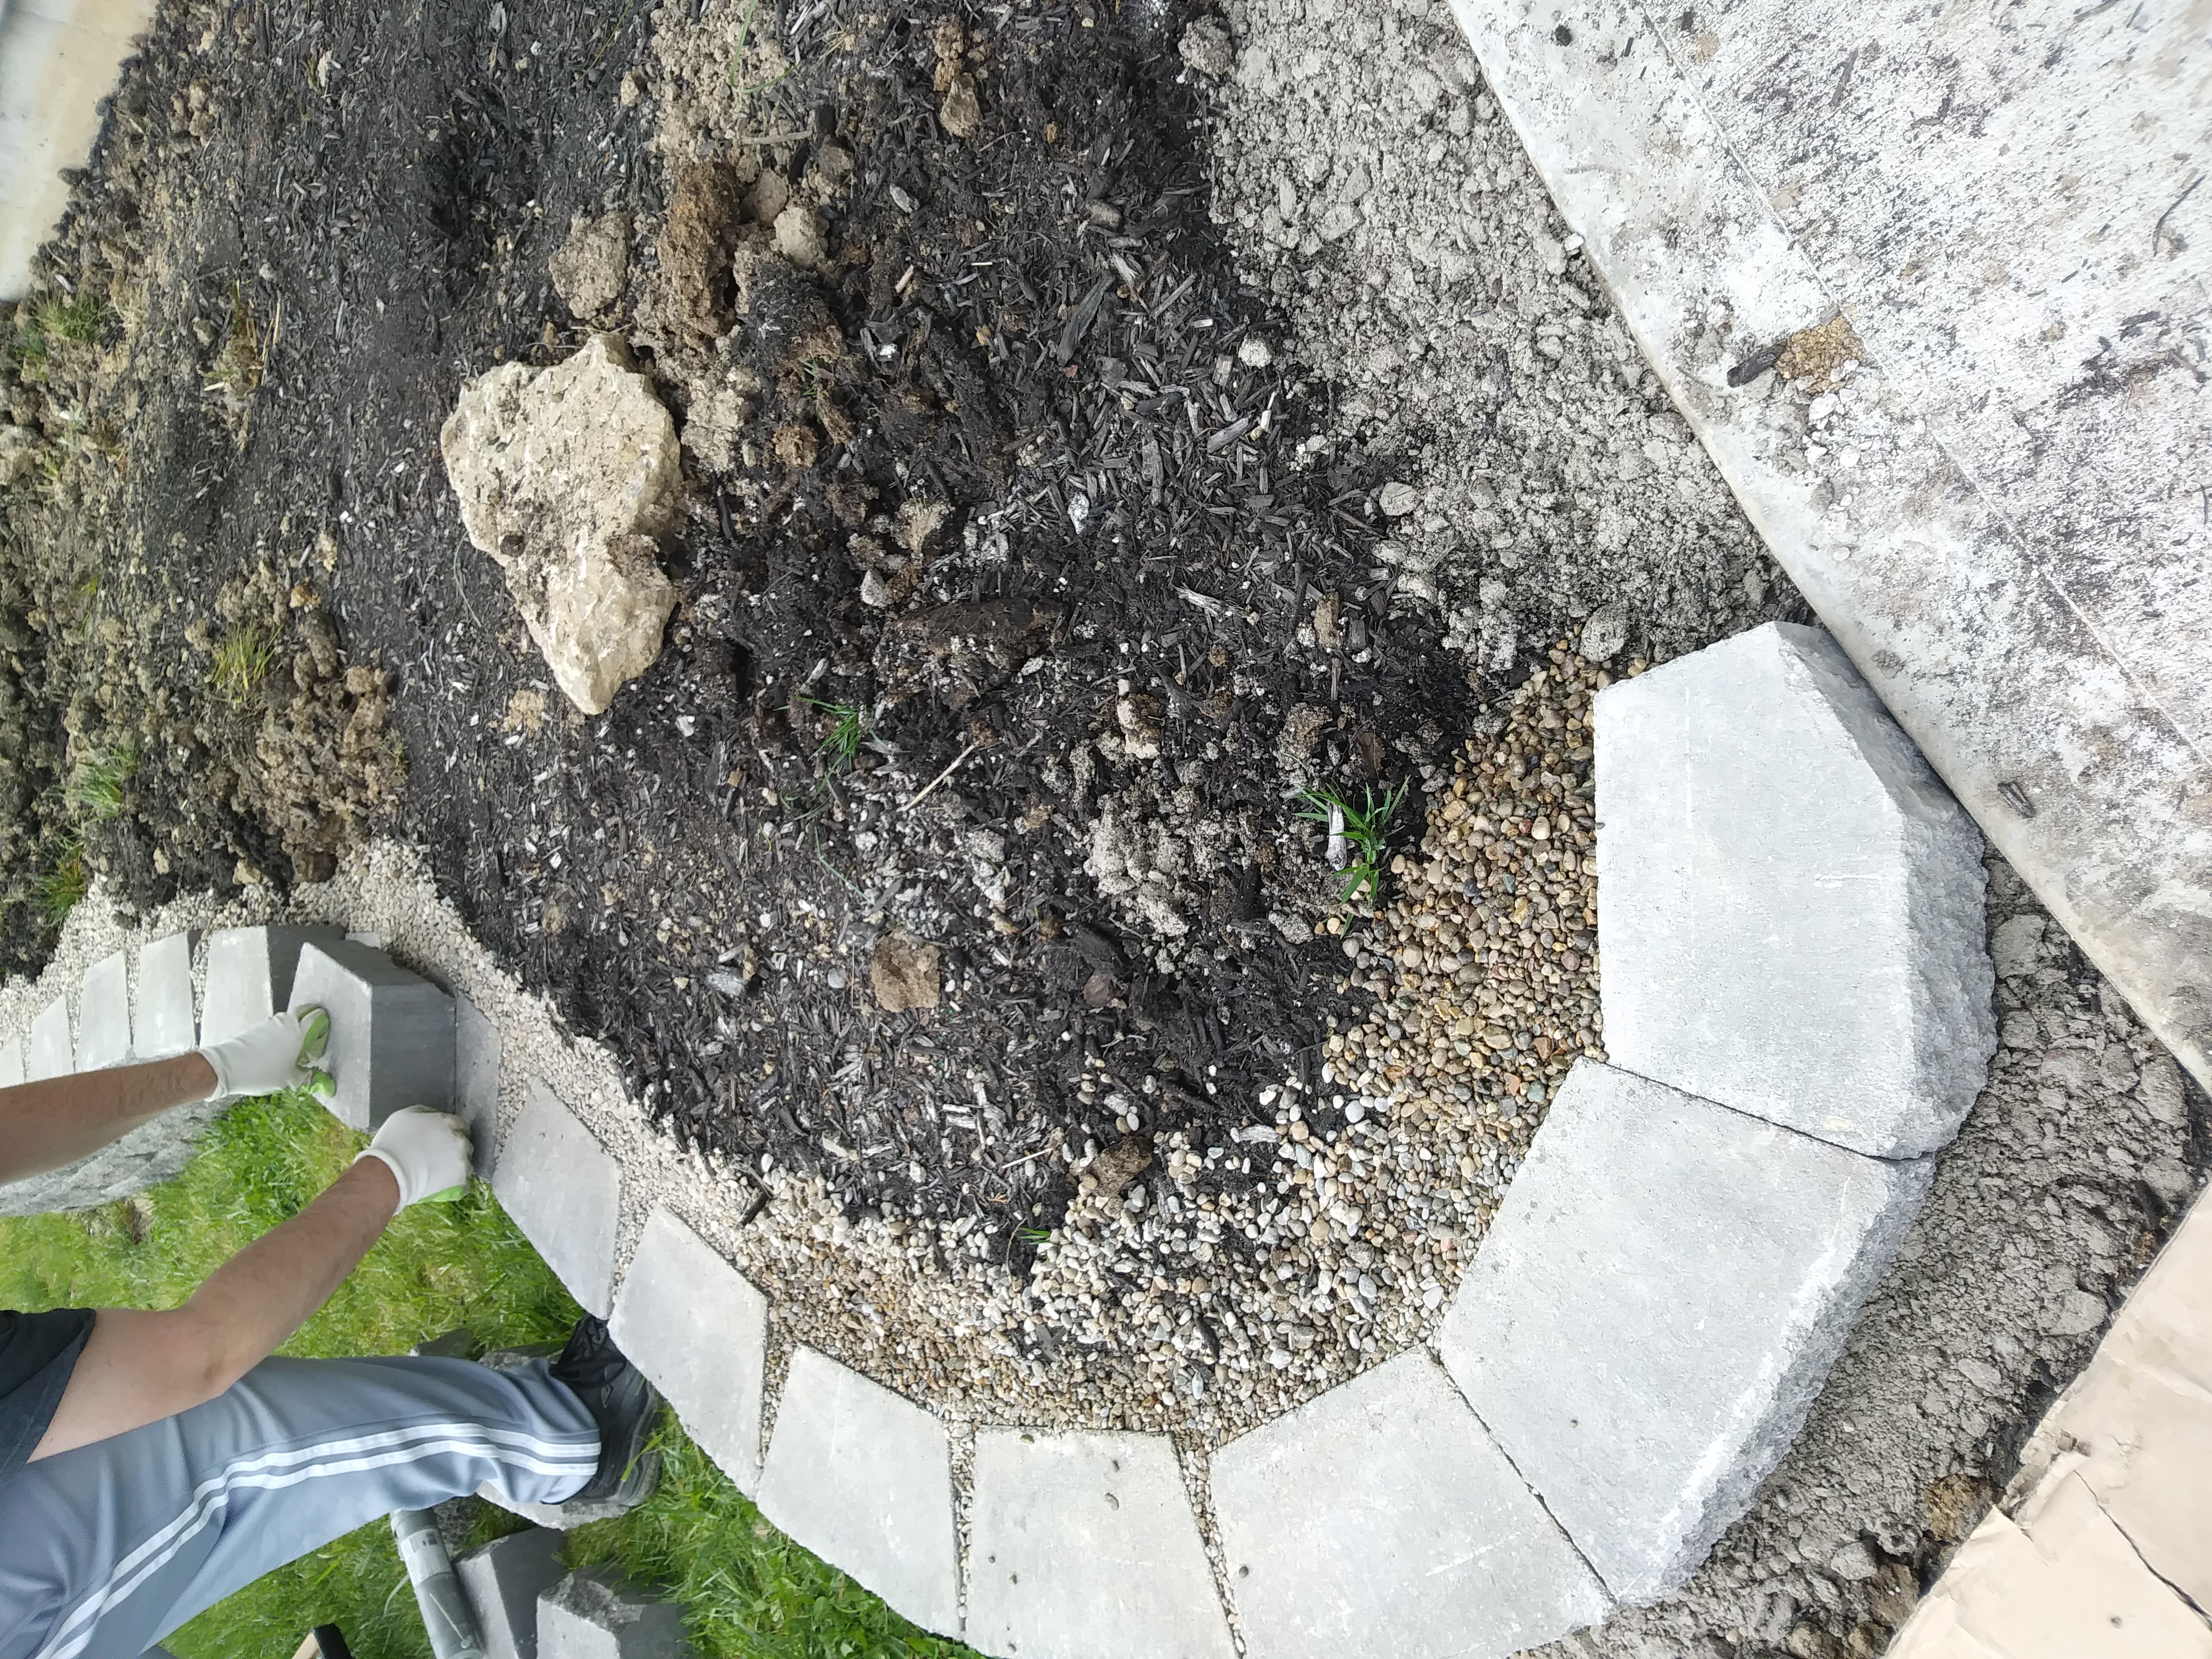
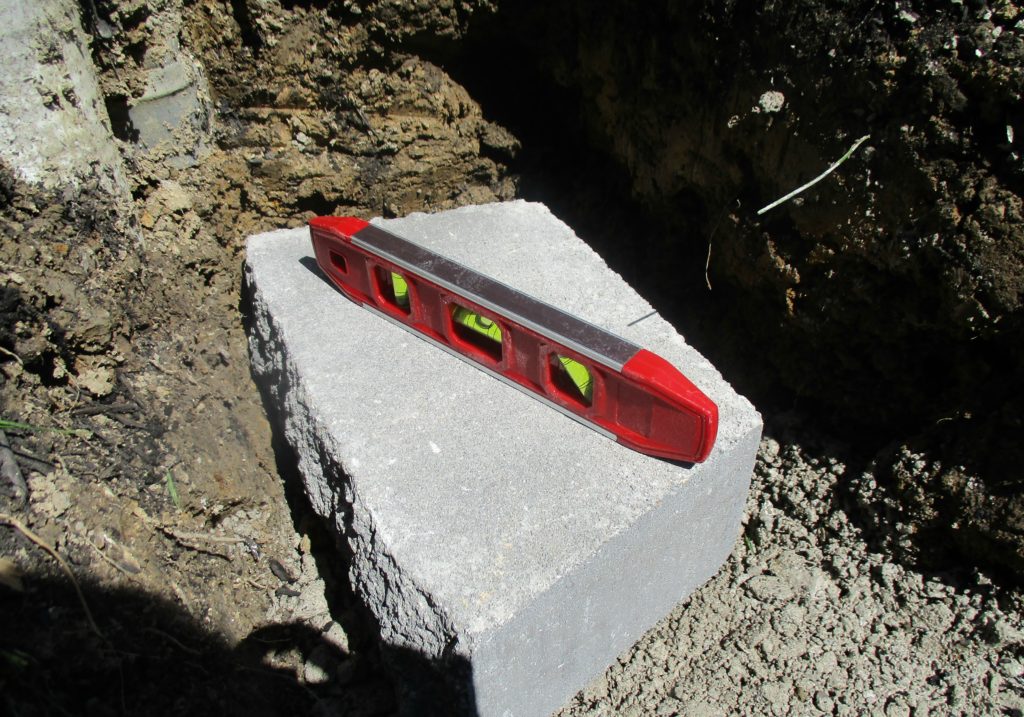
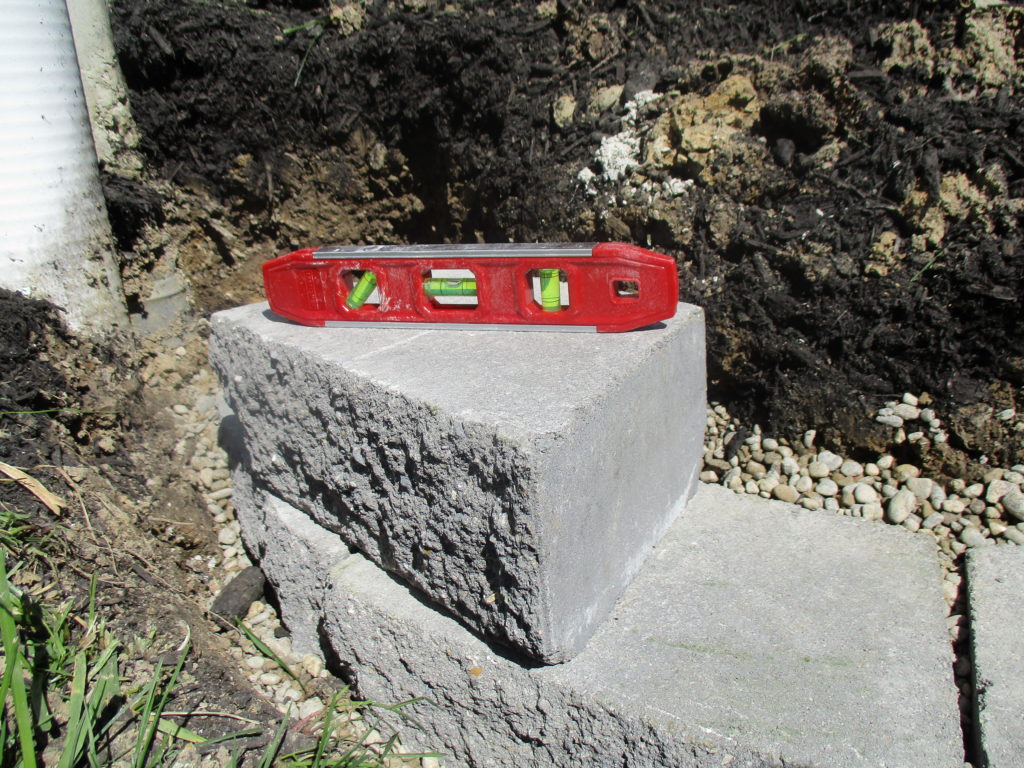
Begin laying your first row, laying one concrete block at a time. Using a mallet and a level to ensure each one is positioned level. The mallet is useful for refraining from damage while you are hitting the block into place.
It’s crucial that your first row is completely level for the rest of the layers to sit right.
STEP 7:
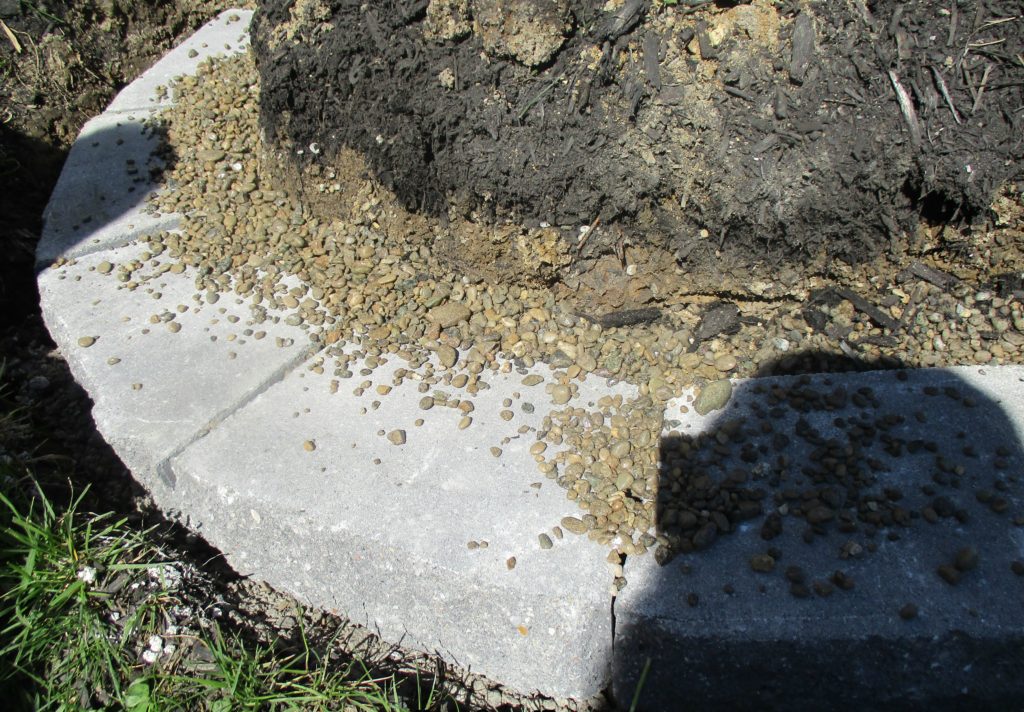
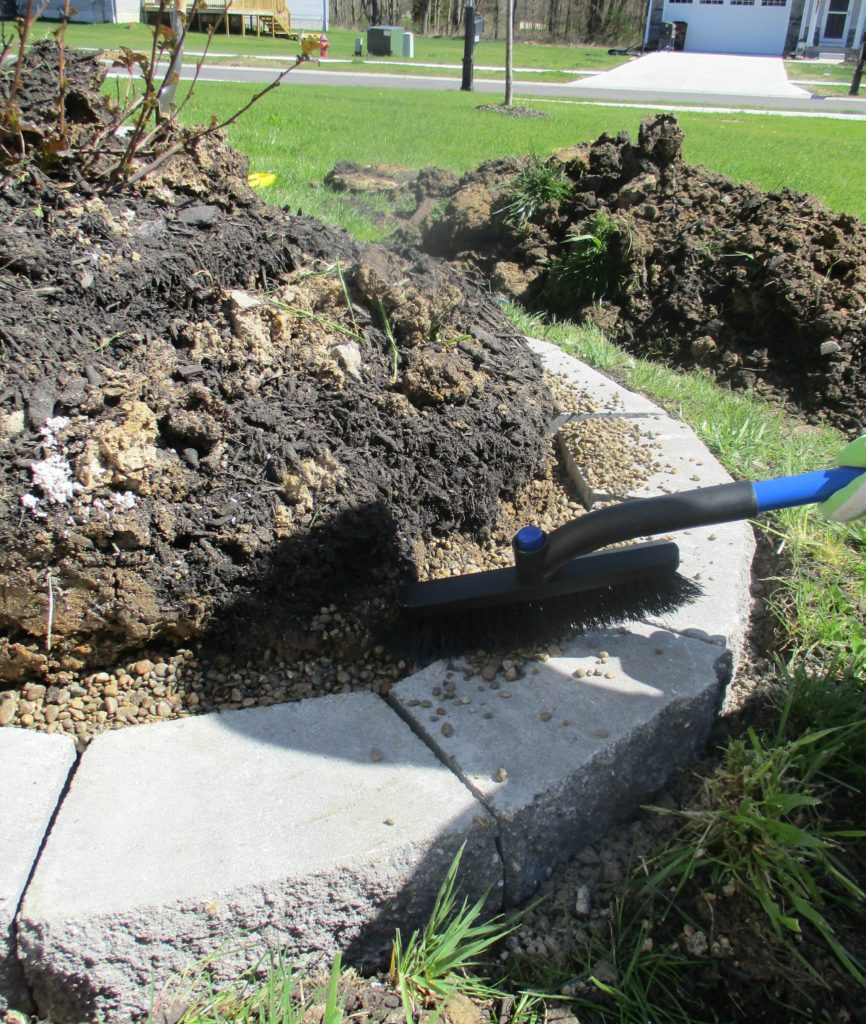
Once you get your first row in place, use pea gravel to fill in the back (1-2 inches behind the retaining block should be sufficient) and the small gaps in between. This is for drainage purposes but also does help with keeping blocks positioned. You will be repeating the pea gravel pouring on each row from here up.
[Useful tip] Use a soft brush or your hands will do just fine to sweep off excess gravel off the top of concrete retaining blocks.
STEP 8:
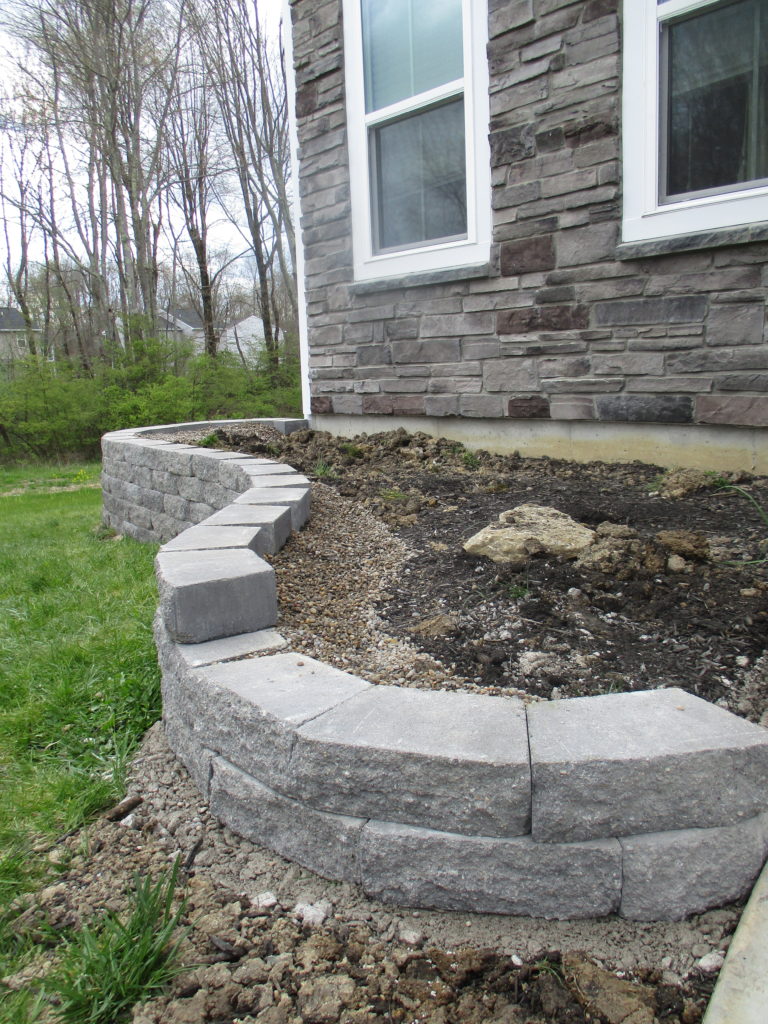
Starting your second row and up until your final row be sure to offset your rows a half a block until you’ve reached your final height, while using pea gravel in the back and in between as you go like the step mentioned above.
![]()
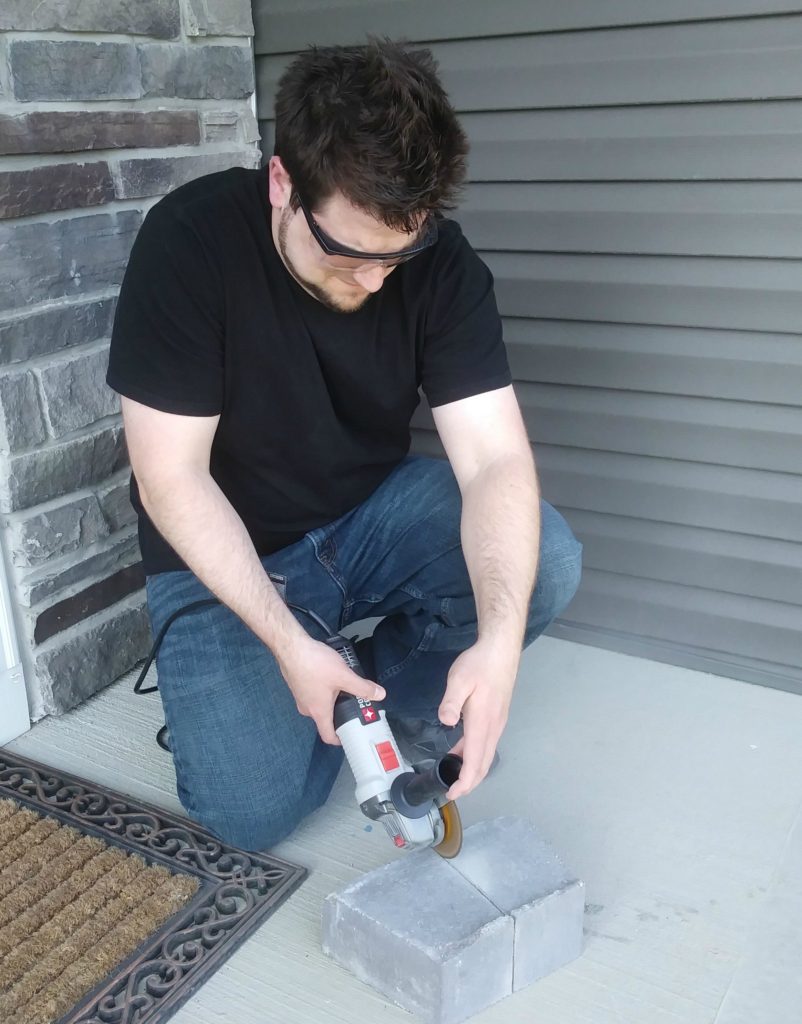
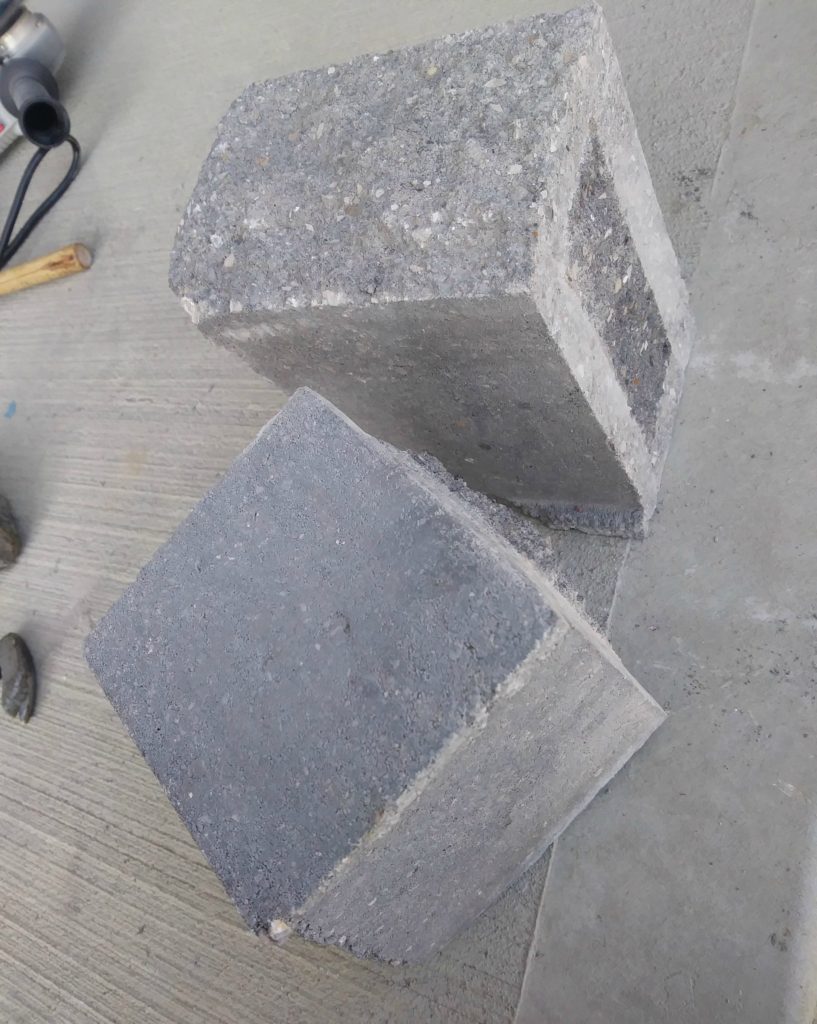
Where needed, due to offsetting your rows a half a block you will have to cut a few blocks in half as end peices and may also need to cut blocks to meet any other specific design needs.
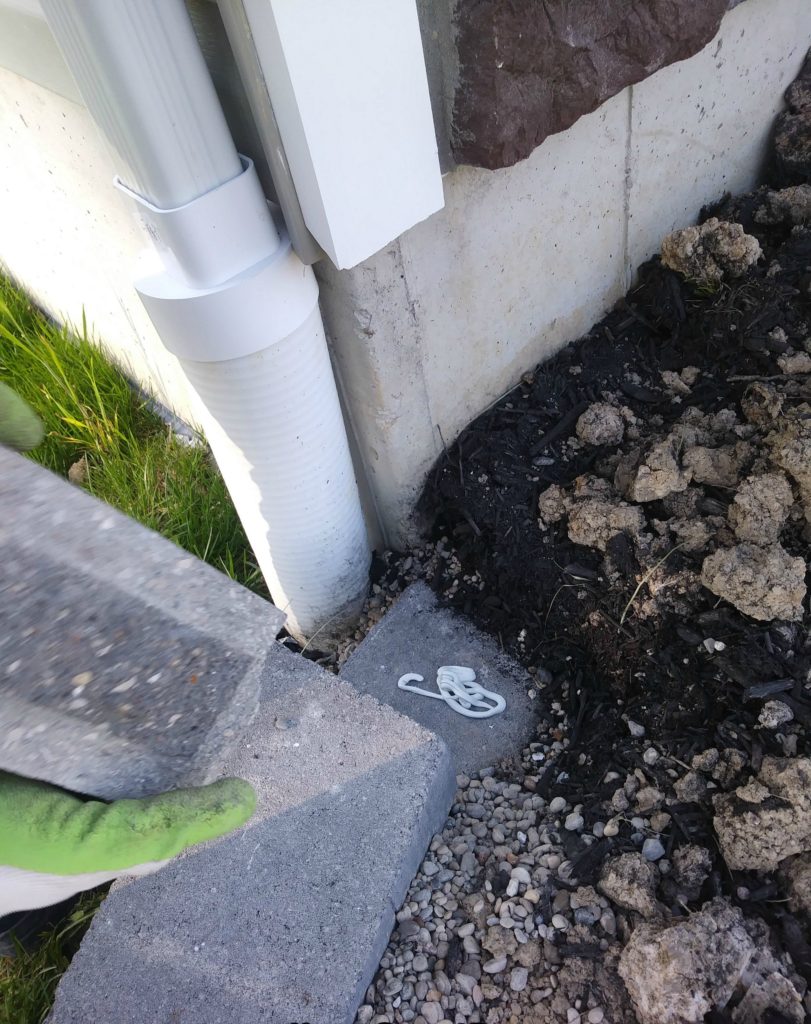
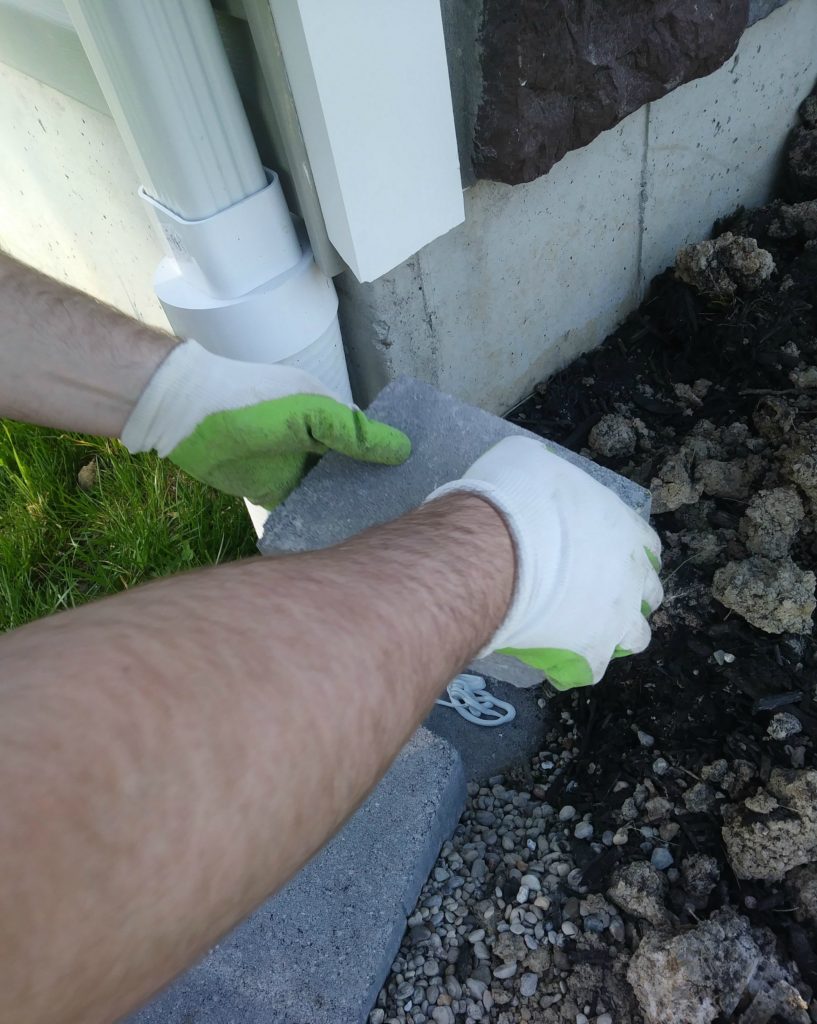
For example, In our design we chose to take the retaining wall all the way to our walk way so we had to cut the bottom stone that meets up to it precisely to fit against it, taking a small corner off. You may not need to do this.
For cutting the concrete blocks, we found using an angle grinder and a concrete blade was easiest for these intentions.
A side note, if your concrete blade only semi cuts through the whole block like ours did, you can use your sledge hammer and even the chisel to break the rest of the way.
STEP 9:
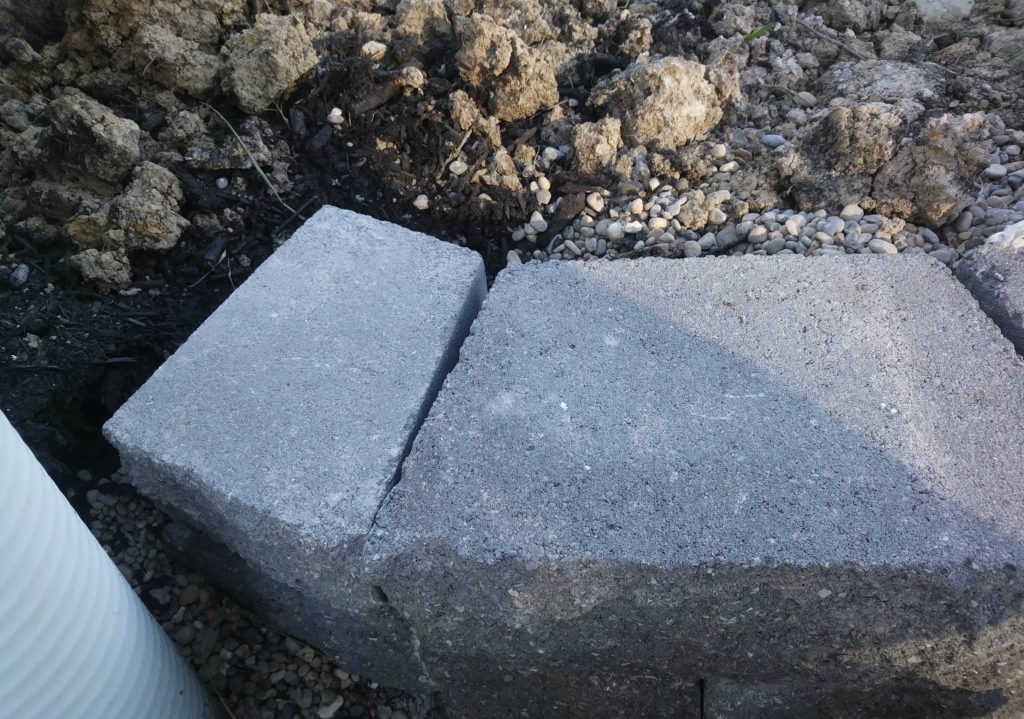
Use liquid nail as an adhesive from the second row and up so the blocks stacking on top remain secure. If you skipped Step 5, and kept the lip on the retaining block you don’t necessarily need the liquid nail, but I would recommend, as it gives extra security. Be sure to use liquid nail on your final top two rows no matter what so the top layers do not come loose.
This is where the half concrete block we cut was placed, on the end, due to offsetting I mentioned above.
STEP 10:
Give the liquid nail a full 24 hours before adding dirt and flowers. Now that you have your Beautiful Stone Retaining Wall, you are all ready to fill your raised bed with dirt and attractive flowers. Top with mulch or rock to conclude. Hello Curb Appeal!
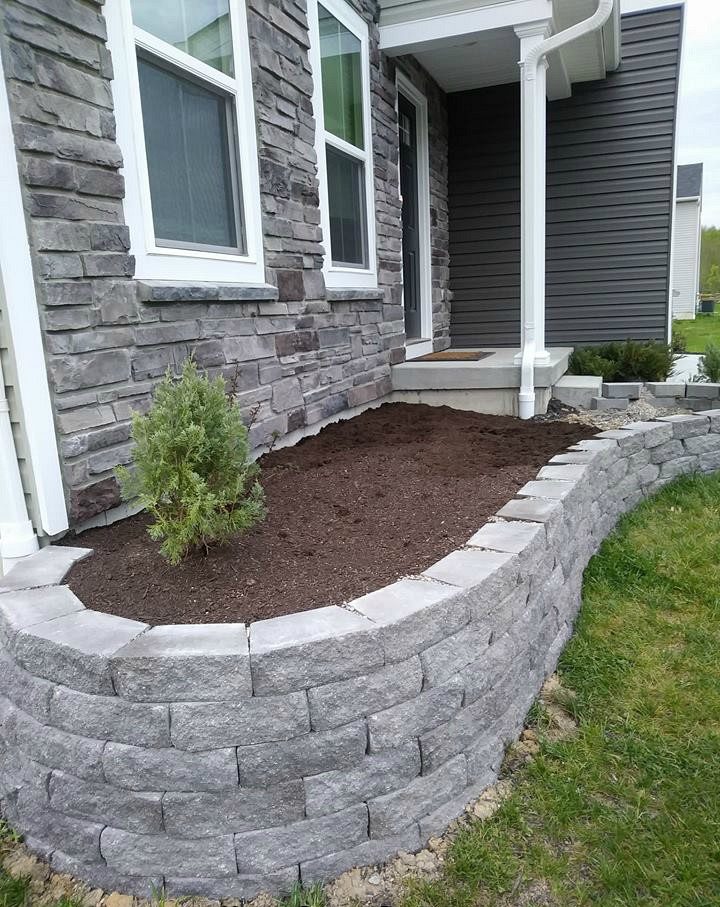
Optional: You can give a finishing touch by adding Interlocking Topper Pavers like we did. This really adds that extra glam (If rocks could have glam) 😉
Here is a super short run-through from our starting point.
>>Want to Skip Over for More of this Garden Before And After??<<
>>Flower Bed Eye Candy–>See What Flowers We Planted, Ones That you practically CAN’T KILL<<
UPDATED: Since this post, We’ve played in more dirt so be sure to check out our Landscaping around the A/c Unit, The flower bed transformation on the side of the house where we spruced up our curb appeal around the garbage can, and we also did a raised garden bed in the backyard.
Shop Related Products
Will you be trying any retaining wall ideas in front of your home? We hope this tutorial has inspired you in the DIY department, it’s always so gratifying when you are finished and can look back on a completed project! Feel free to save these garden retaining wall ideas to your favorite Pinterest Board to attempt later!
