This post may contain affiliate links, which means we'll receive a commission if you purchase through our links, at no extra cost to you. Read the full disclaimer here.
I am finally getting around to posting our living room board and batten wall we’ve been working on. A board and batten full wall! Actually, count it two full walls! This space is slowly evolving, and I’m really thrilled about that, being that it once started off as a flat white room. One little word; Progress. If there’s a small chance that the dog toys are picked up from all over the floor you have to snap a few pictures, or in the case that they’re not, you snap away anyhow.
THE BORING BEFORE
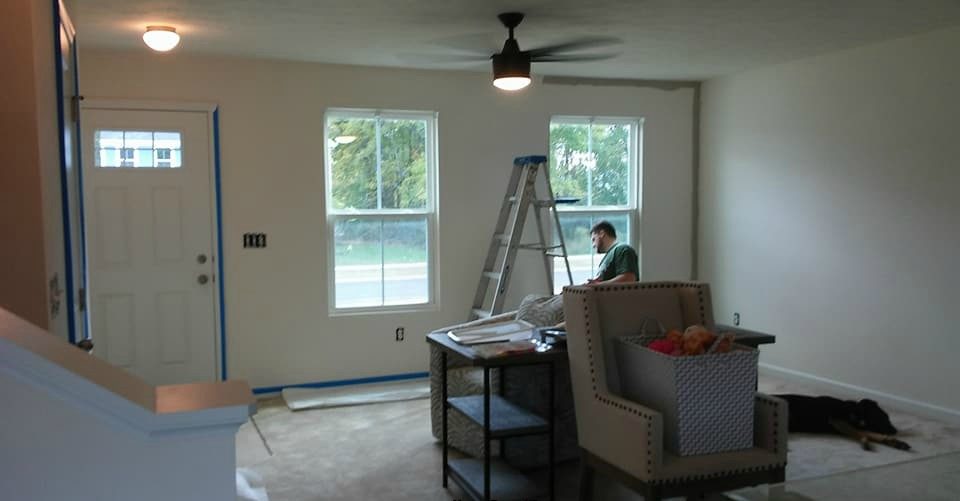
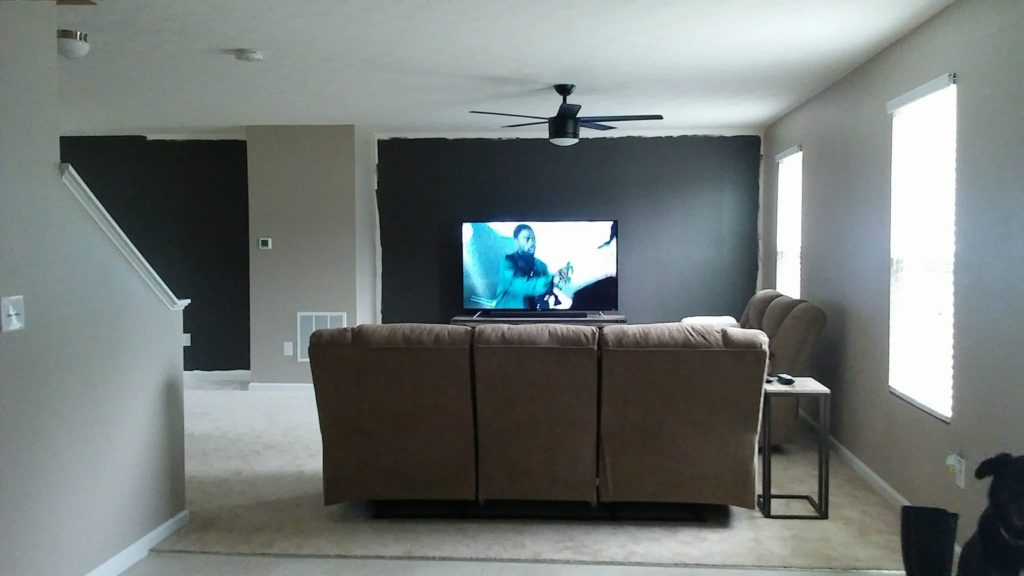
Here is some before snapshots of the dull white living room.
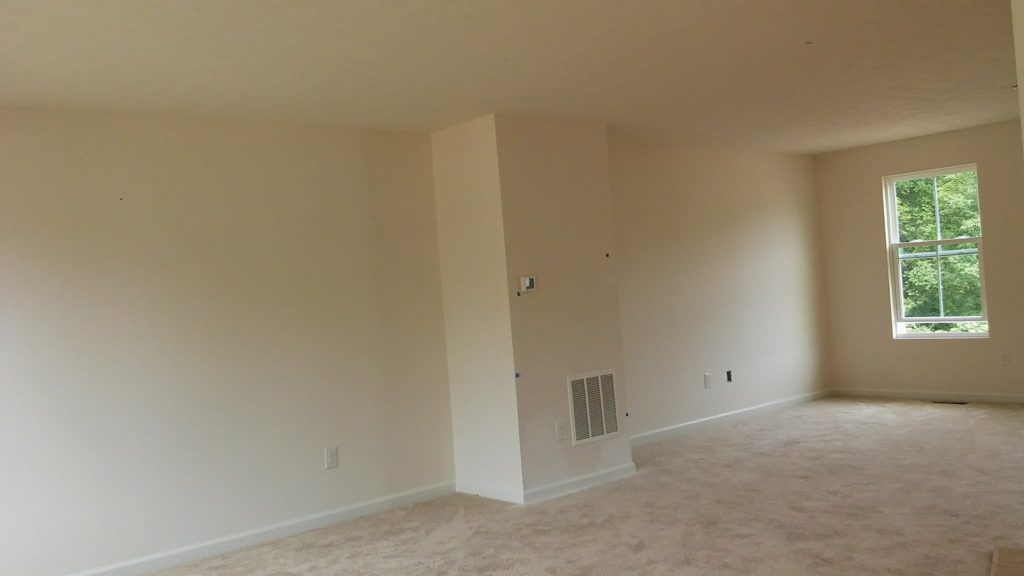
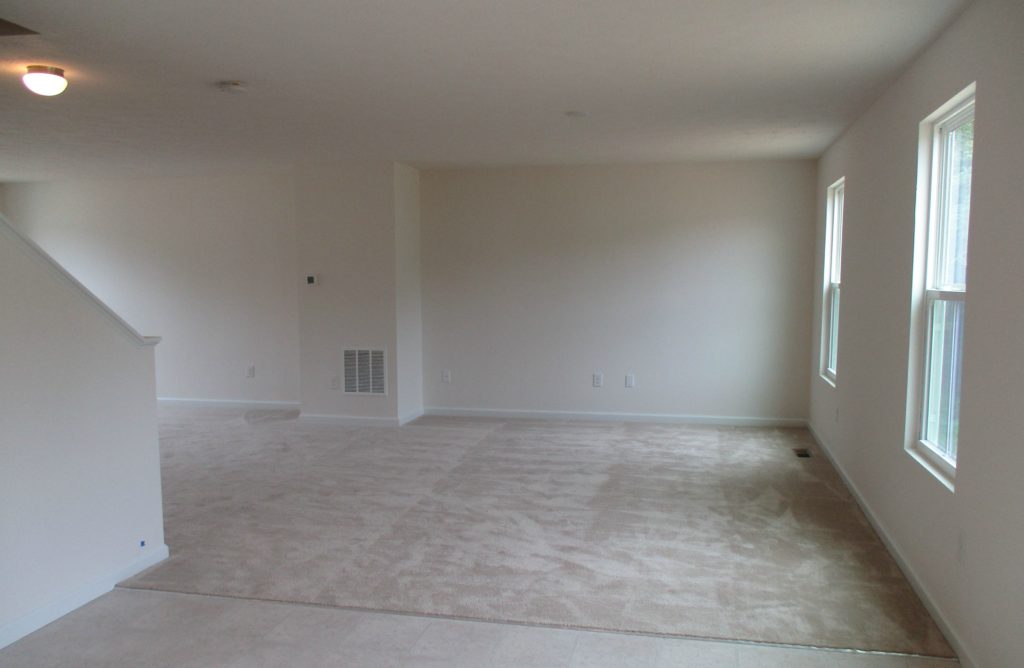
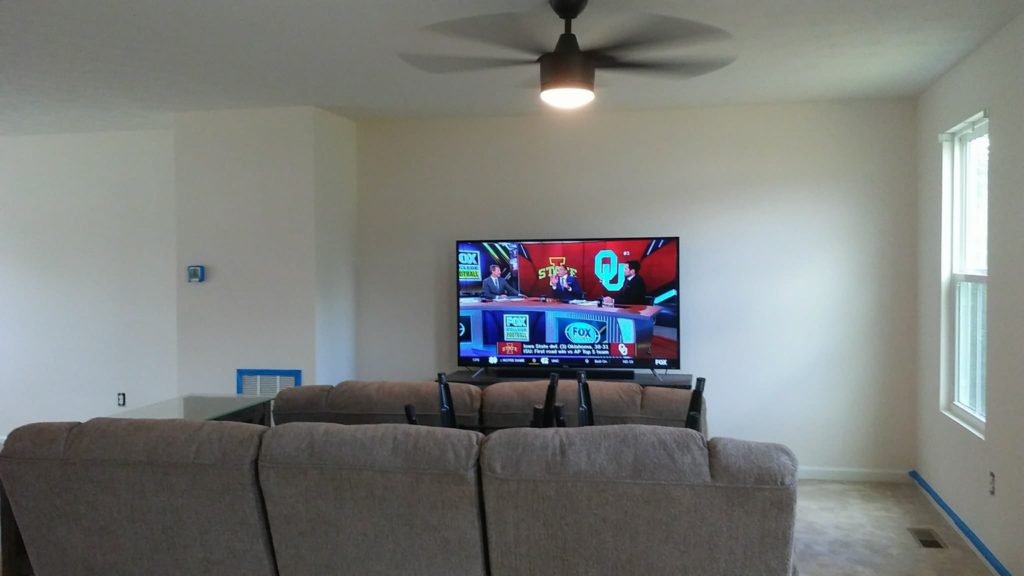
We got fancy & installed these black matte modern ceiling fans before dipping any paintbrushes. My living room flows into the kitchen to make one big open concept L shaped room. This got me looking for interior design inspiration on Pinterest. What kind of epic tragedy would it be if I did some experimenting and did not like it. That’s a whole lot of square footage to re-paint. This called for a visual. I wanted to bring out those two back walls and make them a focal point. After tossing paint colors around for some time I settled on an office inspiration from Life on Virginia Street. We were able to do some tweaking to fit our needs and achieve a similar look to give a builder grade house some home improvement.
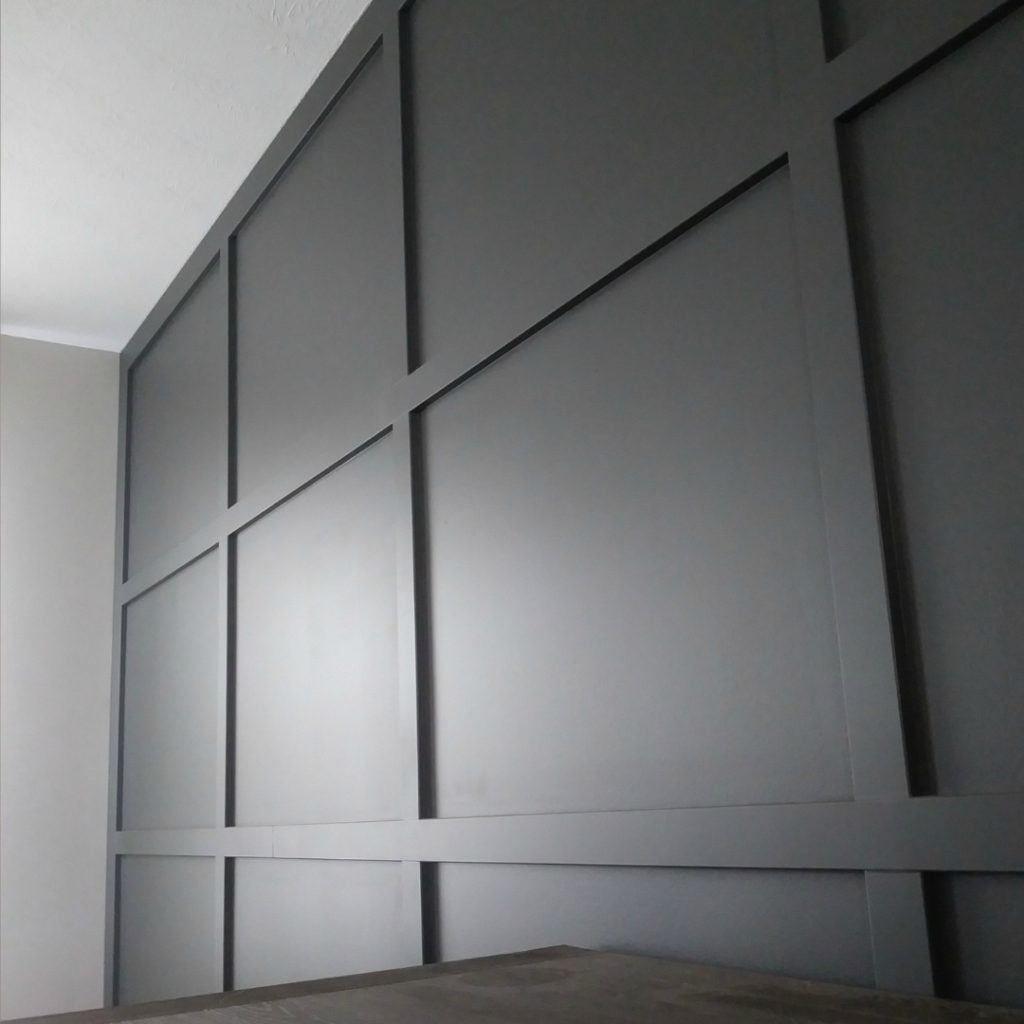
So today, coming at ya with our finished board and batten wall reveal and how you can achieve this look easily as well!
PAINTING THE LIVING ROOM
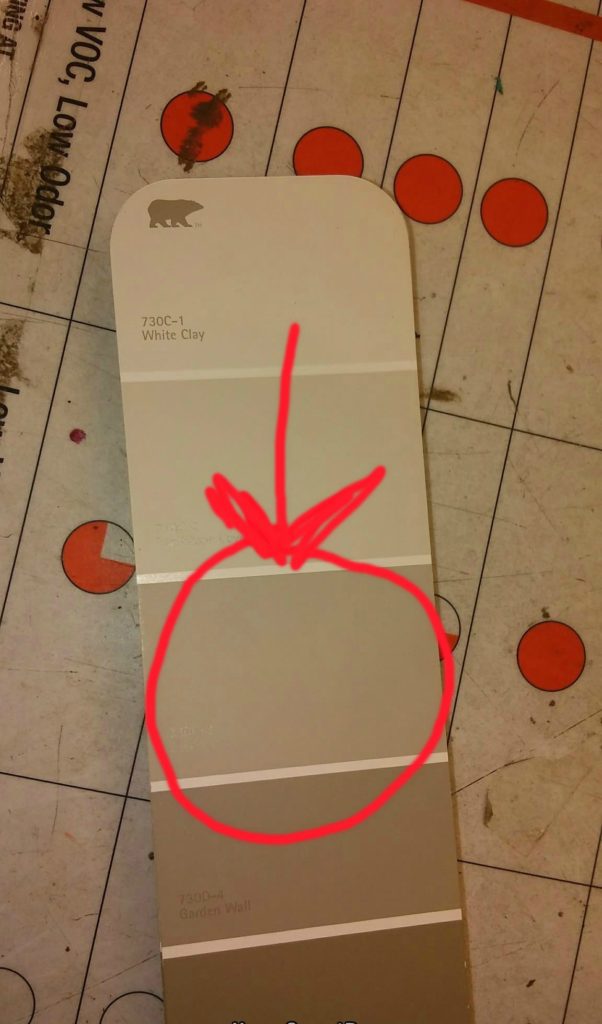
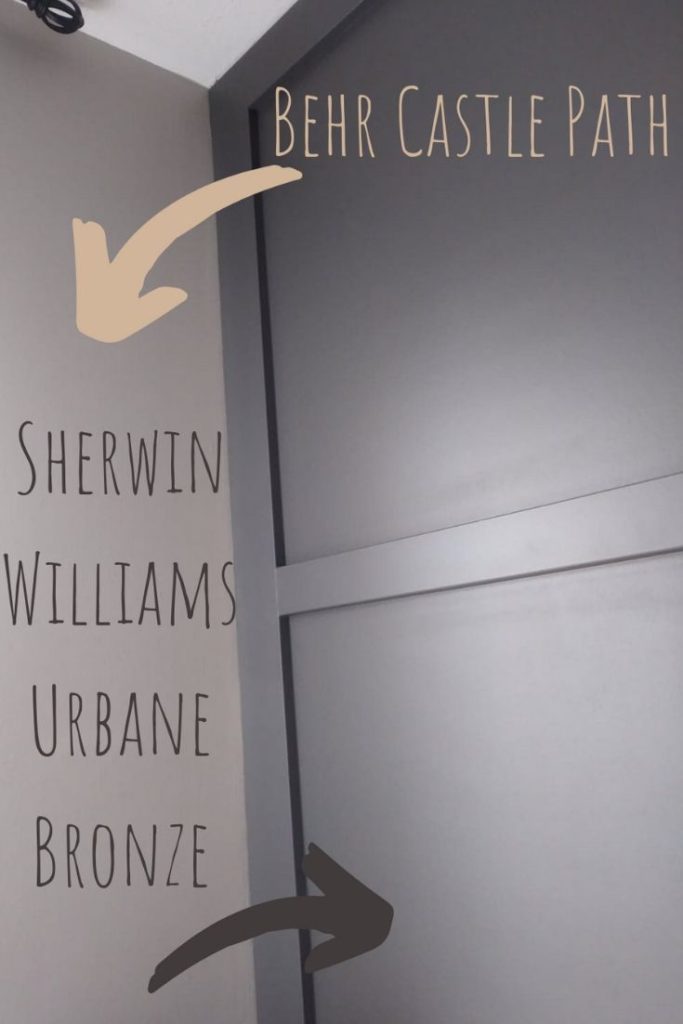
We went with Behr Castle Path in Eggshell as our main color for the living room (kitchen as well) Here are some after pictures. By the time we got done painting this neutral color it was super late so I didn’t have any good natural lighting.
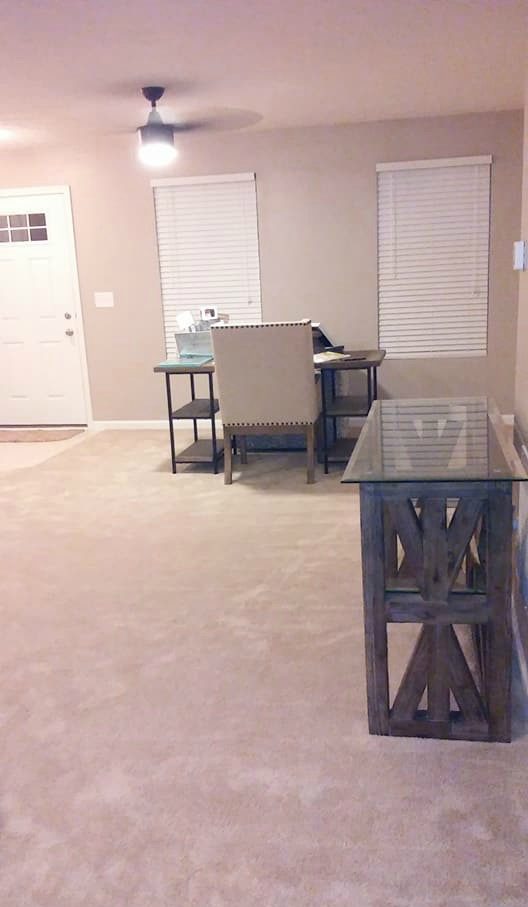
PAINTING THE ACCENT WALLS
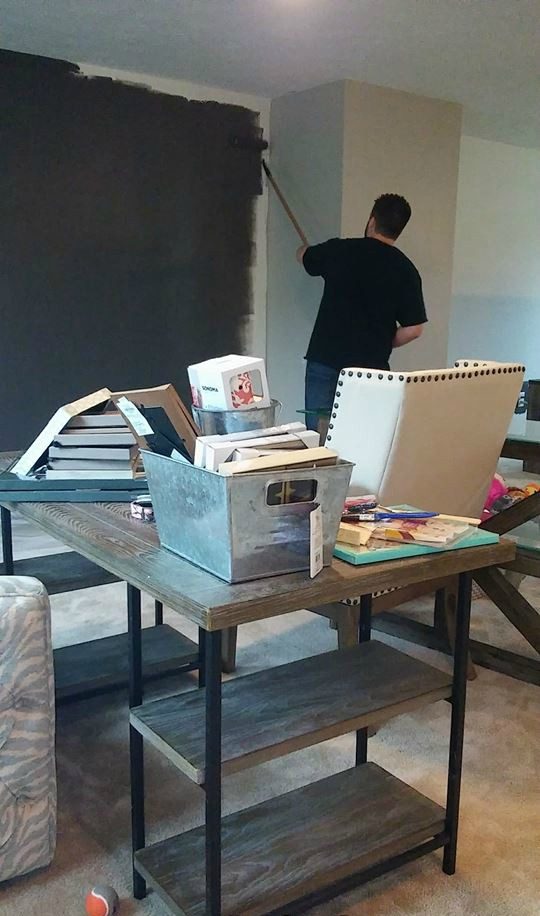
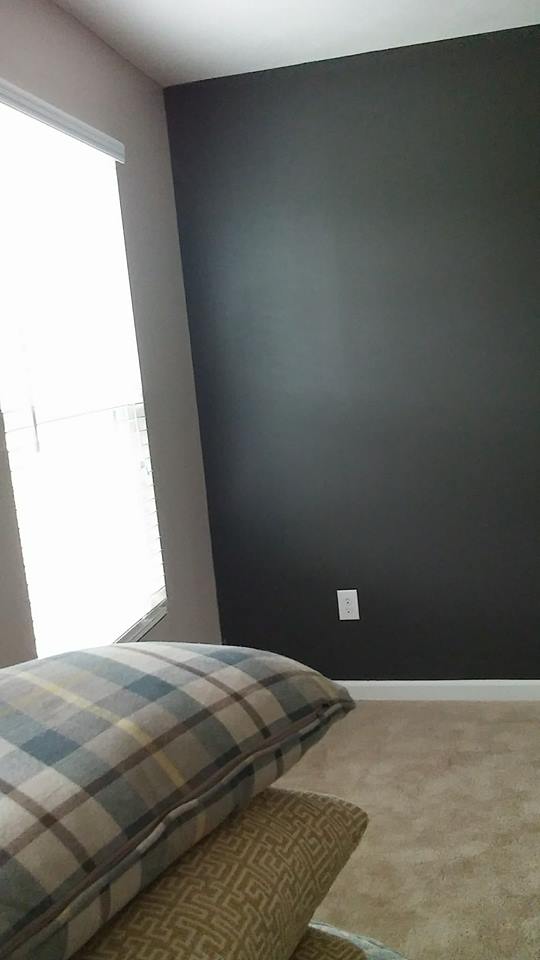
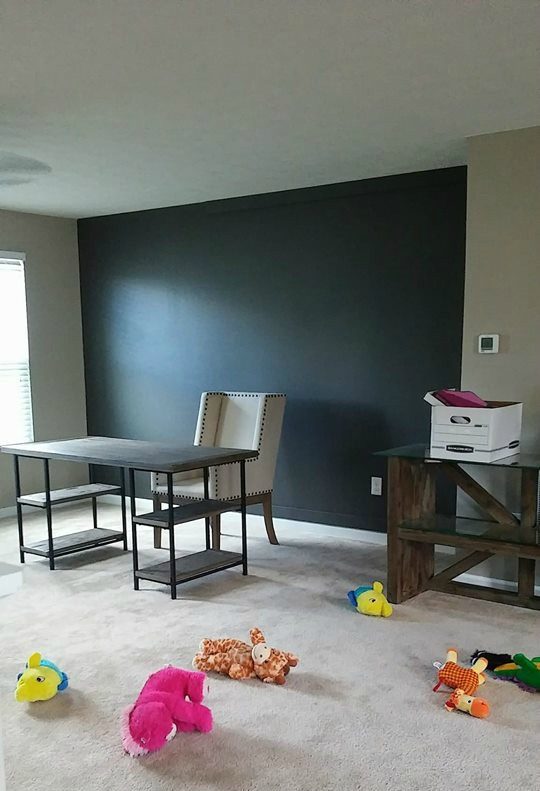
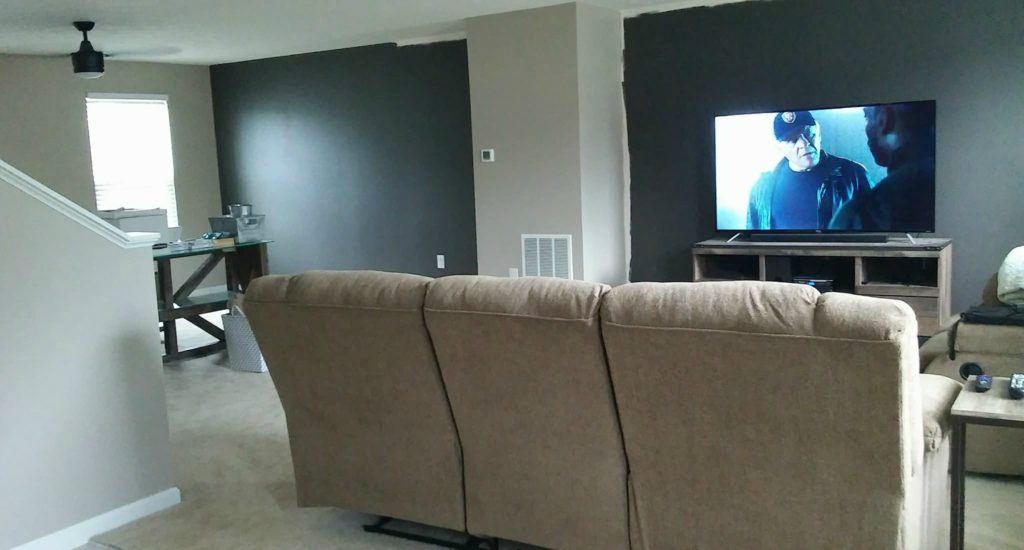
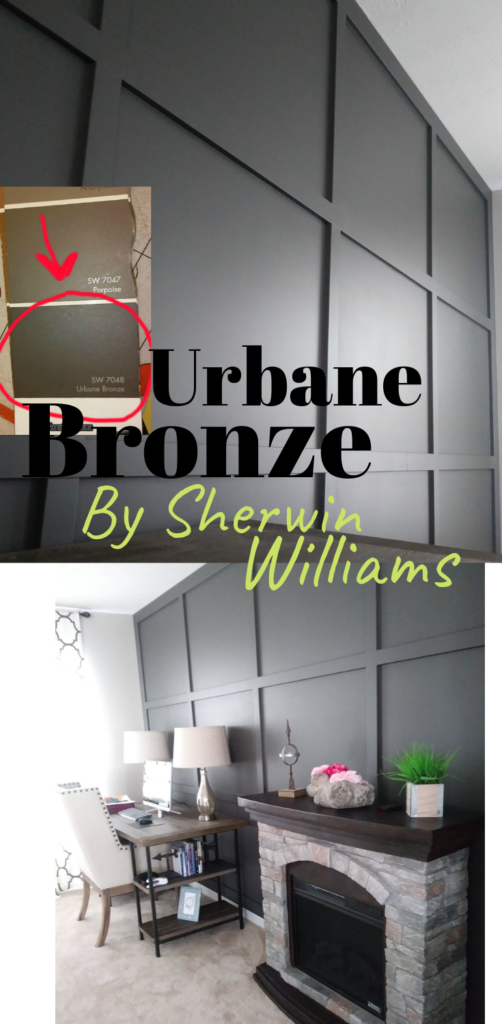
Next we began to paint the accent walls with the darker color, Sherwin Williams Urbane Bronze in Eggshell sheen also.
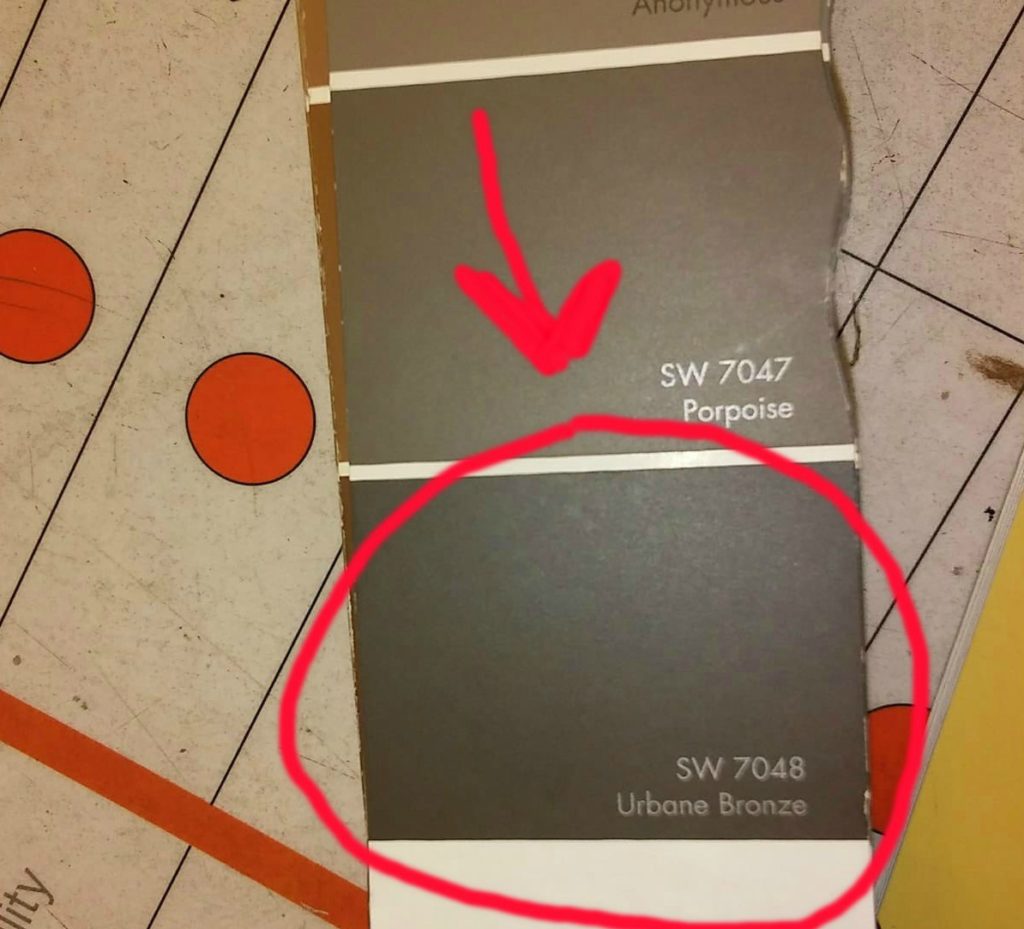
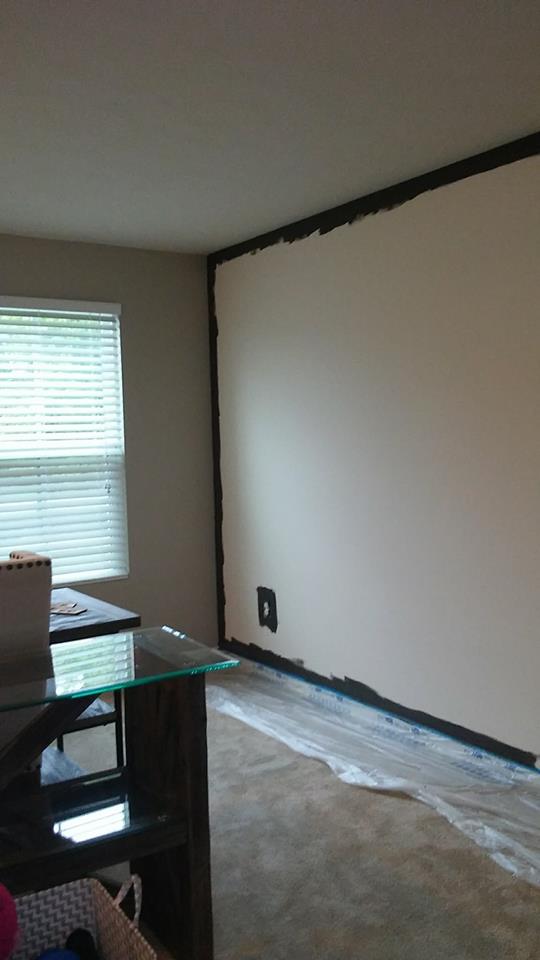
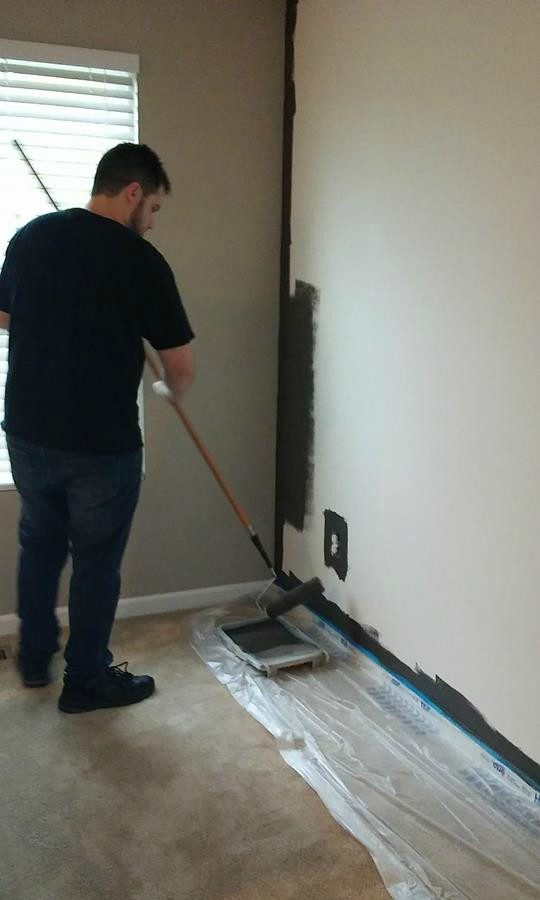
I know it looks like he is doing all the work but somebody had to take the pics 😉 Now I’m not going to lie (while he was painting) the dark on the wall I did panic a bit. The more strokes of paint against the wall, the more critical I became. The color was very drastic and I wasn’t sure If I made the right choice at first. This was the first time I ever used a color this dark, but I ended up obsessed with this harsh dark paint, so keep reading.
BOARD AND BATTEN WALLS
SUPPLIES USED FOR BOARD AND BATTEN ACCENT WALL
MDF Primed Boards ( We used 1×4 for the frame of the wall; and 1×3’s for the inside boards) **Make sure to get the right size in the length of your wall**
Miter Saw (click here for the one we use)
DAP Drydex Spackling/Nail hole filer
DAP White Paintable Latex Caulk
Peice of Sand paper
measuring tape
>>Our fave Paint Supplies, We use them quite a bit! (If you need to buy & don’t have any yet)<<
Paint Roller(click here to see the ones we use)
Roller Covers (click here to see the ones we use)
Mini Paint tray (used to paint the boards)
Mini Paint Roller (used to paint boards)
Mini Roller Covers (used to paint boards)
STEPS FOR BOARD AND BATTEN FULL WALL
HOW TO AVOID REMOVING BASEBOARD TRIM:
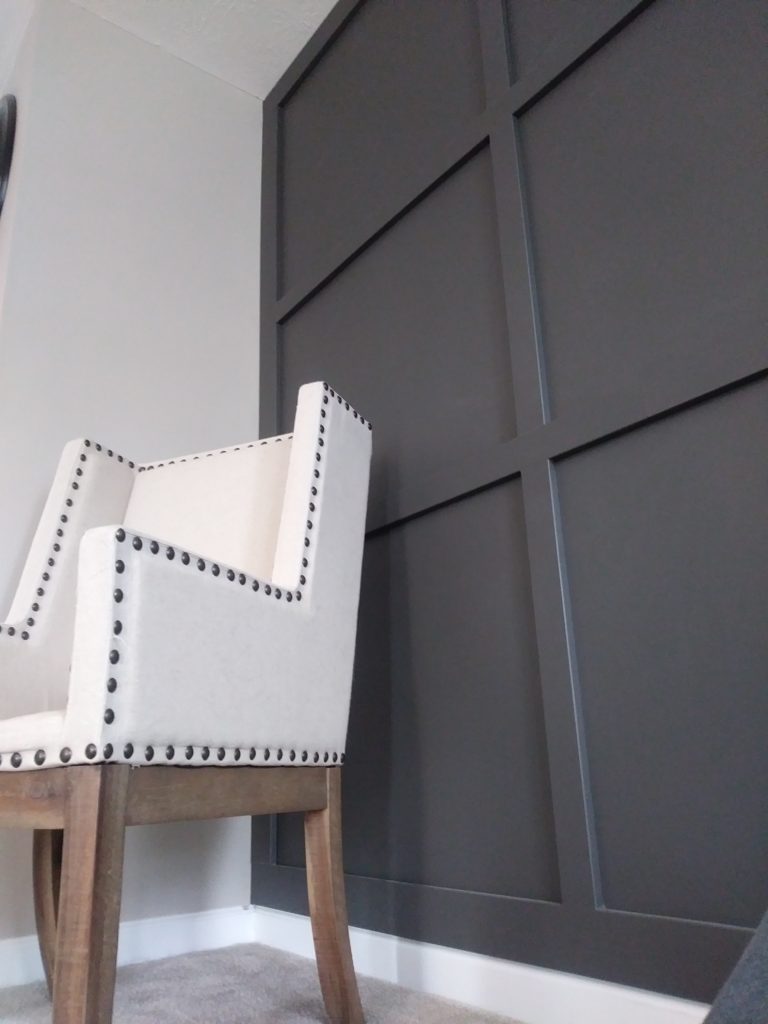
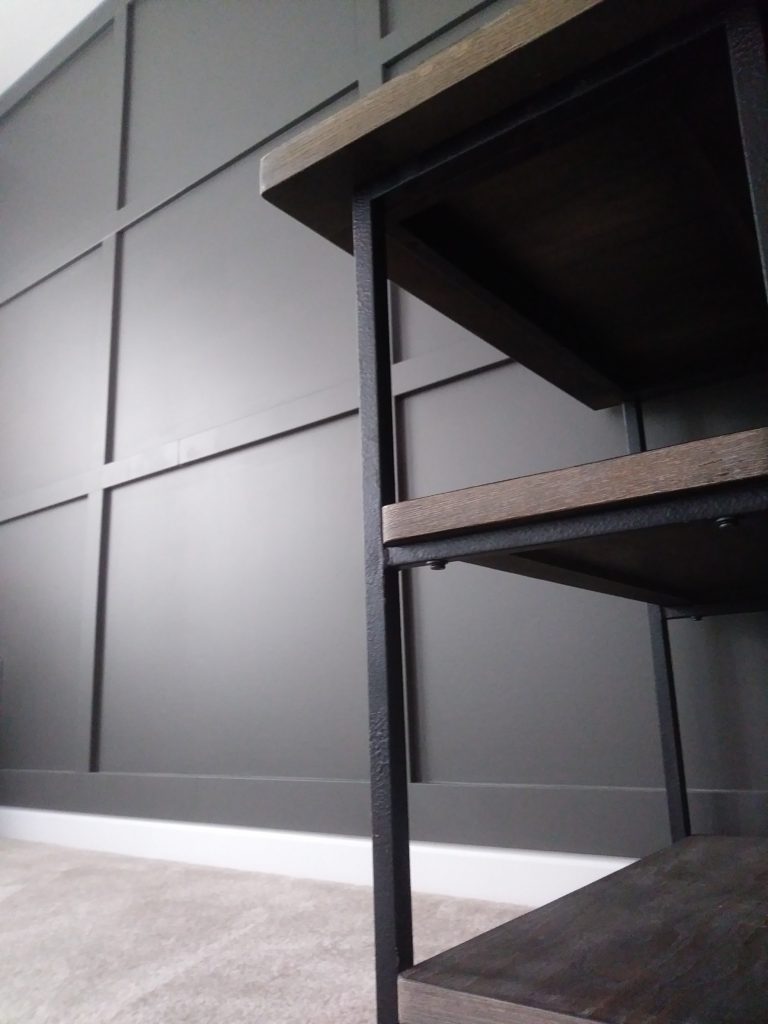
You’ll notice in the original source, she has her batten wall boards starting along the floor. To avoid removing our baseboard trim to do this, we were able to put our bottom board right on top of the baseboard. It saved us some time, extra work and kept the same cohesive look throughout my room since we have that chunky pop-out wall in the middle of those two accent walls that was not getting the board and batten.
Here is a picture to better show you.
DESIGNING YOUR GRID WALL:
You will want to begin with a design plan for your wall so that way you’re able to move forward with spacing and measurements of where your boards will go. We chose to do three “squares” going vertical (downward) and four “squares” going horizontal (across).The measurements and the even spacing of your board will depend on the size on your wall. I also noted above we used 1×4 MDF Boards for the frame of the wall and 1×3’s for the inside part of the grid wall.
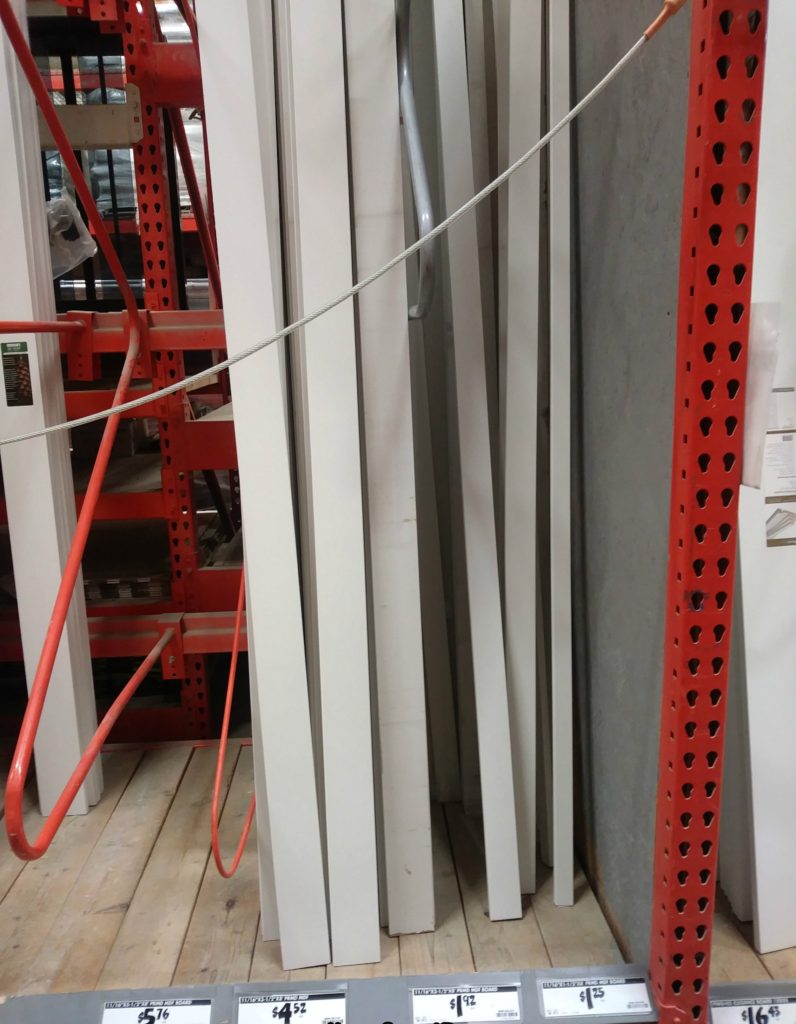
This picture will give you a better idea of what I just mentioned about the design we chose. Notice the 1×4’s, which are bigger, are on the outside and the 1×3’s, the smaller boards, are on the inside of the wall.
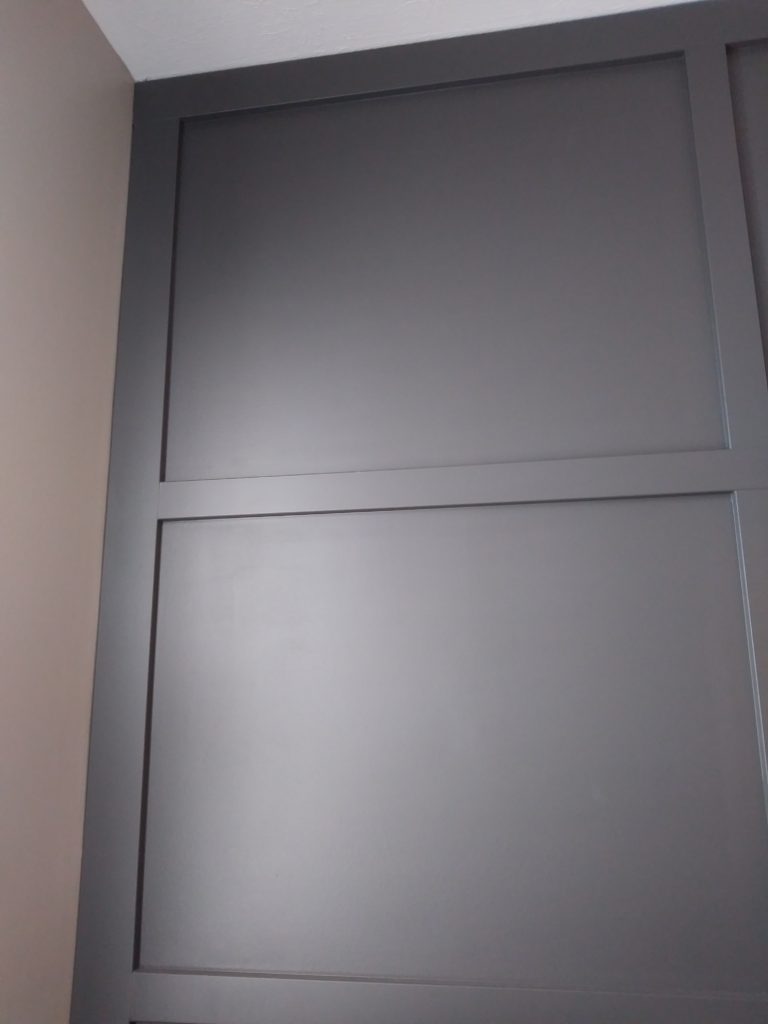
THE EASY HOW TO: INSTALLING BOARD AND BATTEN:
Since our walls were now already painted, we started by painting our boards before installing them. Once they were dry, we installed them to the wall using a nail gun (this one is cordless and no compressor needed!)We also made all the cuts for our boards with our Miter Saw. We began installing along the outside border of the wall, then from there we measured the length of the cuts, spaced accordingly where planned, and attached the vertical boards (the boards going downwards) meeting up with the top and bottom boards we first installed around the border of the wall.
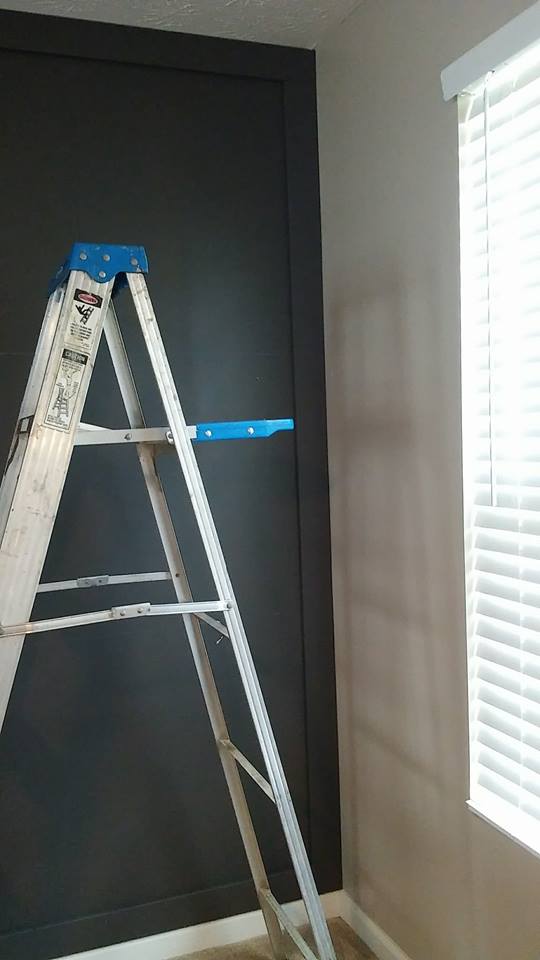
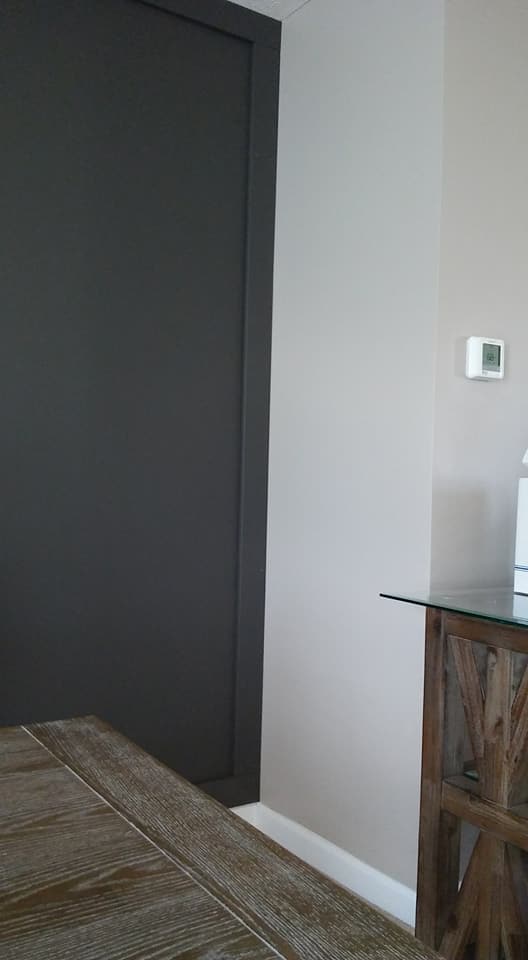
Now it’s time to connect your horizontal boards (the ones going across) in order to complete the “square” look. A similar step from before, measure the cut needed from one board to another and attach with the nail gun creating an amazing grid wall.
TIP: For every board you will want to make sure it’s level to the wall before install.
ADDING FINISHING TOUCHES ON THE BOARD AND BATTEN ROOM:
To eliminate any gaps where the wood meets and to patch the nail holes, my hubby applied DAPP Drydex then sanded it with a strip of sandpaper for a smooth finish followed by another coat of paint.
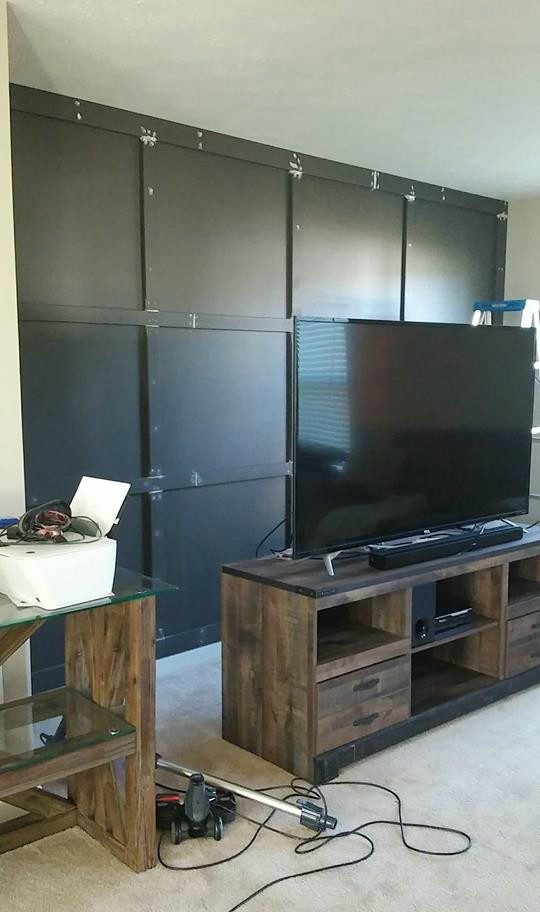
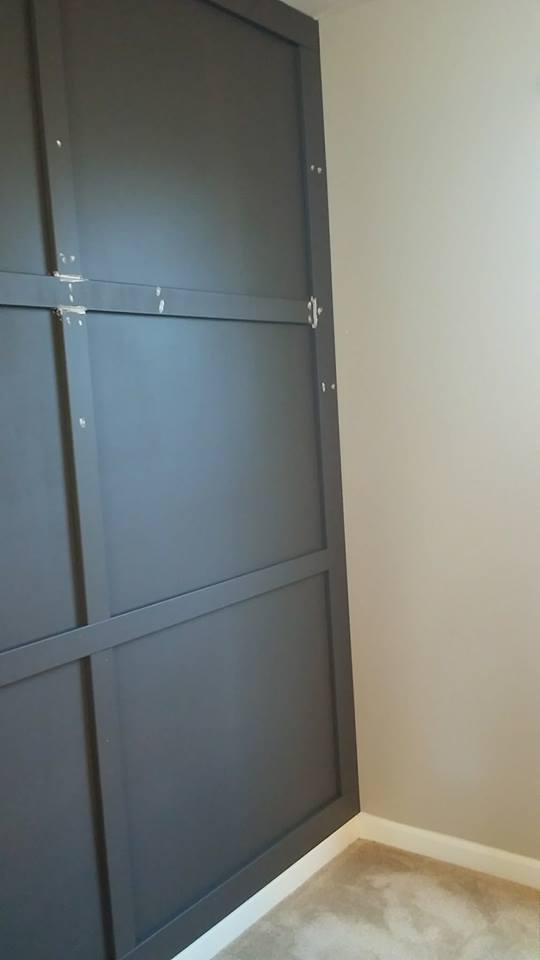
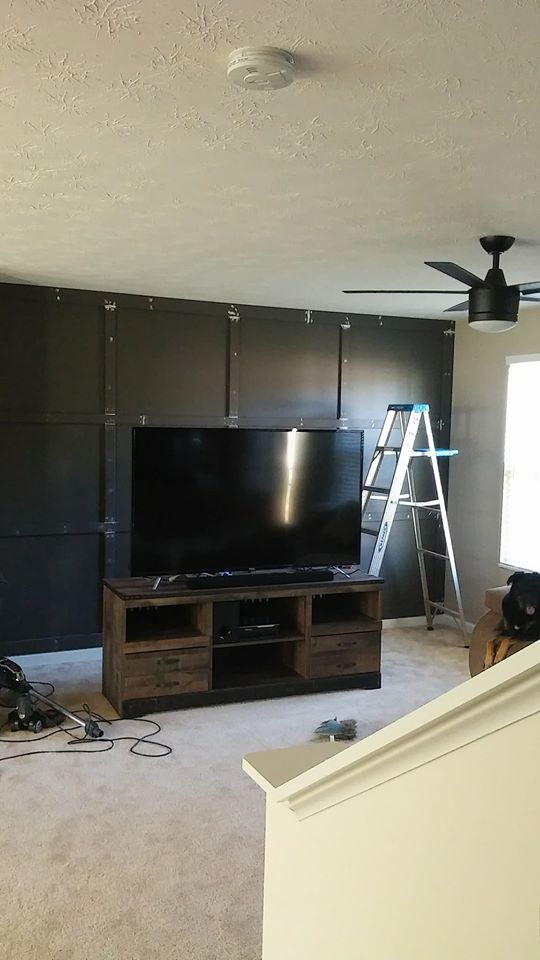
To give the inside (where the board touches the wall) a seamless sealed finish (no gaps), my hubby applied DAP Paintable Caulk around the inner outlines of the “square”. Then touch up paint upon completion.
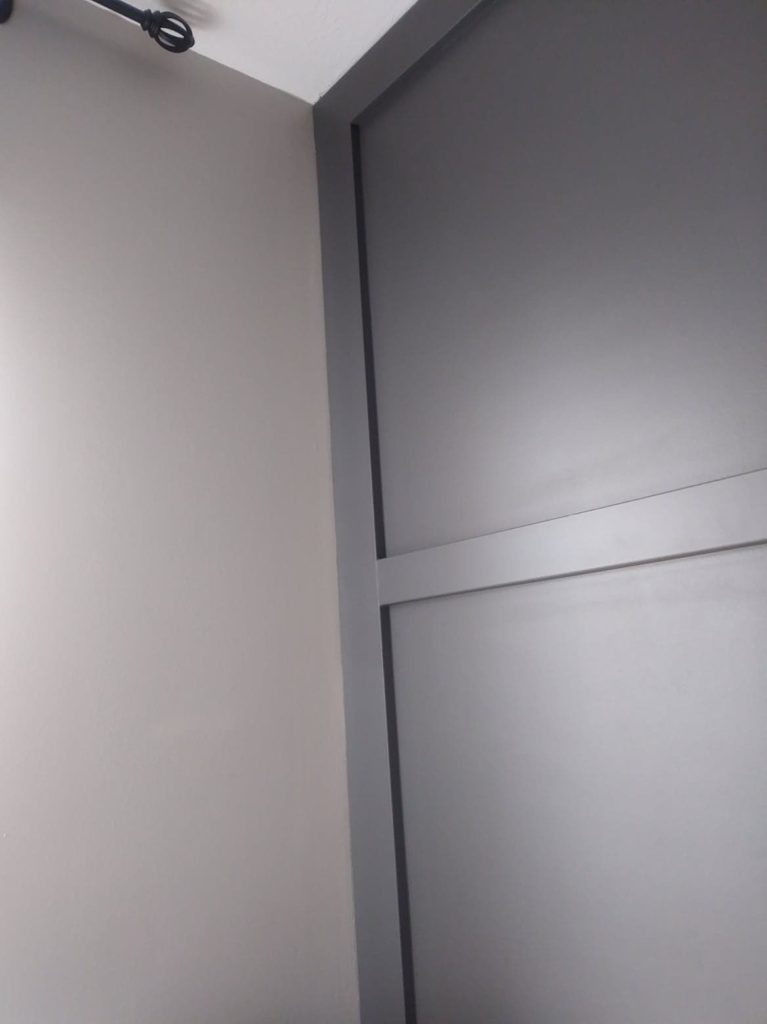
Here are some pictures of the final result. I am smitten, I actually love the intense color next to the lighter neutral color, they pair perfect together.
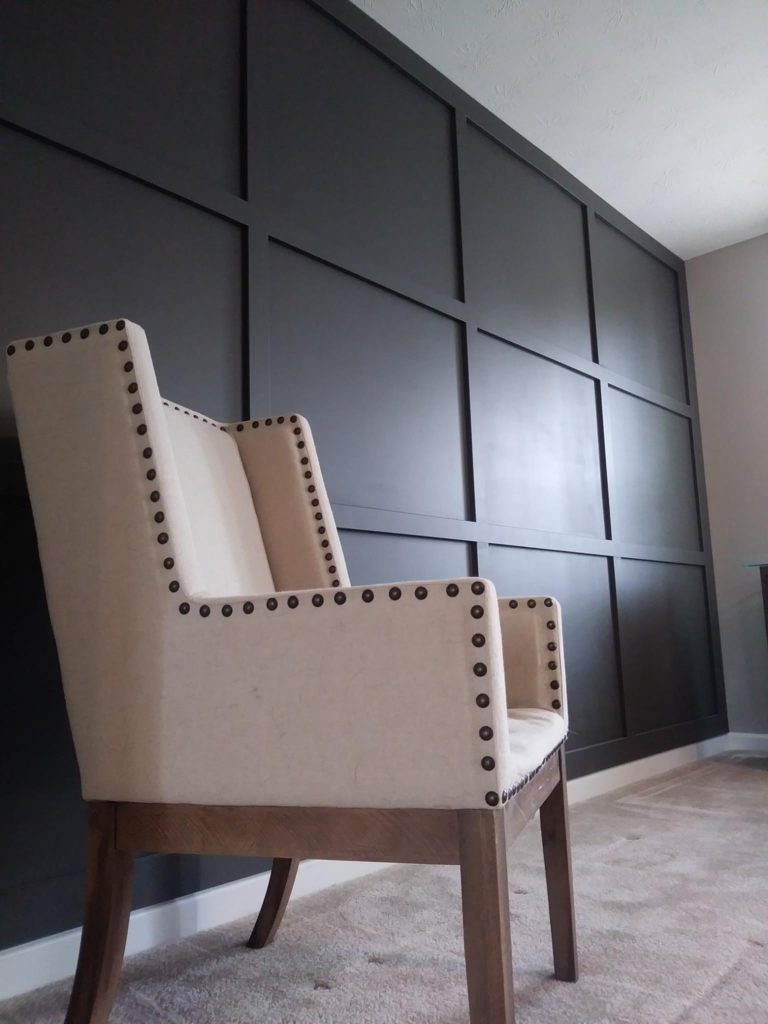
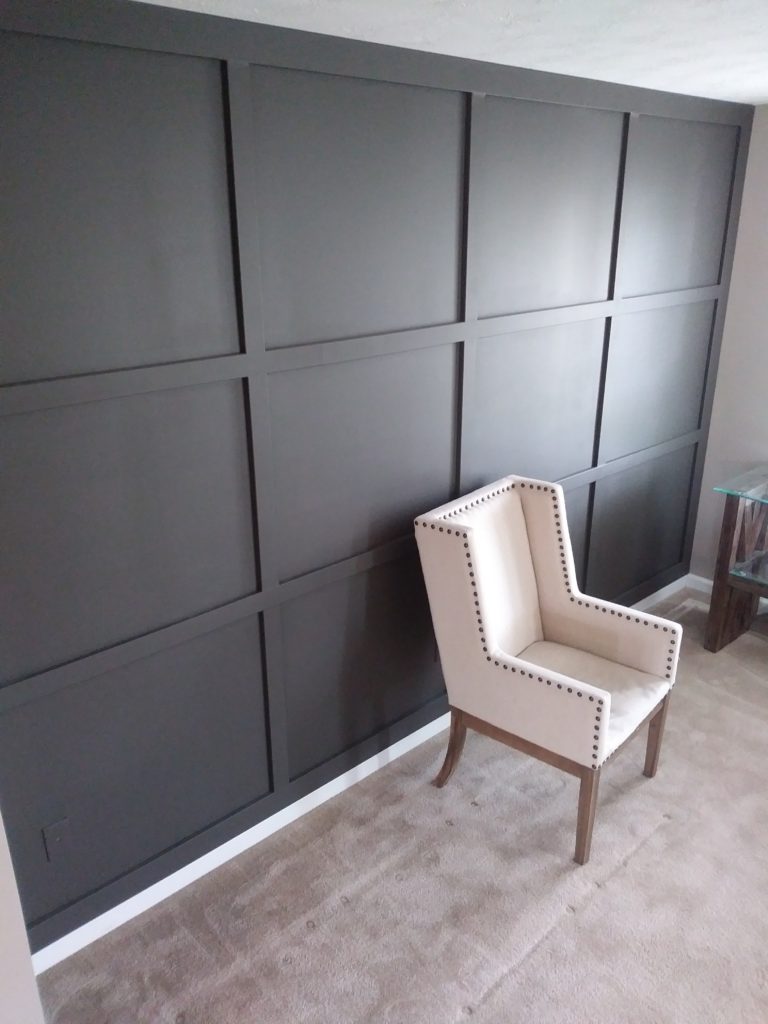
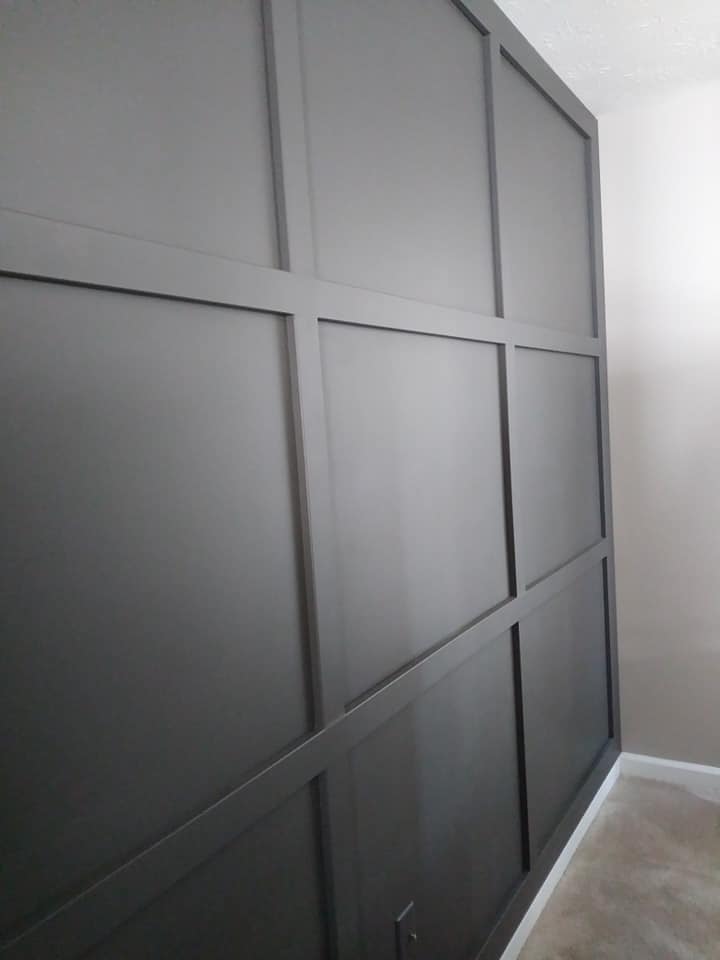
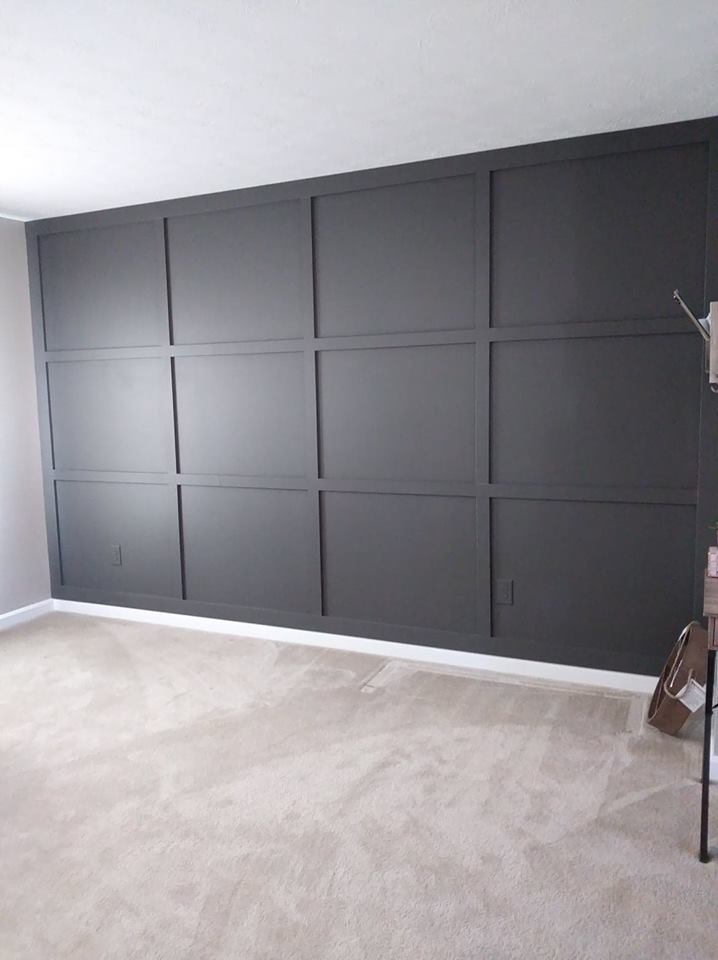
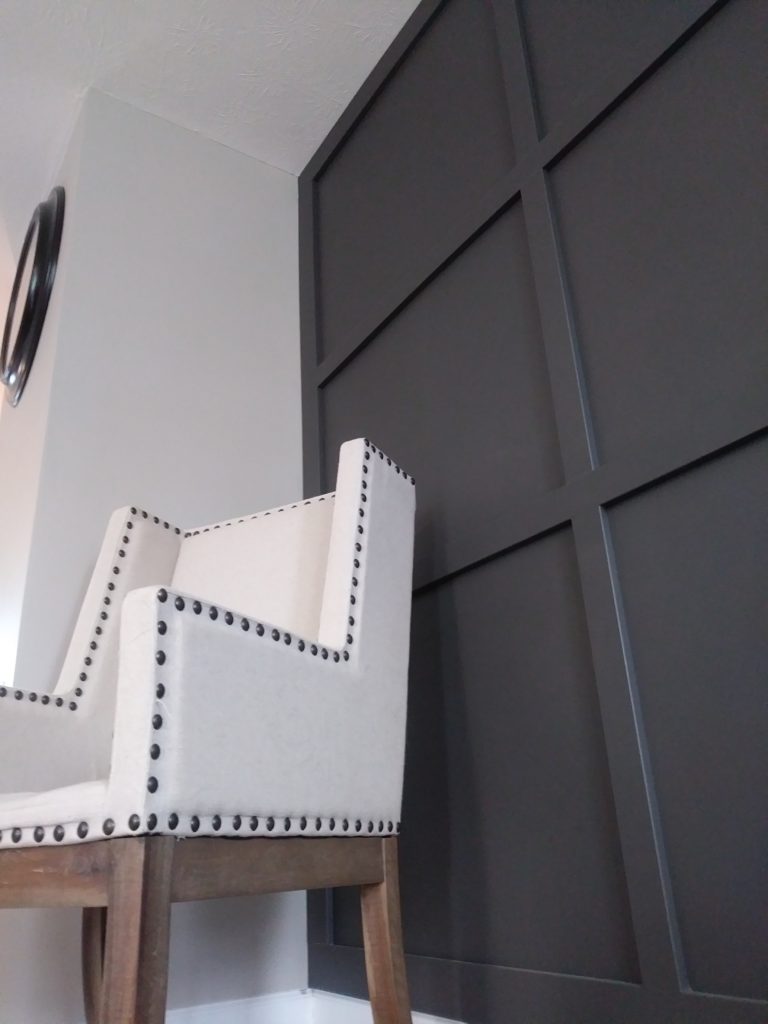
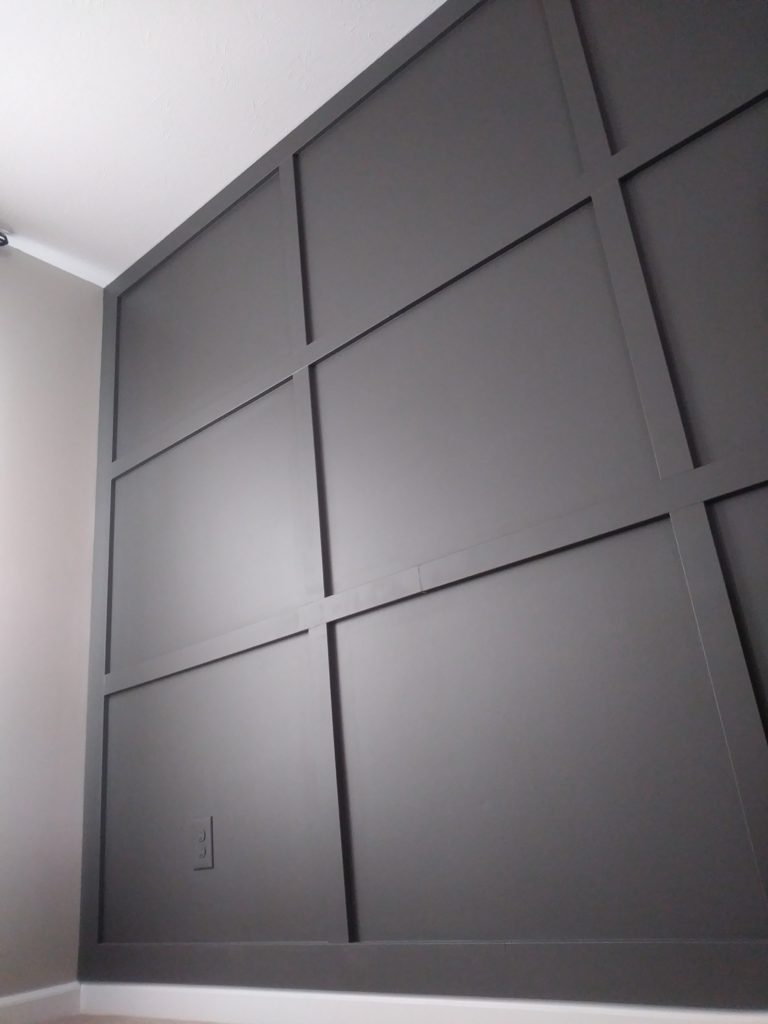
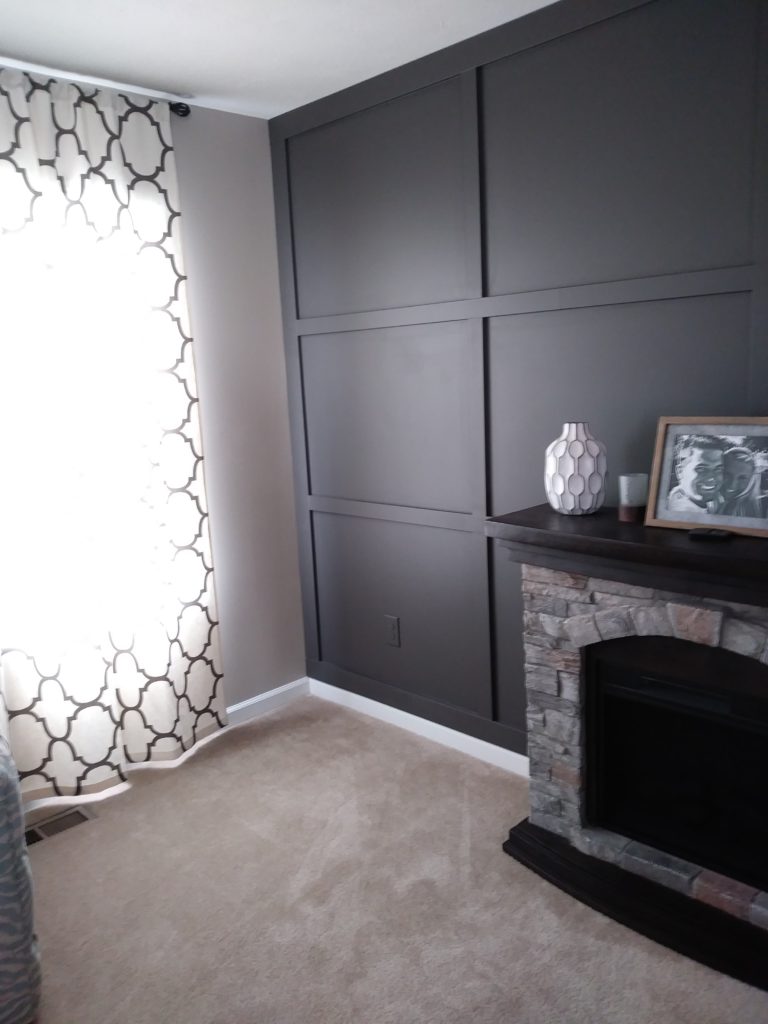
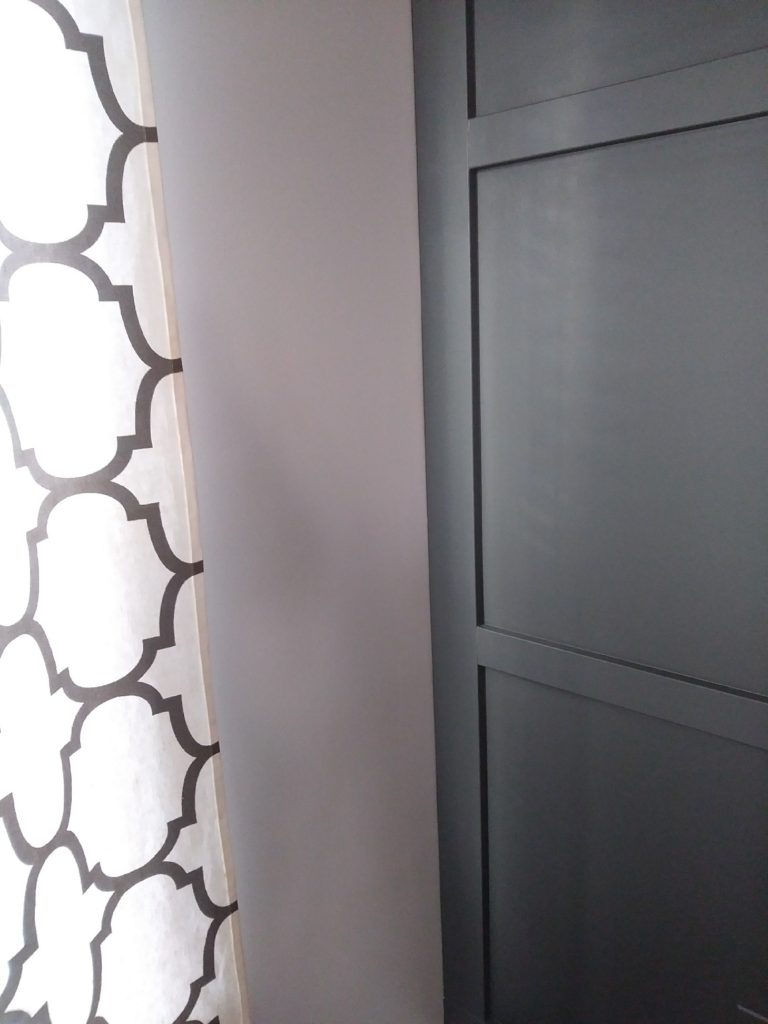
Notice, we painted the light switch covers as well to blend to the wall. We tried a black cover and plug but it stuck out like a sore thumb.
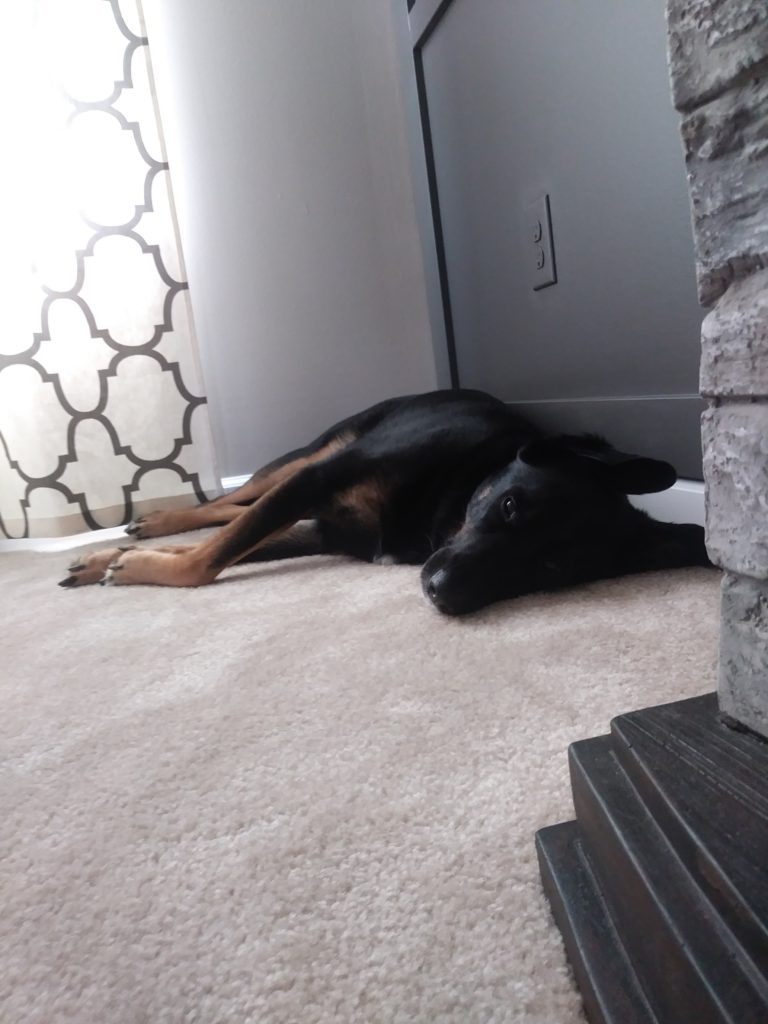
The curtains may look familiar (and fully inspired too). They are gorgeous! I had a hard time finding them but lo’ and behold I did find them within my budget as well as carrying the large amount of yardage I needed to cover all four of my living room windows and also the sliding glass door in the kitchen. The fabric even came shipped to me and I was able to find someone pretty good with a sewing machine to customize them for me. Here’s where I found the fabric.

Could this dog get any cozier or what!!? oh, I guess she can, She’s waiting on me to turn the fireplace on for her 😉
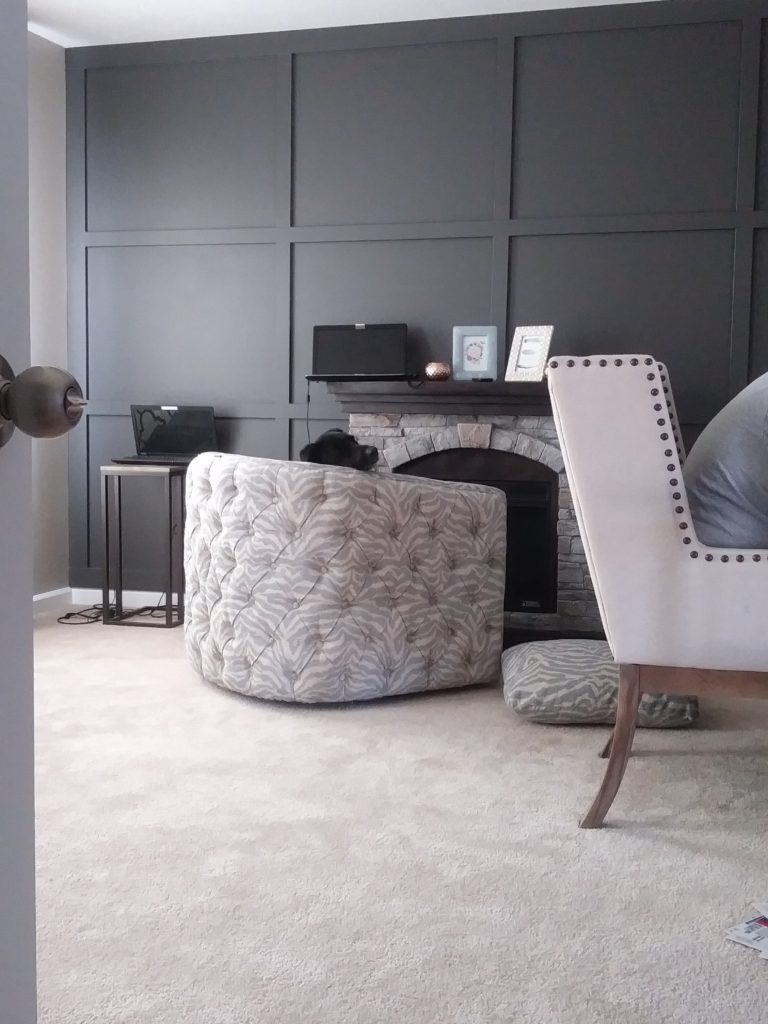
At this point in the living room, we can cross off paint living room, put up board and batten & install ceiling fans.
UPDATED: My Living room has been re-decorated a hundred times or more but I thought I would post some more pictures of the wall over time since this project!
Be prepared for dogs to show up in the pics or evidence of them…dog toys!
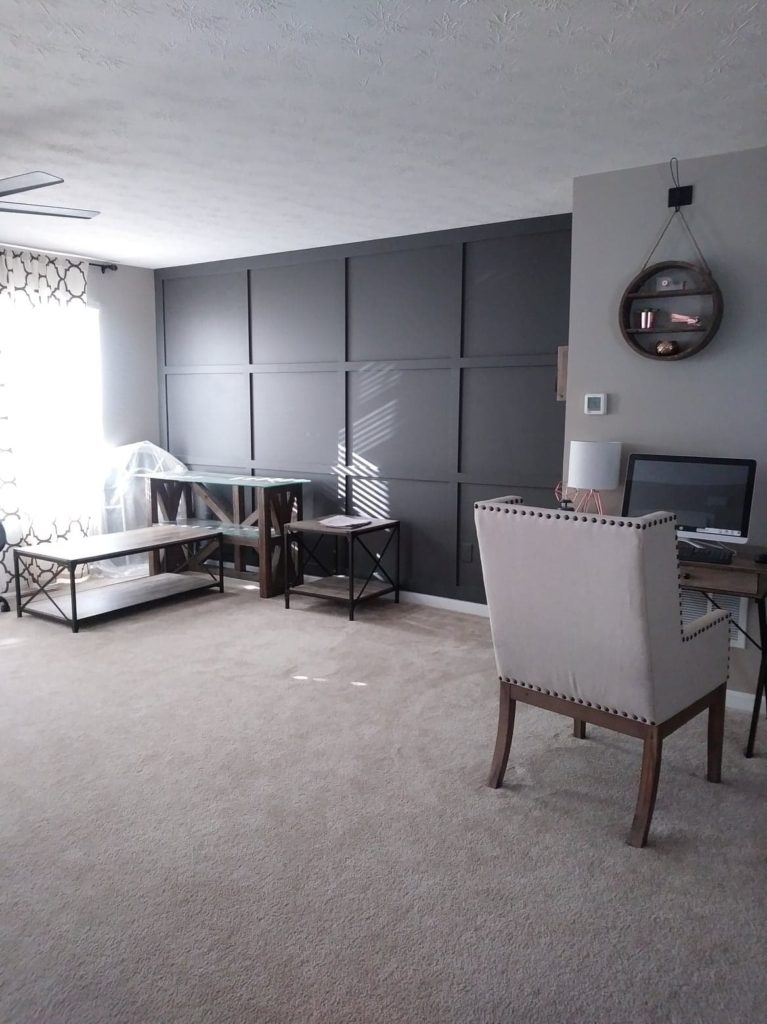
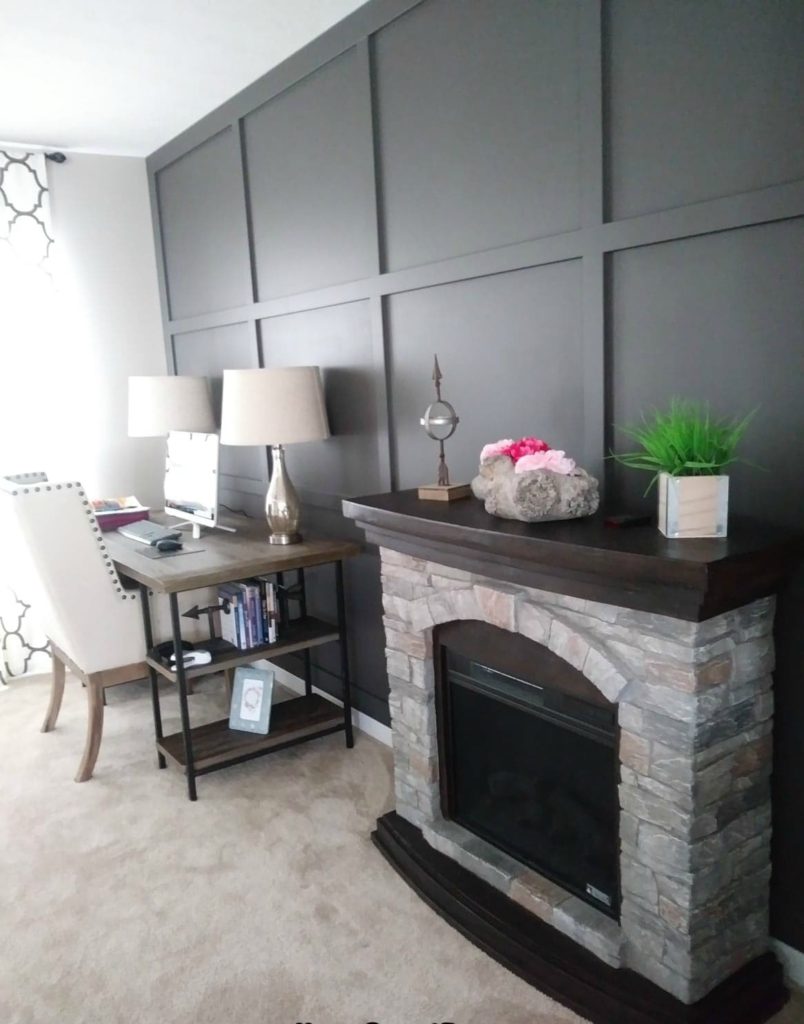
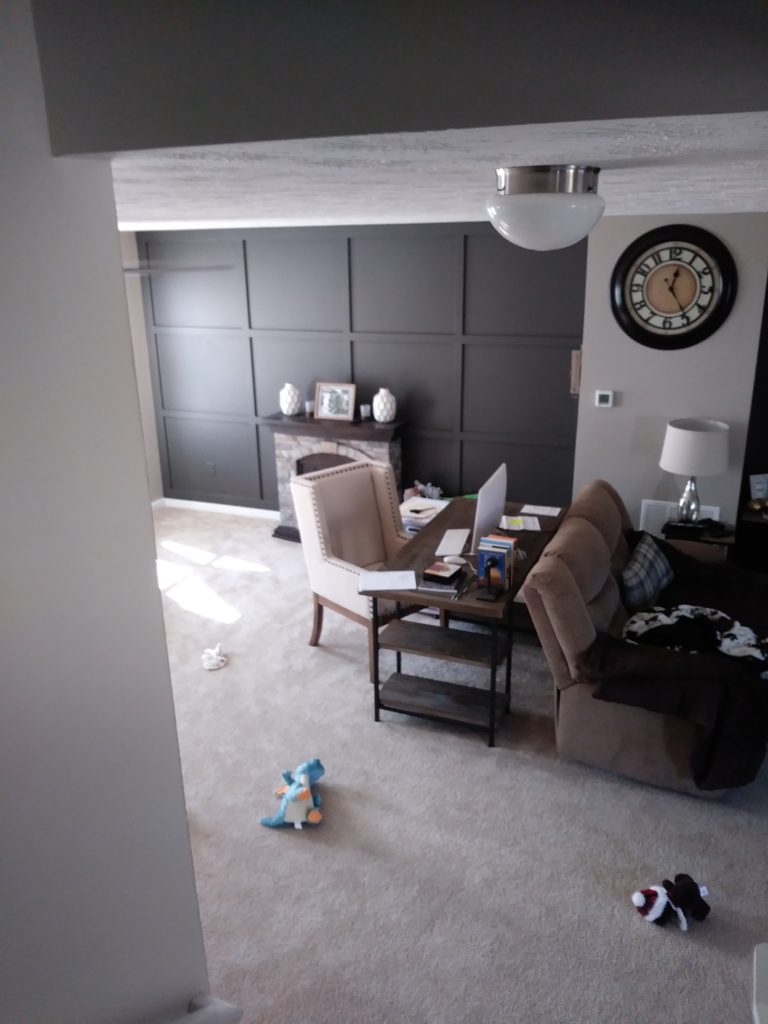
My living room is awkward from this side so it’s hard to get good pics. but I tried to post some to give you guys a good idea of both board and batten full walls.
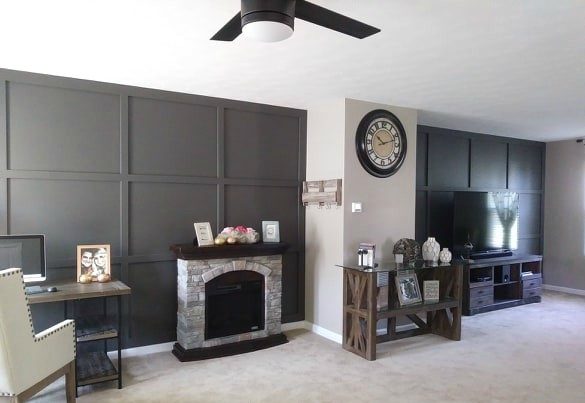
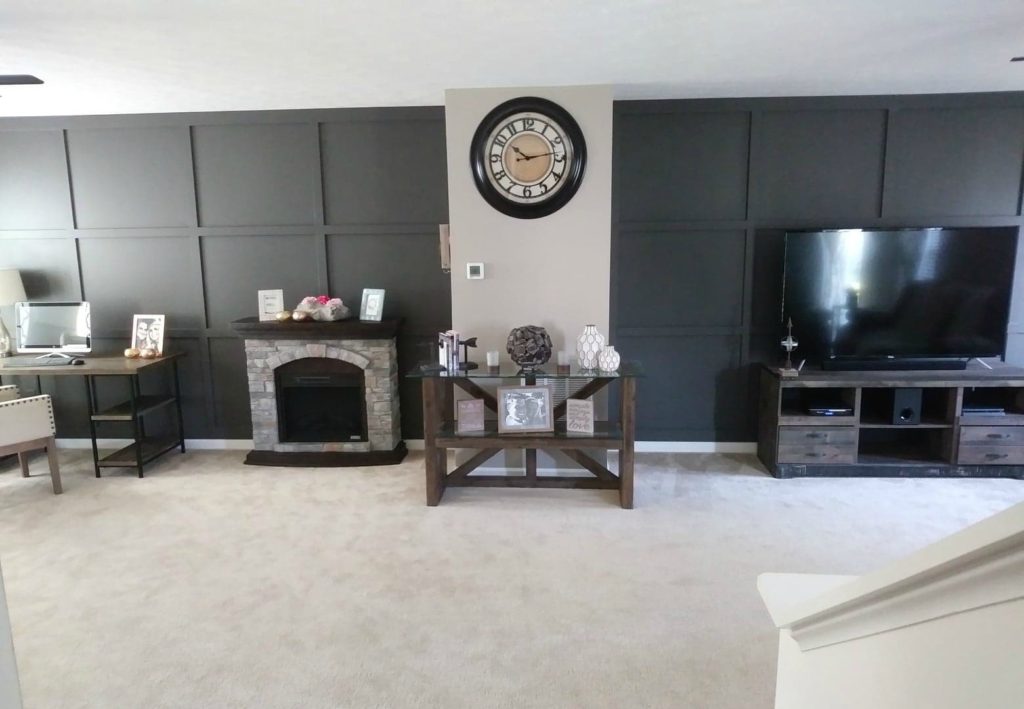
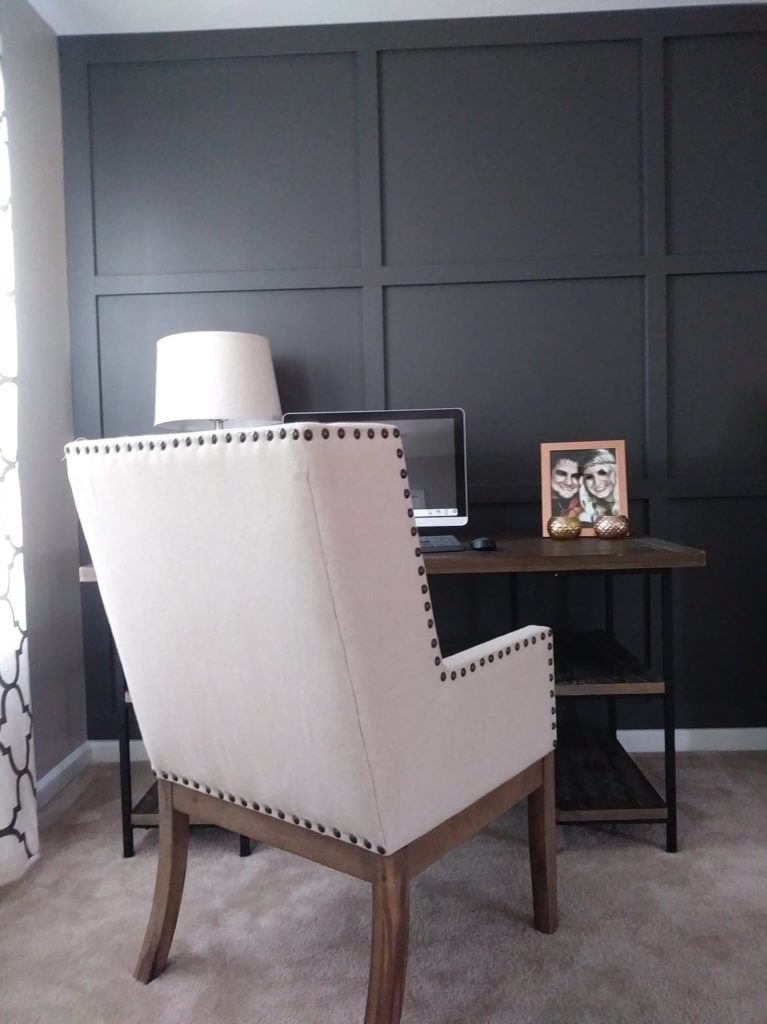
This was taken looking down from on the steps.

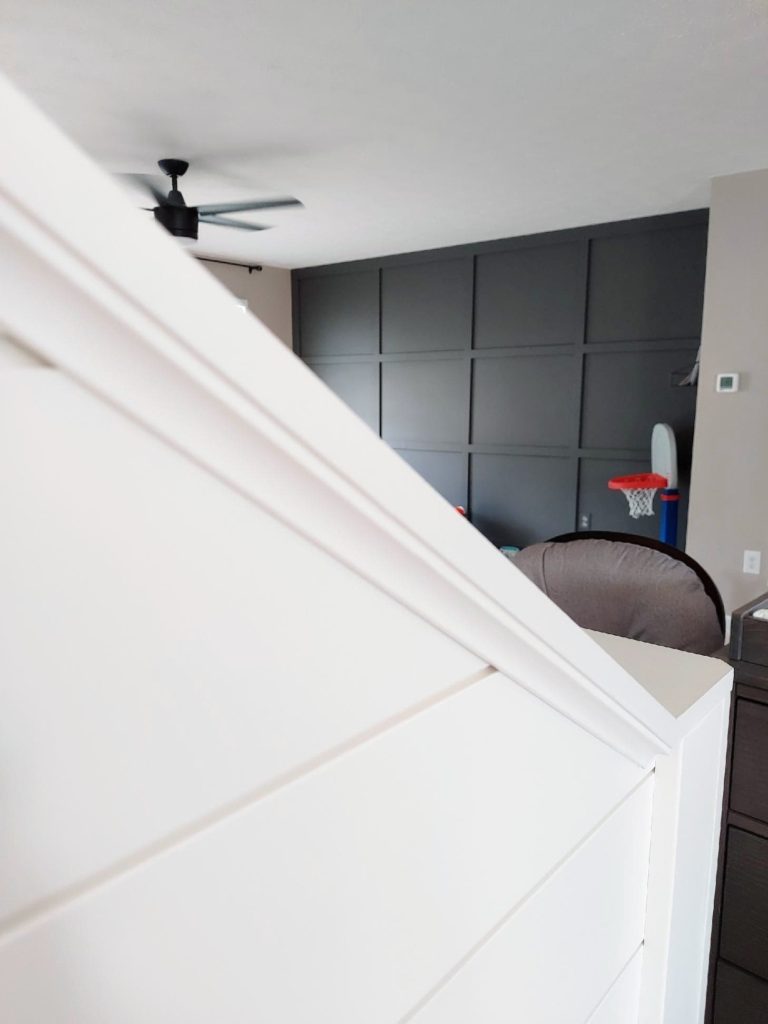
This was looking at the wall board and batten from kitchen (after we added shiplap).
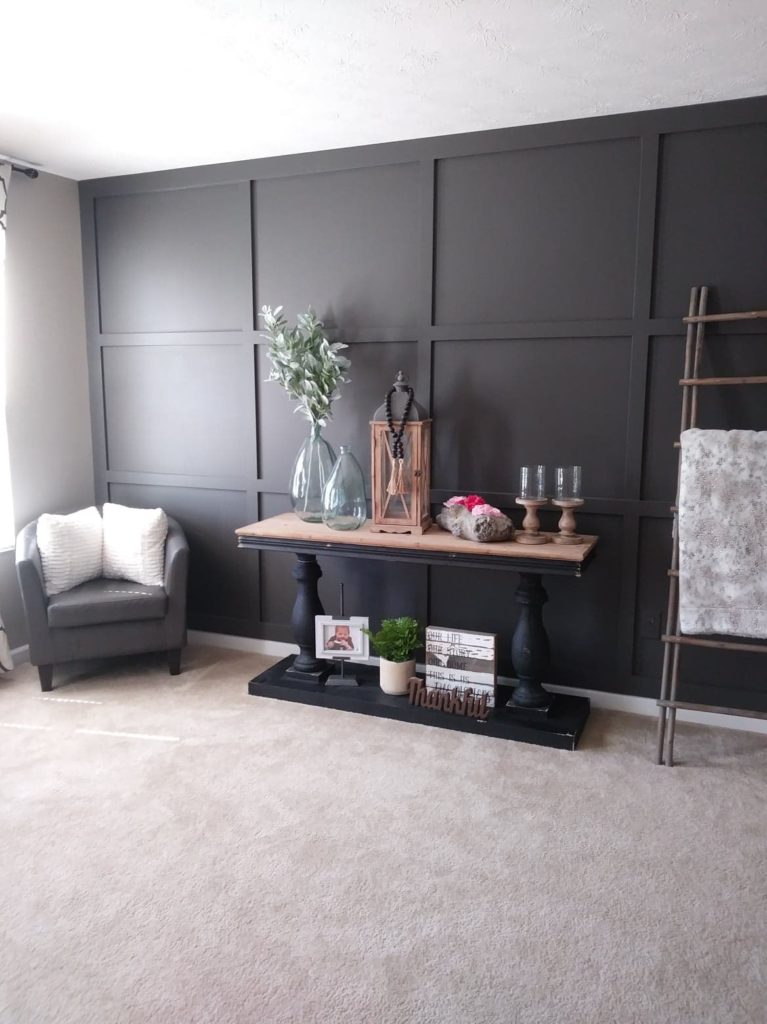
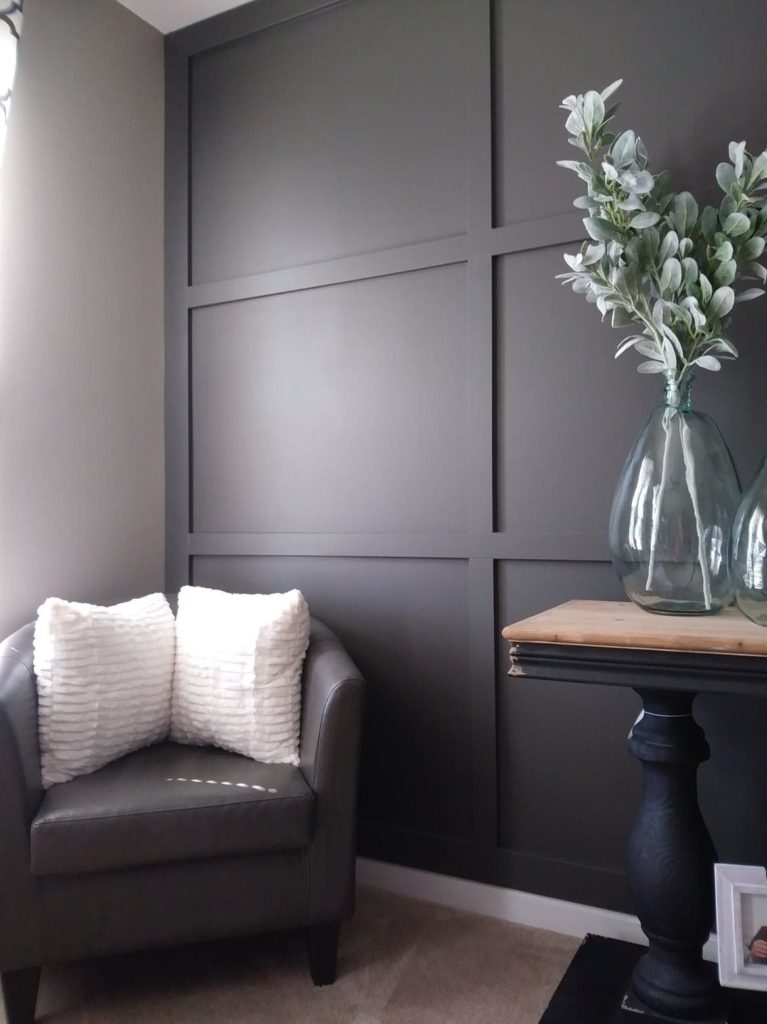
& here some living room pics that sparkle at Christmas time!
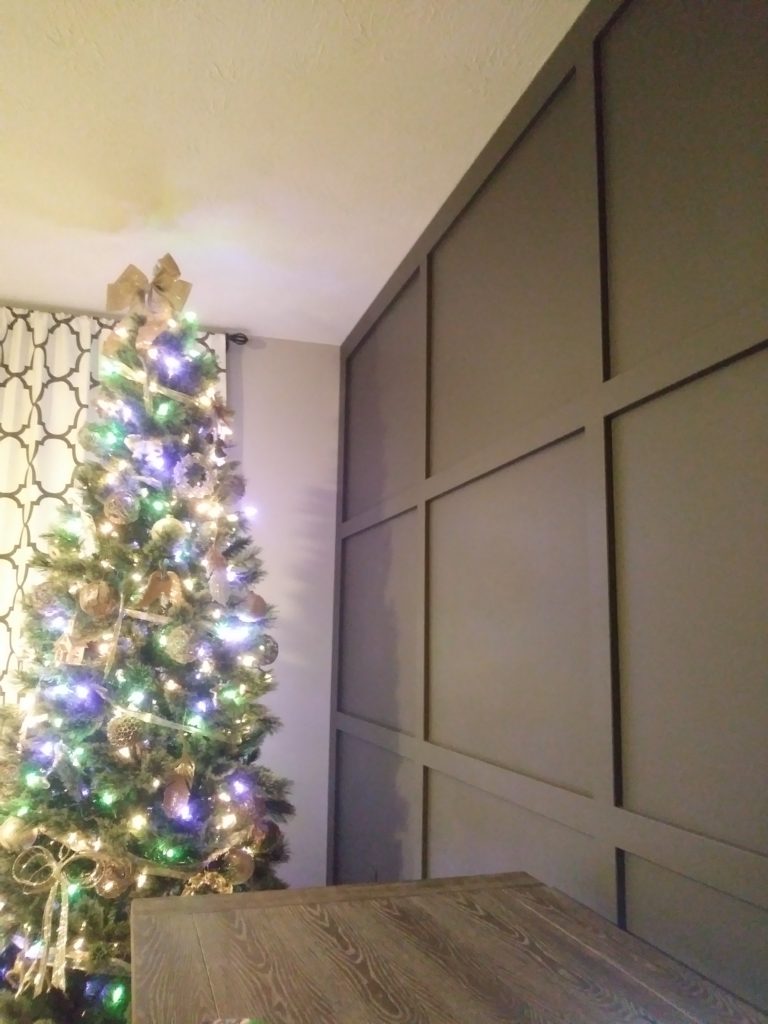
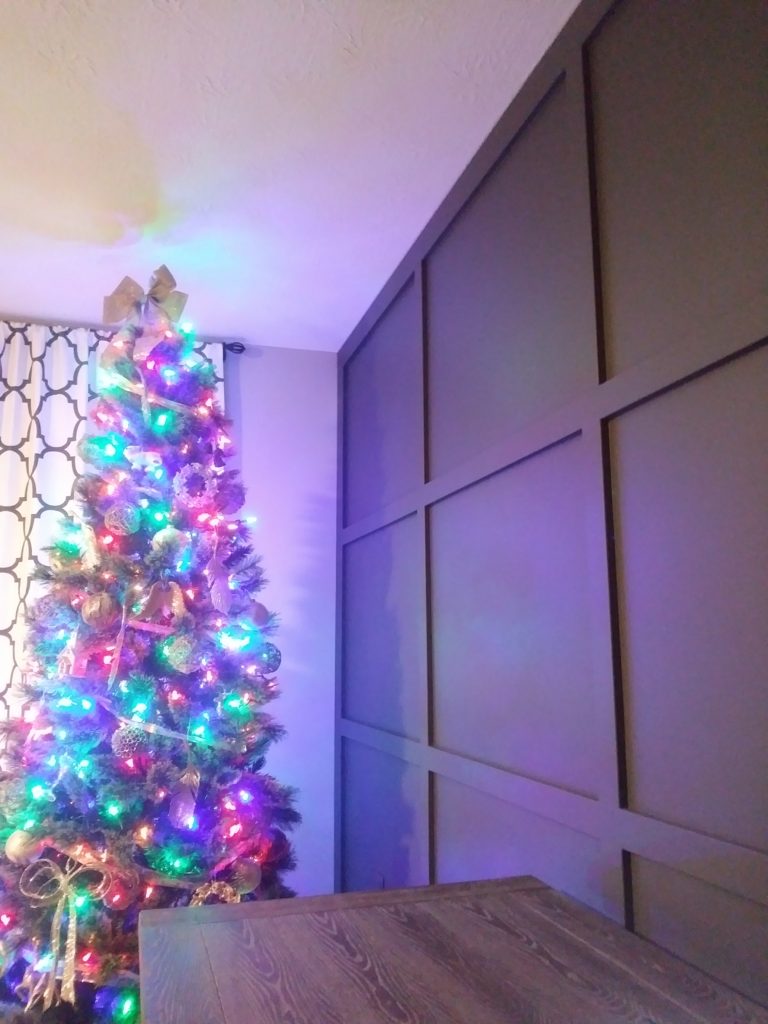
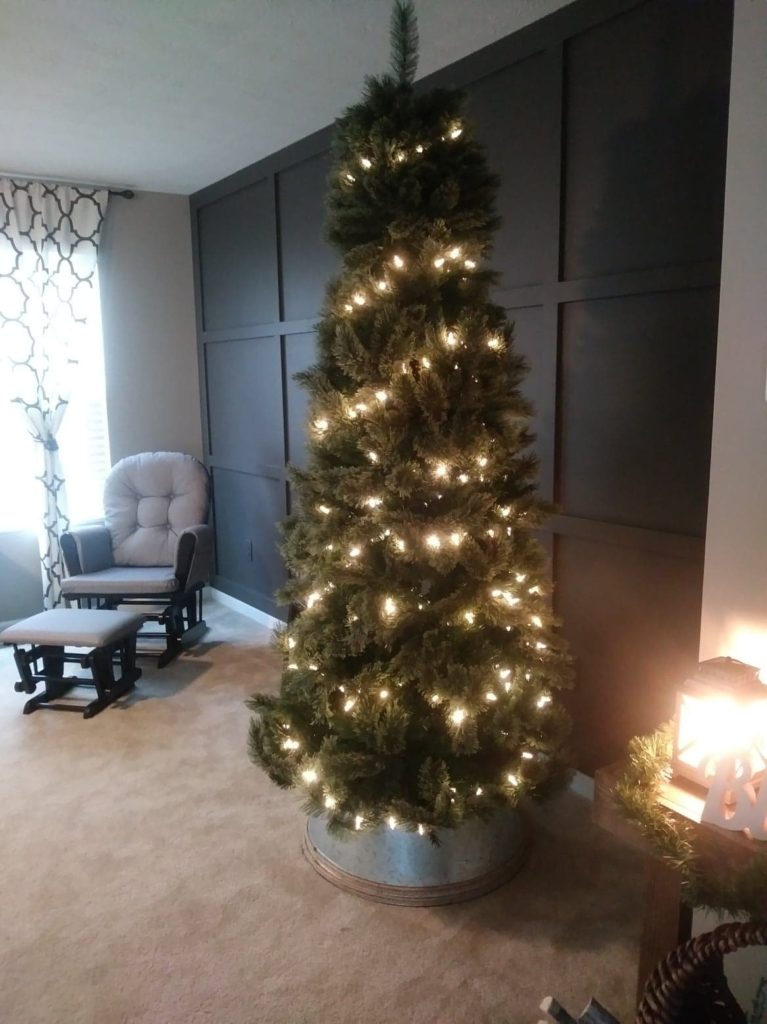
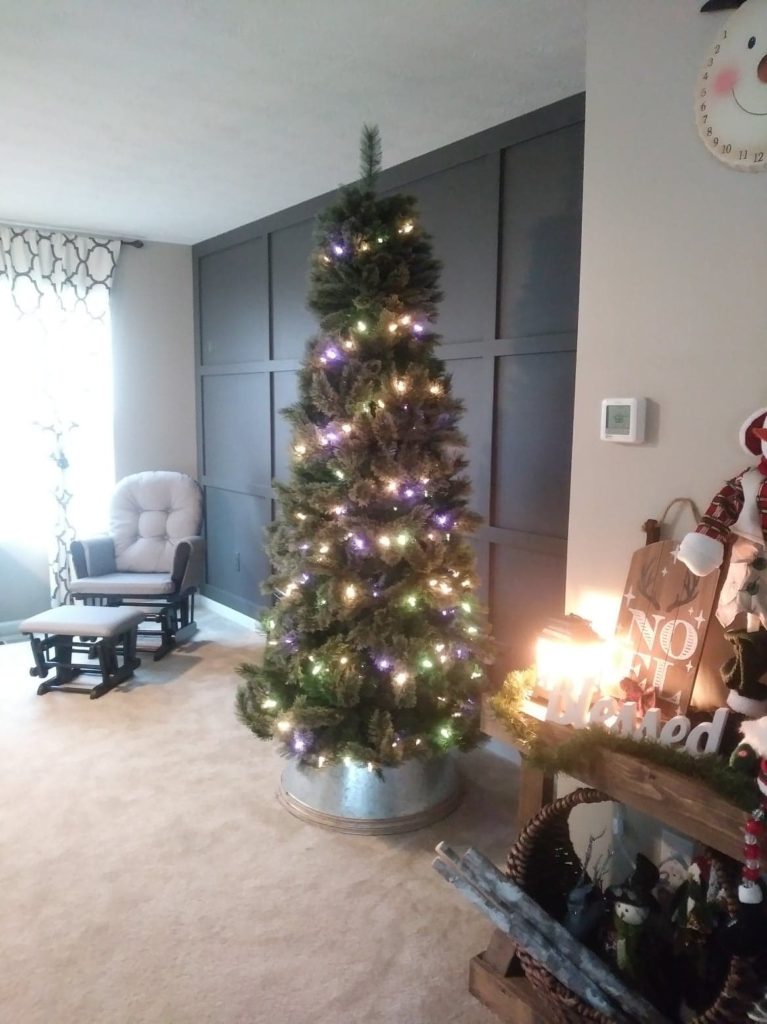
Whew! Picture Overload. If you’ve stuck it out to the end of this post your amazing! Get going on your DIY Board and Batten Wall so you can start taking a whole gallery full of photos of it like me!
DON’T FORGET TO SAVE THESE WALL IDEAS TO YOUR FAVORITE PINTEREST BOARD SO YOU CAN COME BACK TO IT LATER!
IF YOU ENJOYED THIS……
ALSO HOP OVER TO SEE OUR BABY GIRL’S BOARD AND BATEN BEDROOM IDEA WHERE WE DID A BOARD AND BATTEN HALF WALL!
