
This post may contain affiliate links, which means we'll receive a commission if you purchase through our links, at no extra cost to you. Read the full disclaimer here: https://diycoupleblog.com/disclaimer/
Last Updated on July 16, 2026: This guide to building a DIY barn door has been updated with new information.
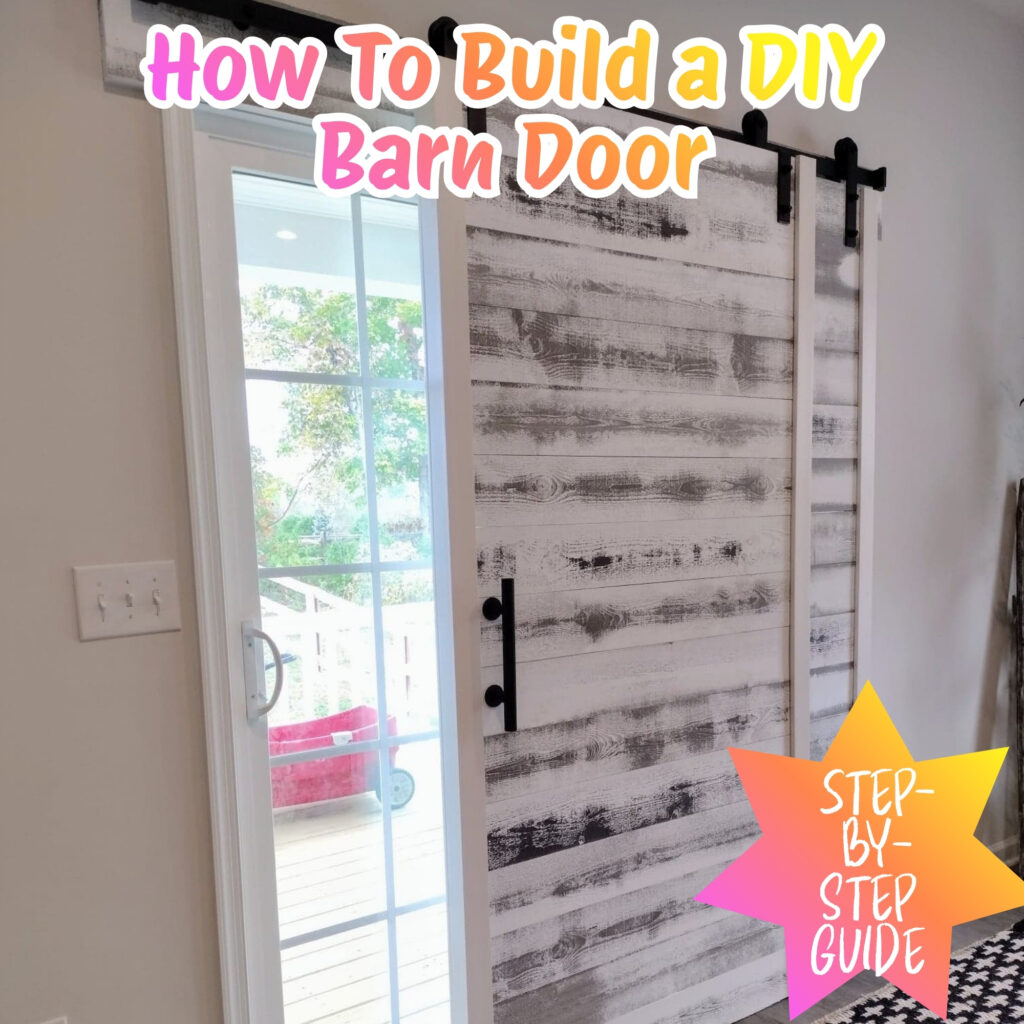
Ready to learn how to build a barn door? Here’s a comprehensive guide to building a DIY barn door to elevate and transform your home!
Sliding barn doors are one of those rare home improvements projects that offer the ultimate trifecta: they are highly functional, visually stunning, and are surprisingly easy to build yourself.
Whether you want to hide a messy pantry, save space in a tight hallway, block the heavy sun on a sliding patio door, or add a bold focal point to your living room.
A custom DIY barn door is the perfect weekend project. Go for a single DIY barn door, two separate DIY barn doors that meet together, or choose a double bypass barn door that slides against and stack directly behind each other. No matter what you choose, you can make it your own!
Follow our complete, step-by-step guide to building your own beautiful sliding barn door from scratch. To perfectly fit your space, be sure to make any measurement adjustments and customize your interior barn door any way you need to.
Why Build a DIY Barn Door
Building a Practical Double Bypass Barn Door Design
Unlike traditional doors that require a wide swing radius, barn doors slide flush against the wall, instantly reclaiming valuable square footage in tight hallways, bathrooms or closets.
Beyond the practical perks, crafting your own DIY barn door allows you to completely customize the size, the look, and the hardware, giving you a one-of-a-kind architectural statement piece that provides texture, privacy and character in any room!
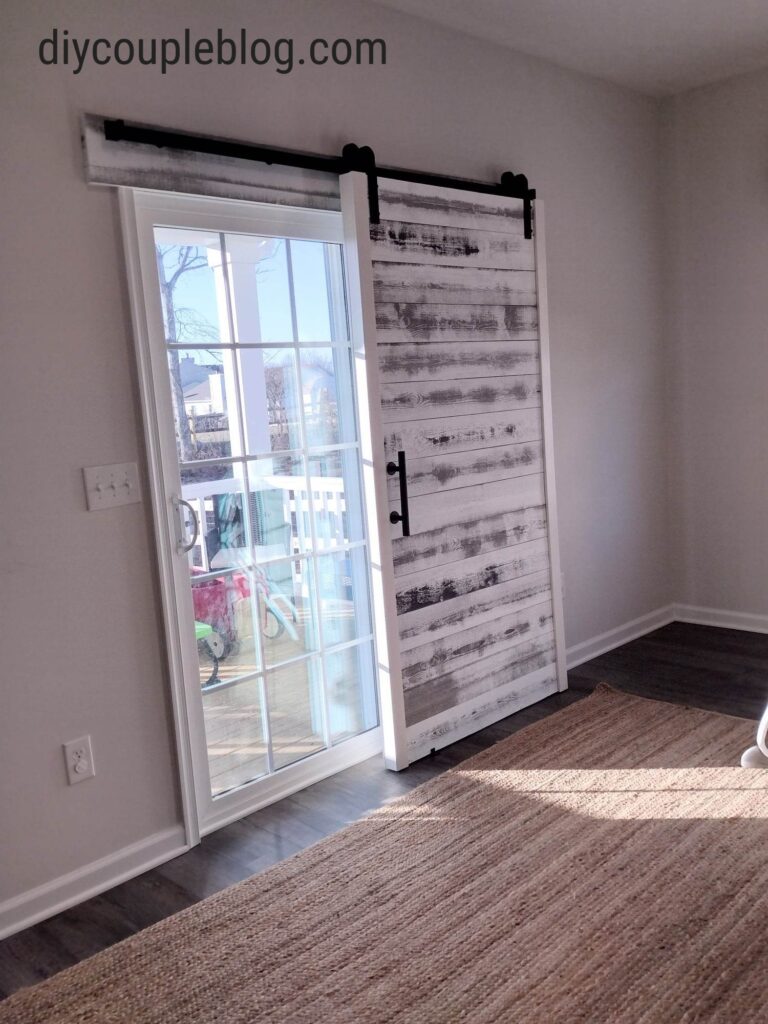
While people build DIY barn doors for countless reasons-from saving space to adding a rustic focal point-our motivation was entirely practical. We were tired of the intense afternoon sun beaming through our patio slider door, but we didn’t want to compromise on style with traditional curtains or dusty blinds.
By crafting a custom double bypass barn door to slide right over the glass, we got the ultimate light control, absolute privacy when we need it, and a stunning, functional statement piece that transforms our entire space.
Interior Barn Door Design
Defining Our Modern Rustic Look
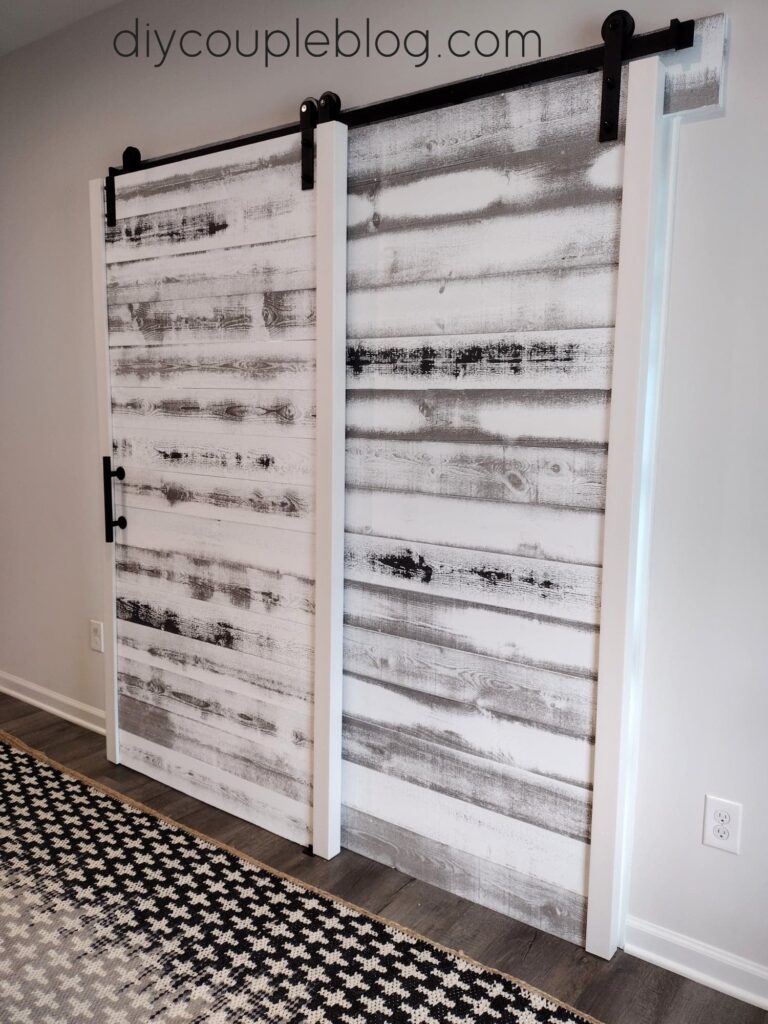
When it came to the design of our DIY barn door, we aimed for a modern rustic aesthetic-blending clean lines with textured wood consisting of white and gray variations. Because these are double bypass barn doors, functionality was only half the battle; they also had to look incredible from every single angle.
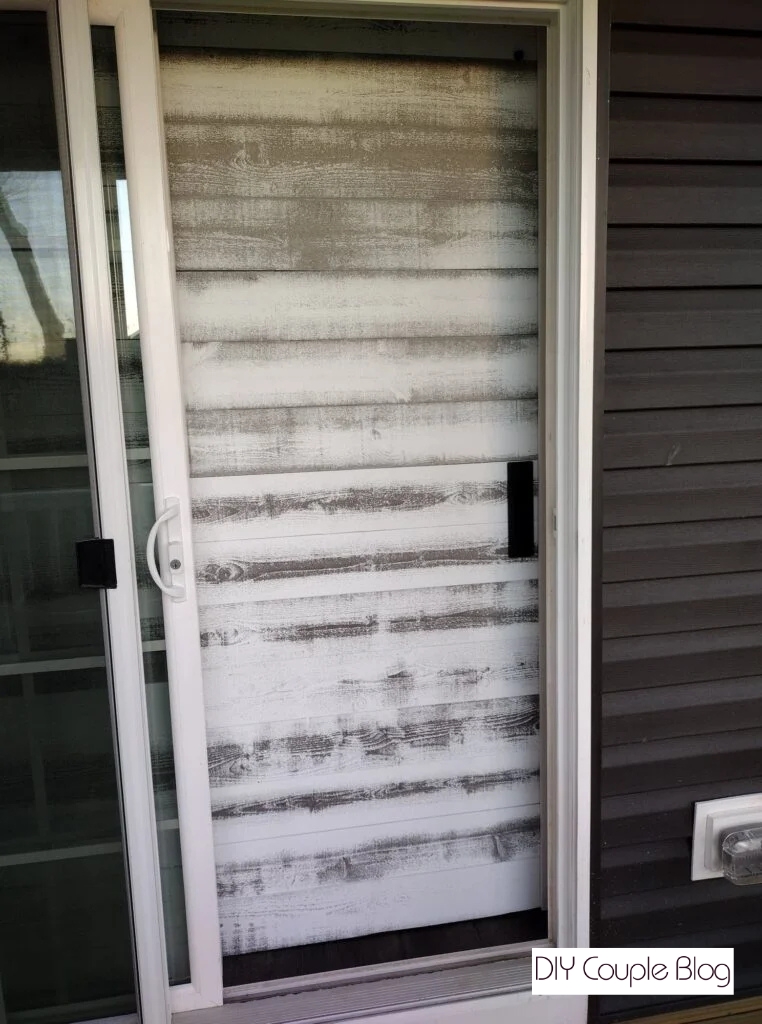
It needed to look amazing on the inside of our dining room as well as viewing the back of the door, looking in from outside.
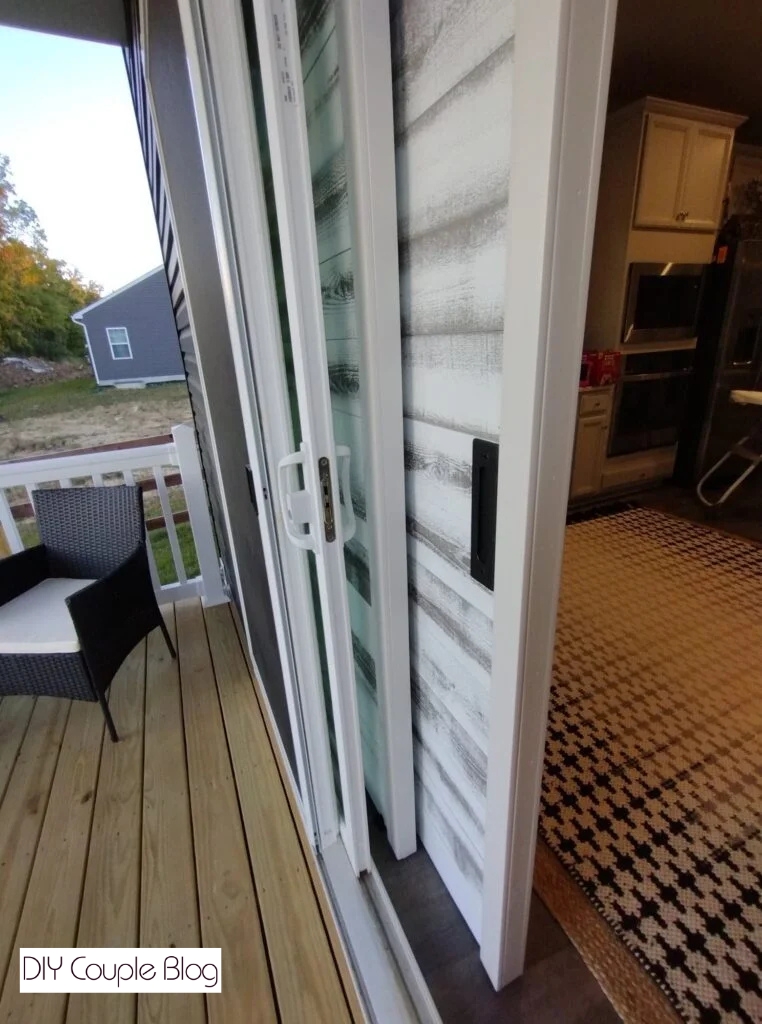
To pull this off, we completely finished both front and back of our DIY barn doors. Double bypass setups frequently expose the rear side depending on how they are slid open, but with this dual-sided finish, you get a flawless view no matter which side of the room you are standing in.
Build these gorgeous, DIY double-sided barns doors-including the hardware, track, and handles for under $550! (Prices can vary; however, this was the accumulated cost at the time of the build).
How to Build a Barn Door
DIY Barn Door Supplies
11- Packs of Whitewash Accent Boards
1 1/4″ Kreg pocket-hole screws
Tools Required to Craft a DIY Barn Door
Multi-Tool (If you’re a beginner and find yourself needing a lot of these tools buy this power tool combo kit)
Step-By-Step for How to Build a Barn Door
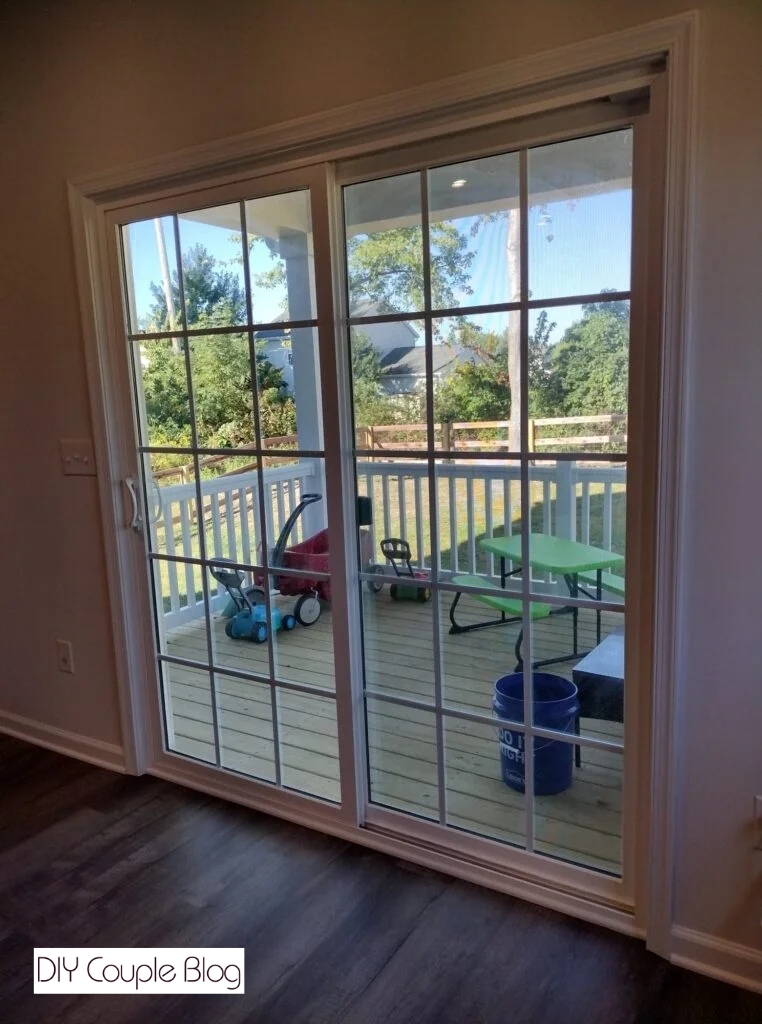
1. Measure The Door Frame To Verify The Fit Of Your Interior Barn Doors
The first step to a DIY barn door is measuring your door frame opening. You’ll need to measure the width of the opening from the outside edge of each side of the door casing.
Now measure the height from the floor to the top of the door casing. This is the most important step to verify the size of your door opening. The sizes in this post fit a common size opening for a sliding door of 75.5 inches by 81.5 inches.
2. Make The Proper Cuts
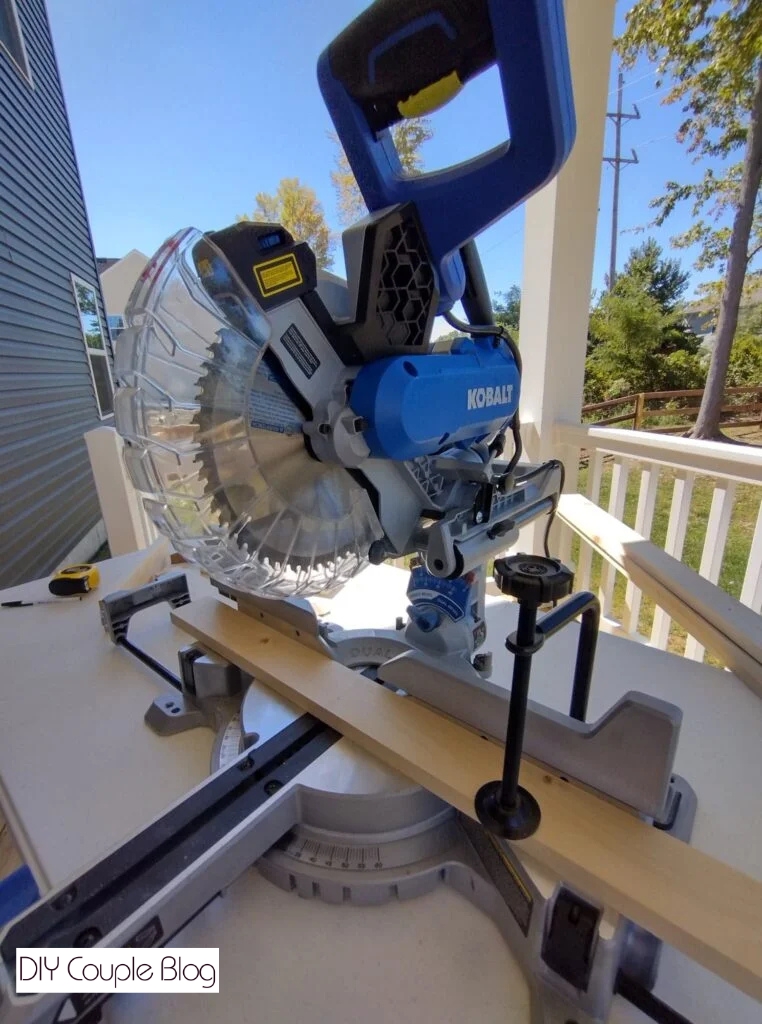
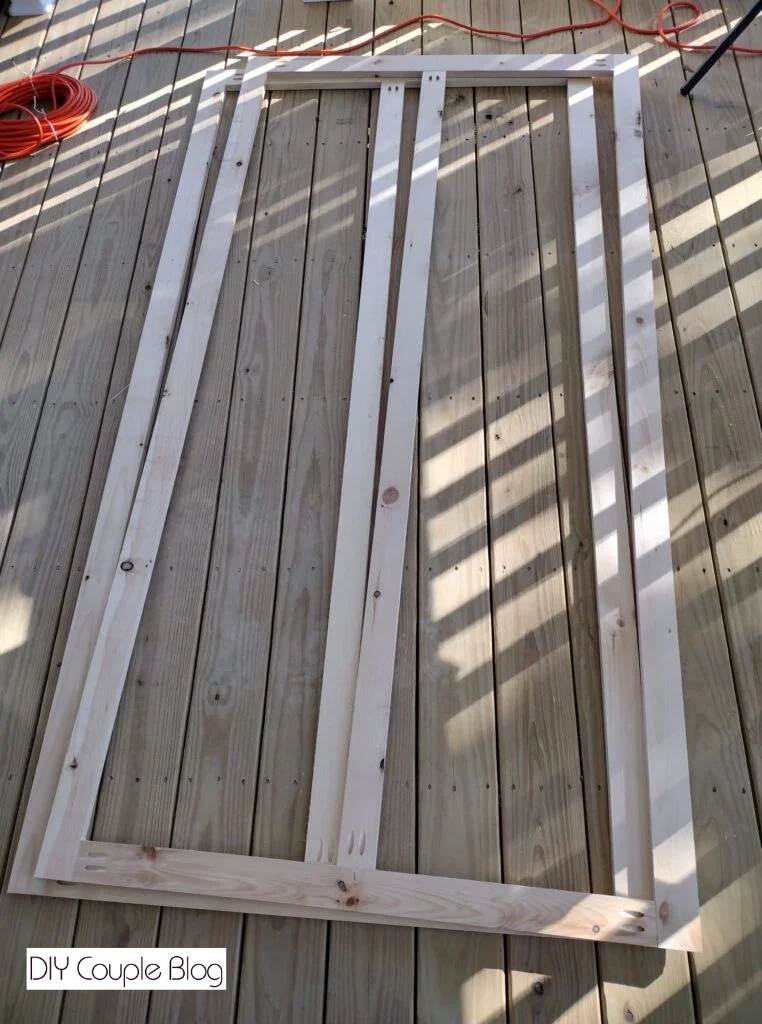
For the frame of the DIY barn door, you will need to gather your 1 x 3 x 8 whitewood boards. Cut four of them to 82.5 inch and cut two of them at 77.5 inches.
Next, you will cut four pieces at 39 inches wide with the remaining two boards. The frame of your barn door will be 44 inches wide.
Setup the Kreg jig to 3/4.
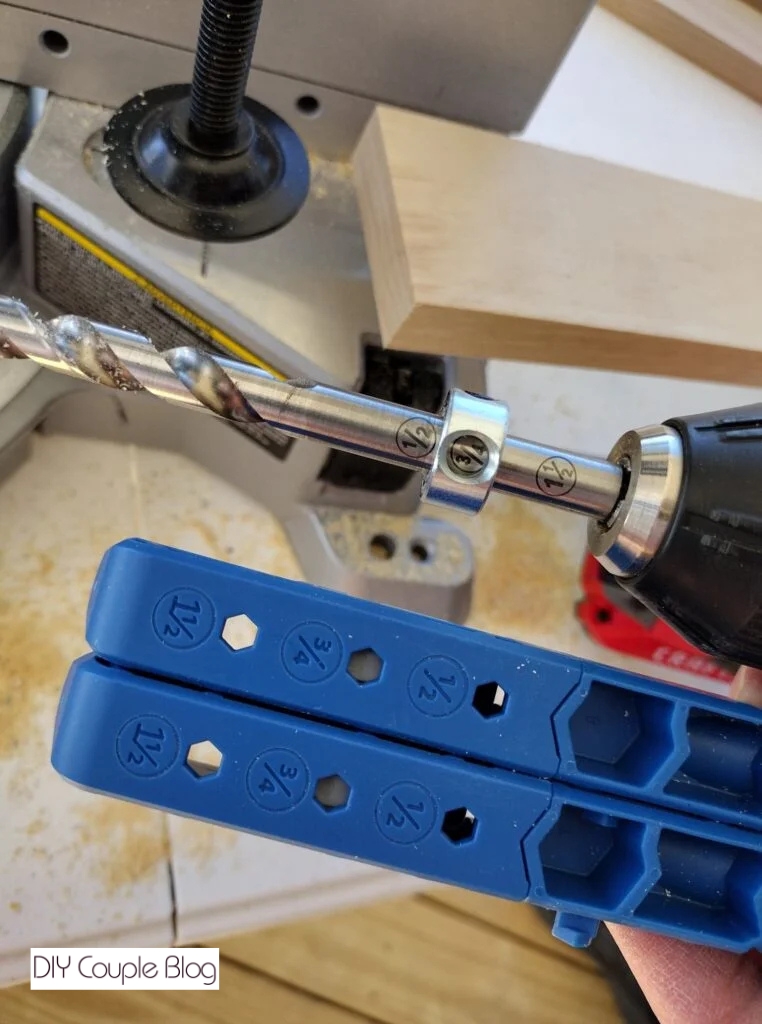
Using any clamp (we used the one that came with our miter saw) you will make two pocket holes on both ends of the four pieces that are 39 inches wide and on the two pieces that are 77.5 inches long.
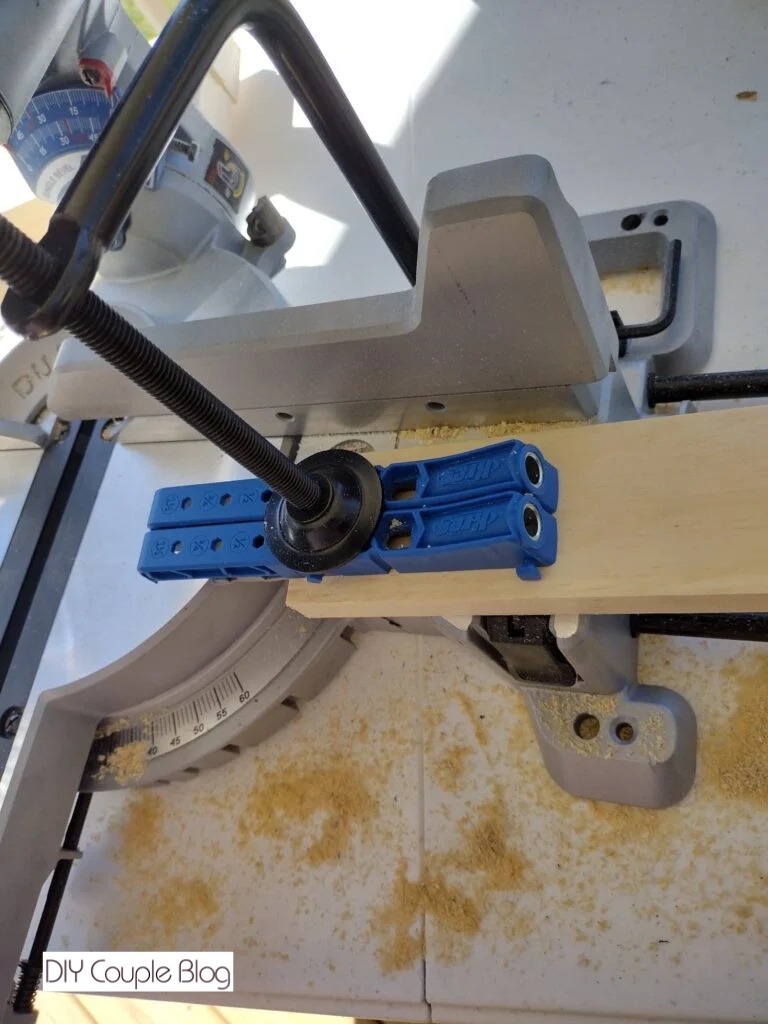
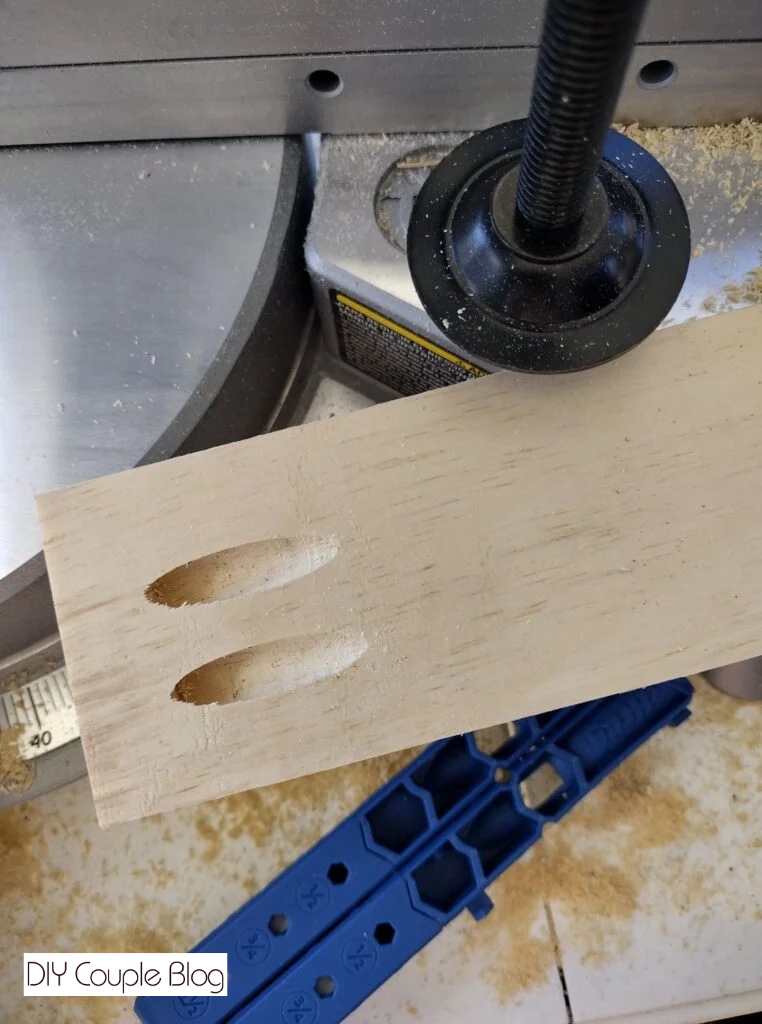
Lay out the frame of the DIY barn door and line it up straight. Starting at one corner, line it up to the edge and make sure it’s as flat as possible while using your 1.25 inch Kreg pocket hole screws assemble the frame on all four corners.
3. Assemble the Barn Door Frame
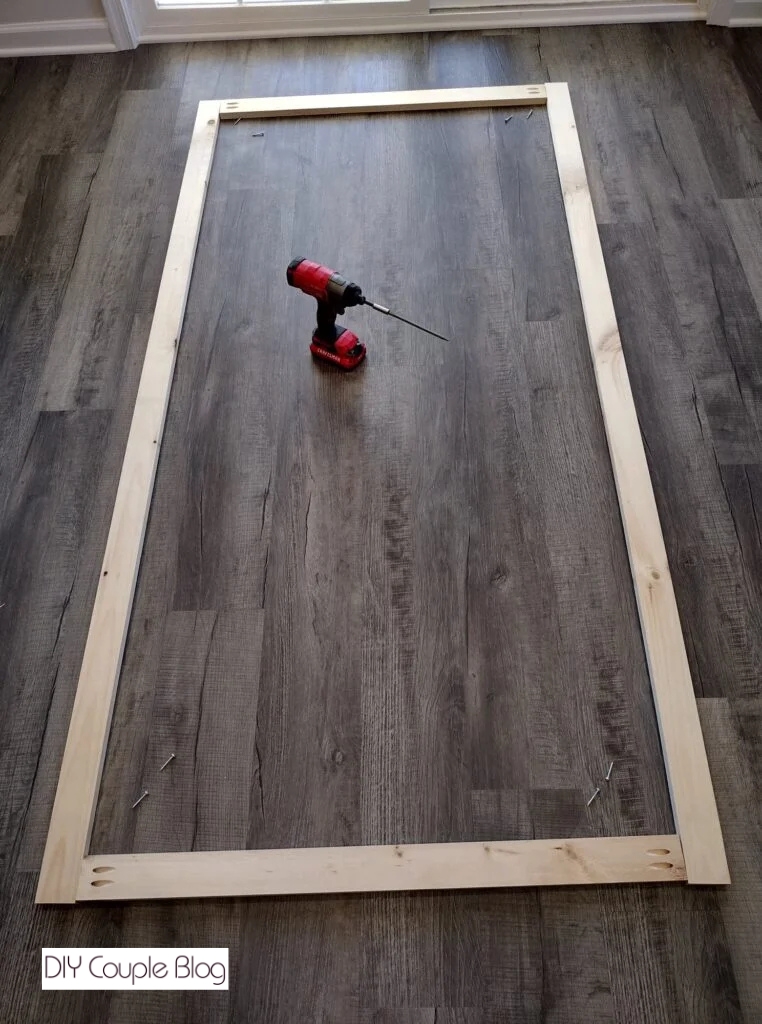
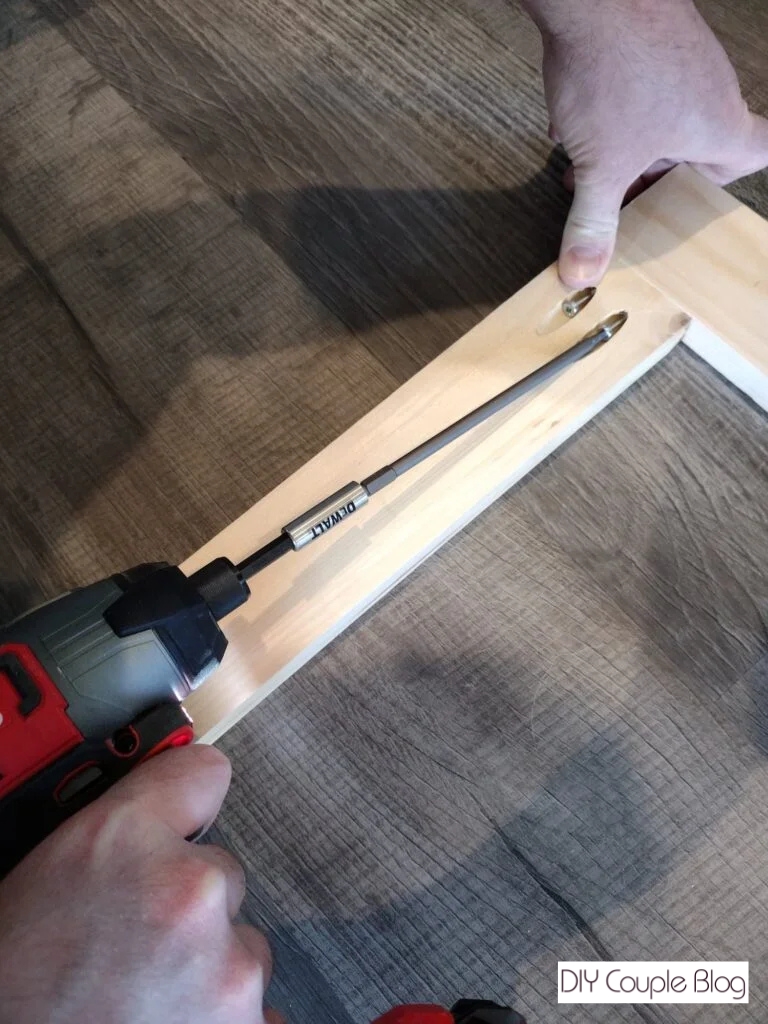
Now you’re going to attach your 77.5 inch boards to the center of your frame using the same Kreg jig screws.
Distressed Whitewash Barn Door Wood Planks
4. Install Barn Door Rustic Wood Planks
Cut 60 of the whitewash accent planks to 43.75.
Note: If you use the same miter saw we have, we were able to cut five boards at a time to make it easier.
Arrange the boards in a pattern that is the most appealing to you, creating your barn door design.
Note: These boards are purposely cut short to make a later step easier.
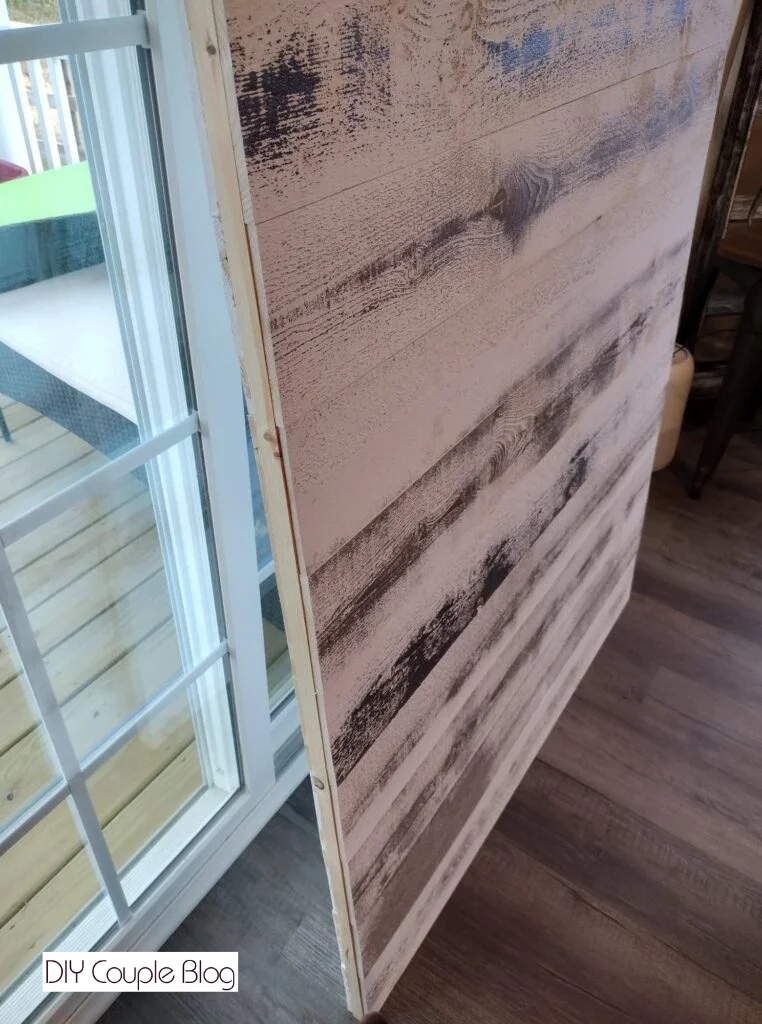
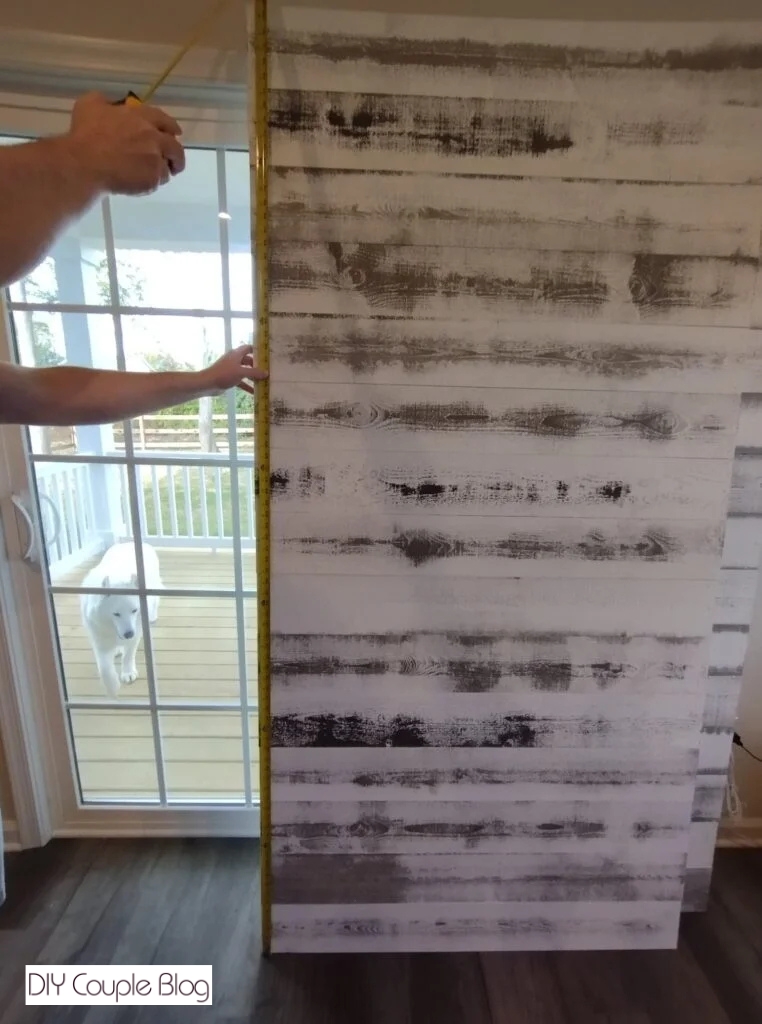
Go ahead and take the boards back up but keep them in order so you don’t lose your pattern. Add wood glue to the frame then starting with the bottom piece make sure your board is flush to the bottom of the frame but not flush to the sides.
Shoot three nails in on each end close to the end of the boards using your 5/8 inch nails. Repeat this process all the way up making sure each board is as flush as you can to the next board.
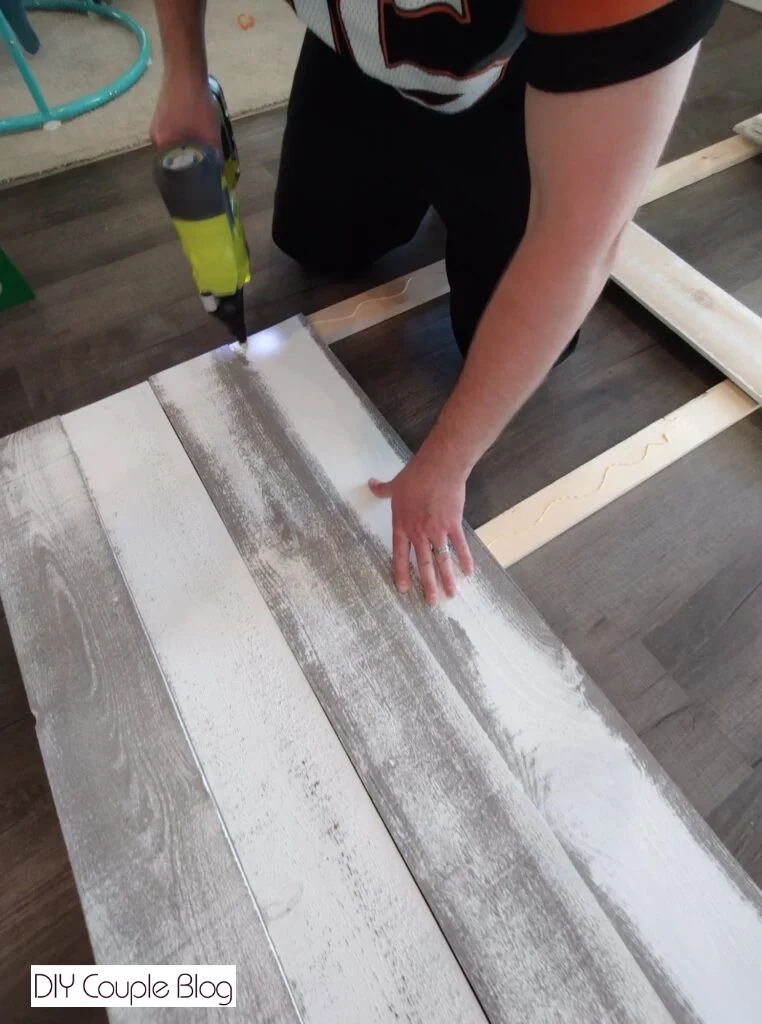
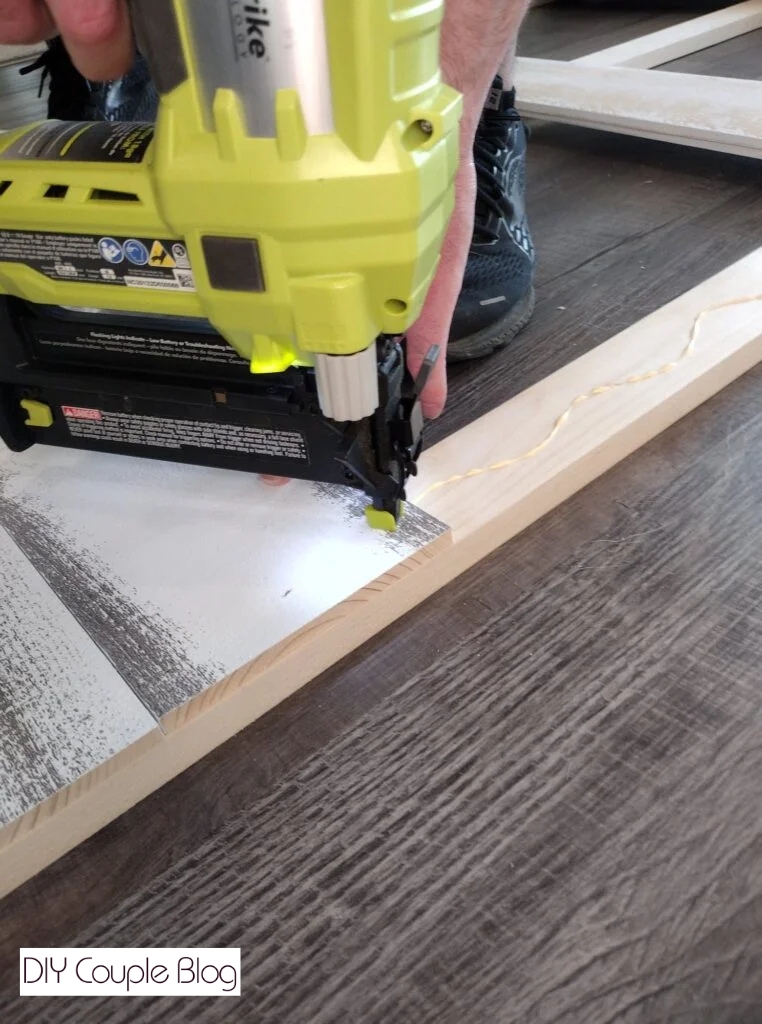
You’ll want to do this on both of your door frames, on both sides.
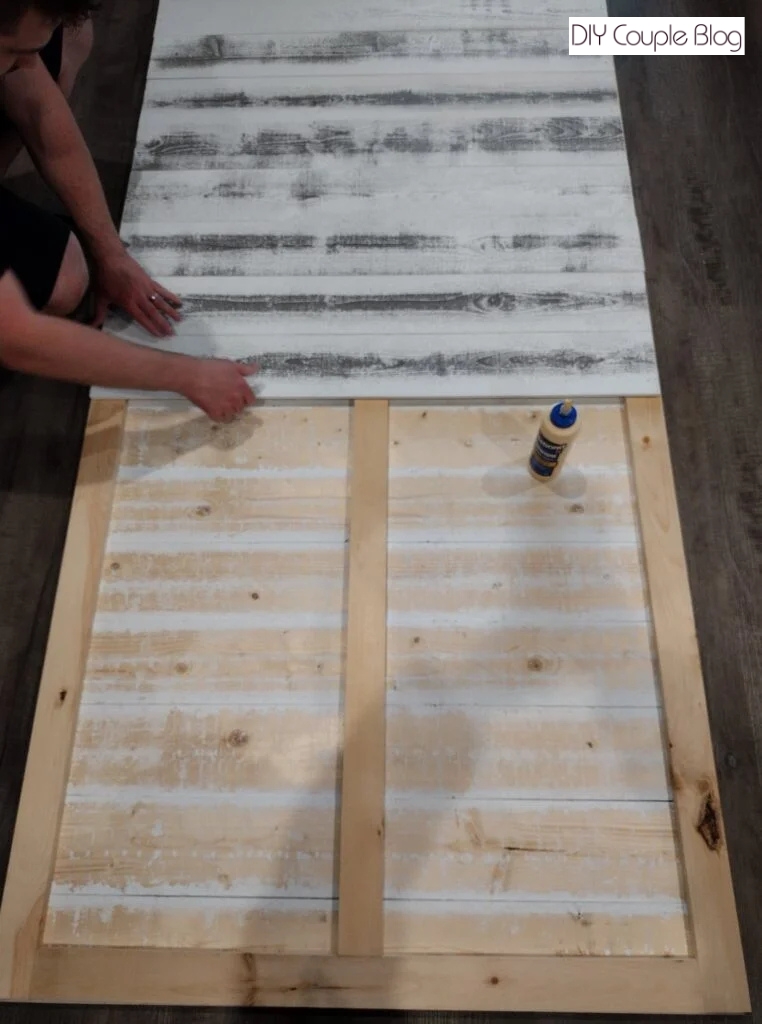
The DIY barn door will then look like this once finished with that step and you will need to add your pretty white trim to cover these unfinished edges.
5. Attach Trim to the Interior Barn Doors
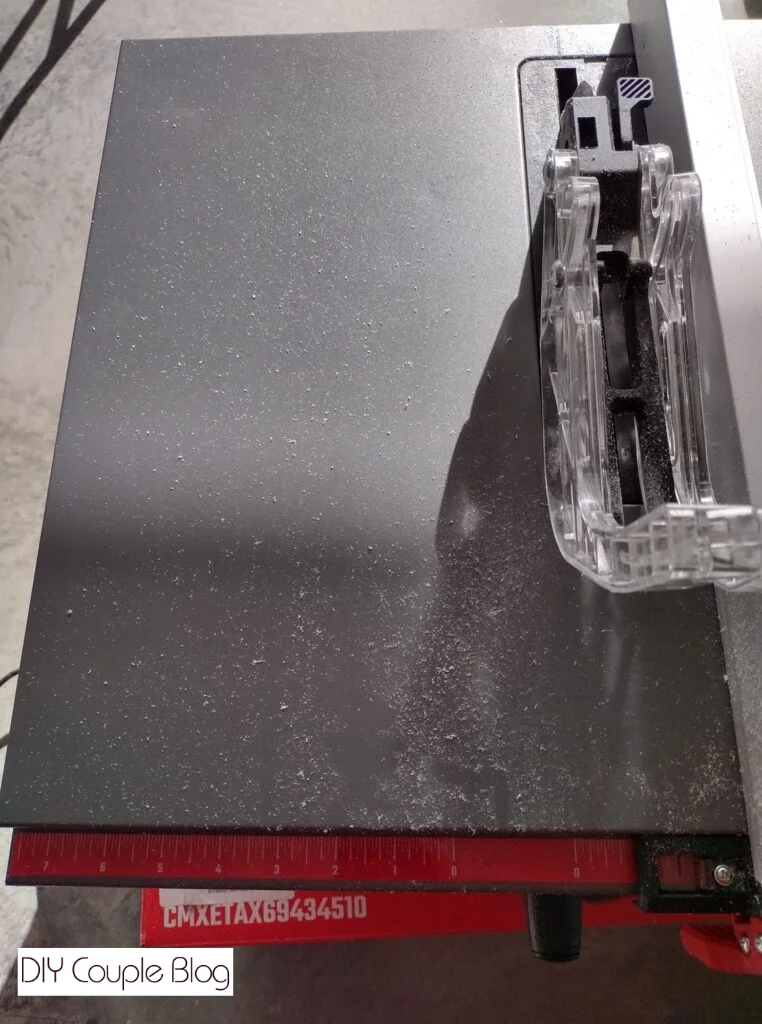
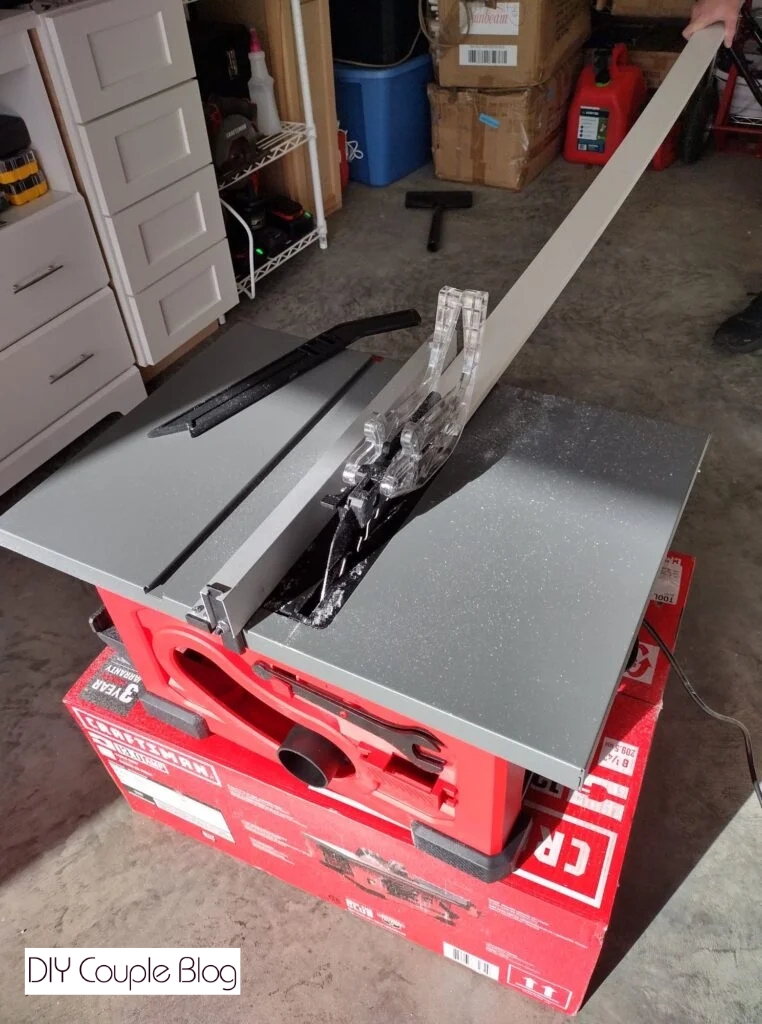
You are now cutting nine white trim boards to 82.75. Using the table saw, rip four trim boards to 1 5/8 inch.
Using the same 5/8 inch nails and nail gun, attach your trim boards. Your ripped pieces will go on the sides of the door frame, and the non-ripped pieces will go on the faces of the doors. Starting with the front door, place a ripped edge to the front of the side and the other piece of trim in the front so it overlaps.
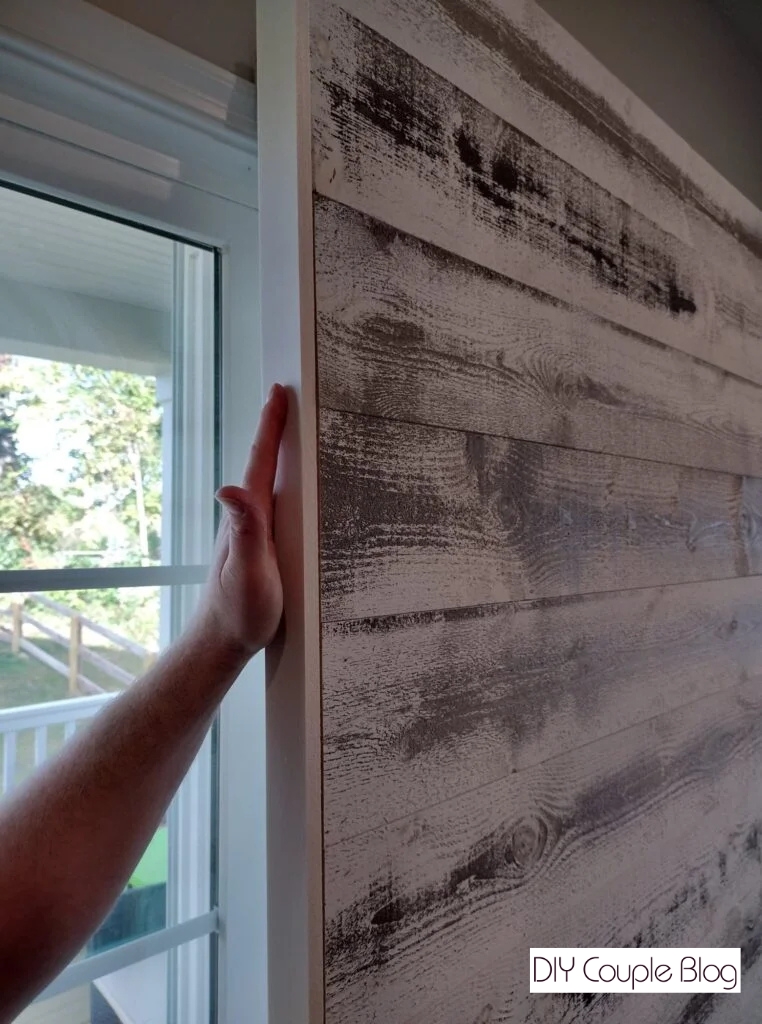
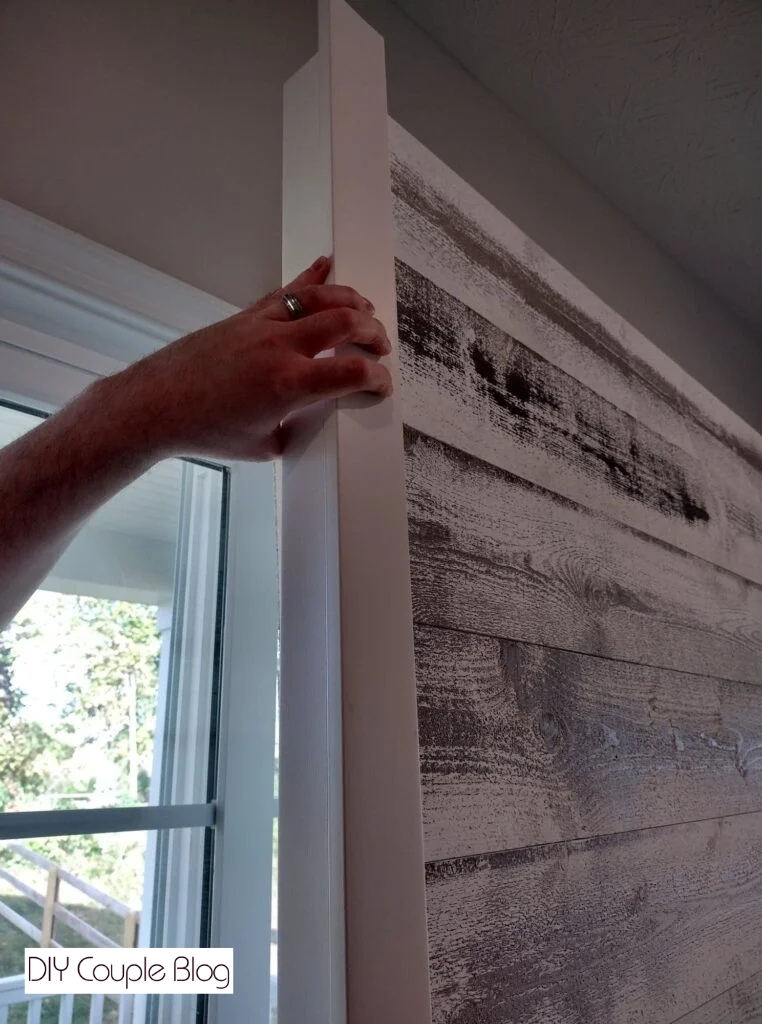
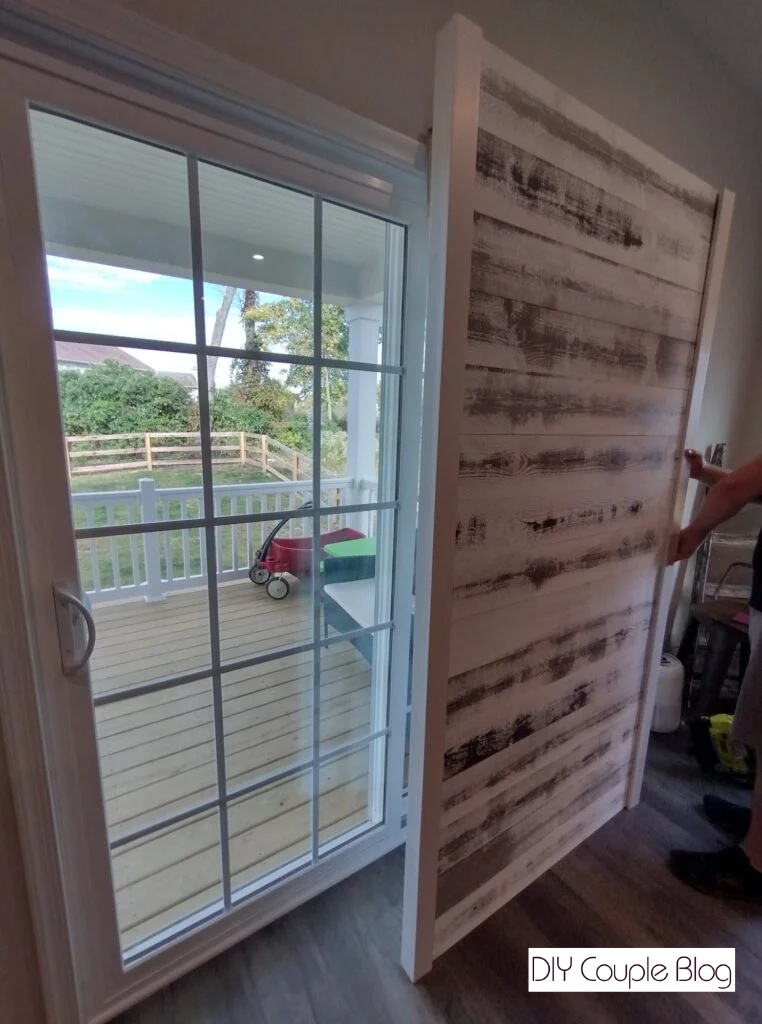
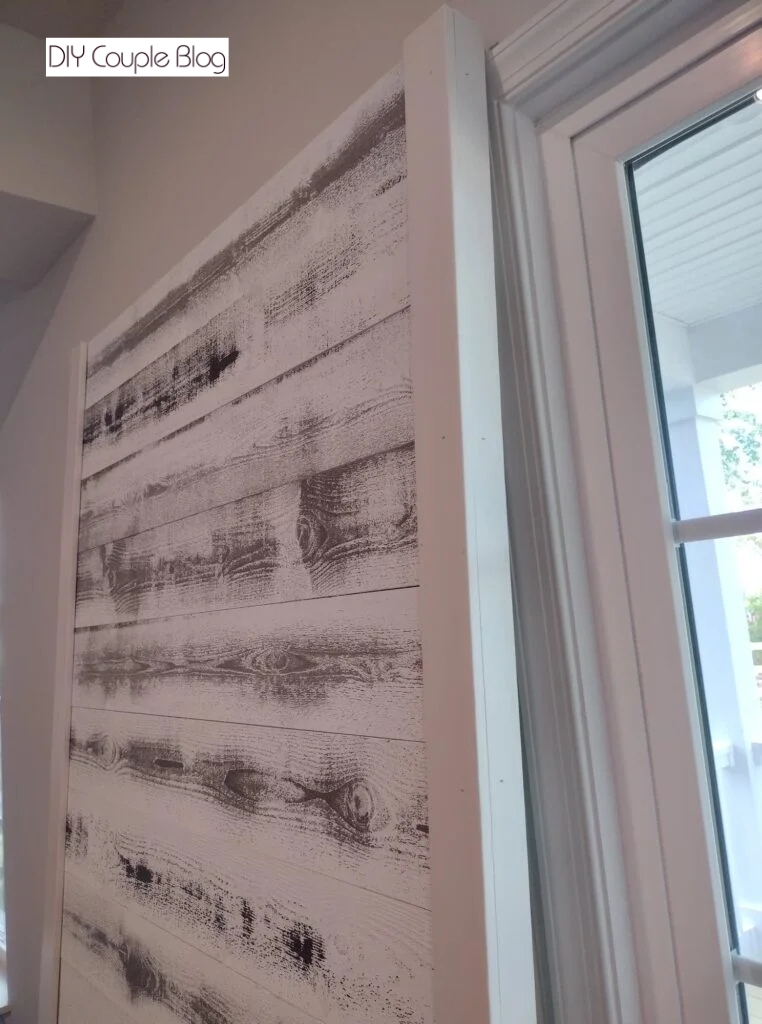
Repeat on both sides. On the back side of the door, you’ll add one piece of trim board to the outside of the door.
Note: The outside edge of the door will have a piece of white trim board on all three sides. The inside will only have it on the front and the side (two pieces versus the three).
Now onto the door that will be in the back, put the trim board on the outside edge and the front exposed edge. Repeat for the other side only putting your trim on the back side of the barn door and not on the front of that same side.
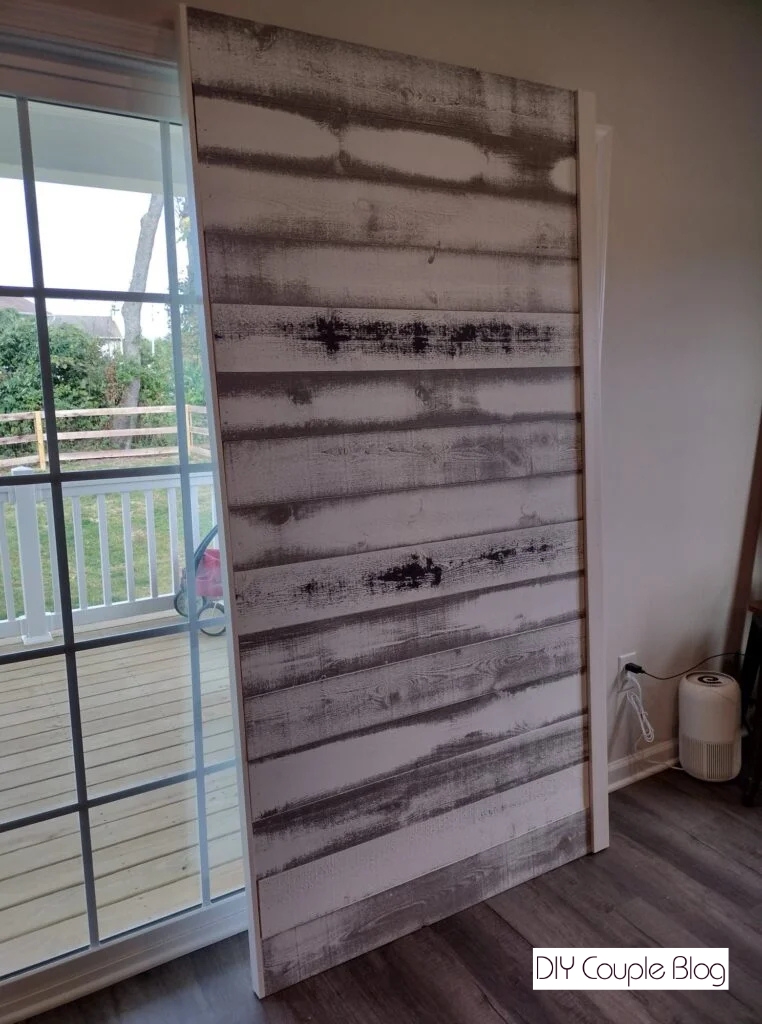
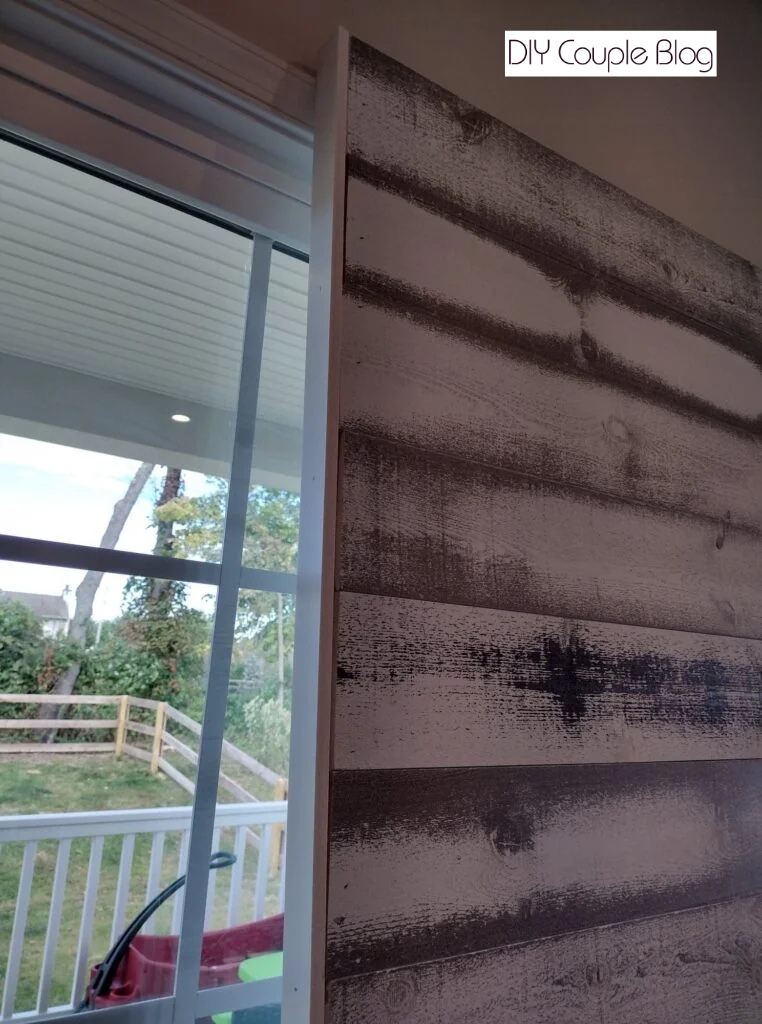
The front slider will have five pieces of trim and the back one will have four pieces of trim total.
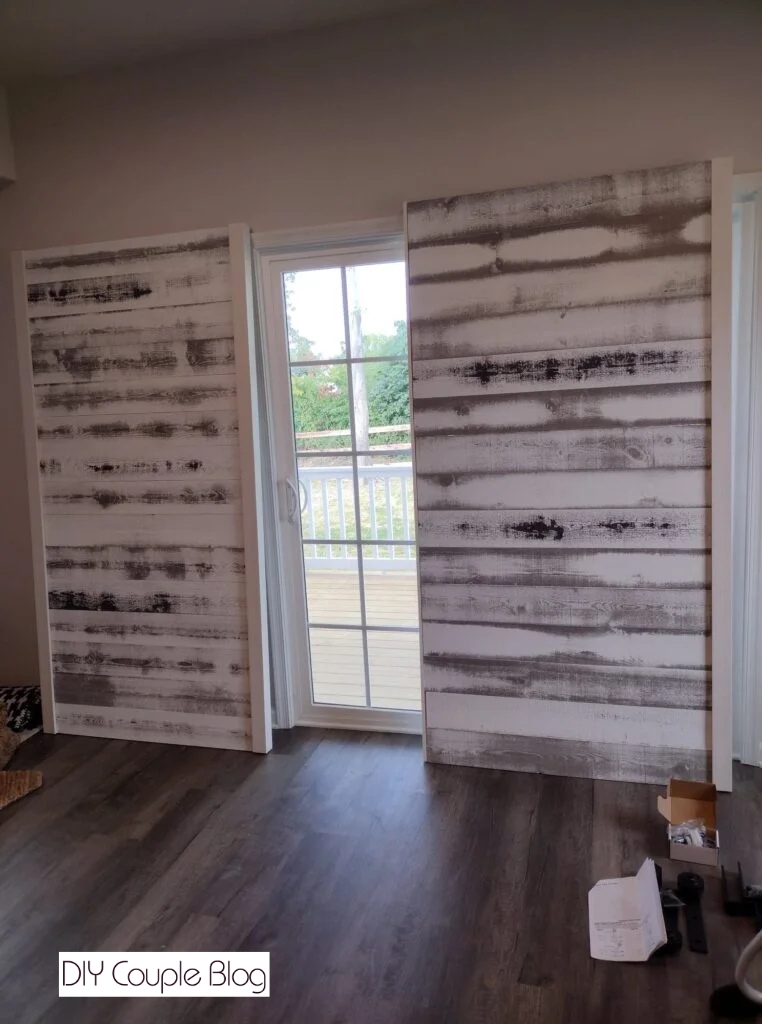
Sliding Barn Door Header
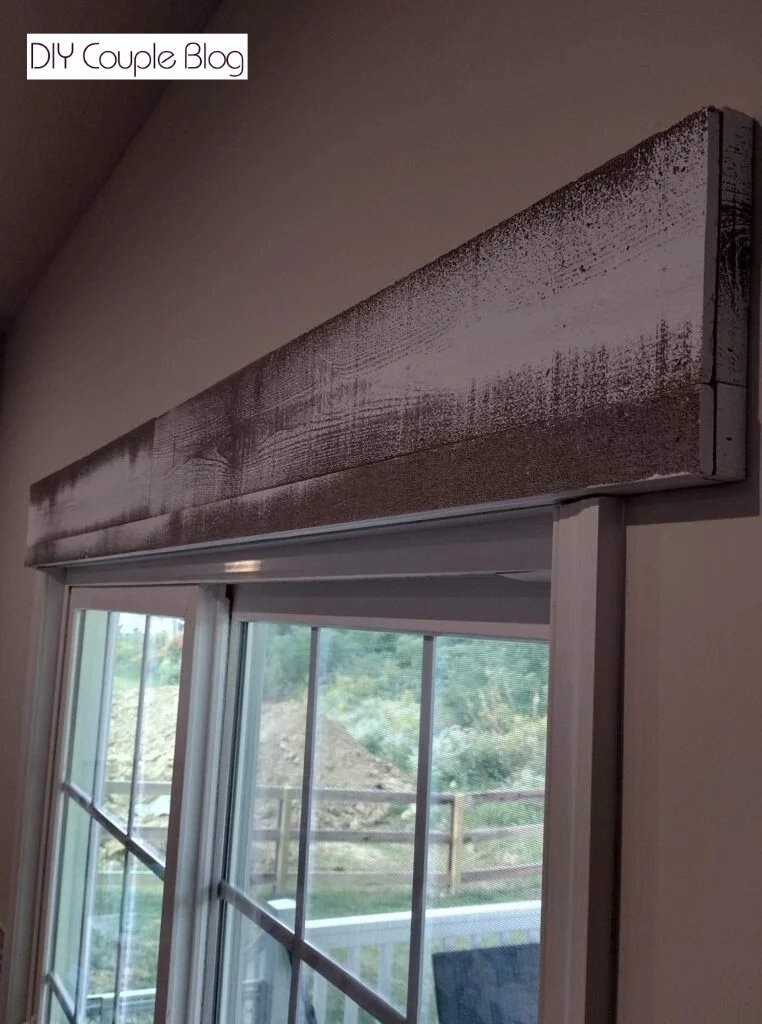
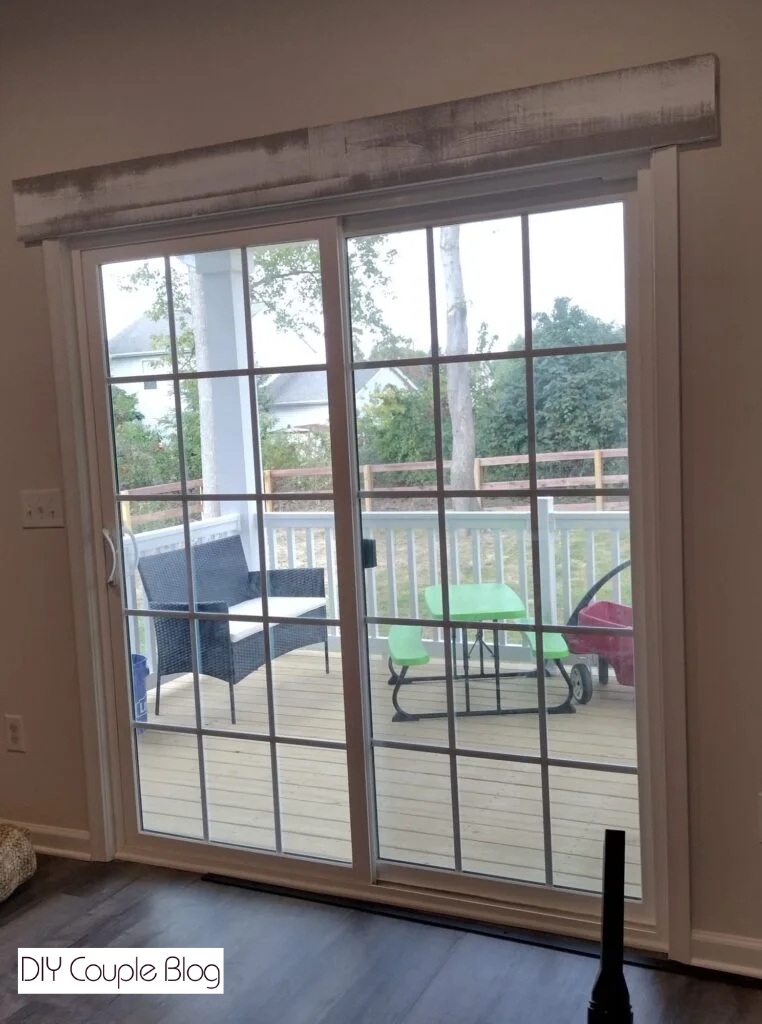
6. Replace Casing with Header Above Double Sliding Barn Doors
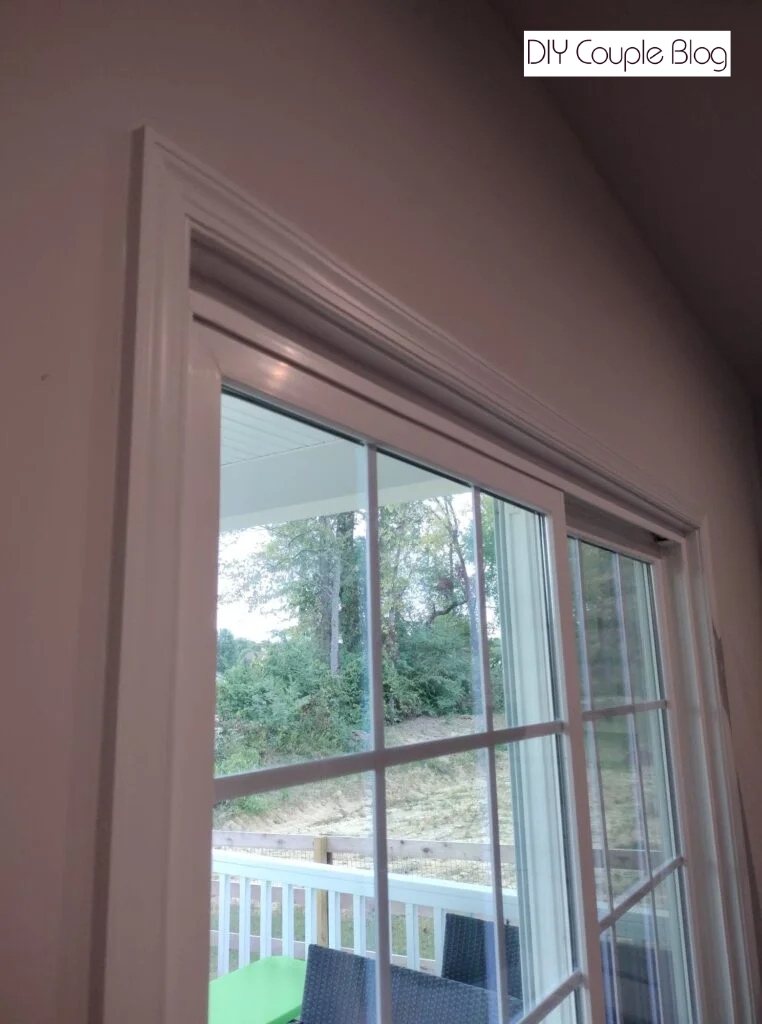
Remove the top piece of casing from your door. Use a razor knife to cut the caulk loose from all the edges then gently pry it off. Using a multi-tool carefully cut your side casing straight across so that it’s flush with the top of the door. Next, use a razor knife or a scraper and scrape off any caulk or debris that would be in the way.
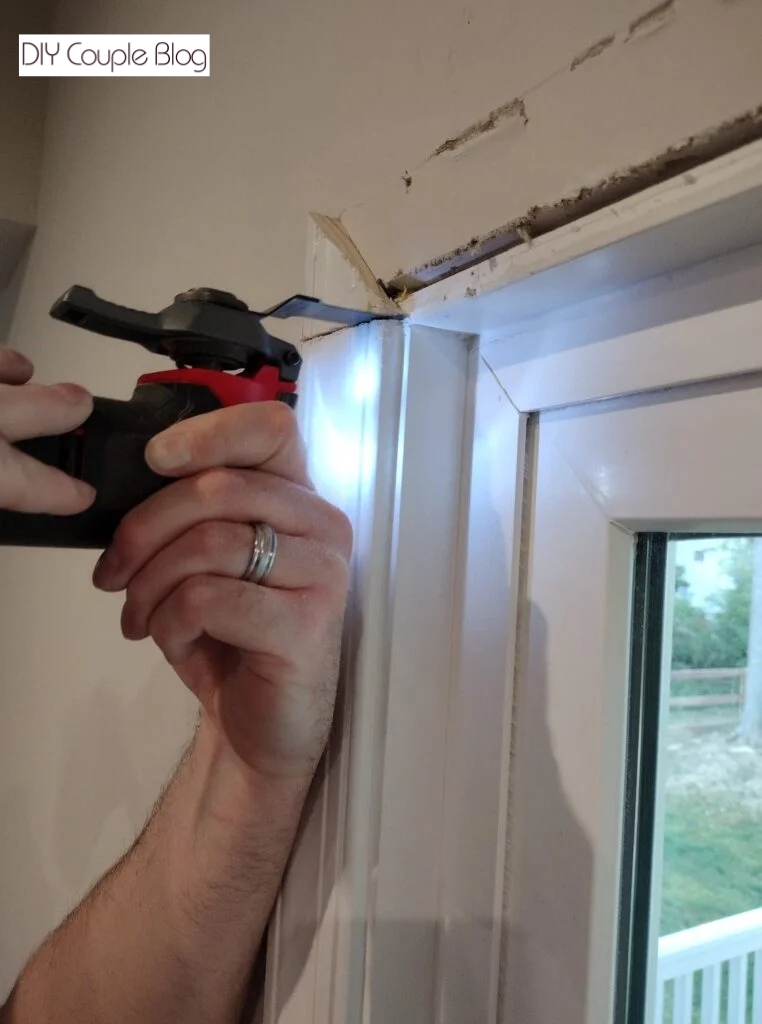
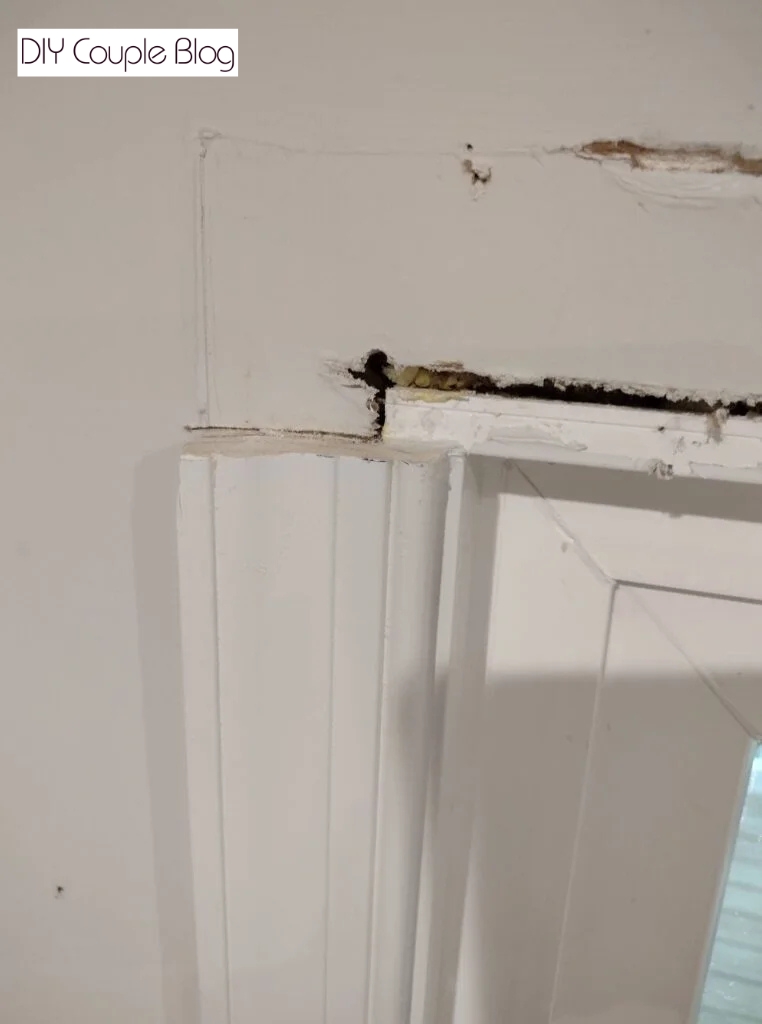
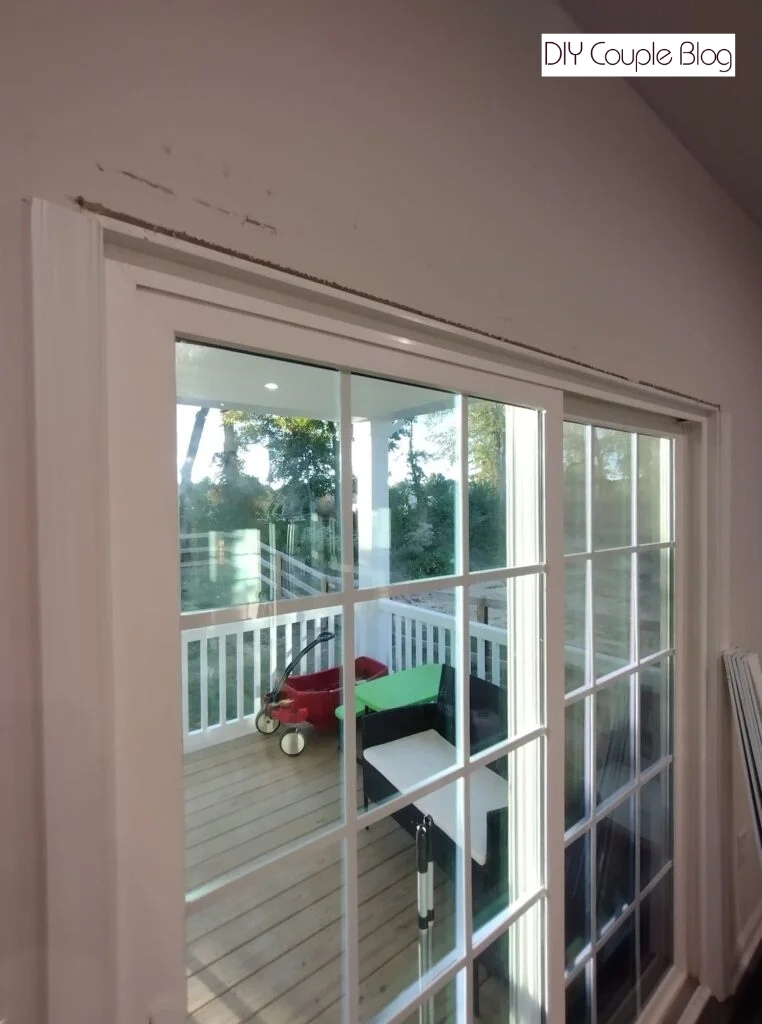
Cut a 1 x 8 x 8 board to 81.75 inches and paint the bottom edge of the board with white spray paint. Hit it with several coats.
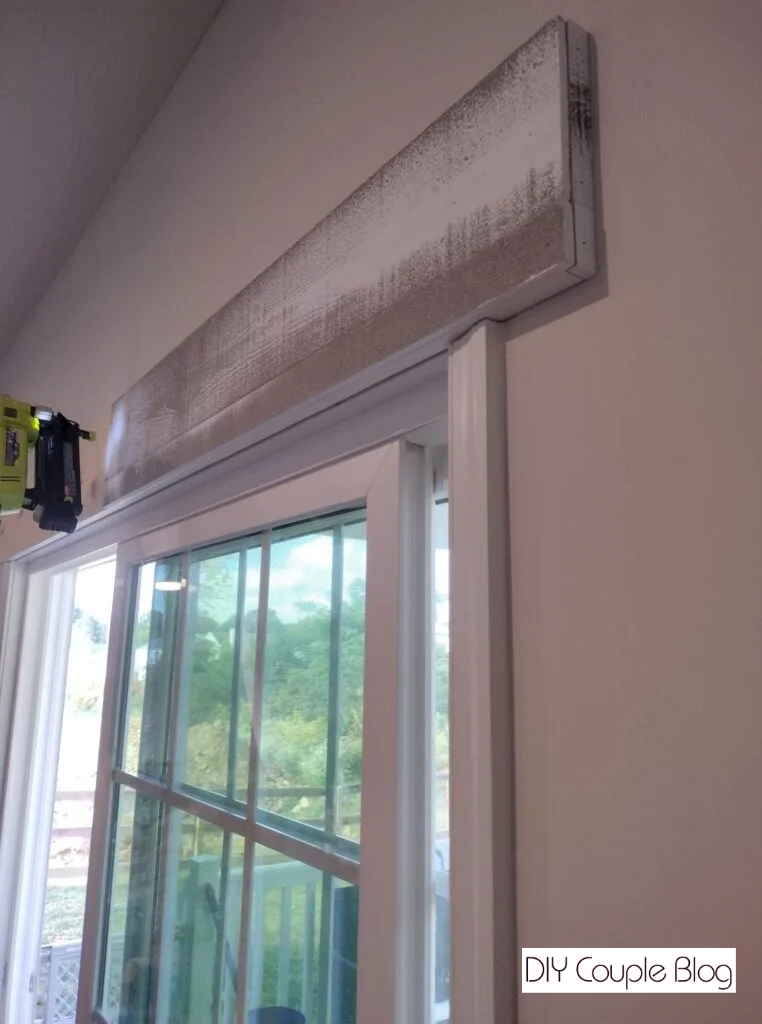
Center the 1 x 8 x 8 header board on top of the door using the casing on each side to rest on and attach using #8 2 1/2 inch screws (make sure you attach the header board so it’s screwed into studs or a header for support).
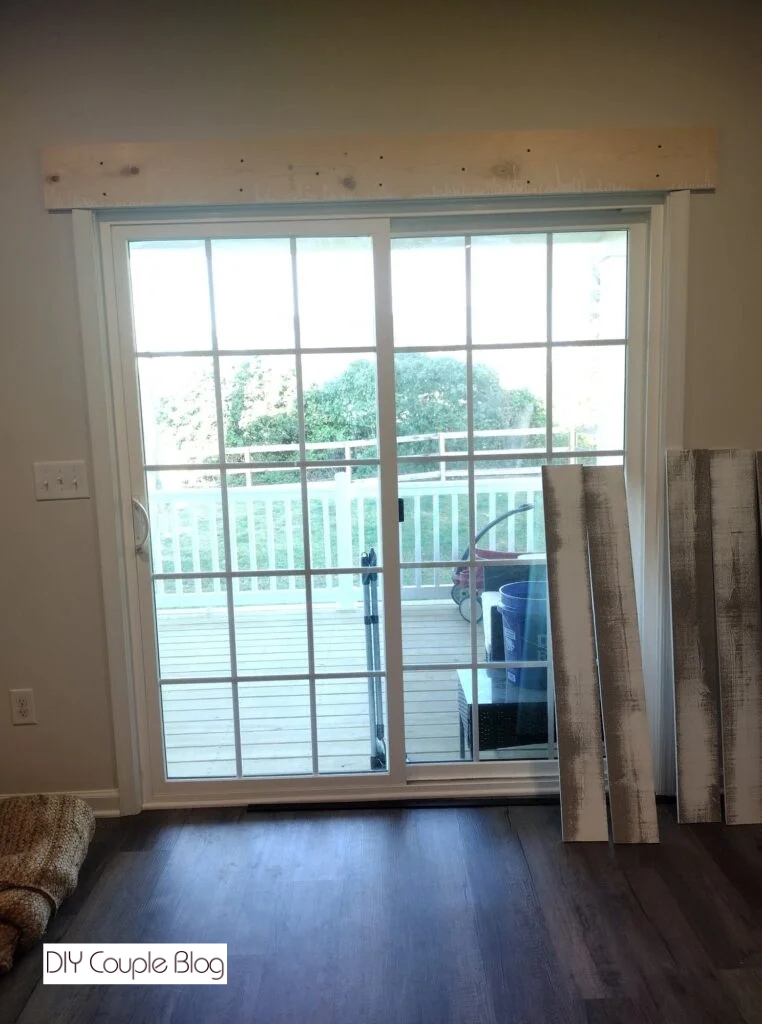
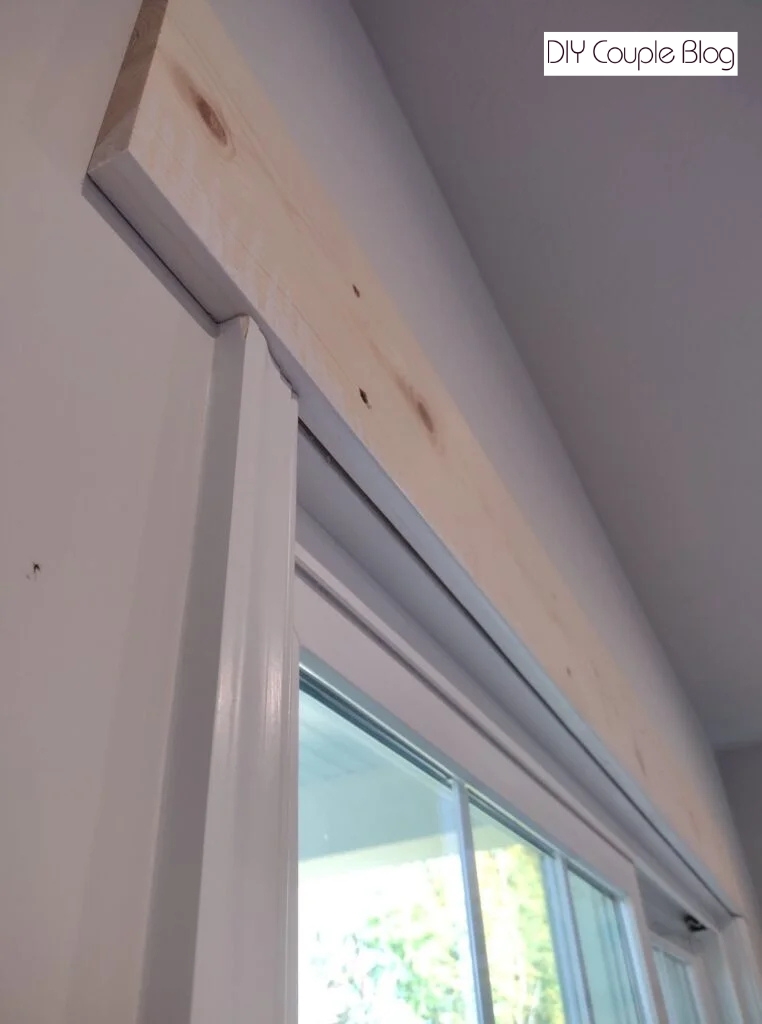
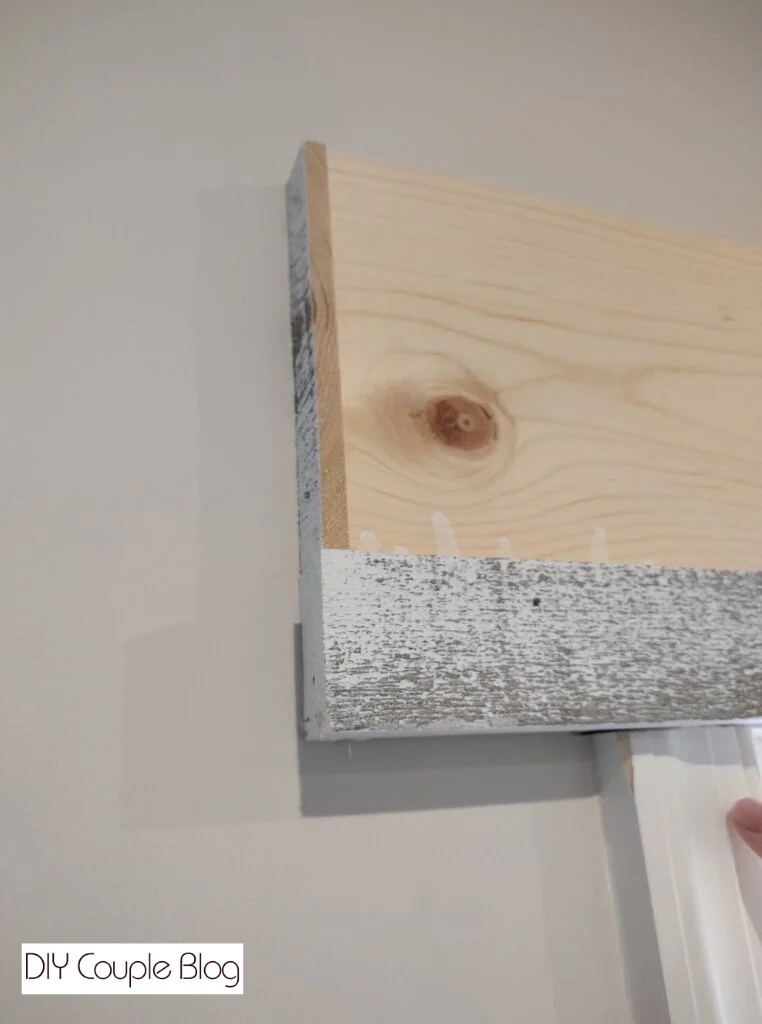
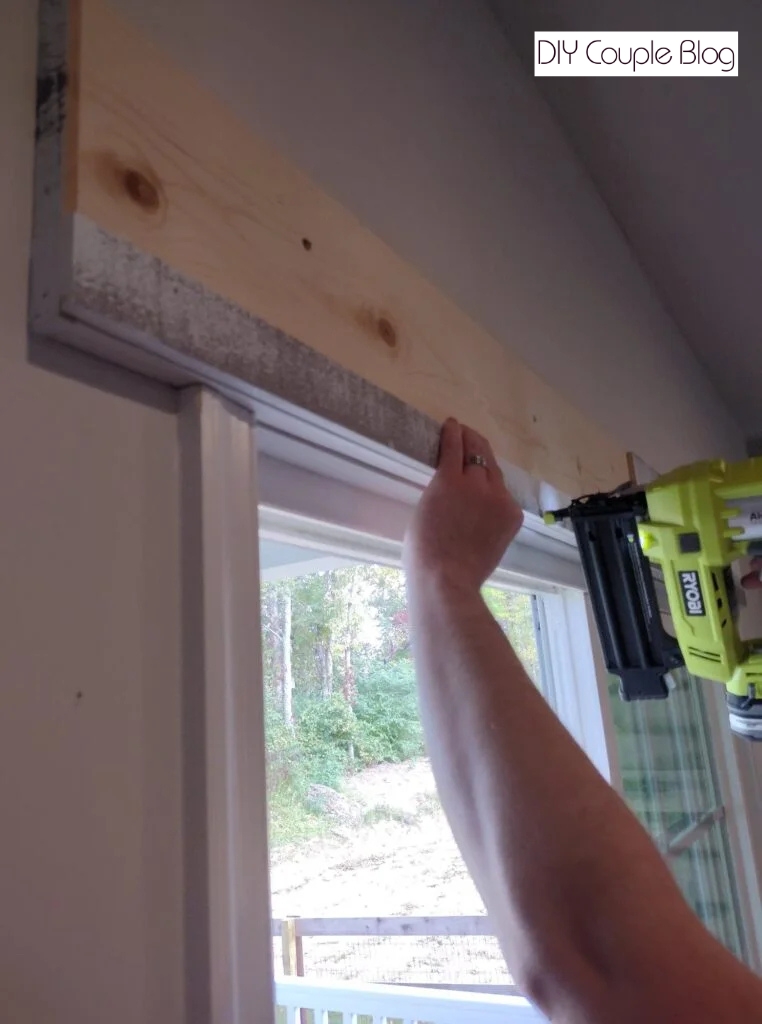
Now we’re going to cover the header board for barn door that we just attached with our whitewash planks. Attach them using a nail gun and 5/8 inch nails. You’ll need four pieces cut to 3/4 inch (we used scrap pieces that were left from the door).
Two of these planks need to be cut to 1.75 inches long. The small pieces go at the bottom of the header board with the finished edge down. The other two pieces go on top of those on each end.
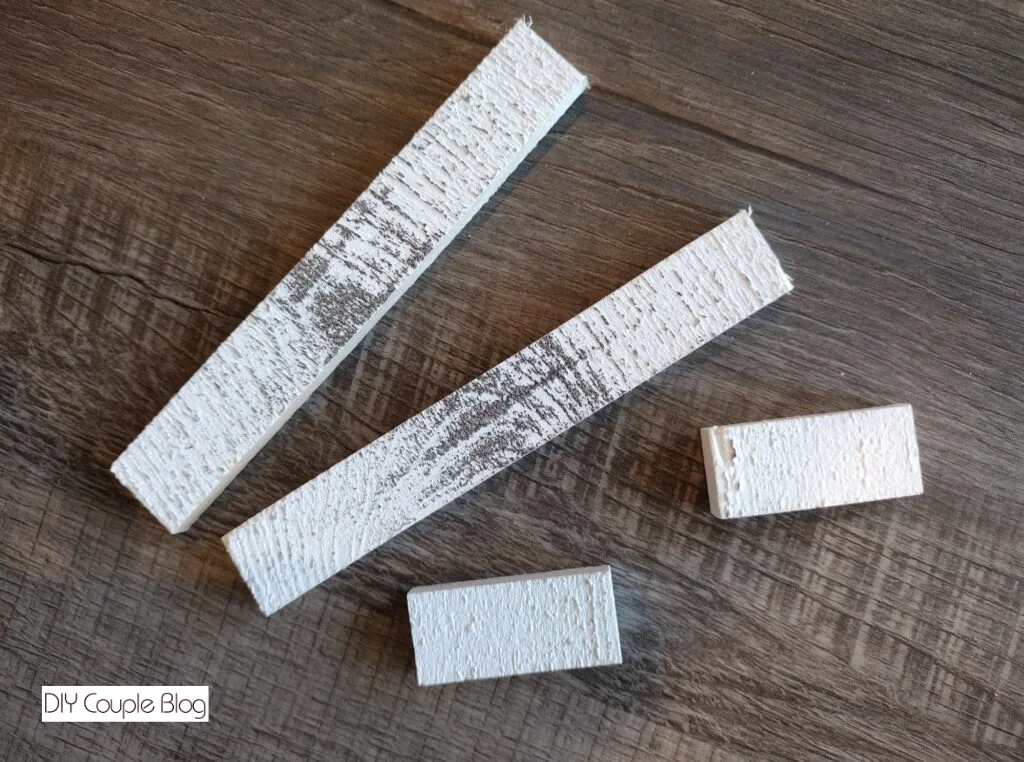
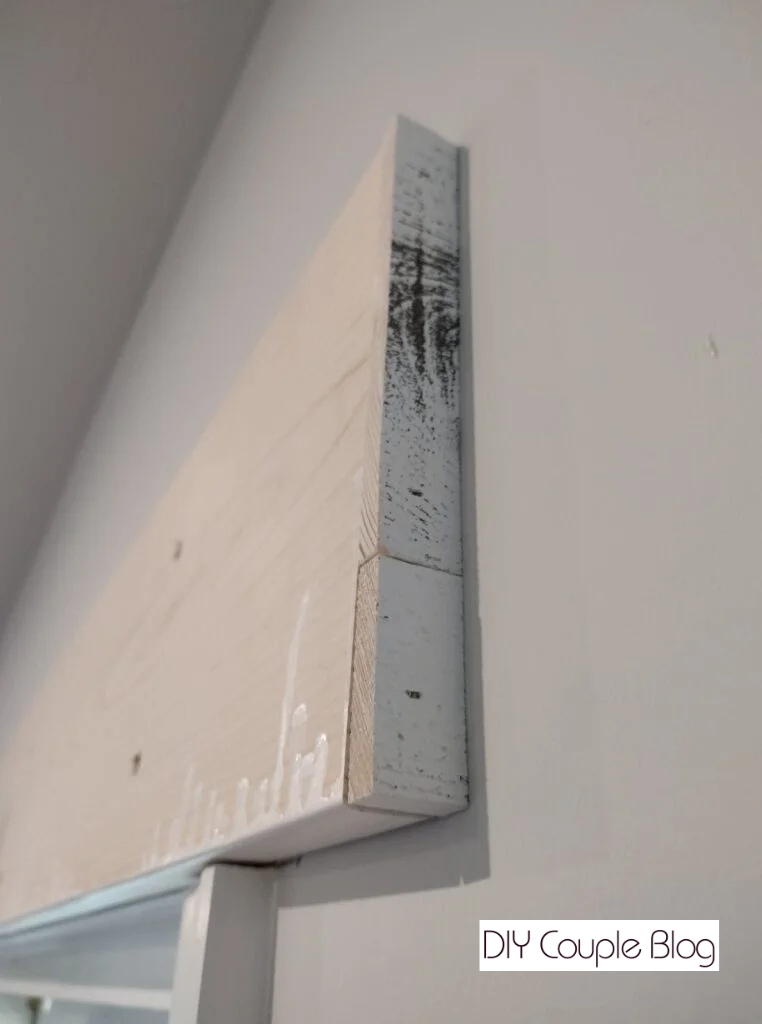
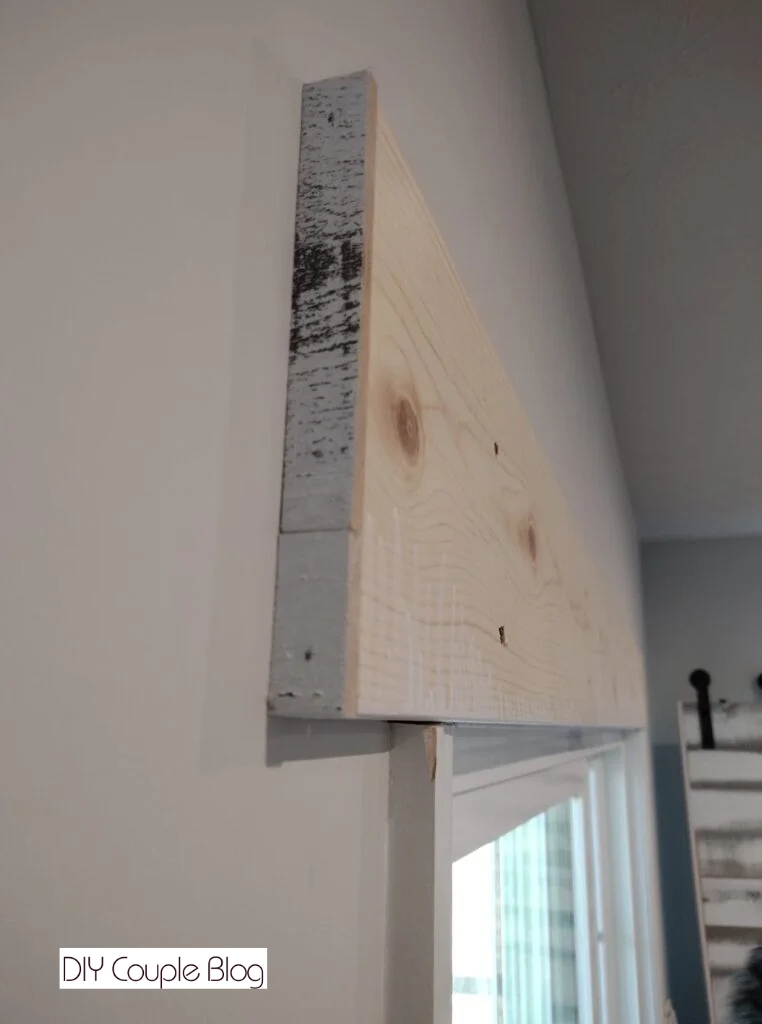
Now cut three planks to 41.25 inch (if these overhang a little, trim down as needed). One of those pieces you’re going to rip from each finished side at 1.75 inch.
If any of the finished edges show wood, touch it up with the spray paint.
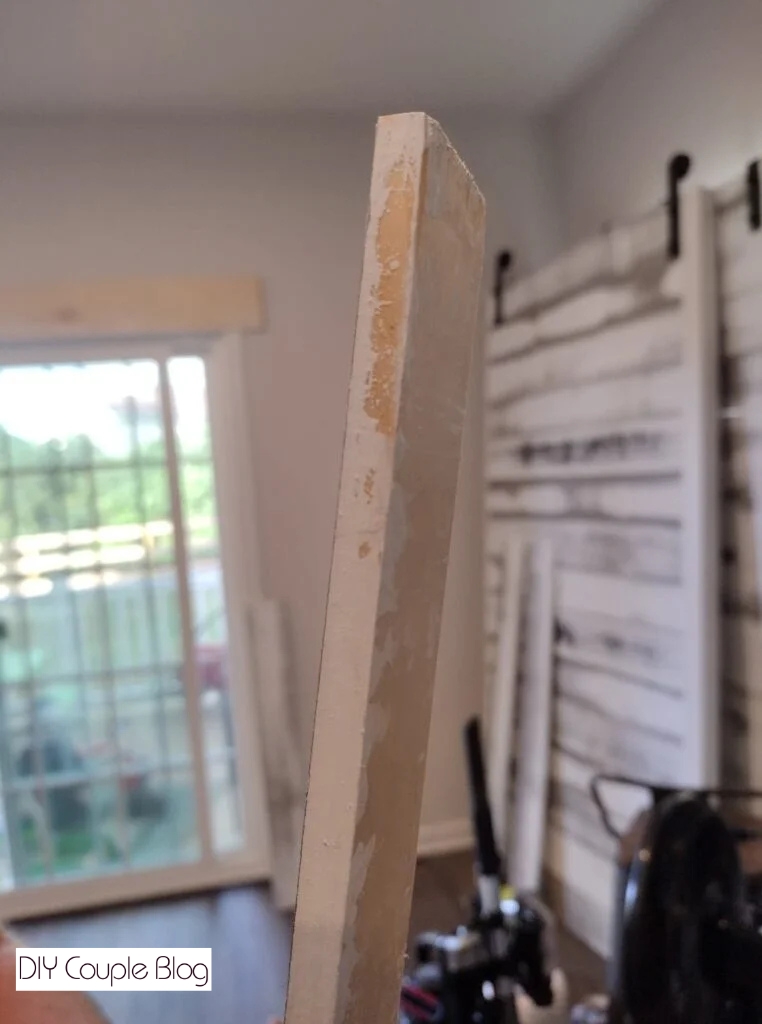
Go ahead and attach the 1.75 inch bottom pieces with the finished edge down. The other two pieces will go on top.
7. Add Your Hardware
Now assemble the sliding barn door hardware and your barn door track per instructions provided with it. Just be cautious of where your pocket hole screws are at. We put our hinges 4 inches in on center to avoid hitting them.
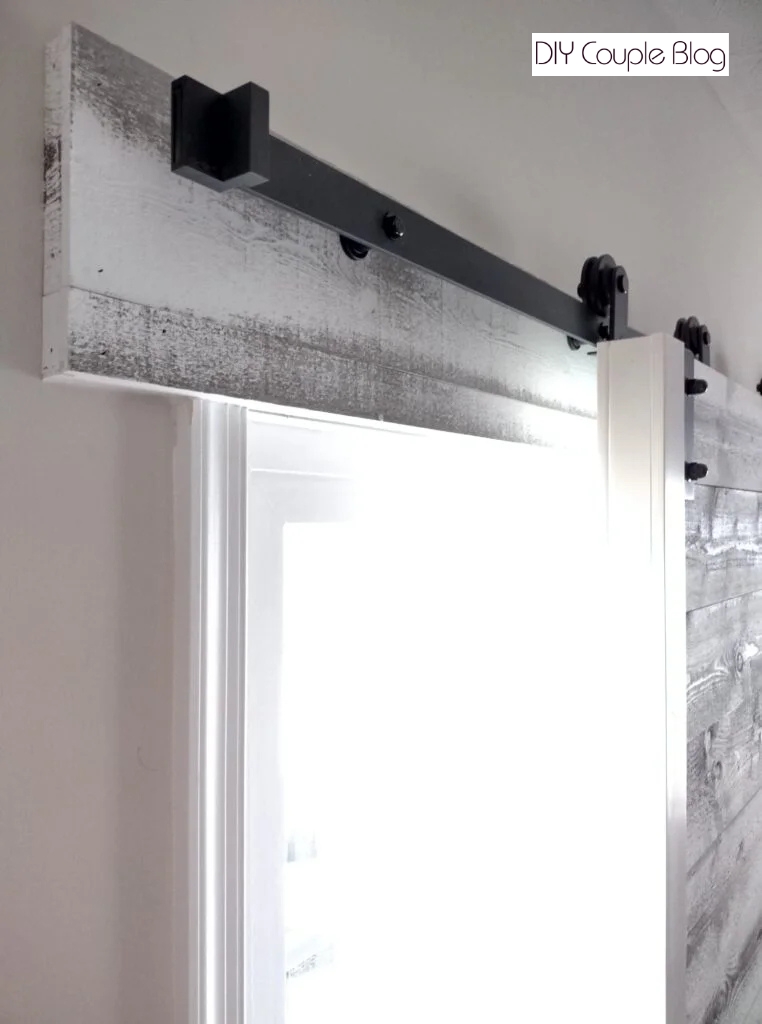
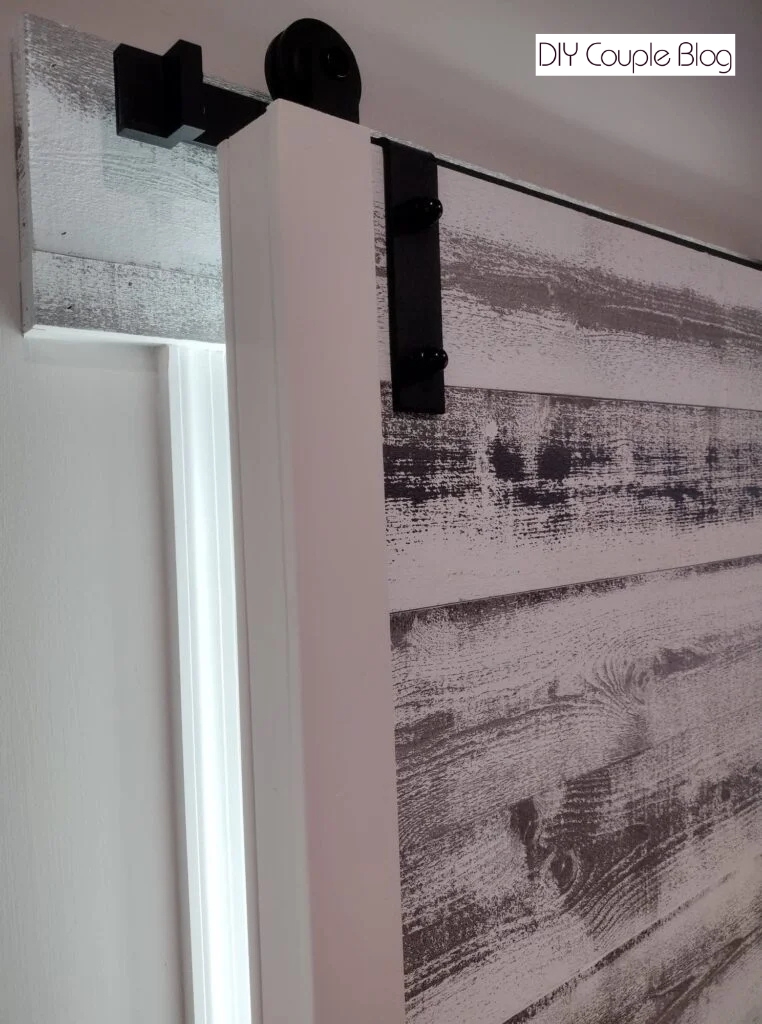
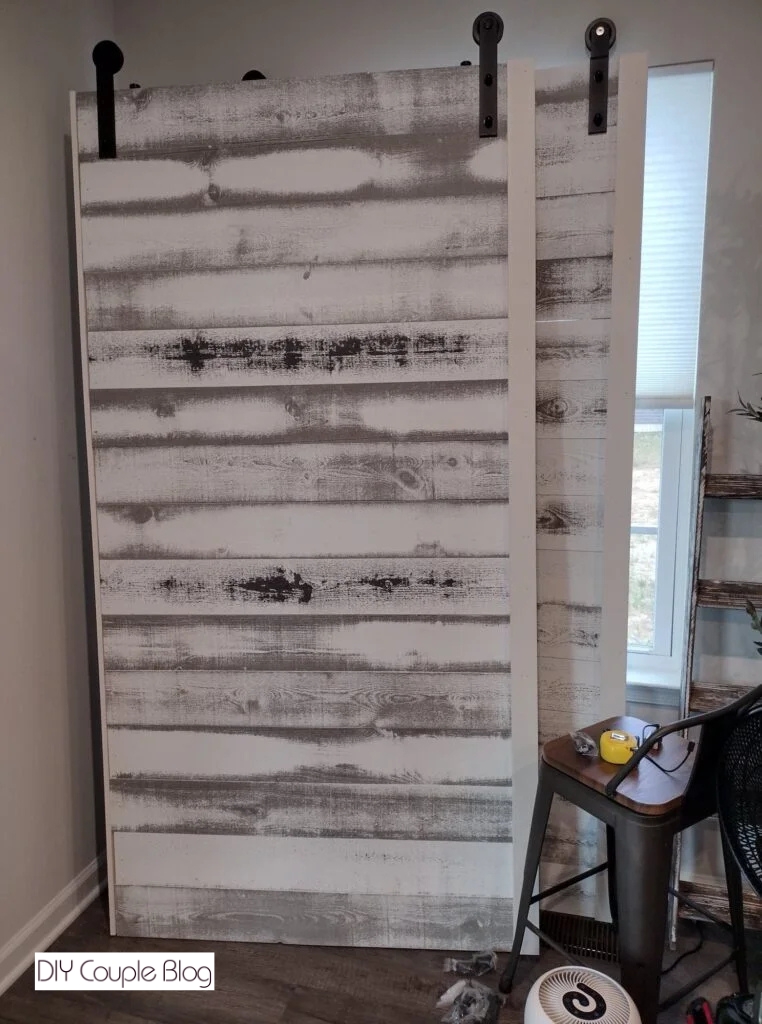
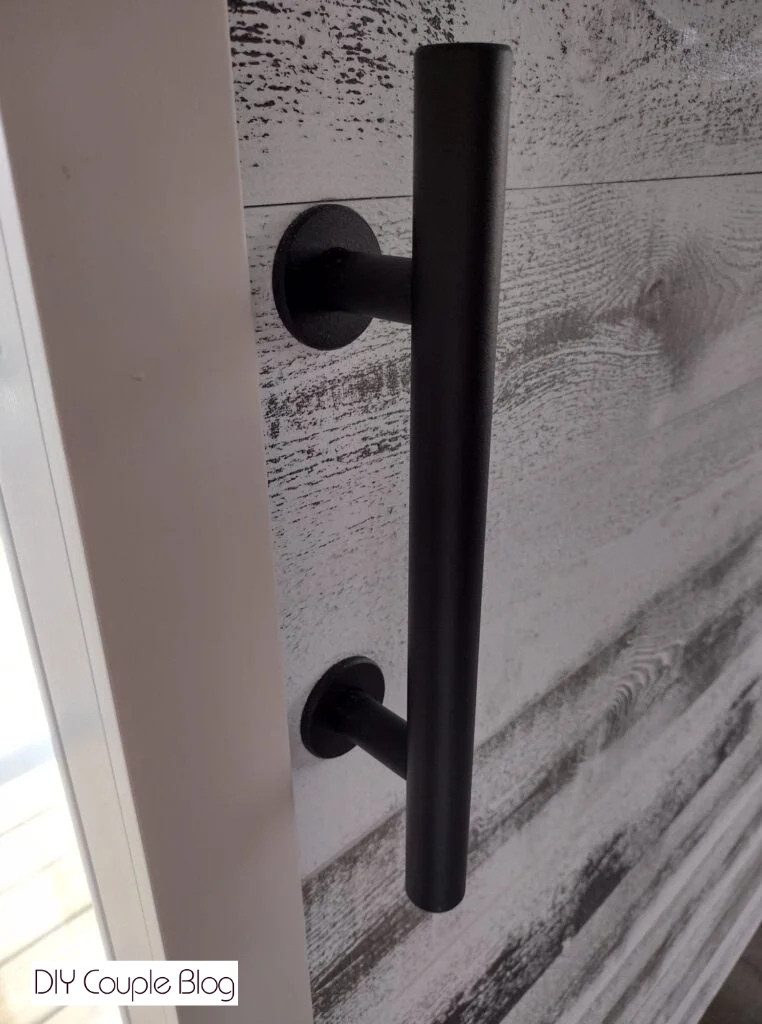
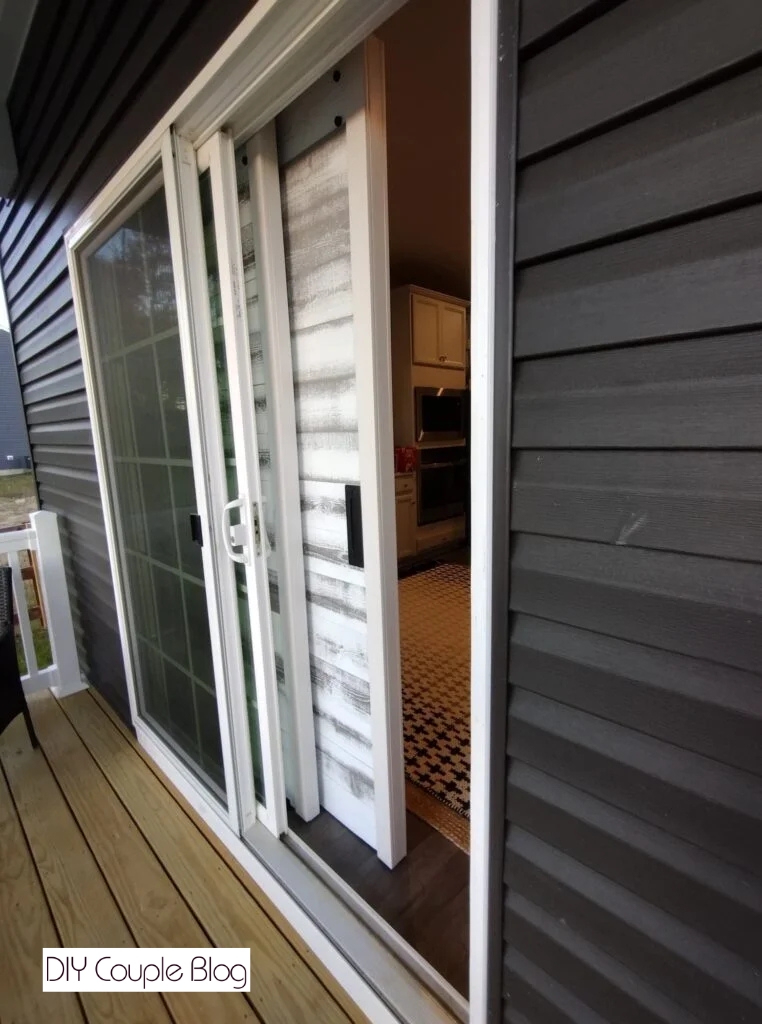
Also, now’s a good time to add your barn door handle. Since we went with a double-sided barn door, we bought a double sided barn door handle.
It was inexpensive and this double barn door slider works perfectly with handles on both sides making it convenient for coming in and out. Here are some views of the interior sliding barn doors from the back while hanging out on our deck.

8. Finishing Touches
Hiding Nail Holes on the Trim of Barn Doors
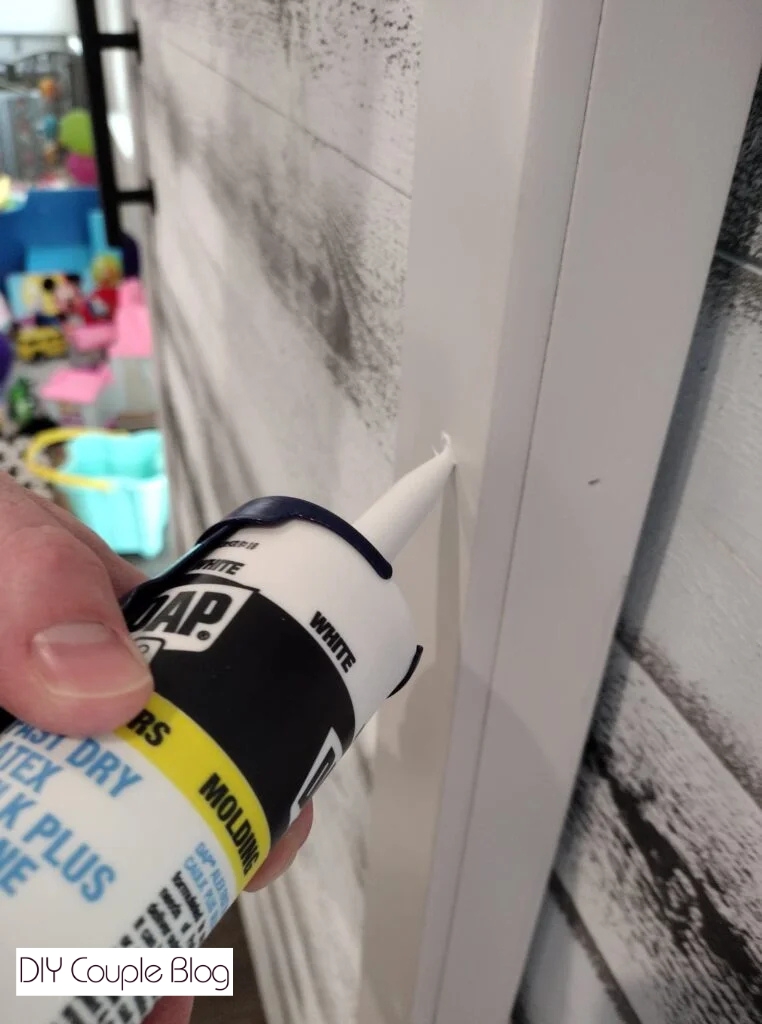
Go ahead and fill your nail holes and any seams that you desire using caulk and a caulk gun. A DIY hack we love is to use baby wipes to keep it clean and smooth.
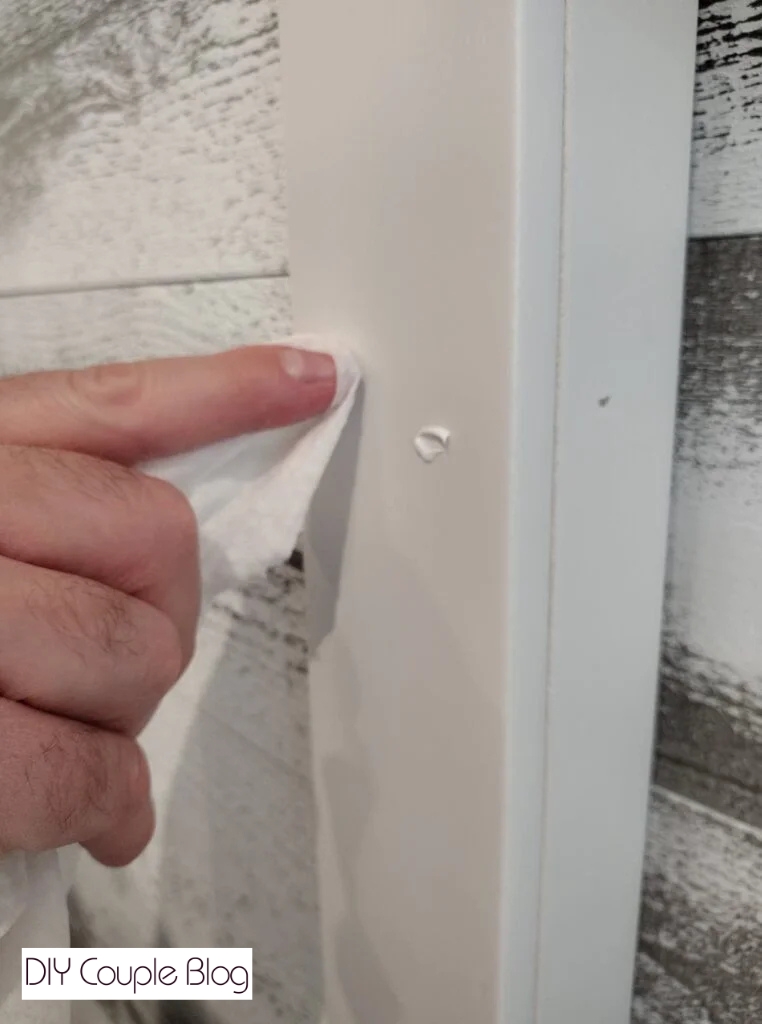
They will definitely be less noticeable when you’re done. Look at the difference below from the left filled hole compared to the right.
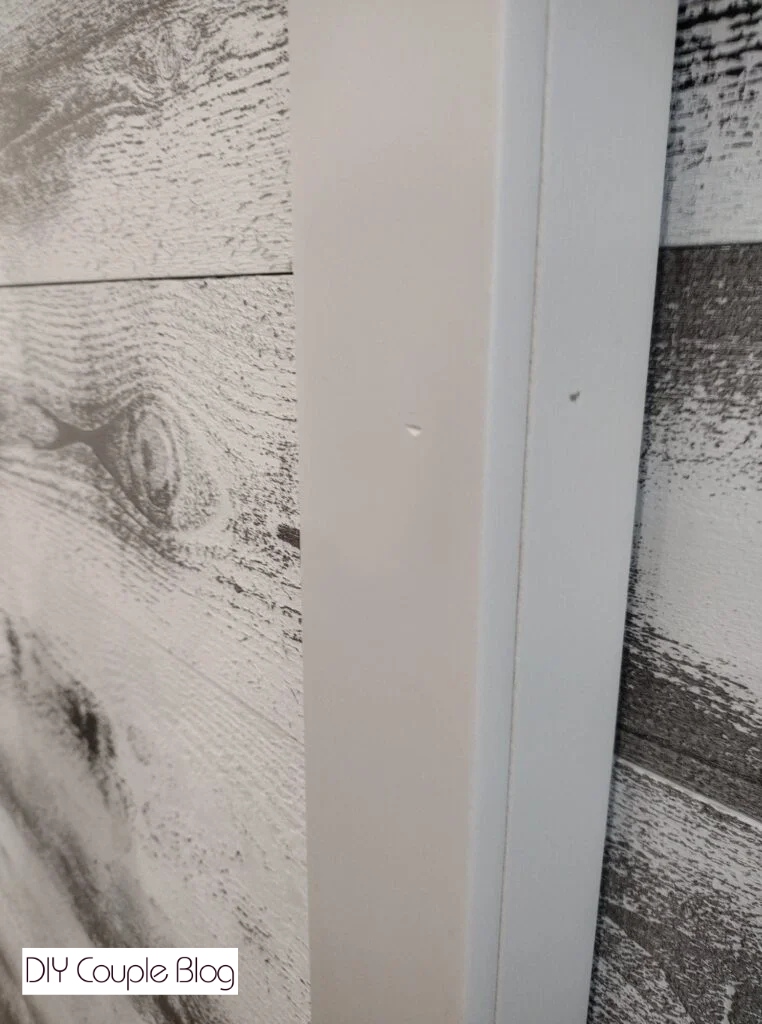

You could also use this white putty crayon to fill the holes. We used it in the past on our shiplap island makeover. We were pleased with it.

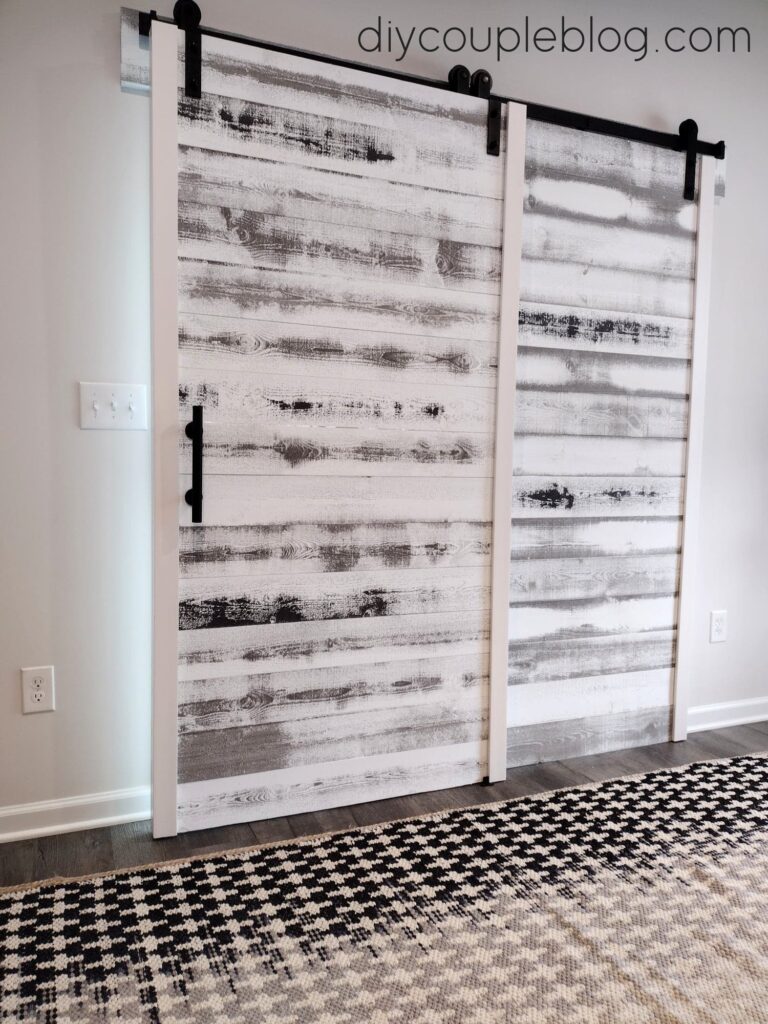
Building your own DIY barn door is the perfect weekend project to add a major upgrade to your home.
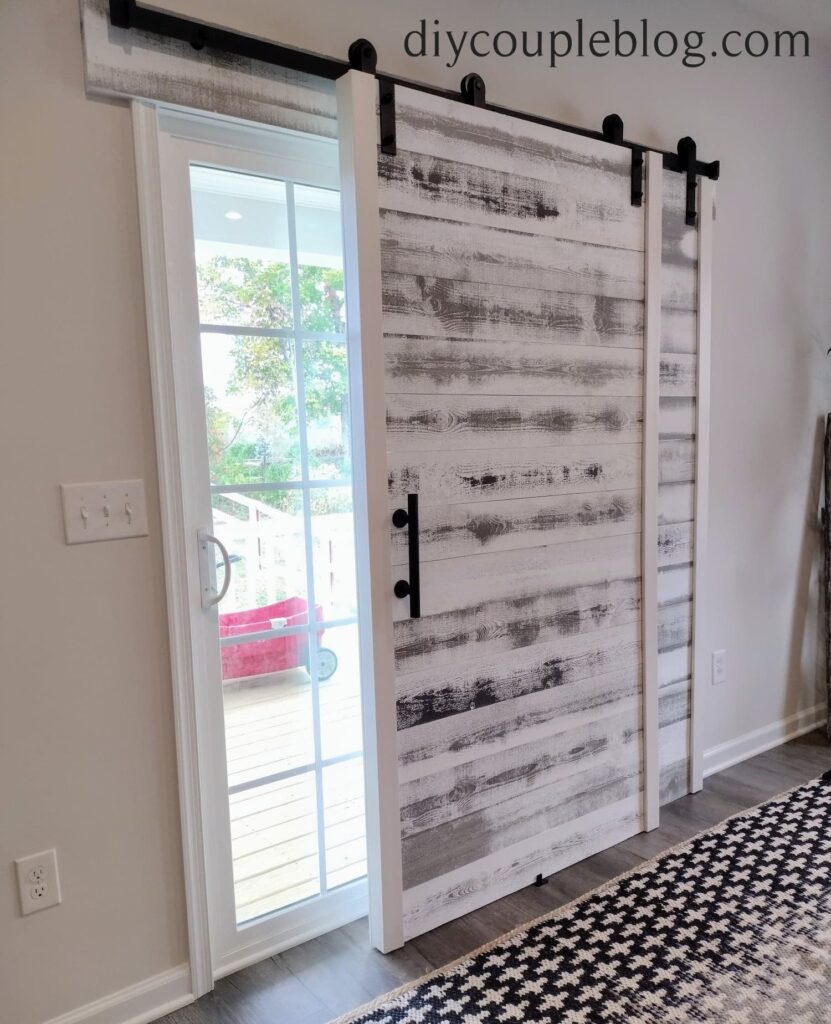
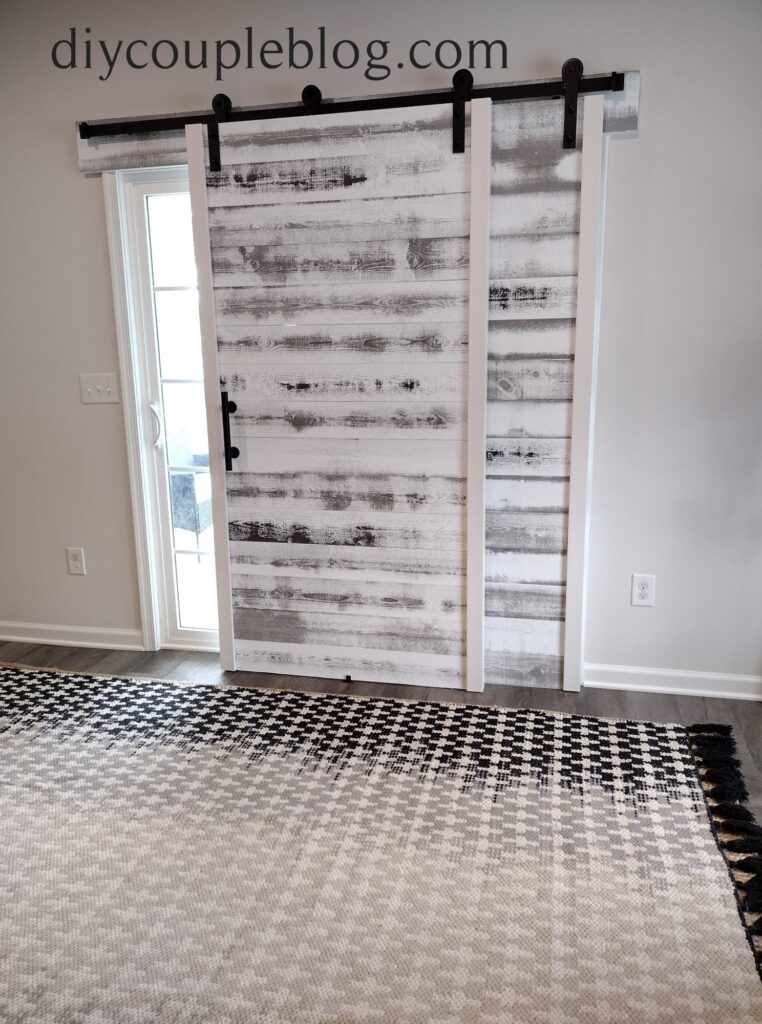
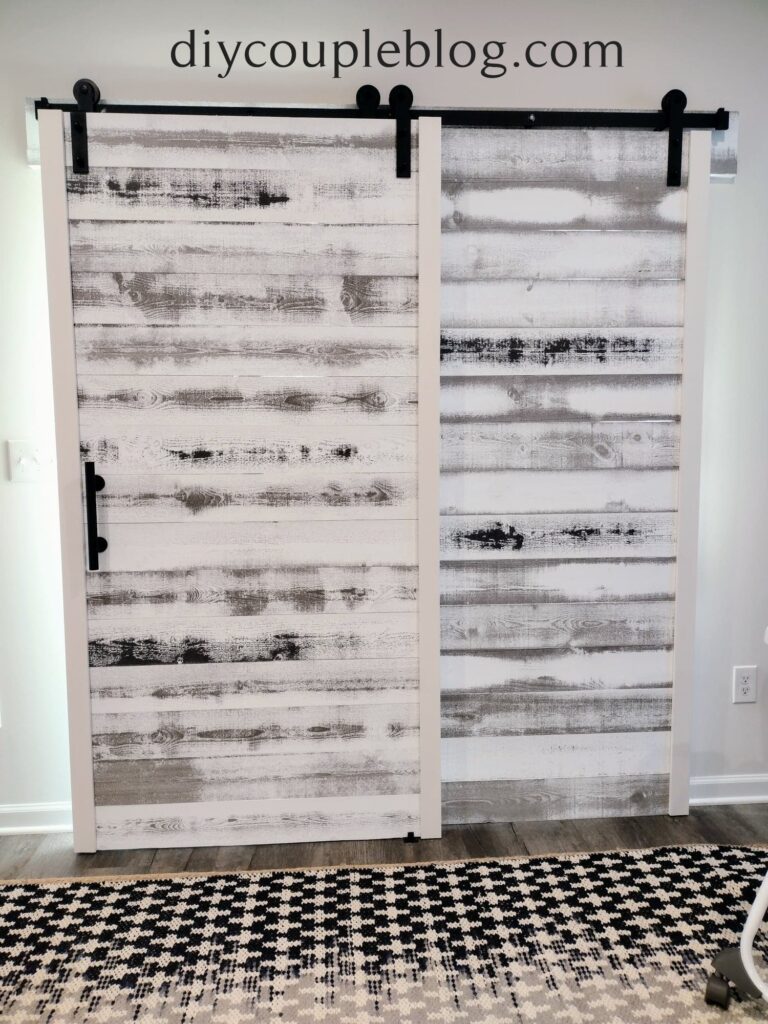
Final Thoughts on Building DIY Barn Doors
Now that you have the steps to build your very own sliding barn door, all that’s left is to grab your supplies and get started! There’s nothing better than taking a step back to look at your final results and say, “I built that”. Building interior barn doors like these will give you complete bragging rights!

Be sure to pin this barn door design for later!

You May Also Like: