
This post may contain affiliate links, which means we'll receive a commission if you purchase through our links, at no extra cost to you. Read the full disclaimer here: https://diycoupleblog.com/disclaimer/
Last Updated on July 28, 2026: This guide to building a barn wood accent wall has been updated with new information.
Are you looking for some ideas to add some character or texture to a boring blank wall in your home? Then a barn wood accent wall is an easy and great way to help you do just that!
Adding an Accent Wall in Your Home
Accent walls definitely are the perfect design element to elevate a space. Whether you are looking to make a bold statement in an open-concept living room, add cozy texture to a primary bedroom, or add character to your home by creating a focal point on any wall, a single feature wall can completely redefine your space.
While accent walls were once limited to a simple coat of vibrant paint, modern interior design has opened up a world of textures, materials, and creative techniques. From reclaimed wood and geometric board and batten to bold wallpaper and limewash finishes, the possibilities are endless.
Why Choose a Barn Wood Accent Wall?
A barn wood accent wall is a highly effective way to add charm to your plain walls. If you’re aiming for a modern farmhouse aesthetic, an industrial vibe, or a cozy rustic retreat, real wood character completely transforms a space in ways flat paint simply cannot match.
Building your own barn wood feature wall is an approachable project for DIYers of all skill levels. This comprehensive guide covers everything you need to know about installing a barn wood accent wall.
DIY Rustic White Wood Accent Wall
We ended up having quite a bit of leftover barn wood (including scraps) from our DIY barn doors and our window cornices we built to liven up our builder grade windows recently.
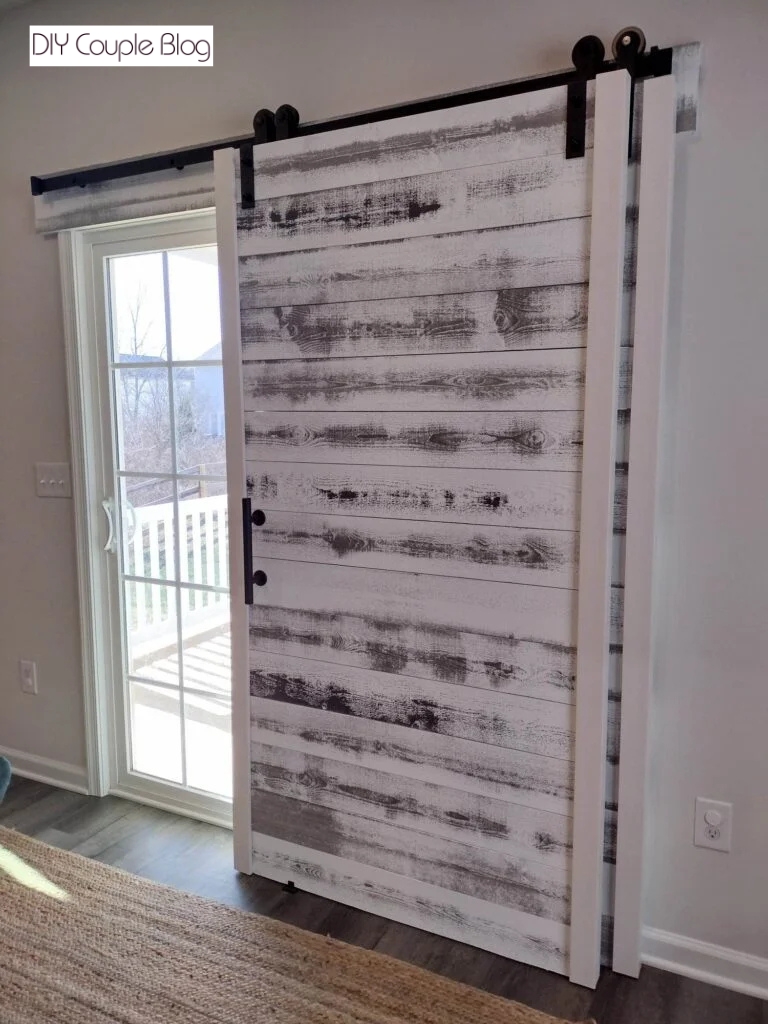
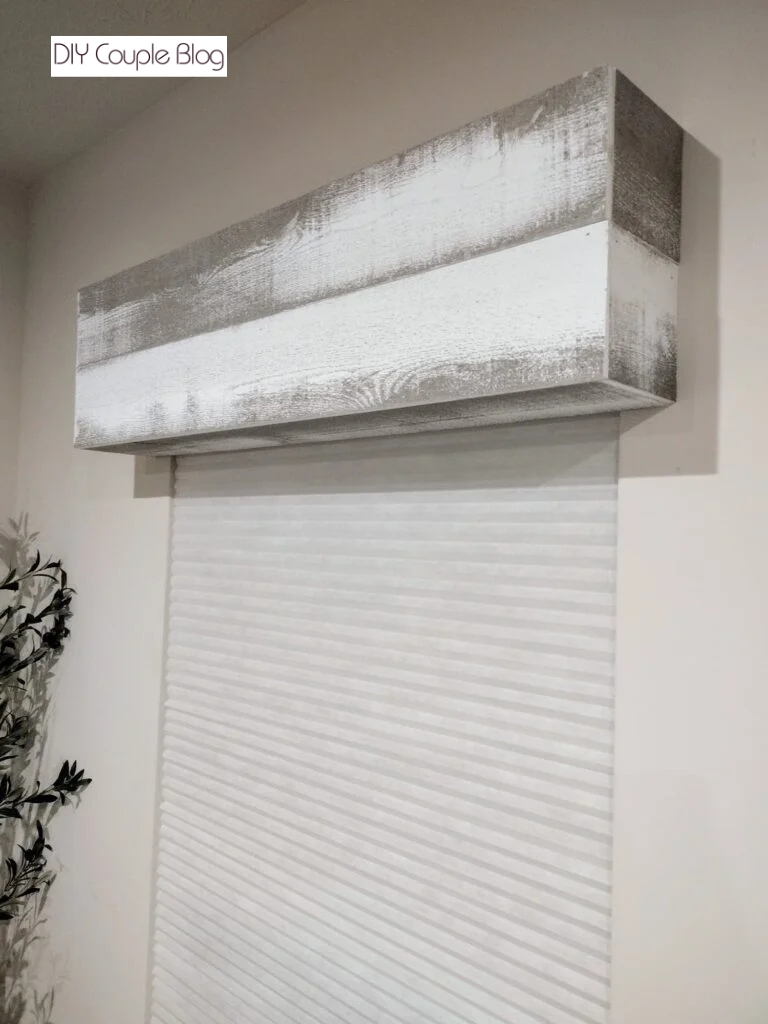
Boring stair wall + leftover boards = fun and easy wood accent wall. Here’s the full rundown on how to build this wood feature wall!
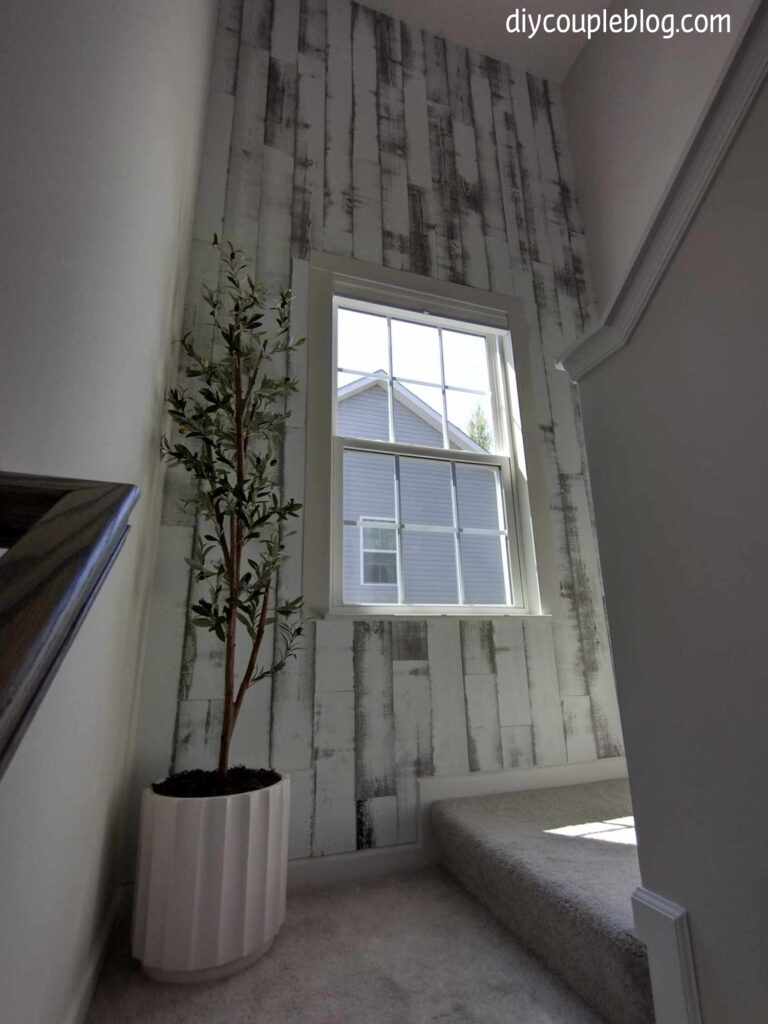
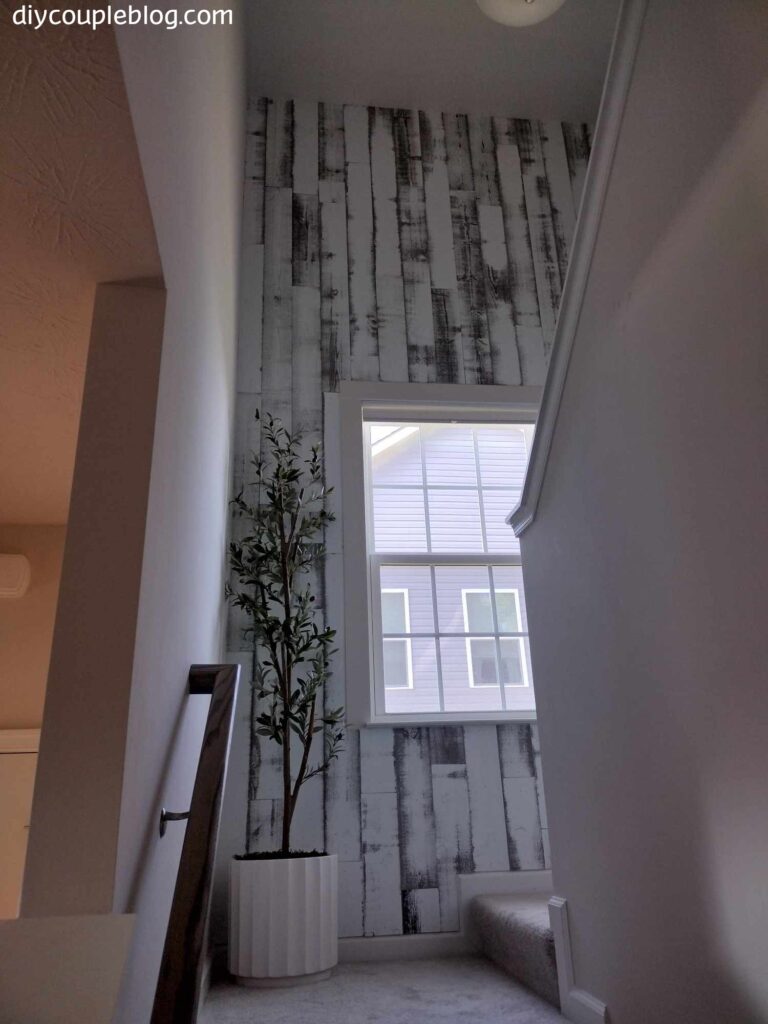
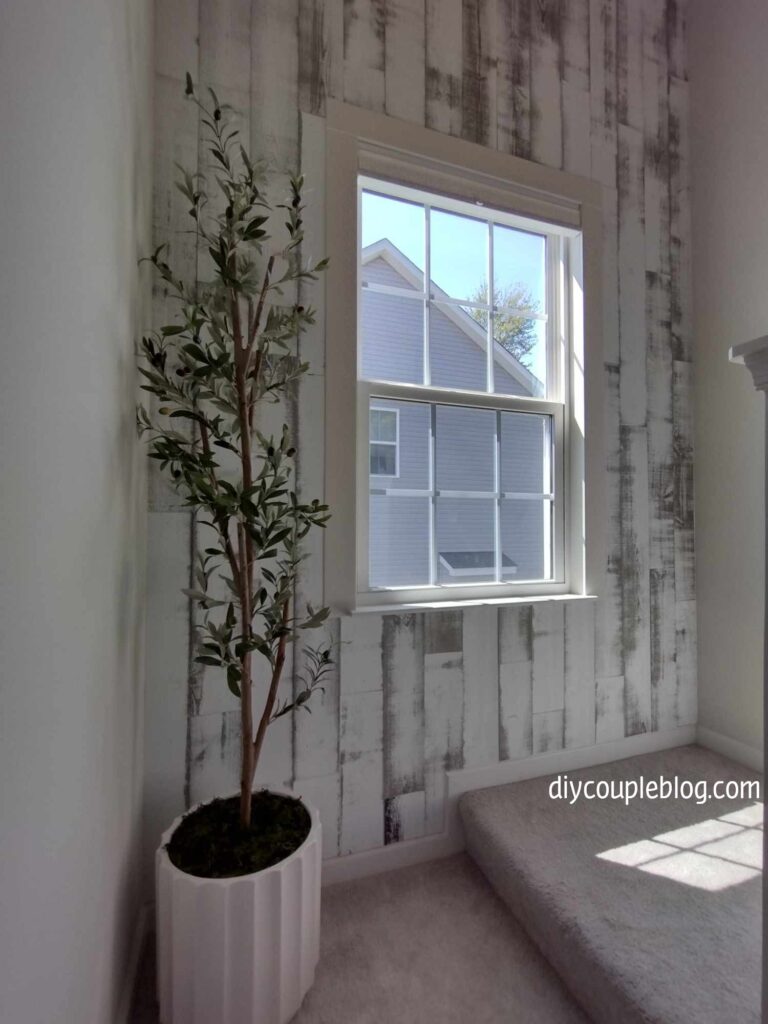
As for the design of the barn wood wall, we went with a more modern appearance and installed the boards vertically going all the way up the wall.
Before jumping into the steps we took, here’s what tools we used and what materials were required to build our wood feature wall.
Tools Recommended for a DIY Wood Accent Wall:
Multi-Tool (optional)
Supplies Needed:
How To Make a Wood Accent Wall Using Barn Wood Planks
Removing Existing & Adding Window Trim
This part you can skip over if it does not apply. However (as you can see) we have a window on what will be our stair accent wall. In order to make the process of adding our reclaimed wood go a lot smoother, we decided to add trim around the window since it did not have any.
In addition to that, we also chose to rip off the bottom piece of trim beneath the windowsill and bring our wood up to the sill. You can remove any existing trim easily with a razor knife to cut around it to loosen, then with a hammer and pry bar you can knock it off.
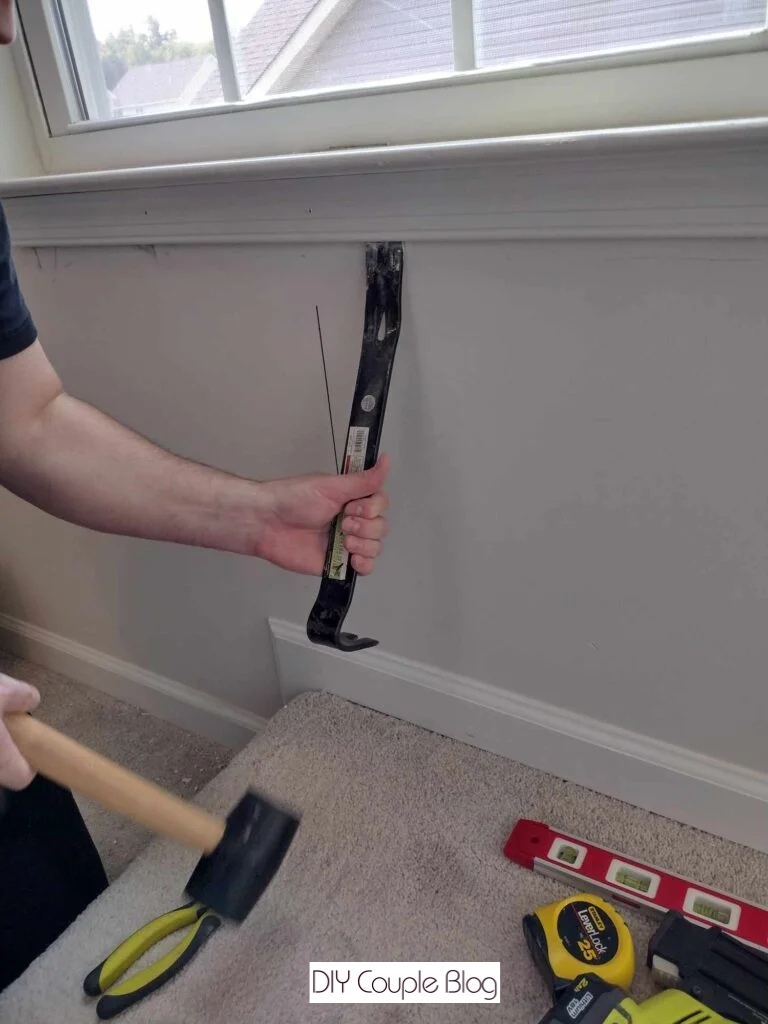
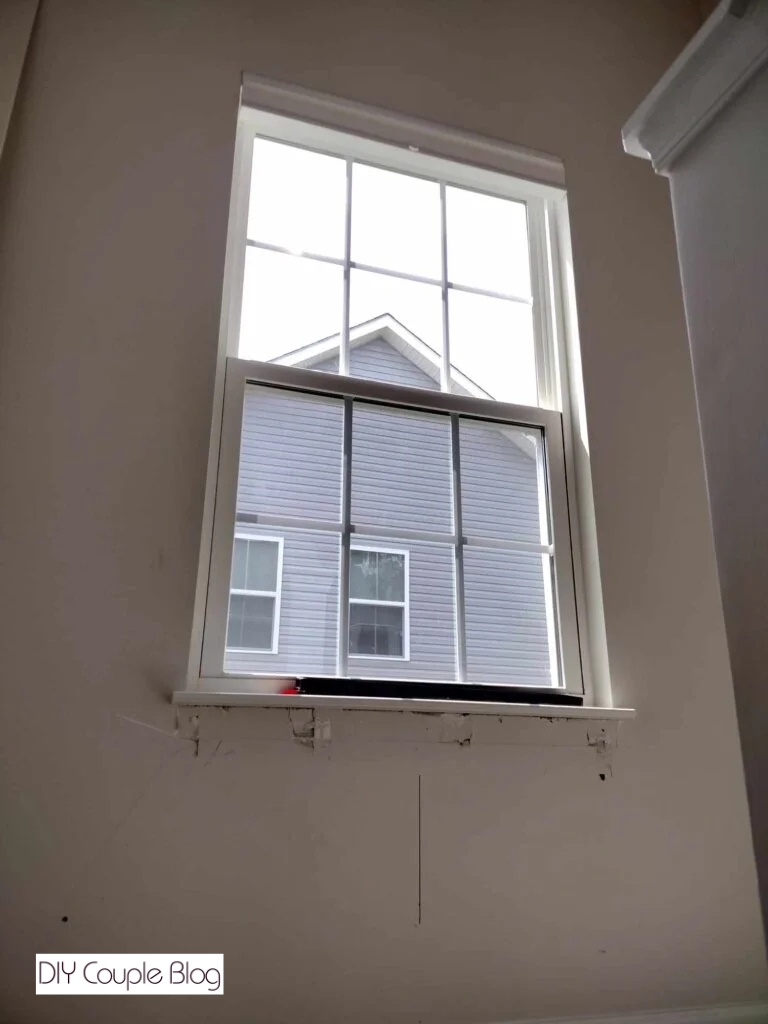
To add our side trim all we did was measure our trim from the bottom of our sill to the top of our window and cut our piece.
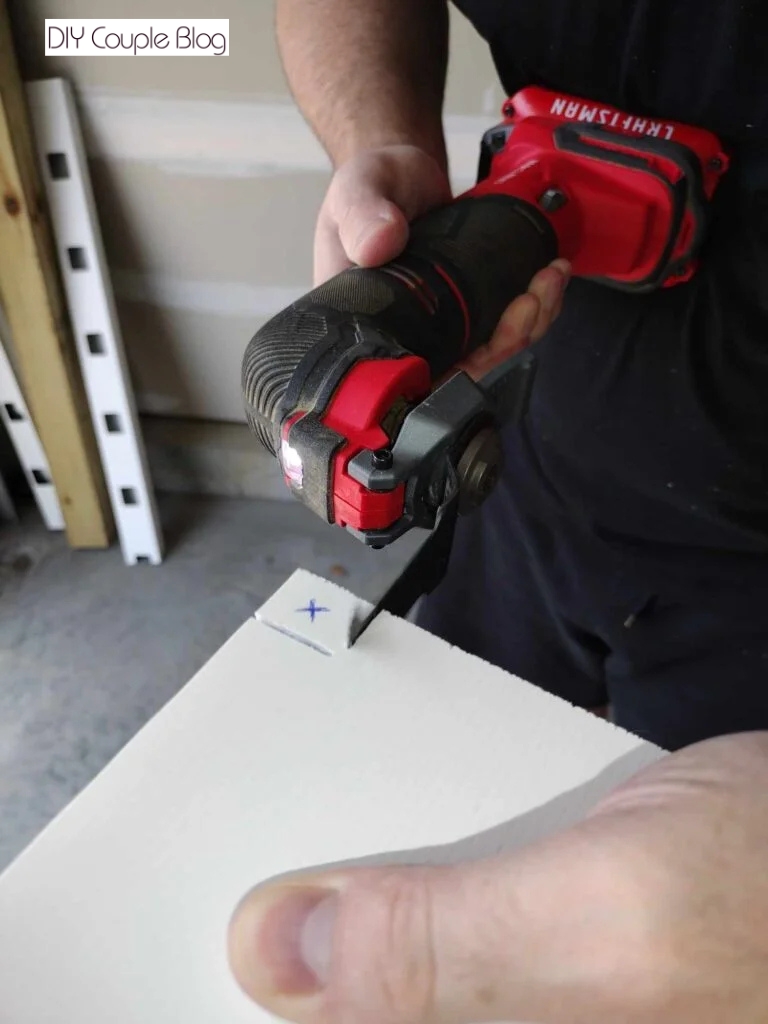
We notched out our boards to fit around our windowsill using a multi-tool. If you do this just be careful, it cuts very easily. We also used a razor knife to cut off any burrs and get a nice fitting.
Here are our general markings of what is going to need cut by holding our board up to where it will need notched out.
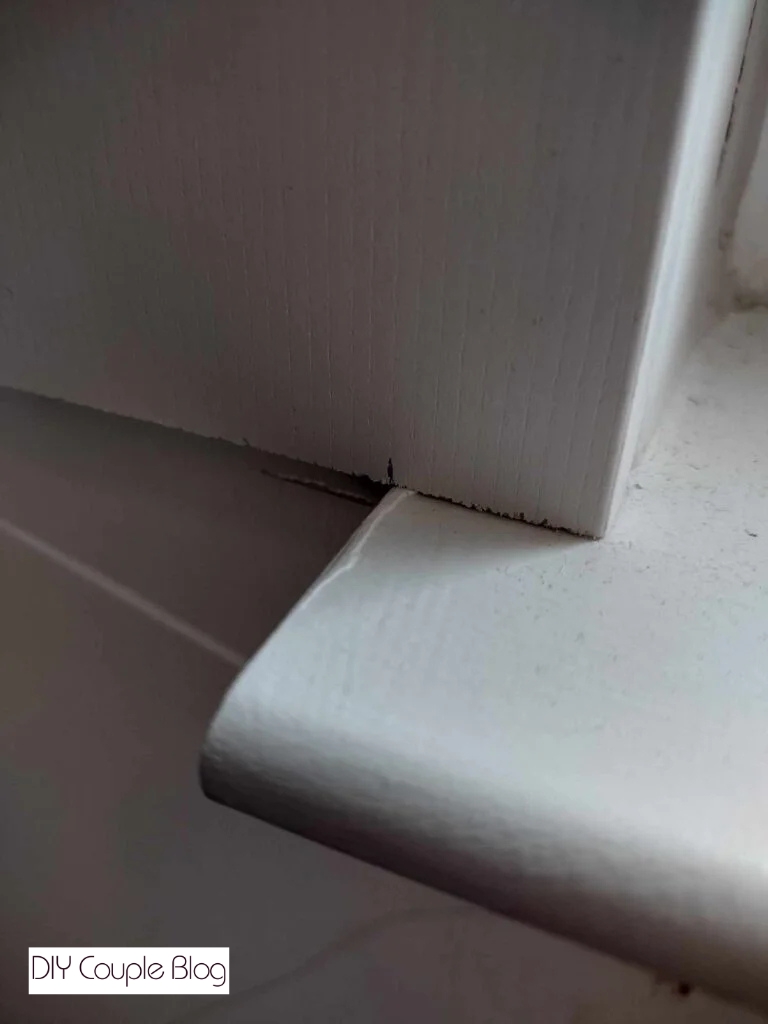
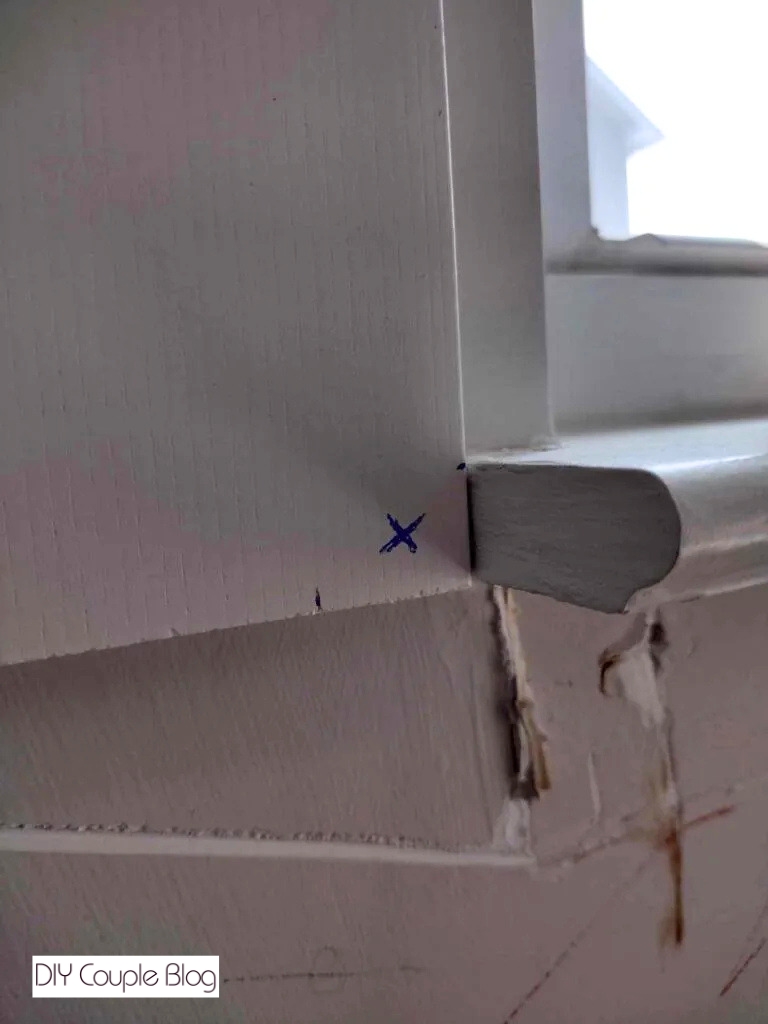
A quick cut.
and here’s the fit of our board with the windowsill.
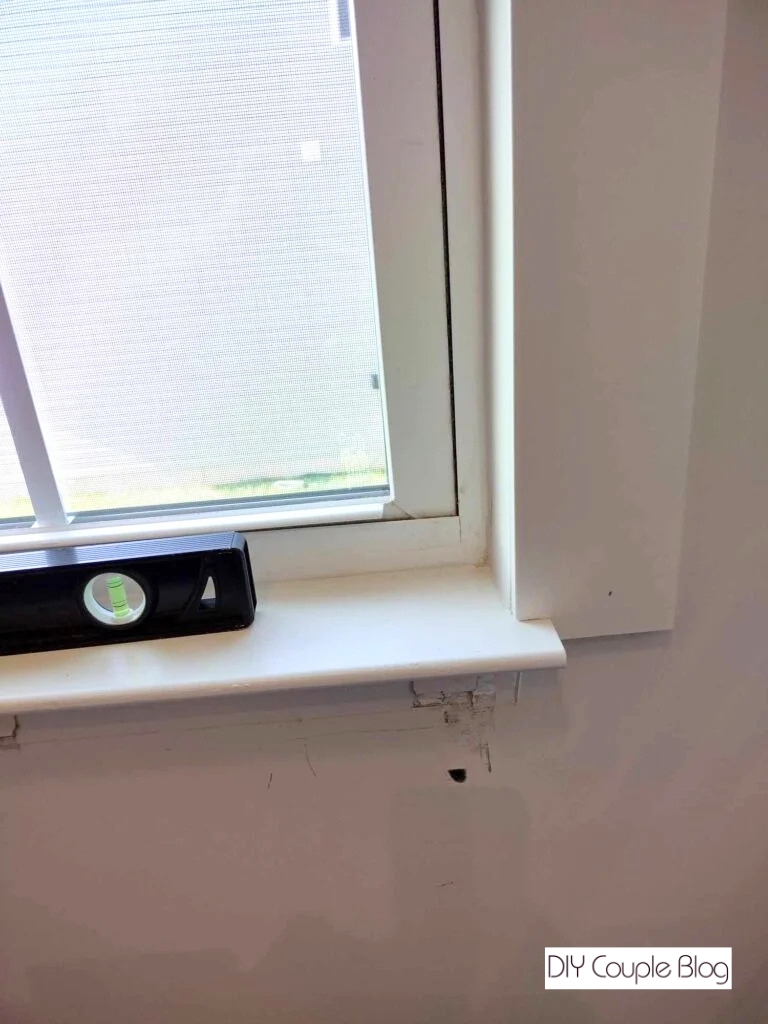
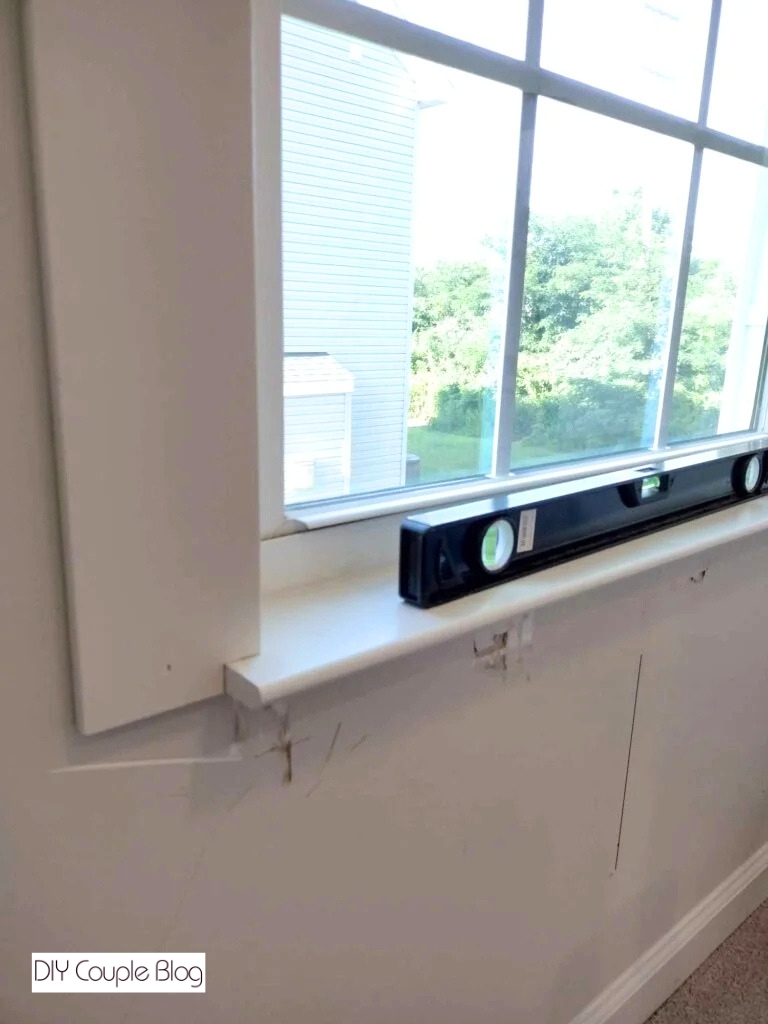
For the top trim, we measured and cut the width from both outside edges. Then we leveled and attached them using a nail gun and brad nails.
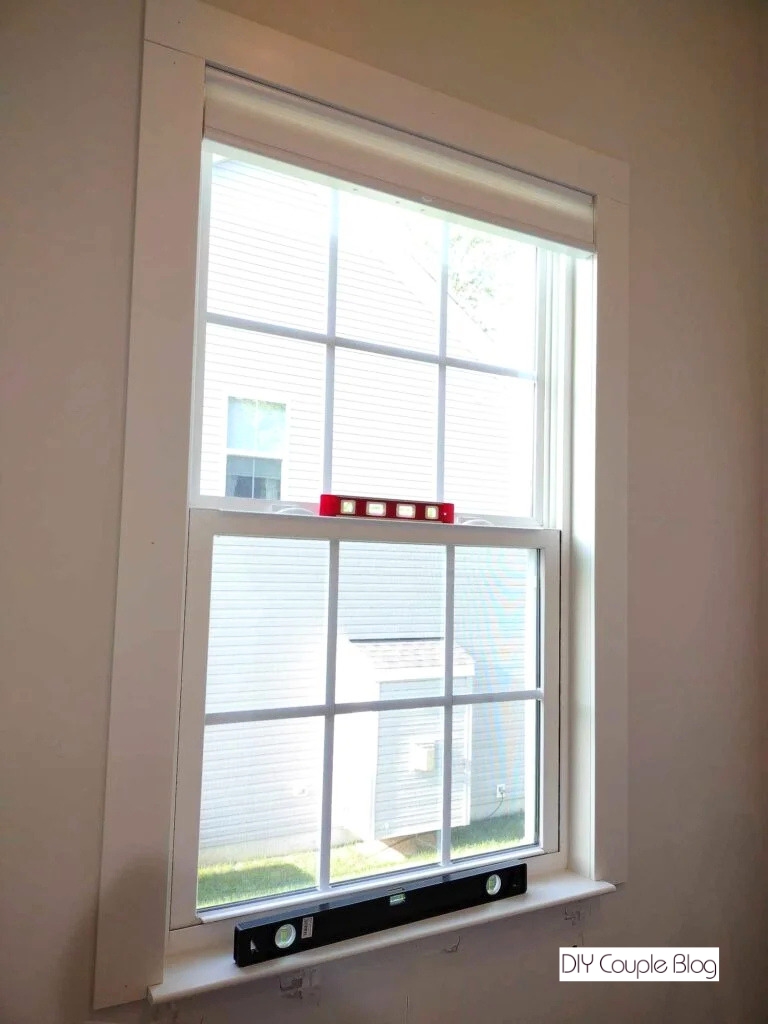
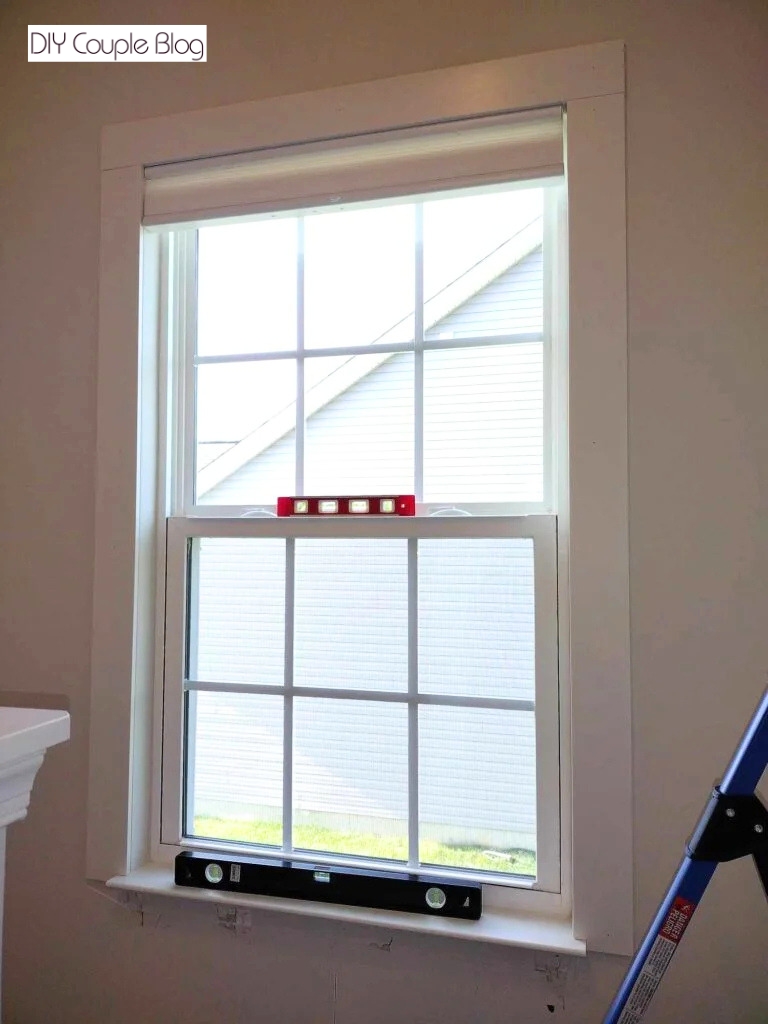
After finishing the new trim for the window, we were ready to add our whitewash barn wood on the wall.
Barn Wood Accent Wall
In order to find out where to begin with your wood boards, starting at the bottom of the wall, find the center of the wall and mark it. (Ours was 40.25, walls may vary).
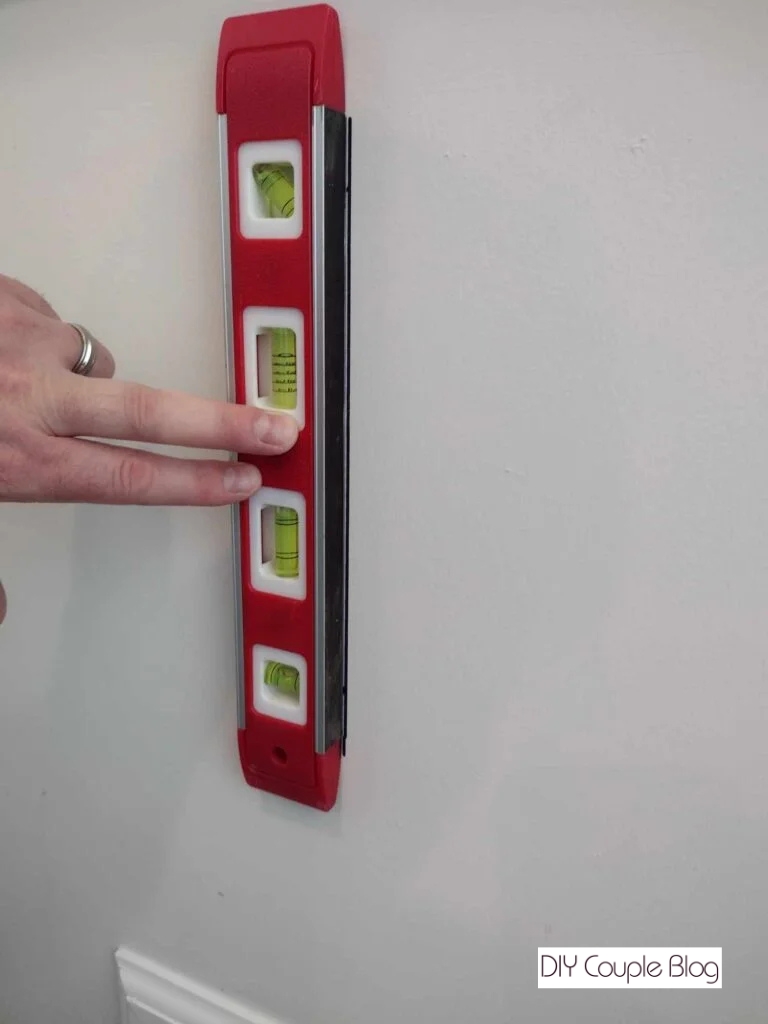
Move ahead by measuring and cutting the first board for the center and attach using a nail gun and brad nails.
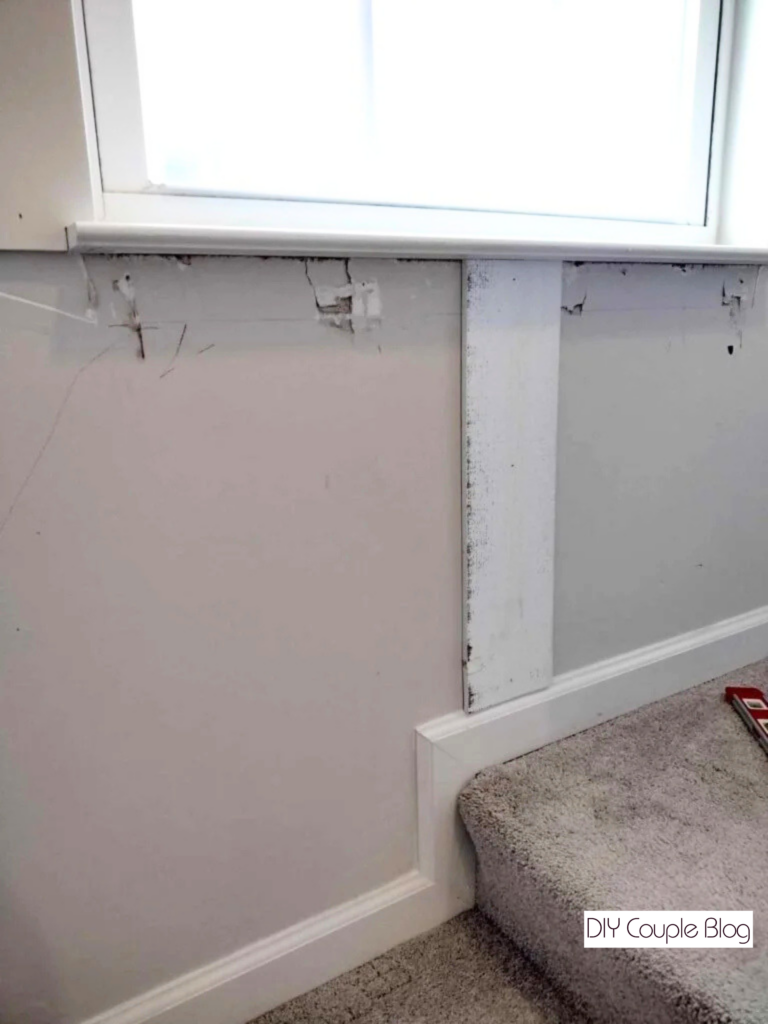
Now stagger the wood wall planks all the way up so that the seams do not line up on the wall. You can do this however you want.
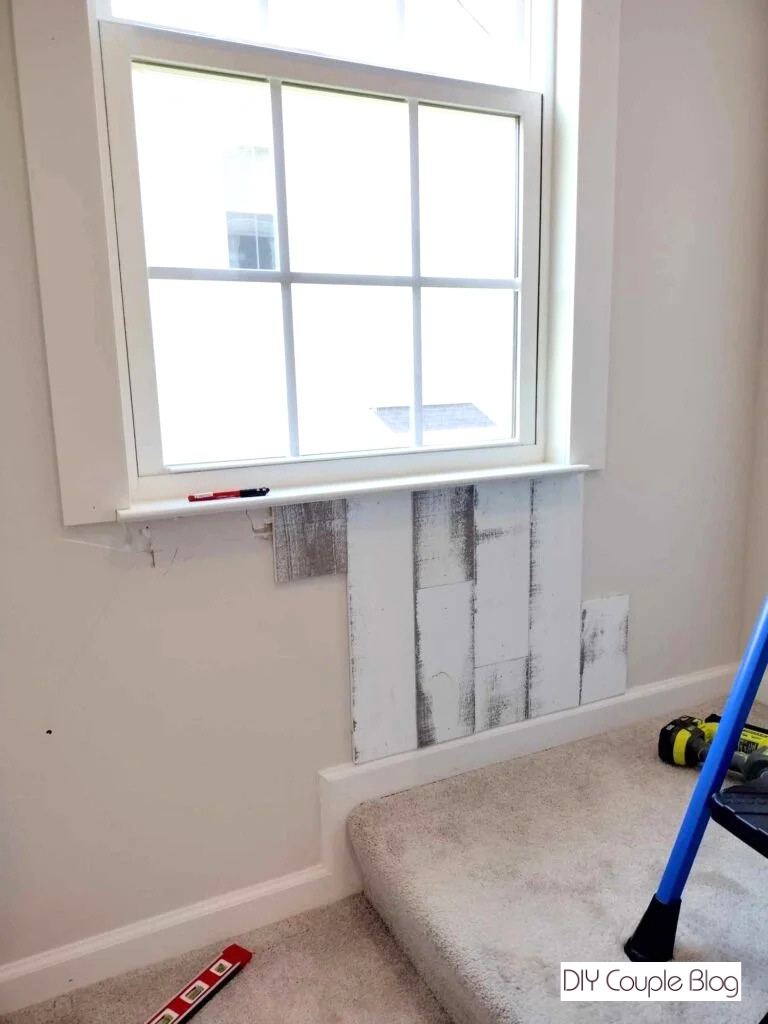
Throughout this DIY project, you may run into areas that need a skinnier board (ex. on the ends or between window trim) you will need to rip them on the table saw at the right measurement needed.
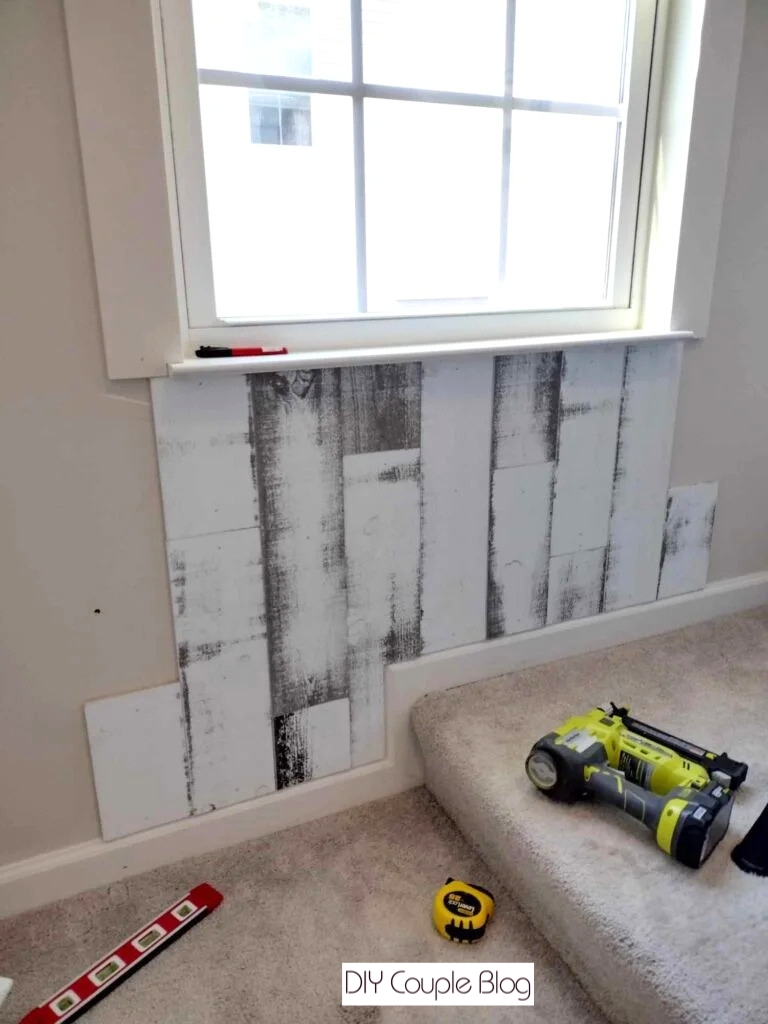
Our stairway baseboard dropped down, so for this part we just notched out our wood planks with the multi-tool.
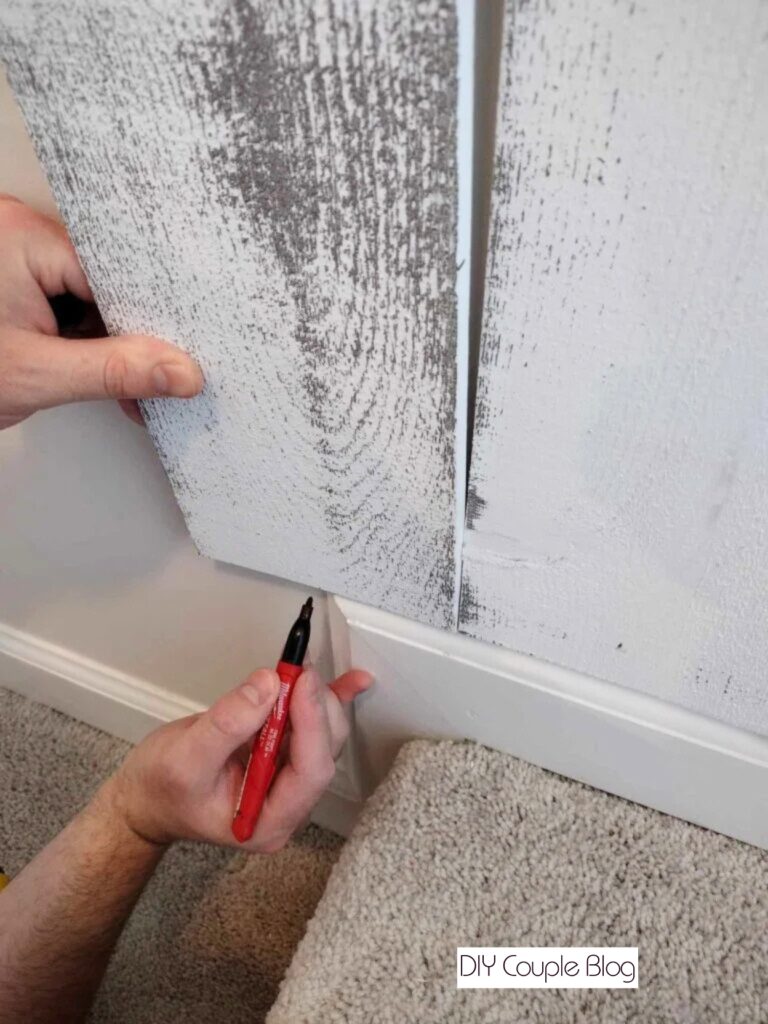
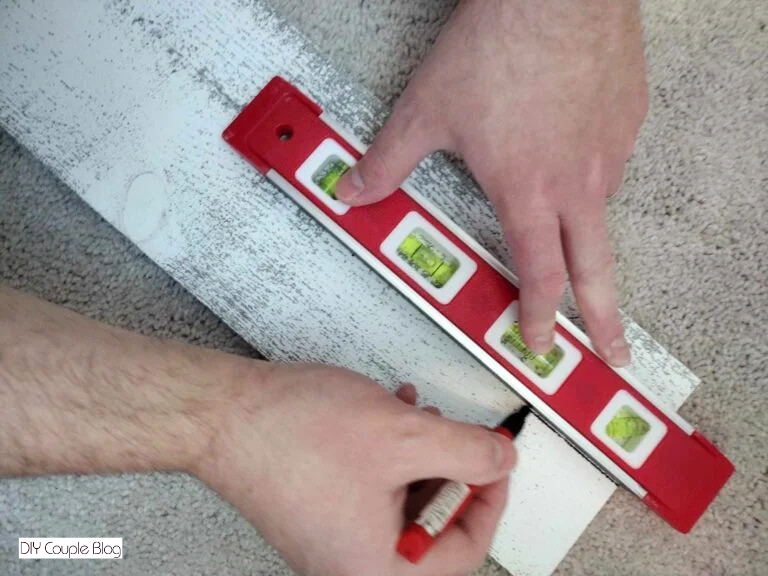
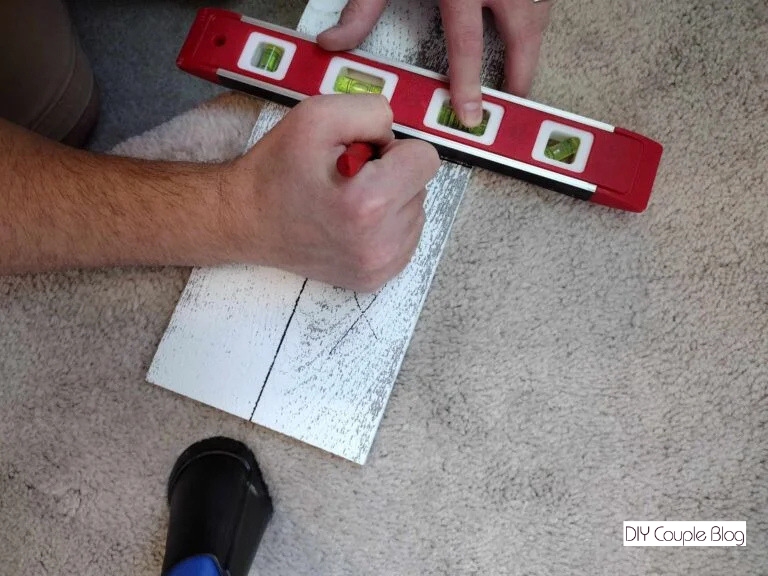
After drawing out the markings, we cut off what was not needed so we could get it to fit.
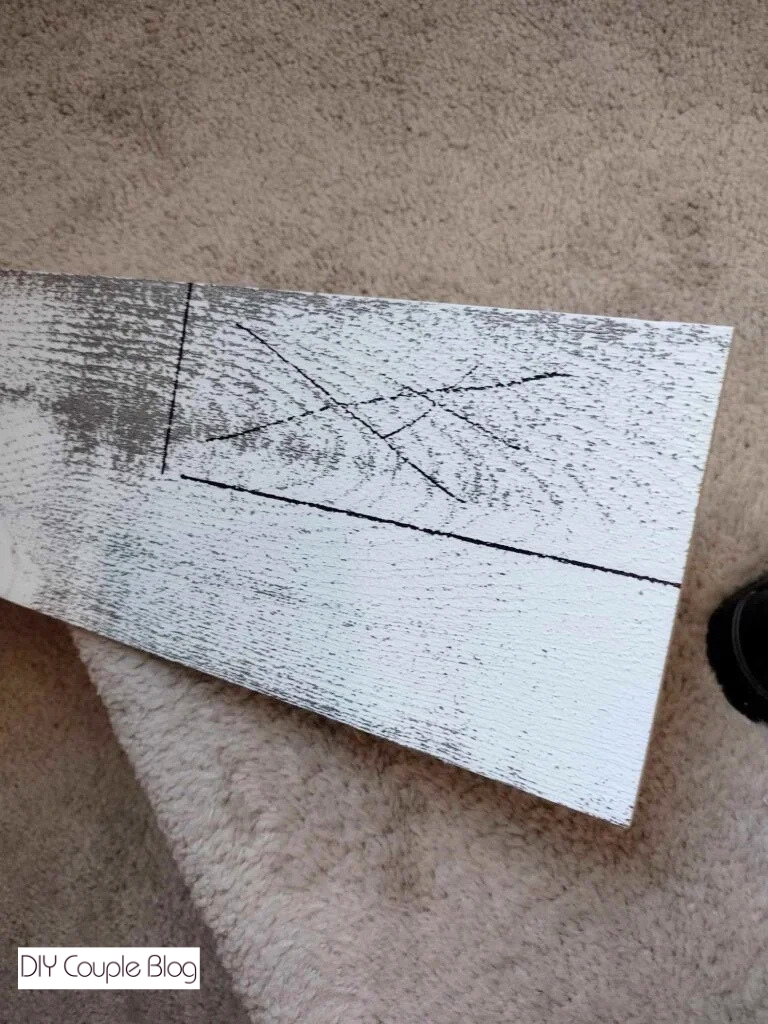
We also used this notching technique in other areas such as going around the window trim.
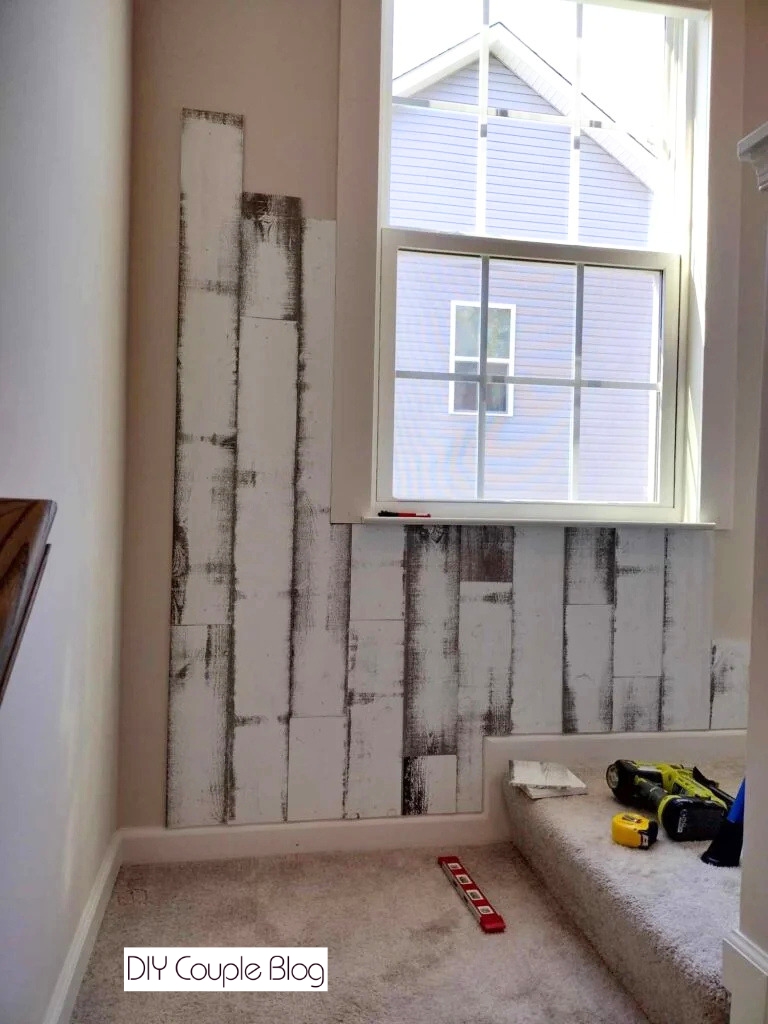
Once you get through the more detailed areas, the boards start to go up pretty quickly without any extra precise cuts. If you don’t have a window to work around that makes it even easier.
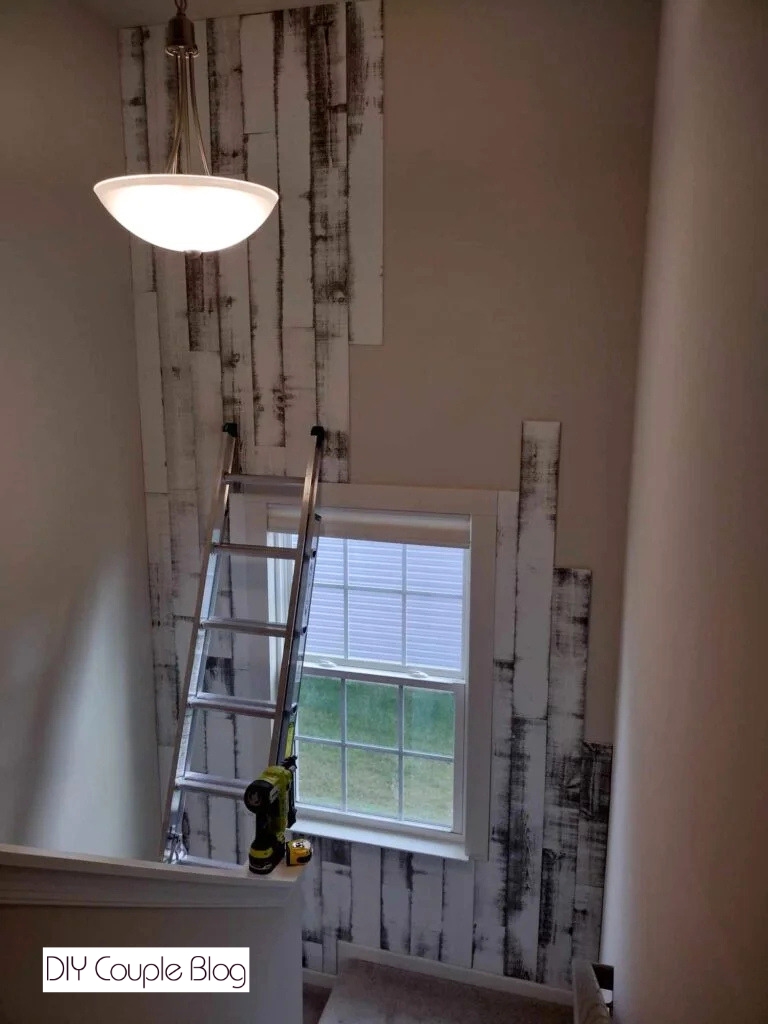
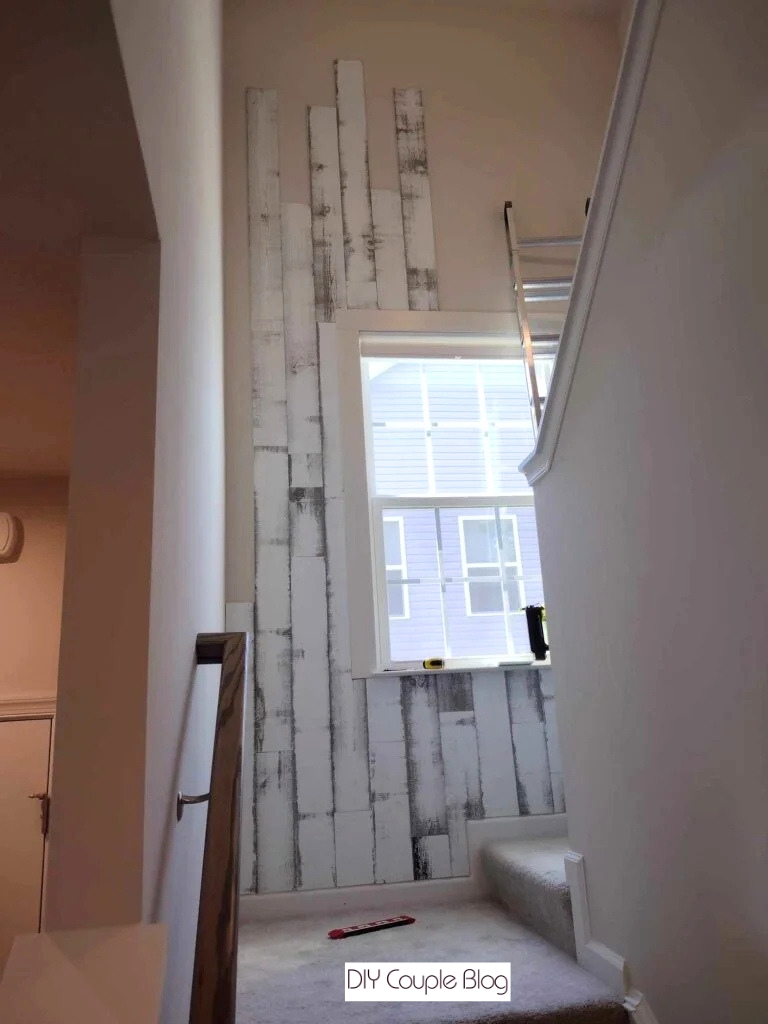
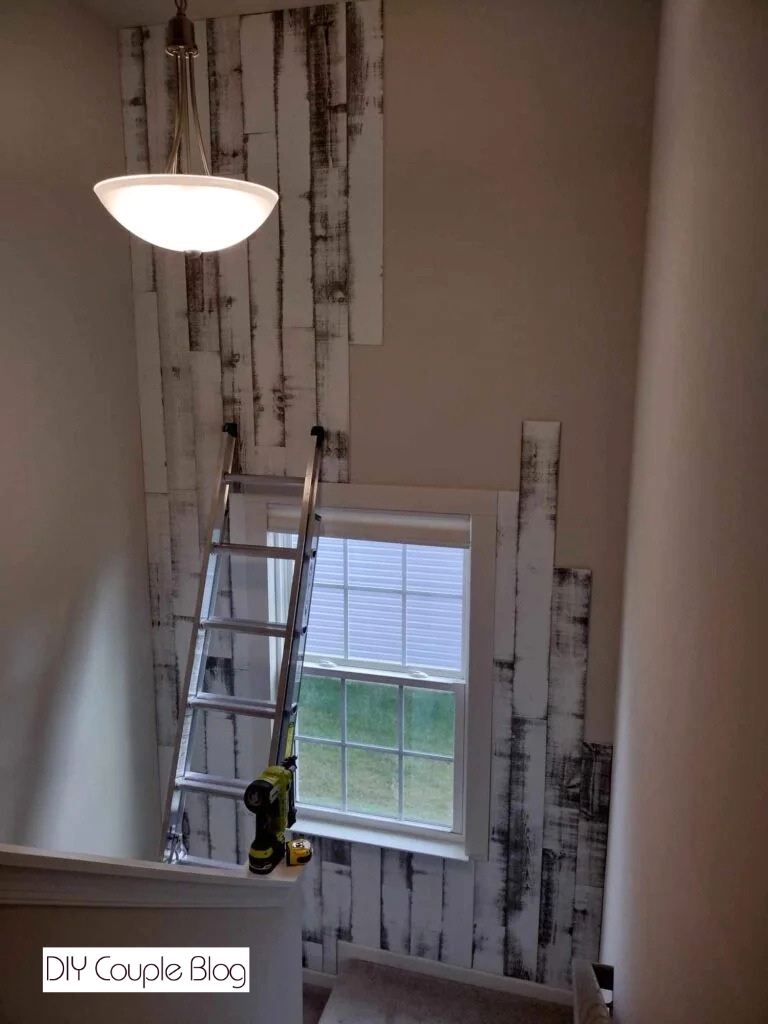
Barn Wood Accent Wall Finishing Touches
When the wood wall was completed, we went back and caulked the teeny gap in the corner of the wall where our reclaimed wood planks didn’t perfectly meet for a polished but still so rustic feel. Since the boards were whitewash, this was not obvious at all and looks so good.
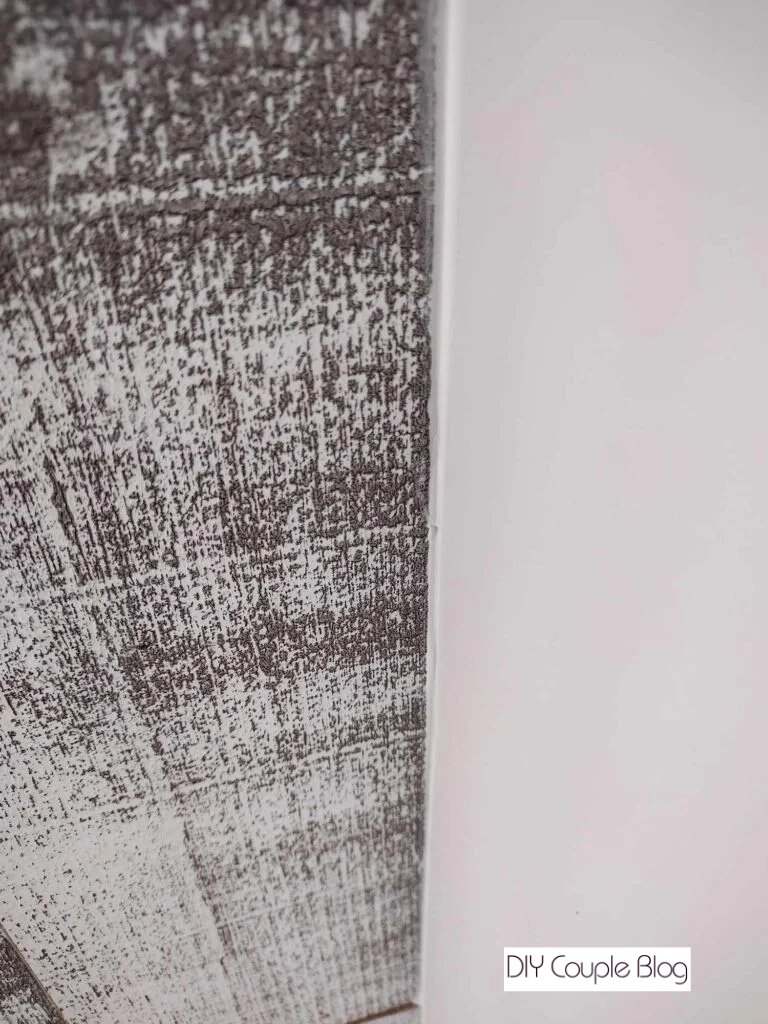
Here you go! A look at our wooden wall accent stairway. I absolutely love it and it’s a pretty unique wood feature wall!

It makes the stairway look way less builder-grade and really transformed the space.
Before & After
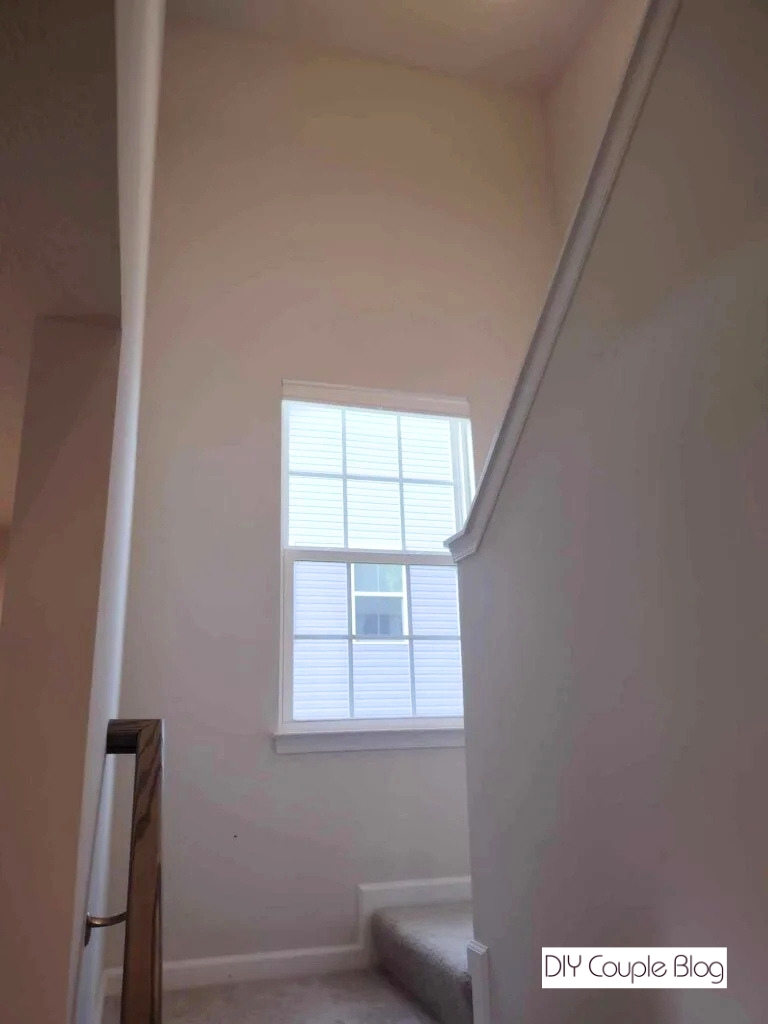
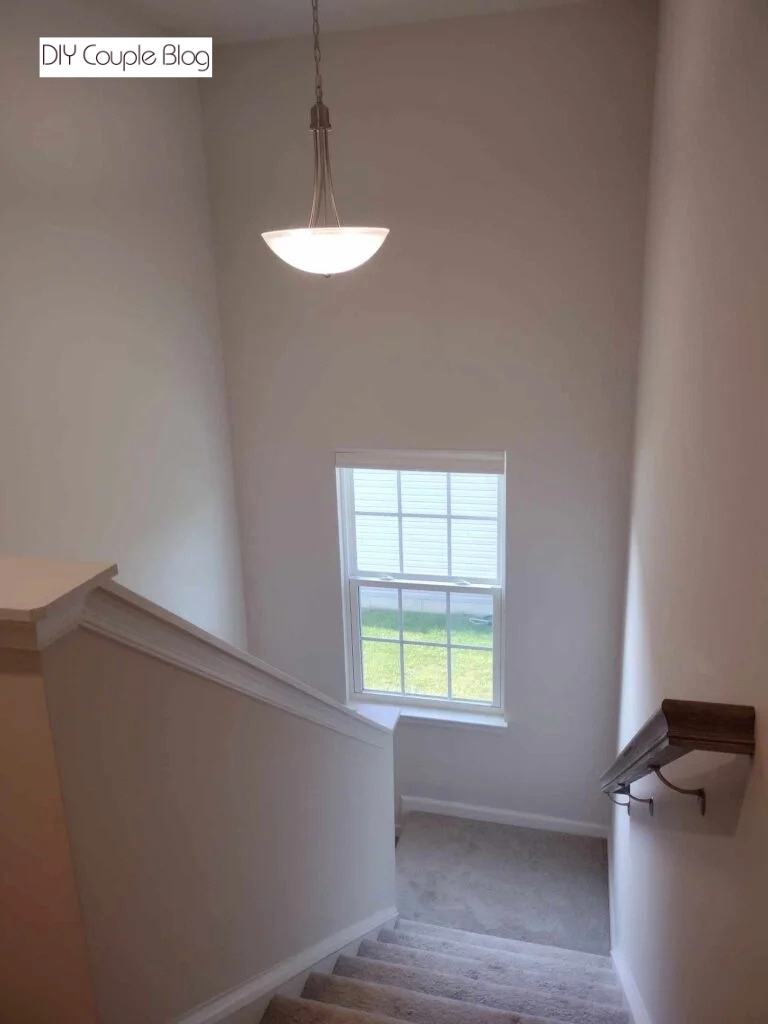

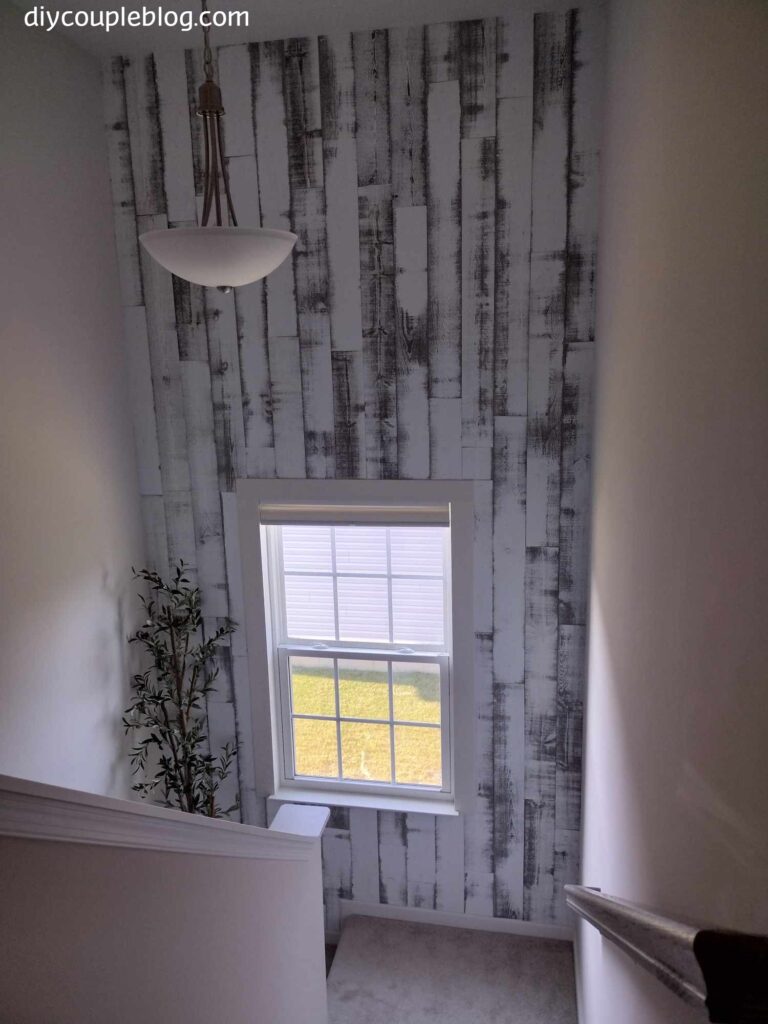
Next thing we will be crossing off is updating our builder grade light fixture seen here. You can jump over here for details on our artificial olive tree.
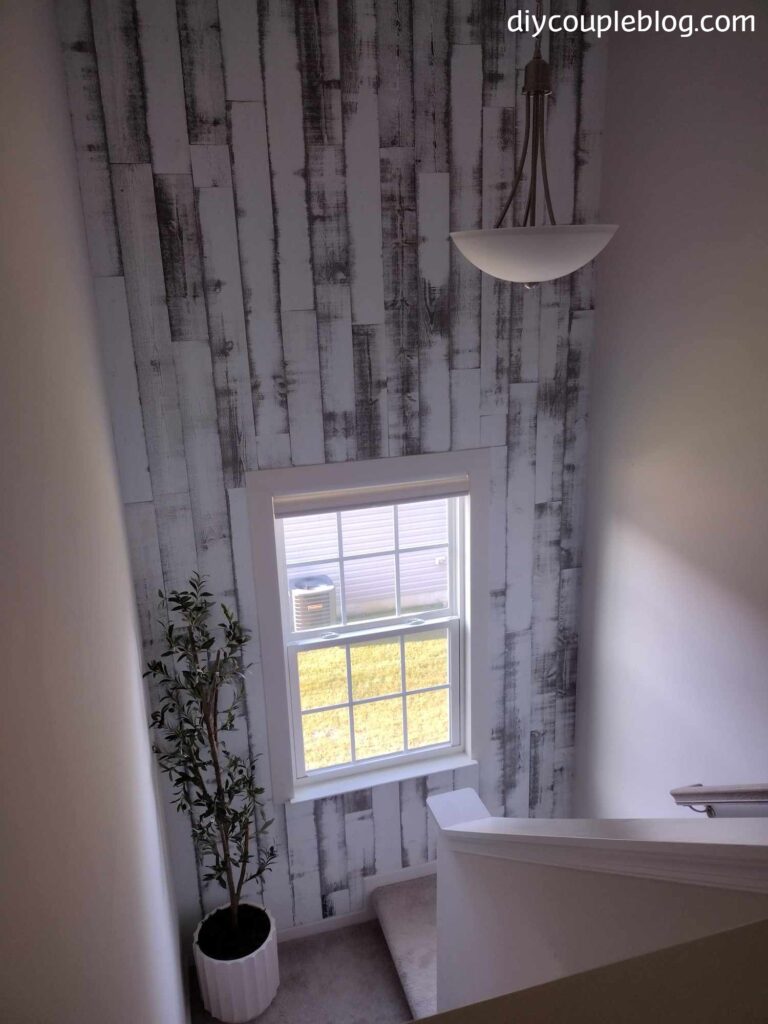
Time to step back and admire all the hard work. A stunning rustic accent wall completely changes the room. Projects like this prove you don’t need a massive budget and professional contractor to make a bold statement on your wall; that’s the amazing thing about DIY.
You May Also Like: