
This post may contain affiliate links, which means we'll receive a commission if you purchase through our links, at no extra cost to you. Read the full disclaimer here: https://diycoupleblog.com/disclaimer/
Last Updated on July 28, 2026: This step-by-step DIY board and batten nursery has been updated with new information.
Adding a board and batten nursery wall is one of the most budget-friendly, high-impact ways to elevate a baby room, or any room for that matter.
Whether you are creating a cozy focal point behind a crib or adding architectural character to a small space, this simple accent wall completely transforms the look of a room in just a weekend.
In this board and batten nursery tutorial, you’ll learn how to finish a custom board and batten wall-including the materials list and tools required.
Nursery Accent Wall
Our little girl is set to come in March and we’ve hem-hauled around long enough and finally made the trip to Lowes to start on her nursery wall!
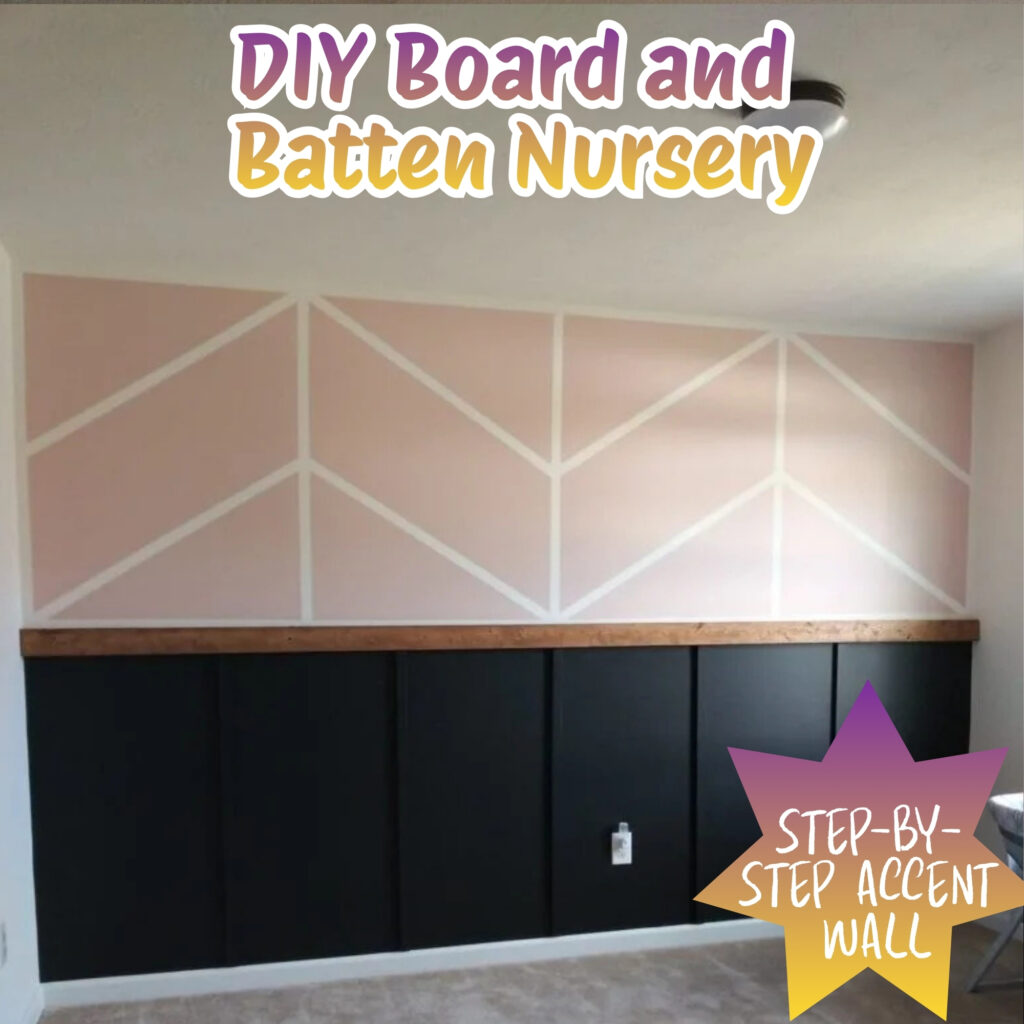
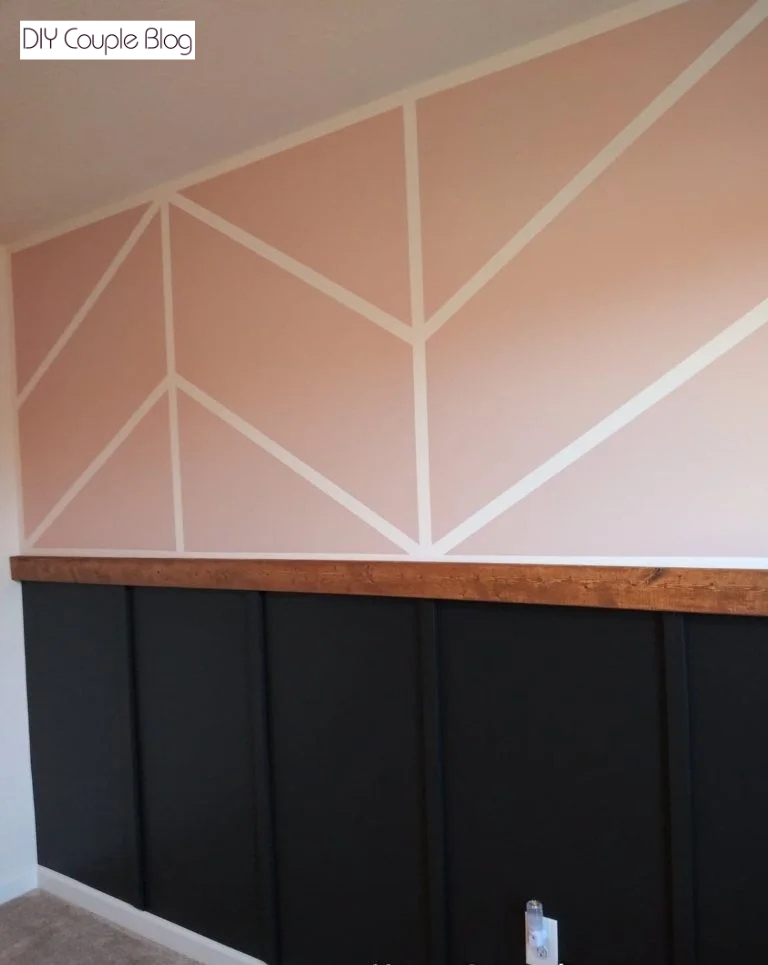
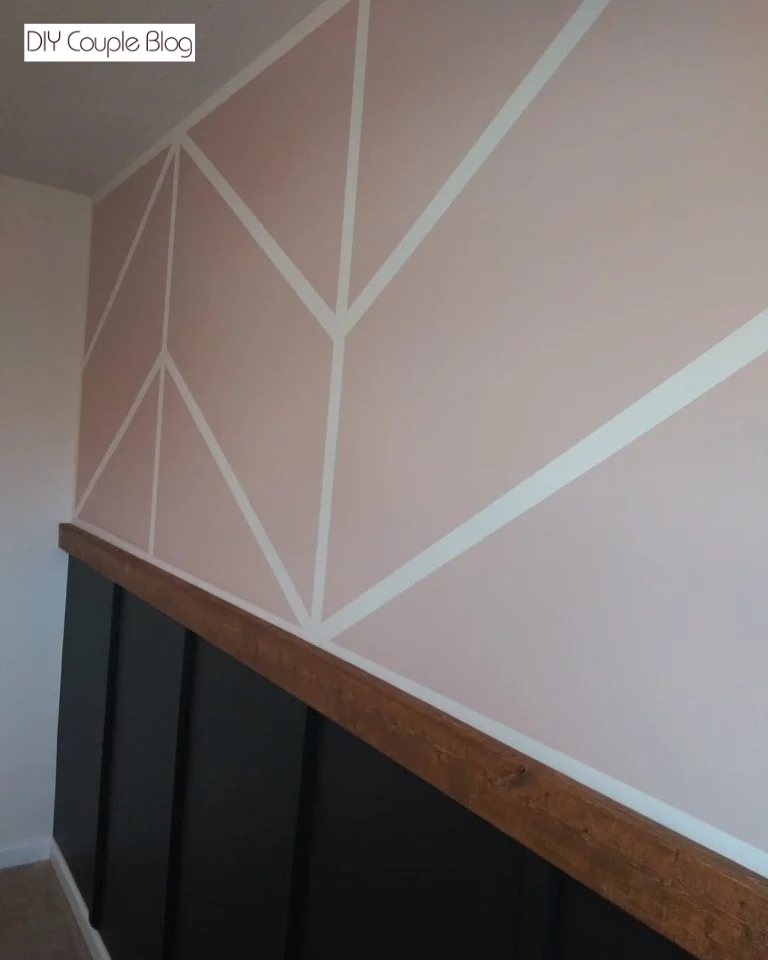
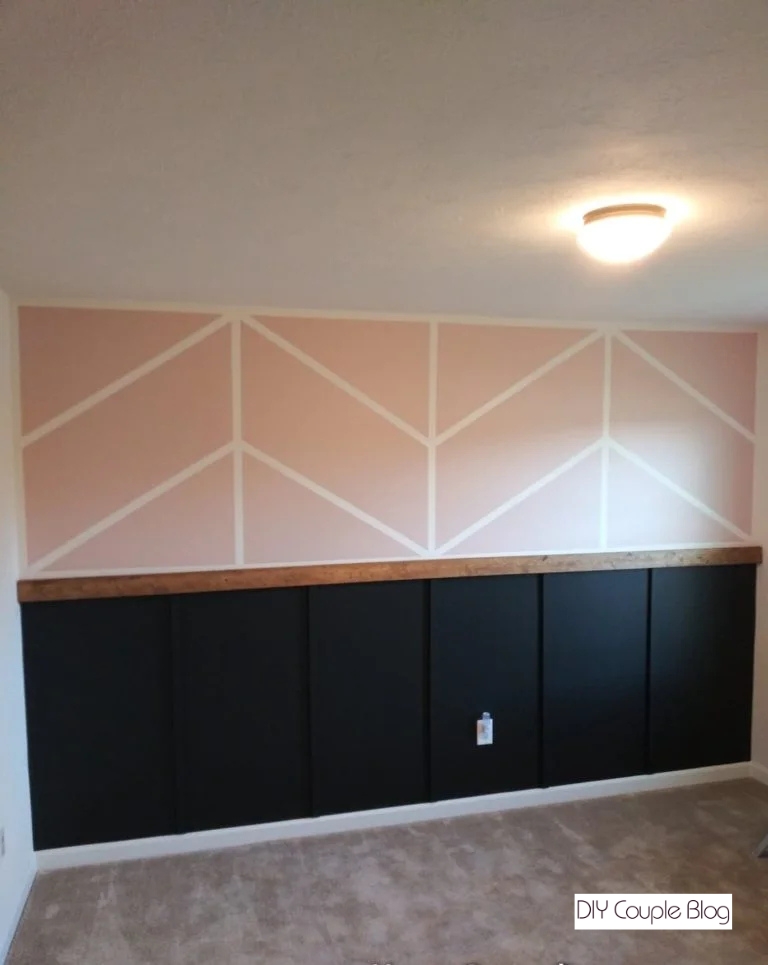
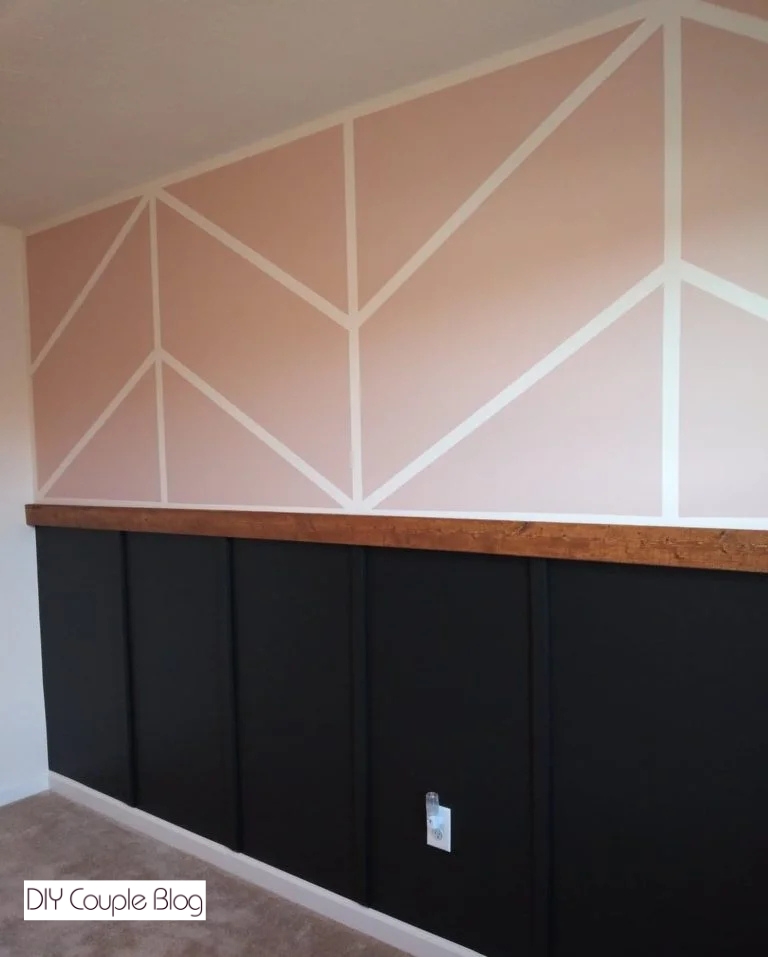
We decided to get creative on the top half of the wall and incorporate board and batten for the nursery on the bottom half.
While digging for ideas through Pinterest I landed on this one in hopes to make it our own style.
While trying to get together a list of what we still need to buy and cross all the things off the list we wanted to get the room done. I’ve shared the steps we took to finishing our board and batten nursery below.
Board and Batten Nursery Supplies
Piece of Wood for Middle of the Wall (Make sure you get the right size in the length of your wall)
Primed Pine Board (boards for board and batten) (we used of 2.5 boards on the wall)
Nail Gun & brad nails
Miter Saw (here’s the one we use for our projects)
Paint Colors of Choice
Convenient Painting Supplies for the Wall (If You Don’t Have Them on Hand)
Paint Can Lid (we used this and it’s fantastic-great for pouring paint and avoiding a mess all over your can! You can store it this way, so next time you go to use the paint it’s as easy as the first).
What to Use to Paint Thin Batten Boards
Disposable Paint tray
Mini Paint Roller
Small Roller Covers
Board and Batten Nursery Wall Steps
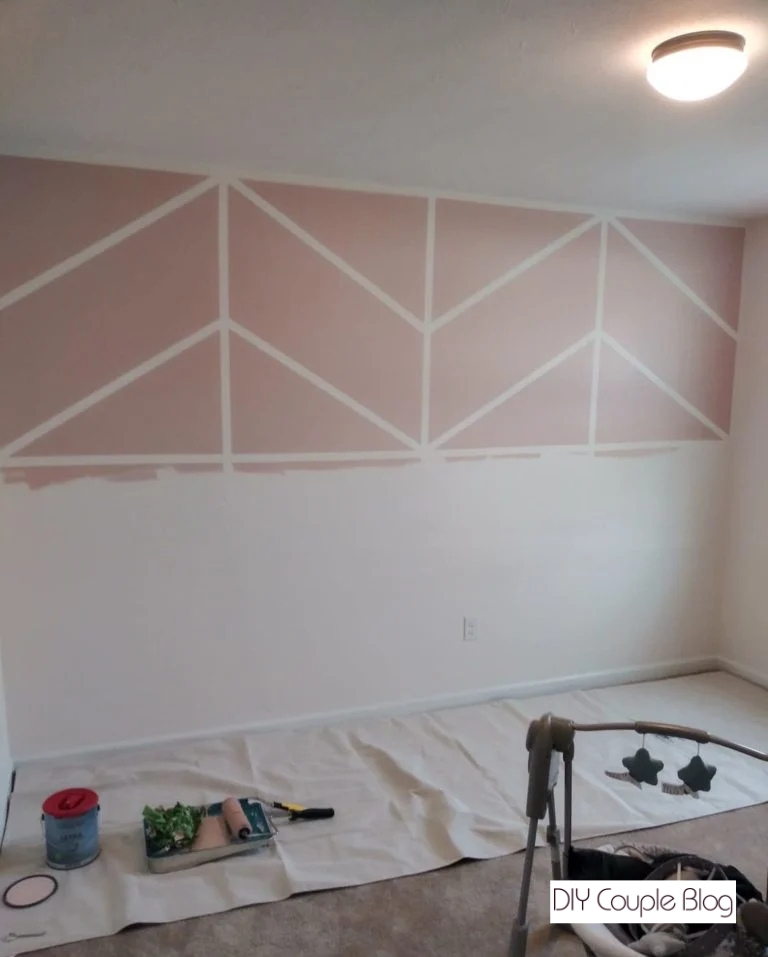
DIY Herringbone Upper Wall Paint: Taping Off Our Design
We’re starting off with a blank slate. A flat white color the builders painted all our interior walls prior to us moving in. It’s amazing what a little painter’s tape can do.
The Herringbone pattern wall that Inspired us used boards for her top part of the wall to create what you might call a herringbone or even “chevron look”.
This is where we tweaked it and grabbed our handy painter’s tape to save a little money off the top for this project.
We taped off our wall design with Frogtape.
Measuring the Wall for Design
You ‘ll first want to figure out the measurements based off your wall. We outlined the border first. Then we measured the width of the wall and divided by three to get our three vertical lines (which will net you four sections).
Then we measured the height of the bordered section and divided in half (this represents your midway point for your diagonal lines).
After we marked our midway point, we started our tape in the bottom left corner and went up to the next vertical line to the midway mark, then went straight down to the bottom of the next vertical line. Repeat this process for all the remaining diagonal lines.
Pro-Tip: Take the roll of painter’s tape, firmly press your taped lines while sliding it down the wall, making sure to hit all the edges.
The frog tape lines will turn out so crisp if you follow that tip. Be sure to buy the Green Frog painters’ tape that won’t bleed through (stick with the one I recommended!)
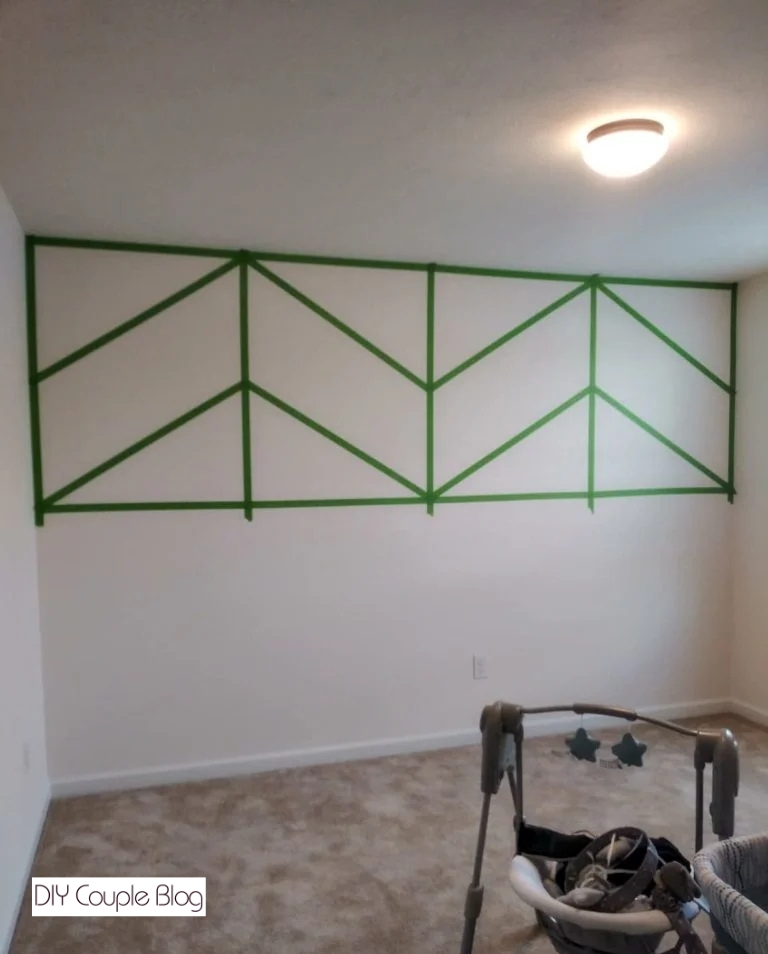
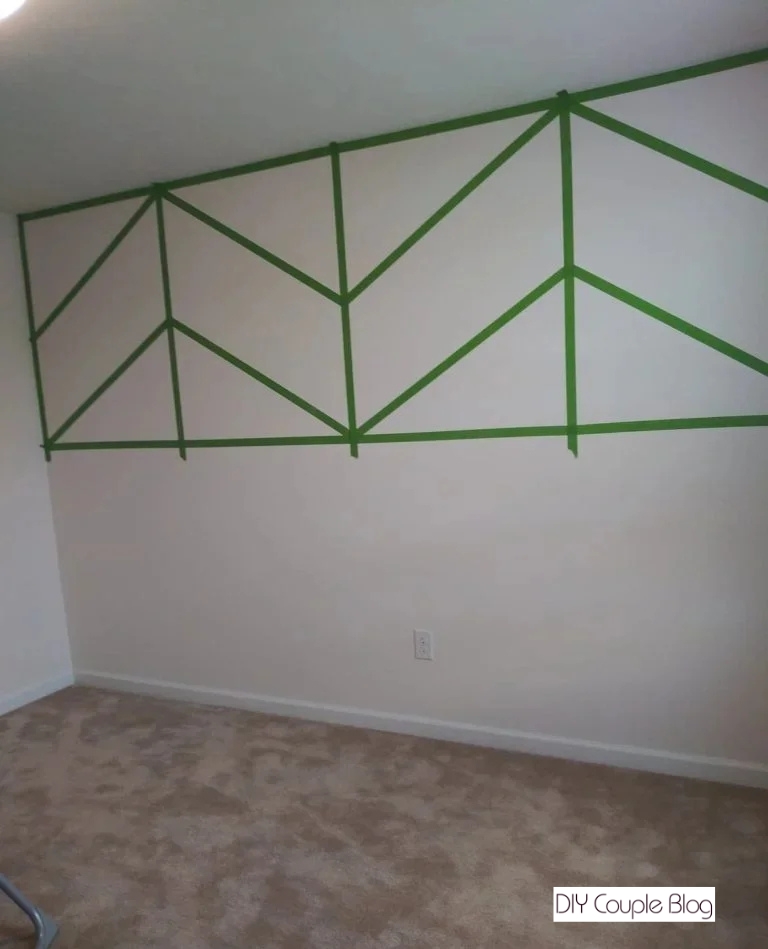
Now that the wall is taped off you are ready to pick up the paint roller and get to painting.
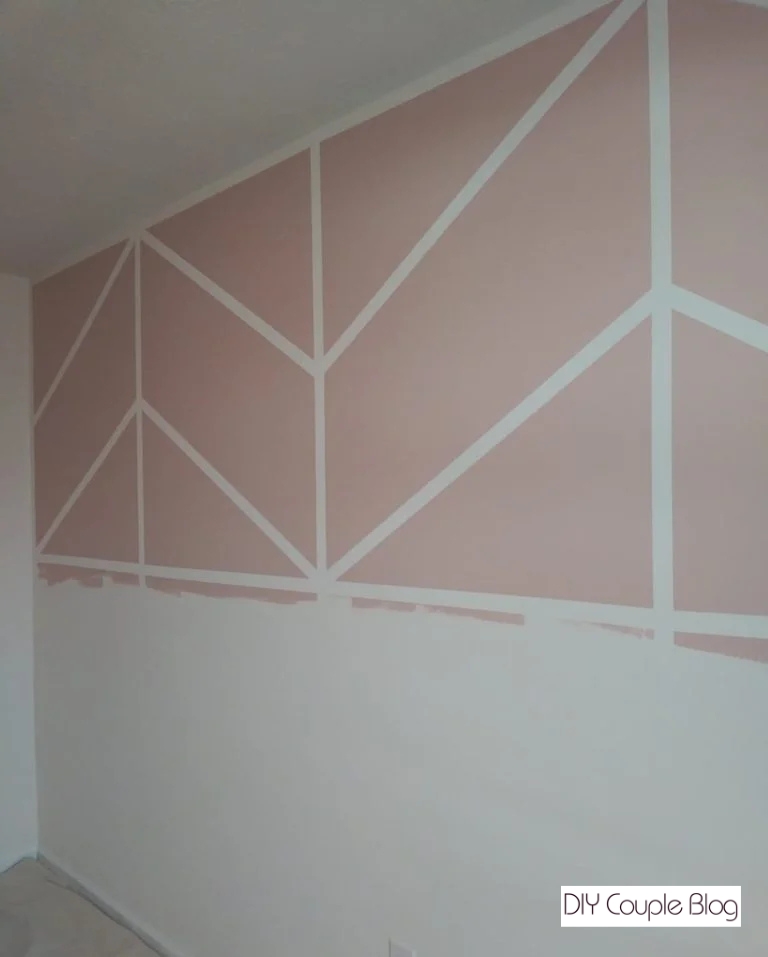
Pro-Tip: When finished with the second coat of paint, before fully dry, we went ahead and peeled off the tape at an angle towards the area that was painted.
This helps give you that nice line without peeling up any paint.
Peel the tape off the same way you put it on starting with the last piece and finishing with the first piece to make it easier.
Pink Nursery Wall Paint Color
For the top half we ended up going with a color called Pink Shadow by Sherwin Williams. We chose it in Eggshell for our wall. It’s a really blush pink color.
Black Board and Batten Nursery Color
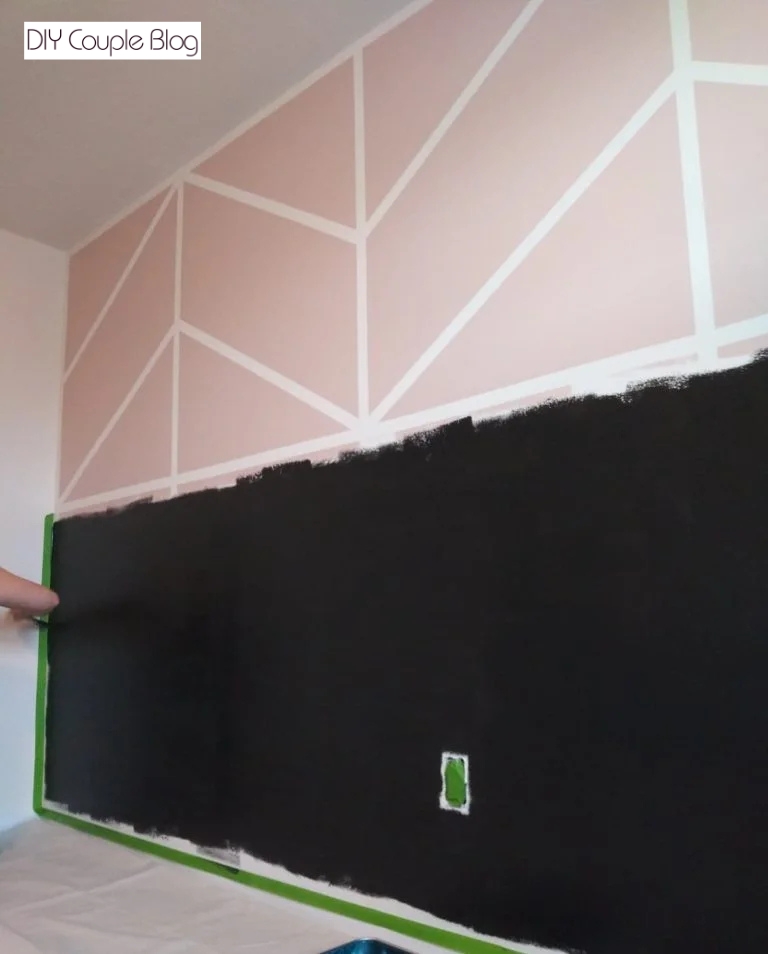
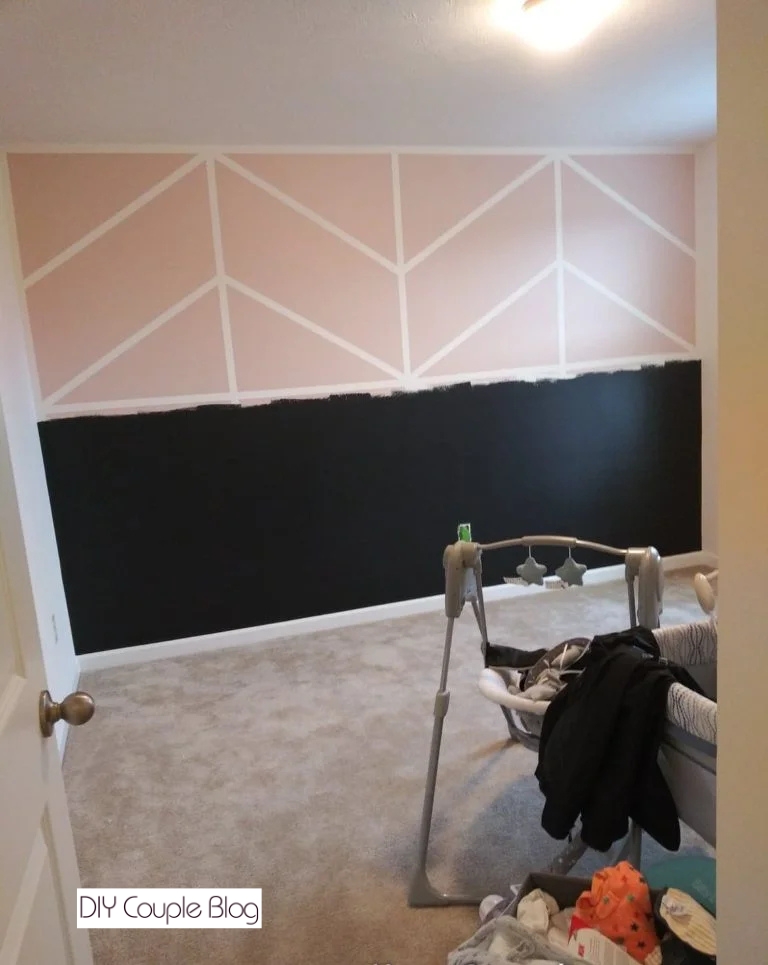
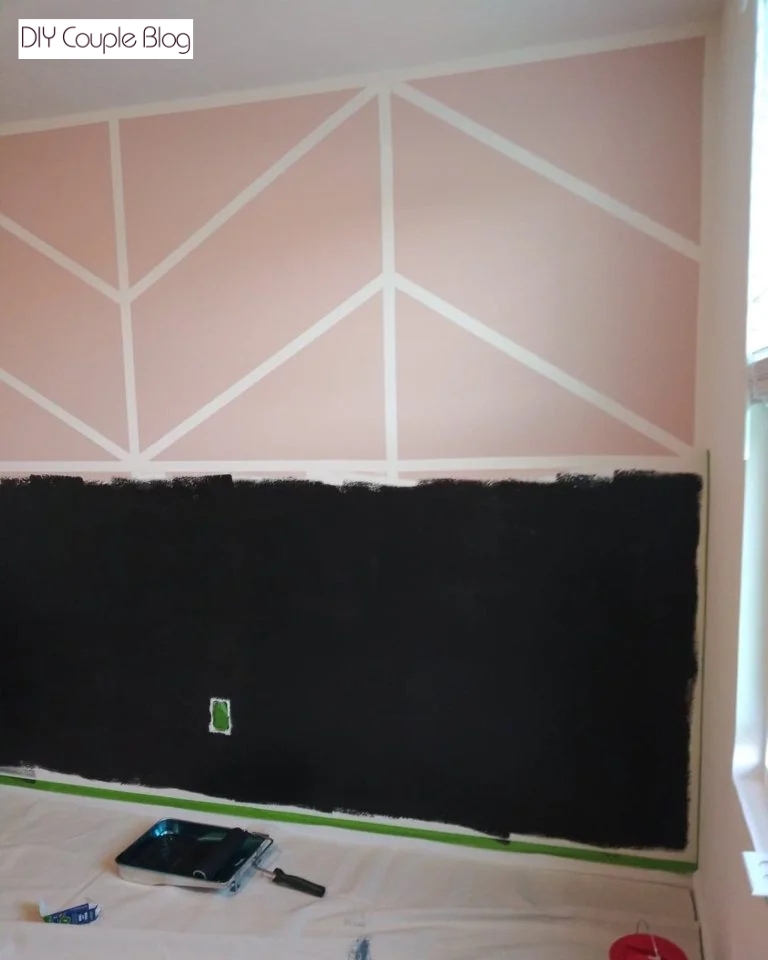
For the black, we chose the black paint color called Tricorn Black by Sherwin Williams in Eggshell sheen.
I’m swooning over how dramatic it makes the room feel. It really pops against the blush pink color on the top half.
DIY Nursery Accent Wall: Attaching Our Middle Board
After the painting was completed, we used a stud finder to identify the stud locations in the wall. This is so we knew where to attach our wood board in the middle of the wall, making sure that it hangs secure. We stained the board using a staining pad.
Once it was dry, we screwed it to the wall to our marked studs. For this part, make sure your board is level before attaching it to the wall.
Tip: Pre-drill two holes in the wood at the farthest point on each end (where your studs are) and use black 2.5 inch Drywall screws to attach it to the wall.
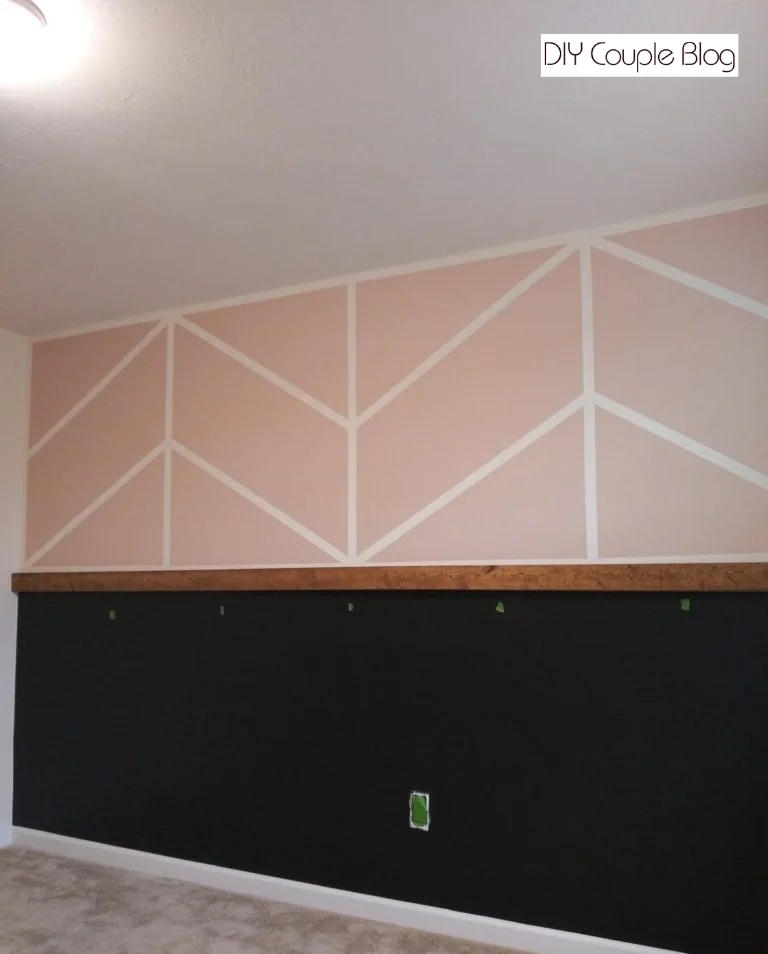
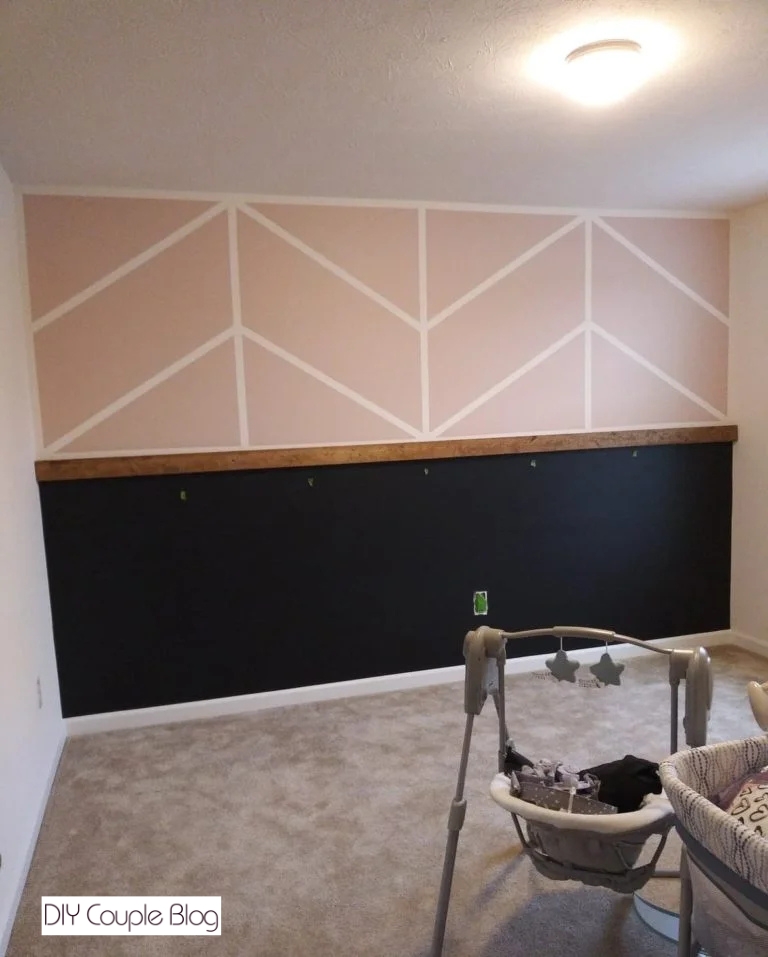
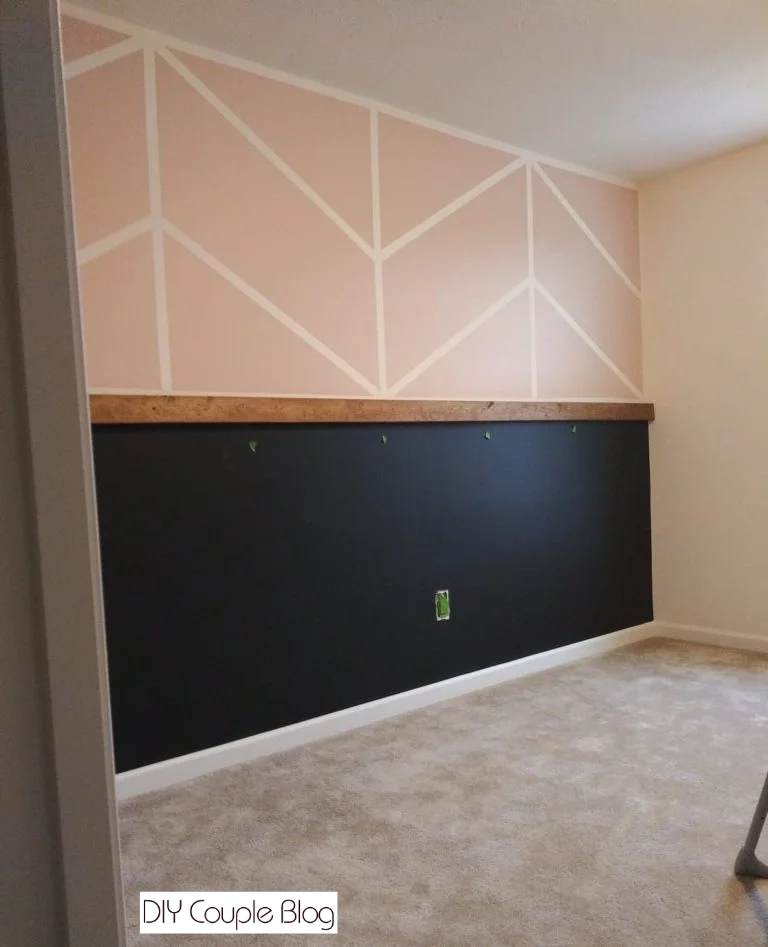
Board and Batten Nursery
Board and Batten Half Wall: Installing The Bottom Boards
To begin this part, figure out how you want your design with the spacing of the boards. We chose to cut some costs and spaced ours out which meant using less material, so that we could get five pieces out of three boards.
Pro-Tip: Measure each section you’re planning on putting a board, for however many boards you choose (not just for your first board). Our pieces varied by .25 inch due to the slight warp in the board. Due to this, it wasn’t safe to assume all boards should be cut the same length.
Measure from the middle wall board down your baseboard to see what the size of your cuts need to be. Use a miter saw to make all the cuts on your batten boards. You could also use your miter saw for cutting an angle on the bottom of the boards.
Angled Cuts at the Base
We chose to put an angle cut on the bottom where the board would meet up to our baseboard. It looked way better in our opinion. We did a 45 degree cut, but only cutting half of the corner off.
Here is a picture to better show you.
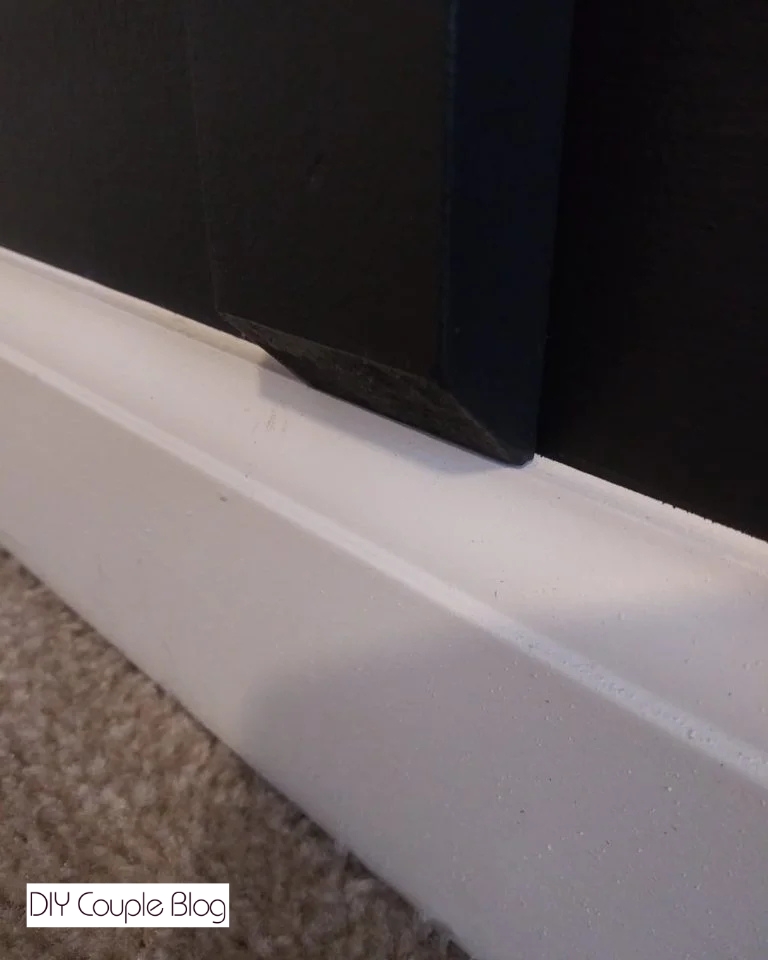
Once all the cutting was out of the way, the wood pieces got painted with the Tricorn Black. Then once dry, we attached our boards using a nail gun. (This is our favorite Brad Nailer, you don’t need an air compressor and it’s cordless!)
Finishing Touches
At this point all that is left to do is patch and paint any nail holes.
Pro-Tip: To fill the nail holes, we used the wax putty stick that we used on our shiplap backsplash and on our shiplap our kitchen Island. Apply any touch up paint where you filled the nail holes.
All that’s left to do is clean up and you’re ready to start decorating your freshly painted board and batten nursery!
The Final Results
Here are some final views of how the board and batten nursery wall turned out.
If you love free printables, I’ll share our DIY woodland nursery decor perfect to hang on the wall. Or if you are looking to organize the baby’s closet, here is our free Printable Nursery Closet Dividers.
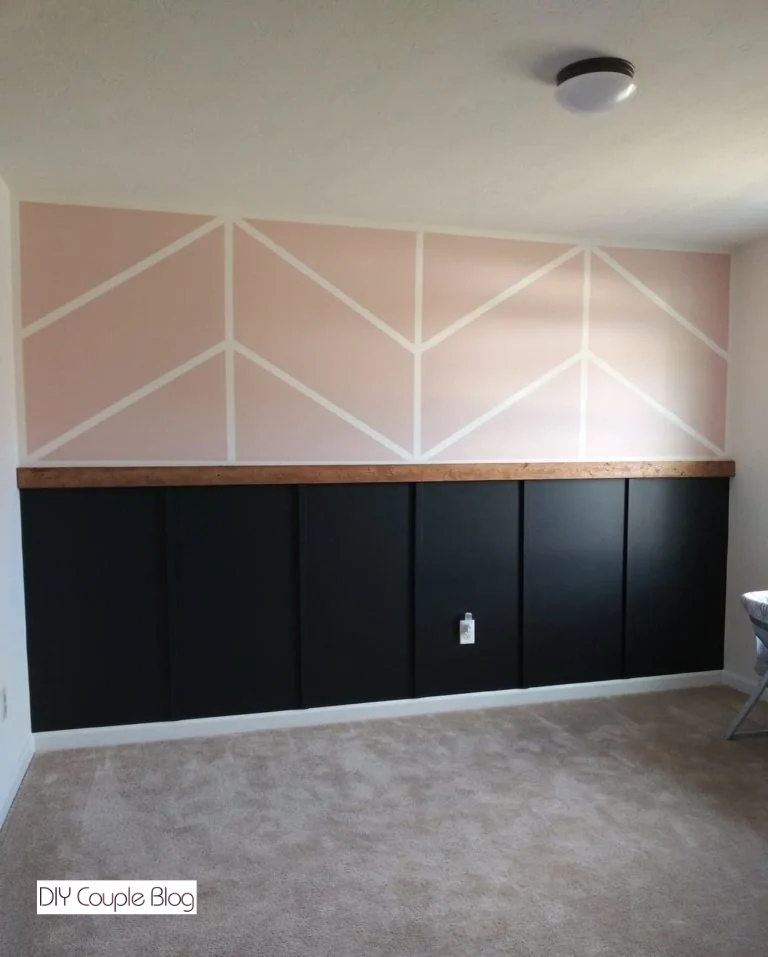
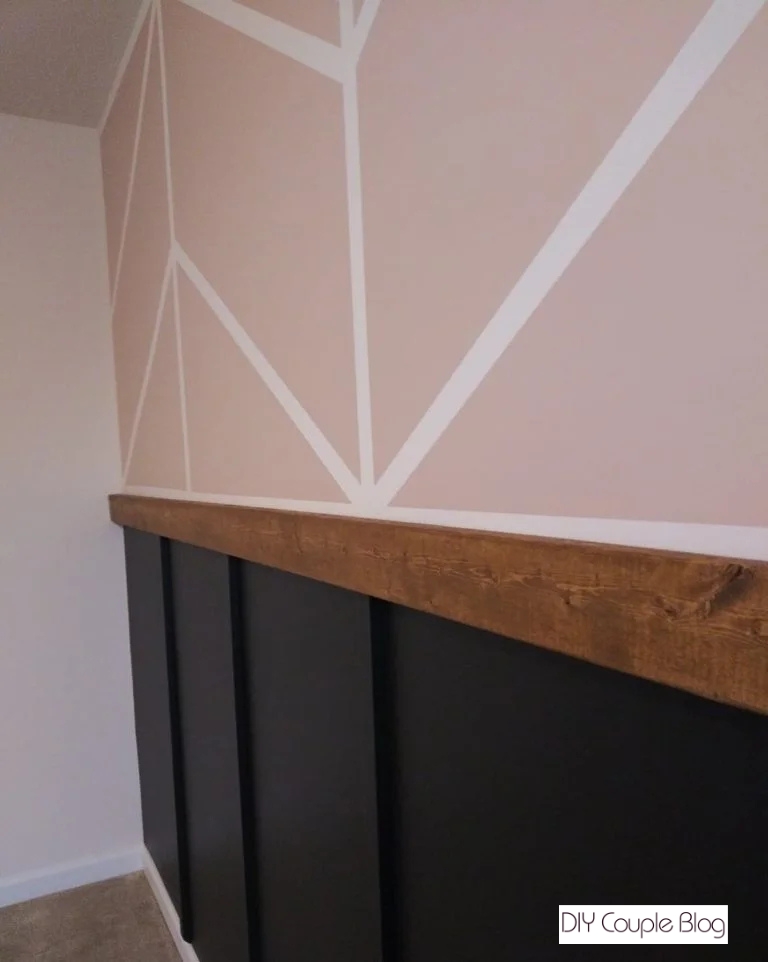
Pick up just a few simple tools, supplies, and with a little patience, you can create a timeless board and batten nursery accent wall. A nursery accent wall that your cozy space deserves without breaking the bank.
Share this board and batten nursery wall to your Pinterest board to save this easy accent wall idea for later!
You May Also Like: