
This post may contain affiliate links, which means we'll receive a commission if you purchase through our links, at no extra cost to you. Read the full disclaimer here: https://diycoupleblog.com/disclaimer/
Ready to learn how to build wood raised beds for beautiful landscaping on a budget?
Are you wanting to elevate your raised porch, patio, or deck either in your front yard or backyard on a budget? Nothing defines a space like a custom, wrap-around raised garden bed.
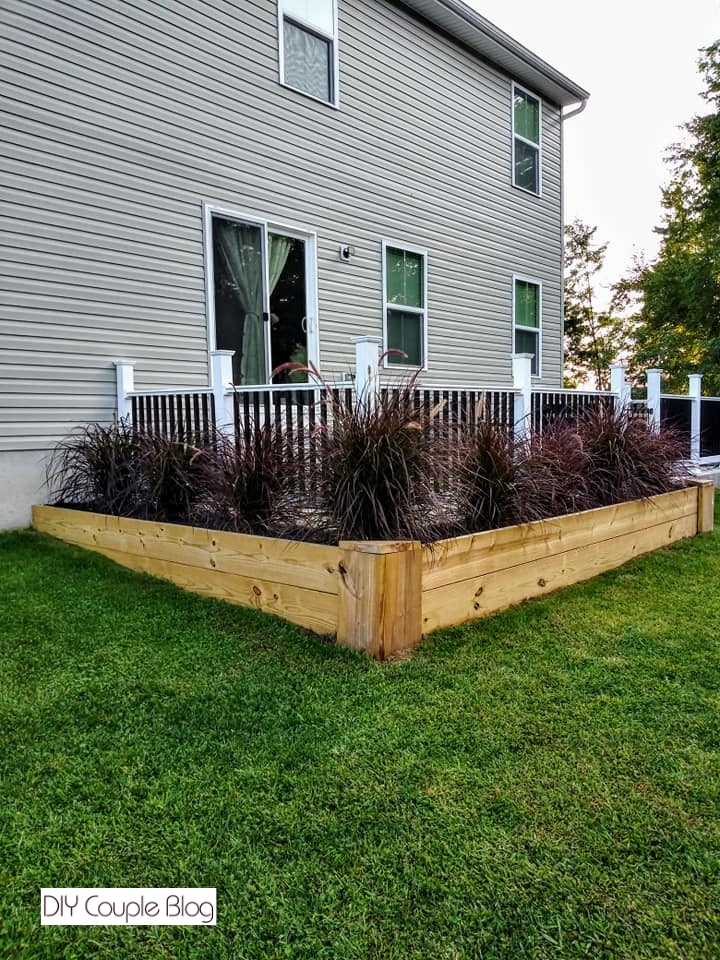
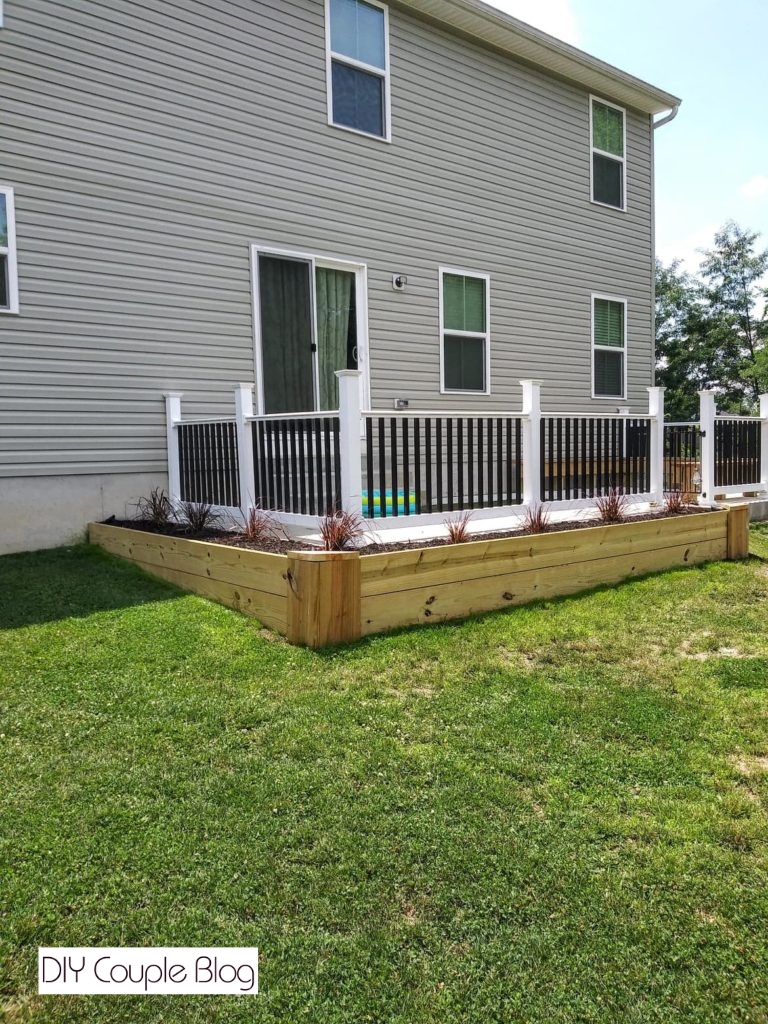
Building a raised bed that hugs the perimeter of your outdoor space is an incredibly rewarding weekend DIY project. Wood raised beds are perfect for privacy when pairing with ornamental grasses, saves your back from bending over traditional garden plots, and creates a high-end, custom look without the costly price tag unlike other landscaping resources.
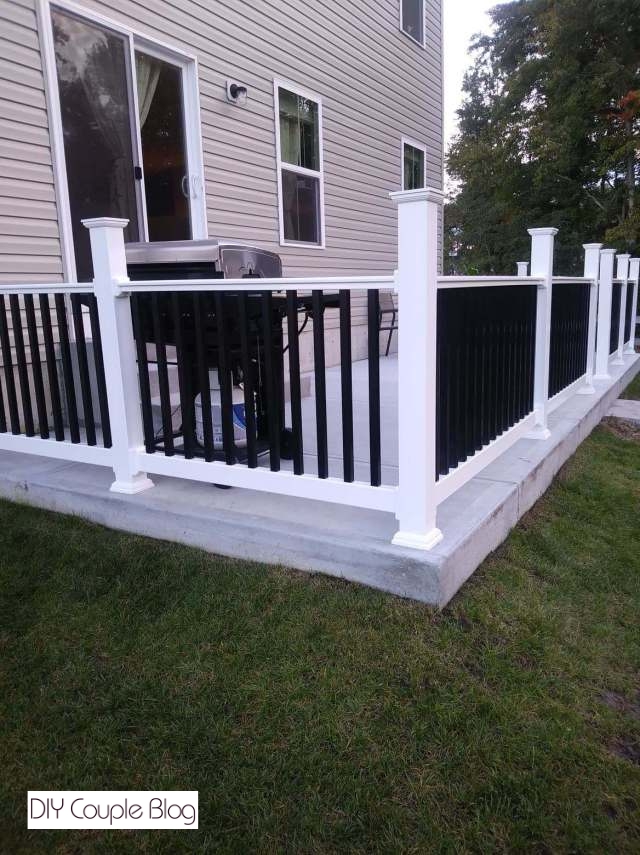
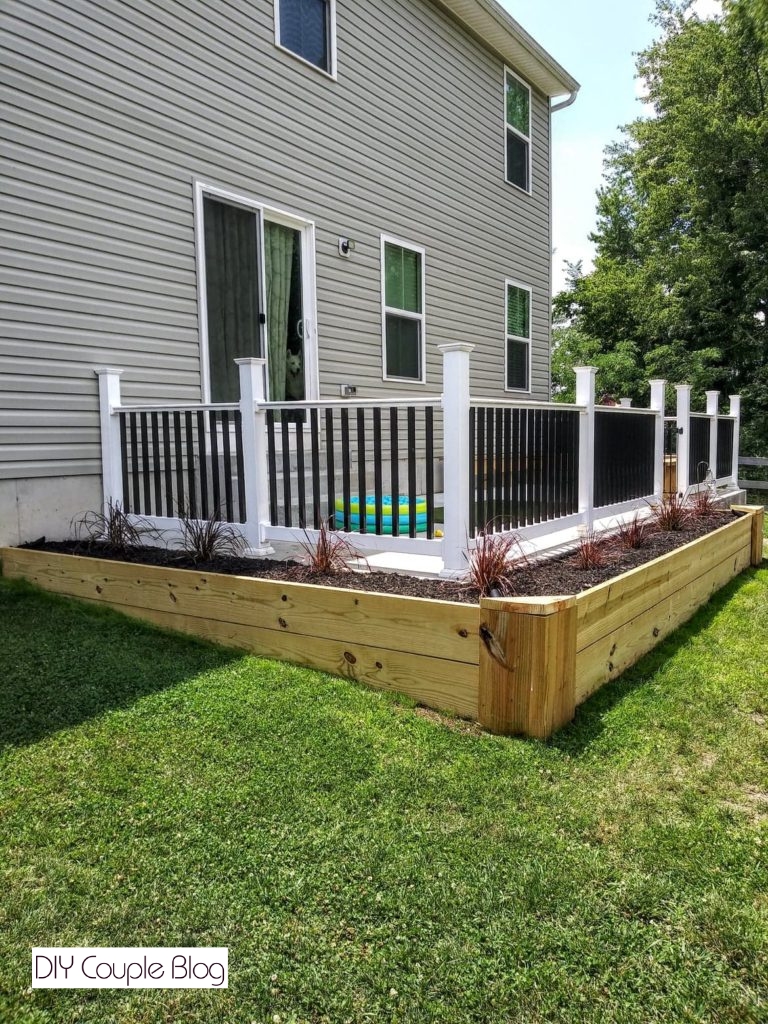
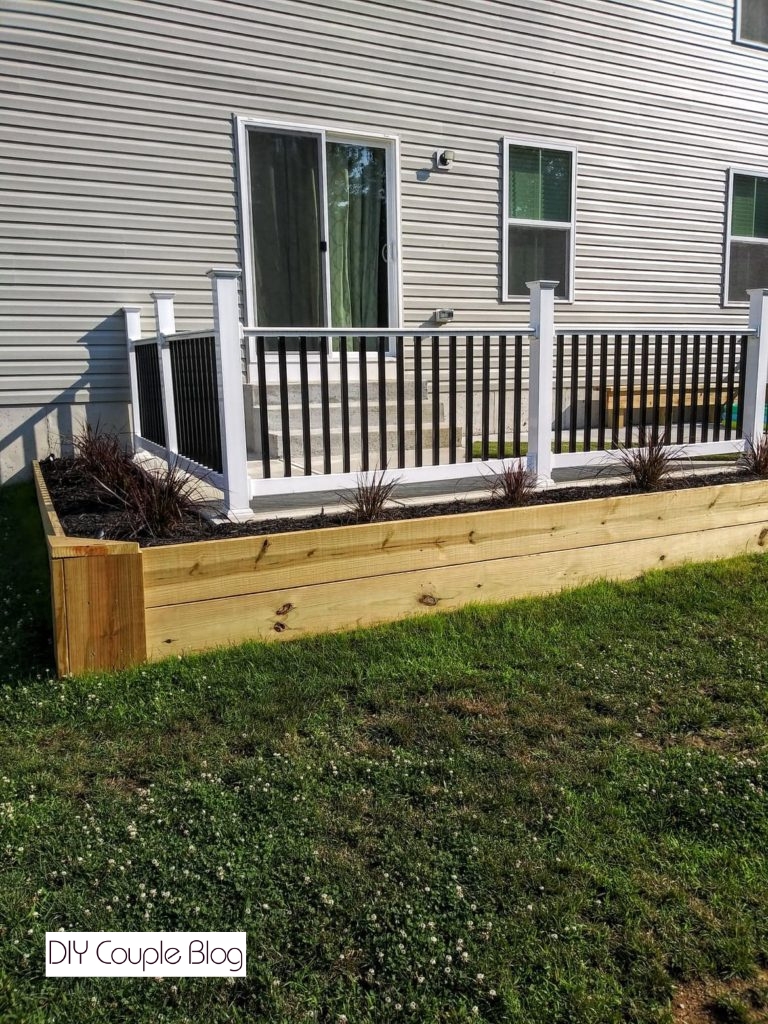
Here are some amazing before and after pictures as well as a helpful, step-by-step guide to building gorgeous wood raised beds for your next home project!
Why Consider Wood Raised Beds?
Utilizing lumber for your wood raised beds is a highly cost-effective structurally reliable option for home gardeners. Raising the soil level means fewer backaches, also easier weeding and planting. By going with a wood raised bed it creates a natural, living border between your lounging area and the rest of the open lawn.
If you re-create this wrap-around structure you are able to visually gain a “privacy screen” by planting tall shrubs or grasses around your raised deck or patio area.
What Type of Lumber Should I Use for a Wood Raised Garden Bed?
For a long-lasting outdoor structure, material choice is everything. Here is what lumber options to consider going forward.
Lumber for Wood Raised Beds
Rot-Resistant Wood:
Cedar or redwood are the gold standards for wood raised beds because they are naturally resistant to rot and insects without any chemical treatments.
If you are on a budget, untreated construction heart redwood or KDAT (kiln-Dried After Treatment) pressure-treated lumber rated for ground contact are excellent alternatives.
Pro Tip: If you choose cedar, opt for a thickness of at least two inches (e.g., 2 x 6 or 2 x 8 boards) Thinner boards (1-inch) are prone to bowing outward over time from the intense weight of wet soil.
Wood Garden Bed Dimensional Layout
For a sturdy bed that won’t blow under the weight of wet soil, use 2 x 6 or 2 x 8 planks for the walls and 4 x 4 posts for the structural corners and internal bracing. We had 4 x 6’s laying around so we did substitute those for the posts just to use up what we had.
Wood Raised Bed Hardware, Tools, and Materials
Power drill and driver bits
2 x 6 or 2 x 8 lumber for the walls (this can be determined as well by the length you need)
4 x 4 wood posts (for corner bracing and/ or extra support)
Premium raised bed soil mix (topsoil)
Planning and Design Considerations
Height and Width
The ideal height for a patio-side flower bed is 12 to 18 inches. This provides plenty of root depth for most annuals and perennials while keeping the profile sleek. Keep the width between 2 to 3 feet. This makes it so that if you can only access wood raised bed from one side, it won’t be too difficult to reach the flowers in the back.
Step-by-Step Construction Guide to Wood Raised Beds
Prep the Perimeter
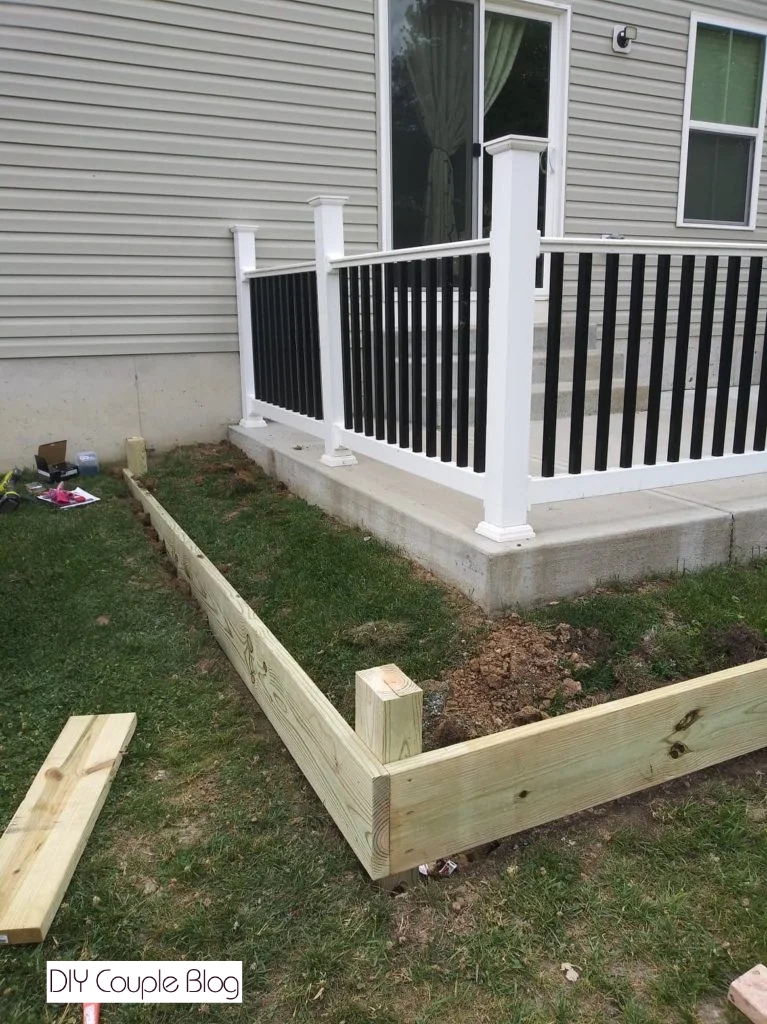
Using your gardening shovel, dig a shallow, level trench (about 1- 2 inches deep) for the first layer of wood. This anchors the bed and prevents soil from eroding underneath.
Cut Post and Planks
Measure the lengths that you will need your boards to be for your area. Cut your wall boards to these precise lengths. Next, cut your 4×4 corner posts. As an example, if your bed is 12 inches high, cut your post to 12 inches (or longer if you plan to sink the posts into the ground for extra stability).
Assemble the Base Layer
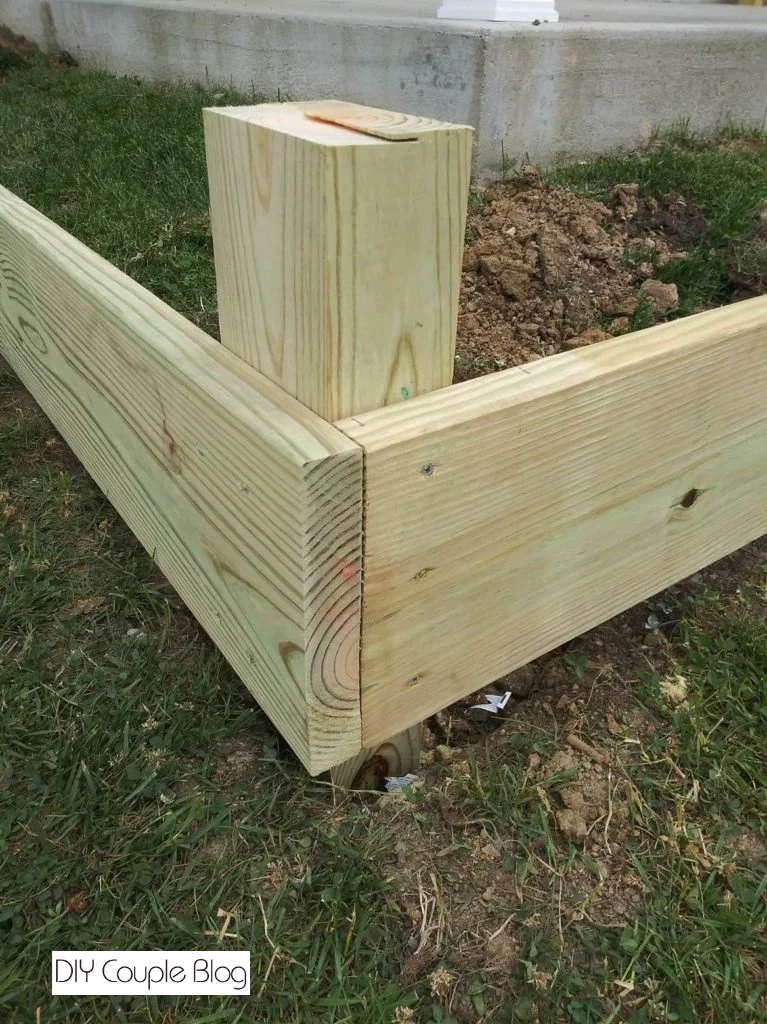
Lay down the first row of boards in your trench. Use your level constantly-if the base layer isn’t level, the entire structure will look crooked. Screw the boards directly into the 4×4 corner posts using at least three exterior screws per joint, overlapping the boards together. Any gaps where you had to level the lumber can be backfilled with dirt.
Securing to the Concrete Foundation and Concrete Patio
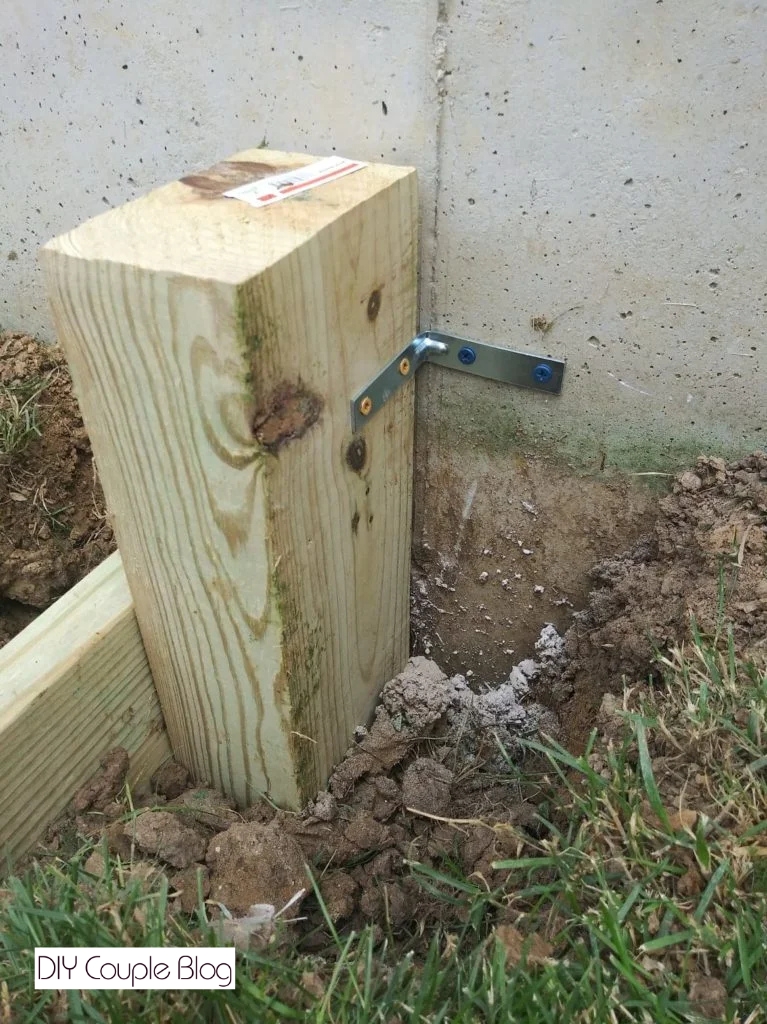
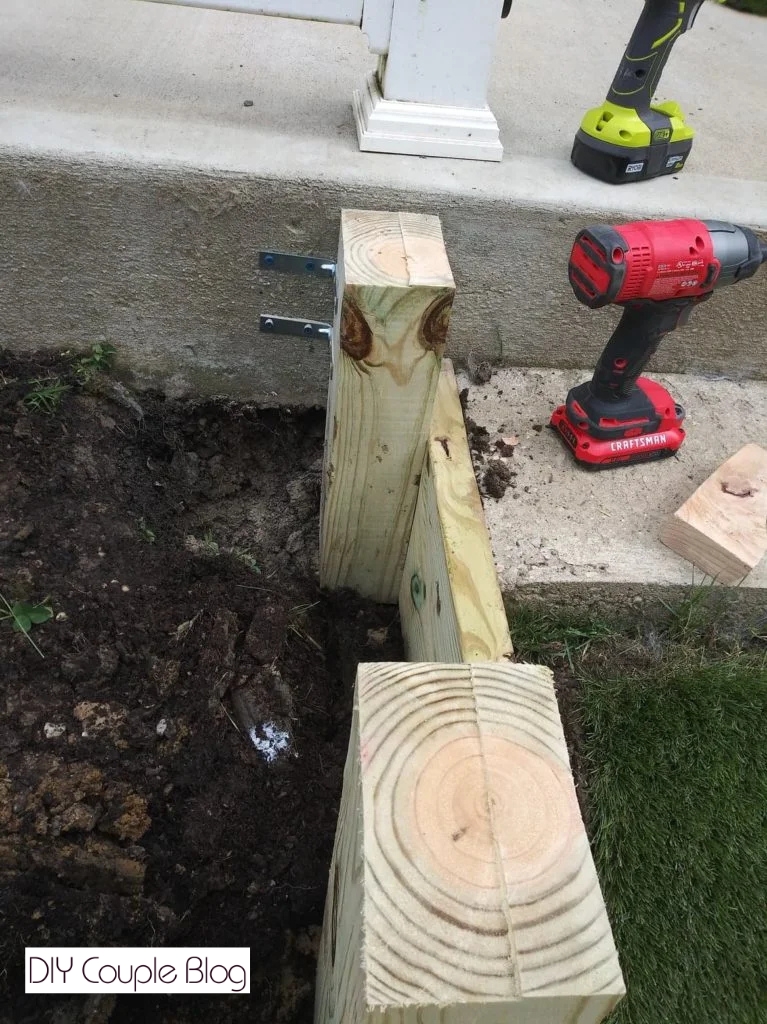
For extra security, we secured the end posts by attaching the wood corner post to the foundation of the house and the concrete patio on the other side. To do this, we used a hammer drill to drill holes with a concrete drill bit then swapped to our drill to screw in the screws along with using concrete anchors with corner braces.
Add the Next Tier
Secure the second layer of boards to the corner posts right over top the first layer.
Support Throughout the Wood Raised Bed
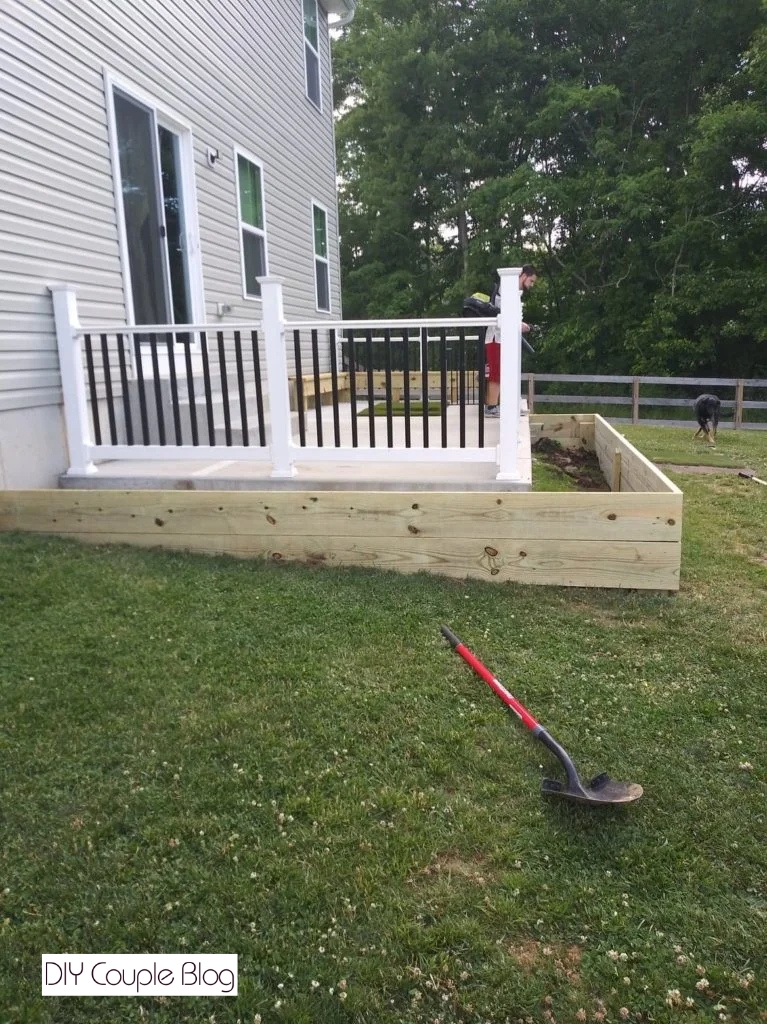
Once the wood raised bed was installed, we attached some middle support throughout with some extra scrap wood we had.
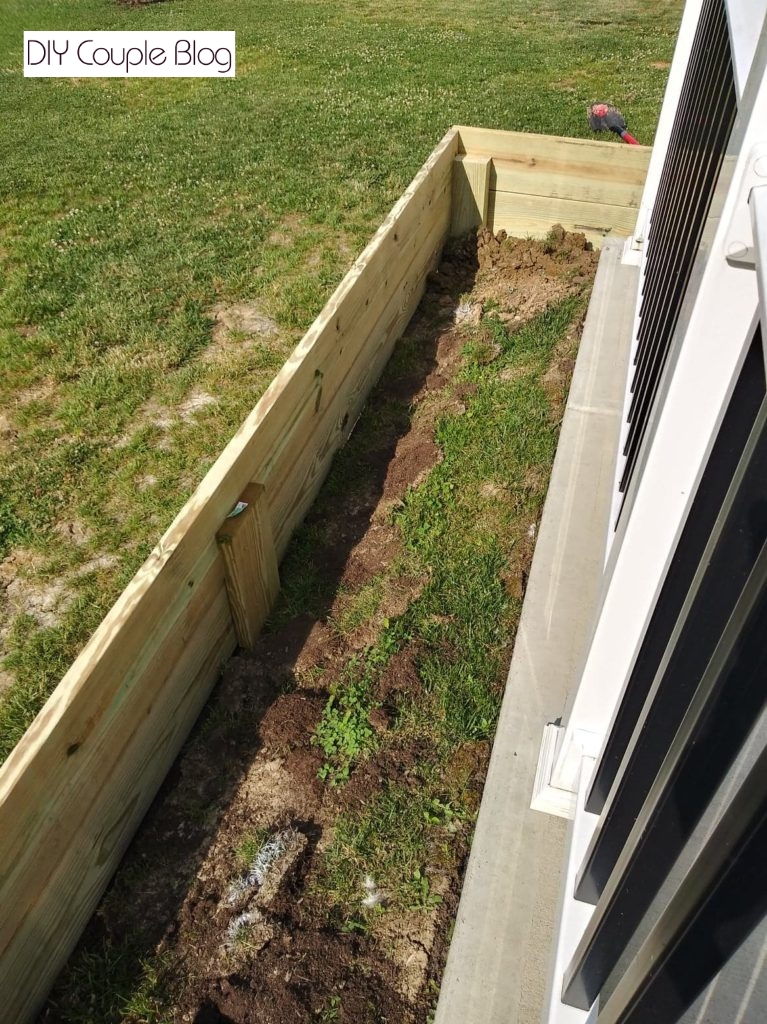
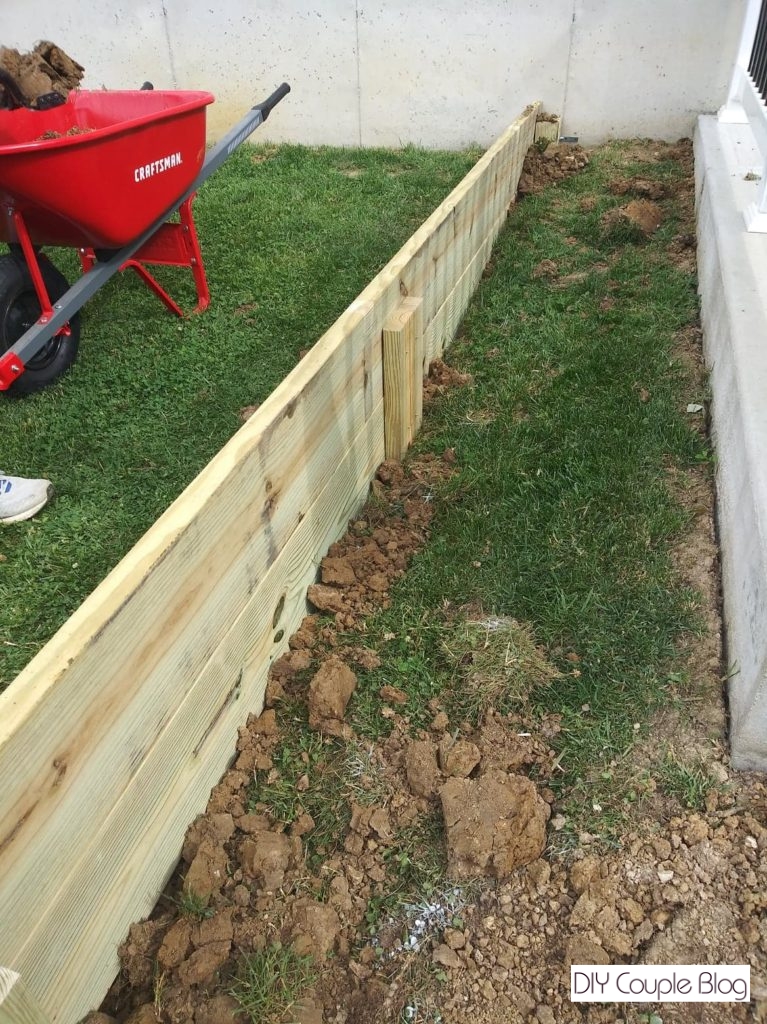
Install Decorative Edging on the Corner and the End
To make it easy, we cut two wood boards to the right height of our bed and attached them to the end. Then for the top piece, we laid a scrap piece of lumber over our cornered edge, marked and cut it to the desired size that would fit for a decorative corner piece. We did a triangular shape that would give it a fancy look for the corners.
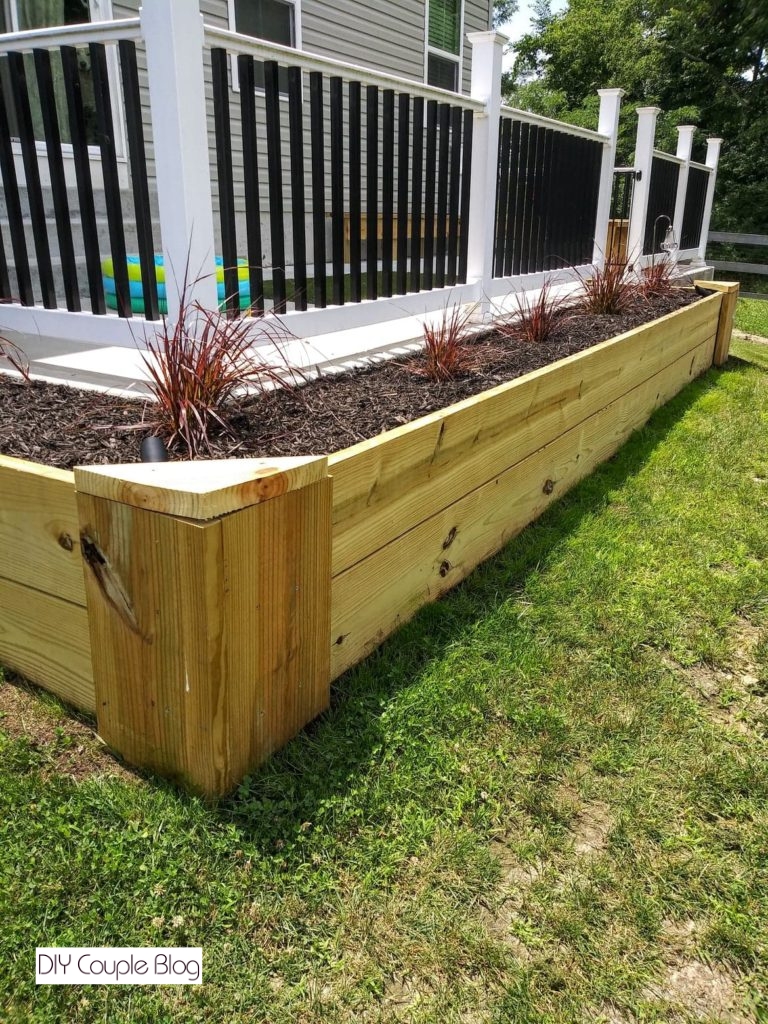
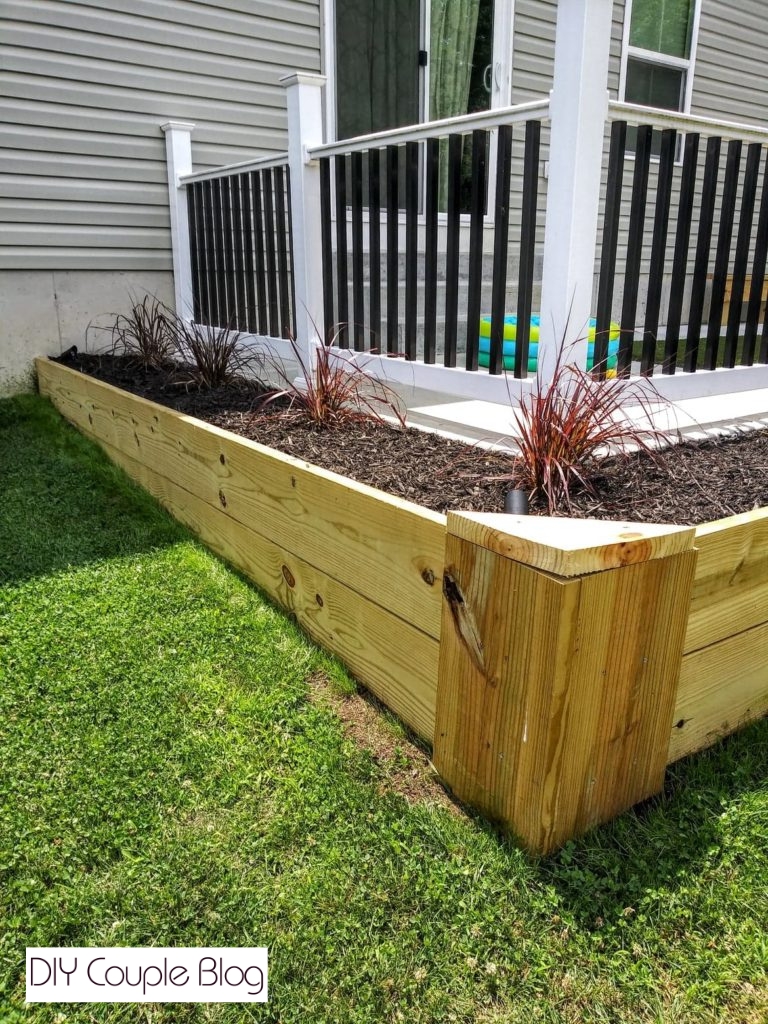
For a different polished look, you could also lay a flat 2 x 4 or 2 x 6 board flat along the top edge of the completed walls. This creates a beautiful “cap rail” that finishes the look and serves as a convenient ledge to sit on while tending to your flowers. To get a better idea of how to do a cap rail like this, visit our front yard flower bed design post. We used composite decking for that raised flower bed but the process of adding the top cap would still be of value if this is the look you’d like to go for.
Preparing Wood Raised Beds for Planting
Once the wooden frame of your bed is secured, it’s time to prep it for your selected plants and flowers.
Line the Raised Bed (Optional but Clever):
Staple heavy-duty landscape fabric to the inside wooden walls. This prevents soil from washing out of the cracks and protects the wood from direct moisture, extending its life. Do not fully seal the bottom if it sits on dirt, as you want beneficial earth worms to enter.
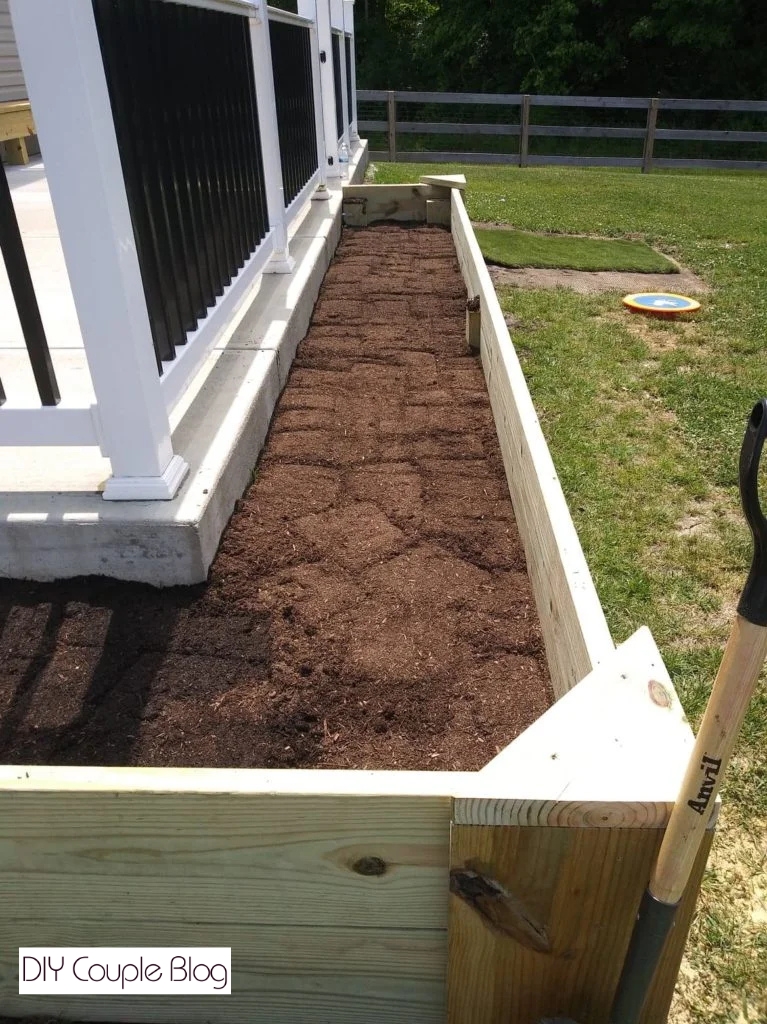
Fill Wood Raised Garden Beds with Premium Soil:
Do not use straight topsoil from your yard; it will compact and choke your plants. Instead, invest in a good topsoil/compost mix that will help your garden thrive.
Ways to Save on Garden Fill
Since wood raised beds range in depth, usually from 12–18 inches, there is quite a bit to fill before the beautiful addition of your plants and flowers. Pre-made bags can get expensive. If you have a large wooden bed, here are some suggestions for cost-effective tricks to fill the bottom.
If you’re on a tight budget, you can avoid filling the entire depth with expensive soil mix. Try the “hugelkultur” layering method to fill the bottom half for free.
What is the “Hugelkultur” Method?
For the base layer, place untreated cardboard at the very bottom to smother weeds.
Utilize bulky organic material such as untreated logs, thick tree branches, sticks, and dried leaves.
This organic matter will break down slowly and provide sponges for water retention.
Throw in a buffer layer consisting of grass clippings, straw, or green waste. Then for your top layer adding 40/40/20 soil and compost blend in the top layer for your plants.
Buy Bulk Topsoil/ Compost
If you are buying a large quantity, you could also consider contacting and pricing out local landscaping supply yards to deliver bulk topsoil mixed with compost.
Account for Soil Settling
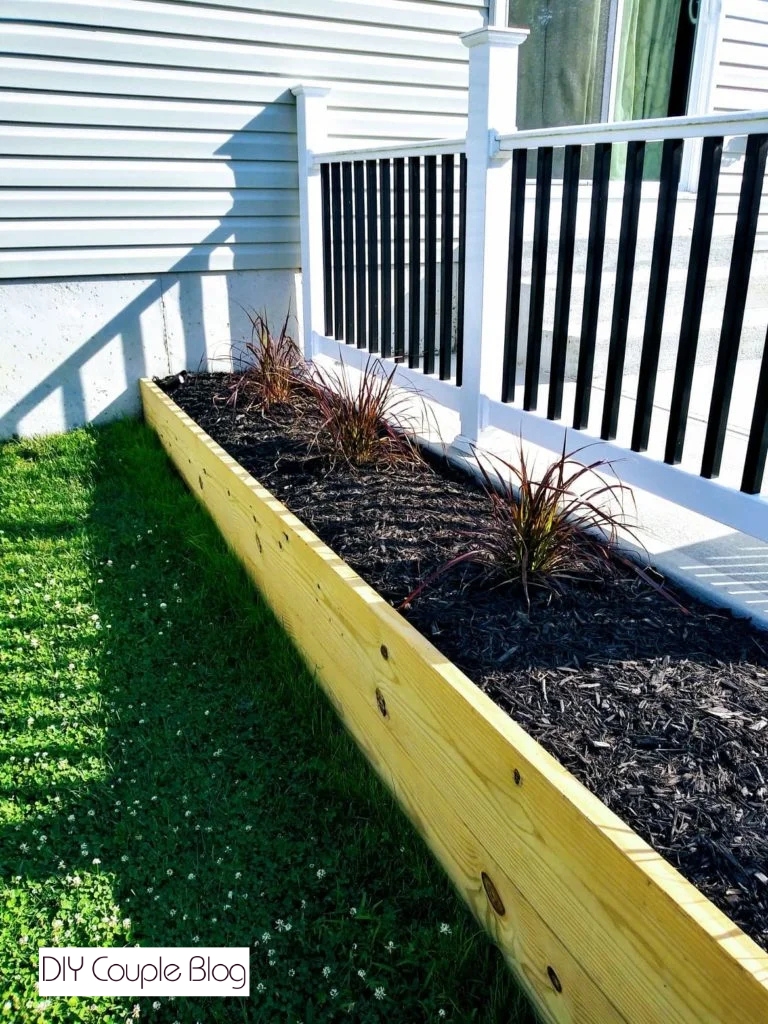
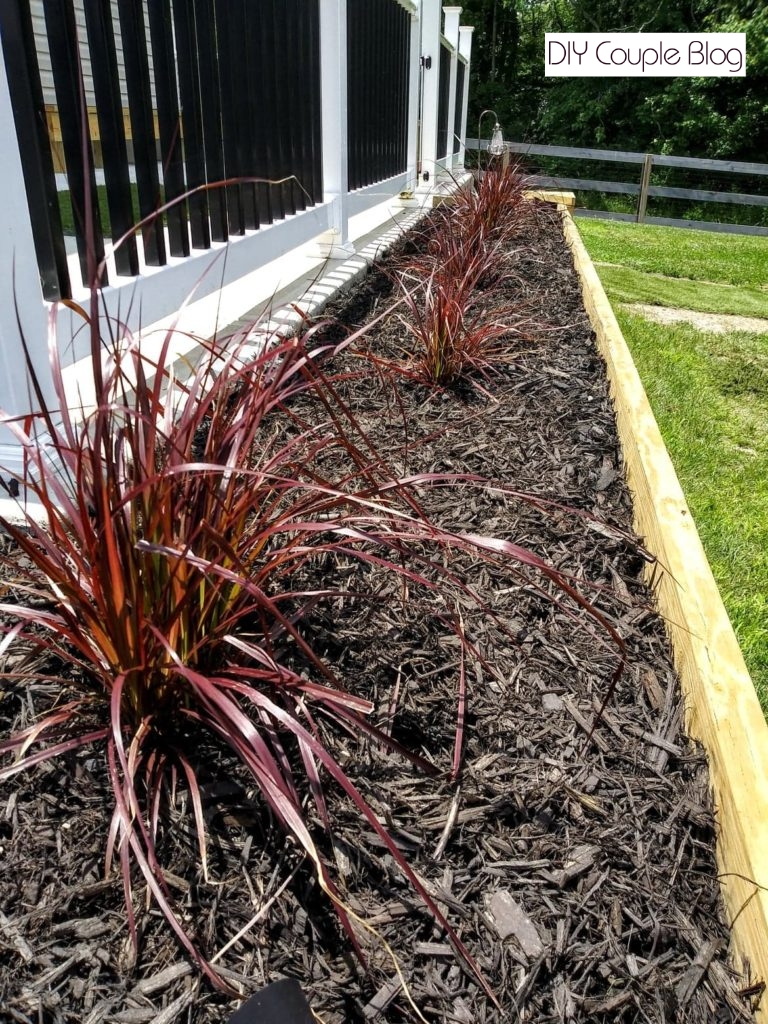
Fill the bed all the way to the top. Spray it thoroughly with water and let it sit for a day or two; the soil will naturally settle down about 1-2 inches. We then topped our wood raised flower bed with mulch.
Beautiful Plants for Landscaping
If you are choosing perennial plants for your garden, be sure to check your local hardiness zone to ensure they survive the winter and come back the following year. It’s the most reliable baseline to assure perennial plants, trees, and shrubs can survive your region’s winter lows. Find your region on The Old Farmer’s Almanac Zone Finder.
Do keep in mind, zones only measure cold tolerance and ignore other crucial factors like summer heat, sunlight, shade and moisture so you will need to take those things into account when choosing plants for a particular environment around your home.
Because this wood flower bed wraps around your seating area, select plants that offer multi-seasonal color, pleasant fragrances, and varying heights.
- Purple Coneflower
- Delphiniums
- Salvia
- Marigolds
- Petunias
- Geraniums
- Creeping Jenny
- Sweet Alyssum
- Trailing Lobelia
Excellent Choices for Privacy
Build wood raised garden beds around a front porch or back patio is a fantastic way to frame your outdoor living space, add structure, and create a cozy, private atmosphere.
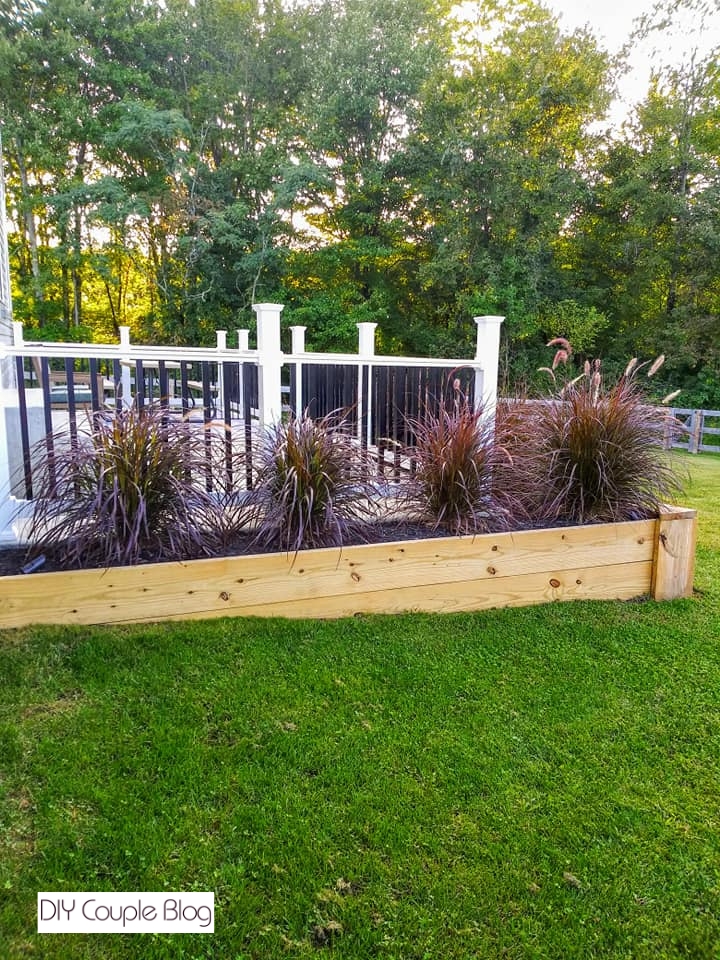
When choosing plants for a privacy screen in raised beds, you want to focus on varieties that grow a dense, upright habit so they provide maximum vertical coverage. Tall ornamental grasses add incredible texture, movement, and a “living wall” feel to a patio border.
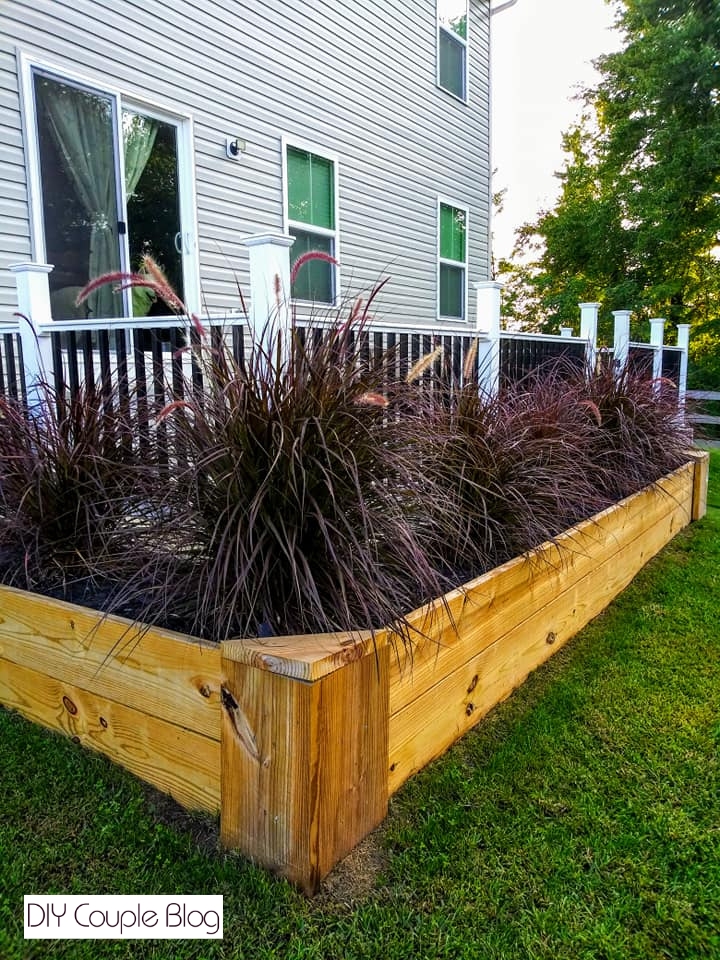
- Firework Fountain Grass (this is what we used in our wood raised bed)
- Hameln Fountain Grass
- Hicks Yew (Taxus x Media)
Best Privacy Shrubs and Companion Plants
Sky Pencil Holly or Columnar Boxwoods
Build Raised Garden Beds: Final Thoughts
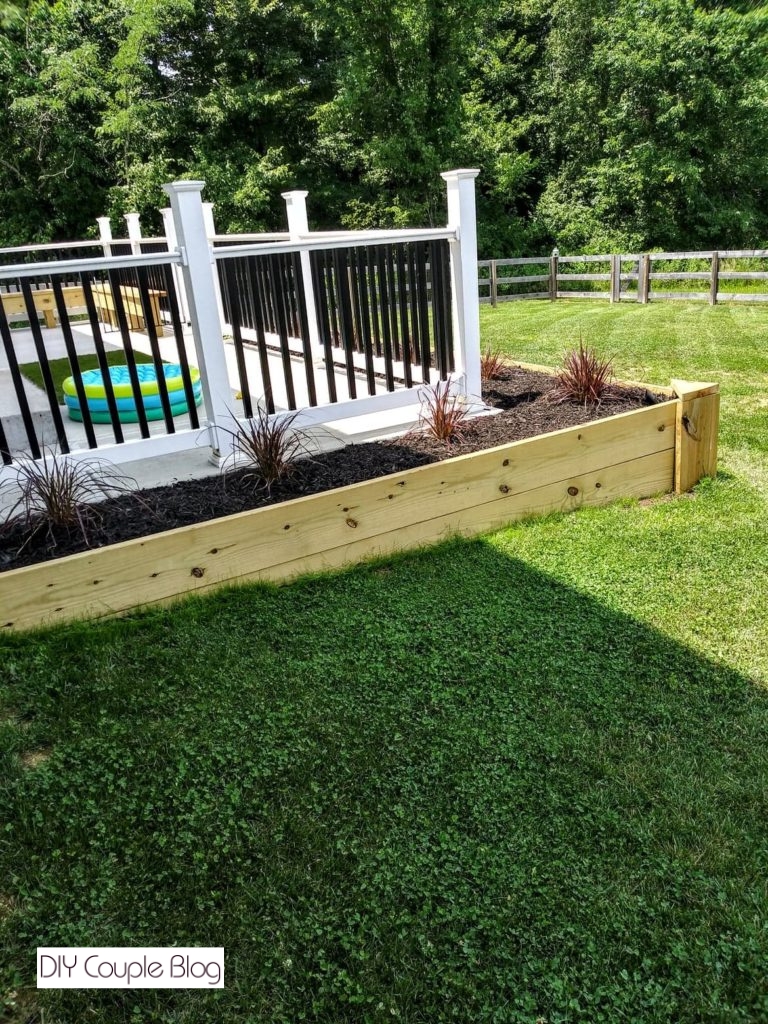
Building wrap-around wood raised beds like this one, is a weekend project that redefines your outdoor living space. It bridges the gap between your home and natural beauty of your yard, creating a lush, beautiful landscaping feature that’s ideal for bordering any raised deck, porch or patio. Grab your tools, pick out your lumber, and get ready to elevate your view!
You May Also Like:
Lava Rocks for Landscaping Ideas