
This post may contain affiliate links, which means we'll receive a commission if you purchase through our links, at no extra cost to you. Read the full disclaimer here: https://diycoupleblog.com/disclaimer/
Last Updated on August 2, 2026: This tree planter box tutorial has been updated with new information.
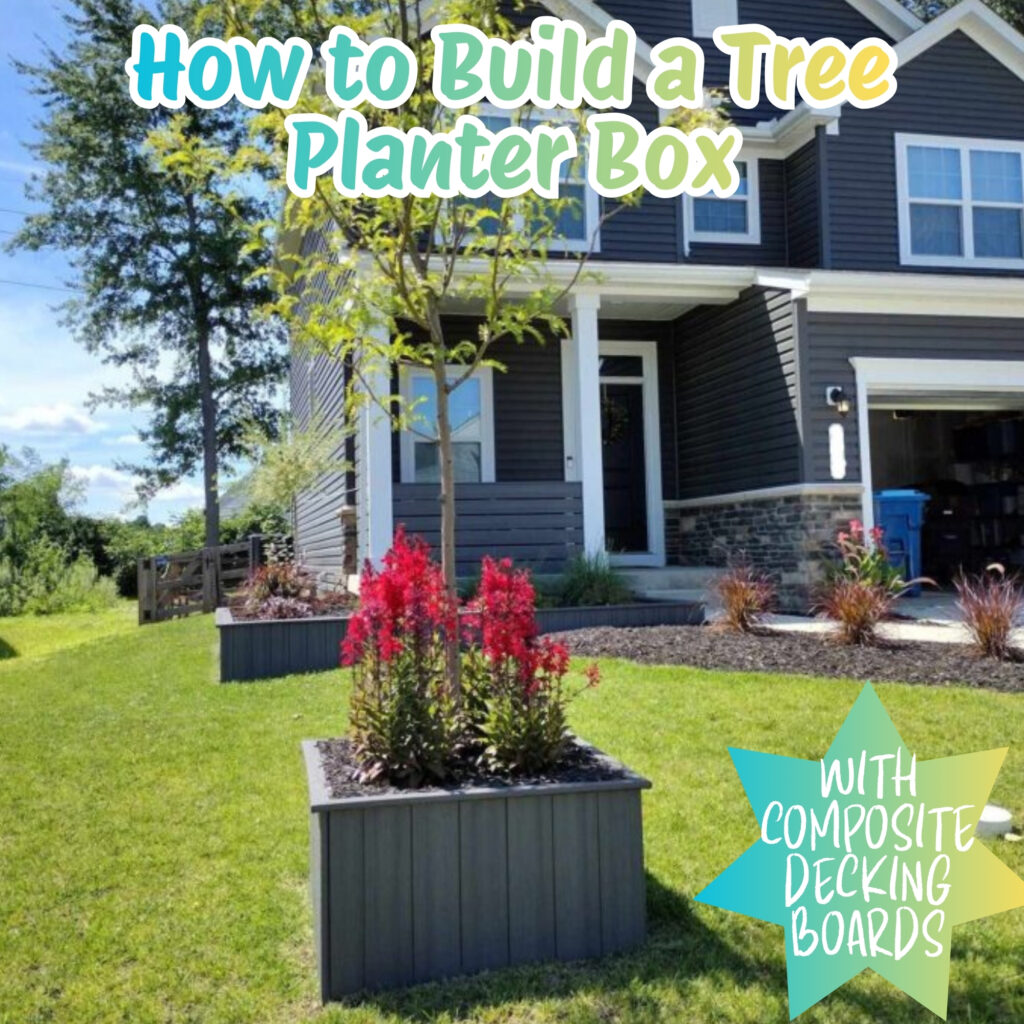
Build a tree planter box using composite decking boards with our simple tutorial to walk you through the steps to maximize and drastically change the look of your garden space!
There are many creative, beautiful ideas and ways you can add landscaping around trees in your yard. In our last home, we landscaped around our tree bed with a no-dig edging kit, put down some landscaping fabric, and added lava rocks on top.
By providing landscaping features outdoors you are enhancing the look of your home while giving it a curb appeal boost.
Building a custom tree planter box is one of the best weekend projects you can take on. While traditional wood planters look great at first, they often rot, warp, or fade after a few seasons of moisture and exposure to the elements.
Composite decking boards are the easy solution!
If you’ve been following along, we’ve been knocking out quite a bit of projects outdoors this summer in our new home. We built a privacy wall on our front porch, then we completed our DIY front porch railing, and lastly used up some leftover boards from those two projects and made a vertical flower bed design in our front yard.
With a few extra boards laying around, we knew we wanted to do some tree landscaping to tie everything together and make the two flower beds complement each other. We built a tree planter box using our composite decking boards. I’ve provided all the steps (with photos) we took below, so that you could build a tree planter box easily too!
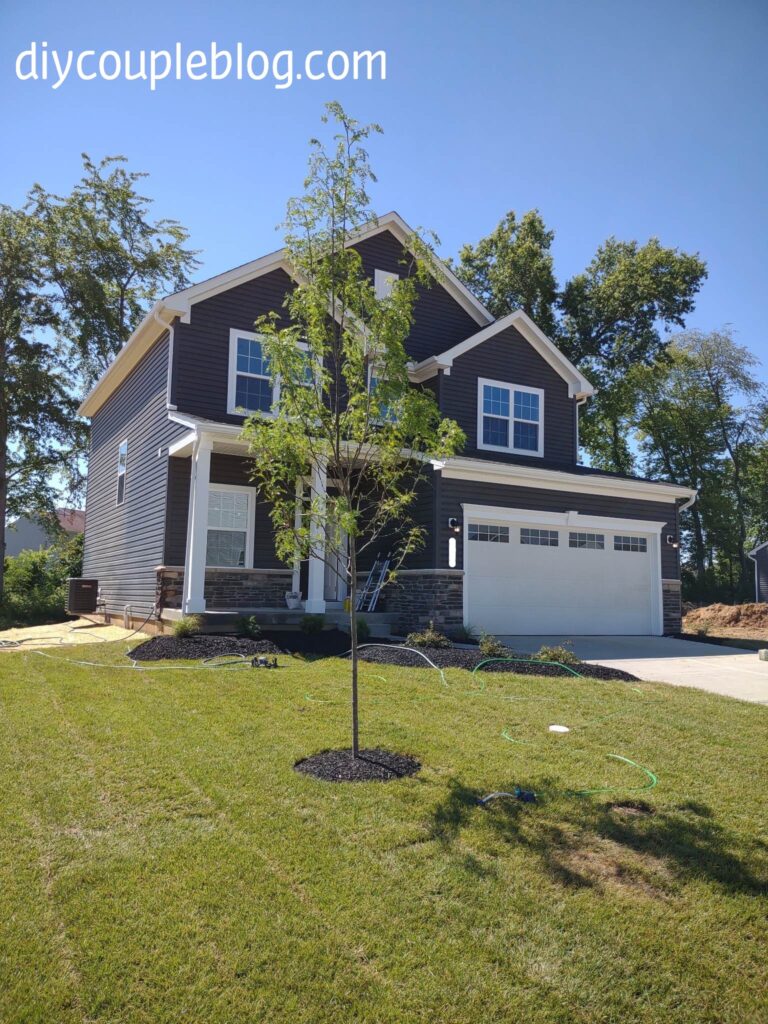
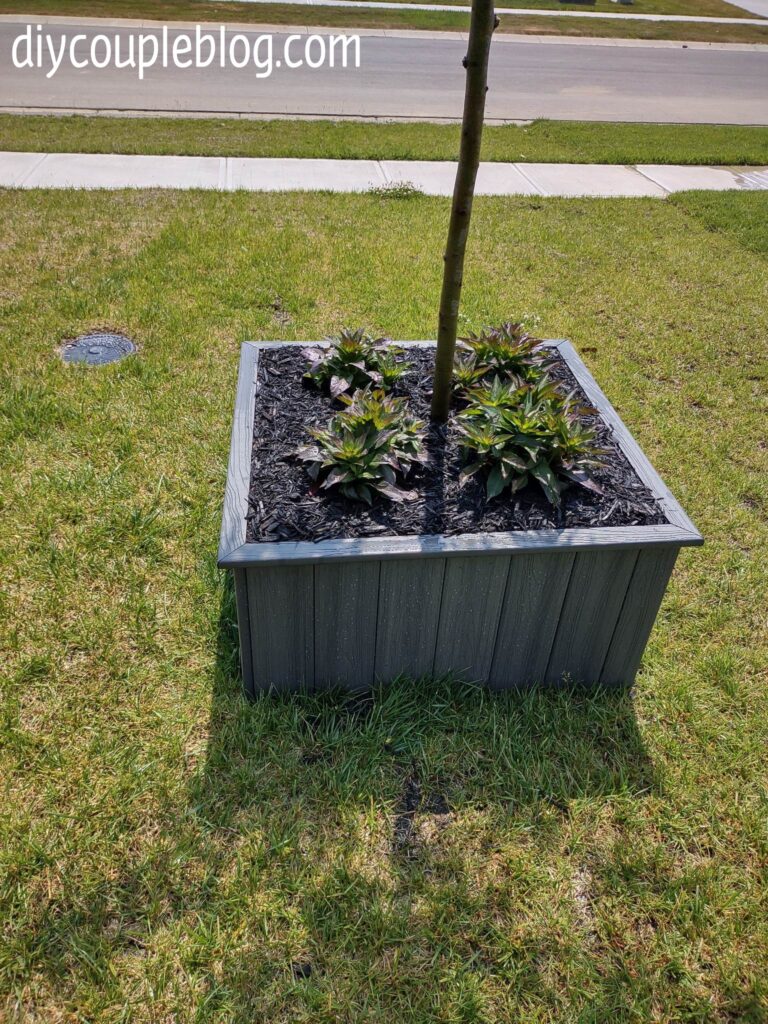
Here is what our barren tree looked like before we built our tree planter box around it.
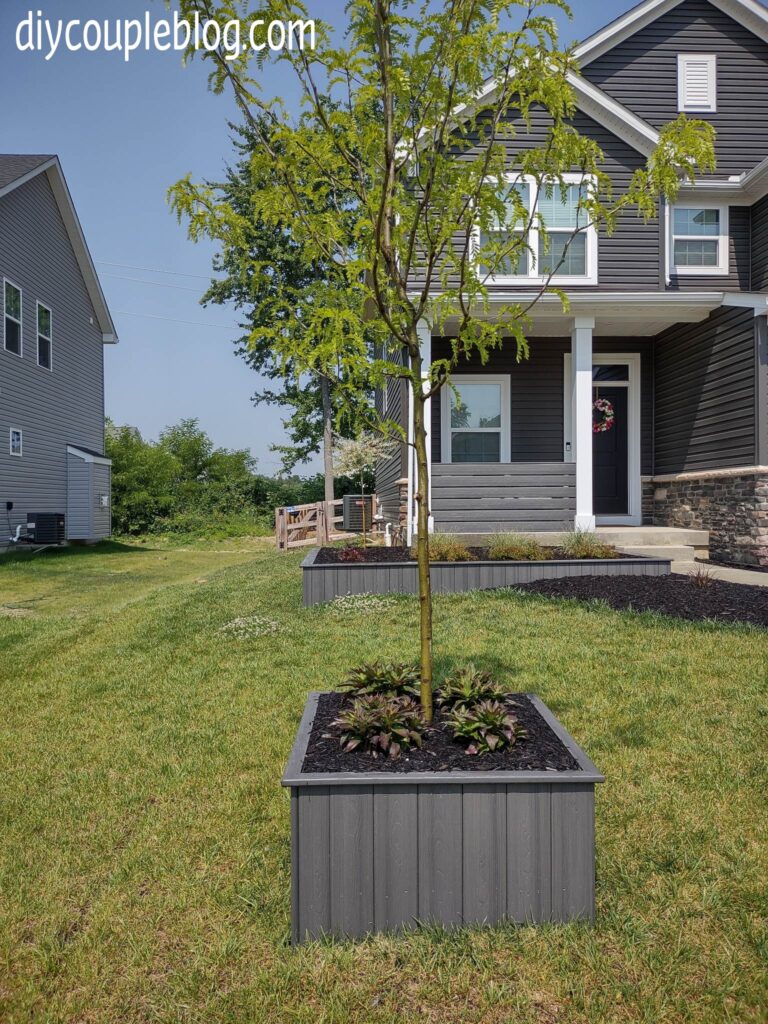
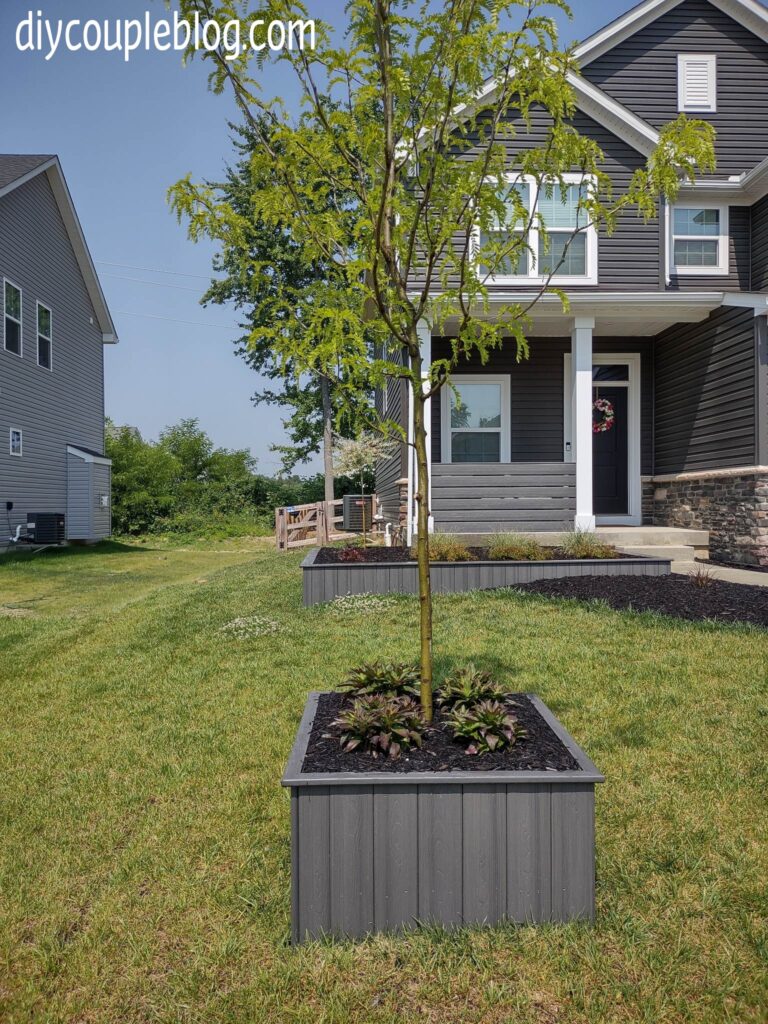
Here is what our flower bed around tree looks like today!
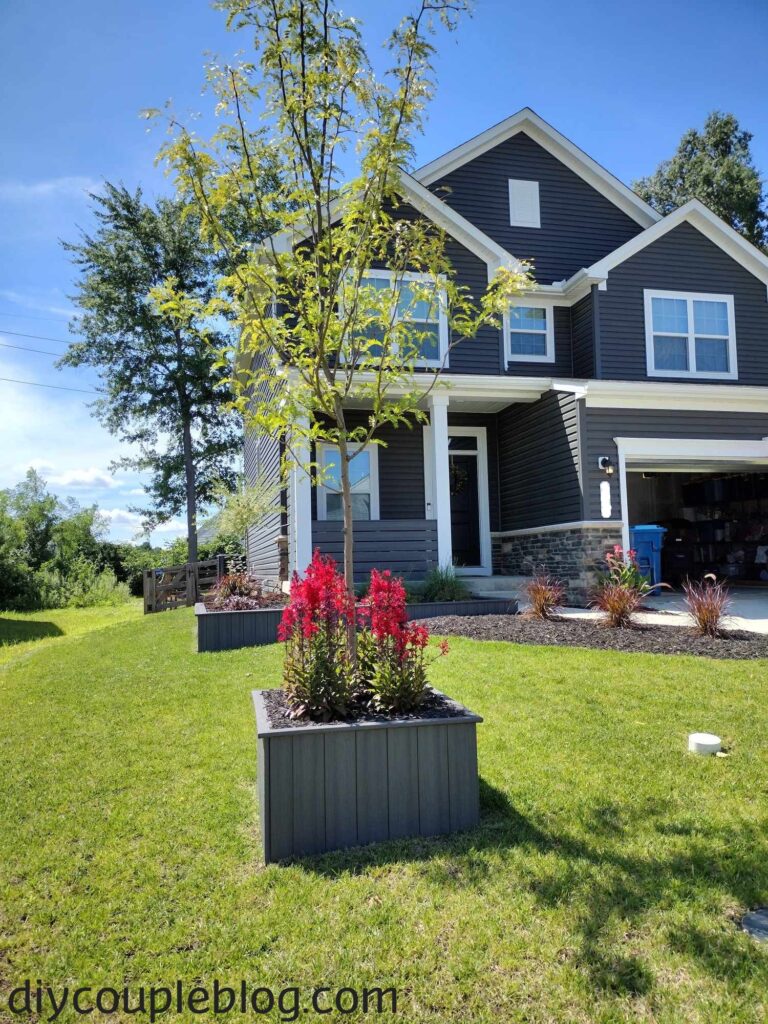
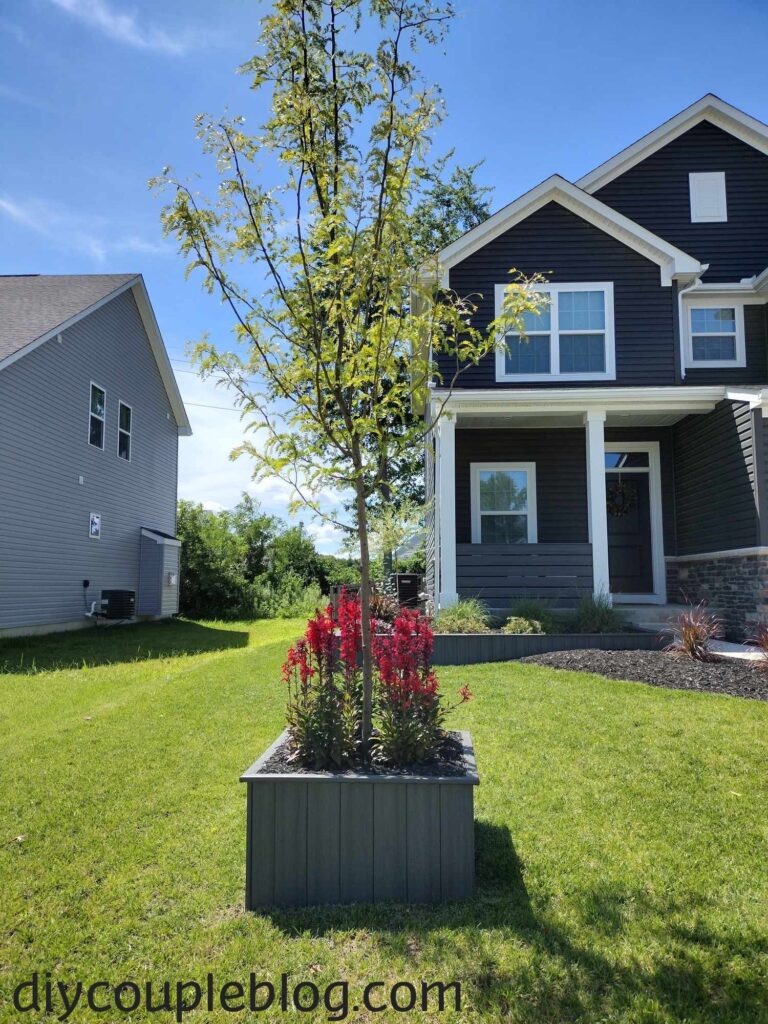
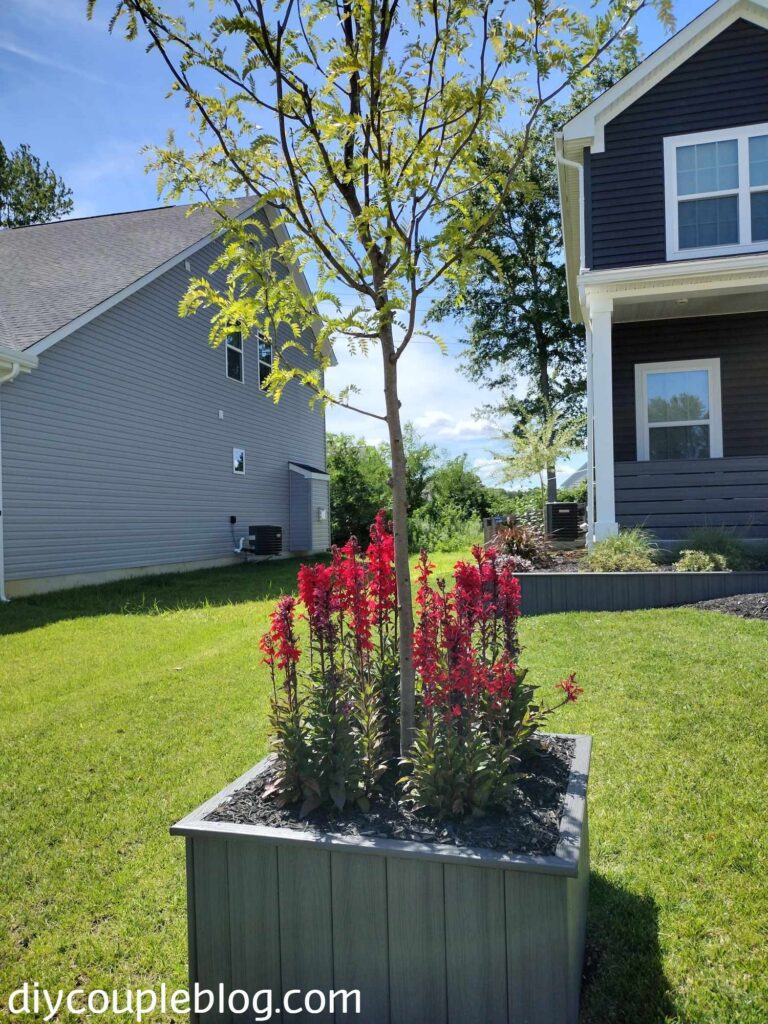
Also, here is an updated view after our flowers bloomed a couple months down the road from building this awesome tree planter box.
Before getting started, get the info on the size and maturity of your type of tree you are surrounding and be sure to give your tree trunk extra clearance on all sides to allow for trunk growth and root space.
Tools Recommended:
Kneeling pad (highly recommended)
Drill/Driver (this combo kit we bought includes both)
Materials Needed for Tree Planter Box:
Composite decking boards (we went with gray to match our house)
Composite decking screws (choose a color that goes with your decking boards, we did gray)
Step 1. Prep Your Space
We recommend you prep your space and create a level surface before installing your frame. Helpful tools for this are a spade shovel, flathead shovel, and a trench shovel. This will make the process go a lot smoother.
Step 2: Make The Cuts
For your frame you will need four pieces for the top and four pieces for the bottom. You can cut your frame to the size tree box you are wanting to make. You also are going to need four pieces for your height (one for each corner). Go ahead and measure, then cut all required pieces needed for the size box you want on the miter saw.
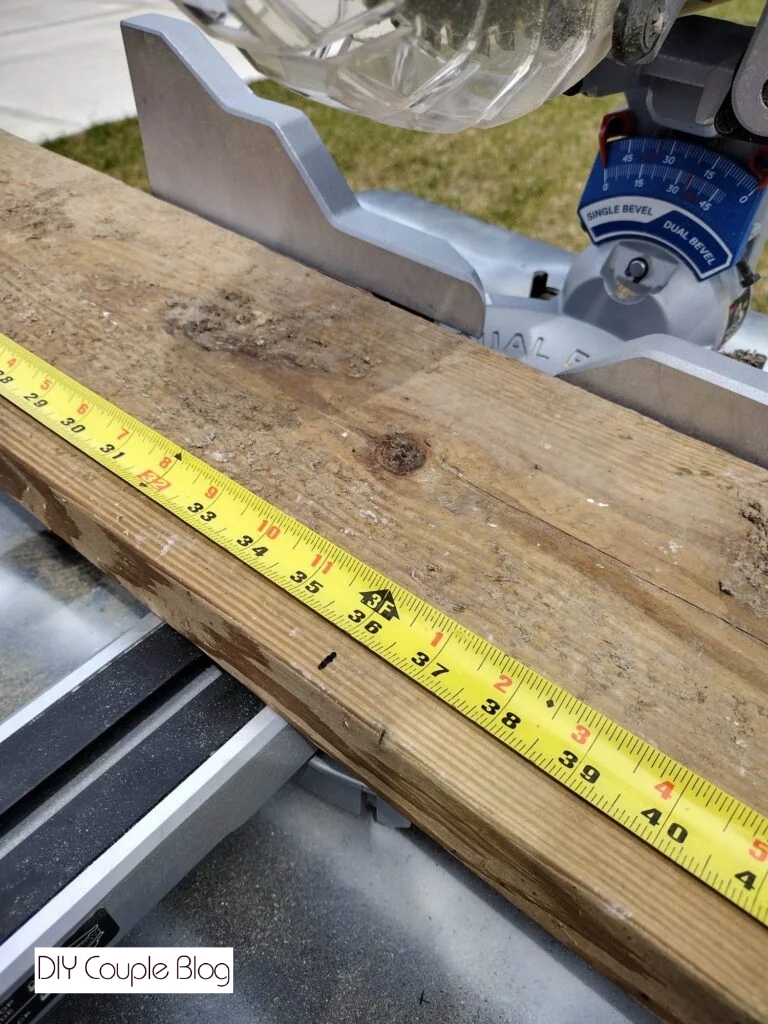
Step 3: Building The Frame
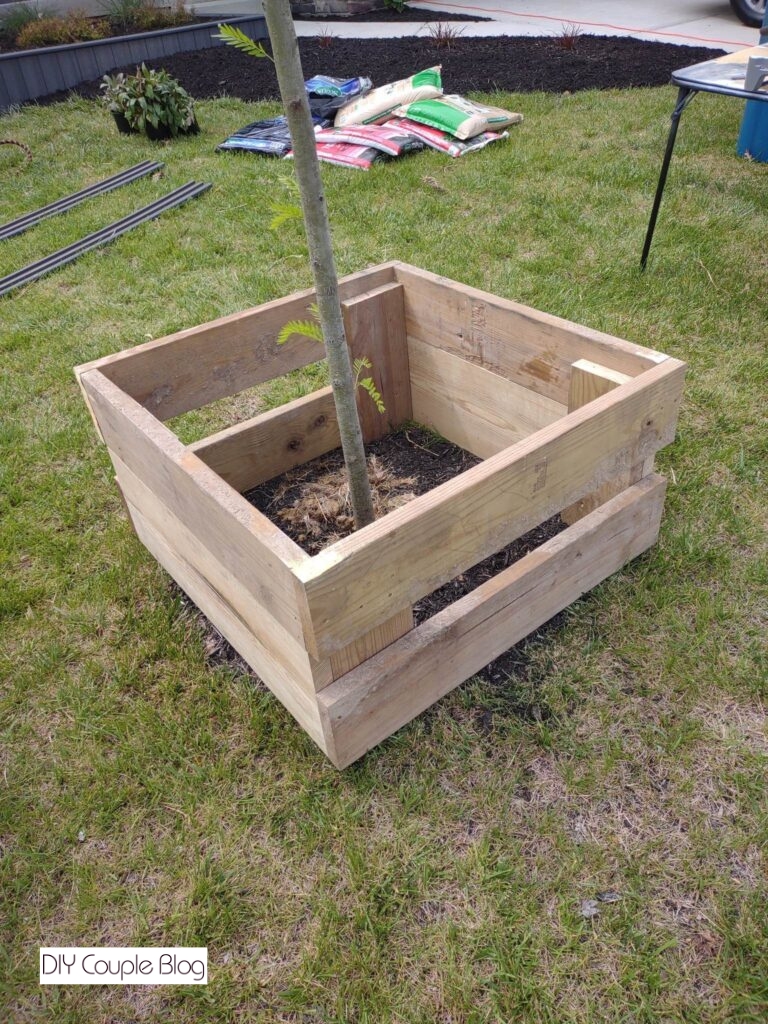
Lay out your first four pieces for your bottom layer of the box around the tree.
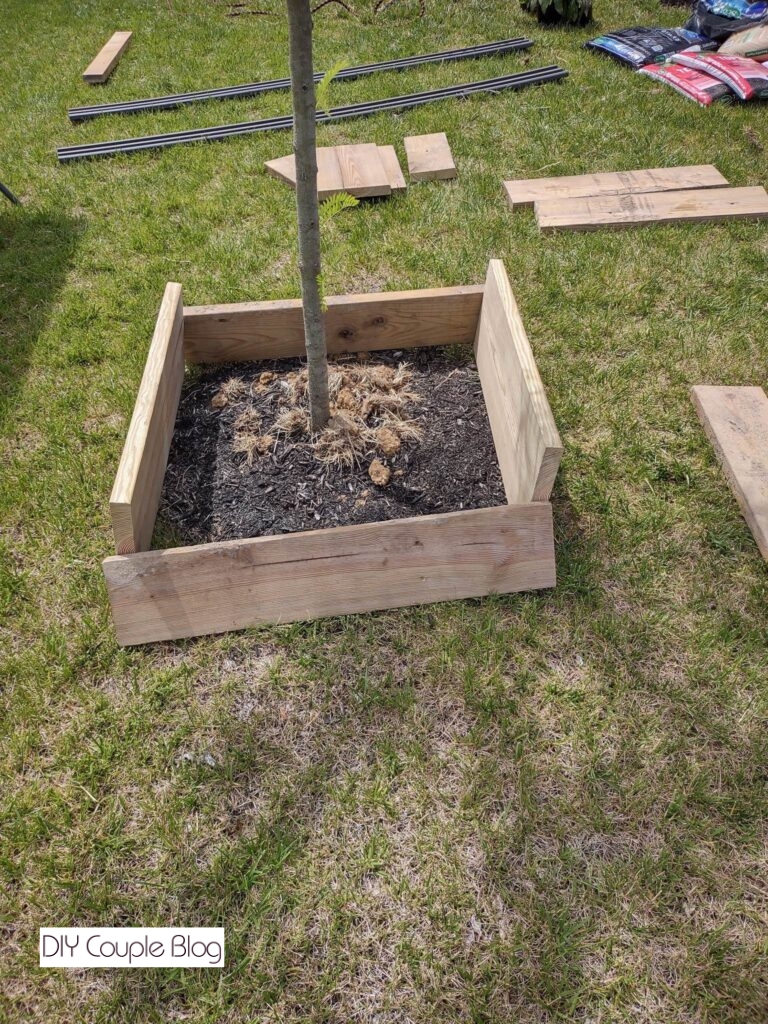
Using 2.5 inch exterior screws, attach your boards with two screws in each end. (We used up scrap pieces laying around, so we have two different size boards).
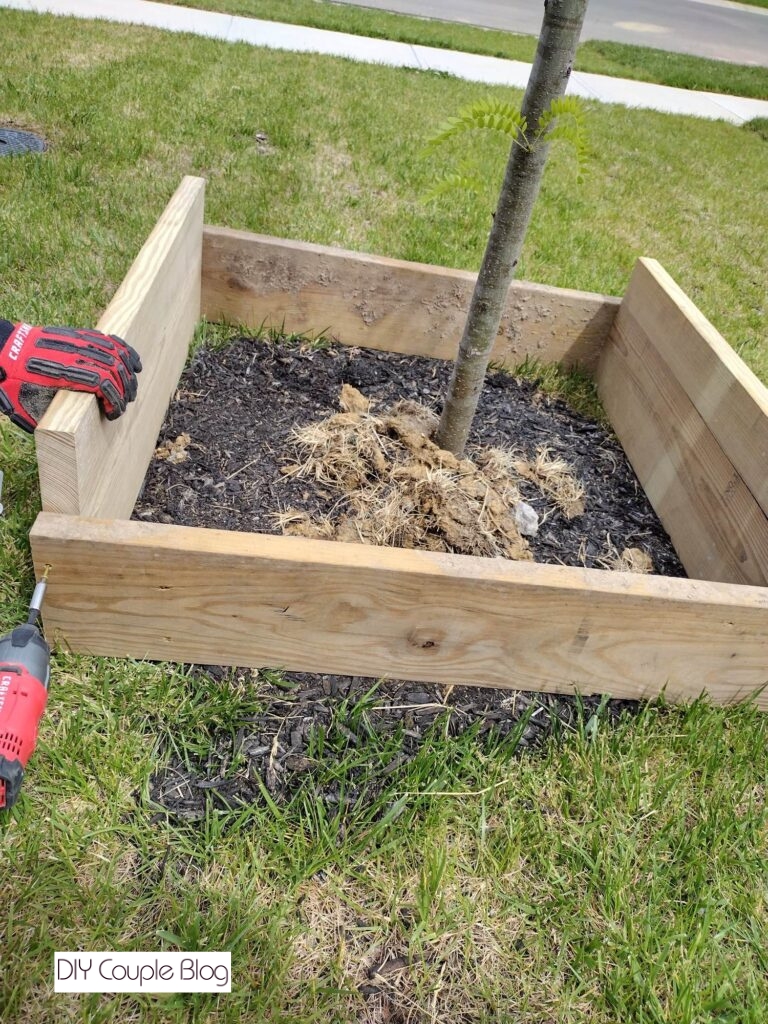
Repeat that process again for the top layer. Once you have both layers of your frame built, attach the inside pieces connecting the two frames together making sure to keep it straight and level in the direction you want.
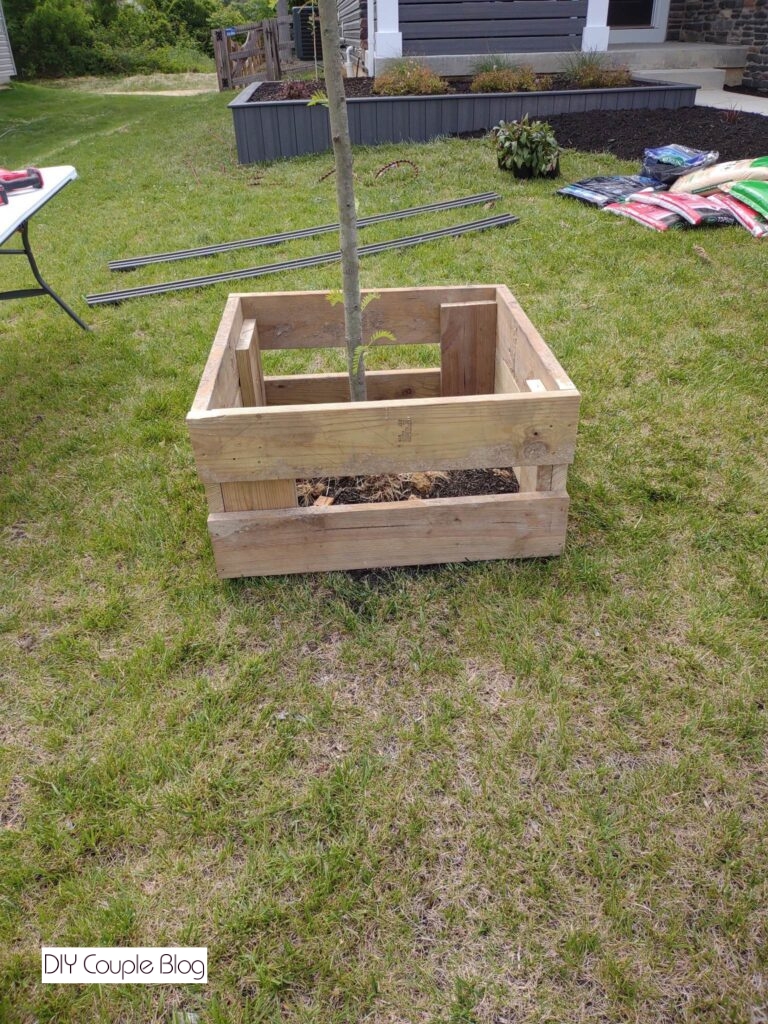
Step 4. Attach Composite Decking Boards to Frame
Place the first composite board against your frame, level it, mark it and cut it. Once you have your first piece cut, level it on your box and attach it using the composite decking screws. (We predrilled our holes just to make it easier and faster).
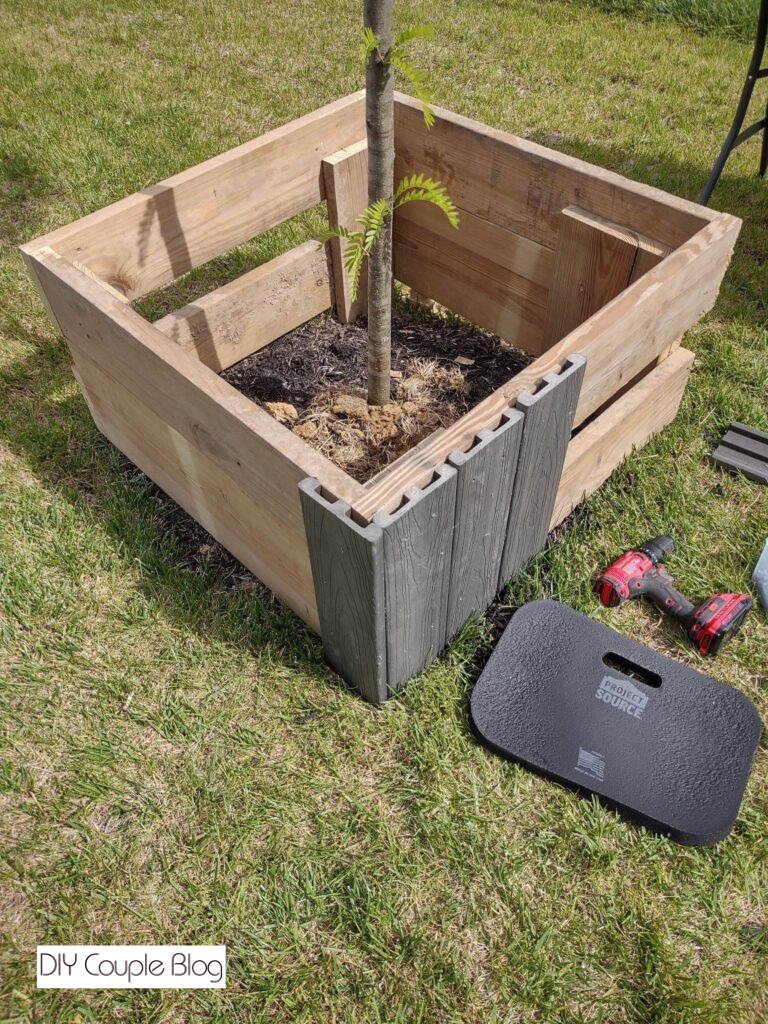
Repeat this process to the end and your last piece will need to get ripped using a table saw simply by placing your composite board in position and mark a vertical line at the end of that side. Rip that piece then attach it, you’ll then repeat the process on the other three sides of your planter around tree.
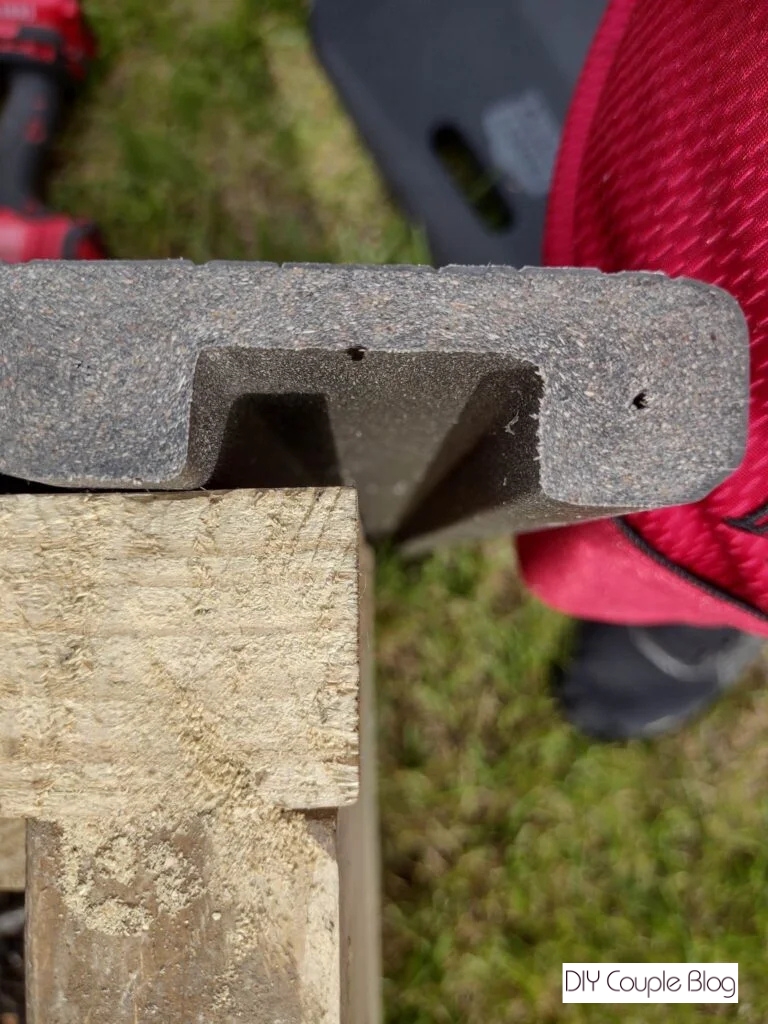
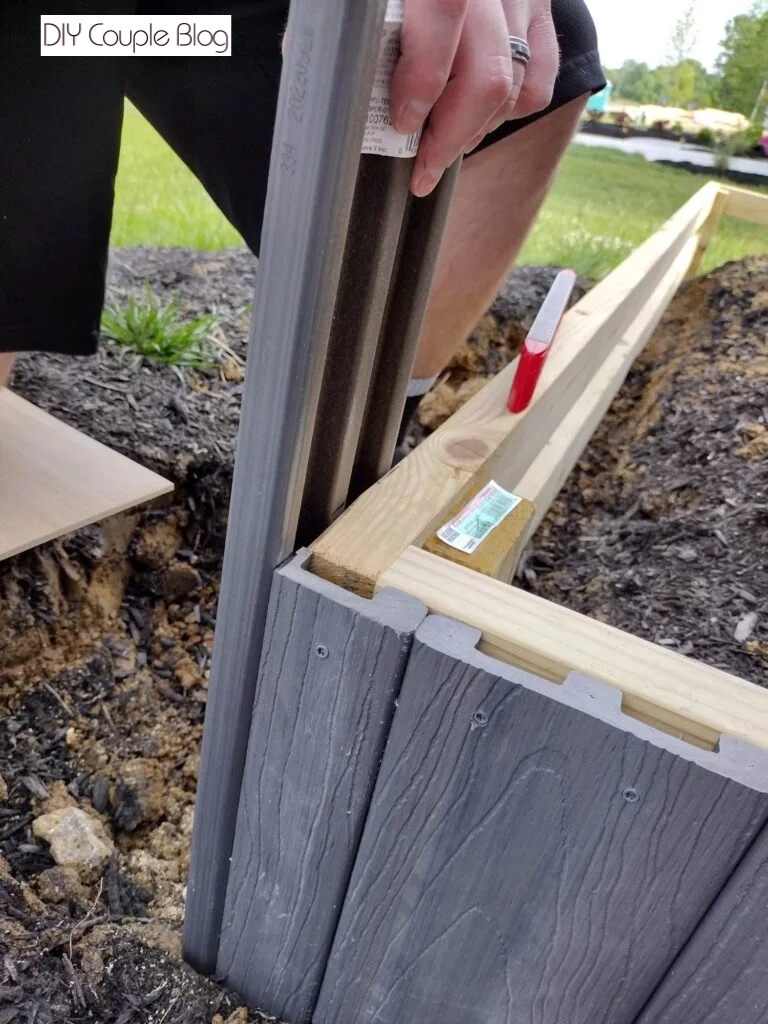
This picture is referencing our front yard flower bed design, but we used the exact same technique seen here to give you a good idea of how it will look once the ends are ripped. The board in the front of it will overlap so you won’t see the cut edge.
Step: 5 Picking Your Topper Size
Option A. If you prefer a thick board on top, then you’ll reference to this post for how to do it. (You’ll be using a full width composite board). If you choose this option, you’ll want to add another 2×4 of treated lumber all the way around the inside of the tree box at the top so that it can sit flush.
Option B. If you want to do the thin board for a top (like ours), then just keep reading for how to do it.
Step 6. Add Dirt & Plants to Tree Surround
At this point you should have decided on your topper but don’t yet install. If you decided to go with option A, go ahead and add your board mentioned around the inside. If you chose option B then no further action is needed and now, you’re ready to fill your box with dirt and plants or flowers of choice (if any). Be sure not to compact your soil tight as you want your tree to still be able to breathe. We recommend that you use raised garden soil and miracle grow moisture control to help make your soil more breathable and not to suffocate your tree.
We planted four Fan Scarlet Lobelias for our landscape around tree. I’m anticipating the red scarlet foliage when it blooms. Find out if they will work in your garden bed over here.
Shop Fan Scarlet Lobelia
Step 7: Add The Decorative Top to Tree Planter Box
Rip a composite board on the table saw at 2 1/8 on both sides of the same board. (You’ll net two pieces from one board).
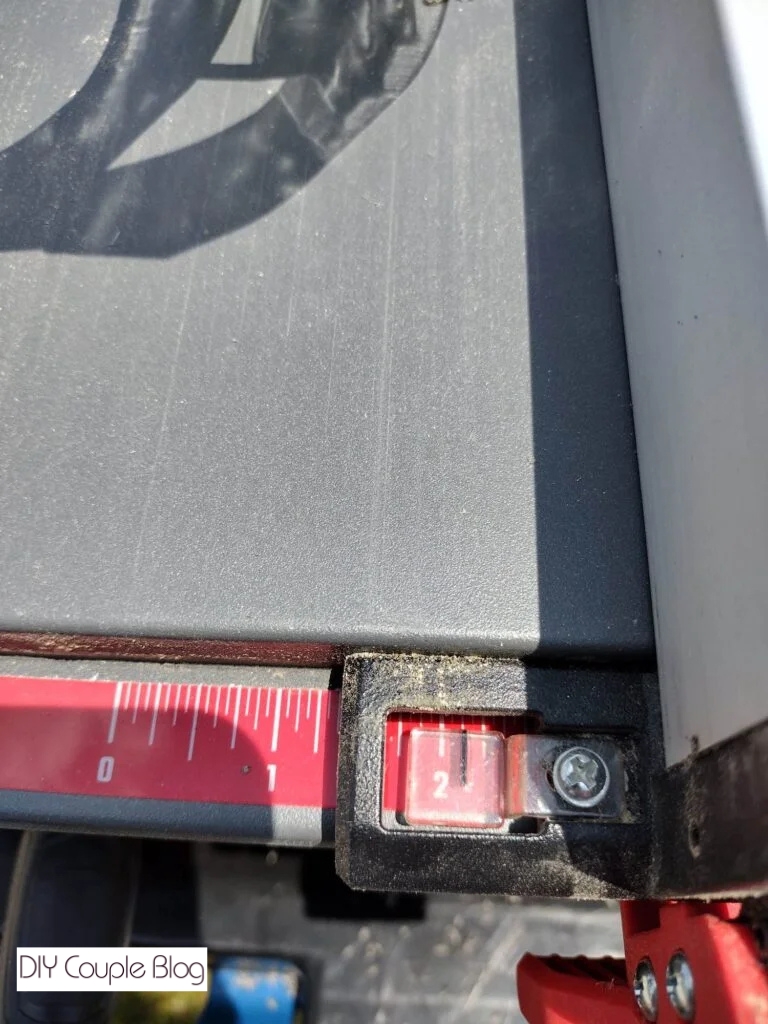
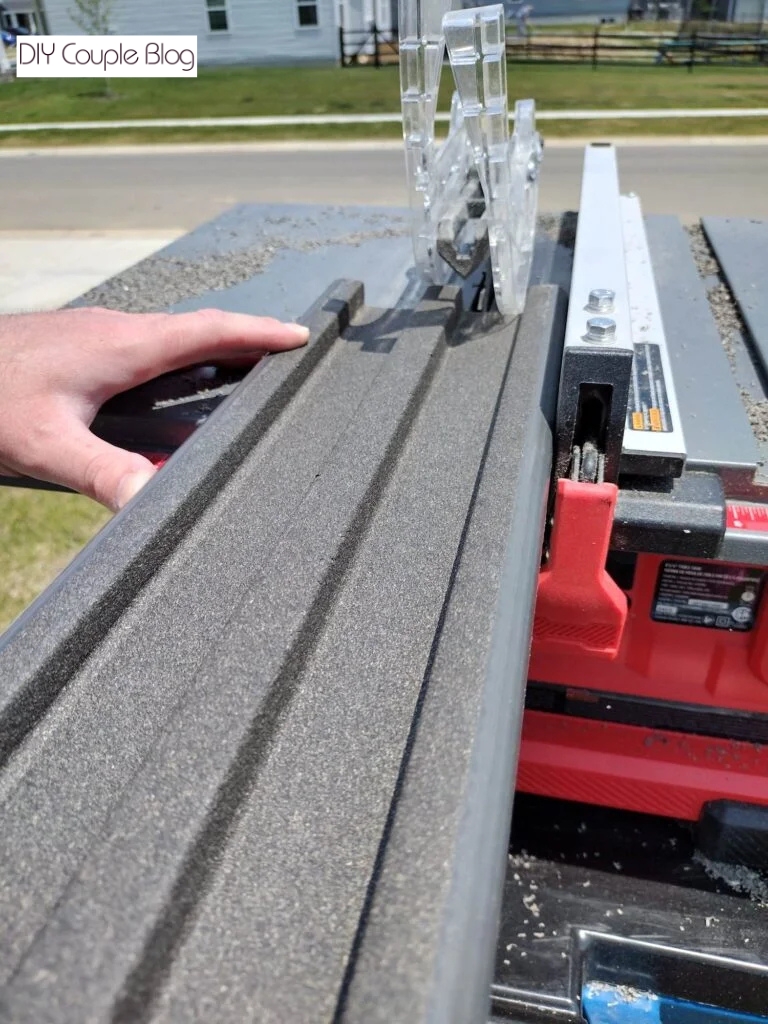
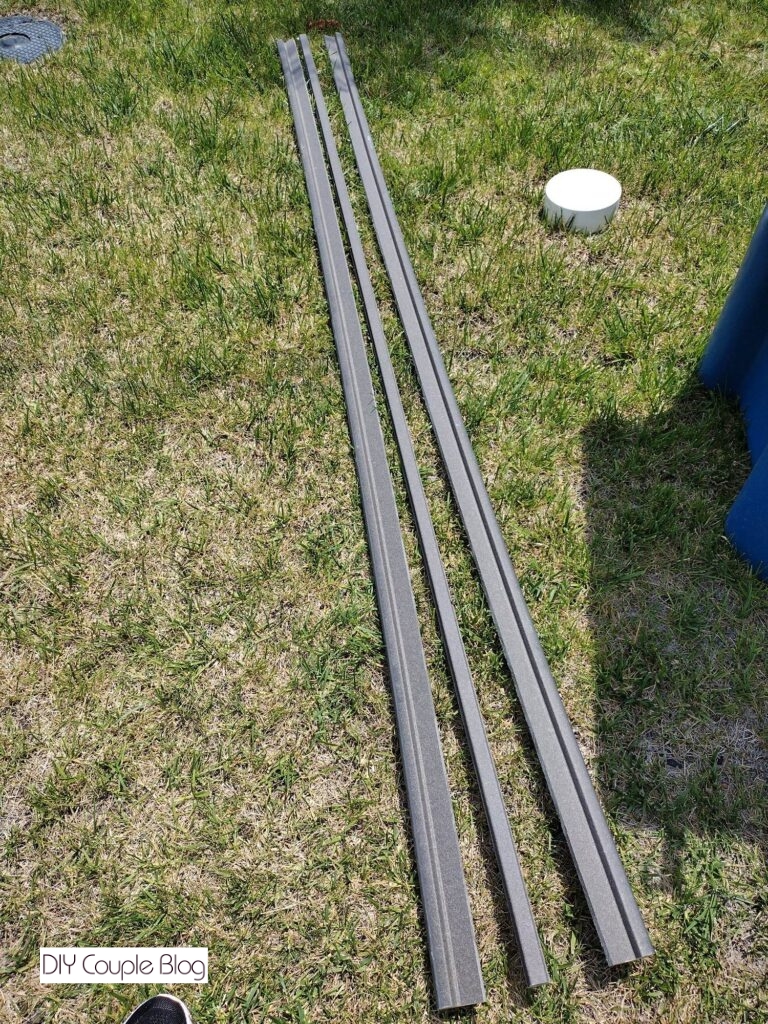
If you leveled and squared up your frame, then you’ll use 45 degree angles to cut all four pieces. When ready to install the top, you’ll want to overhang the round part so that it sits flush on top.
Mark on your wood frame the location closest to each end and middle where the center of the vertical composite boards are and place the topper in its location.
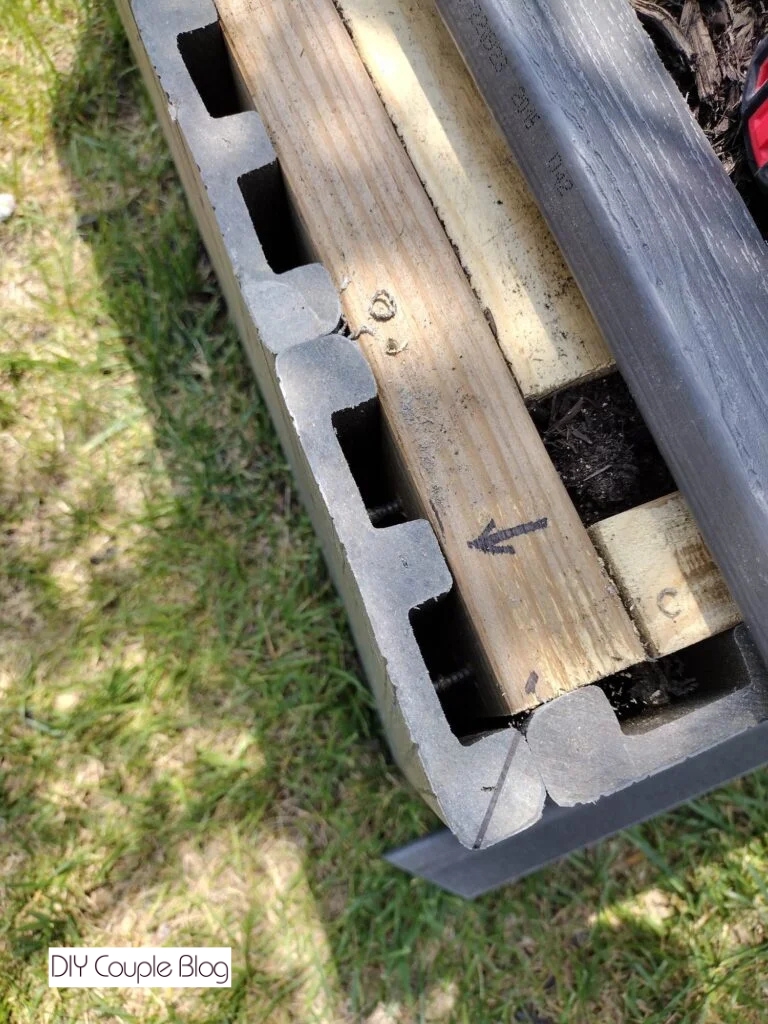
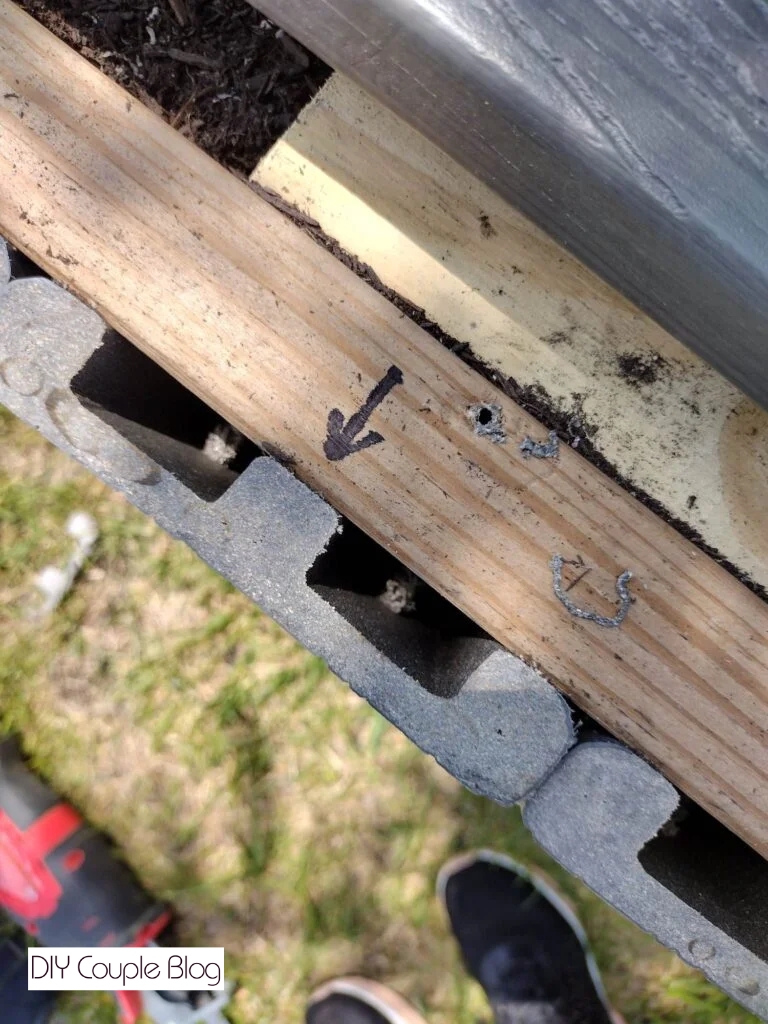
Predrill pilot holes with a 9/64 drill bit and then screw your board in place with composite exterior screws.
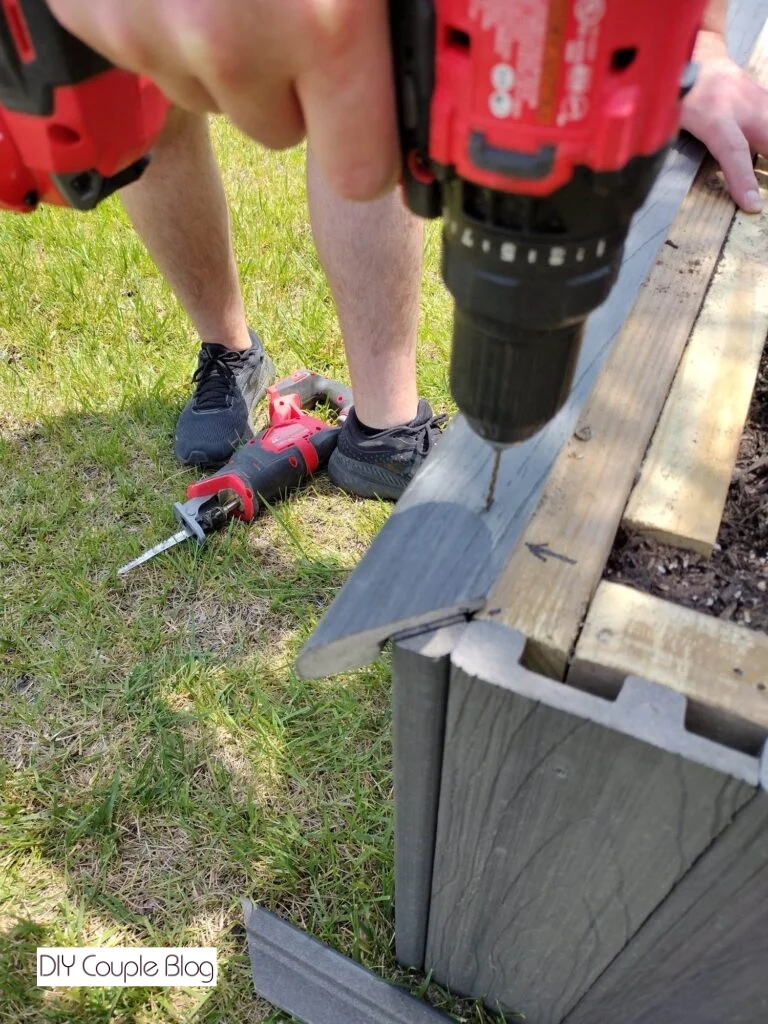
Note: We added another board on the inside because we weren’t sure whether we wanted to do a thick or thin top. If unsure which you’re planning on going with, you can go ahead add it in case. It will be covered with dirt and mulch so won’t be visible in your tree bed.
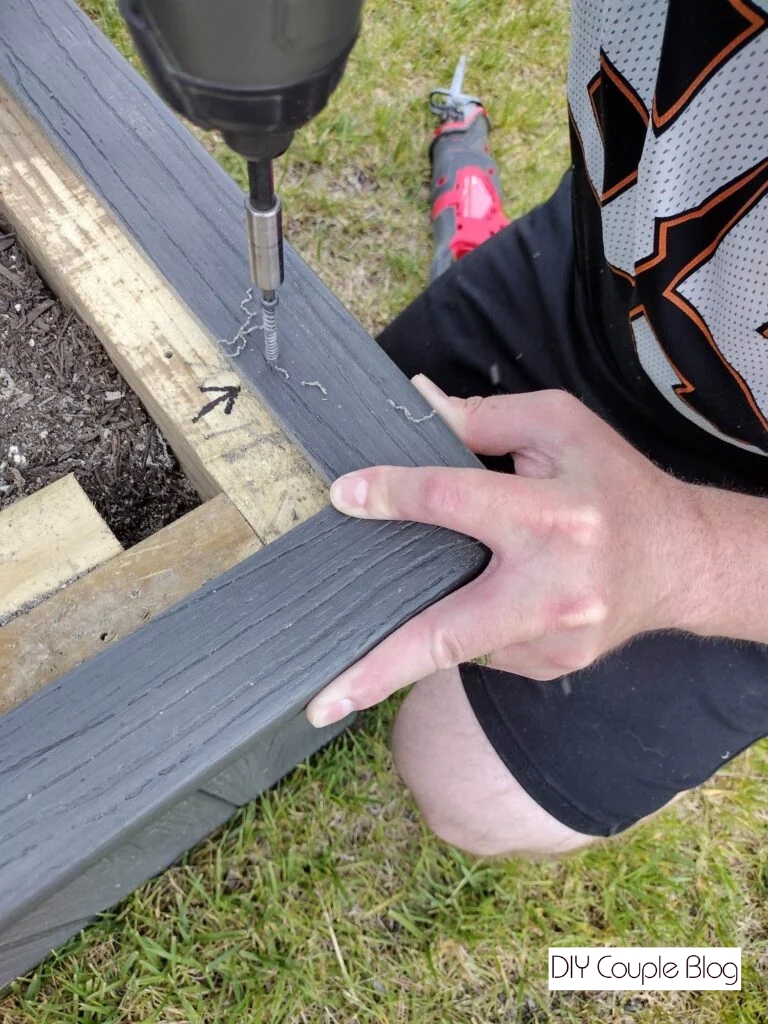
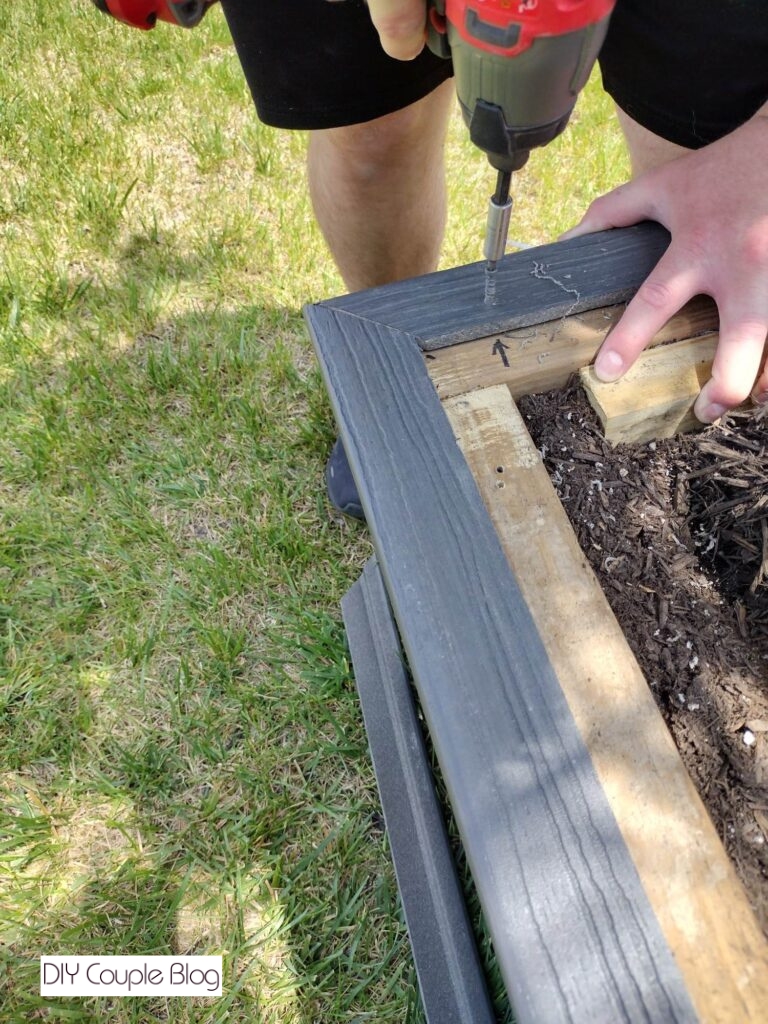
Step 8. Tree Planter Box Finishing Touches
Now that the decorative top is attached, the planter box is complete, and you can finish it up by adding fresh mulch or rock.

Ready to build? Grab your materials and head outside to upgrade your outdoor space!
You May Also Like: